dryhiker
Member
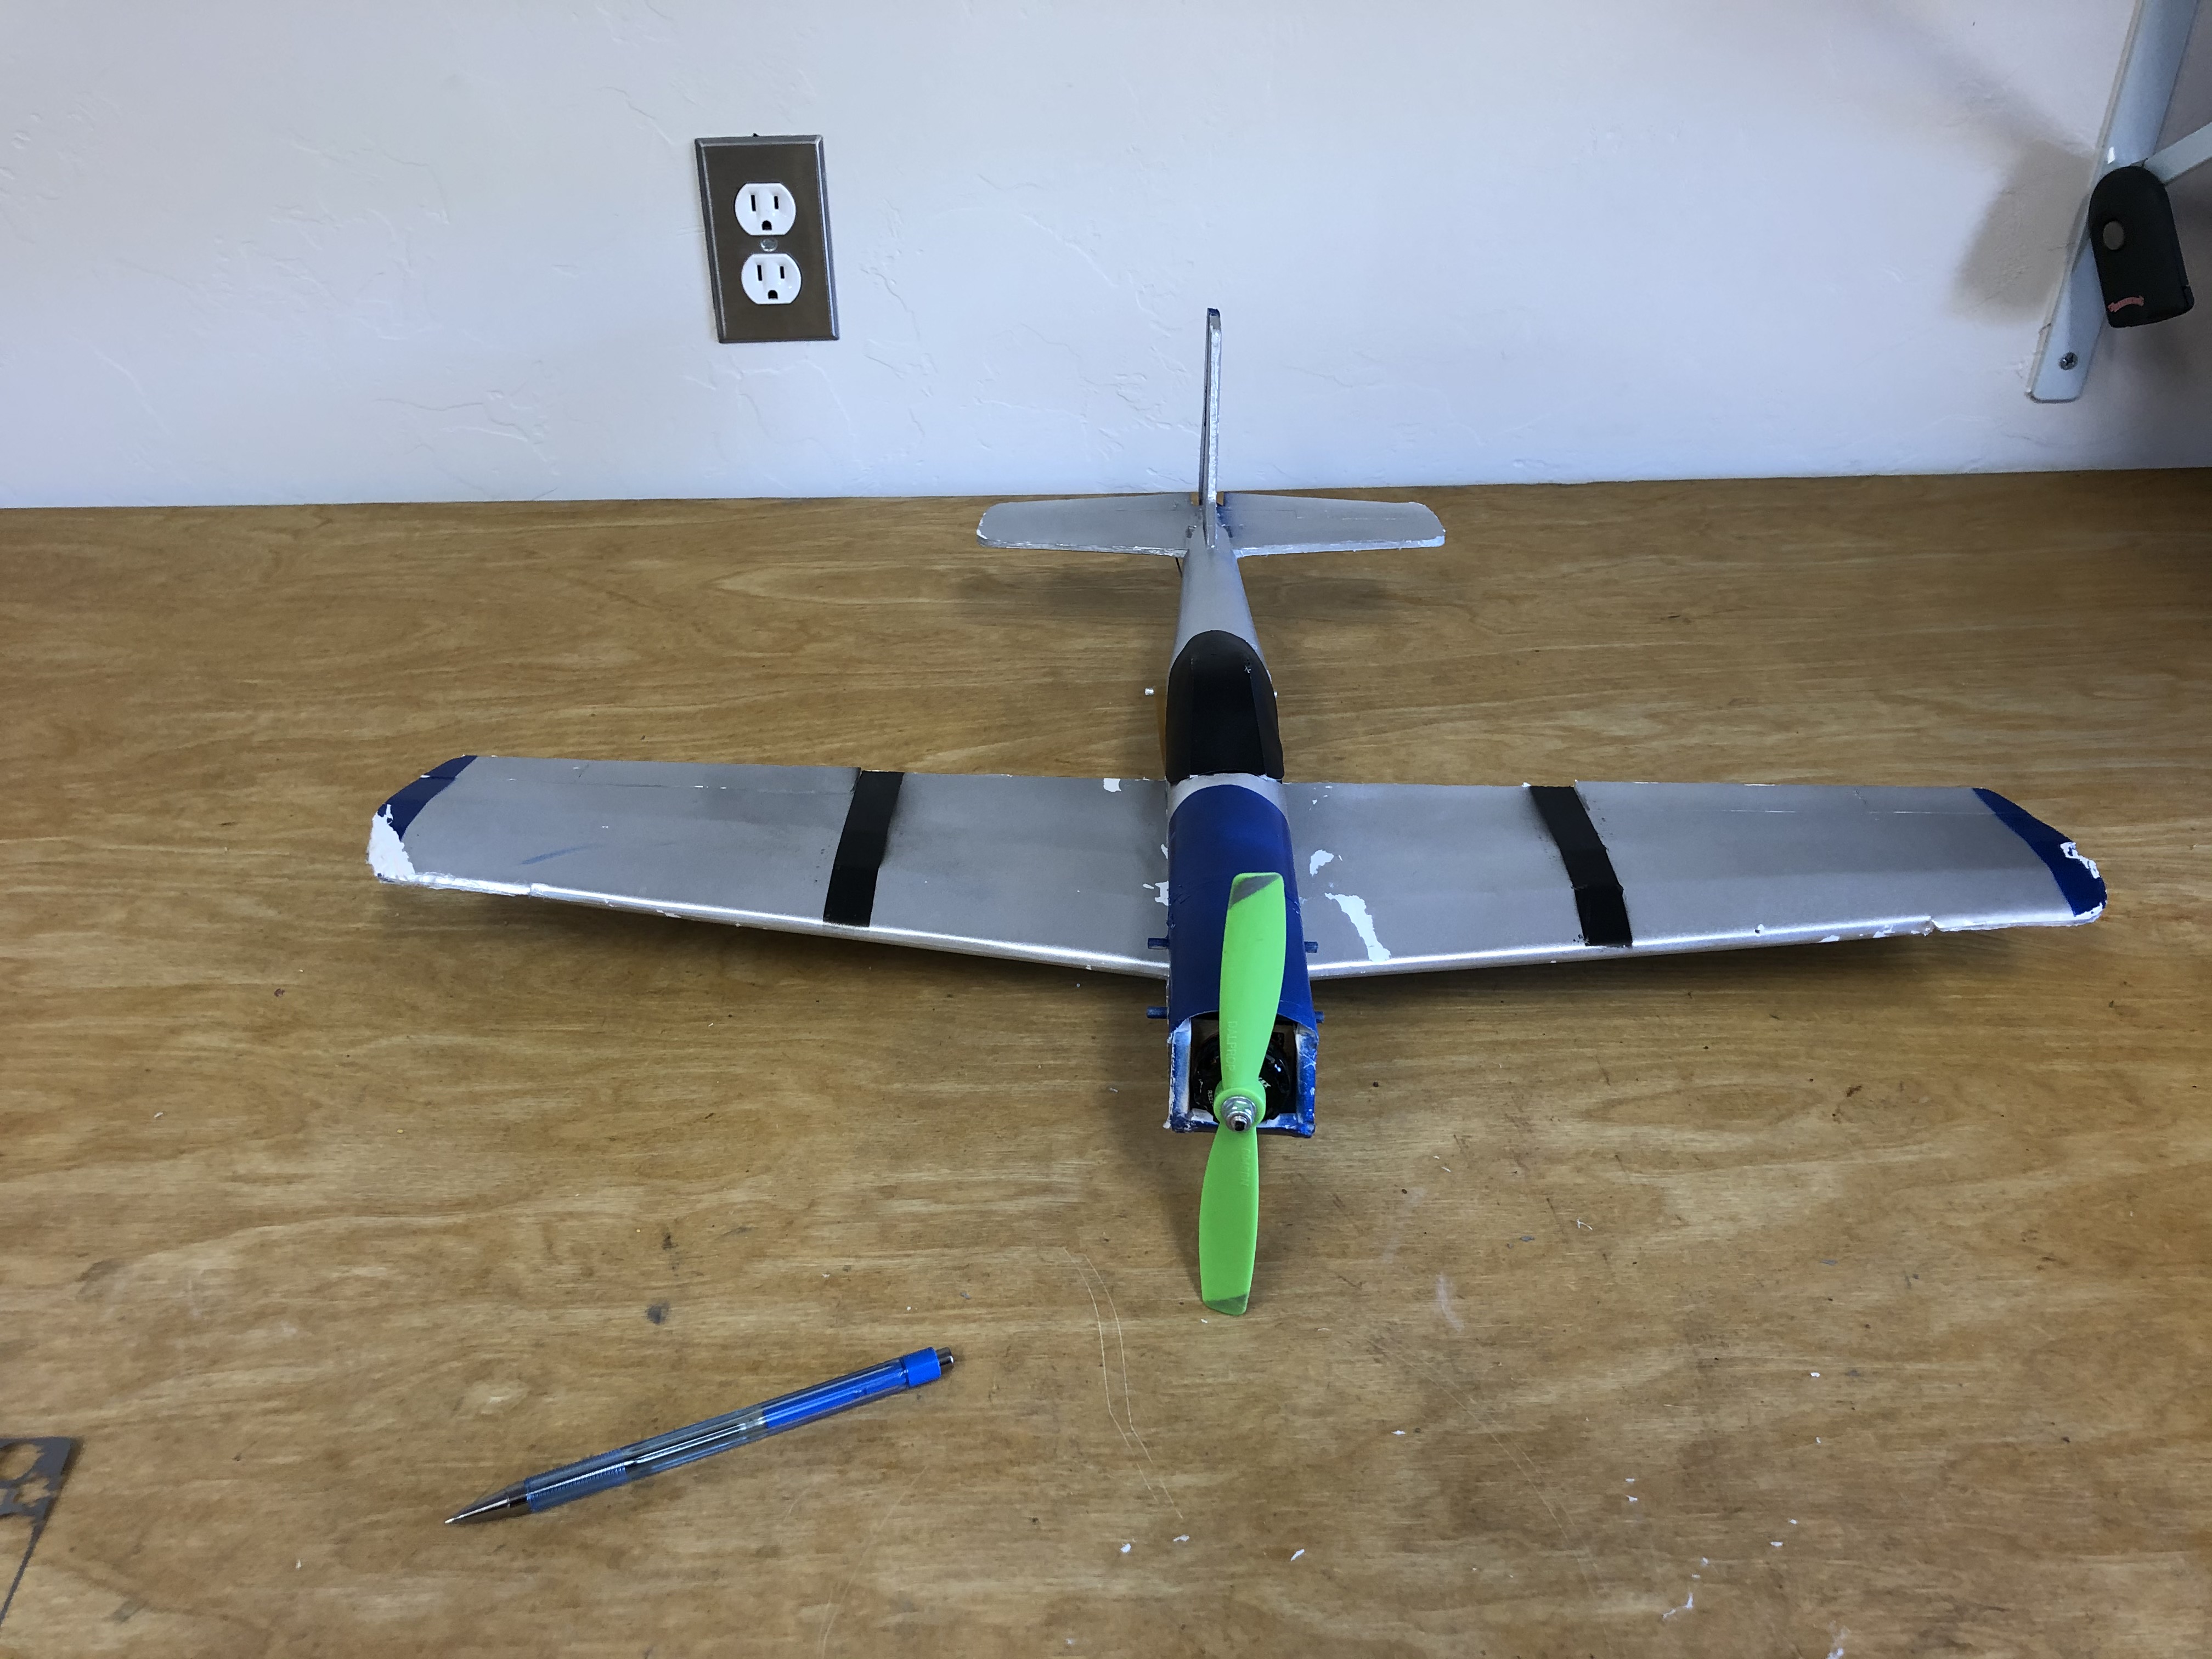
A couple of months ago I badly crashed my Mini Mustang. I love this plane and the way if flies. I am not so crazy about the hatch. See the photos, I used this plane to prototype a simple mod which makes the wing the hatch, and which might protect the wing a little in a minor crash as well.

Fairly beat up Mini Mustang. That is an as-yet un-maidened Herr Starlite in the background.

I cut off the bottom of the fuselage and glued it to the wing. That step should take place before the wing is inserted into the fuselage, replacing that procedure. After the fuselage bottom section is cut off, place the wing where it belongs and hold everything together. Adjust the wing until it is centered and square to the fuselage. Use a pen to draw as many alignment marks on the wing and fuselage as you need to ensure that it can be properly placed during the gluing operation.

Now there is a bigger hatch to work with.

The stick holds the front side and the rubber band holds the back. The skewer for the rubber band also stiffens the fuselage as well if you glue it into place. (You can also see my servo mounting method, I have overheated a number of servos by gluing them to the airframe.) You just need to make sure that there is no tape between the fuselage lower section and the wing. You can use pre-cut tape or carefully cut it away after building the wing. Angling the fuselage cuts will make the wing arrangement self-centering. I also protected the cut surfaces with hot glue in a similar way as hinges are protected. It is best to do the alignment and marking after the forward mount and surface protection are added.

I will build my next Mini Mustang kit with this wing mounting method. The paper parts will then glue directly to the fuselage and will not be taken apart. That should save a few grams from the airframe weight. I will have to modify the formers for the upper fuselage a little, but that won't be too hard.
Any comments on this mod are welcome!
Andy.

Fairly beat up Mini Mustang. That is an as-yet un-maidened Herr Starlite in the background.

I cut off the bottom of the fuselage and glued it to the wing. That step should take place before the wing is inserted into the fuselage, replacing that procedure. After the fuselage bottom section is cut off, place the wing where it belongs and hold everything together. Adjust the wing until it is centered and square to the fuselage. Use a pen to draw as many alignment marks on the wing and fuselage as you need to ensure that it can be properly placed during the gluing operation.

Now there is a bigger hatch to work with.

The stick holds the front side and the rubber band holds the back. The skewer for the rubber band also stiffens the fuselage as well if you glue it into place. (You can also see my servo mounting method, I have overheated a number of servos by gluing them to the airframe.) You just need to make sure that there is no tape between the fuselage lower section and the wing. You can use pre-cut tape or carefully cut it away after building the wing. Angling the fuselage cuts will make the wing arrangement self-centering. I also protected the cut surfaces with hot glue in a similar way as hinges are protected. It is best to do the alignment and marking after the forward mount and surface protection are added.

I will build my next Mini Mustang kit with this wing mounting method. The paper parts will then glue directly to the fuselage and will not be taken apart. That should save a few grams from the airframe weight. I will have to modify the formers for the upper fuselage a little, but that won't be too hard.
Any comments on this mod are welcome!
Andy.


