Mini Red Zephyr electric conversion

jwhitacre

Member
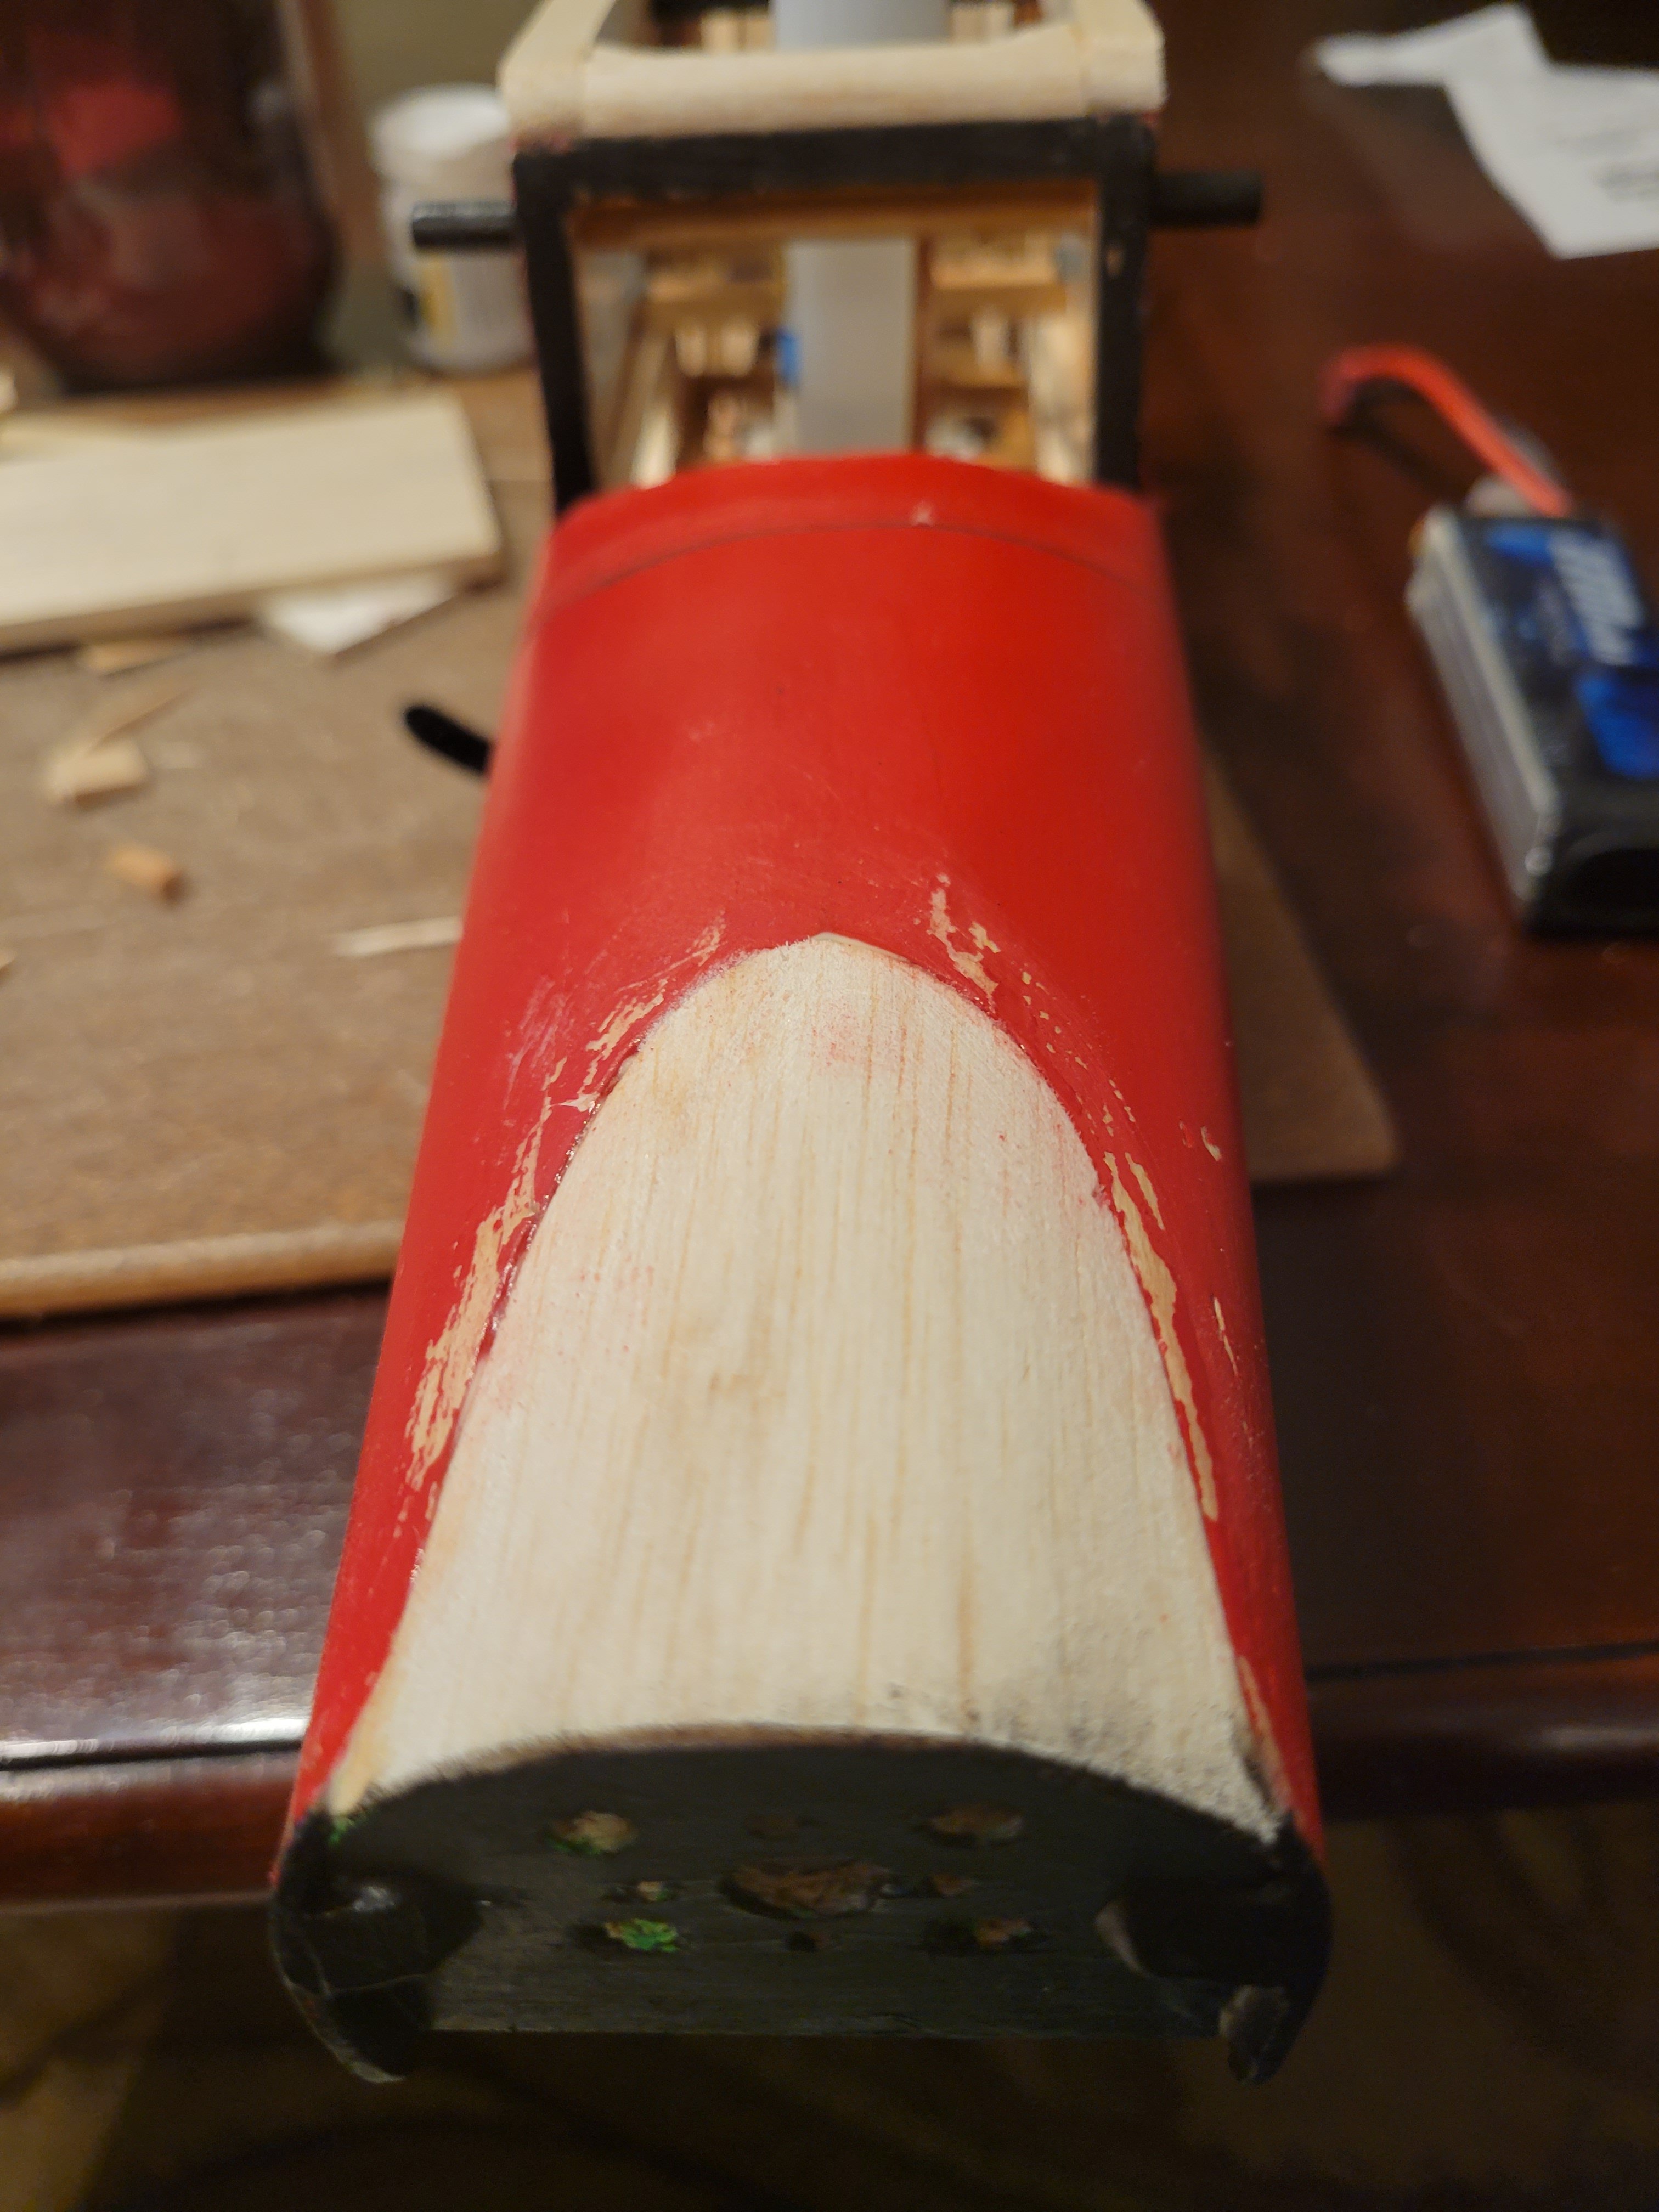
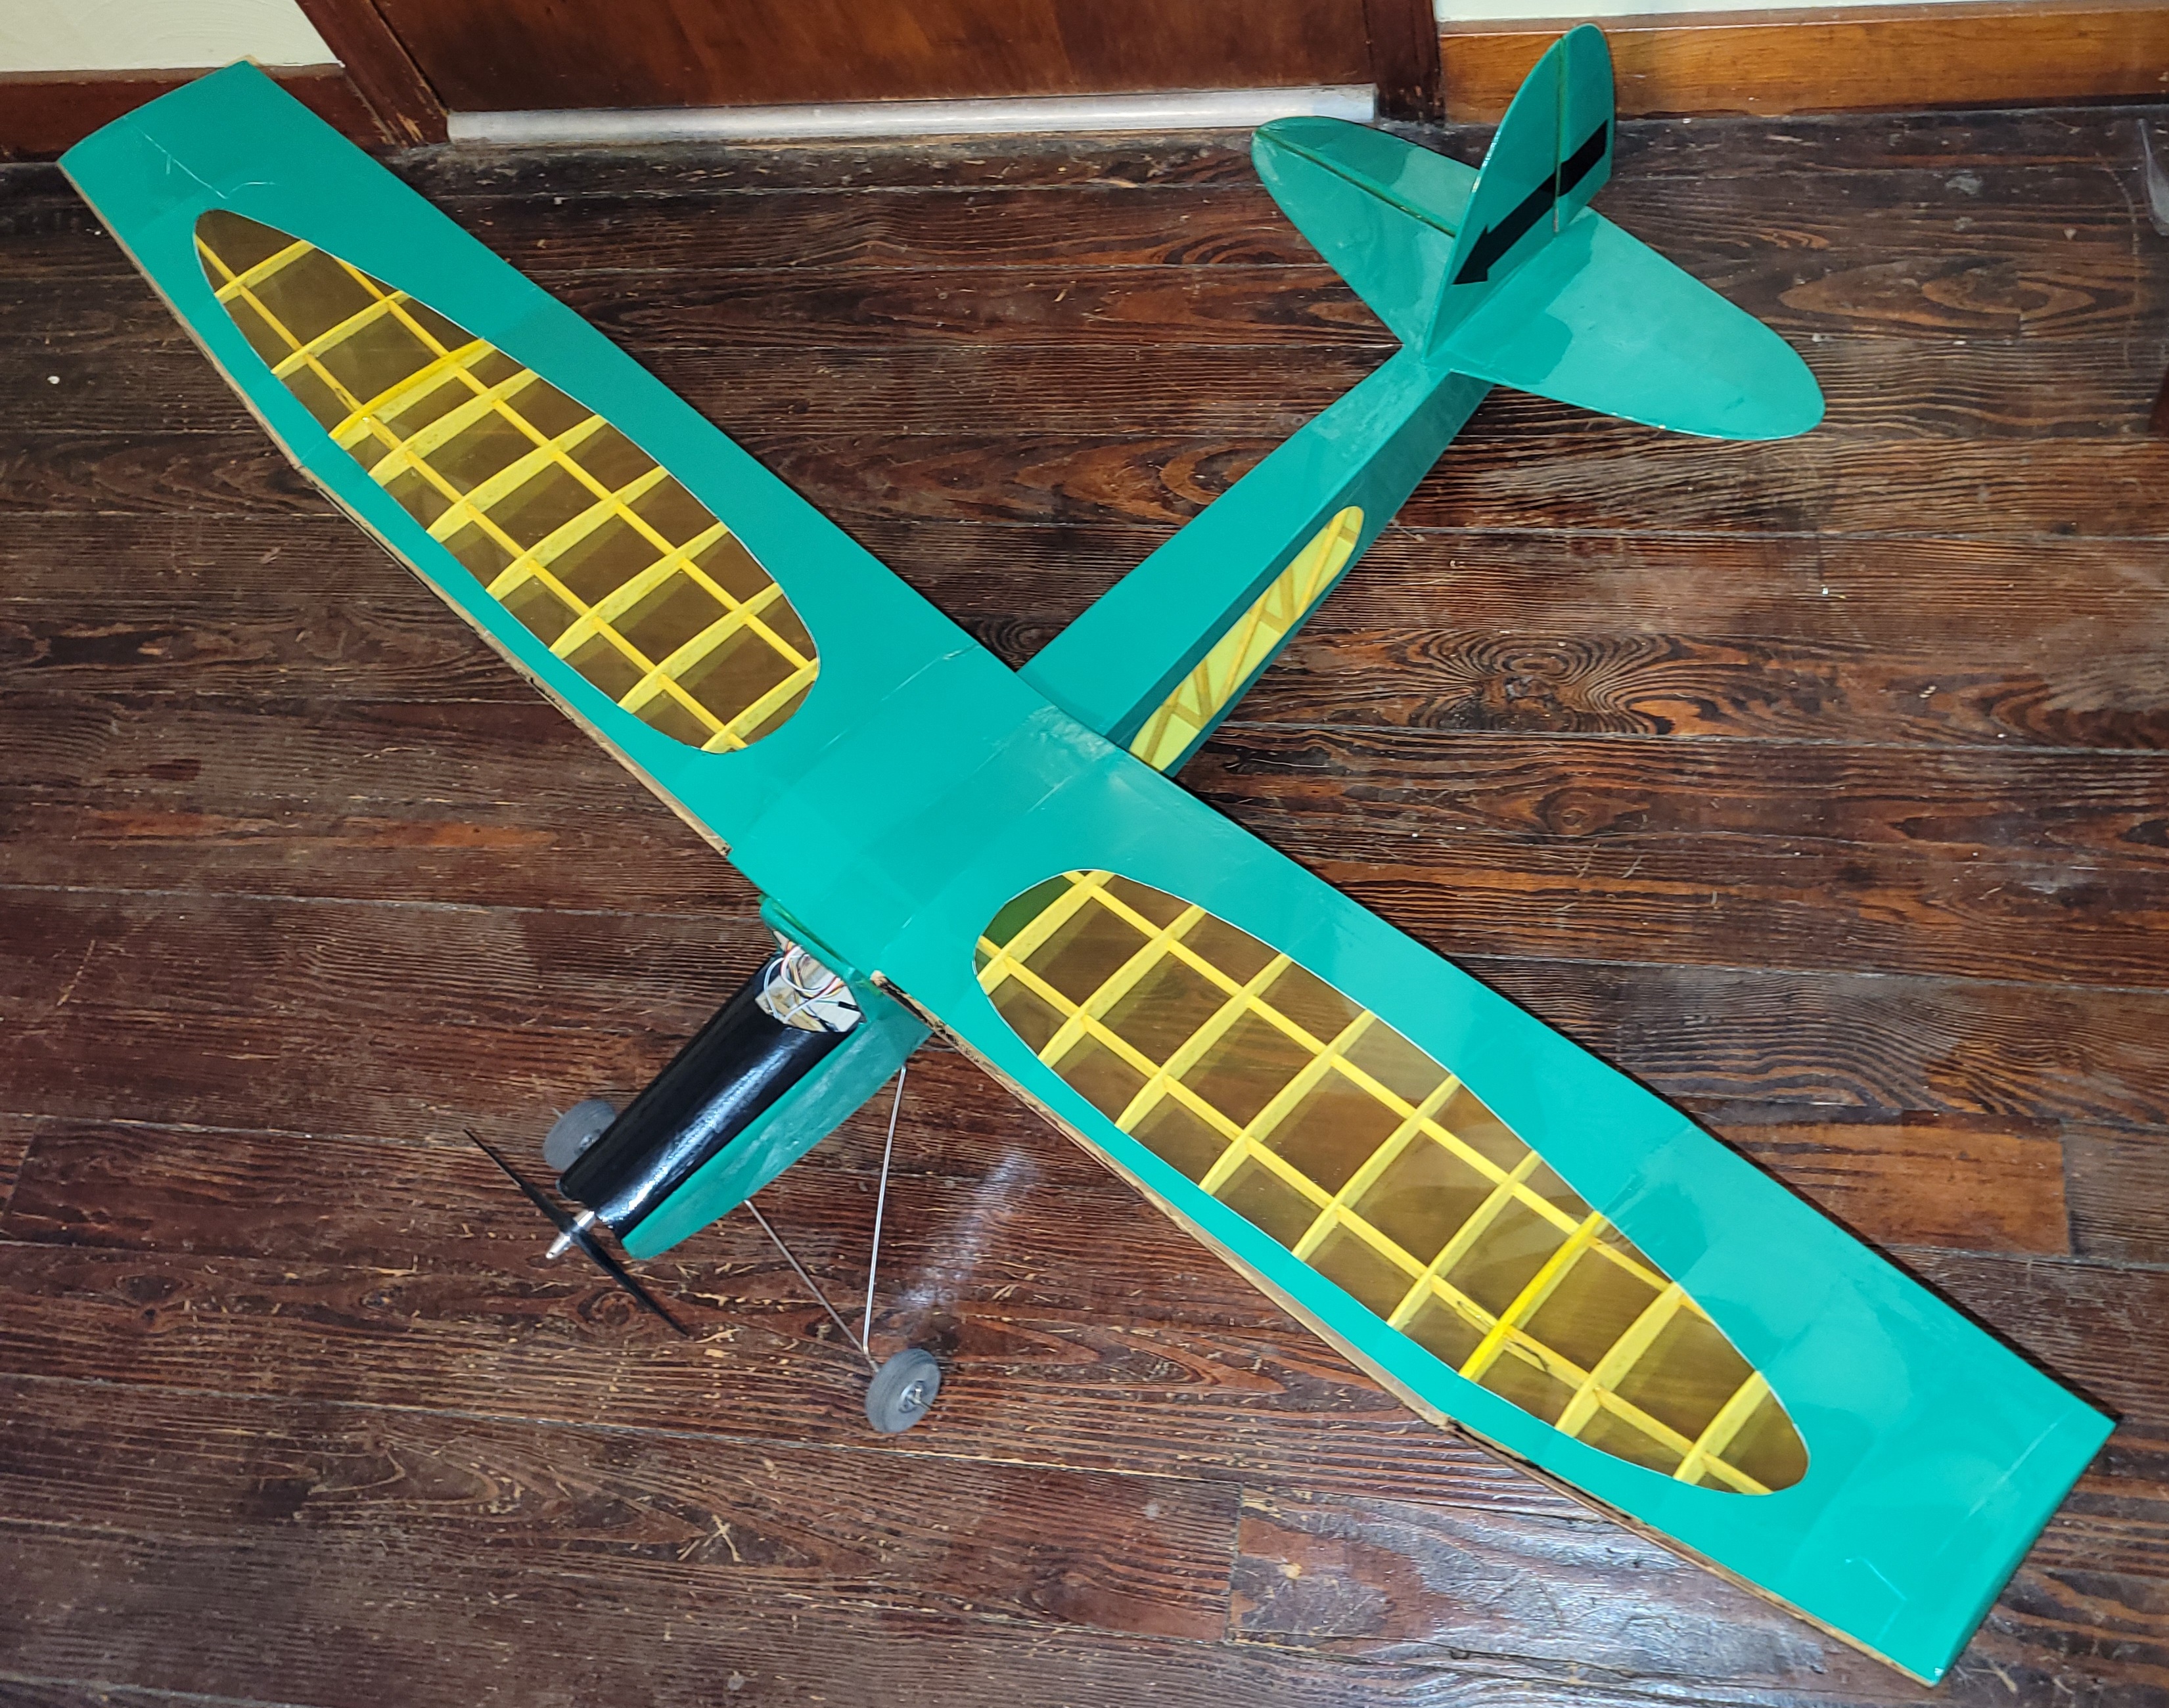
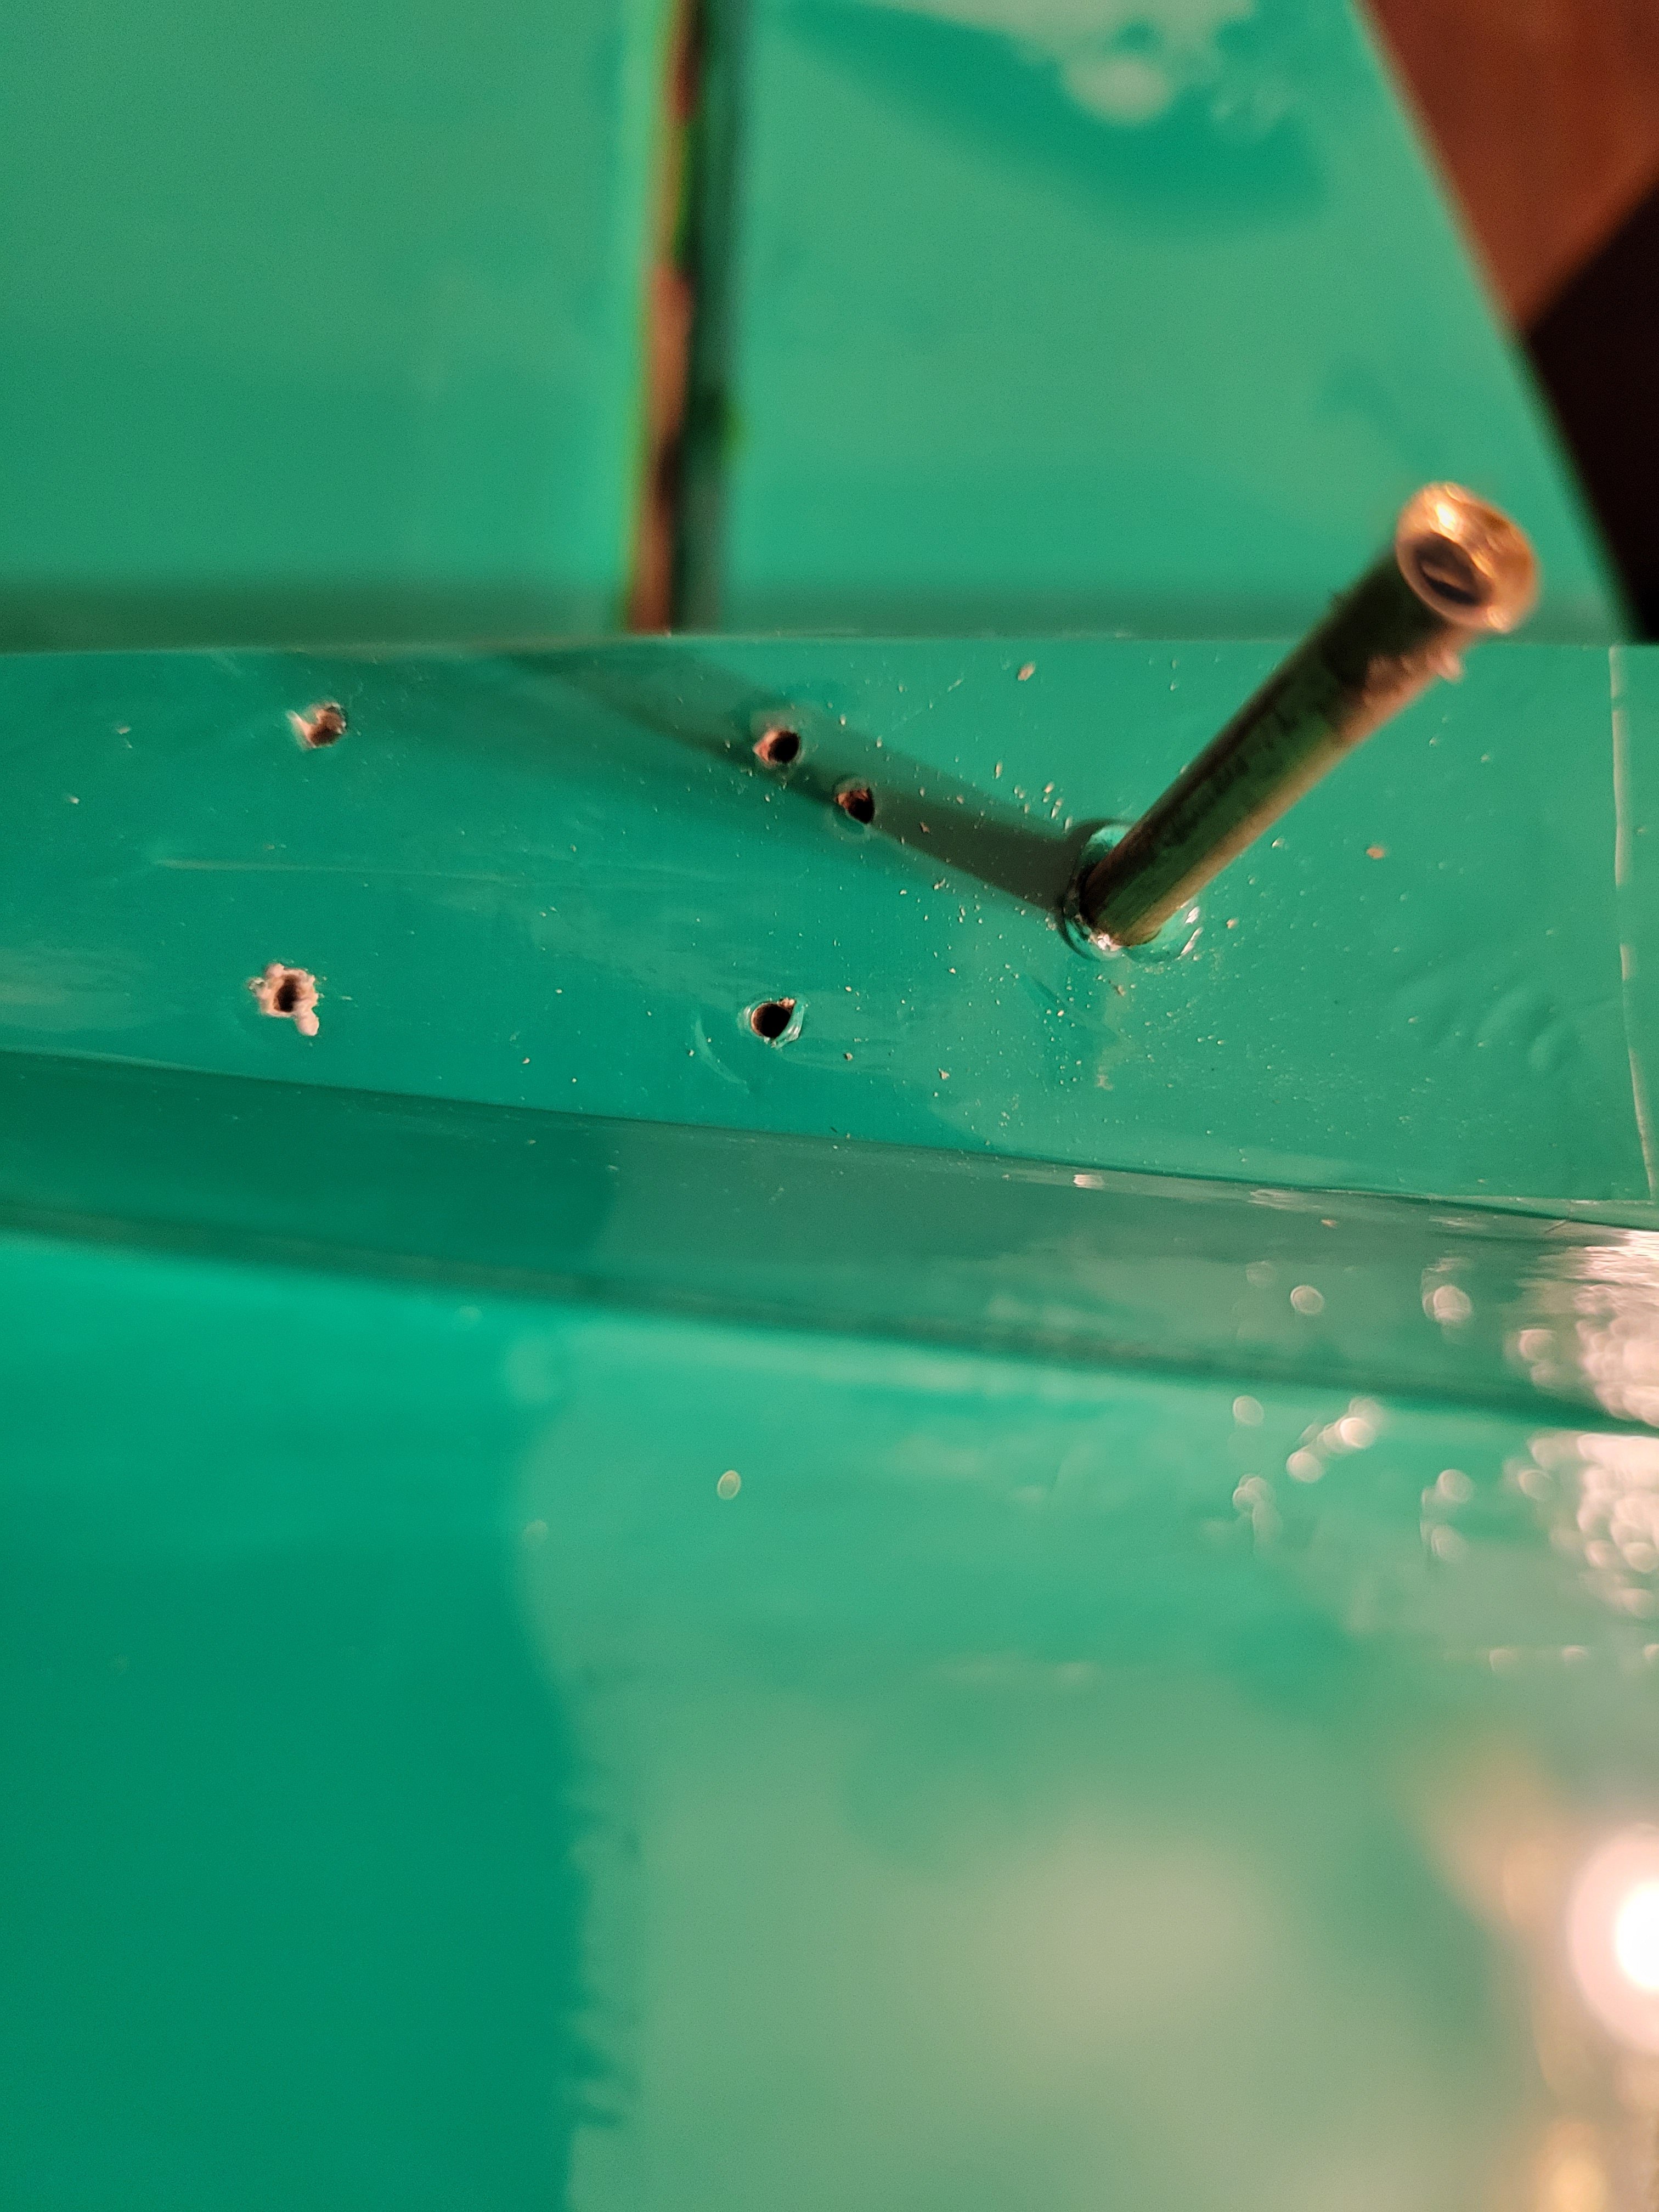
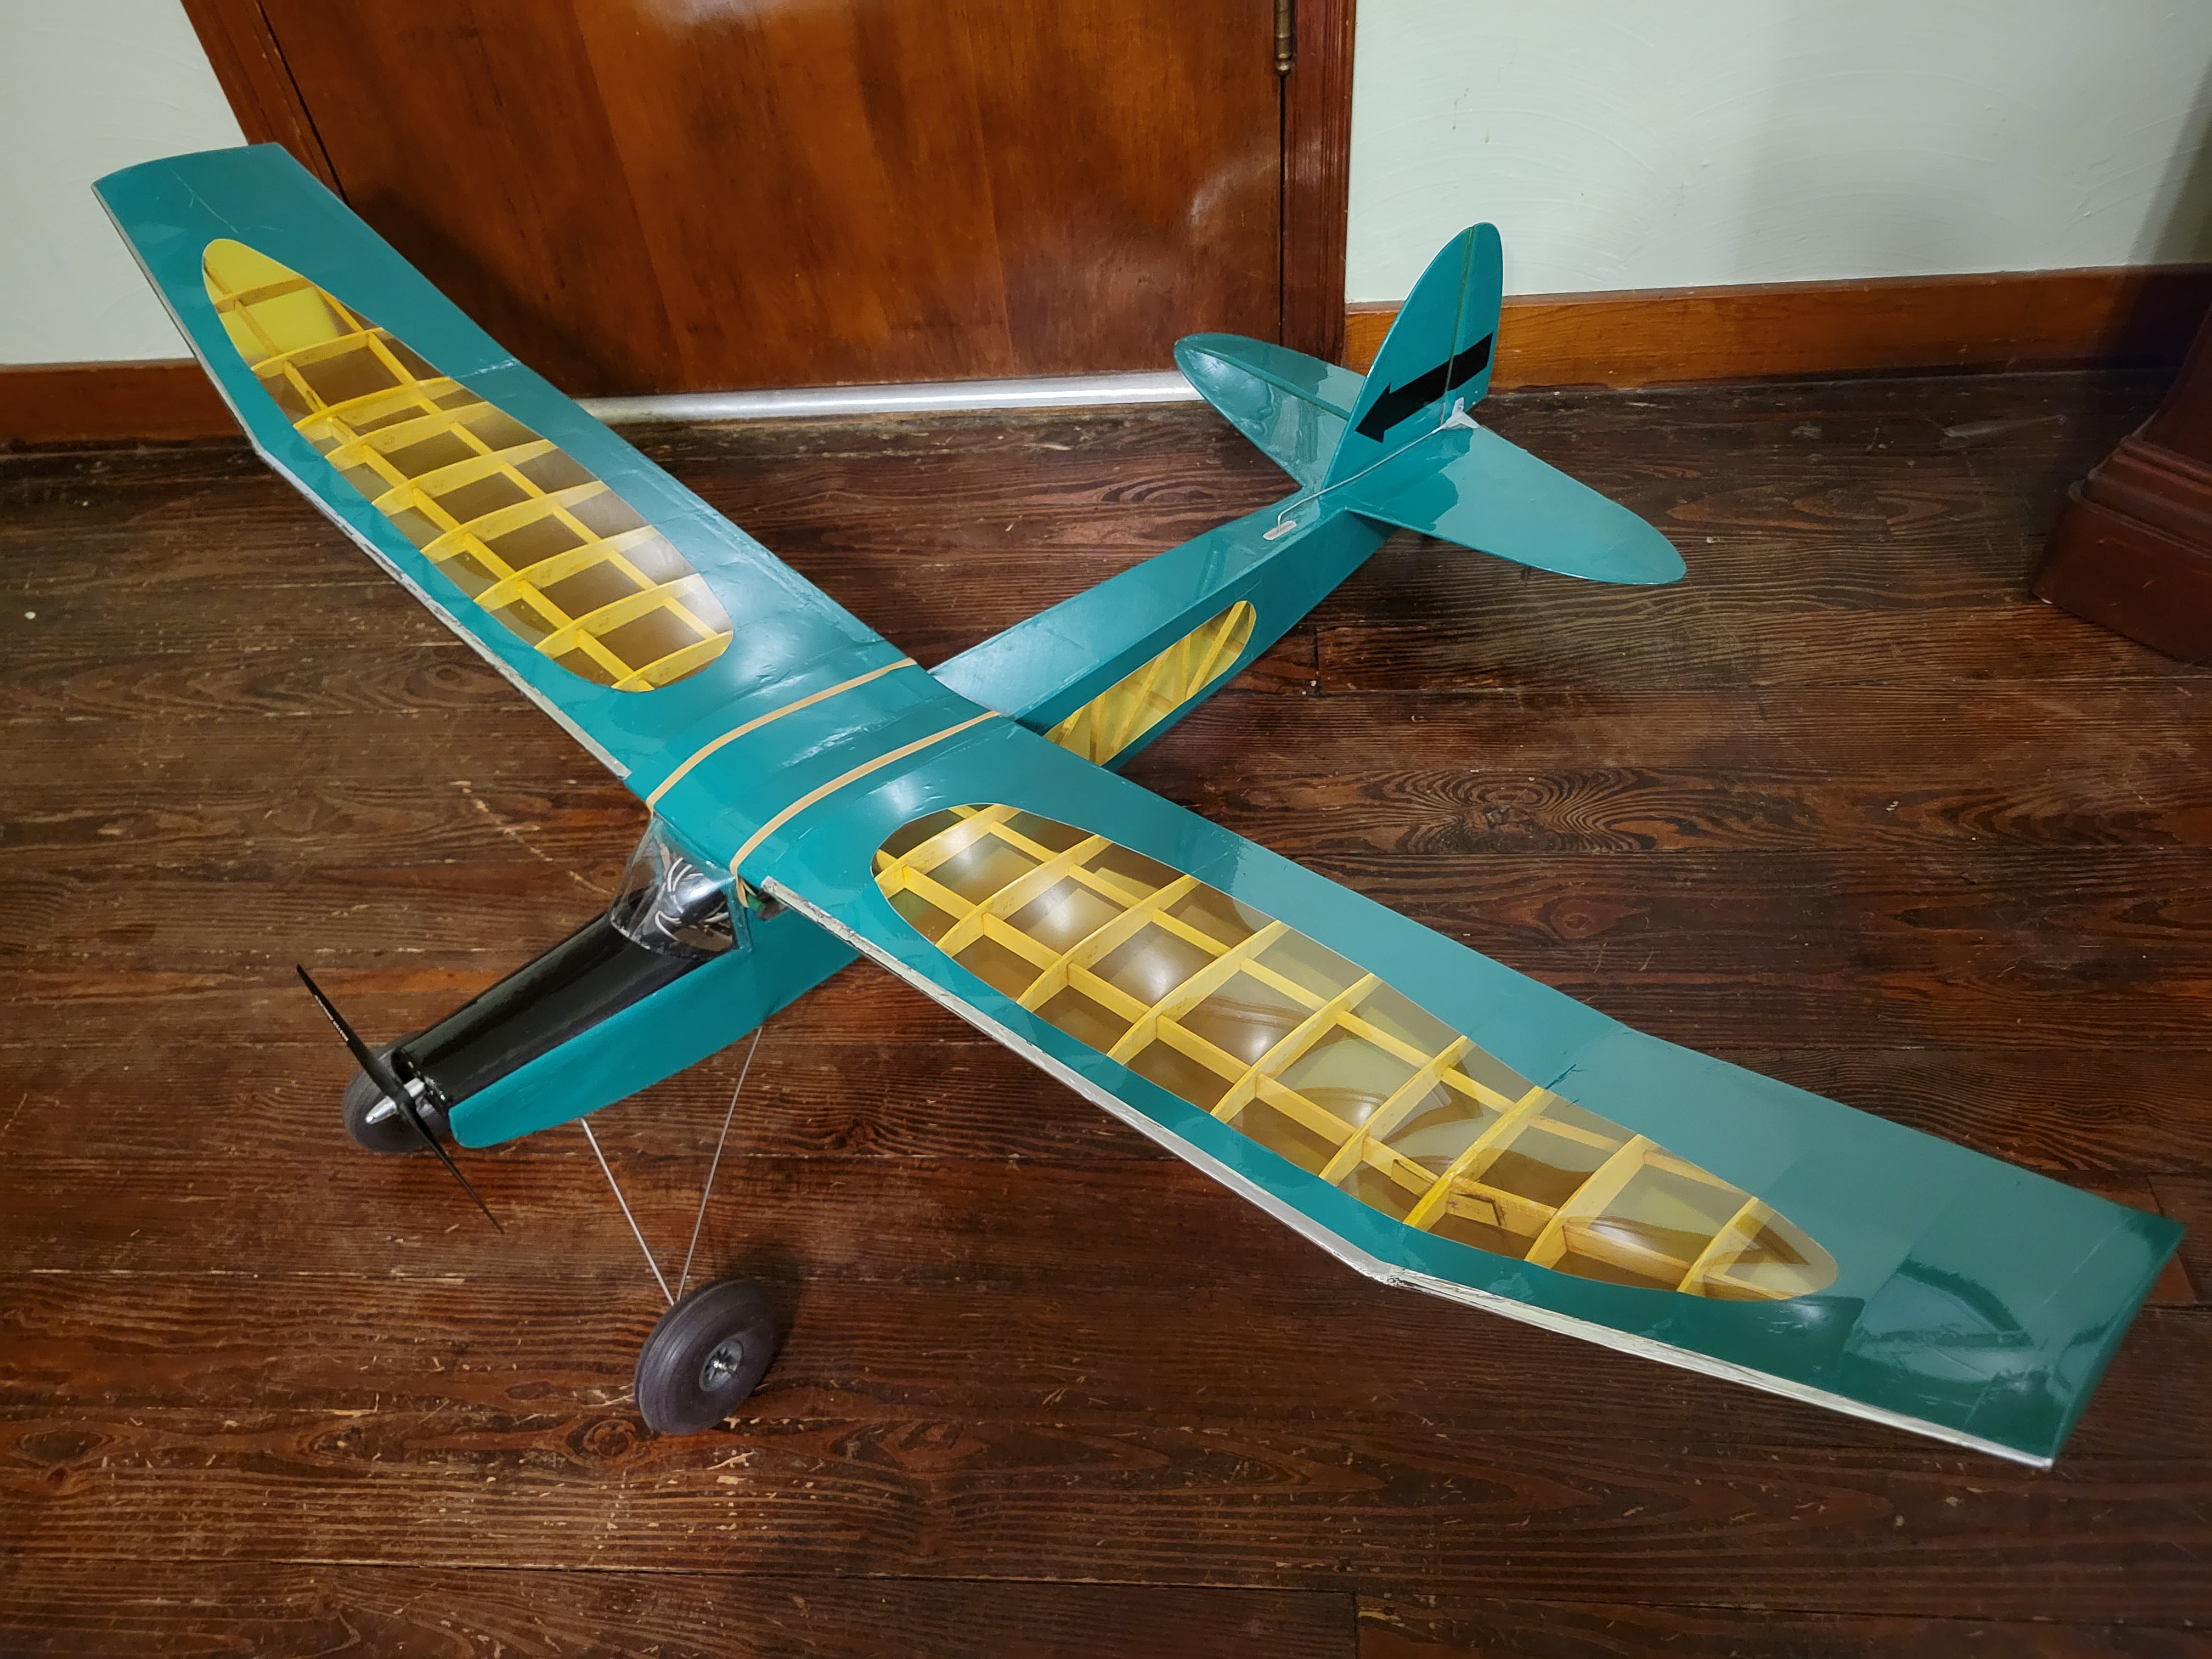
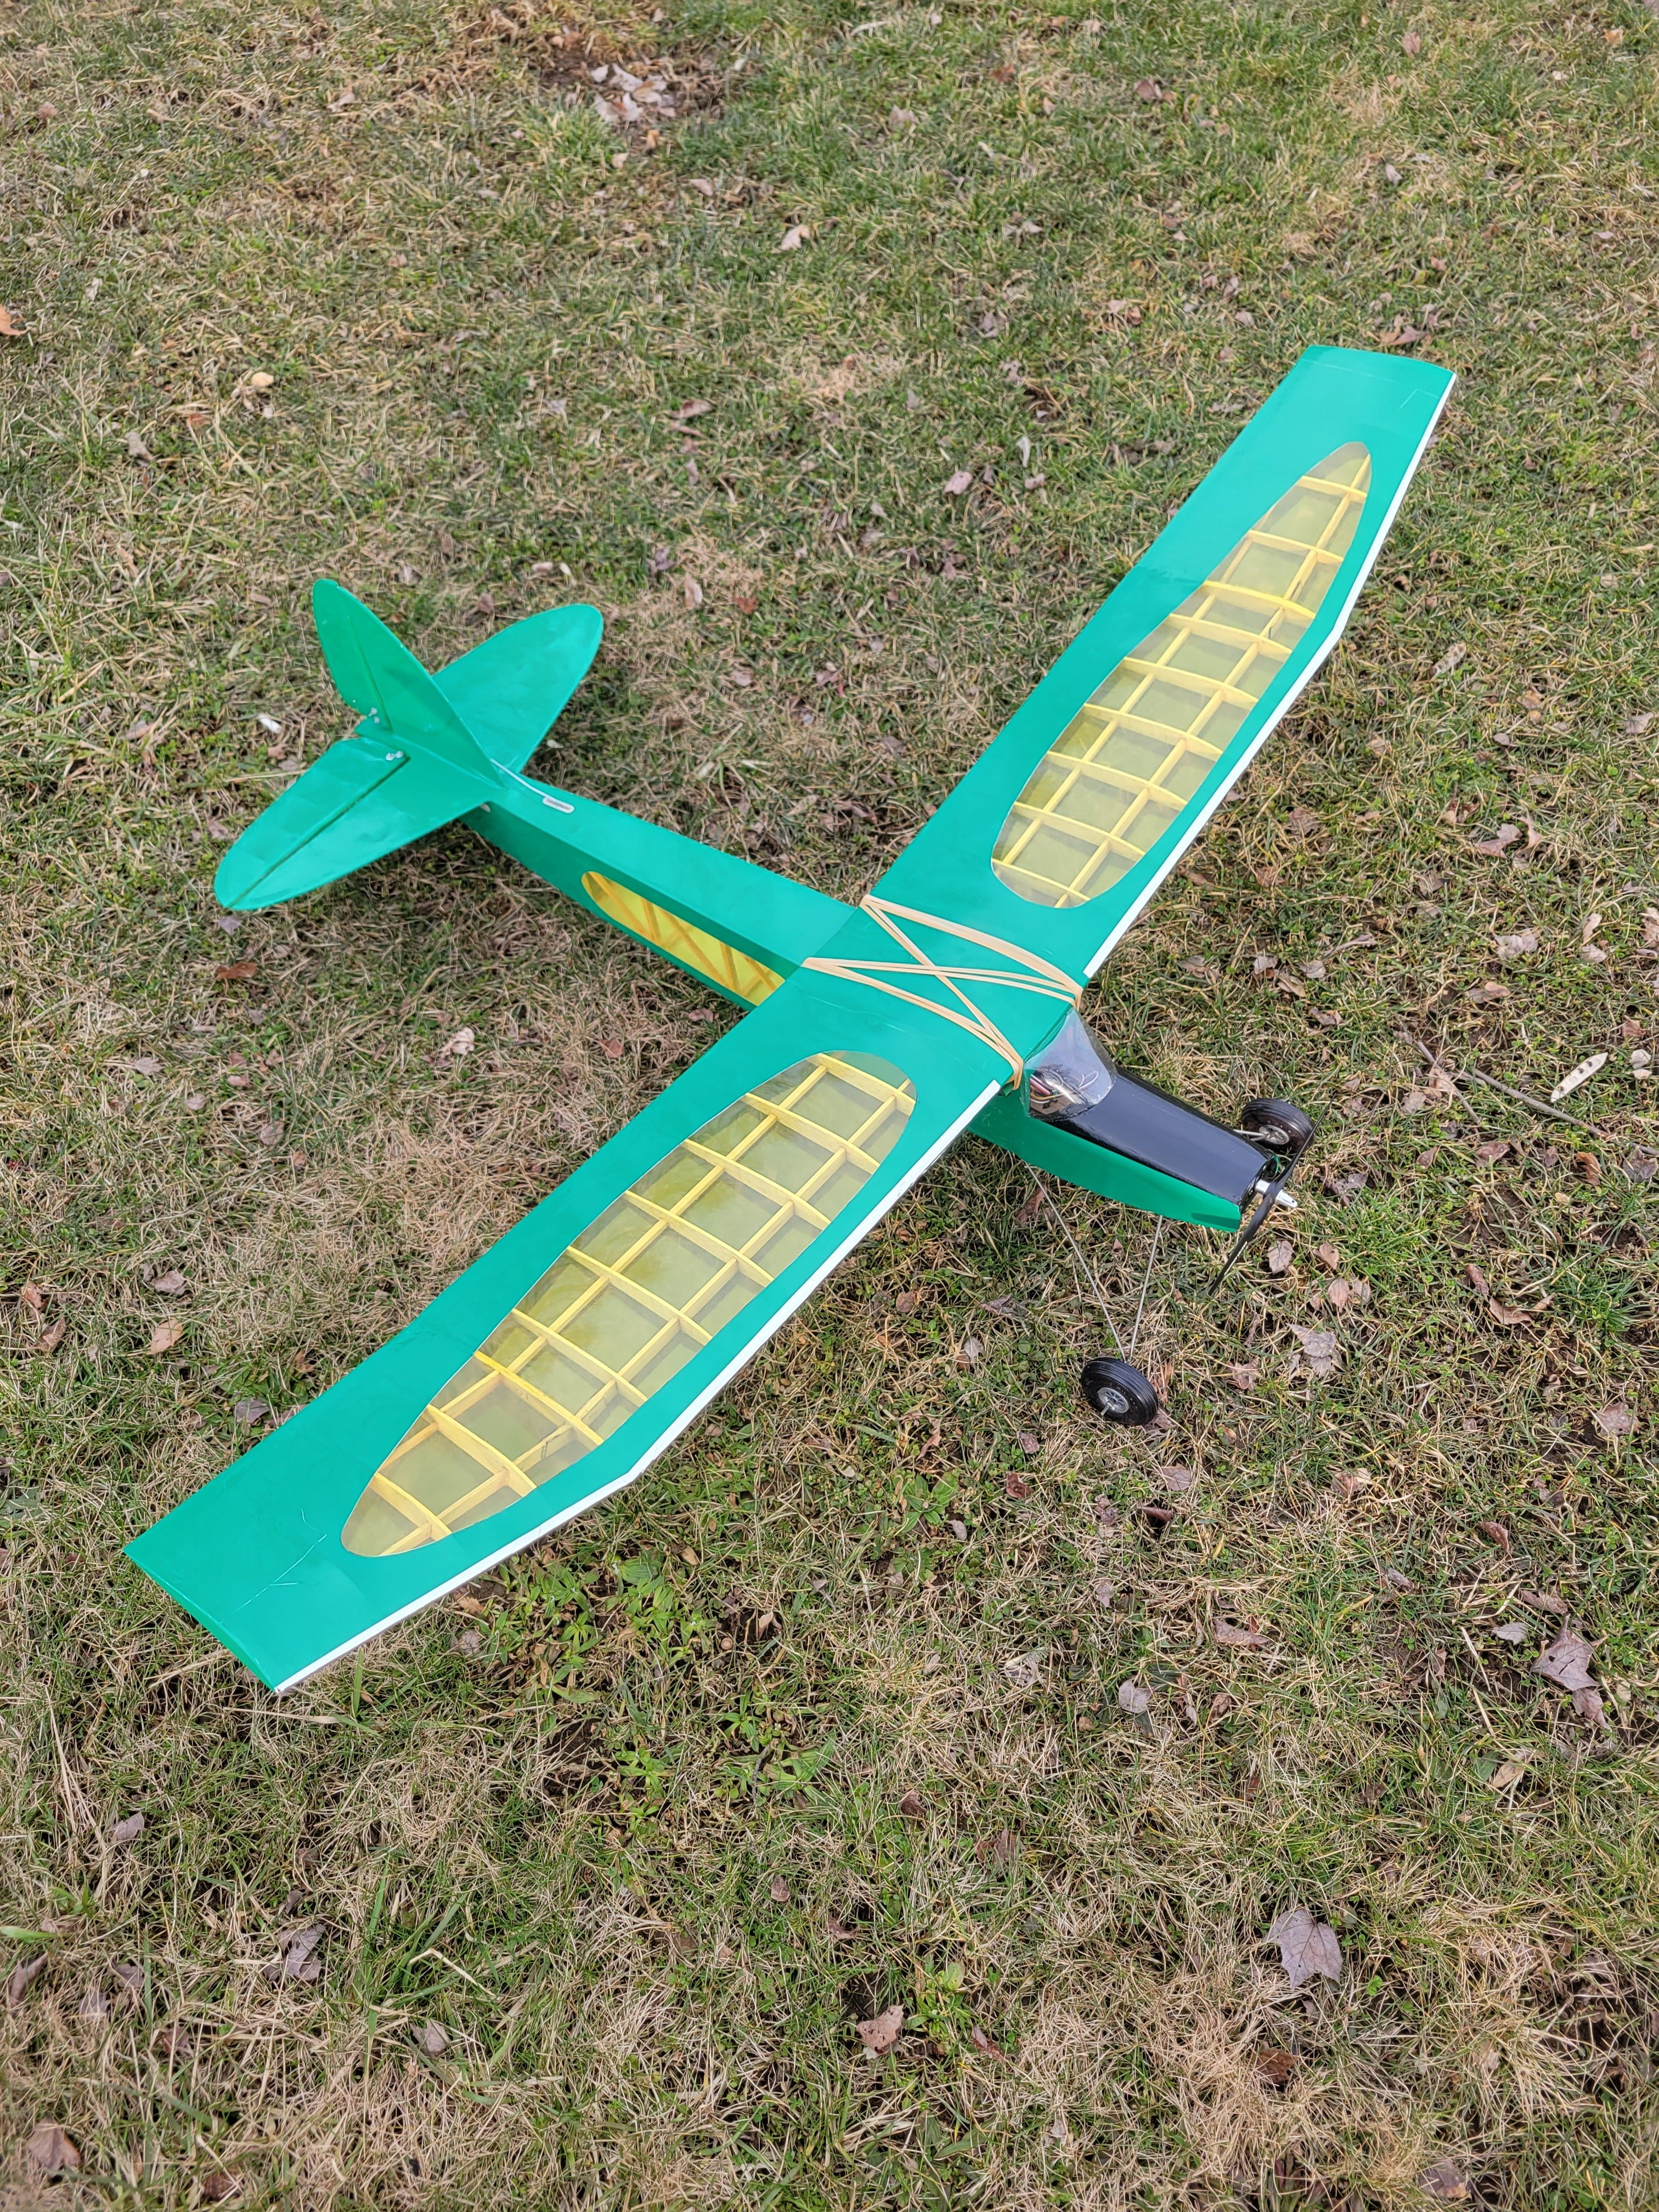
I picked this little guy up at an estate sale last May with the plan to convert to electric over the winter. Years back I had a original size RZ and it was a great test bed plus a fun old time lazy flier. It, along with many other aircraft were lost to a damp basement years back. Luckily I came across this smaller version and am very excited to get it up in the air. Heres how i received it.
IMG_20220516_210852732~2.jpg
 

jwhitacre

Member
The old covering was a mix of fabric and tissue, which I found odd given they are on opposite ends of weight. Here's a stripped down view, covering and gear. The gear was an old 72mhz futaba Rx and 5 cell nicad pack, so the swap will not add any weight. Oh and there was a big 1/4" ply firewall that was removed so more saved weight. I also have a random glider wing from an auction win that I'm adding into the mix. The idea is stock wing for windy days, and glider wing for low wind days.
 

Attachments

  • 20230106_131740.jpg
    20230106_131740.jpg
    3.2 MB · Views: 0

jwhitacre

Member
The first step to rebuild was the wings since they just needed covered. I started with the glider wing. I'm going for a Sig Rascal feel on the covering which I'm happy with the outcome. 20230107_141637.jpg
 

jwhitacre

Member
With the locations of motor and esc decided, I'm working on adding the necessary parts. The new motor mount is 3/32" lite ply with 1/32" birch ply in front. It's currently drying, so once done it will get mounted. The esc will be place where the nicad pack was with the access hatch removed for ventilation. I still need to make up a battery tray to go in the cockpit area. With some rough balance testing this setup should hit cg with only moving the battery to tune.
 

jwhitacre

Member
Tonight I epoxied the motor mount, support gussets, and esc mount into place. Tomorrow I'll take pictures and also work on the battery tray.
 

jwhitacre

Member
The battery tray rails are in place and drying currently. I also have the velcro glued onto the actual tray and drying. In a couple hours I'll attach the tray. As you can see the top sheeting still needs to go on. I have to work out a template for that and cut out of 1/16" balsa.
20230114_134241.jpg
20230114_134432.jpg
 

jwhitacre

Member
Pics as promised. The battery tray and receiver tray is glued in place. Also the sheeting in front is glued in and sanded. That really helped improve the front end of the fuselage look. Now all the gas powered feel is gone. The fuselage is getting very close to covering. Left to do I believe is battery hatch and windows, but those will be installed after covering.
 

Attachments

  • 20230114_162100.jpg
    20230114_162100.jpg
    1.1 MB · Views: 0
  • 20230114_161818.jpg
    20230114_161818.jpg
    1.3 MB · Views: 0
  • 20230114_152852.jpg
    20230114_152852.jpg
    1.3 MB · Views: 0

jwhitacre

Member
I was going to wait until after covering to install the electronics, but realized it would be a lot more tedious afterwards. With all the frame open the receiver end was very accessible. Everything is mounted, hooked up, and tested. The only part I will wait for is to clean up wiring until after covering. With that done this fuselage is ready to cover.
 

Attachments

  • 20230116_182347.jpg
    20230116_182347.jpg
    1.6 MB · Views: 0
  • 20230116_182325.jpg
    20230116_182325.jpg
    1.8 MB · Views: 0

jwhitacre

Member
Fuselage is 3/4 finished on the covering end. I'll finish it up in the following days, and post pictures. After that I can start with landing gear mounting, control rods & horns, windshield, and clean up wiring.
 

jwhitacre

Member
The fuselage is all covered and the landing gear installed! Left on the list is windscreen, control rods, and tidy wiring. That will get it maiden ready with the low wind wing. The stock wing still needs covered, but that will be last. I can maiden it without the stock wing if it's not ready by the time we get decent weather. Oh the weight with the low wind wing without battery is 22oz. With the battery and low wind wing the loading is 10oz/square ft. That doesn't count the airfoiled tail so it's probably lower in flight. More to come!
 

Attachments

  • 20230124_191225.jpg
    20230124_191225.jpg
    2.5 MB · Views: 0

jwhitacre

Member
Previously I put a generalized model in my radio ahead of setting the servos up. This evening I got to mounting the control horns and running rods. After some bending and some minor changes in the radio all is well. The throws are set, dual rates at least set for a maiden, and surfaces centered. Fine tuning will take place in the field. I'll cut out a windscreen tomorrow and glue that on. That will wrap up the fuselage!
 

jwhitacre

Member
With the wiring cleaned up and windscreen on, I need to address the small things. The rail wheel wiggles some so I'll glue a brass tube into the fuselage for the tail wheel wire to sit in. Also in all the end of build whirlwind I just realized there's no battery hatch. Not a big deal, just needs built and installed. Last after all that I set to set the CG. With the landing gear so far forward my thought is to change tires to get it right. We'll see how it goes in a few days.
 

jwhitacre

Member
The tail wheel moved around a bit too much so here's the fix. Drill a bigger hole and insert a brass tube til it hits the top. Sharpen the inside of brass tube with an exact knife so it penetrates. Add epoxy to end of tube where it's sharp and work it into the balsa inside til you feel lime it's secure. Wait for epoxy to dry, cut off excess, and reassemble.
 

Attachments

  • 20230129_153234.jpg
    20230129_153234.jpg
    1.7 MB · Views: 0
  • 20230129_154703.jpg
    20230129_154703.jpg
    3.5 MB · Views: 0

jwhitacre

Member
Everything is finished and the CG is set. I had to use the foam tundra tires to hit CG at 38% which I think is a good starting point. I have lighter and heavier tires to take with me to the field to experiment with to hit that happy spot. Now it's a wait for more fair weather and dry ground.
 

Attachments

  • 20230129_165450.jpg
    20230129_165450.jpg
    3.2 MB · Views: 0

jwhitacre

Member
Thank you! I'm very happy with how it turned out, though admittedly had some doubts on how a conversion was going to play out at the beginning. Builder used some thick bulkheads that made some aspects tricky with airflow of critical components. I would have liked to of put the battery where the esc is, but couldn't due to room and swapping packs would have been a nightmare. That would have saved me 3.5oz on heavier wheels to balance, but sometimes compromises must be made. The airframe can haul a lot of weight so the 2 pound AUW doesn't bother me much. Long as it's a fun flier that is the key point to the project.
 

jwhitacre

Member
Here's some pictures of the full size RZ in its heyday with its low wind wing. That wing was actually from a Sig Riser 100. Using spoilers on a glow bird at slow speeds made for interesting landings compared to what you expect from a non sailplane. I am excited to start the new chapter with this one hopefully this month.
 

Attachments

  • IMG_1194.jpg
    IMG_1194.jpg
    63.8 KB · Views: 0
  • IMG_1184.jpg
    IMG_1184.jpg
    38.2 KB · Views: 0
  • IMG_1174.jpg
    IMG_1174.jpg
    120.6 KB · Views: 0

jwhitacre

Member
Looking ahead next week, it appears Wednesday or Thursday might be favorable weather to do a trim and balance flight. Will have to play it by ear til we get closer. Getting an afternoon above 45F AND the wind not be gusty is tricky this time of year.
 

jwhitacre

Member
Tomorrow looks like the day for a nice relaxing shake down flight session. 50 degrees and 4mph winds at 4pm, so that's my goal. I'll let you all know how it goes.