Hello everyone.
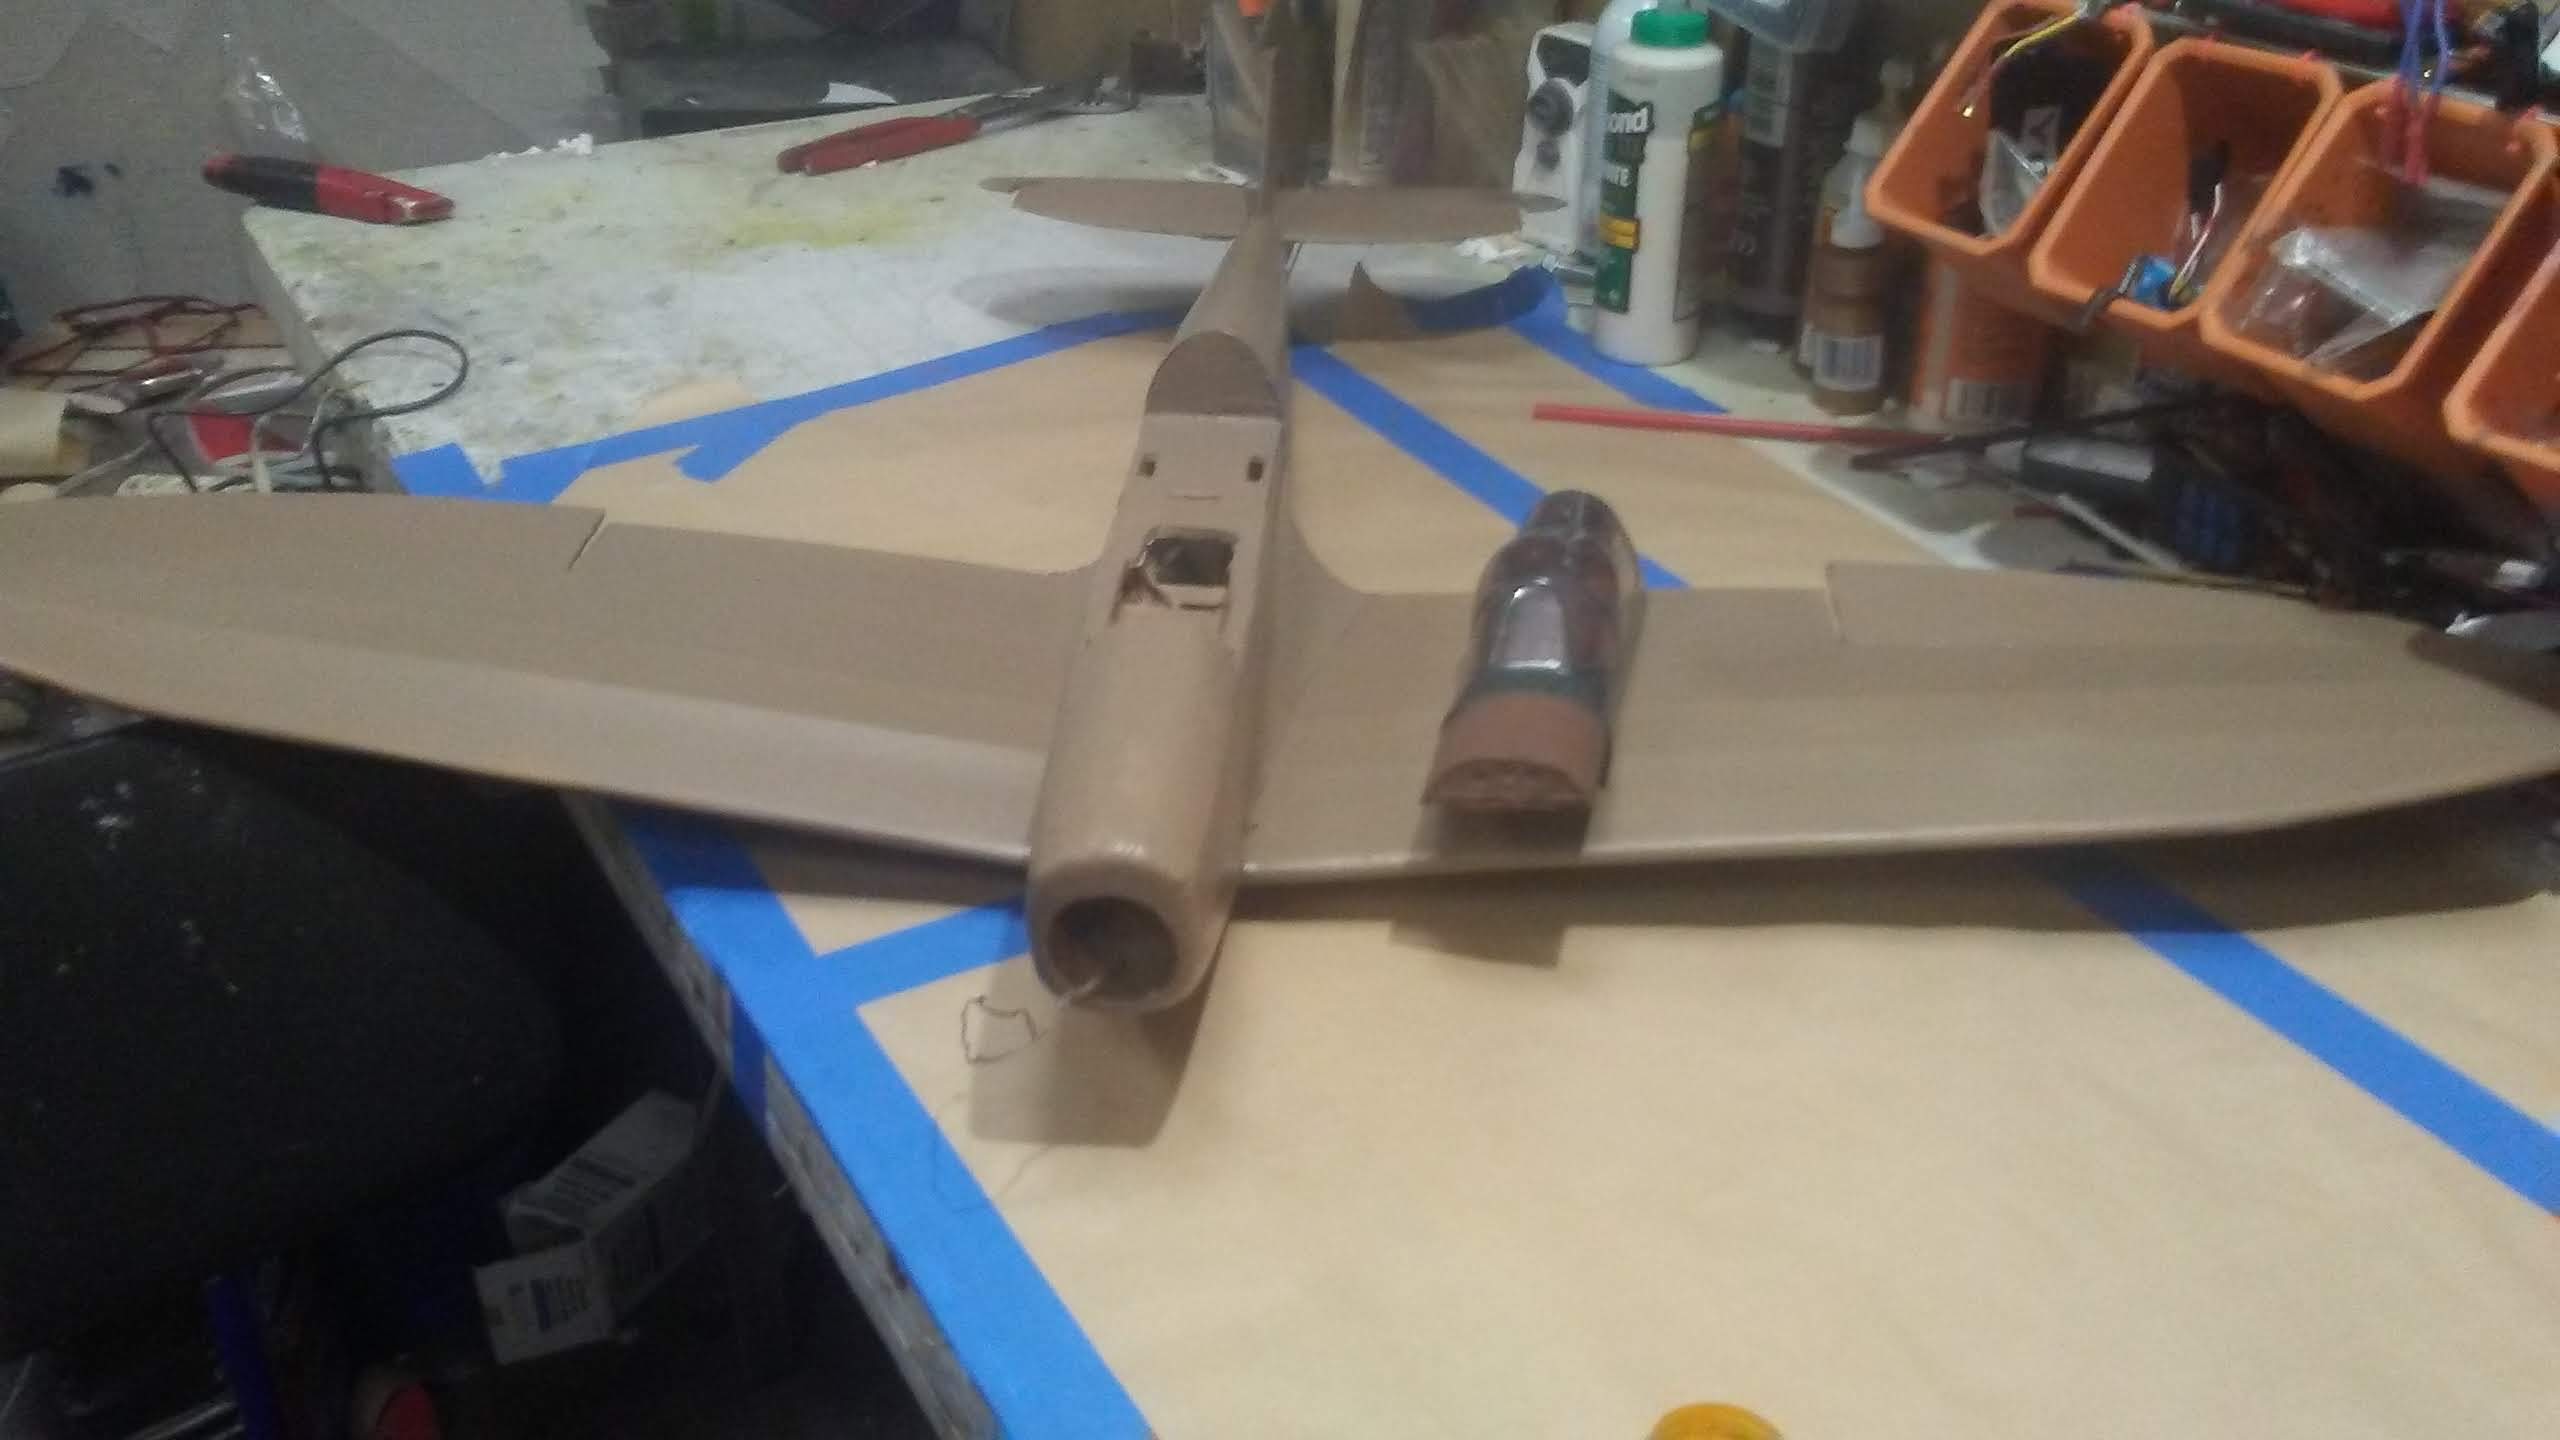
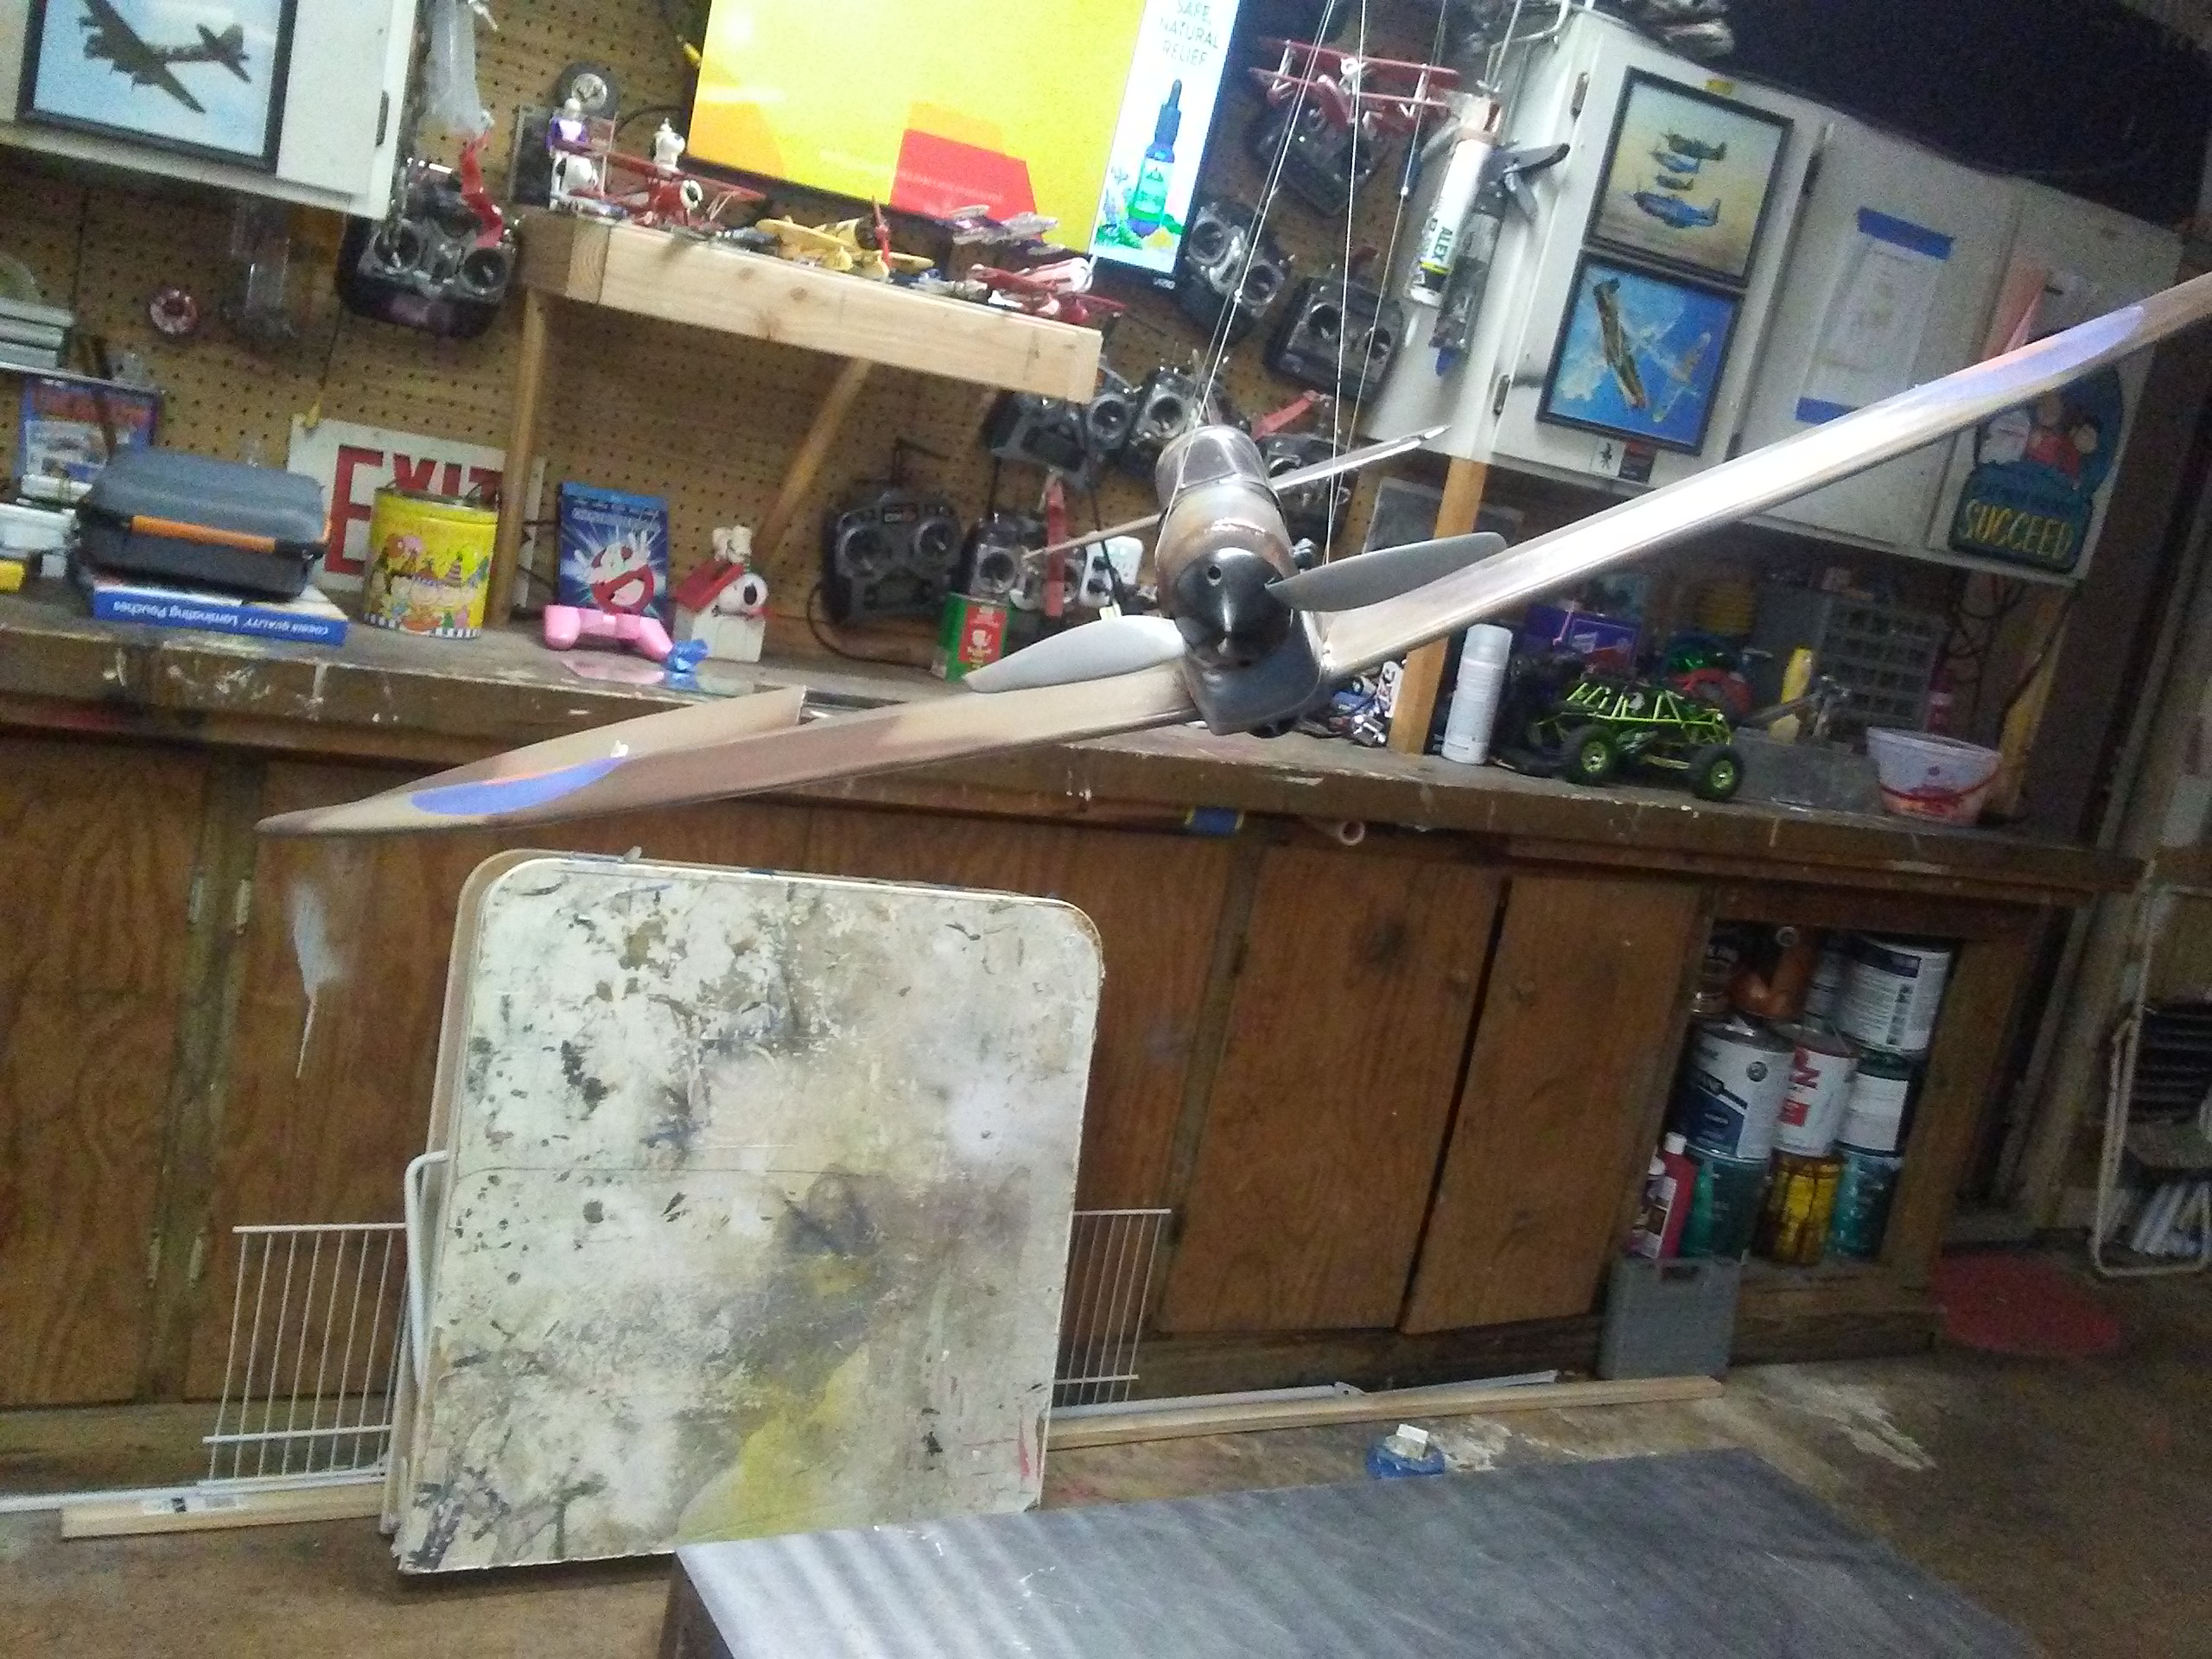
Here is a flite test Spitfire i was trying out some new build techniques on.
 

Attachments

  • 20181214_173501.jpg
    20181214_173501.jpg
    148.3 KB · Views: 0
  • 20181219_202404.jpg
    20181219_202404.jpg
    233.6 KB · Views: 0
  • 20181224_182023.jpg
    20181224_182023.jpg
    158.9 KB · Views: 0
  • IMG_20190217_100334.jpg
    IMG_20190217_100334.jpg
    1.2 MB · Views: 0
  • IMG_20190217_100505.jpg
    IMG_20190217_100505.jpg
    1.1 MB · Views: 0
  • IMG_20190217_100449.jpg
    IMG_20190217_100449.jpg
    1.1 MB · Views: 0
  • IMG_20190217_100626.jpg
    IMG_20190217_100626.jpg
    1.1 MB · Views: 0
  • IMG_20190218_100920.jpg
    IMG_20190218_100920.jpg
    756.6 KB · Views: 0

rockyboy

Skill Collector
Mentor
That's a great looking plane! We need more details! :D

So I see you peeled the paper on the fuselage and made nice wing fillets - then what did you use to cover everything up again? It looks too smooth to be painted directly on the foam at that point.
 

Kendalf

Well-known member
Yes, those curves look amazing! Very interested to know how you did it? Looks like an EPO foam plane!
 
Aww geeeze guys thanks!
It would be my pleasure to share.
I peel the paper from the inside before assembly. After assembling the fuse i pull the paper outside the fuse. I take the power pod and cut it just after the first set of tabs. Mark the center then mark and drill your motor mount holes and hot glue a toilet paper roll where the motor goes. The power pod is then glued into place with wood glue or foam tac. Then i start taping off a rough shape on the nose. Fiber drywall tape works well, may have to use blue tape to help hold the fiber tape to the fuse. Tape off wires .Then find a pace you can make a mess. Its best to put down wax paper on the work area. Its time to start foaming. When foaming the can needs to be room temperature,shake well, start at the farthest point with the nozzle and pull the trigger and pull back as you go. Don't over do it it expands a lot. Mask off the inside at the back of the power pod so no foam get past.Let it set for 2 days if needed. When cured start cutting to the fiber tape and sand from there. Fill with light weight spackle sand and apply a few coats of water based polyurethane sand smooth apply another couple of coats lightly rough it up with a green scotch birght pad and paint.
As for the rear boom section i dont use a lot of foam just just run the foam along both lower corners.i block off the back of the wind on the inside so no foam get in. Cut out some of the foam in side after getting your shape. I leave the lower half of the inside. My rear servos are in the fuse above the cg on the wing.
I hope this helps im happy to answer any questions.
 

Attachments

  • 20190221_115508.jpg
    20190221_115508.jpg
    508.3 KB · Views: 0
  • 20190221_115520.jpg
    20190221_115520.jpg
    531.3 KB · Views: 0
  • 20190221_115554.jpg
    20190221_115554.jpg
    500.7 KB · Views: 0
  • 20190221_120102.jpg
    20190221_120102.jpg
    447.6 KB · Views: 0
I want to add that the foam is for shaping. I doesn't add strength. It will get soft in the heat. This is why i recommend a foam safe epoxy resin. Or a layers of the water based polyurethane. Highly suggest the epoxy resin.
I havent done many using the foam. Still working out the bugs. So if anyone has an idea they want to put in that would be great.
 

Dnedzel

New member
Wow! Amazing model and some great suggestions for techniques! I just finished my first model, also a Spitfire, but mine is just the basic model, yours is awesome!