My first FT speed build

Mad_Mechanic

Well-known member
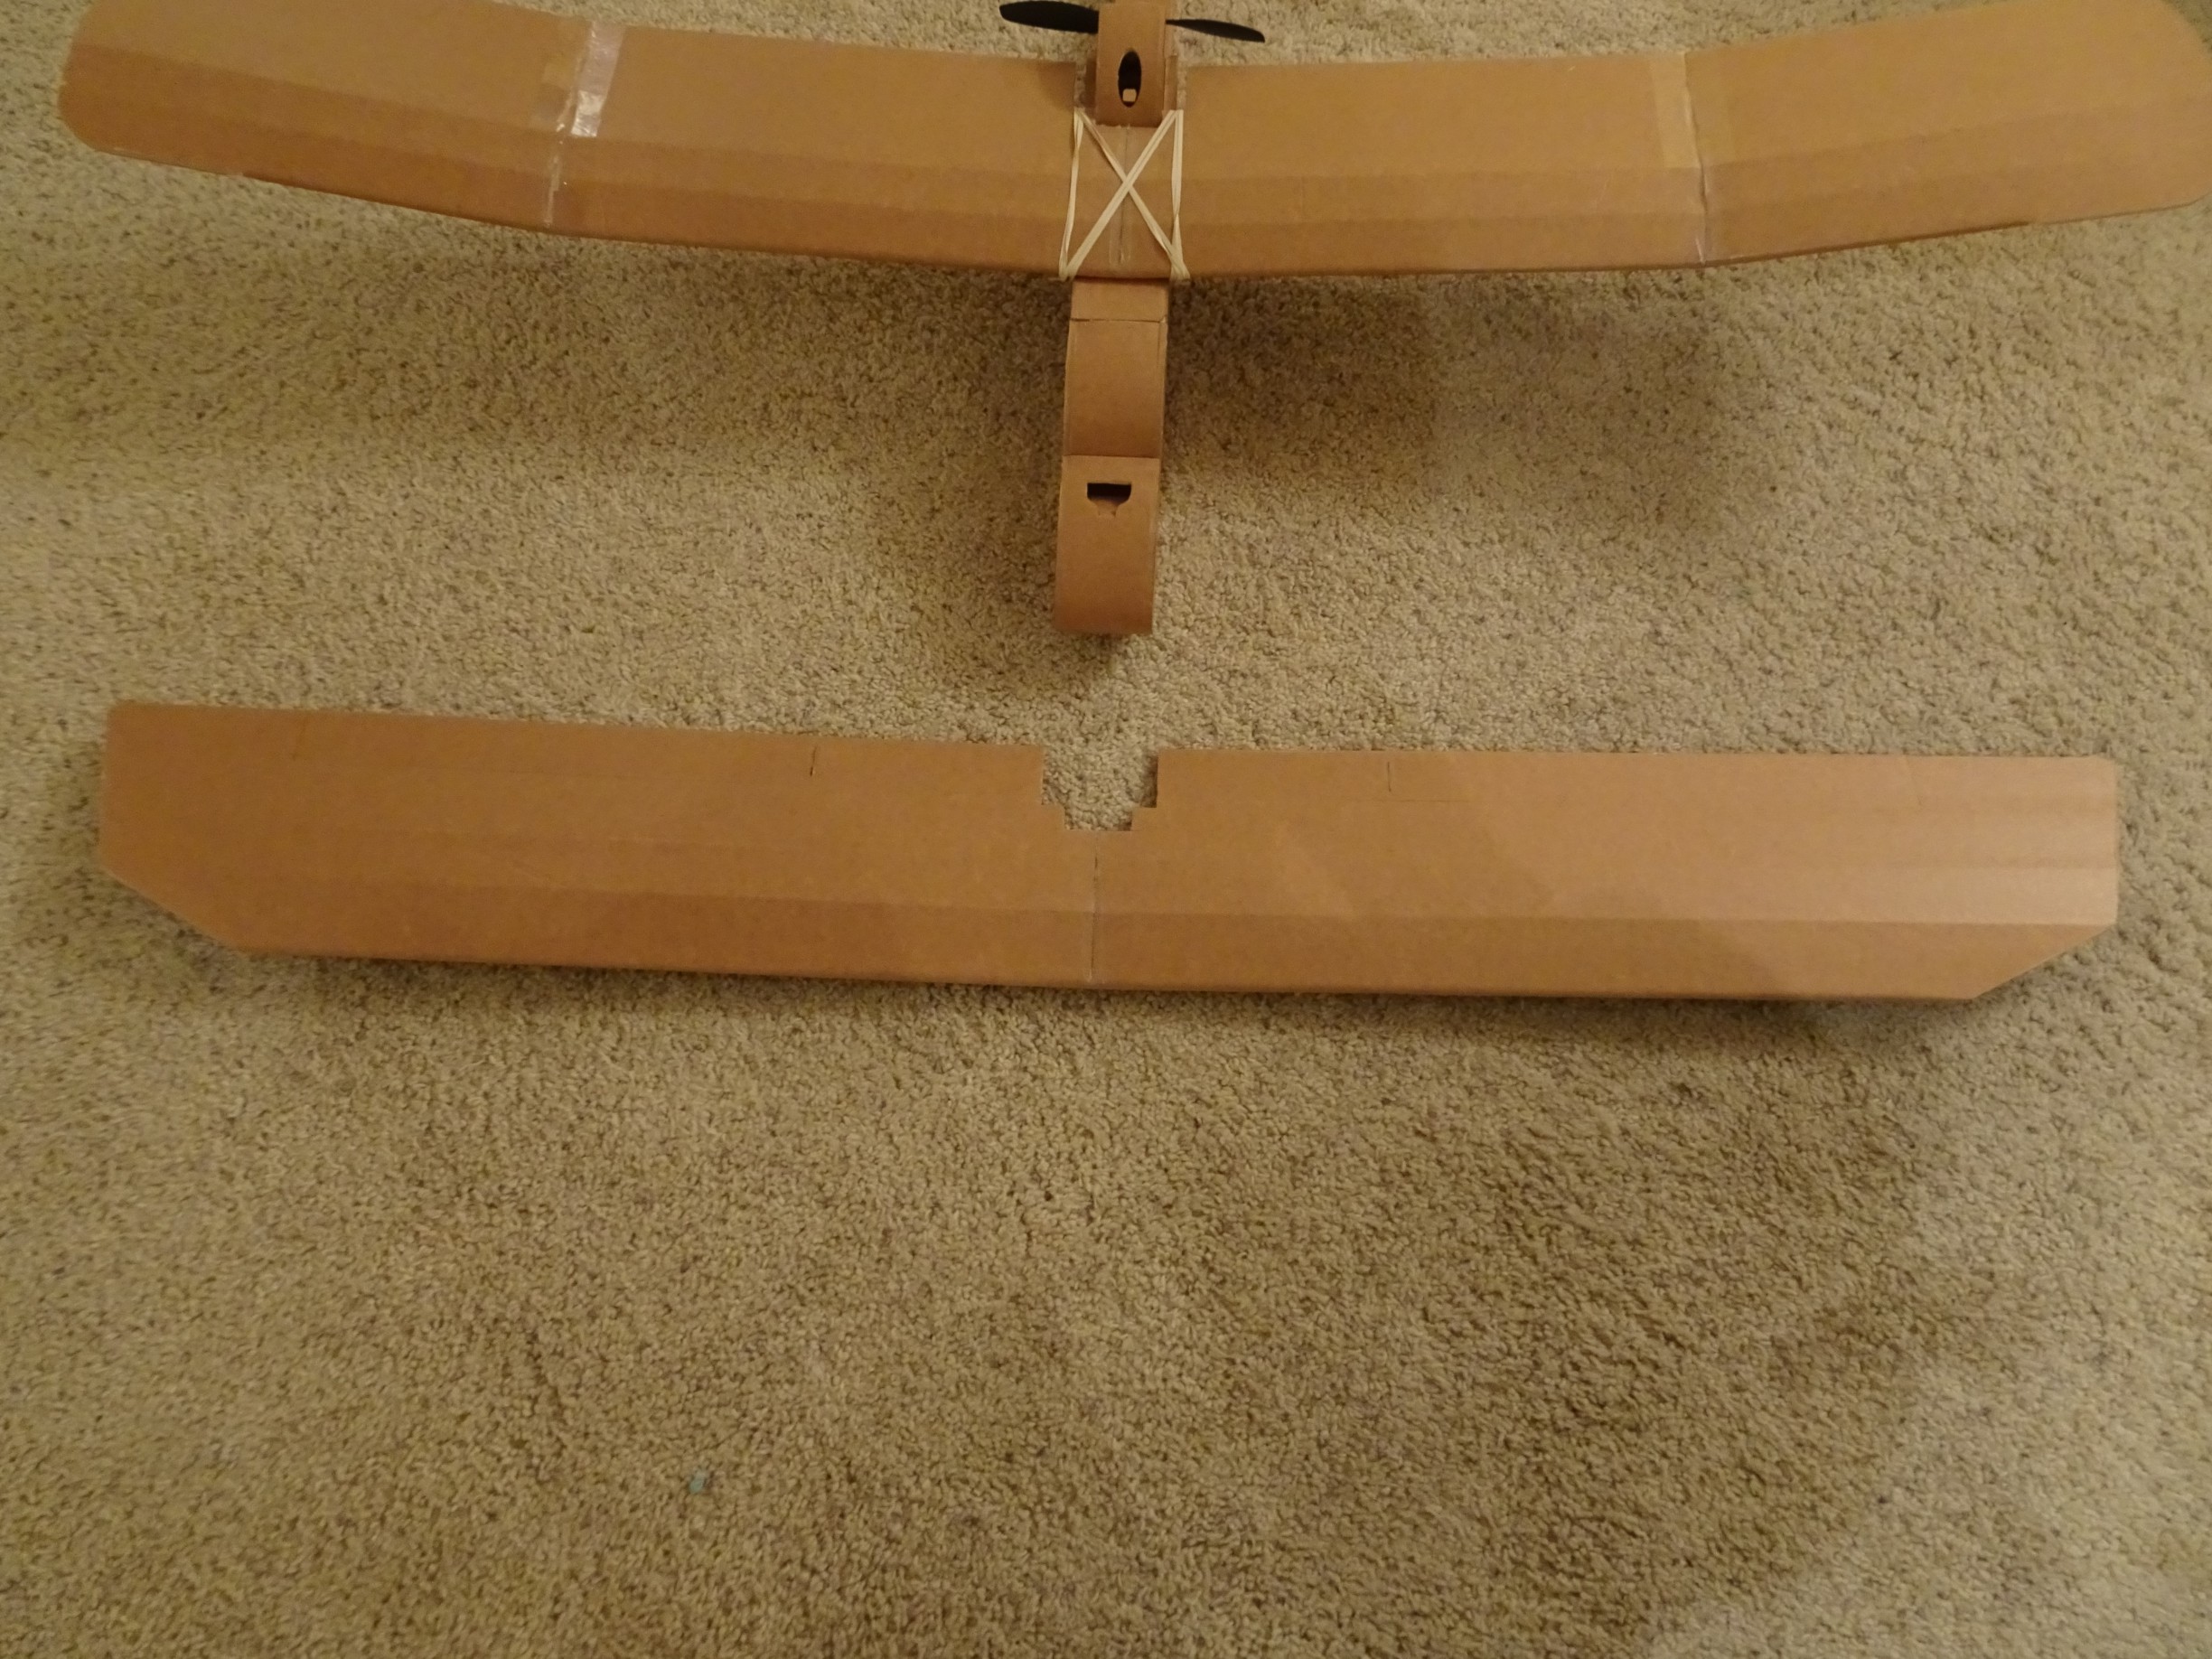
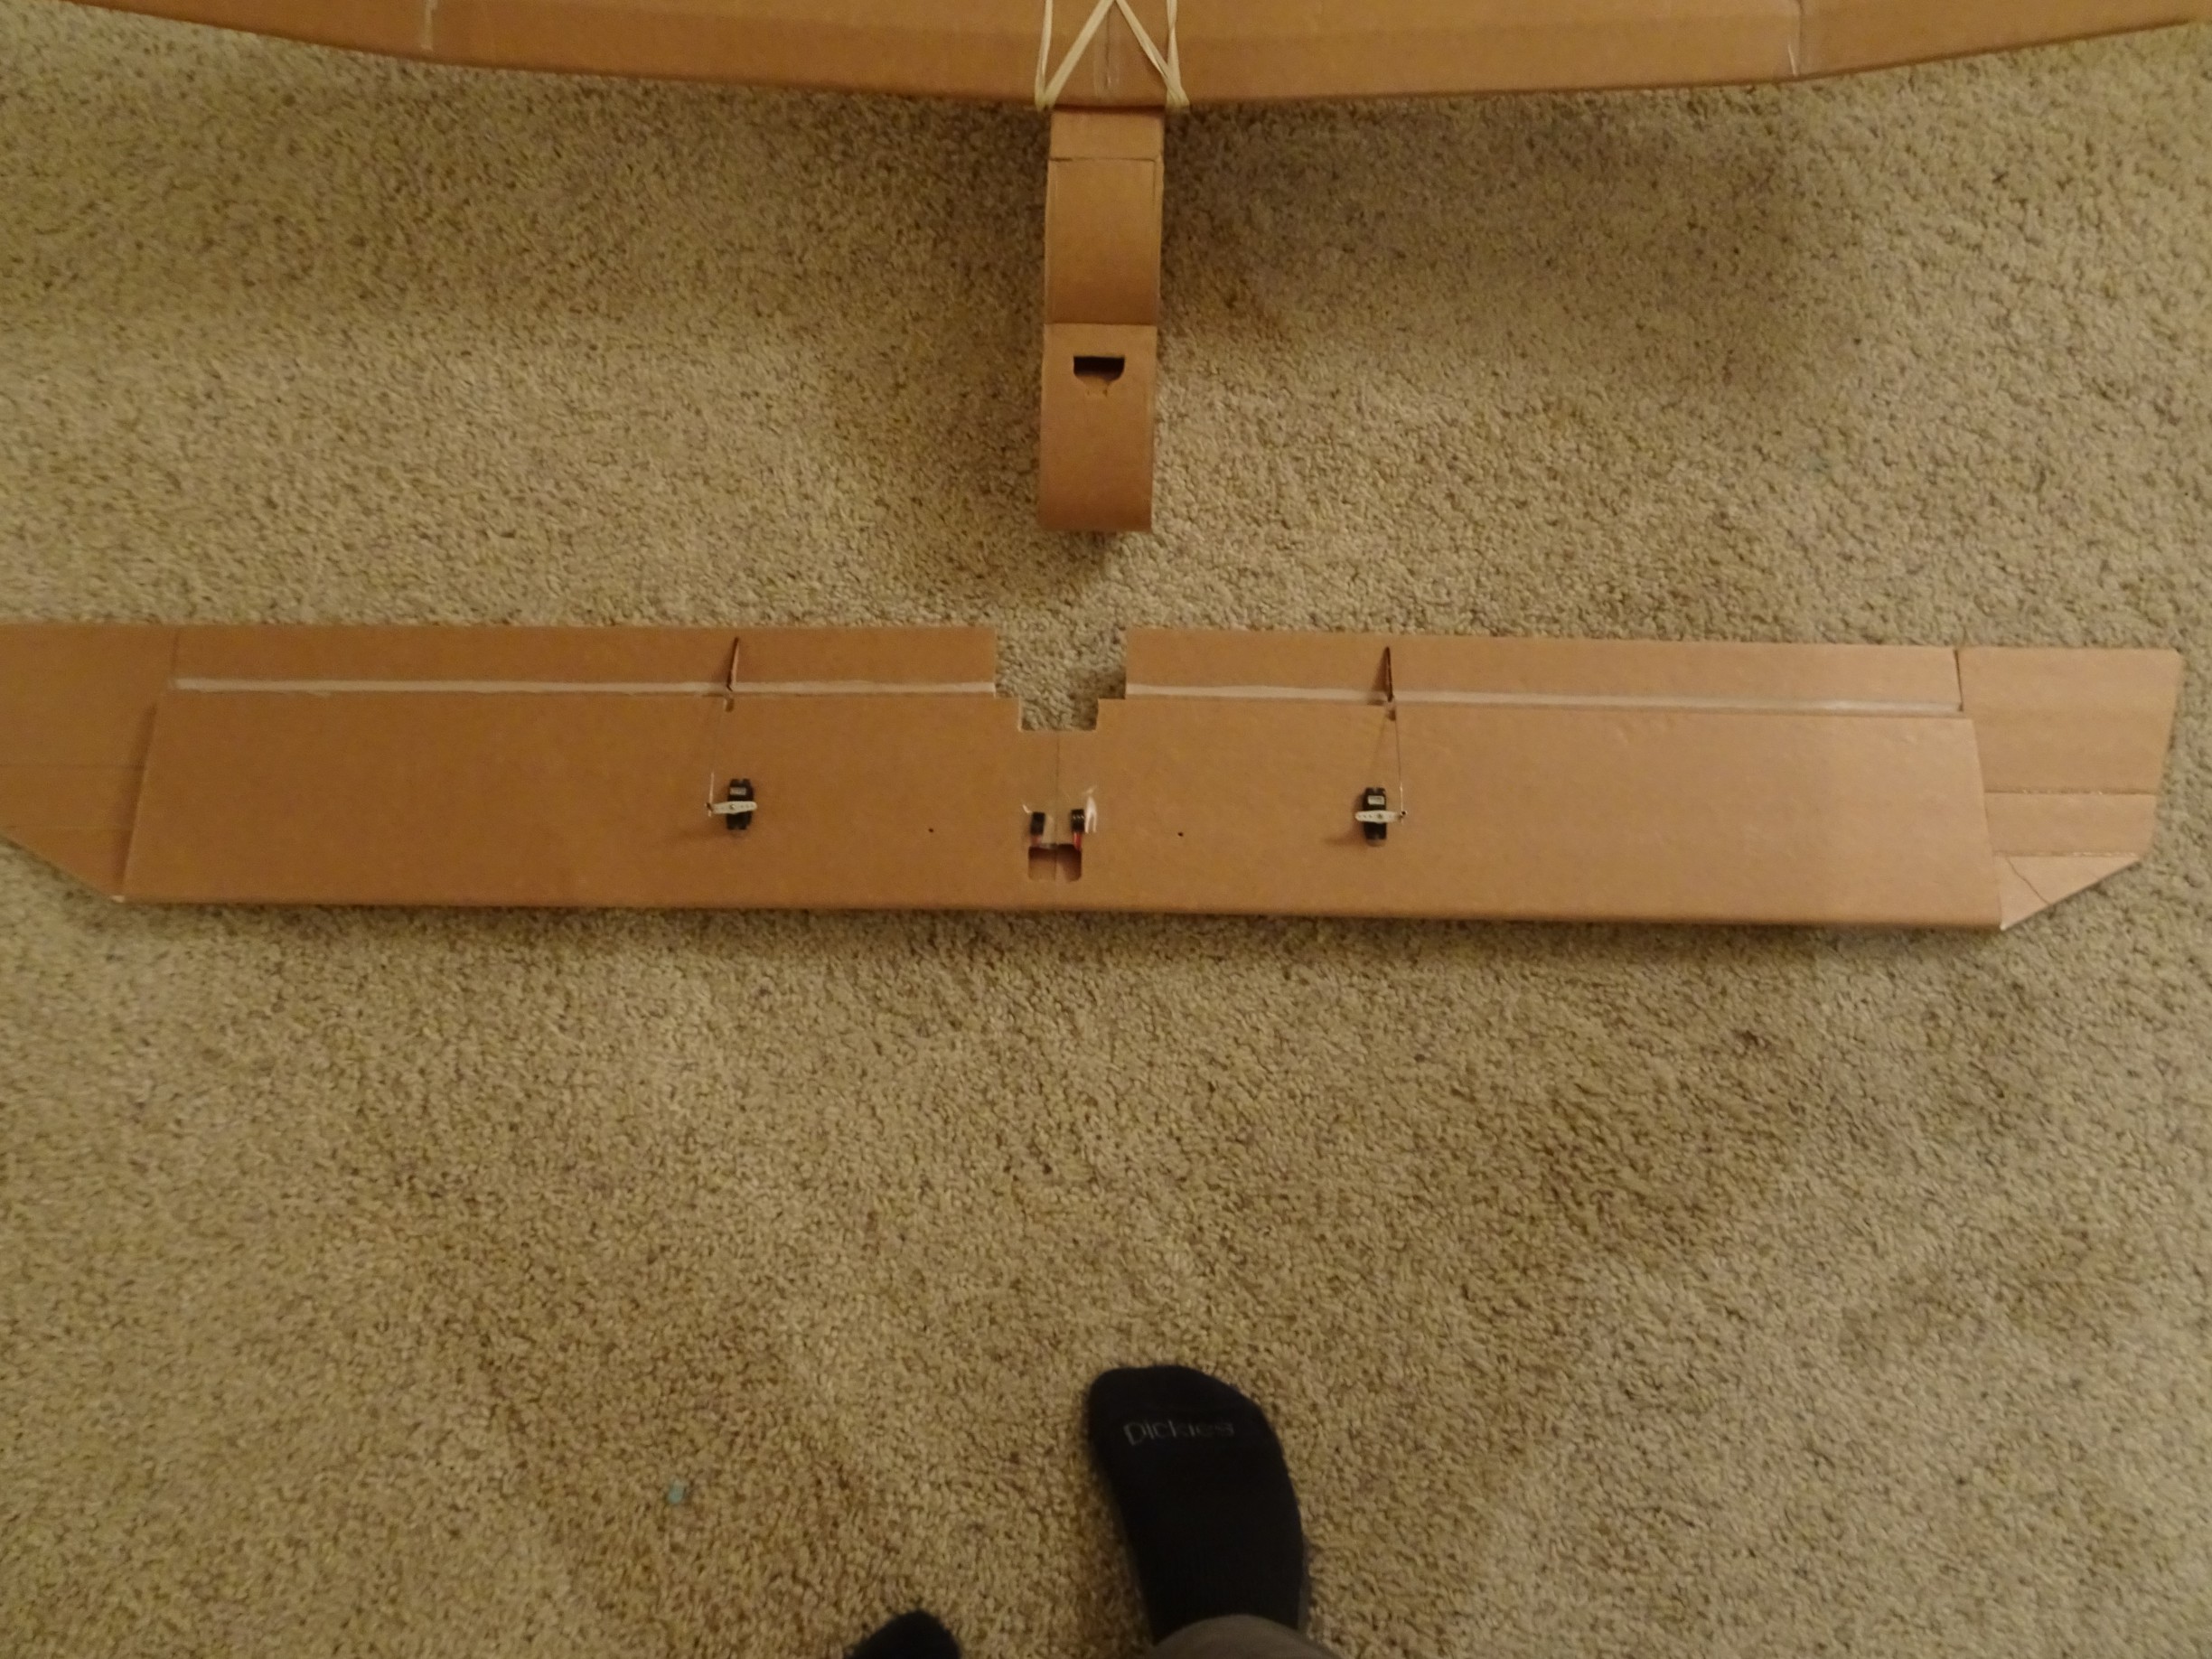
Ladies and Gents, I present to you, my very first FT speedbuild, an Explorer.

Here is the electronics package:
Receiver: FrSky RX6R (6-channel)

Motor: HobbyKing NTM Propdrive V2 2826 1000kv

ESC: Turnigy Plush 30A

Battery: Turnigy 2200mAh 3s

Servos: Corona DS-929MG (used/leftover from my old HK-450GT helicopter)

Currently going to swing a 8x4.5 prop on the trainer wing.

I went ahead and built the sport wing so I have it ready when I'm ready to fly it.

DSC06715.jpg


DSC06716.jpg


DSC06717.jpg


DSC06718.jpg


DSC06719.jpg
 

buzzbomb

I know nothing!
Whaattt!!?? @Mad_Mechanic that's your first SpeedBuild kit? Holy shoot, what took you so long? What did you think of the foamboard and the laser cuts? Do you think the time saved was worth the money spent on the kit? Would you buy another one, and why did you buy this one?

I'm not marketing for FT. I am always looking for a new resource for new RC pilots. As one myself, I know how important they are. A new pilot does a search for "SpeedBuild kit" and they'll hit this thread. I would say be honest and lay it out in detail. In the meantime?

She looks awesome! I can't wait to see video of the Maiden! :)

I've got four builds I've gotta do, three for challenges, and another so my son and I can crash our planes into each other, after the challenges are complete. You've got time before I can join, but you've gotta come up with a challenge for that Bad Boy!

Take it out. Fly it around. Come back at me with a challenge. If I can do. I'll do it. :D
 
Last edited:

FastCrash45

Elite member
Ladies and Gents, I present to you, my very first FT speedbuild, an Explorer.

Here is the electronics package:
Receiver: FrSky RX6R (6-channel)

Motor: HobbyKing NTM Propdrive V2 2826 1000kv

ESC: Turnigy Plush 30A

Battery: Turnigy 2200mAh 3s

Servos: Corona DS-929MG (used/leftover from my old HK-450GT helicopter)

Currently going to swing a 8x4.5 prop on the trainer wing.

I went ahead and built the sport wing so I have it ready when I'm ready to fly it.

View attachment 126293

View attachment 126292

View attachment 126291

View attachment 126290

View attachment 126289
Beautiful plane. Great job on building her. Welcome to the world of SPEEDBUILD!!
 

Mad_Mechanic

Well-known member
Whaattt!!?? @Mad_Mechanic that's your first SpeedBuild kit? Holy shoot, what took you so long? What did you think of the foamboard and the laser cuts? Do you think the time saved was worth the money spent on the kit? Would you buy another one, and why did you buy this one?

Ok, lots of questions here.

What took me so long?
Two things conspired here. First, I was trying to figure out which kit I wanted to buy/build first as a trainer plane. I wanted a plane that used more common '9-gram' servos, which means either a B or C-pack kit. I also wanted something with a good size wingspan that could fly on the slower side. So I was looking at planes like the Explorer, Simple Cub, and Storch. After that I decided it would be best to get a plane that had more simple cuts and straight edges, so I wanted to avoid things like the curved edge tail on the Storch.

I did also consider the Simple Scout, but decided against it, mostly because the speed build kit was out of stock when I went to order. :eek:

The other thing that was going on is that I'm also trying to work on my own scratch design/build. I grew up flying control-line with my dad and my first plane was a Cox PT-19 trainer with an .049 engine. This was a plastic model with wings that were held on with rubber bands and boy could those planes take a beating. So a couple months back I acquired a set of high resolution prints for the PT-19 and I've been working on scaling them down and designing a low-wing trainer inspired by the PT-19. I'll be starting a scratch build thread for this plane when I get further along in the process.

What did you think of the foamboard and laser cuts?
I loved working with it. The laser cuts made things so easy to get ready for assembly and it meant I didn't get frustrated with doing layout work.

One thing I did do and I highly recommend to others is get myself a really cheap (like $2 at Harbor Freight) utility knife. I threw away the blades that came with the knife and used good brand blades (in my case Stanley). Basically I was nervous holding onto a utility knife blade without a handle so for $2 I got some piece of mind and confidence.

https://www.harborfreight.com/utility-knife-3359.html

The handle did make bevel cuts a little trickier as you want to hold the blade at a really shallow angle but it's doable.

Do I think the time saved was worth the investment?
Yes, very much so. Not much else to say. I spent the better part of an afternoon building the fuselage and tail. I set myself up on my coffee table with my laptop open to the build video so I could easily pause and rewind the video for each part.

Each wing got it's own evening after work to build, so about 2-ish hours per wing. Again, I had the build video up and I was constantly pausing and rewinding so I got each detail.

So in all I probably have around 8 hours in build time over the course of 3 days. 4 hours for the fuselage and tail, and 2 hours per wing.

Electronics setup did not take very long, mostly because I've done receiver wiring and transmitter stuff years ago for RC Helicopters.

Would you buy another one, and why did you buy this one?
Yes, I after my experience with this kit and the build video I would buy another speed build kit. I will probably buy the Simple Scout next and sometime later I might also buy either the P-51 or the MiG-3 kit.

Why did I buy this one? If the question is why did I buy the Explorer specifically, see my response to the first question. I will add though that I really liked that this kit comes with two wings, a 3-channel trainer and a 4-channel 'sport' wing with ailerons. It means you get to practice building wings twice with one kit and the process is very similar for both. It also means that the Explorer is a trainer and something you can grow into. Plus with the high mount pusher prop configuration, hopefully I won't be breaking as many props as I would with a tractor/puller prop setup.

If the question is more general, as-in why did I buy the speed-build kit as opposed to downloading the free plans, well, I figured I would be better off experiencing the build process first with a laser cut kit rather than doing layout work with tiled plans my first time around.

Plus, buying the speedbuild kit supports FliteTest.


She looks awesome! I can't wait to see video of the Maiden! :)

Yeah, I'm looking forward to taking it out. I need to find a place to fly it first, there are a lot of parks near me but most of them are on the small side and/or have too many trees or baseball field posts that I would have to avoid.

I will probably have to convince my fiancee to do the filming :LOL:

I've got four builds I've gotta do, three for challenges, and another so my son and I can crash our planes into each other, after the challenges are complete. You've got time before I can join, but you've gotta come up with a challenge for that Bad Boy!

Take it out. Fly it around. Come back at me with a challenge. If I can do. I'll do it. :D

Sounds good! I'll see what I can think of to challenge you with!
 
Last edited:

DamoRC

Elite member
Mentor
Lookin' good @Mad_Mechanic !

Have you run that motor prop combo before? Only reason I ask is that I have one and have never been very happy with the power from that motor, at least compared to the 1200Kv version. If you can, maybe go to a 9 inch prop if it fits.
 

Mad_Mechanic

Well-known member
@DamoRC - To be honest, no I haven't run this motor ever. But it was pretty cheap and the cheat sheet that came with the speed build kit recommended a 1000Kv motor so I figured I would give it a try.

What I do like about it already is the prop hub/nut setup. I'm not too keen on the style of prop adapter/spinner that clamps down on the motor shaft (though obviously they work because they are more common). But the screw-on hub that this has is really nice.

I will have to keep in mind your recommendation for the 1200Kv version of this motor if I find this setup to be sub-optimal.

A 9in prop should fit, the Explorer is supposedly designed to accommodate up to a 9in prop.
 

basslord1124

Master member
That's awesome @Mad_Mechanic ! Looks good! Nice to see you enter the realm of the speed build kit. It is like a breath of fresh air when you do mainly scratch builds. :) All the previous prep work you had to do is non-existent...just pop your pieces out and go!
 

CrazyFastFlying

Elite member
Nice looking plane you got there! Looks like it is well built!

BTW, That's a nice looking miter saw you got in the background of one of the pictures. You must be into word working!
 

Mad_Mechanic

Well-known member
BTW, That's a nice looking miter saw you got in the background of one of the pictures. You must be into word working!

That saw actually belongs to my dad, he's the wood worker. :D

He's been helping me renovate a room in my house, so we were using it to cut base boards.

On the note of families enjoying flight together, my dad grew up scratch building balsa kits that were powered free flight. Perhaps the biggest plane he built was one of these, called the 'Starduster':
1552507866314.png


He enjoyed the hobby with his dad and they both flew control line 'back in the day'. His dad scratch built a control line speed plane that my dad now has. I've seen it, it looks like a torpedo with stubby wings. Basically it's a streamlined body to house a 'big' engine and a gas tank. It doesn't even have a fixed rudder, it just uses the torque from the motor to maintain tension on the control lines.
 

Headbang

Master member
Good job! I went with speed build kits for my first 2 as well (Seaduck and x-29). I think it was worth it as well. I chose the mig-3 for my first scratch as it had a low part count, and was a simple build. If I had tried to cut out my first build I think I would have been frustrated and it might have been benched. Then I would not be 7 planes into things in 6months.
You will love the explorer. With the sport wing it is very fun. The explorer has a lot of manuverability. I suggest for your first flights set low rates to 50% with 50% expo. High rates set full throw with 50% expo as well. This should help with success. If you tape the bottom, the explorer will take off on grass or snow. This will give more time to react then hand tossing.

Good luck!
 

CrazyFastFlying

Elite member
That saw actually belongs to my dad, he's the wood worker. :D

He's been helping me renovate a room in my house, so we were using it to cut base boards.

On the note of families enjoying flight together, my dad grew up scratch building balsa kits that were powered free flight. Perhaps the biggest plane he built was one of these, called the 'Starduster':
View attachment 126314

He enjoyed the hobby with his dad and they both flew control line 'back in the day'. His dad scratch built a control line speed plane that my dad now has. I've seen it, it looks like a torpedo with stubby wings. Basically it's a streamlined body to house a 'big' engine and a gas tank. It doesn't even have a fixed rudder, it just uses the torque from the motor to maintain tension on the control lines.

Ok, That makes sense about the saw. I am a woodworker too!:)

Good luck on the renovation!
 

DamoRC

Elite member
Mentor
@DamoRC - To be honest, no I haven't run this motor ever. But it was pretty cheap and the cheat sheet that came with the speed build kit recommended a 1000Kv motor so I figured I would give it a try.

What I do like about it already is the prop hub/nut setup. I'm not too keen on the style of prop adapter/spinner that clamps down on the motor shaft (though obviously they work because they are more common). But the screw-on hub that this has is really nice.

I will have to keep in mind your recommendation for the 1200Kv version of this motor if I find this setup to be sub-optimal.

A 9in prop should fit, the Explorer is supposedly designed to accommodate up to a 9in prop.

Ran a quick test on the thrust stand. You'll get about 10% more static thrust with a 9x4.7 (670 grams / 23 oz) prop versus the 8x4.5 (610 grams / 21 oz) with the NTM 2826 1000Kv on 3S. That being said, 600 grams should be plenty for this bird.

NTM 2826 1000Kv 3S 8x4_5 vs 9x4_7.jpg
 

Mad_Mechanic

Well-known member
Ran a quick test on the thrust stand. You'll get about 10% more static thrust with a 9x4.7 (670 grams / 23 oz) prop versus the 8x4.5 (610 grams / 21 oz) with the NTM 2826 1000Kv on 3S. That being said, 600 grams should be plenty for this bird.

View attachment 126354

Nice!

By the way, what test stand are you using and what data logging software?

I've been thinking about buying a thrust test stand (because I'm an engineer and I like numbers), but I also just so happen to work for a company that makes force/torque load cells so I also thought I could design and build my own. But then I have to come up with my own data acquisition setup.
 

Mad_Mechanic

Well-known member
I suggest for your first flights set low rates to 50% with 50% expo. High rates set full throw with 50% expo as well. This should help with success.

I will have to figure out how to program expo and rates into my transmitter (Taranis QX7). I've figured out everything else in it so far and I'm sure there is a write-up and/or tutorial out there that explains it.

Thank you for the advice!

If you tape the bottom, the explorer will take off on grass or snow. This will give more time to react then hand tossing.

I will have to do this before I go for the maiden. I also bought one of the Flite Test landing gear kits figuring I could add some wheels (I know they add drag too). I'm one of those fliers that likes landing gear and likes taking off from the ground with them.
 

Mad_Mechanic

Well-known member
Ran a quick test on the thrust stand. You'll get about 10% more static thrust with a 9x4.7 (670 grams / 23 oz) prop versus the 8x4.5 (610 grams / 21 oz) with the NTM 2826 1000Kv on 3S. That being said, 600 grams should be plenty for this bird.

Also, if I find I need that little extra thrust from a 9x4.7 I'm in luck. APC propellers is literally 1 mile away from where I work in Woodland, California. All I have to do is call them and I can go pick up props same day from their shop! :D
 

FDS

Elite member
Expo can be done in the inputs screen, pick your stick then select it, select edit, expo is down the middle of the menu.
image.jpg
You can set the max throw in there too, with limits. Dual rates are in the mixer screen, you set them up and then assign a switch position.
 

DamoRC

Elite member
Mentor
Nice!

By the way, what test stand are you using and what data logging software?

I've been thinking about buying a thrust test stand (because I'm an engineer and I like numbers), but I also just so happen to work for a company that makes force/torque load cells so I also thought I could design and build my own. But then I have to come up with my own data acquisition setup.

The thrust stand, electronics, and software are all DIY. I posted the software pieces (arduino sketch and PC executable and source files) in this thread. Happy to help out if you want to build one.
 

whackflyer

Master member
I'm one of those fliers that likes landing gear and likes taking off from the ground with them.

Me too! I could do touch n goes all day! I recently built an explorer and tried landing gear, built the way it is on the simple scout, just slide it in the fuse n go. It worked for a while but then started folding back repeatedly so I trashed it and now hand launch it.
 

Mad_Mechanic

Well-known member
The thrust stand, electronics, and software are all DIY. I posted the software pieces (arduino sketch and PC executable and source files) in this thread. Happy to help out if you want to build one.

Nice! I'm going to have to read that thread when I get some free time! Thank you for sharing your work with the community.
 

Mad_Mechanic

Well-known member
Expo can be done in the inputs screen, pick your stick then select it, select edit, expo is down the middle of the menu.
View attachment 126357
You can set the max throw in there too, with limits. Dual rates are in the mixer screen, you set them up and then assign a switch position.

Thanks @FDS , I will look into this when I get home and have my radio in front of me.