
Hi Flitetesters.
As this is my very first post here its probably a good idea to introduce myself. I'm Dave from Ireland. I've been building FT planes for a while now and I'm so thankful to the FT community for bringing me a whole new hobby. I really enjoy scratchbuilding to the point where I'm getting comfortable with either modifying existing designs or making whole new ones.
This is my un-maidened Mighty Mini Spitfire.
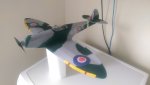
Its a hybrid with a scaled down version of the original FT Spit flight surfaces. The fuse is my own design but influenced heavily by the design of the MM Mustang.
As you can see its got a hatch like the MM Mustang.
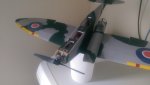
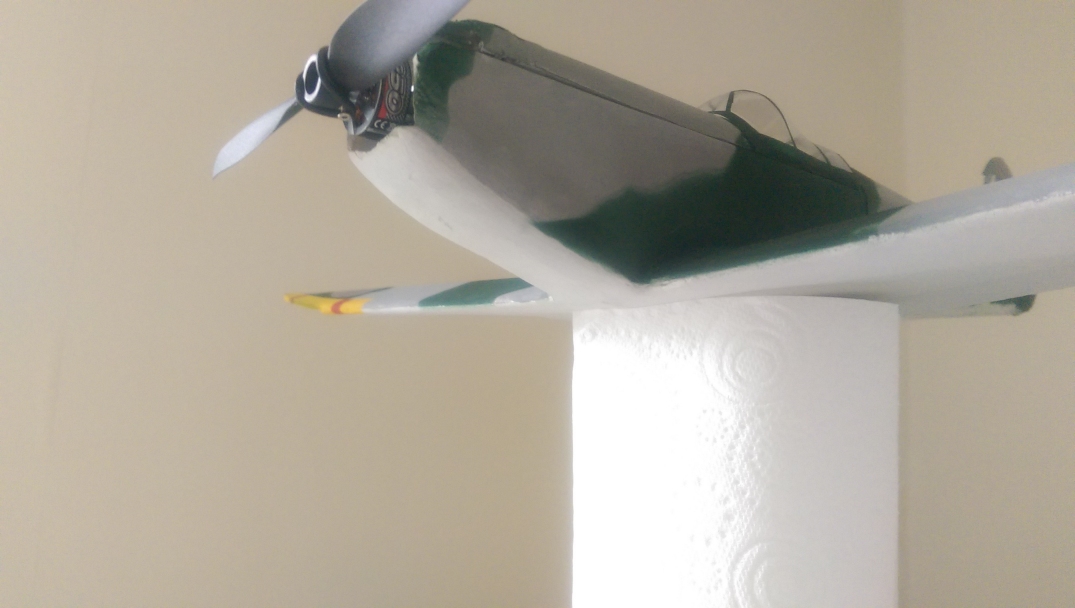
I do like to try and round surfaces where possible. So the nose was built up with layers of foamboard and the carved sanded to shape. You can also see here that I wanted to get the bottom of the wing flush with the fuse. I managed that by adding a layer of FB on top of the wing to provide an surface to glue against inside the fuse.
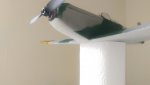
The other detail I wanted to add was a decent canopy. I built a small vacformer a while back and have had good success with it. Here's a little vid of me vacforming the canopy for this spit. Sorry about the poor video quality.
.and here's a close up pic after it was cut mounted and painted.
Here you can also see the wing root fairing (is that the right word?) which I think really makes a spitfire stand out.
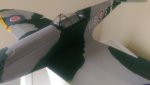
Overall I'm happy with the build, as always there's lots to do better but were all learning this as we go along. Finally if anyone fancies having a go at this here is a basic plan for the major components.
View attachment spit9_DG620mm_mini.pdf
..and a template for the wing root fairing.
View attachment mini_fairing.pdf
I may be able to produce a more detailed plan but that will involve a second build so I'll see how this one flies (or doesn't).
Lastly sure I may as well include a video of another FT maiden, this is my FT Mini Trainer. Actually it wasn't quite the maiden, it was the second flight after my wife didn't press the magic record button on the actual maiden
...again I want to thank the guys at flitetest for what they've given and look forward to lots more fun with flitetest.
Regards,
Dave.
As this is my very first post here its probably a good idea to introduce myself. I'm Dave from Ireland. I've been building FT planes for a while now and I'm so thankful to the FT community for bringing me a whole new hobby. I really enjoy scratchbuilding to the point where I'm getting comfortable with either modifying existing designs or making whole new ones.
This is my un-maidened Mighty Mini Spitfire.

Its a hybrid with a scaled down version of the original FT Spit flight surfaces. The fuse is my own design but influenced heavily by the design of the MM Mustang.
As you can see its got a hatch like the MM Mustang.

I do like to try and round surfaces where possible. So the nose was built up with layers of foamboard and the carved sanded to shape. You can also see here that I wanted to get the bottom of the wing flush with the fuse. I managed that by adding a layer of FB on top of the wing to provide an surface to glue against inside the fuse.
The other detail I wanted to add was a decent canopy. I built a small vacformer a while back and have had good success with it. Here's a little vid of me vacforming the canopy for this spit. Sorry about the poor video quality.
Here you can also see the wing root fairing (is that the right word?) which I think really makes a spitfire stand out.

Overall I'm happy with the build, as always there's lots to do better but were all learning this as we go along. Finally if anyone fancies having a go at this here is a basic plan for the major components.
View attachment spit9_DG620mm_mini.pdf
..and a template for the wing root fairing.
View attachment mini_fairing.pdf
I may be able to produce a more detailed plan but that will involve a second build so I'll see how this one flies (or doesn't).
Lastly sure I may as well include a video of another FT maiden, this is my FT Mini Trainer. Actually it wasn't quite the maiden, it was the second flight after my wife didn't press the magic record button on the actual maiden
...again I want to thank the guys at flitetest for what they've given and look forward to lots more fun with flitetest.
Regards,
Dave.


