
Beta 4 testing
DETAILS
Hi friends.
For a little more information on DLGs check this episode FT did.
The general consensus on DLGs is that if you want something that performs, you better be ready with the $$$. There are some more affordable foam options but they just don't perform as well compared to the CF competition gliders. Bringing DTFB into the equation would mean you're settling for a sub par DLG experience at best. Well.. that's the impression I get when reading about DLGs around the Internet, at least.
I've read similar things about performance planes being made of DTFB also. Now that I've set a new bar of what performance means in a DTFB plane with my nnMiG 3, I decided it was time to push the limits of what DTFB can do in a DLG.
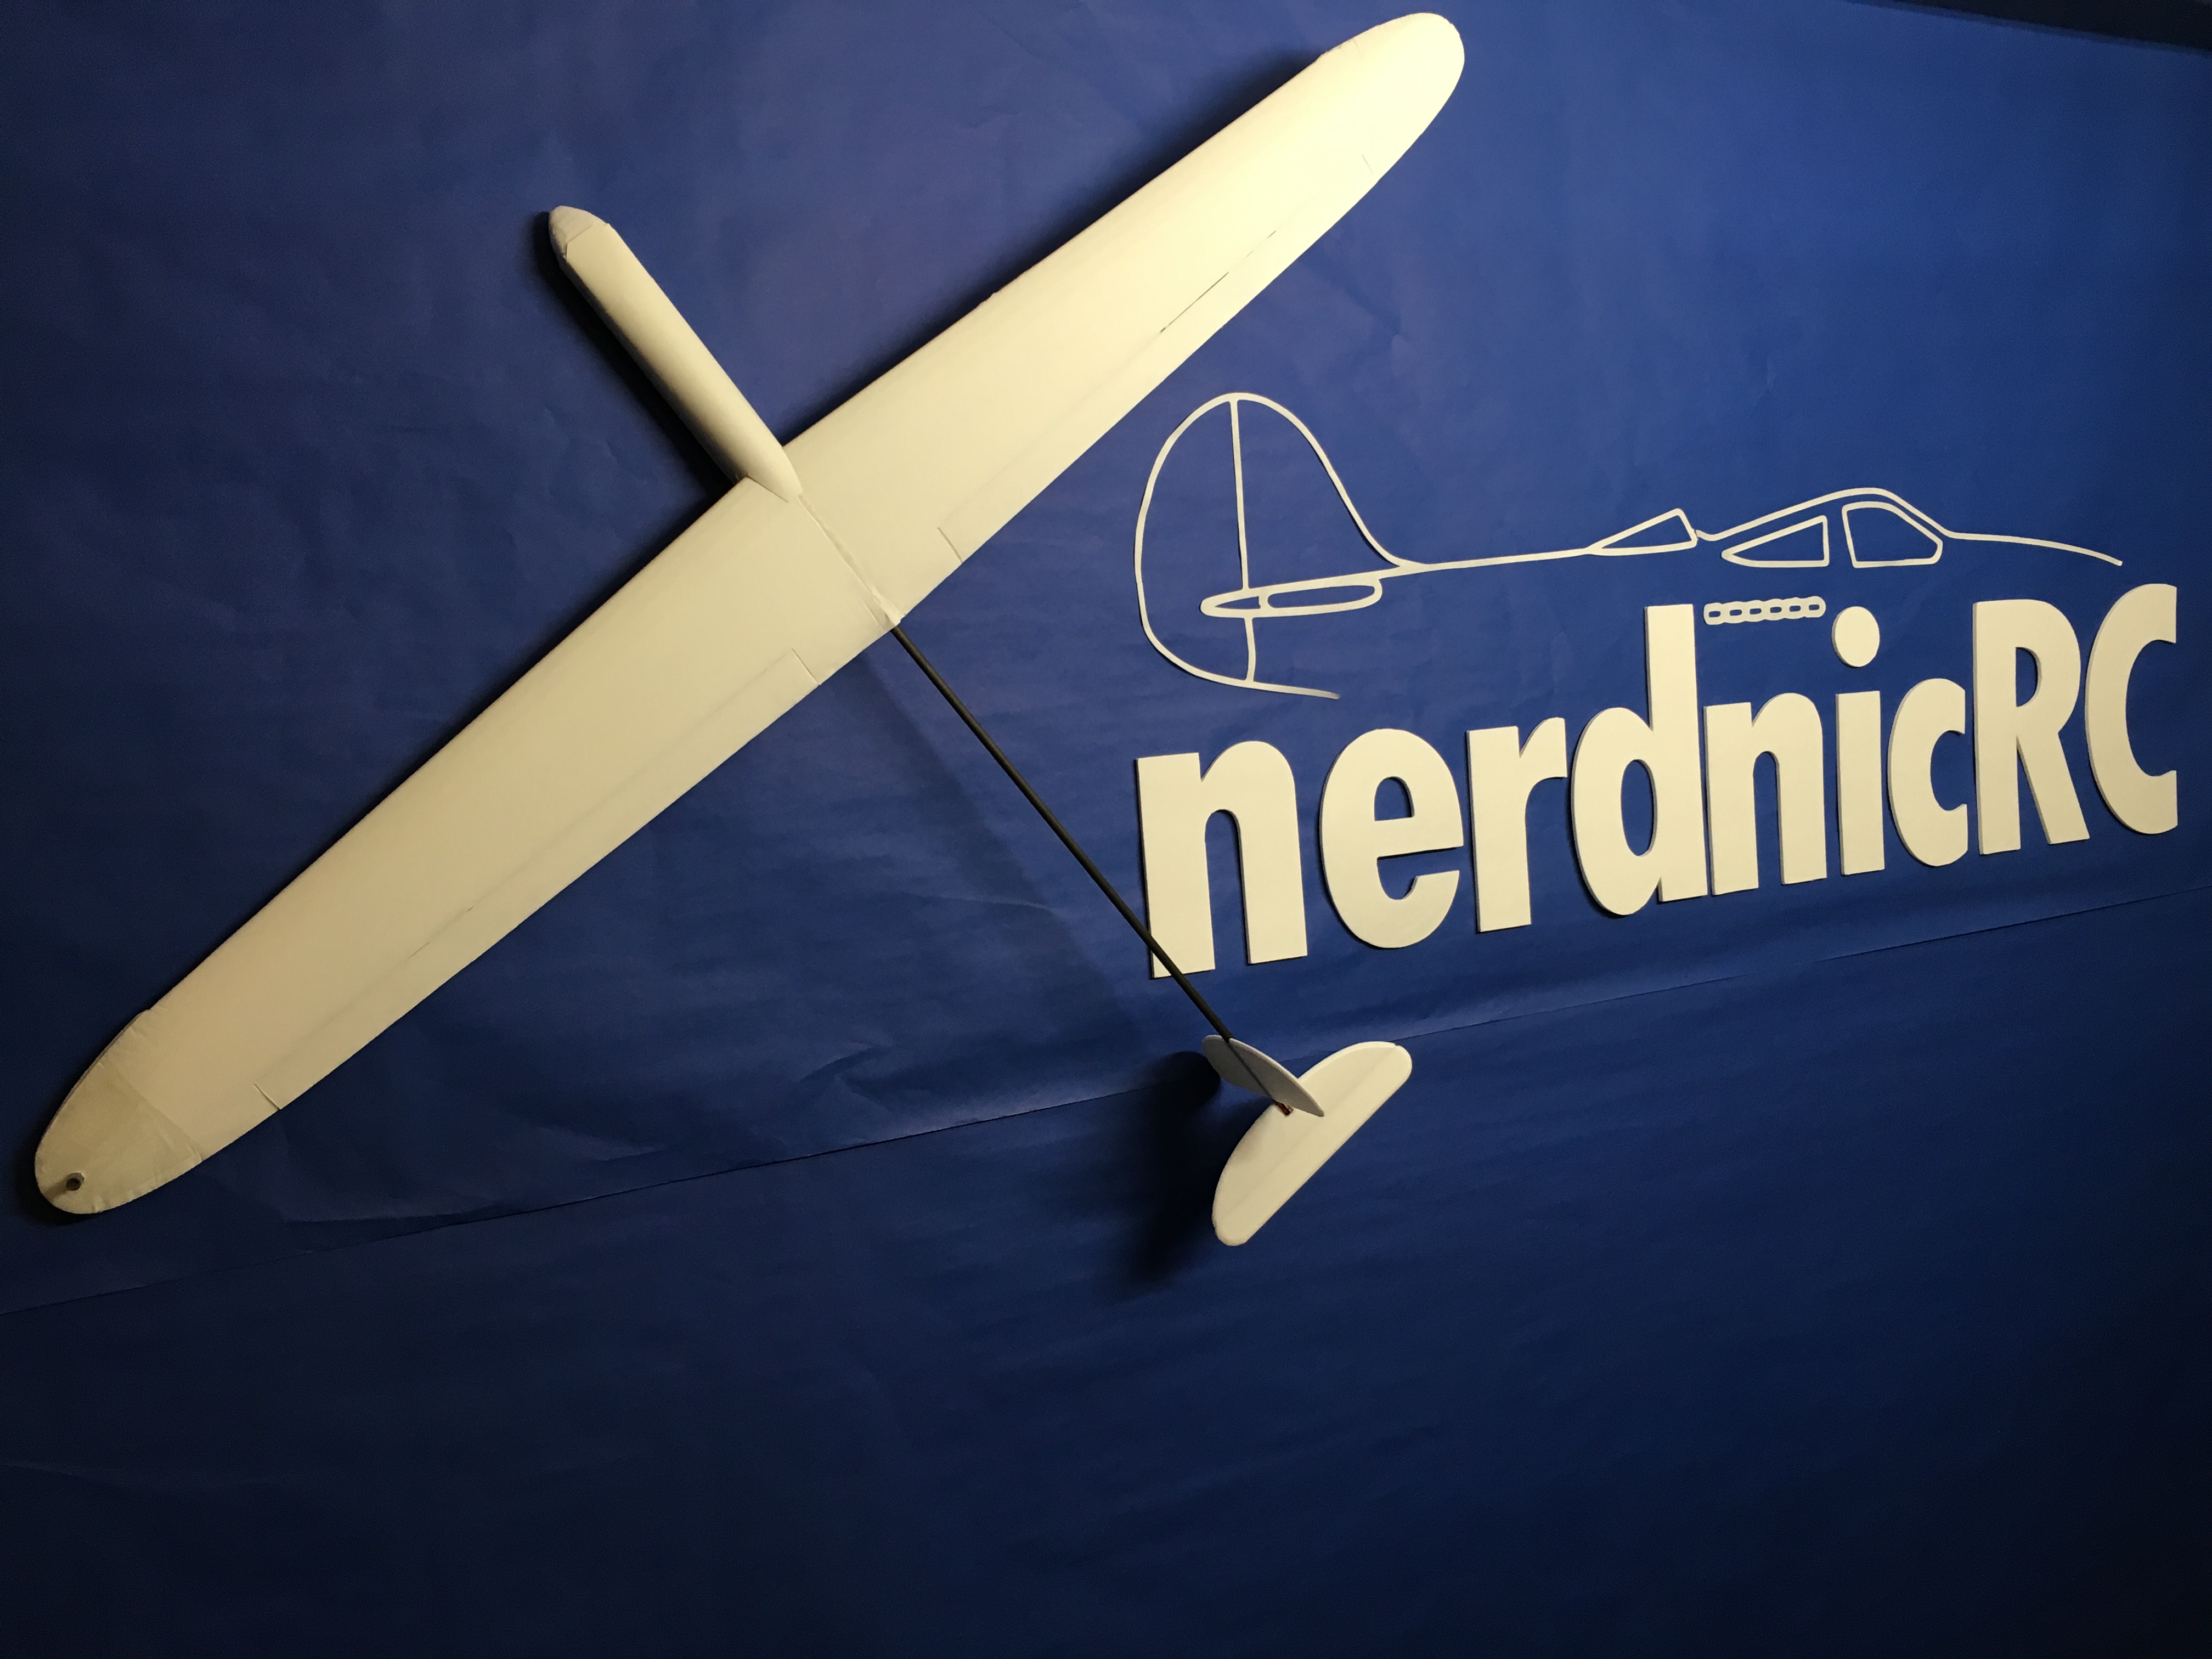
My goal is to make a DLG that performs better than any store bought foam DLG, and for a fraction of the cost.
SPECS
WINGSPAN | 51in |
FUSE | 37 |
CHANNELS | 2-3 |
WEIGHT | 260g |
ELECTRONICS | BEC - Suppo 3a BATTERY - 300mah 2s SERVOS - 2-3 5g |
BUILD DIFFICULTY | Beginner – You’ve never flown a plane before, let alone done a scratch build Novice – You’ve flown a plane but have no experience with scratch building Intermediate – You’ve flown and built a few FT style planes before Advanced – You’ve mastered the standard FT build style and are looking for a new challenge Expert – You’ve mastered all build techniques and aren't afraid to improvise or tackle tedious builds The nnDLG is an intermediate build. |
PILOT SKILL | Beginner |
MATERIALS | 2 sheet DTFB 1 sheet poster board 3 31" carbon fiber arrow 1 .5" x 1/16" x 17" flat aluminum 1 BIC pen Laser overhead transparency film |
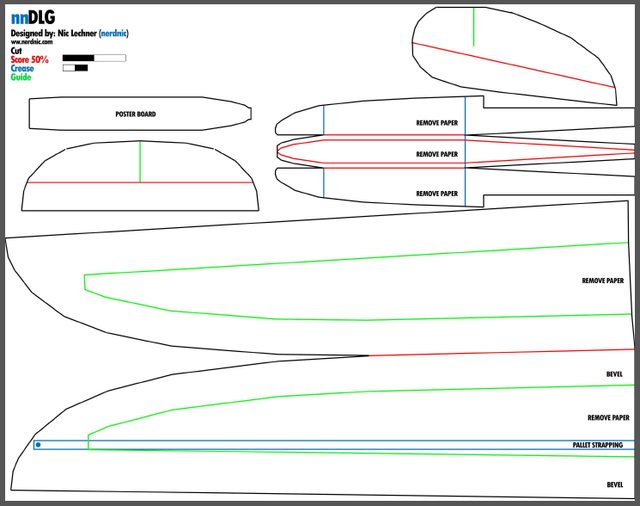
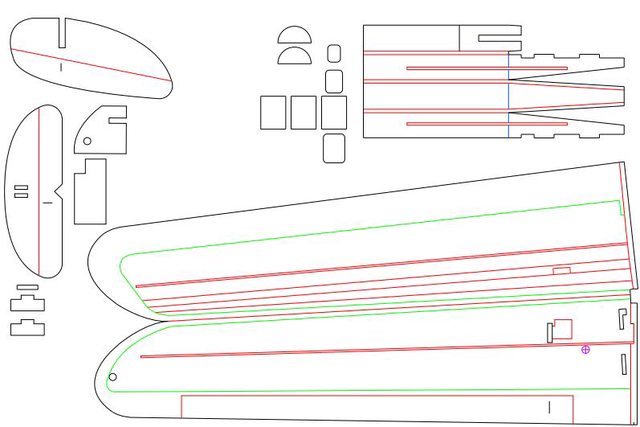
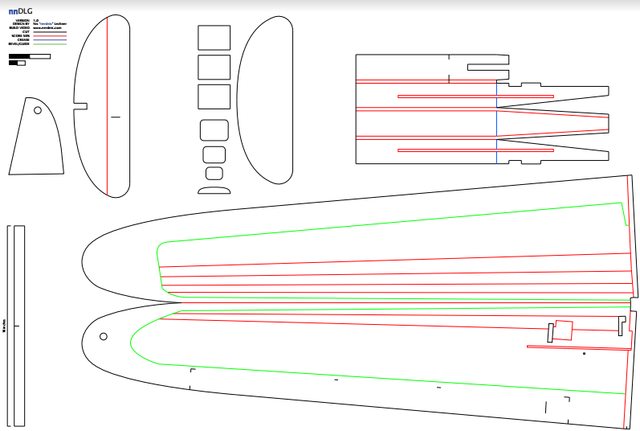
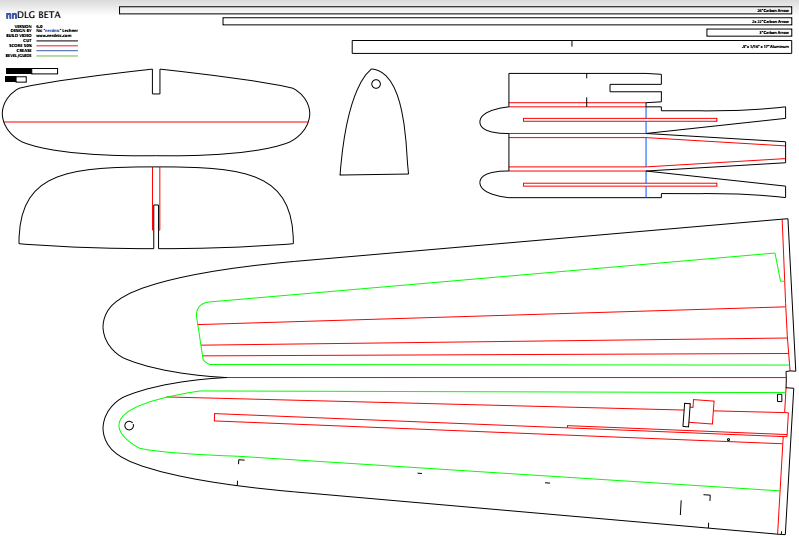
PLANS
Beta plans are finished and ready to be tested. For the first time I'm opening the beta testing to the community! For plans please see www.nerdnic.com/beta
BUILD LOG
March 6th 2015 - BETA 1
First round of plans are done and I'll be doing my first build test shortly!
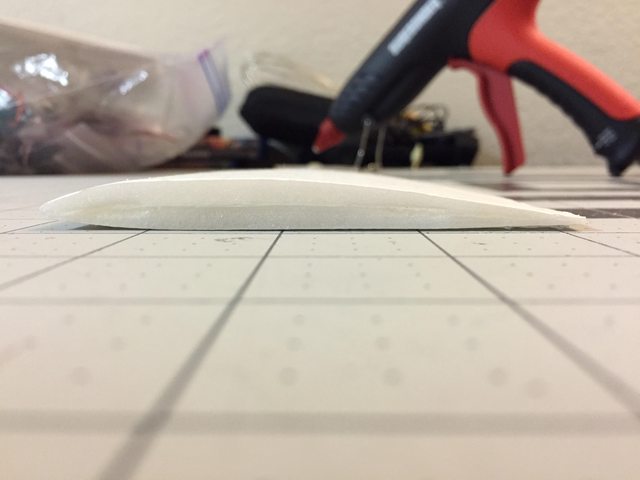
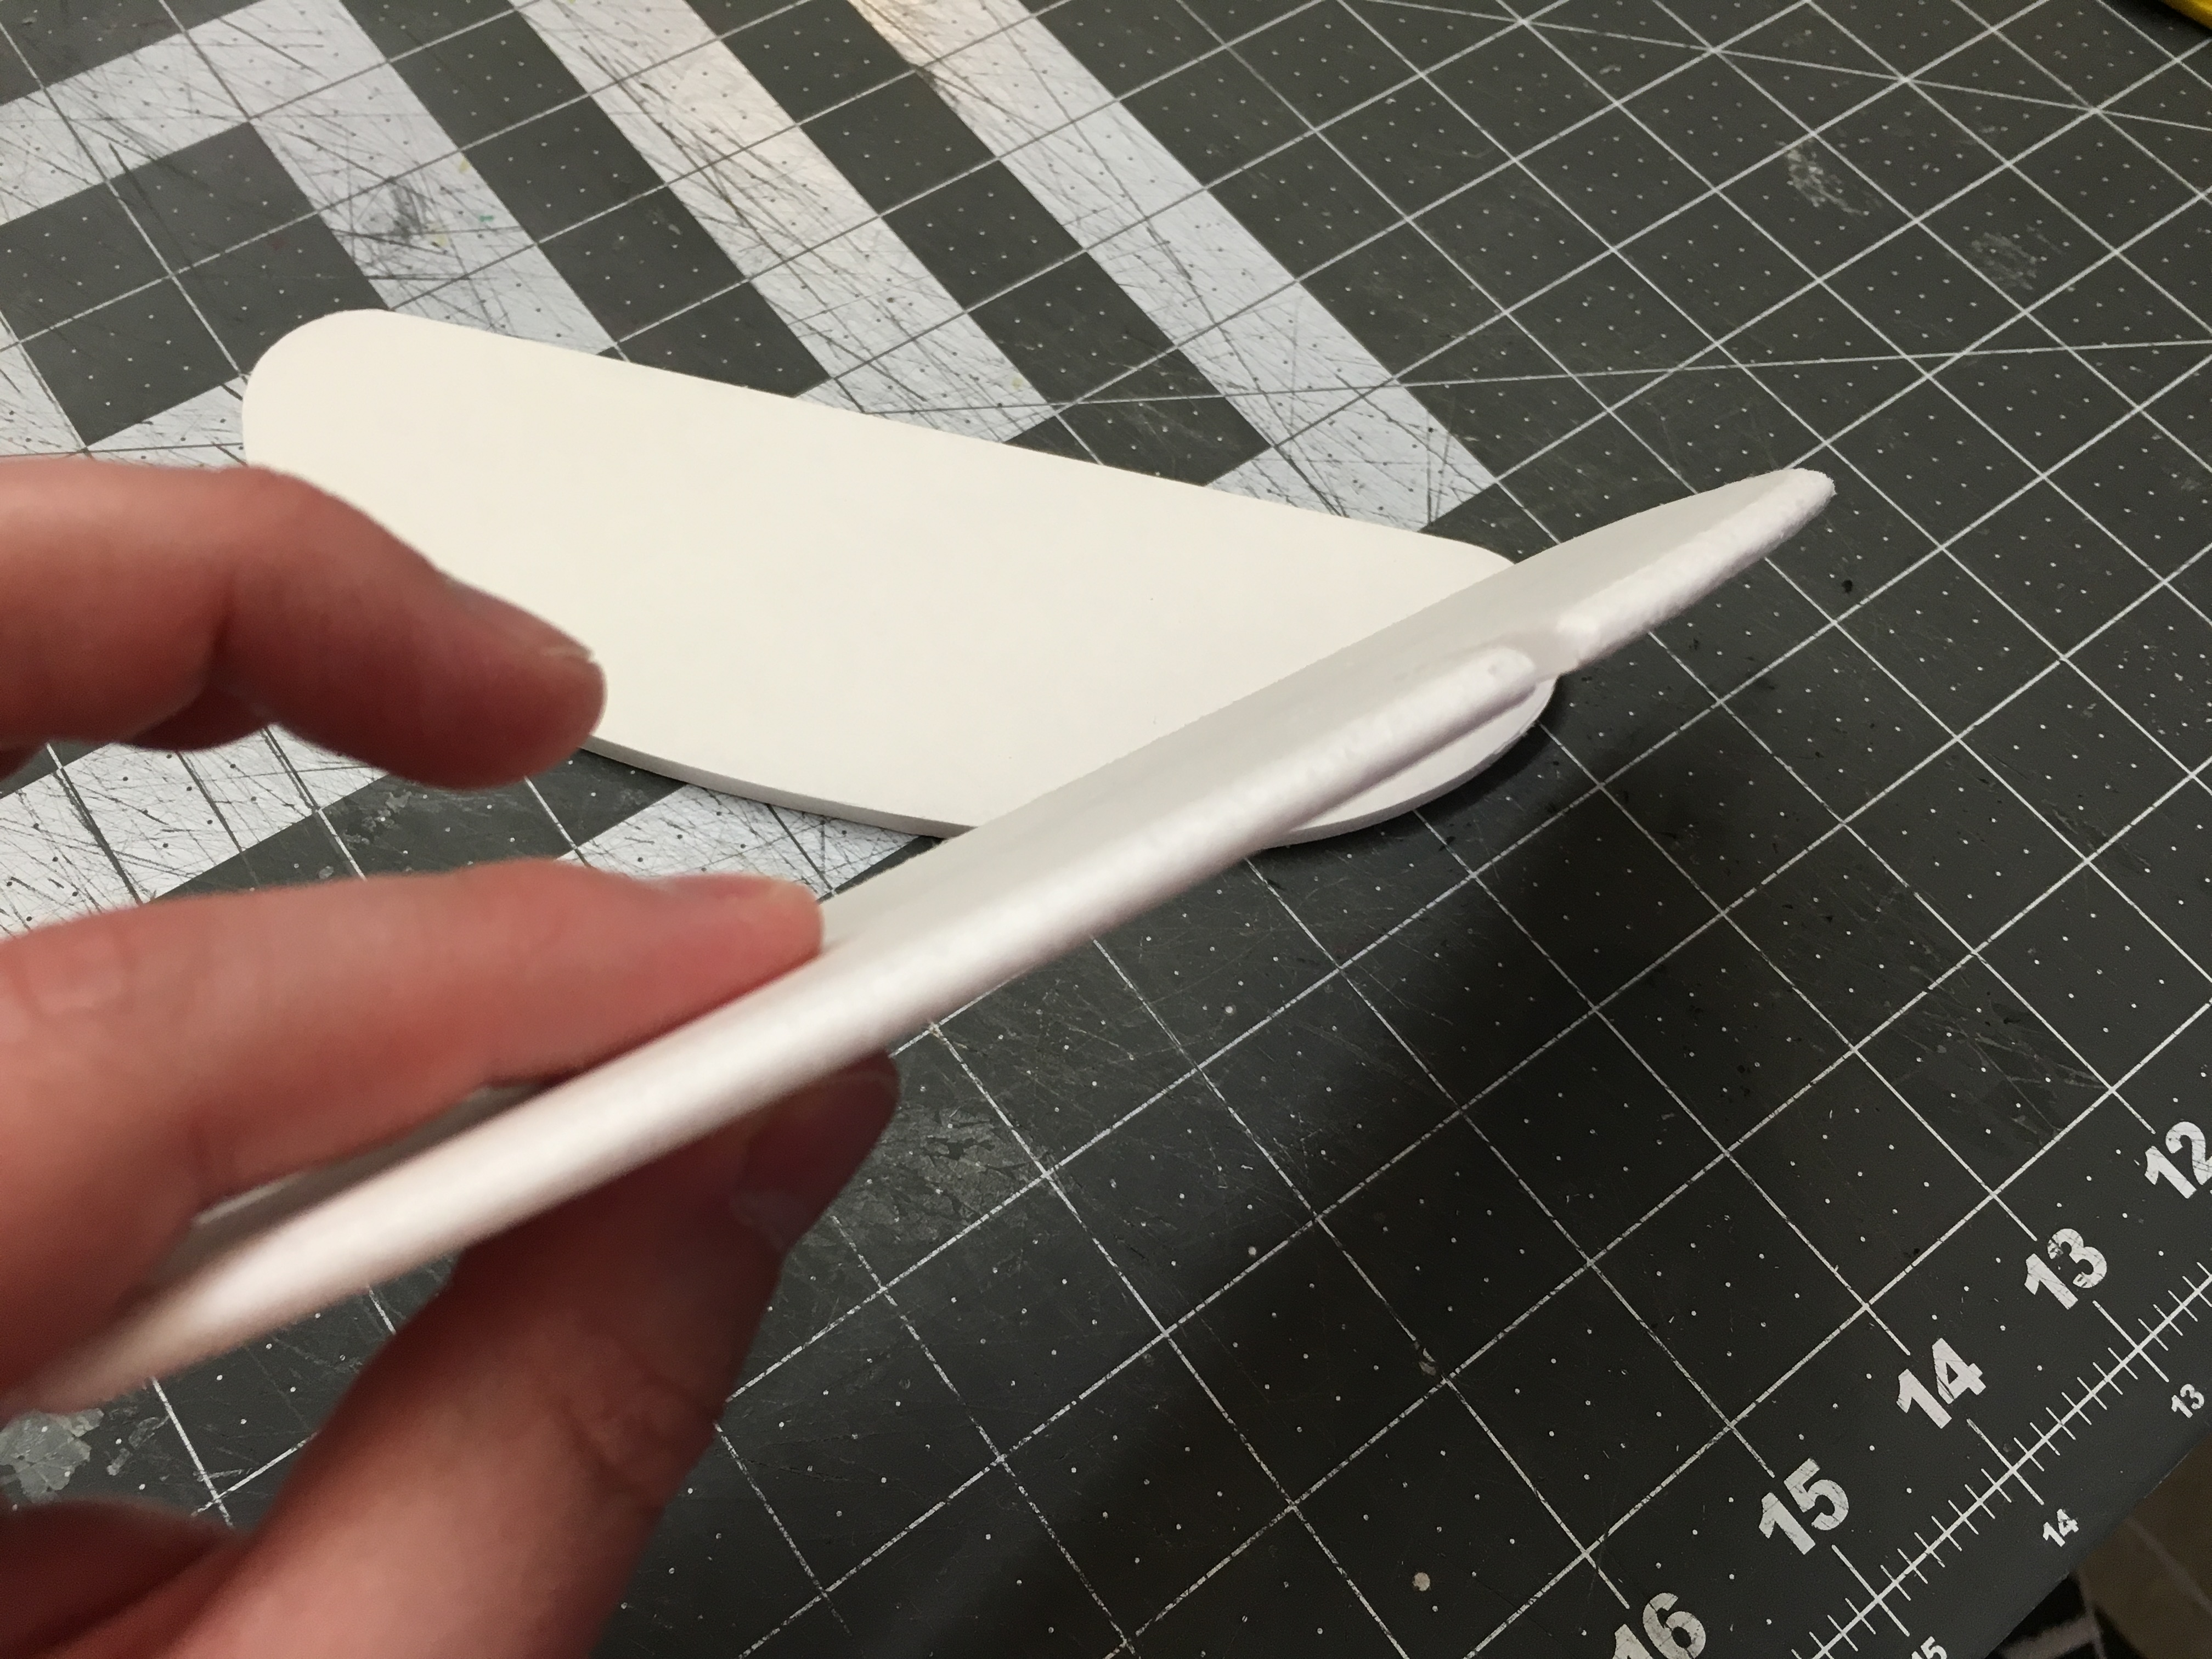
Cross section of airfoil
90g weight so far
I have some initial concerns about wing strength so far but I think the wing style I chose is to blame. The wing is sturdy as you move from the center toward the wing tip until you get to the slope in the leading edge where the top and bottom wing seperate in the plans. I will be changing the leading edge to be straight. Also, after removing nearly all the inside paper and beveling all surfaces the foam is left with no strength. What little stiffness DTFB has is lost once you remove paper and cut away massive amounts of the foam.
Something that I've never had to deal with on a plane before also came up - wing balance. Somehow I came out way off on the weight between the two wings.
From a weight perspective I have no idea if 90g is good or not but it feels like nothing in your hands. I have decided I will be adding ail. The nose I designed was too small to fit servos so I need to enlarge it a smidge.
With electronics it's 180 g. I am using 9 g servos and a 350 mah 2s. And I actually need that amount to get the right CG. I think to build it lighter I have to bring the tail section in a bit or extend the nose.
Beta 1 survived many full power throws but finally failed. This was expected and ultimately the entire plan with beta 1. I wanted to learn where the weak points were and then make design changes to address them.
Failure occurred on the nose and launch wing. The weight from the electronics causes a lot of strain on launch at the CG point of the wing. The wing was also just not strong enough with just the strapping so I need to rethink the wing. This is also needed because I just wasn't getting the glide I wanted in general. This is because the wing area is just too small for the weight so the goal is to reduce wing loading with a bigger wing area AND make it stronger WHILE keeping it lighter per sq inch. This will be quite a challenge. So here are the changes being made after beta 1 testing:
-add reinforcement to nose
-increase the wingspan. The weight will be increasing so this is needed.
-increase the wing cord. This should help lower wing loading.
-switch to a nnSpeed wing. The strapping worked well enough but by it's self it is not strong enough to prevent the wing from folding.
-increase surface area of tail feathers. The authority at slow speed was not good enough.
-increase length of plane to accommodate the larger wingspan.
May 9th 2015 - BETA 2

As I said before beta 1 was purely to test and stress. Not to my surprise, all the damage was due to the stress of launching.

As you can see the most torque is applied to the center of the plane, right where my arrow shaft and nose/fuse connects the the wing. I have added bbq reinforcement to the nose to see if that's enough to stop breakage for beta 2. The arrow shaft is embedded into the foam in the wing and was very solid after many many throws on beta 1. So for now I'm not changing that design but we'll see how it holds up at larger scale.
I plan to use a bic pen body as my finger peg and it will be held in place with some glue and anchored with a large plastic patch inside the wing.
May 11th 2015 - BETA 2
Beta 2 build update
New wing went together real nice. This thing is super solid.

The wing is incredibly strong. Right now I have no worries about it failing.
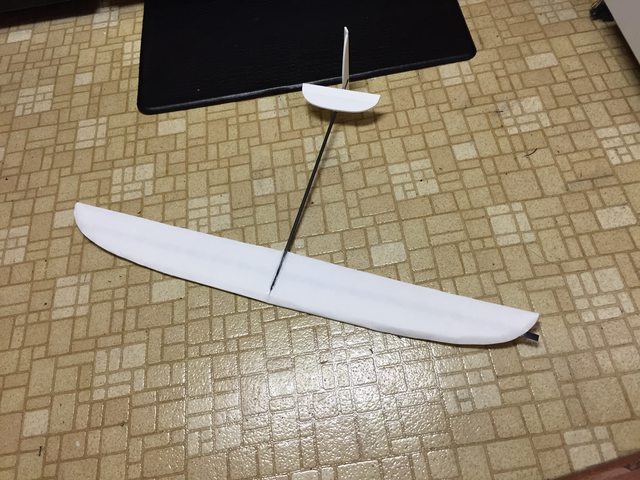
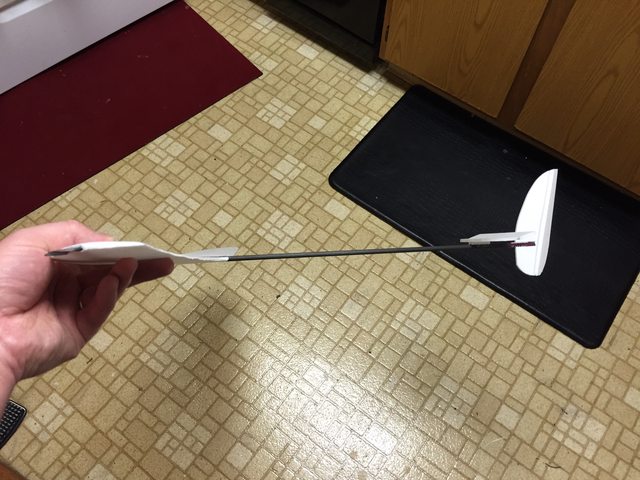
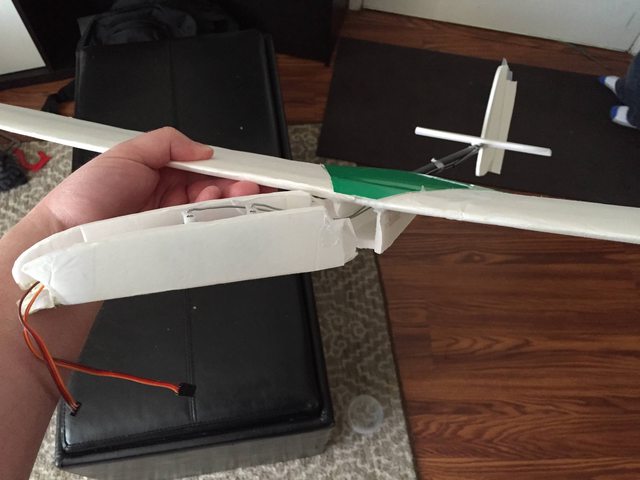
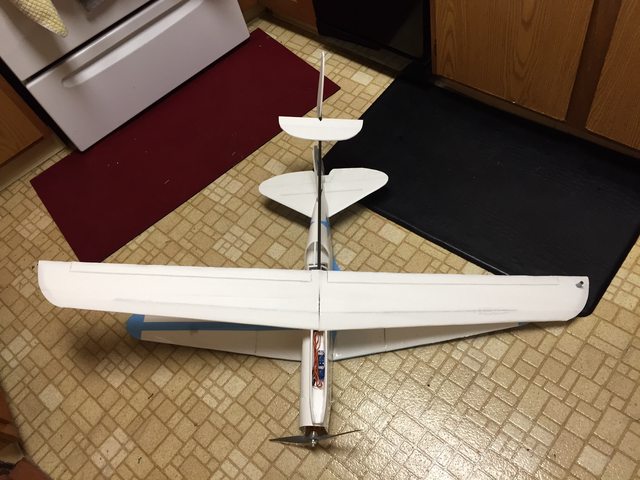
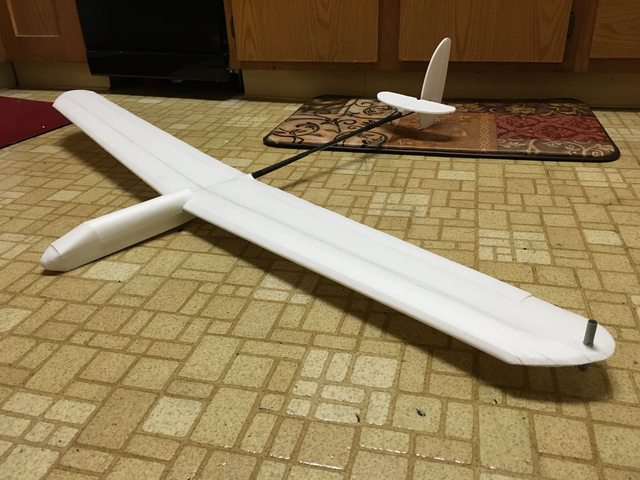
Beta 2 complete!
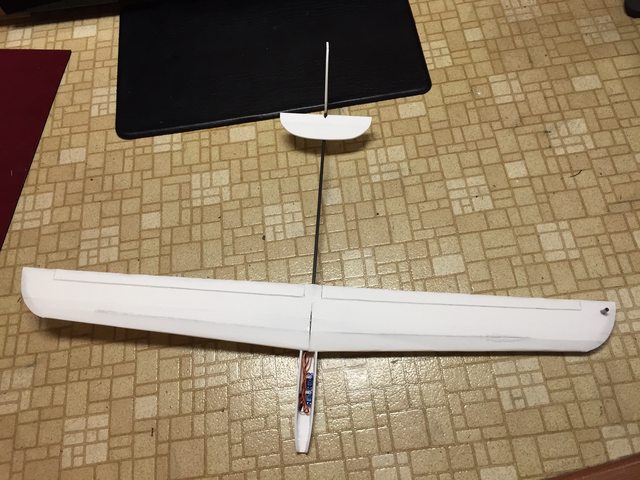
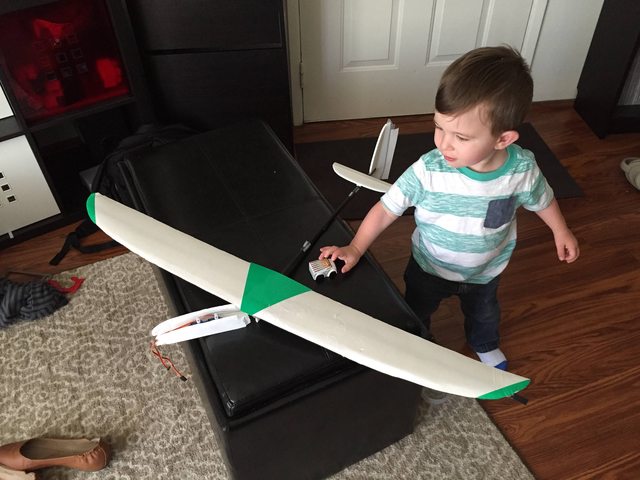
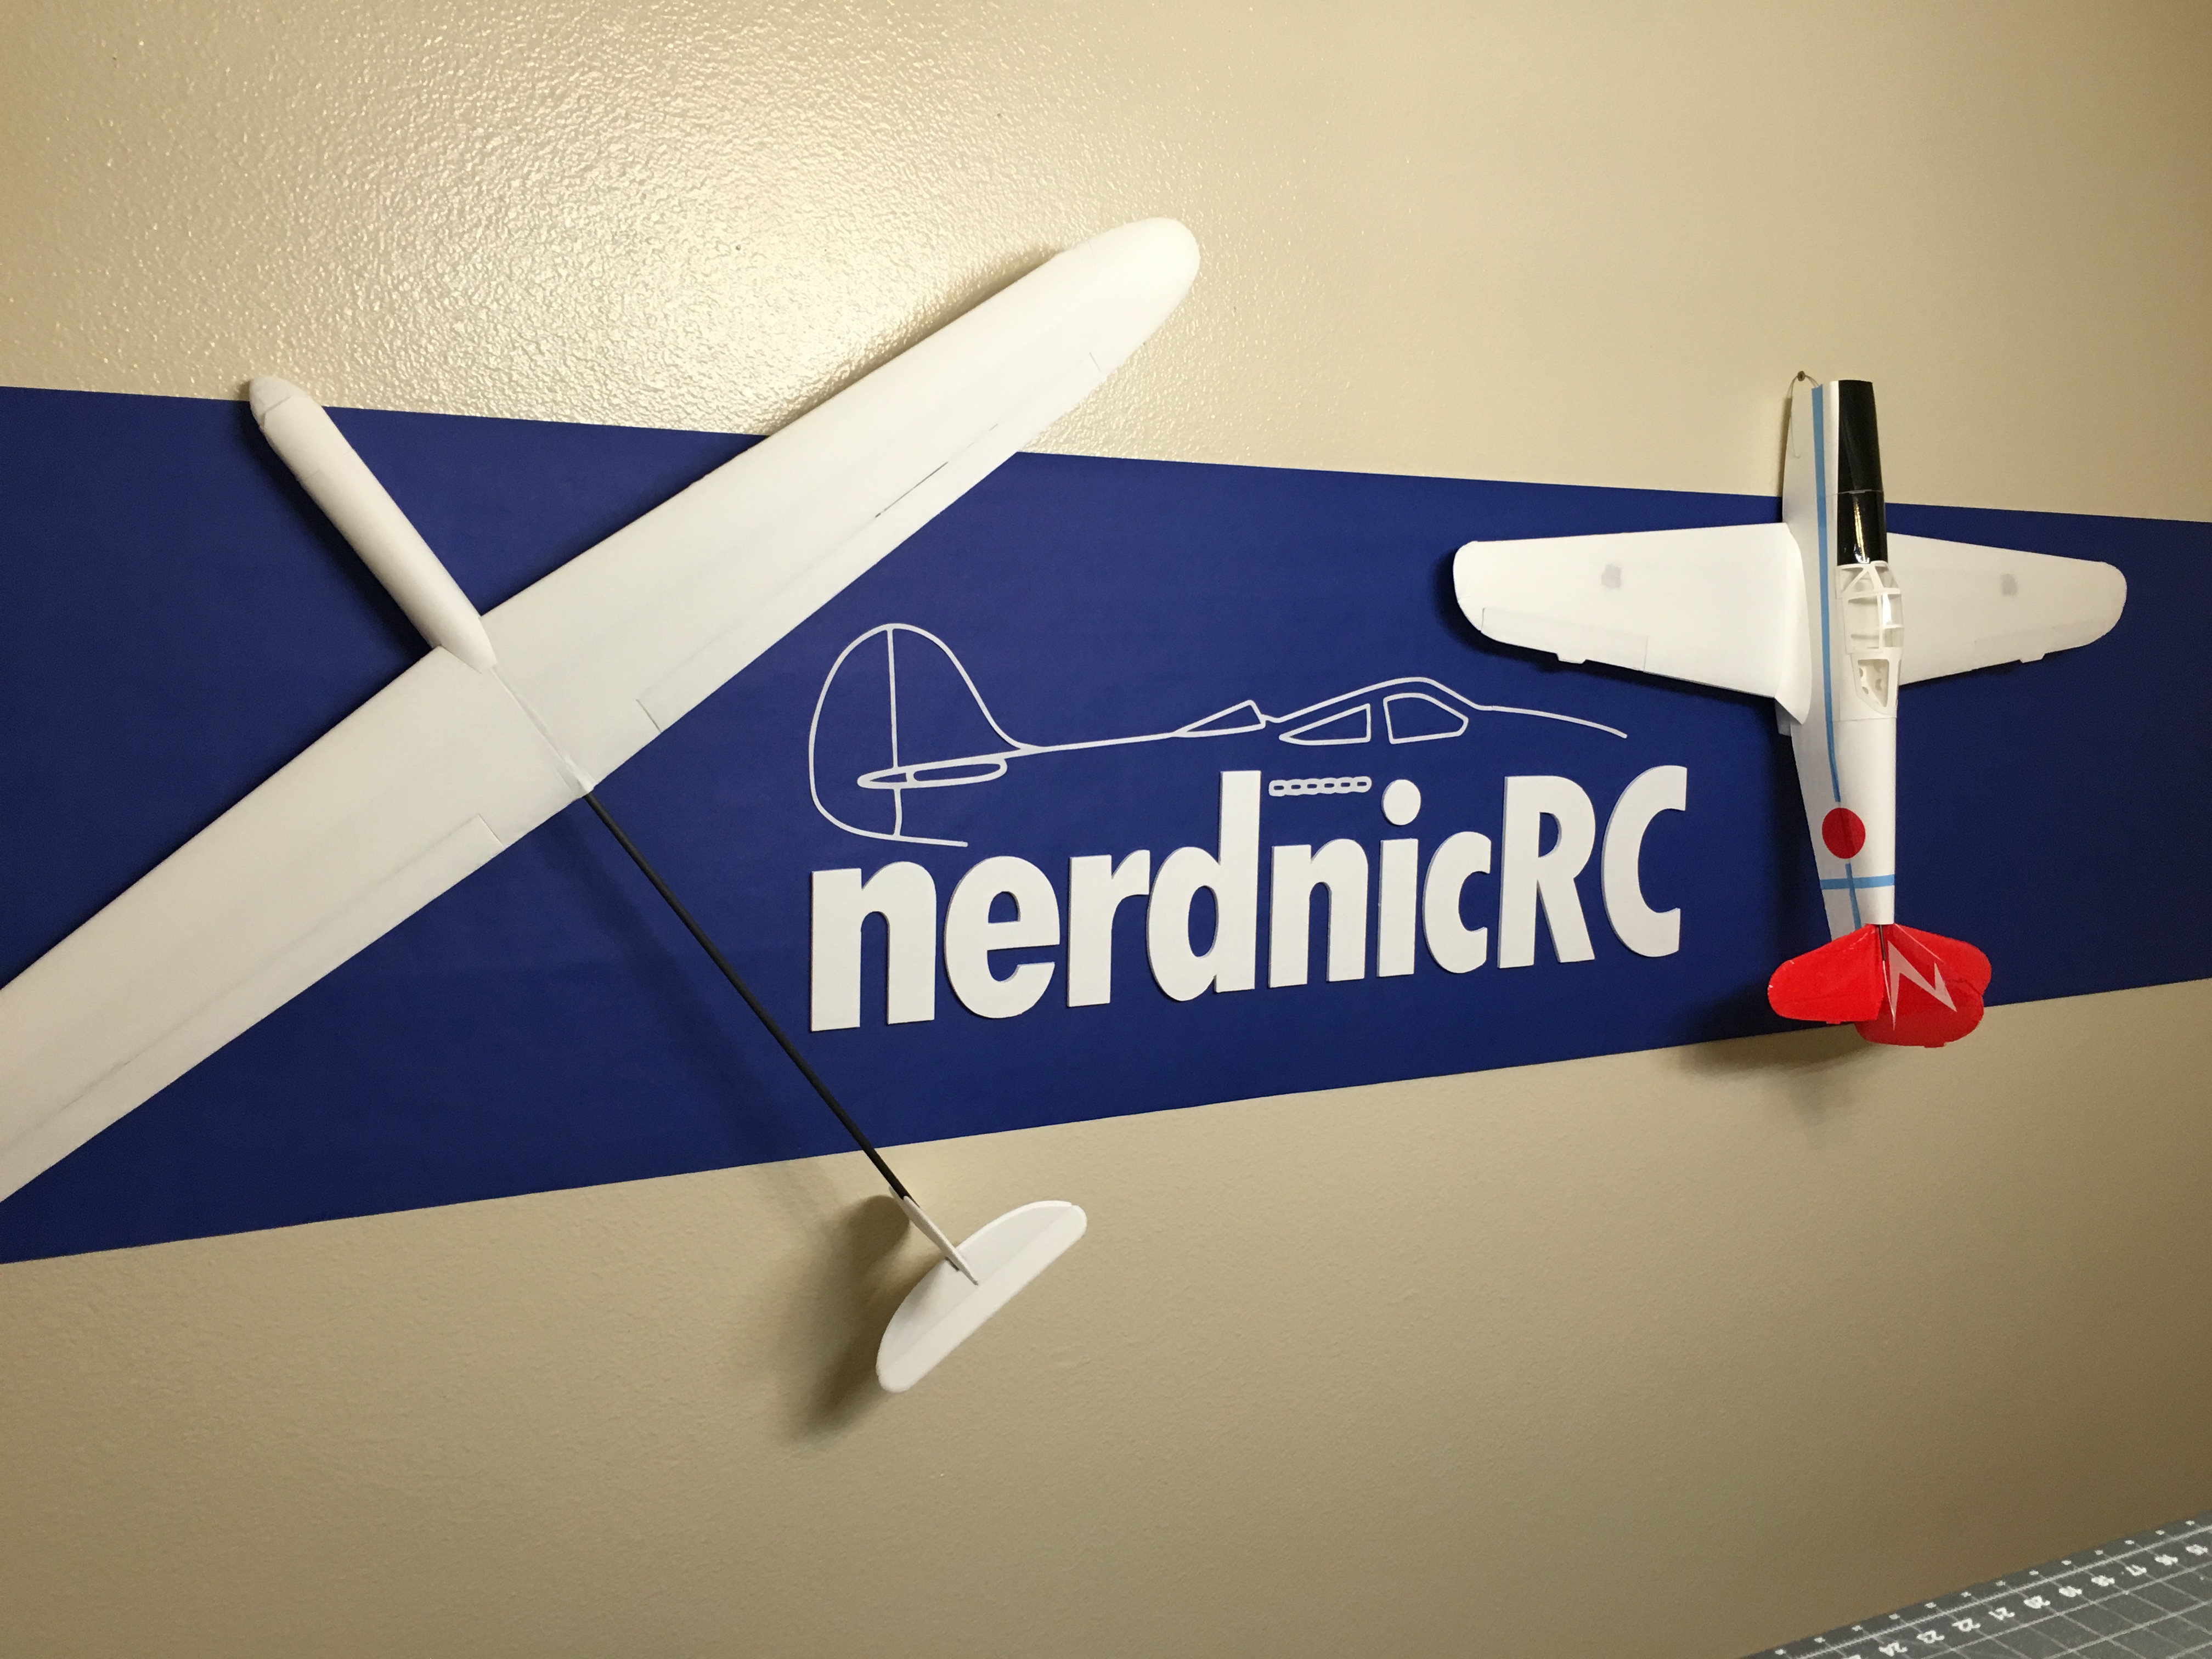
Size compared to the nnMiG 3
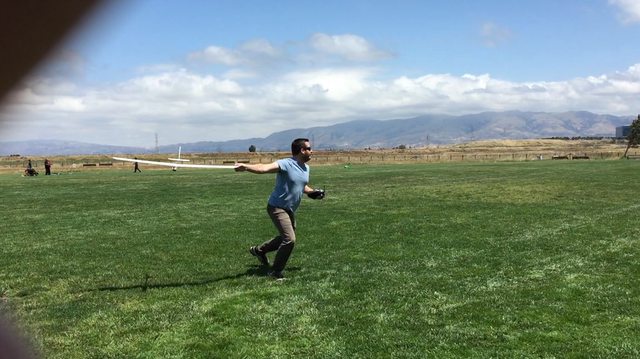
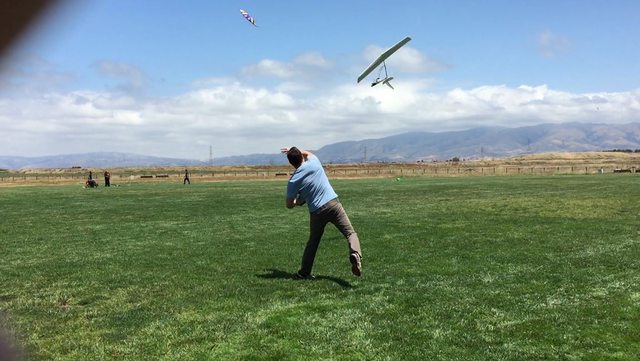
Testing
Quick sample
https://instagram.com/p/2uLfVXi-Lt/?taken-by=nerdnic
Oops
That moment when..
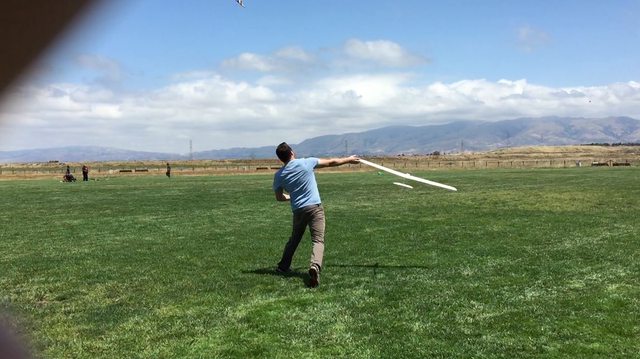
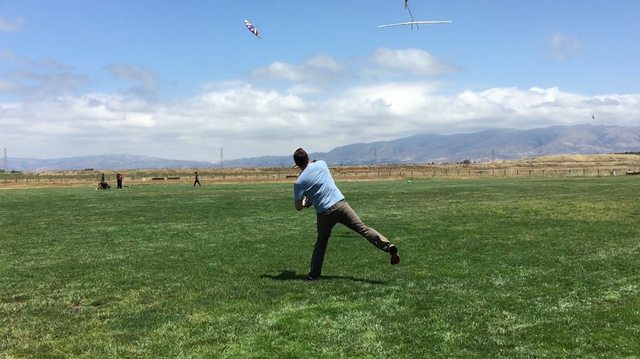
After about 10 full power throws the nose broke again. This time it didn't stress break like on beta 1, but rather the entire nose broke free from the wing. This was because my bbq spar was too high in the nose and left only a sliver of foam between it and the wing. This caused that sliver to break free, leaving the glued portion still stuck to the wing. Beta 3 will fix this issue and some other bugs I found with beta 2.
May 17th 2015 - BETA 3
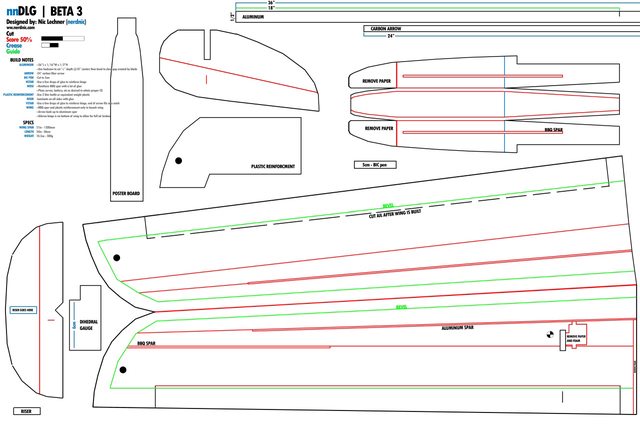
Beta 3 plans are finished and ready to be tested. For the first time I'm opening the beta testing to the community! For plans please see www.nerdnic.com/beta
January 4th 2016 - BETA 4
Beta 4 is built. It still comes out to 300g with the design changes.
-Wingtips redesigned.
They now allow full movement while your hand is on the peg.
-Alum spar placement and length
Spar is longer and in a new position
-Bbq removed from wing tip
It's not needed anymore
-Patch size reduced
-Ail is designed around 5g servo now
-Ail bevel is on underside of wing
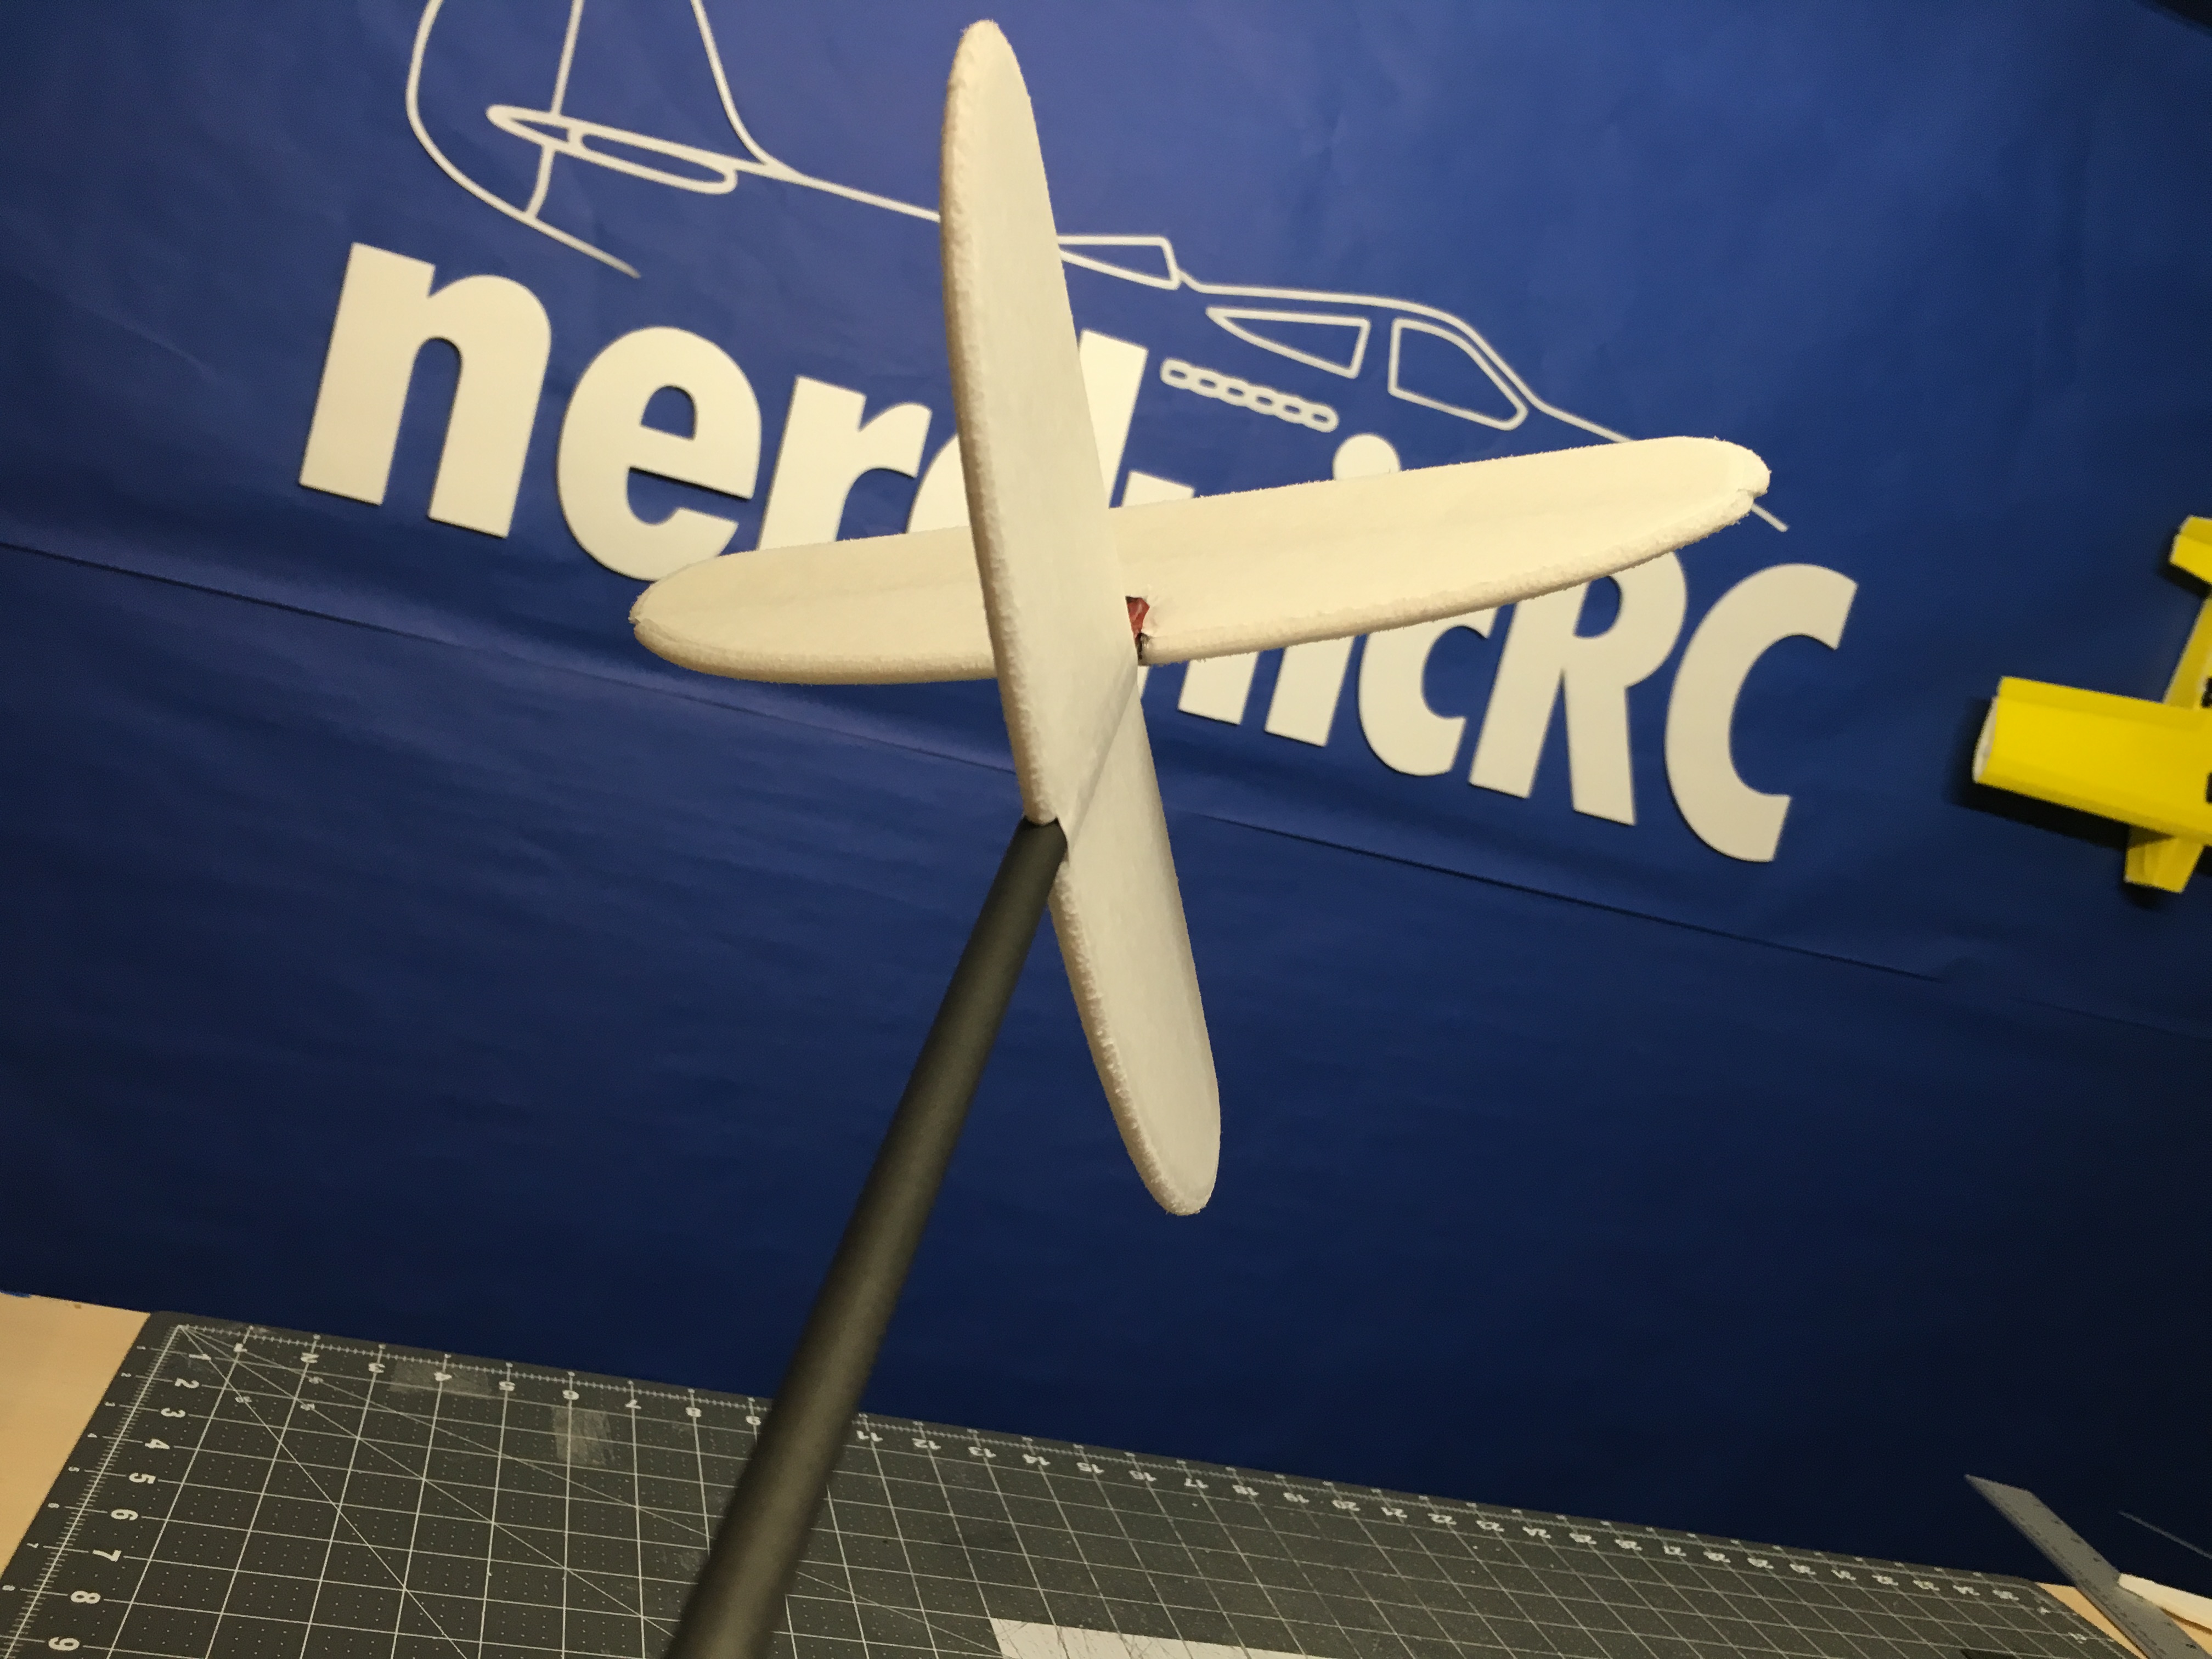
-hstab and vstab design tweak
Sizes changed and corners rounded
-hstab connection joint redesigned
-Nose redesigned
4inch cut of CF arrow sticks out of the wing and joins the nose. New shape of nose and built in hatch
-New airfoil
January 13th 2016 - BETA 4
Beta 4 plans are posted with a nearly complete redesign! However after building beta 4 I started to dislike the wing look and promptly started on Beta 5
")
August 23rd 2016 - BETA 5
I made changes to the wing shape and look. To reduce weight I have also removed most of the aluminum. There is still a 10" section at root but the rest of the wing is supported by carbon arrows. This will increase the cost a little as each arrow is about $3.50 but will also help save weight.
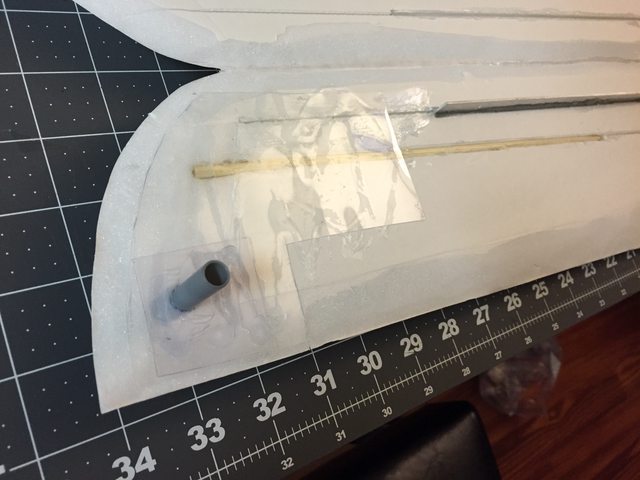
I wanted to find a better material for the launch peg "patch". This patch sits inside the wing tip and prevents the peg from ripping out. I was using 2 liter bottle plastic in the past but this is heavy and not heat friendly. It was hard to install because it would start to curl under the heat of hot glue.
I've upgraded to laser printer overhead transparency film. This stuff is micro thin and 3 sheets doesn't even weigh a gram.
..oh and it can hold over 20 lbs!!
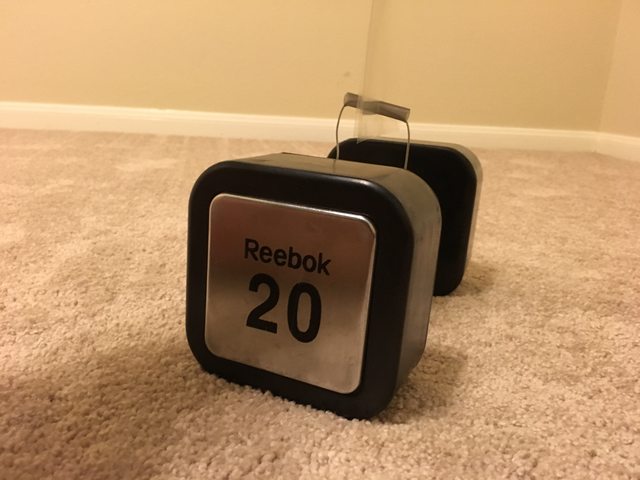
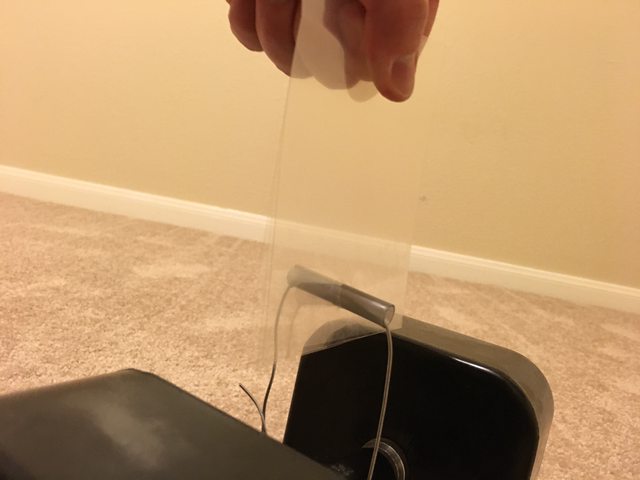
This stuff is great because it doesn't deform from heat, is super strong, and weighs literally nothing.
I love it! I'll say it again, too, look at all the first time posters! Three of you in just the last pages of this thread! Gives me a huge smile to see new guys engaging on this project.
While building with the laser overhead transparency film I stumbled on what I think is a next big advancement for the DTF hobby. Using this stuff as a skin makes foam AS HARD AS A ROCK. I'm going to do some strength testing but no joke, this stuff makes foam feel like it's been glassed. I put down a bead of hot glue and used a scrape piece of foam to smear the glue flat. Then the film goes right on top. The end result is so impressively strong!!
Here are some photos that will help you guys until I get my build video shot. Just note that what you're gonna see may not be look exactly like the plans. I make changes on the fly while I'm building and then capture them in the plans. The steps are the same but some of the pieces might look different. Just FYI.
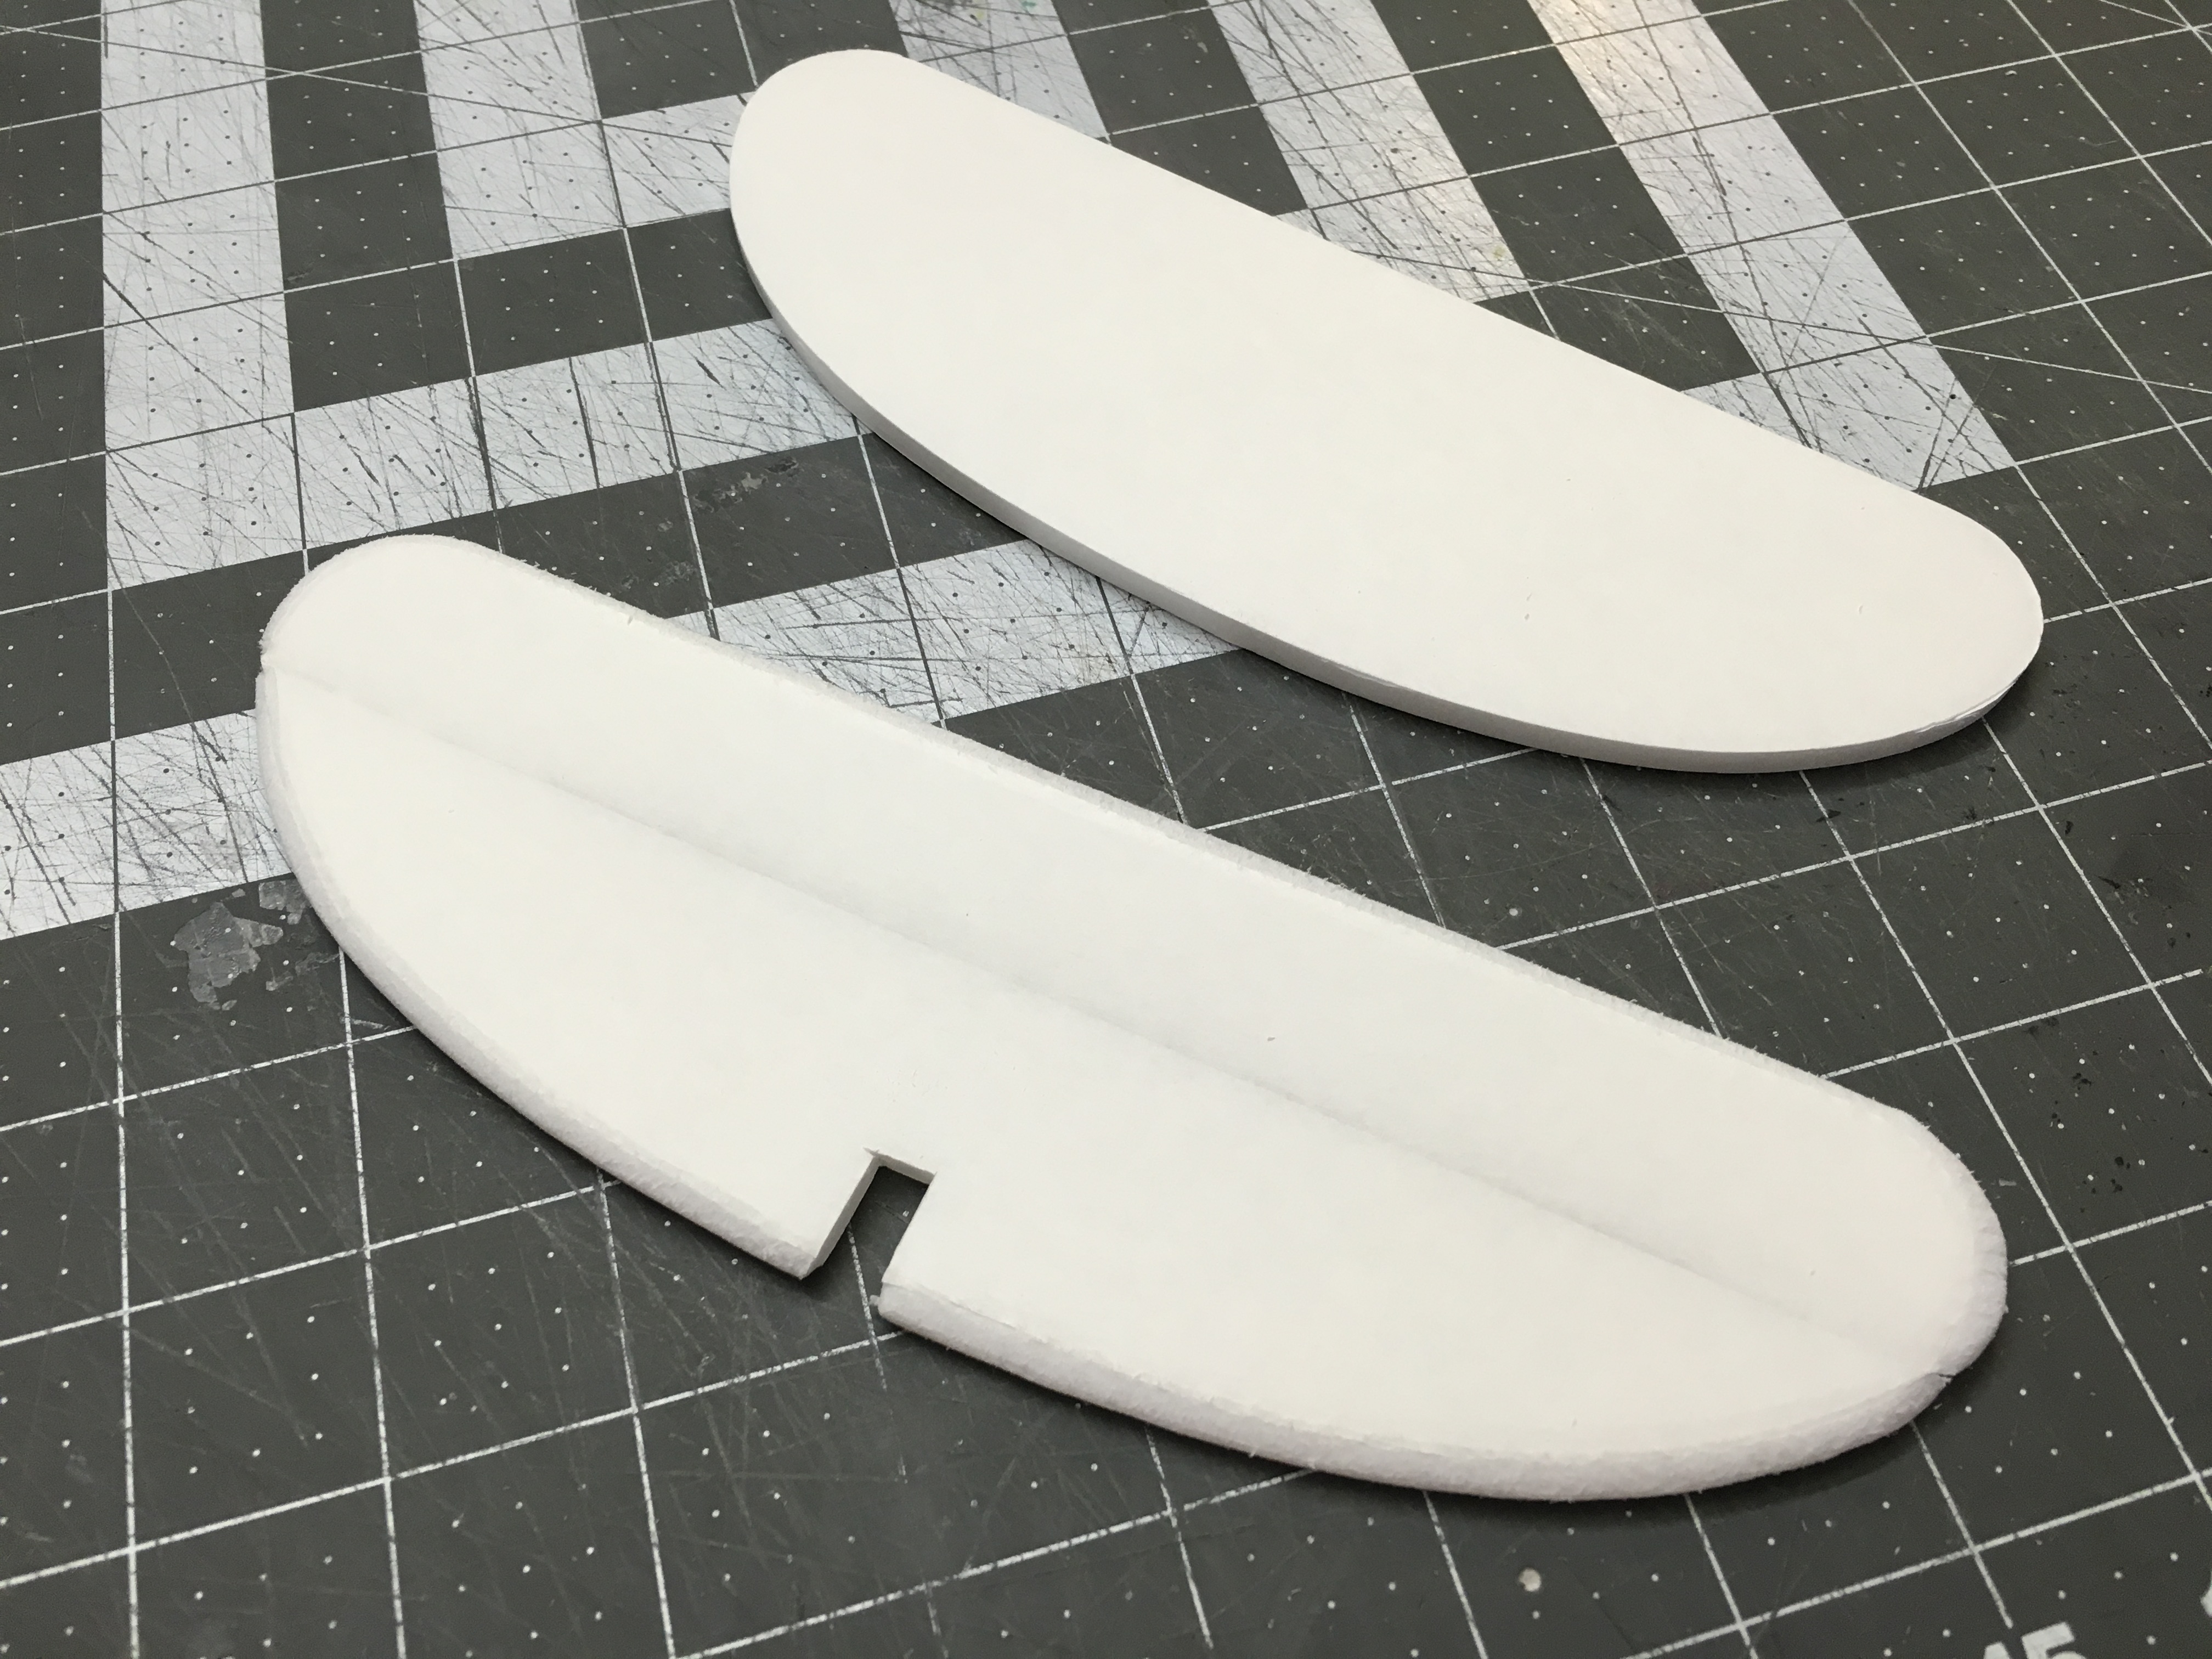
Start by getting your wings cut and beveled.

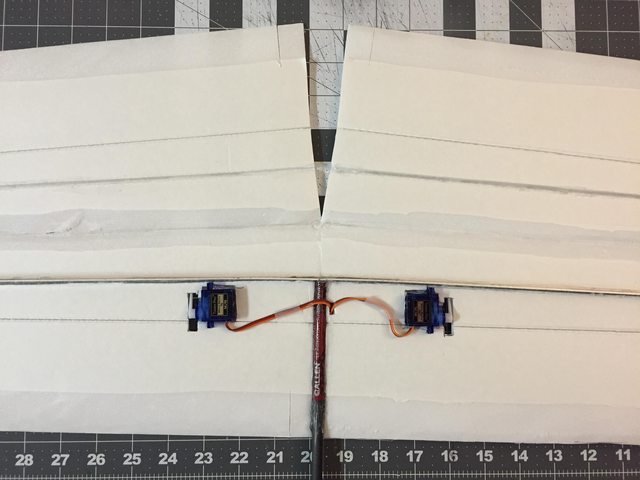
Glue your servos in. They sit embedded into the bottom wing. You'll need to pick out the foam where the 50% cut outline is. I'm using 5g servos here but you can use 9g also. Join your bottom wing and then add your alum.

The gap left should be the same width as your arrow, 7mm.
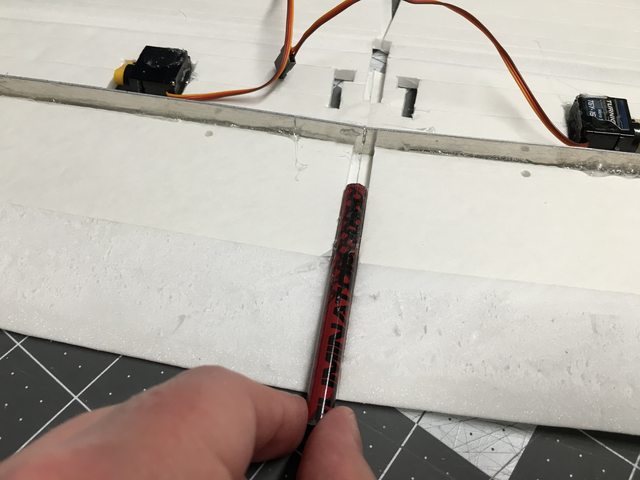
Glue in your 24" arrow piece. This should be touching the alum. Lay your wing flat and then let your arrow run flat against your table also. Use a lot of glue here, all the way to the trailing edge. Let this sit for 5 minutes to fully harden.
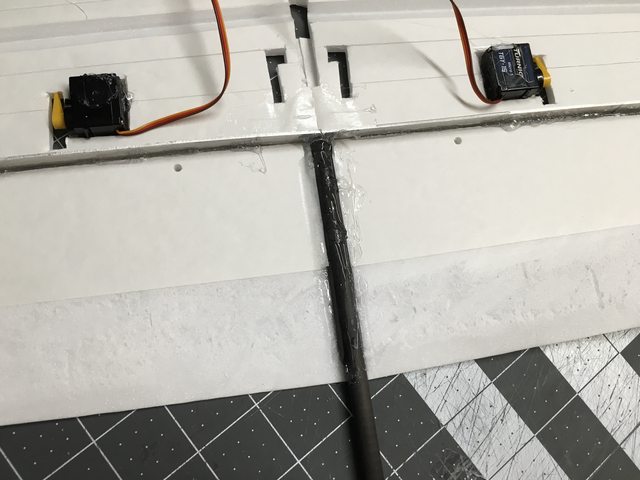
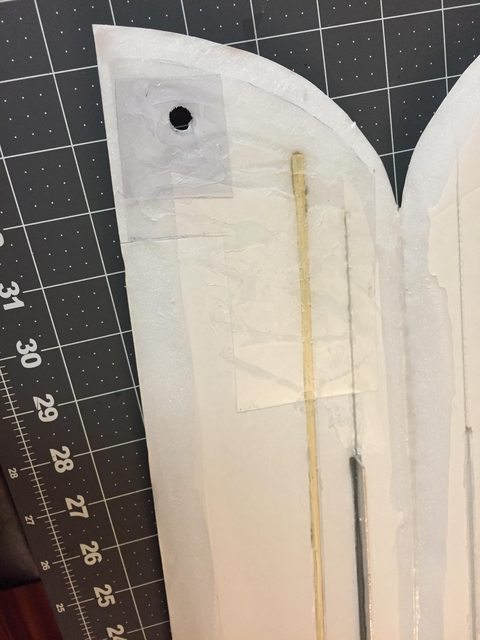
Add your patch to the bottom wing of your throwing wing. If you're right handed this is your left wing, left handed = right wing. I'm using two layers of the laser overhead transparency. I'll be adding a 3rd layer on TOP of the completed wing.
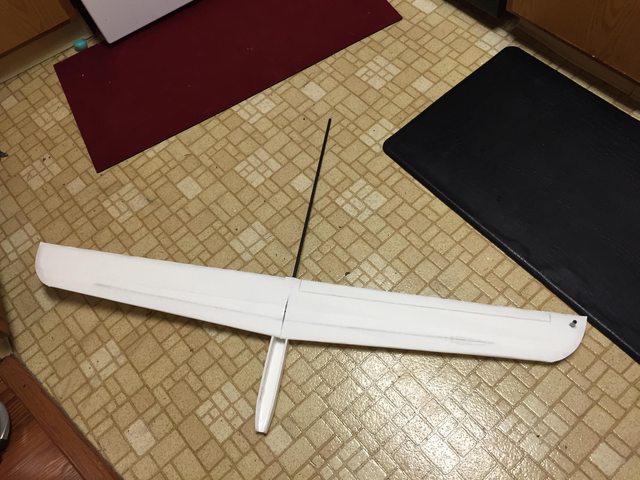
Add your spar arrows. These are 22" long. One bead of glue down the wing is enough to hold them in place.

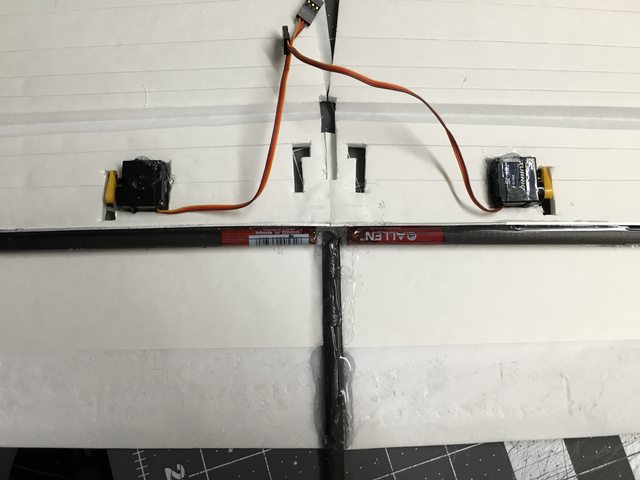
Now I did this step out of order so I don't have a picture. You need to add your 3" arrow piece that sticks out the leading edge. Glue it in like you did the main arrow.
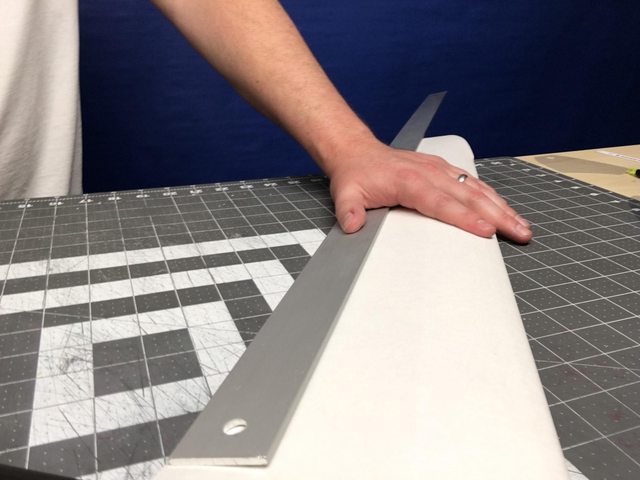
Do your wing fold over. Glue leading edge, spar, servo, and where the paper ends at your trailing edge. So not all the way to the tip of the trailing edge, but just to the point where you start your bevel. I use a long ruler to help me keep the wing in place.
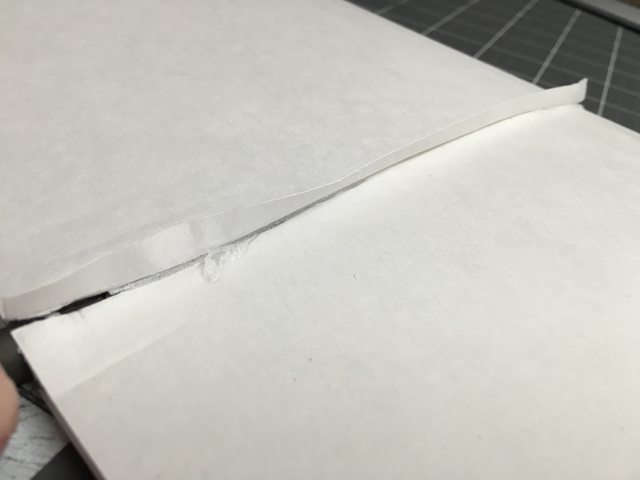
Do the same with your other wing and then glue the flap overlap down.

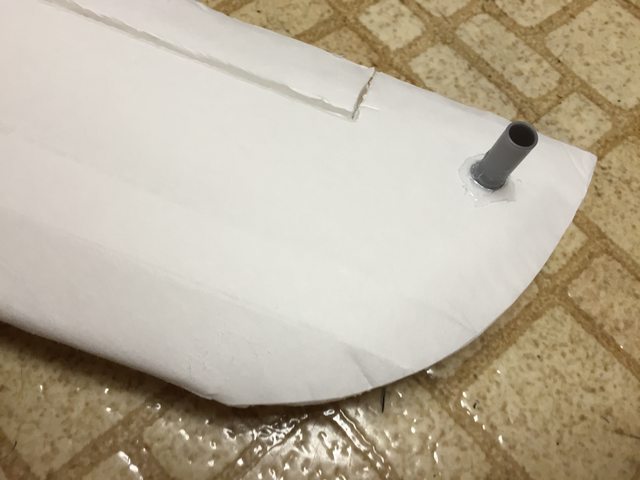
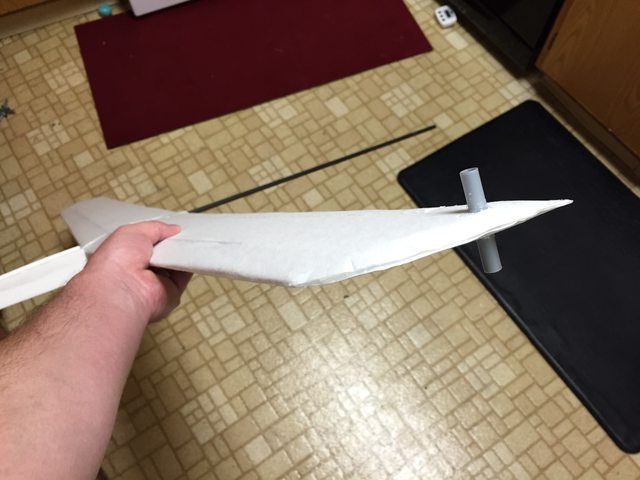
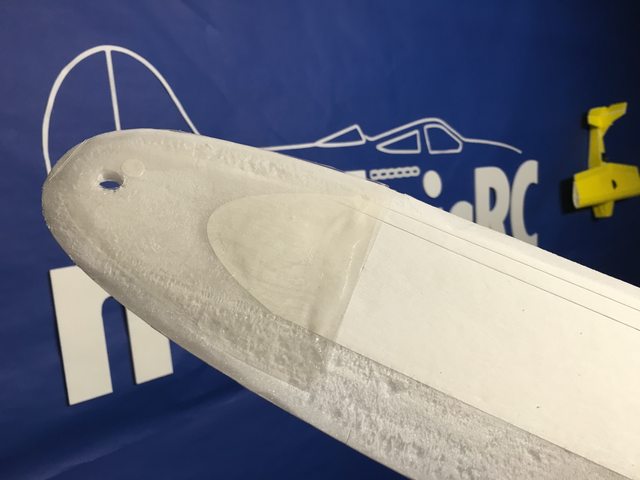
Glue down your wing tips and add your outside patch. Install peg.
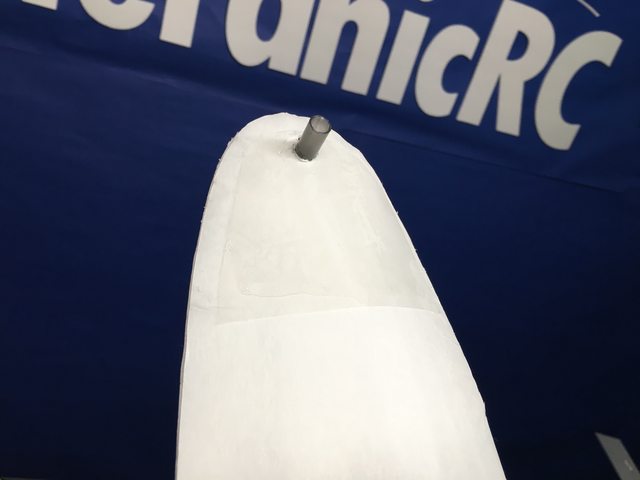
Build your nose.
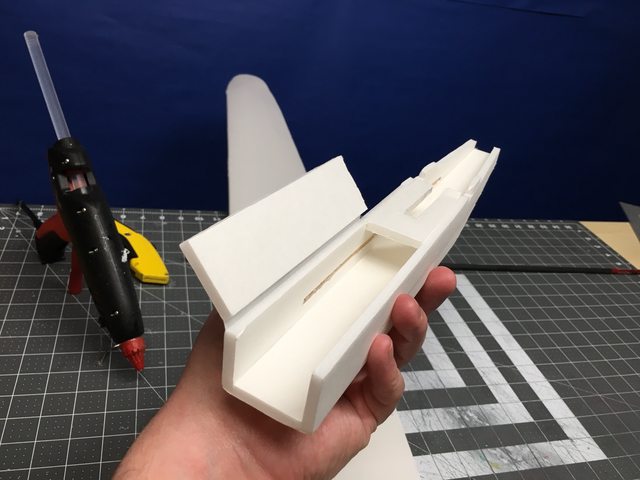
I came up with a way to get some nice edges with minimal effort.
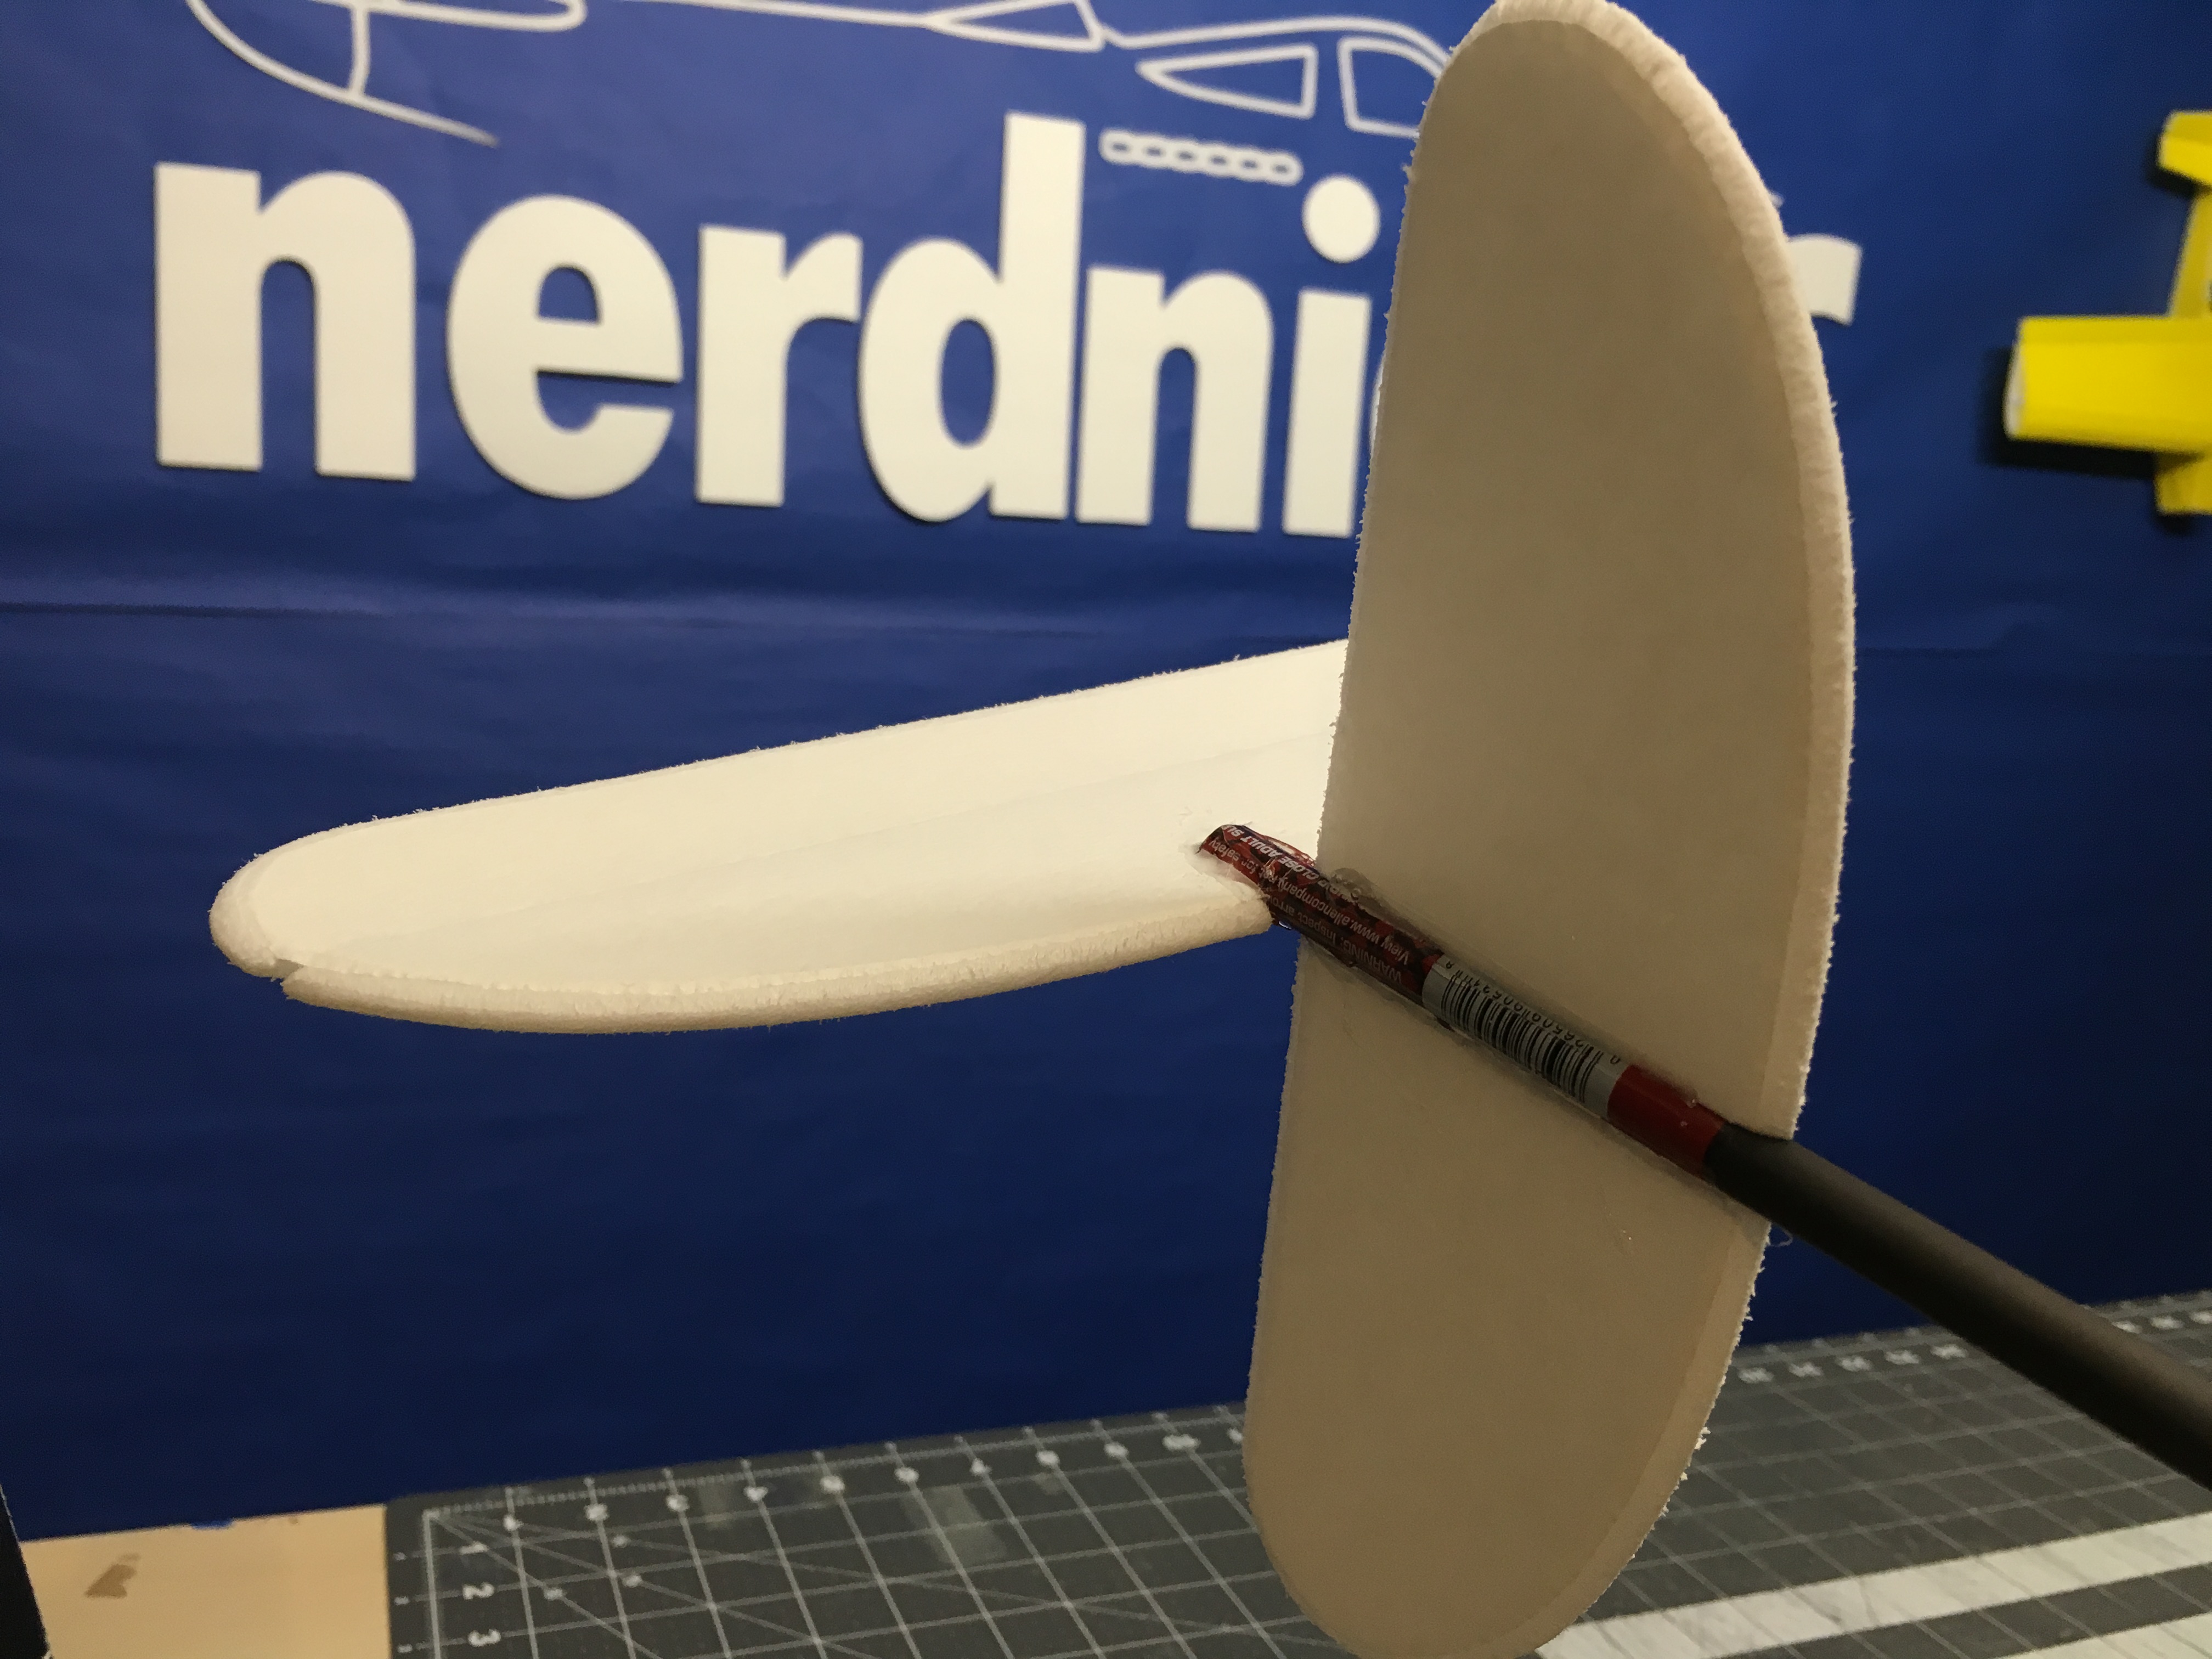
Im testing the install method of cutting a channel in the vstab.
All wrapped up
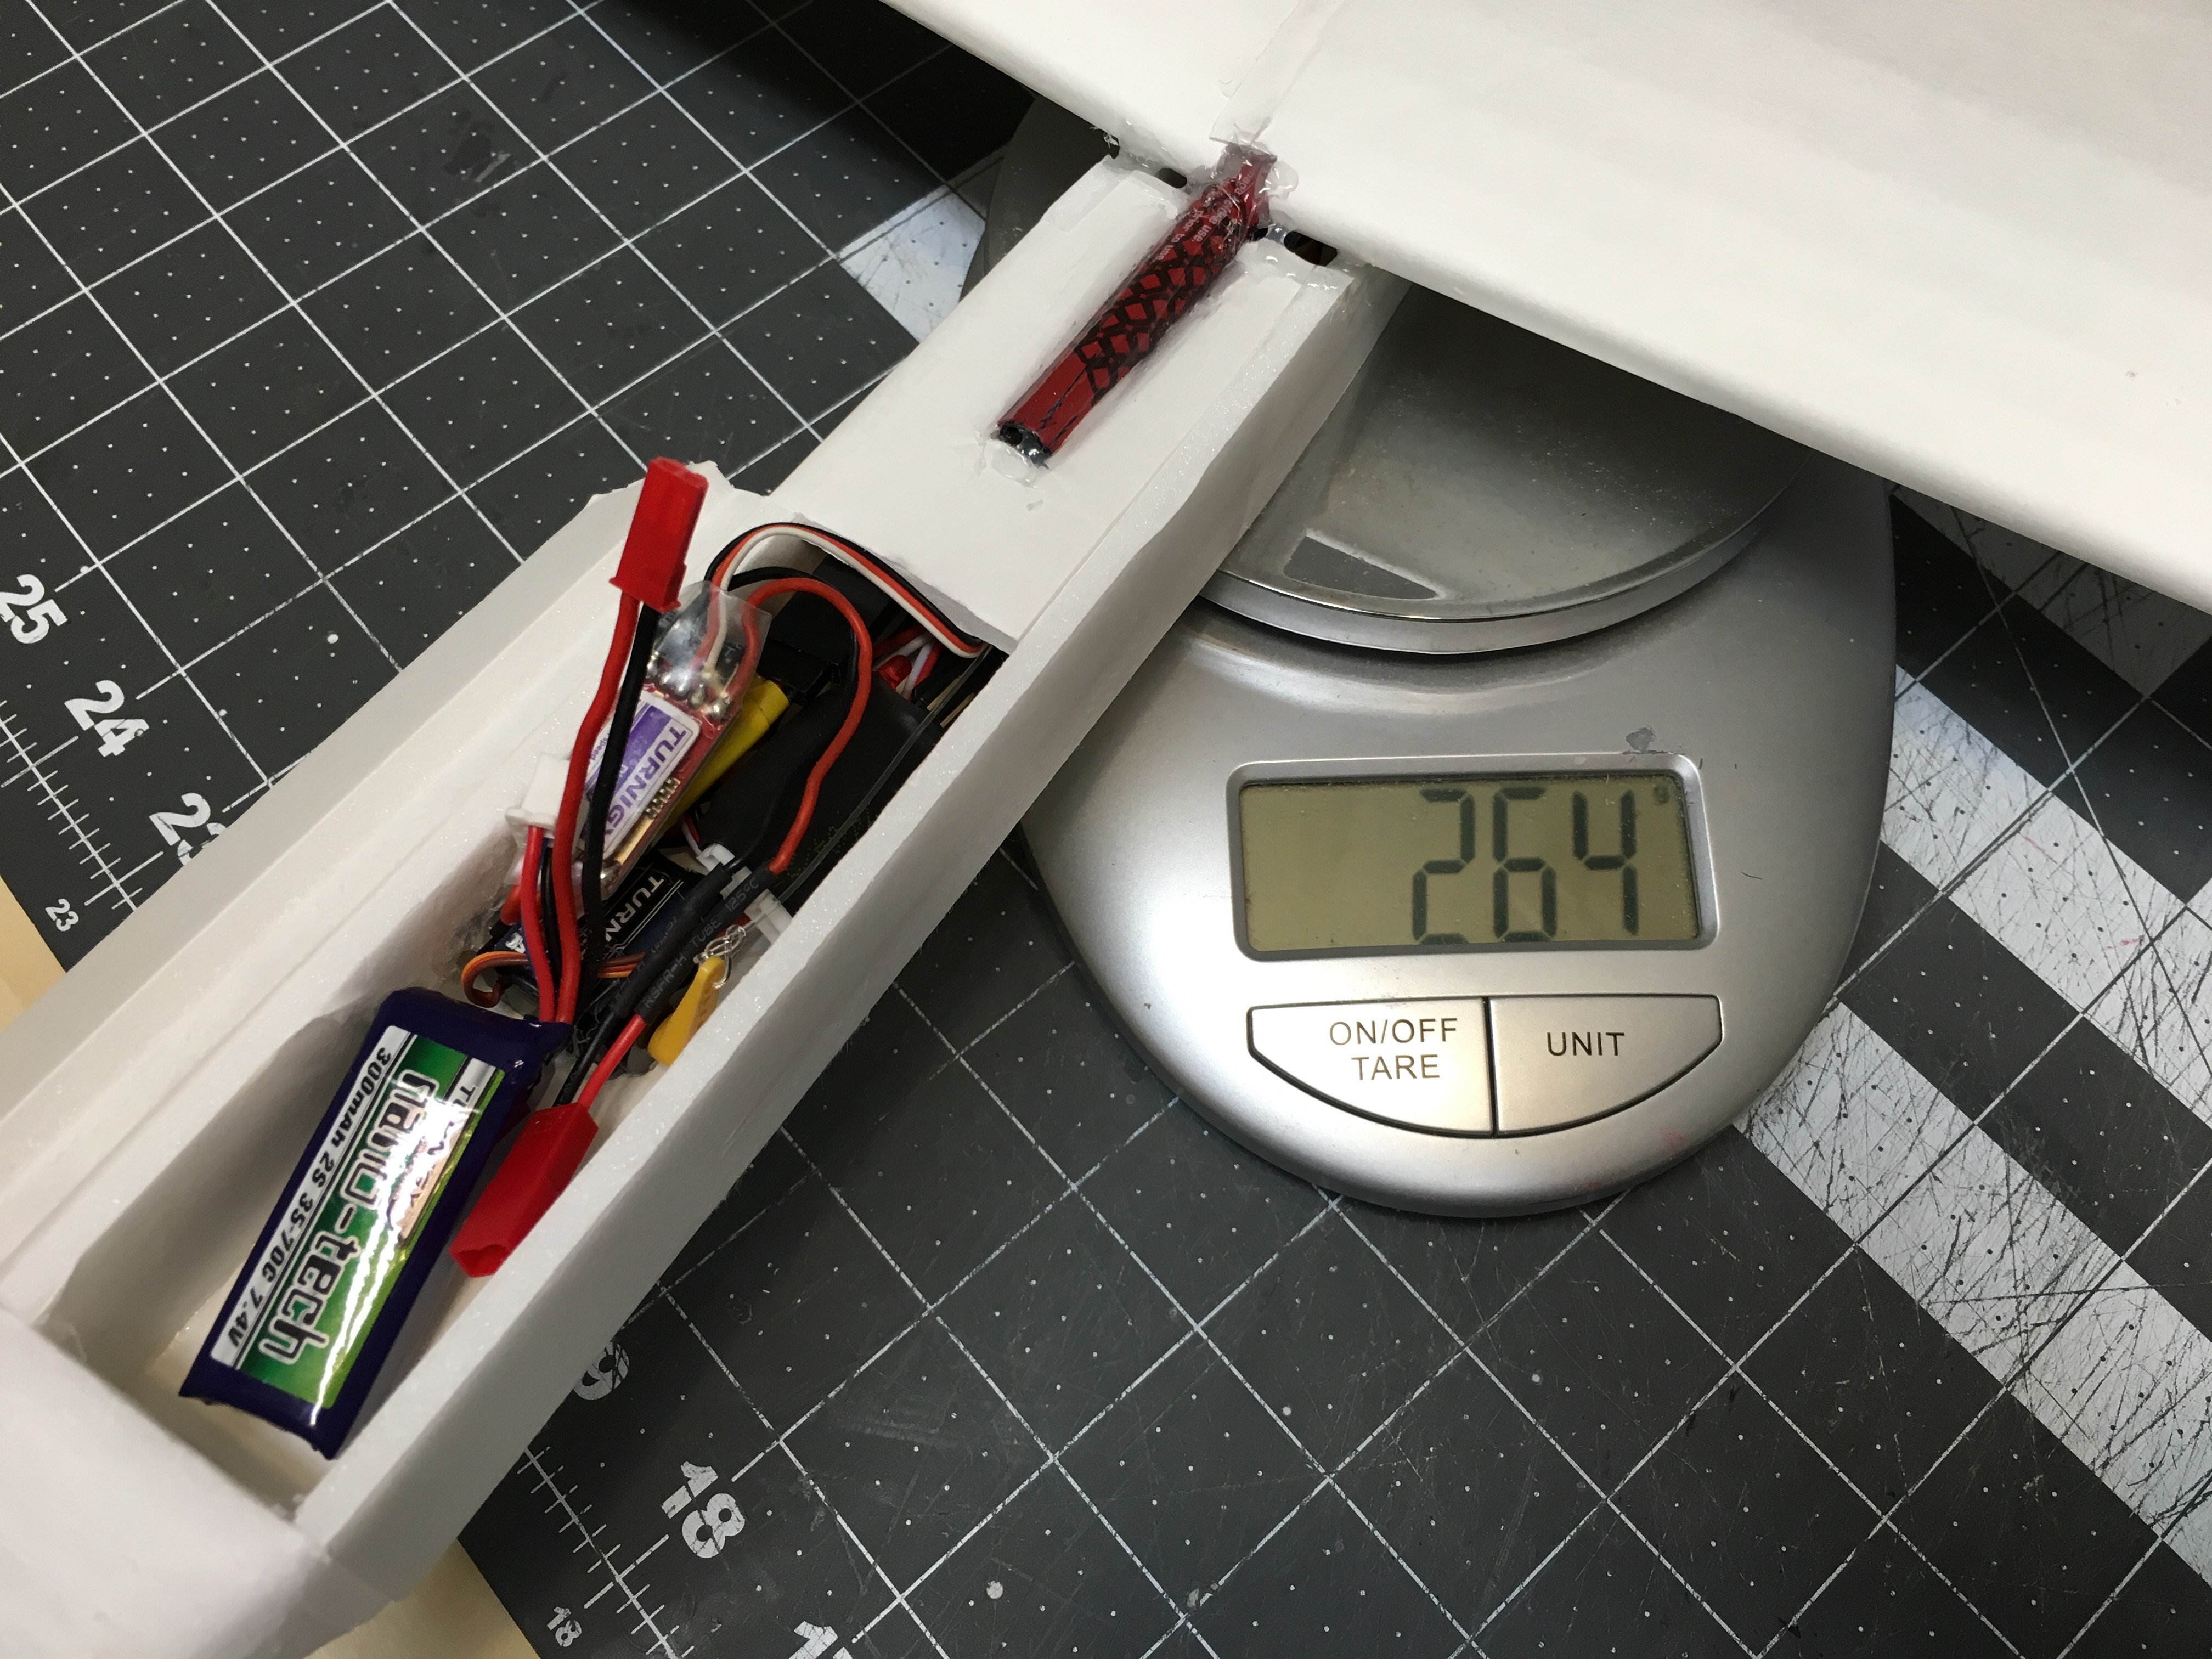
AUW with 5g servos, no rudder, spring pull elevator, x4r rx with vario sensor, 6a esc, and 2s 300mah lipo:
March 1st 2017 - BETA 6
- Increased length of tail boom
- Increased size of tail feathers
- Tail feathers now interlock
- Reduced length of nose and simplified design
- Added channel for wing carbon to sit imbedded in bottom wing
- Changed airfoil shape and thickness, now only 11mm thick
- Increased length of alum spar
Last edited: