Of Course it's an SE5

buzzbomb

I know nothing!
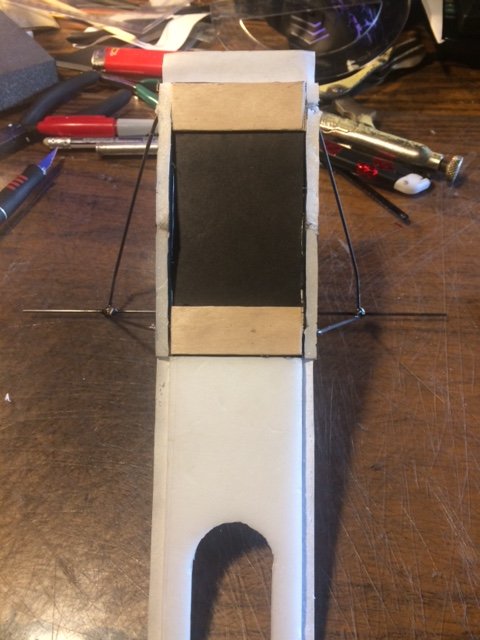
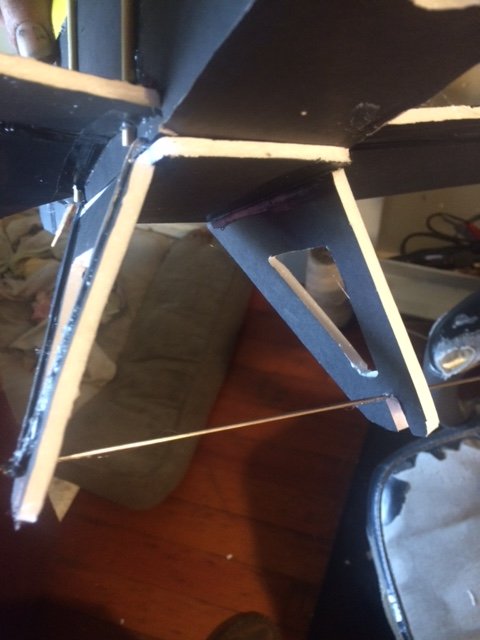
So the SE5 is next on my build list. This is an open call to anyone who wants to join in. Doesn't matter if you've built or flown it before, just so long as you want to build and fly one now. :)

As usual no time limit and no pressure (except some friendly ribbing now and again). ;)

I'll be building this one for my son, so he and I can engage in some cutthroat ribbon combat with the SE5 and the DR1. Whoots! :D He doesn't know it yet, but he'll be flying the maiden! :sneaky:

Follow along if you wish and join in if you'd like. If you're doing either, please comment when I do something stupid. I wish you could comment before I did something stupid, but that'd be tough to pull off in a forum venue. Oh well. :p
 

buzzbomb

I know nothing!
And so it begins! I've got the struts and tail feathers ironed and then I got stumped. During our Triplane Tribuild! @kilroy07 came up with the idea of running skewers down the leading edge of the wing struts for some added strength. It worked so well in my DR1 build that I naturally wanted to do the same for the SE5. Only it wasn't as straightforward as I envisioned. Here's what I've got so far, and my ideas for skewer placement:

IMG_0344.JPG


In both versions the skewer will run down through the foam. The version on the left allows glue to be applied along the skewer, as it will be on the exterior of the leading edge and can just be glued to it, like we did with the DR1. I'm afraid that will deform the tabs that go through the wings on this build though, and just gluing a piece of skewer to the front without running it through the tabs doesn't seem like it would add much actual lateral strength.

The version on the right does not interfere with the tabs, but once the skewer is run down through the strut and cut off top and bottom, that's the only place I'll be able to apply glue to it.

Anyone have an opinion, one way or the other?
 

sundown57

Legendary member
cross them. Put one inside and the other outside. that way you can go full length of top and bottom support. and you can glue them to the support as well. you could even cut a piece of foam like 1/2 x 1/2 inch and put it right in the center of the x were the 2 cross that would help support it even more.
 
Last edited:

sundown57

Legendary member
Actually, come to think of it. that's a really good idea so forget I mentioned it and ill take on this build of the se5 and use the idea my self. Thanks for the question.
 

kilroy07

Legendary member
I'm afraid that will deform the tabs that go through the wings on this build though, and just gluing a piece of skewer to the front without running it through the tabs doesn't seem like it would add much actual lateral strength.
You get the lateral strength from the center supports, so I suggest you skewer them as well. I like the leading edge idea, just fill the slot with lots of glue, it’ll hold.
On my Dr.1 I had both outboard struts in place then fitted the center, marked where they met the top wing and then removed them, poked holes in the wing and fuselage (for the skewer), assembled the struts with the skewers and glued them in place.
It sounds like a lot of work typed out, but it wasn’t too bad.

I can hold my Dr.1 by the top wings outer panel just fine. I attribute that to ironing and strut bracing.
 
Last edited:

buzzbomb

I know nothing!
I got a little tied up with the electronics this evening. After digging through this, and looking for that, and pulling the other, and matching everything up, I've got the same motor, esc and battery combination for both my DR1 and my son's SE5. That way, when he kicks my butt, I can't whine that he had a better motor. :p:LOL:

Then I built the power pod (It's taped. The Duck Heavy Duty Clear packing tape is really clear), got some work done on the fuse and ironed the bevels in the elevator and rudder. Then I screwed up and used too much glue to seal the beveled edges and they both bound up going one direction and not the other. So I had to use the nozzle of the glue gun and start scraping glue and loosening them up and now I'm going to let them dry until tomorrow evening, and I'll see where they're at.

Here's where I'm at:

IMG_0345.JPG


Not perfect, but I'm pretty happy with it so far. I've tabled the strut/skewer development for the moment. I want to get to the point where I can put the wings in place and mock up some other ideas I've been noodling. Something along the lines of where I was going with it, crossed with @sundown57's suggestion and now incorporating @kilroy07's as well.

That's for another day.
 

buzzbomb

I know nothing!
Got a little more done today.

IMG_0350.JPG


Looking at the picture, I wish I had used white paper for the rear turtle deck and black for the front. That would've looked pretty cool. Next is to glue the bottom wing on and start mocking up my wing supports. It's late and I want a fresh mind for that. Also, I got tape happy and ran the HD packing tape along the top seams on the bottom wing, not thinking about having to glue it to the fuse. I want to approach that problem with a fresh mind as well.

Until tomorrow, then.
 

buzzbomb

I know nothing!
I am still to try the ironing!

I'm with @kilroy07. The benefits of ironing the edges seem to far outweigh the extra step during construction. I can hold my DR1 by a top wing tip and hold the fuselage with my other hand, and I can't make the wings flex in any direction without simply breaking something. Granted I've got two skewers assisting that, but I don't believe they alone can account for that kind of rigidity.

I've gotten to where I try to get all the parts together that are going to be ironed, and do them all in one session. Then when it's assembly time, they're all set to go. I've also increased the heat level a little bit to 387°F.

It's another skill that I'm learning and I'm still working on a successful and reproducible technique. Meanwhile, even if I don't get the edge exactly the way I want it, it's still better than if I hadn't ironed it at all. :)