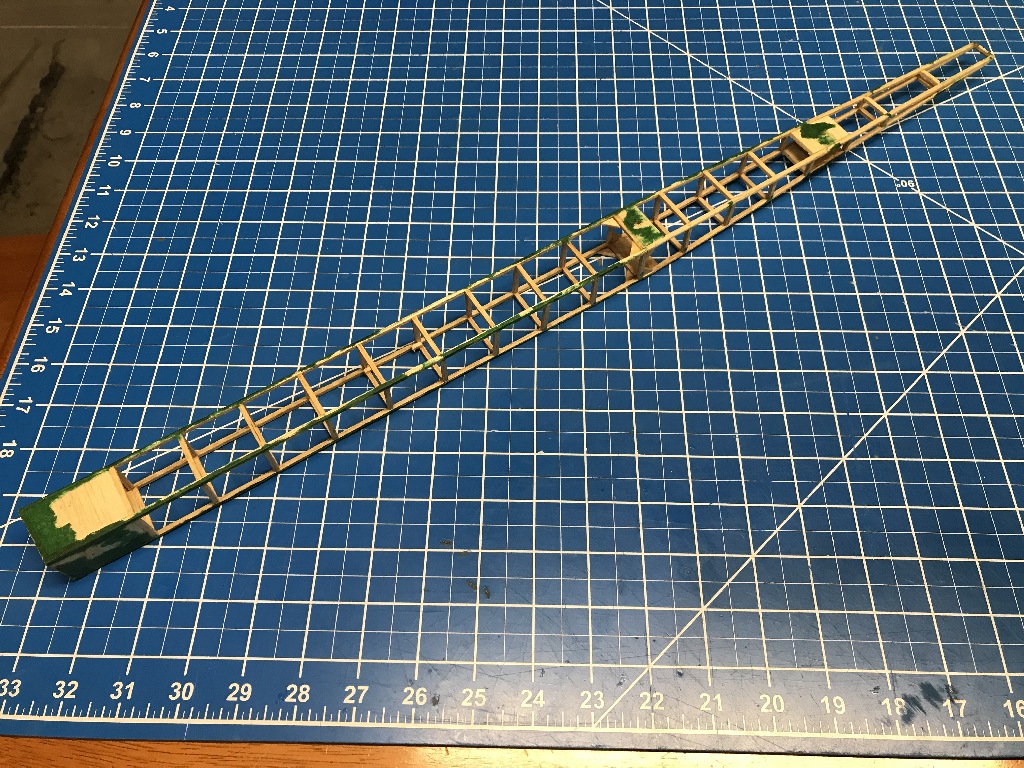
"One Nite 28" Rescue, Rebuild, RC Conversion

TooJung2Die

Master member
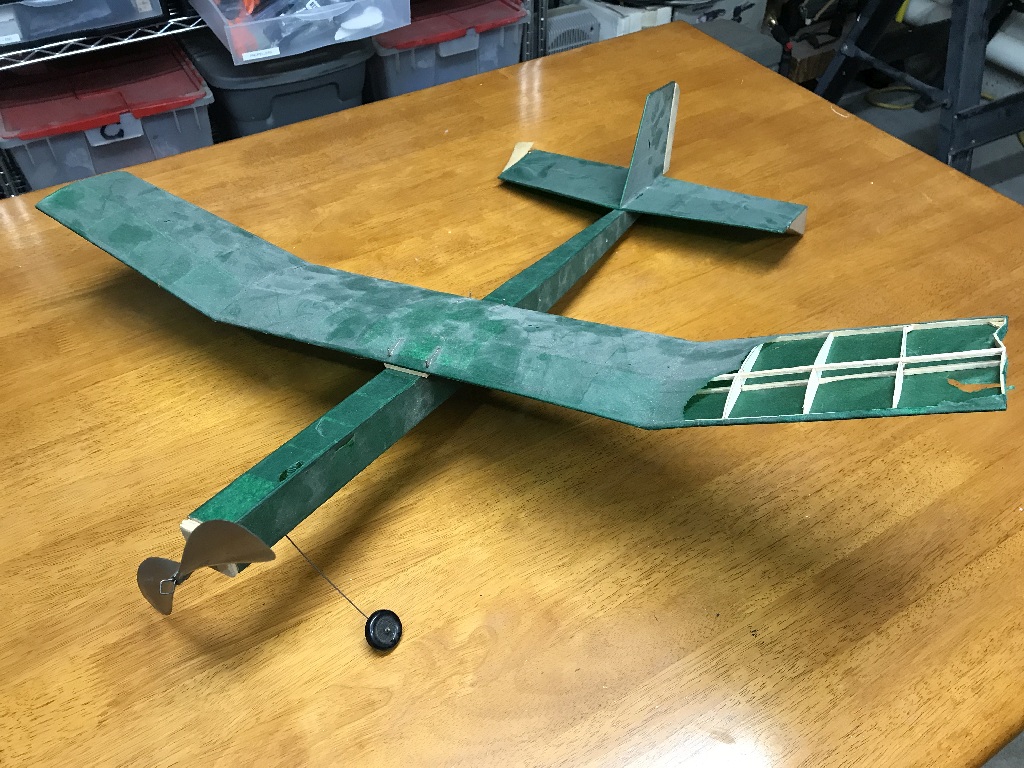
My first rescue and rebuild. :D It is an old Peck Polymers "One Nite 28" designed by Bob Peck. A FB was going to throw this away. It looks like he did a quality build so I rescued it to see what I can do with it. The One Nite line of rubber powered airplanes has been around for a very long time. Probably thousands were built and flown. This 28" version is still sold as the "Almost 30" kit by the new Peck Polymers.

IMG_1309.JPG


First step will be to strip off the old tissue and see what condition the frame is in. Yes, The landing gear is one wheel. o_O
Jon


Jon
 
Last edited:

Jackson T

Elite member
My first rescue and rebuild. :D It is an old Peck Polymers "One Nite 28" designed by Bob Peck. A FB was going to throw this away. It looks like he did a real quality build so I rescued it to see what I can do with it. The One Nite line of rubber powered airplanes has been around for a very long time. Probably thousands were built and flown. This 28" version is still sold as the "Almost 30" kit by the new Peck Polymers.

View attachment 141063

First step will be to strip off the old tissue and see what condition the frame is in.
Jon


Jon
Are you going to leave it free flight?
 

TooJung2Die

Master member
Are you going to leave it free flight?
Good idea. I was going to convert it to RC but now that you mentioned it and I've thought about it I may just keep this one rubber powered free flight. I have lots of tissue from all the kits I covered with document laminating film. I haven't covered an airplane with tissue in a very, very long time. Maybe I'll do better this time around.
 

Bricks

Master member
Hard to beat the old dope for covering with tissue, is the glue a yellow color of the old Ambroid glue? You may have to find an old egg beater and convert it to wind up that rubber band.

Some of my friends used to do rubber powered free flight, it was fun to watch them wind it up. They would stretch it out sometimes up to 3 times the length of the fuselage and start winding..
 

TooJung2Die

Master member
It's not Ambroid. I remember using that amber glue. This is clear. Maybe thick CA? Or Testor's. I have a bottle of new Aero-Gloss dope and Eze Dope. I'll probably have to use the Eze , the wife can't take the paint fumes.
 
Last edited:

TooJung2Die

Master member
How do you remove old tissue paper? I tried softening the glue with water, alcohol, lacquer thinner and acetone. First thing I learned is water is the worst. It didn't help at all and the dye from the paper bleeds into the wood. The best method I found so far is removing as much as possible with an Exacto knife and peeling it off. Then sanding off what is left behind. It is a bit tedious but that's how I have fun. The center section is cleaned of tissue.

IMG_1323.JPG


Jon
 
Last edited:

Bricks

Master member
Tissue paper is never any fun getting it off and usually when tissue paper was used it was on something small light and rather fragile, even the thicker tissue used on bigger planes was a pure pain in the A-- to get off and repair.
 

TooJung2Die

Master member
Tissue paper is never any fun getting it off
It wasn't too painful. Using a sanding block with 220 wet/dry paper and some emery board it eventually got cleaned off. Using the broken ribs as templates I'm replacing three ribs on the left wing end panel and one on the right tip.

IMG_1324.JPG


Many of the gussets were cut with the grain going in the wrong direction. Anything I see wrong will be fixed right.

Jon
 
Last edited:

TooJung2Die

Master member
Here are a couple of gussets glued in the wrong way.

IMG_1325.JPG


I don't think gussets strengthen a butt splice as much as gluing a piece of balsa alongside the spar joint.

IMG_1326.JPG


The wing is repaired and ready for tissue covering.

IMG_1327 cropped.jpg
 
Last edited:

Joker 53150

Mmmmmmm, balsa.
Mentor
I’m guilty of the error as well, and would guess many don’t realize how the grain orientation matters in applications like this.
 

TooJung2Die

Master member
You know it makes a difference. The gussets with the grain running parallel to the rib or spar popped right out. Two gussets were glued in with the grain at the correct 45 degrees that I replaced because they looked wonky. They stayed stuck. They had to be carefully cut out.
 

TooJung2Die

Master member
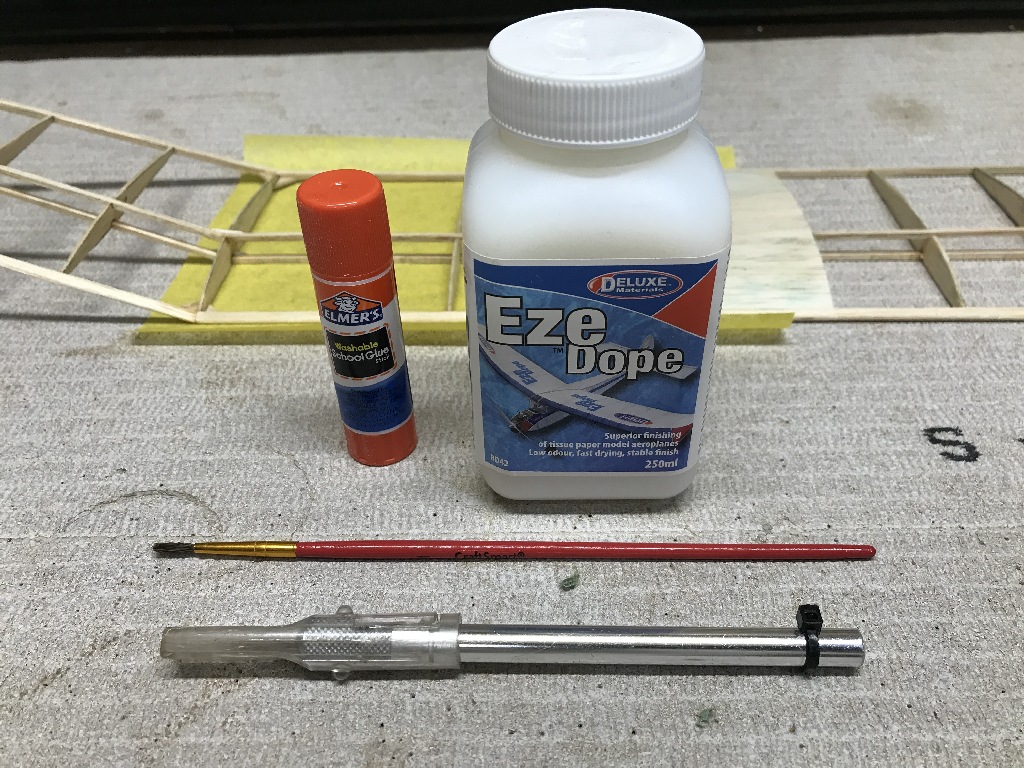
I haven't covered an airplane with tissue in over 40 years. I did some YouTube research because I might be a little rusty. :confused: The adhesives are better and easier to use. Since this will be just like I'm doing it for the very first time I'll describe the process step by step. Here's what I gathered together. Using glue stick and Eze dope for tissue covering will be new for me.

IMG_1331.JPG

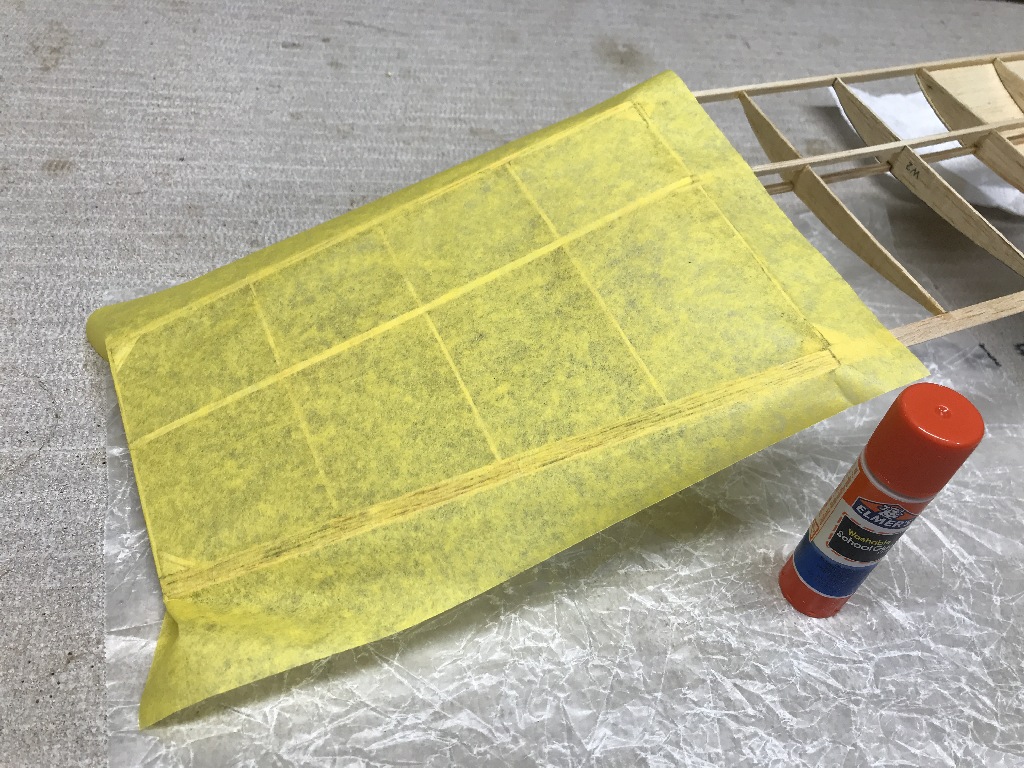
You'll need a blade with a razor edge. Starting on the bottom of the wing cut a piece of tissue 1/2" larger than the area to cover. Lightly rub the glue stick on only the outside edges of the frame you are covering. Don't get glue on the inside ribs or spars. Go around the outside frame twice with the glue stick.

Lay the tissue on the frame and lightly press the tissue into the glue. Pull the excess overhang lightly on areas that are slack or wrinkled. I really like glue stick for this. You can even peel off and reposition the tissue if you have to. When the tissue is smooth and wrinkle free go around the edge again and press the tissue down until it is stuck all the way around.

IMG_1332.JPG


Let the glue stick dry for a few minutes. Then trim off the excess with the razor blade or scissors, leaving about 1/16" all the way around.

IMG_1333.JPG


Mix one part Eze Dope with two parts water. You can use Elmers glue instead of Eze Dope, same mixture. It will be the consistency of milk. With a small brush paint the tissue edge with the Eze Dope mixture. With your fingers, smooth the edge down over the frame. Brush another coat on just the edge after it is stuck down. I wear surgical gloves for this. It keeps my fingers from sticking to the glue and tissue. It dries fast.

IMG_1334.JPG


After the bottom of the wing is covered we'll cover the top side.

Jon
 

TooJung2Die

Master member
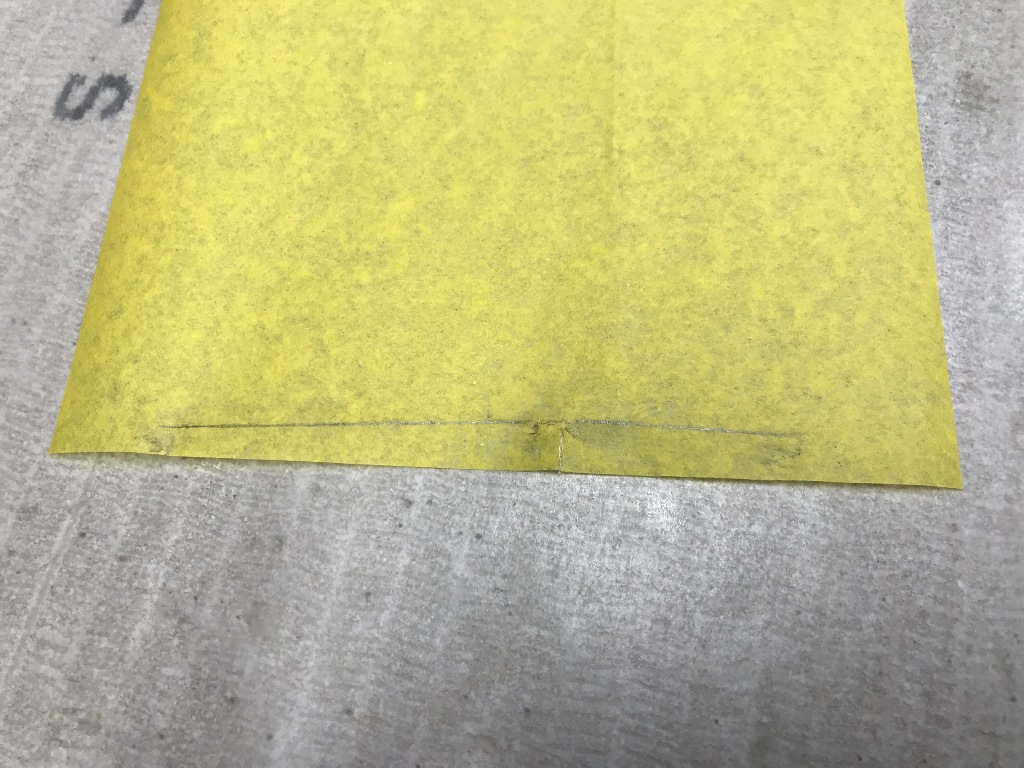
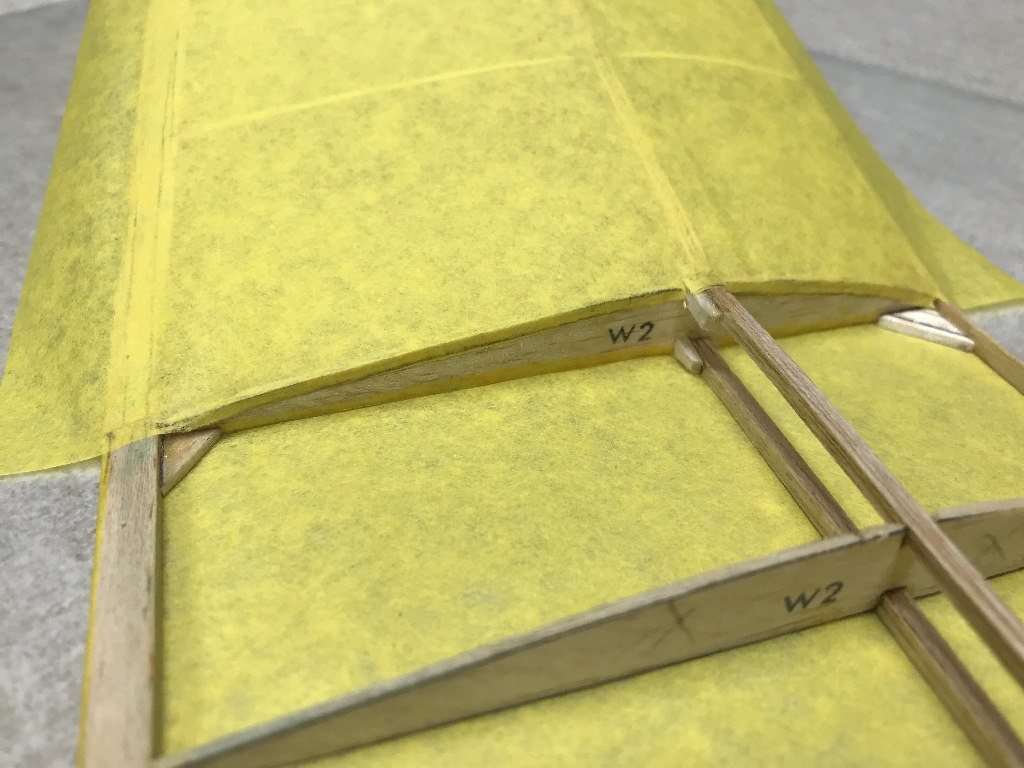
I'm going to cover the top of the end panels first. Because of the angle of the wing the tissue will have to be cut to match the top of the inside rib. Cut a piece of tissue 1/2" larger all the way around than the top of the wing. Lay the tissue on the wing so it overlaps the inside rib by about 1/4". Hold the tissue smooth over the top of the rib and rub a pencil lead over the top of the rib making a line on the tissue.

IMG_1336.JPG


When you pick up the tissue there will be a curved line that matches the curve of the rib. Trim the tissue on this line extending the cut all the way to the edges.

IMG_1337.JPG


Apply the glue stick again only on the outside frame of the area you are covering. When you place the tissue on the frame allow 1/16" to overhang the top of the rib you trimmed the tissue to match. If you got it right the curve you cut in the tissue will perfectly match the curve of the rib. Tease out as much slack and wrinkles in the tissue as possible. Tight smooth tissue at this stage will ensure a wrinkle free covering later on. Trim the tissue the rest of the way around all the edges leaving 1/16" as before. Use the Eze Dope mixture to glue down and overlap the top edges with the bottom tissue.

IMG_1338.JPG


Bottom of the wing and top of both wing end panels are covered. Everything is pretty tight and smooth already. The glue stick gives you time to pull out slack and wrinkles before it is fully set. The Eze Dope mixture smooths down the edges and blends them in so they are hardly noticeable. I'm liking this method.

IMG_1339.JPG


That's all the time and patience I have for one night. We'll finish it tomorrow.

Jon
 
Last edited:

TooJung2Die

Master member
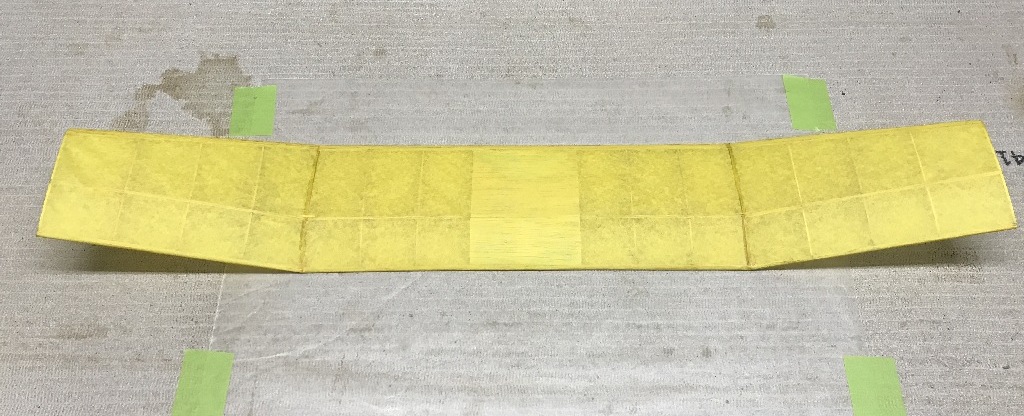
The last piece is in place. It's all looking nice and smooth at this point. The next step is shrinking the tissue paper.

IMG_1340 cropped.jpg


I taped 4 small blocks of foam board to the work surface at each corner of the center section of the wing. Using a spray bottle I misted the paper with water until it was evenly wet but not dripping. Then the wing was pinned down on top of the foam blocks to dry. It is pinned down to keep the wing from warping as the tissue shrinks tight and the foam blocks allow air to circulate underneath.

IMG_1341 cropped.jpg


The drying time was sped up with a heat gun set to hair dryer temperature. The tissue shrank until it was tight as a drum. No wrinkles or ripples anywhere.

IMG_1343 cropped.jpg


Using this new (to me) method resulted in the best wing tissue covering I have ever produced. Very Happy. :)(y)

Jon
 

TooJung2Die

Master member
Not happy this morning. :( I screwed up due to my ignorance. The day after shrinking the tissue it was slack. Almost like it was before shrinking. I fired up the heat gun, set to just warm, and it shrank instantly to drum tight in seconds. Maybe it was the humidity in the air? It's around 50 percent, not really humid for around here.

Maybe it needs a few coats of Eze Dope to seal it? I applied four very light coats of 30/70 thinned Eze Dope with an airbrush and dried it in between coats. Darn if it didn't begin to go slack again after a few hours. Not very slack but not tight like it's supposed to be.

I'm pretty sure I know the reason. This wasn't ordinary tissue paper. I used the tissue that came in an old-timer kit for the So-Long free-flight. It is most likely silkspan tissue. Silkspan tissue is put on the airplane while it is wet. Silkspan is great stuff when you use it right. Put it on dry and it doesn't shrink like regular tissue. I thought it was ordinary tissue paper. (Smacks forehead with palm of hand) :mad:

I sprayed the whole wing with denatured alcohol and peeled off the tissue to begin again. They say experience is what you gain from making mistakes. I'm going to have lots of tissue experience. Here is the wing again, stripped, covered and shrunk with ordinary tissue. One very light coat of very thin Eze Dope airbrushed on. It's tight and smooth as a drum skin. Happy again. :)

IMG_1346.JPG


Jon
 
Last edited:

TooJung2Die

Master member
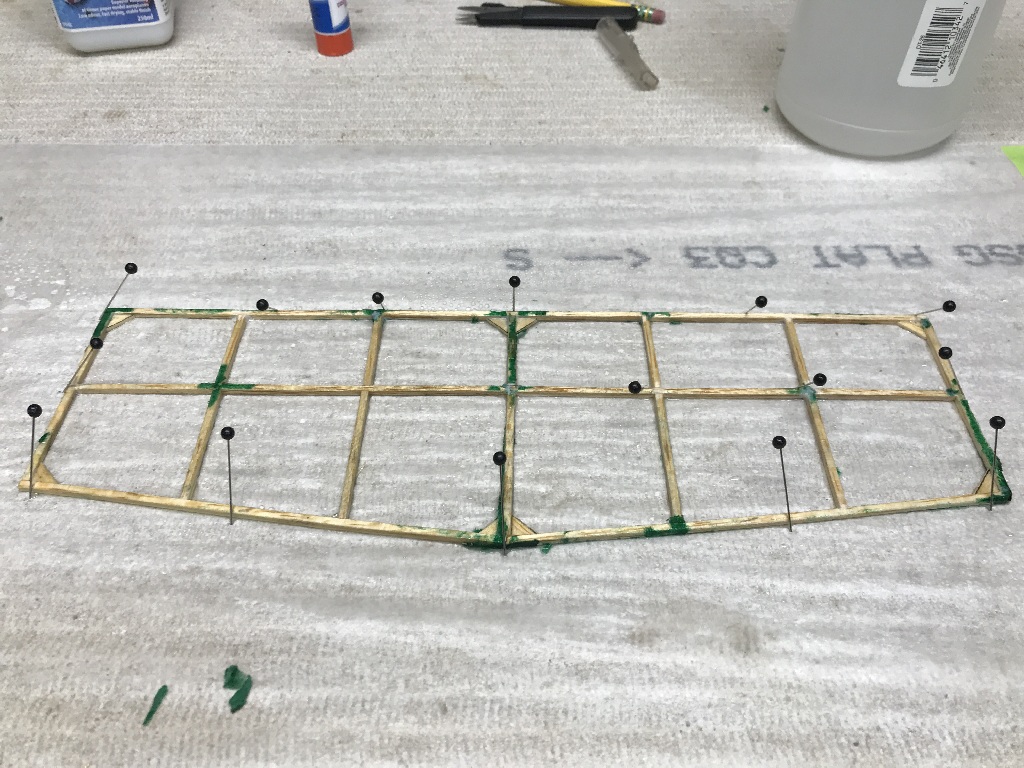
I cut off the horizontal and vertical stabilizers. I stripped off as much tissue as I could off the horizontal stab without sanding because there are some cracks that needed fixing. After fixing the breaks I wet the balsa with glass cleaner and pinned it flat to dry.

IMG_1347.JPG


I got all the remaining tissue off and sanded the edges round. The previous builder left them square. Instead of making a hinge line in the horizontal stab I made an elevator and will hang it from the trailing edge. Much easier and just as effective.

IMG_1349.JPG


I made tissue letters for the first time. I cut them out using a Cricut vinyl machine. It was very tricky getting the tissue letters to stick where I wanted them. Once the tissue is wet with the Eze Dope mixture they become very fragile. Move them around the wrong way and you'll tear them. It looks okay for a first try. The saw tooth edges of the letters are the result of resizing the photo.

IMG_1348.JPG


I like the way the white tissue became almost transparent after applying a couple of coats of Eze Dope. You can see the wood grain clearly.

Jon
 
Last edited:

TooJung2Die

Master member
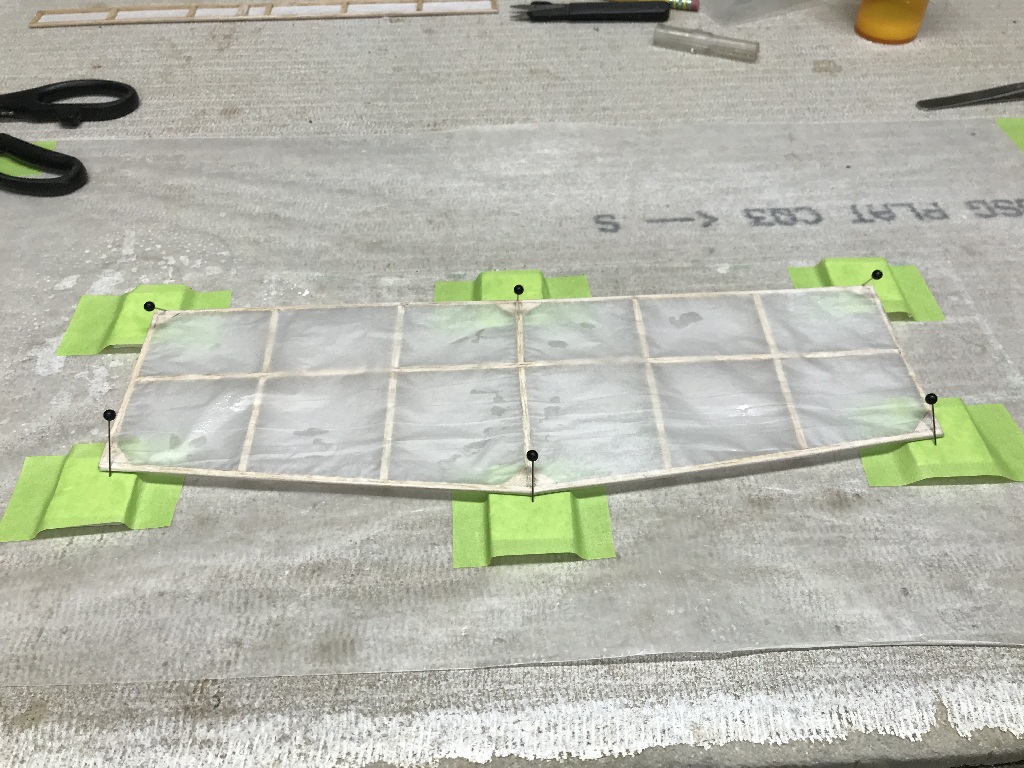
Horizontal stab is sprayed with water and pinned down for shrinking. I'm going to let it dry naturally and skip the blow dryer. I've found that just the heat alone will cause dry tissue to shrink. Maybe because it is removing moisture from the atmosphere? I don't know but i'm going to skip it from now on.

IMG_1350.JPG


While it was drying I remembered the vertical stab will be glued to the center rib of the horizontal. I brushed some 100% Eze Dope to the center rib on the top and bottom while it was still wet to adhere the paper to the wood.

IMG_1351.JPG


After covering the elevator I realized I didn't put in a piece of balsa for the control horn. Stripping is easy. Spray the whole thing with denatured alcohol and wait a minute. Alcohol doesn't weaken the tissue and softens the glue so you can slowly peel the tissue off in one piece. These parts are ready for a couple of coats of 70% thinned Eze Dope. Keep them pinned down while drying so they don't warp.

I am discovering that covering with tissue paper is more satisfying and enjoyable task than applying heat shrink plastic films. May be it's due to the organic feeling of working with paper. I don't know, I just enjoying it more than I thought I would. Plus I love the way it looks.

Jon
 
Last edited:

TooJung2Die

Master member
Not much progress in the last few days. I did get lots of practice covering and recovering the horizontal stab. The stab is thin. I decided to try using a soft paint brush to apply the Eze Dope as suggested by the manufacturer. Should've stuck with the airbrush. If the wet tissue sags and contacts the tissue on the opposite side there is a good chance the tissue will stick and stay stuck as it dries. Once again I was stripping off the tissue. Gaining lots of experience!
Horizontal and vertical stabilizers with rudder and elevator.

IMG_1357.JPG


Fuselage is stripped of all loose tissue. The rest will have to be sanded off.

IMG_1358.JPG


Jon