CrshNBrn
Elite member
What's a Shar Pei...
View attachment 212425
Bad puns are how eye roll.

What's a Shar Pei...
View attachment 212425

Furry Nuff it was a good one, but don't make a habit of it or I may have to report youWhat's a Shar Pei...
View attachment 212425

Dont encourage him, he doesn't need encouragement, as it just comes naturally to himBad puns are how eye roll.

Hi Bigeard, thanks for your vote of confidence 👍Hi shadeyB , just been admiring your paint jobs mate and would appreciate a bit advice . Im buying my first foam build (kit form) the Flite Test Corsair Master Build model which as you probably know is paper covered . I would want to do a civilian style paint job simmilar to your corsair but need advice on the best paints to use ! Baring in mind the model is already paper covered I would want a white primer followed by a good quality gloss finish , and possibly a couple of coats of clear varnish to give a little extra protection . Any advice on types of paint ? I dont know whether to brush paint or spray can .
Cheers
M

That's interesting you are the only other person I have come across besides myself, who suggests using a water based varnish on foamboard.Hi Bigeard, thanks for your vote of confidence 👍
it’s been a while since I painted over paper however your on the right track with primer and varnish finish.
I would suggest before you start priming and spraying I would seal the paper/plane with some water based varnish first, give it a light sand and apply another thin coat then prep and paint away to your hearts content.
in between coats of primer and paint etc be sure to give it a light rub down with 400-600 grit sand paper for nice bond between coats.
finish with water based varnish , couple coats whether it be Matt or gloss finish your after.
personaly I like to brush my models with acrylic paint (from local hobby craft shop / cheap paint) but I domget the airbrush out from time to time, just enjoy it and whatever livery you choose , it’s your plane ✈️
good luck and be sure to post some pictures 👍 View attachment 212437
I have been using water based floor varnish for a while now and dries solid ? It’s worth the wait 👍That's interesting you are the only other person I have come across besides myself, who suggests using a water based varnish on foamboard.
I use a satin finish Polyeurothane as it producs a good seal on the paper, its not too thick either so doesn't add much weight tothe model. Its great for painting over and easy to clean your brush after.
For a gloss finish I have used the non-water based polyeurothane as an external coat, but it takes ages to dry and hate having to clean my brush after in white spirit.
Might try the water based gloss next time.
I have been using water based floor varnish for a while now and dries solid ? It’s worth the wait 👍

Hi shadyB , As youve been helpful on my questions relating to my first FB build and I know you like flying your Spit . As you know I was interested in the Corsair master build but have kind of lent towards the FT Spitfire speed build , but I believe there is very little difference in the overall wing length (maybe 6" ?) , In your opinion which do you think would be the easiest to fly ? Or are there any great differences in flying abilities ?Selection of paint jobs there to feast on 👍
SPRAY
I first started using spray cans and masking tape, very quick way to get the job done however detail is difficult unless your prepared to cut the masking tape to shape first. Examples are the red and white striped f-15 & yellow Mig
Note I don’t use paper covering that all comes off, if you don’t prep the foam with minwax or 50/50 water and PVA glue Some rattle cans / spray paint will eat your newly built foam !!!
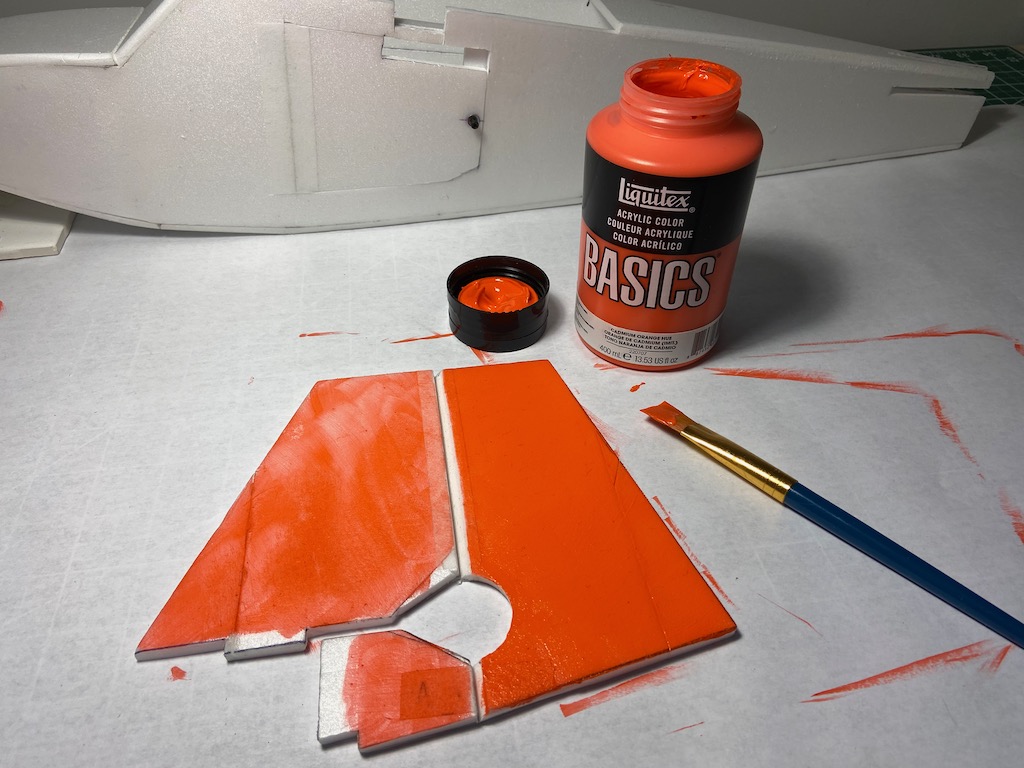
Sometimes for coverage I will spray first and finish detailing with a brush and some cheap acrylic paint from local arts n craft store.
View attachment 171220
ACRYLIC
This is where you can have some fun with designs example Superflanker twin, su30, Eurofighter, both Corsair and most of my planes
Again prep foam board as described above unless it’s paper covered
Always start with lightest colour first that way if you make a mistake you can hide with darker colour. Again the use of masking tape is great for lines or edges, example Reno Corsair (red &White) if you want writing or numbers on plane? I put down some masking tape, (layer the edges over each tape to get sheet) on cutting board, use a sharpie to write or draw design then cut out with exacto knife then you have a stencil to place over your plane and paint 👍 watch for overspray if using rattle can
View attachment 171222
AIRBRUSH
love my airbrush however this takes a bit practise getting what you want but results are great,
My Spitfire all airbrushed as blending the paint so you get the soft lines on camouflage was what I was looking for, airbrush is always great for weathering just be sure that less is more and always paint lightly, 5 coats on the same area is better than whacking 1 heavy coat On.
Layering up the paint with airbrush will give you a better finish. Use paper, masking tape or stencils for hard edges
Freehand is good but again takes practise example my Covid Viper vertical stabiliser skull was done freehand but ended up with bit more overspray than I wanted, skull was done first on white foam then edged with the yellow
I usually run my compressor at 20-30psi and thin my paint 1-1 ratio and build up the layers, airbrushing the paint drys very quick, if mistakes are done and your quick you can usually clean up with thinner.
View attachment 171230
Finishing
I finish my planes with couple coats of minwax. This will seal your paint design in and give a tougher finish with that nice showroom shine
You can also use 1/1 water and PVA glue to seal and showroom shine your project
All my paint shops projects these days are done with a mixture of both Acrylic and Airbrushing
View attachment 171227
Picture coming soon of my P51-D variant 🥰
I will add step by step pictures when she’s ready

Spitfire will be way easier to flyHi shadyB , As youve been helpful on my questions relating to my first FB build and I know you like flying your Spit . As you know I was interested in the Corsair master build but have kind of lent towards the FT Spitfire speed build , but I believe there is very little difference in the overall wing length (maybe 6" ?) , In your opinion which do you think would be the easiest to fly ? Or are there any great differences in flying abilities ?
Thanks
Thanks RatcheerooSpitfire will be way easier to fly
AgreeSpitfire will be way easier to fly

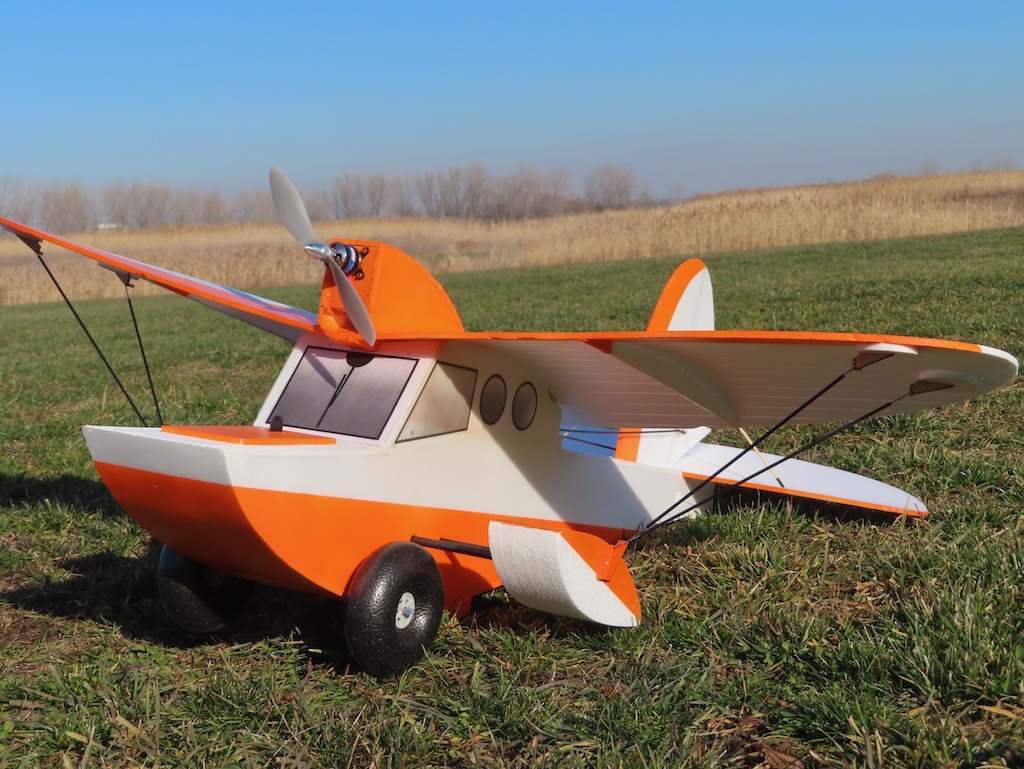
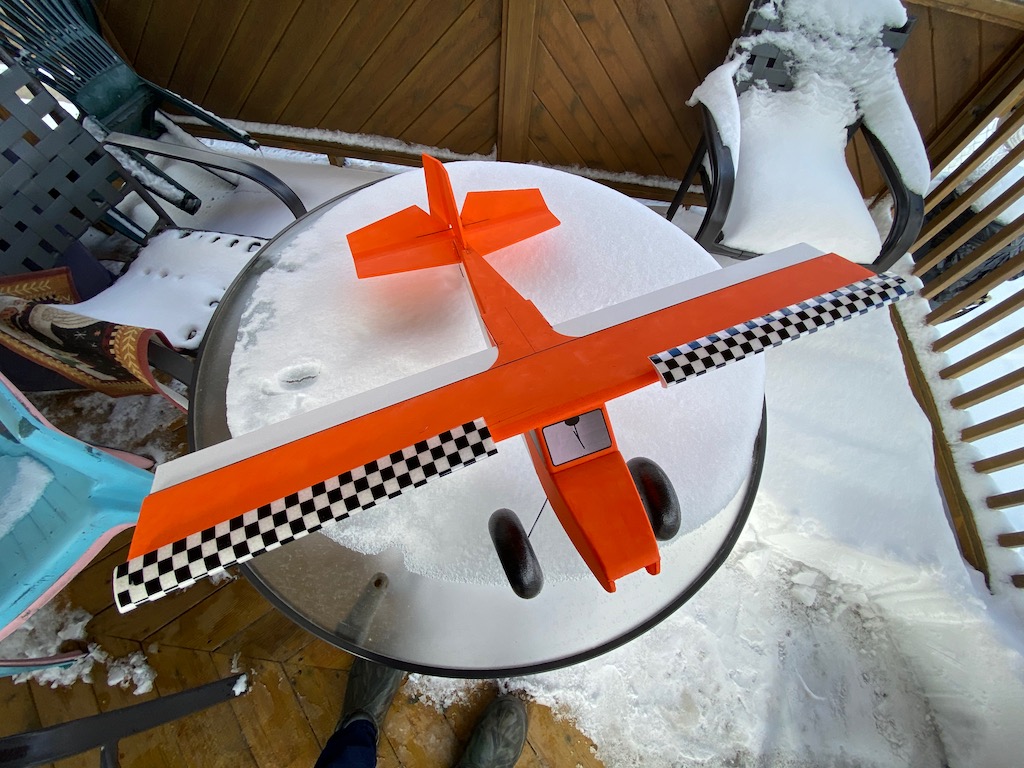
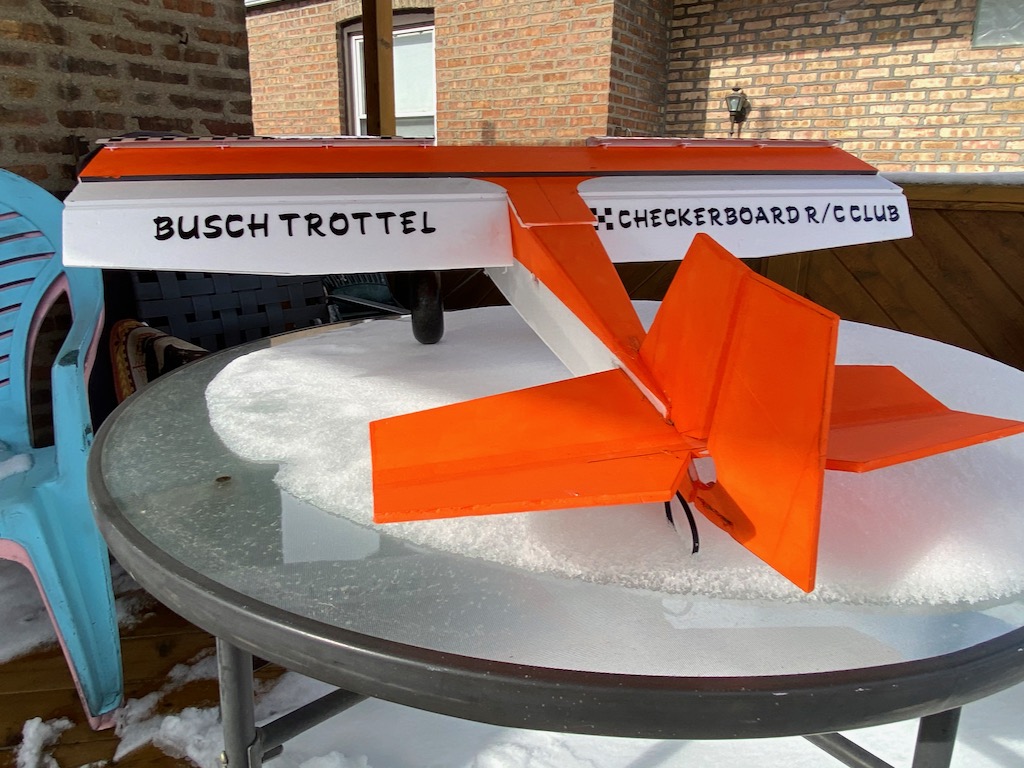
Don't let @Monte.C see that one... It'll drive him mad😂😂😂This one is called the Jupiter Duck. It's a seaplane, but I put wheels on for my first couple of flights to make sure it's trimmed correctly. I've never flown off water before. The model is made from Depron sheet. Plans are a free download from a German published magazine, FlugModell. I believe that I used plastic friendly Rustoleum orange paint. The windscreen and side lights are drawn on a computer, then printed out on label stock from the office supply store. More resources for RC foam board modelers on my blog at: https://foamboardflyers.com
View attachment 212811
So here she is 😍 always wanted my own P51-D
Yes slight modification to rear turtle deck but gave her a custom canopy with our very own John Overstreet as the pilot I can’t wait to get her up in the air.
#FliteTest had to be part of her sponsors 🤪 gave their C’pack a mention also and left some space for more when the requests come in lol
Sorry forgot to put Dan on for the sheet layout 😊 will hook you up some sponsor tag lol
Hope I have done the team proud
Little weathering to do on exhausts but she’s brand new lol
My very own Precious Metal P51-D View attachment 171487
View attachment 171488 View attachment 171489 [/QUUnusual but classy paint job , but I like it , where did you get that lettering ?