Phoenix 1600 build

bracesport

Legendary member
Today I was lucky enough to be given a Phoenix 1600 to build for my brother in law - fingers crossed I will get to fly it too!

It is an ARF (almost ready to fly) and not surprisingly only has the wing and tail to assemble to the fuse, followed by the control surfaces and linkages.

Never-the-less I thought I would document the process.

959BC467-8156-4574-B58A-3DA2BC8DB02C.jpeg
998009CF-1569-4E80-B510-A8D219E333F4.jpeg
 
Last edited:

MarioGdV

Active member
I've got this plane and it flies perfect, but the motor gets really hot, even with 2S batteries. I'm not sure if it handles 3S. In the Hobbyking page, it says that technically it does, but I'm a bit afraid of using one. Maybe it just gets hot because the airflow doesn't cool the motor at all. Be careful with that, and good look!
 

Hai-Lee

Old and Bold RC PILOT
I've got this plane and it flies perfect, but the motor gets really hot, even with 2S batteries. I'm not sure if it handles 3S. In the Hobbyking page, it says that technically it does, but I'm a bit afraid of using one. Maybe it just gets hot because the airflow doesn't cool the motor at all. Be careful with that, and good look!
A hot motor or ESC can be a symptom of either blocked airflow OR a prop that is too big in either Diameter, Pitch or Both!

Have fun!
 

bracesport

Legendary member
@MarioGdV - the motor is a front mount and looks quite small (have not had a close look yet) - I have another front mount motor that looks better quality, so that could be a backup!
 

daxian

Elite member
i too have one ...waiting on the weather to maiden ...have heared the stock motor tends to overheat ,i got the kit no electronics and hope i picked a good setup ,fingers crossed !!
 

MarioGdV

Active member
@MarioGdV - the motor is a front mount and looks quite small (have not had a close look yet) - I have another front mount motor that looks better quality, so that could be a backup!

Yeah, after disassembling the motor a few times, the holes for the screws get bigger and it's almost impossible to use. I ended up making a motor mount with a credit card.
 

bracesport

Legendary member
Today’s the day - it’s cold wet and windy and I have a terrible cold - a perfect stay home afternoon to do some assembly!

I have been researching how to slope soar lately as we don’t get too many windless days here in Wellington New Zealand - seems the Pheonix might be a great candidate!
 

bracesport

Legendary member
I shouldn’t make promises I can not keep - Xander wanted to do an epic LEGO build (he sorts the blocks before use), then a bike ride as the weather improved - as you can guess, no progress on my build - maybe tomorrow!

C608B197-665D-4223-B93A-7A09EBC7B6D2.jpeg
 

bracesport

Legendary member
Finally made a start with the build - it is more of an assembly than a build, but I do want to take some care - there are many builds on youtube for the Pheonix, but I am sure there will be some fish hooks to navigate.

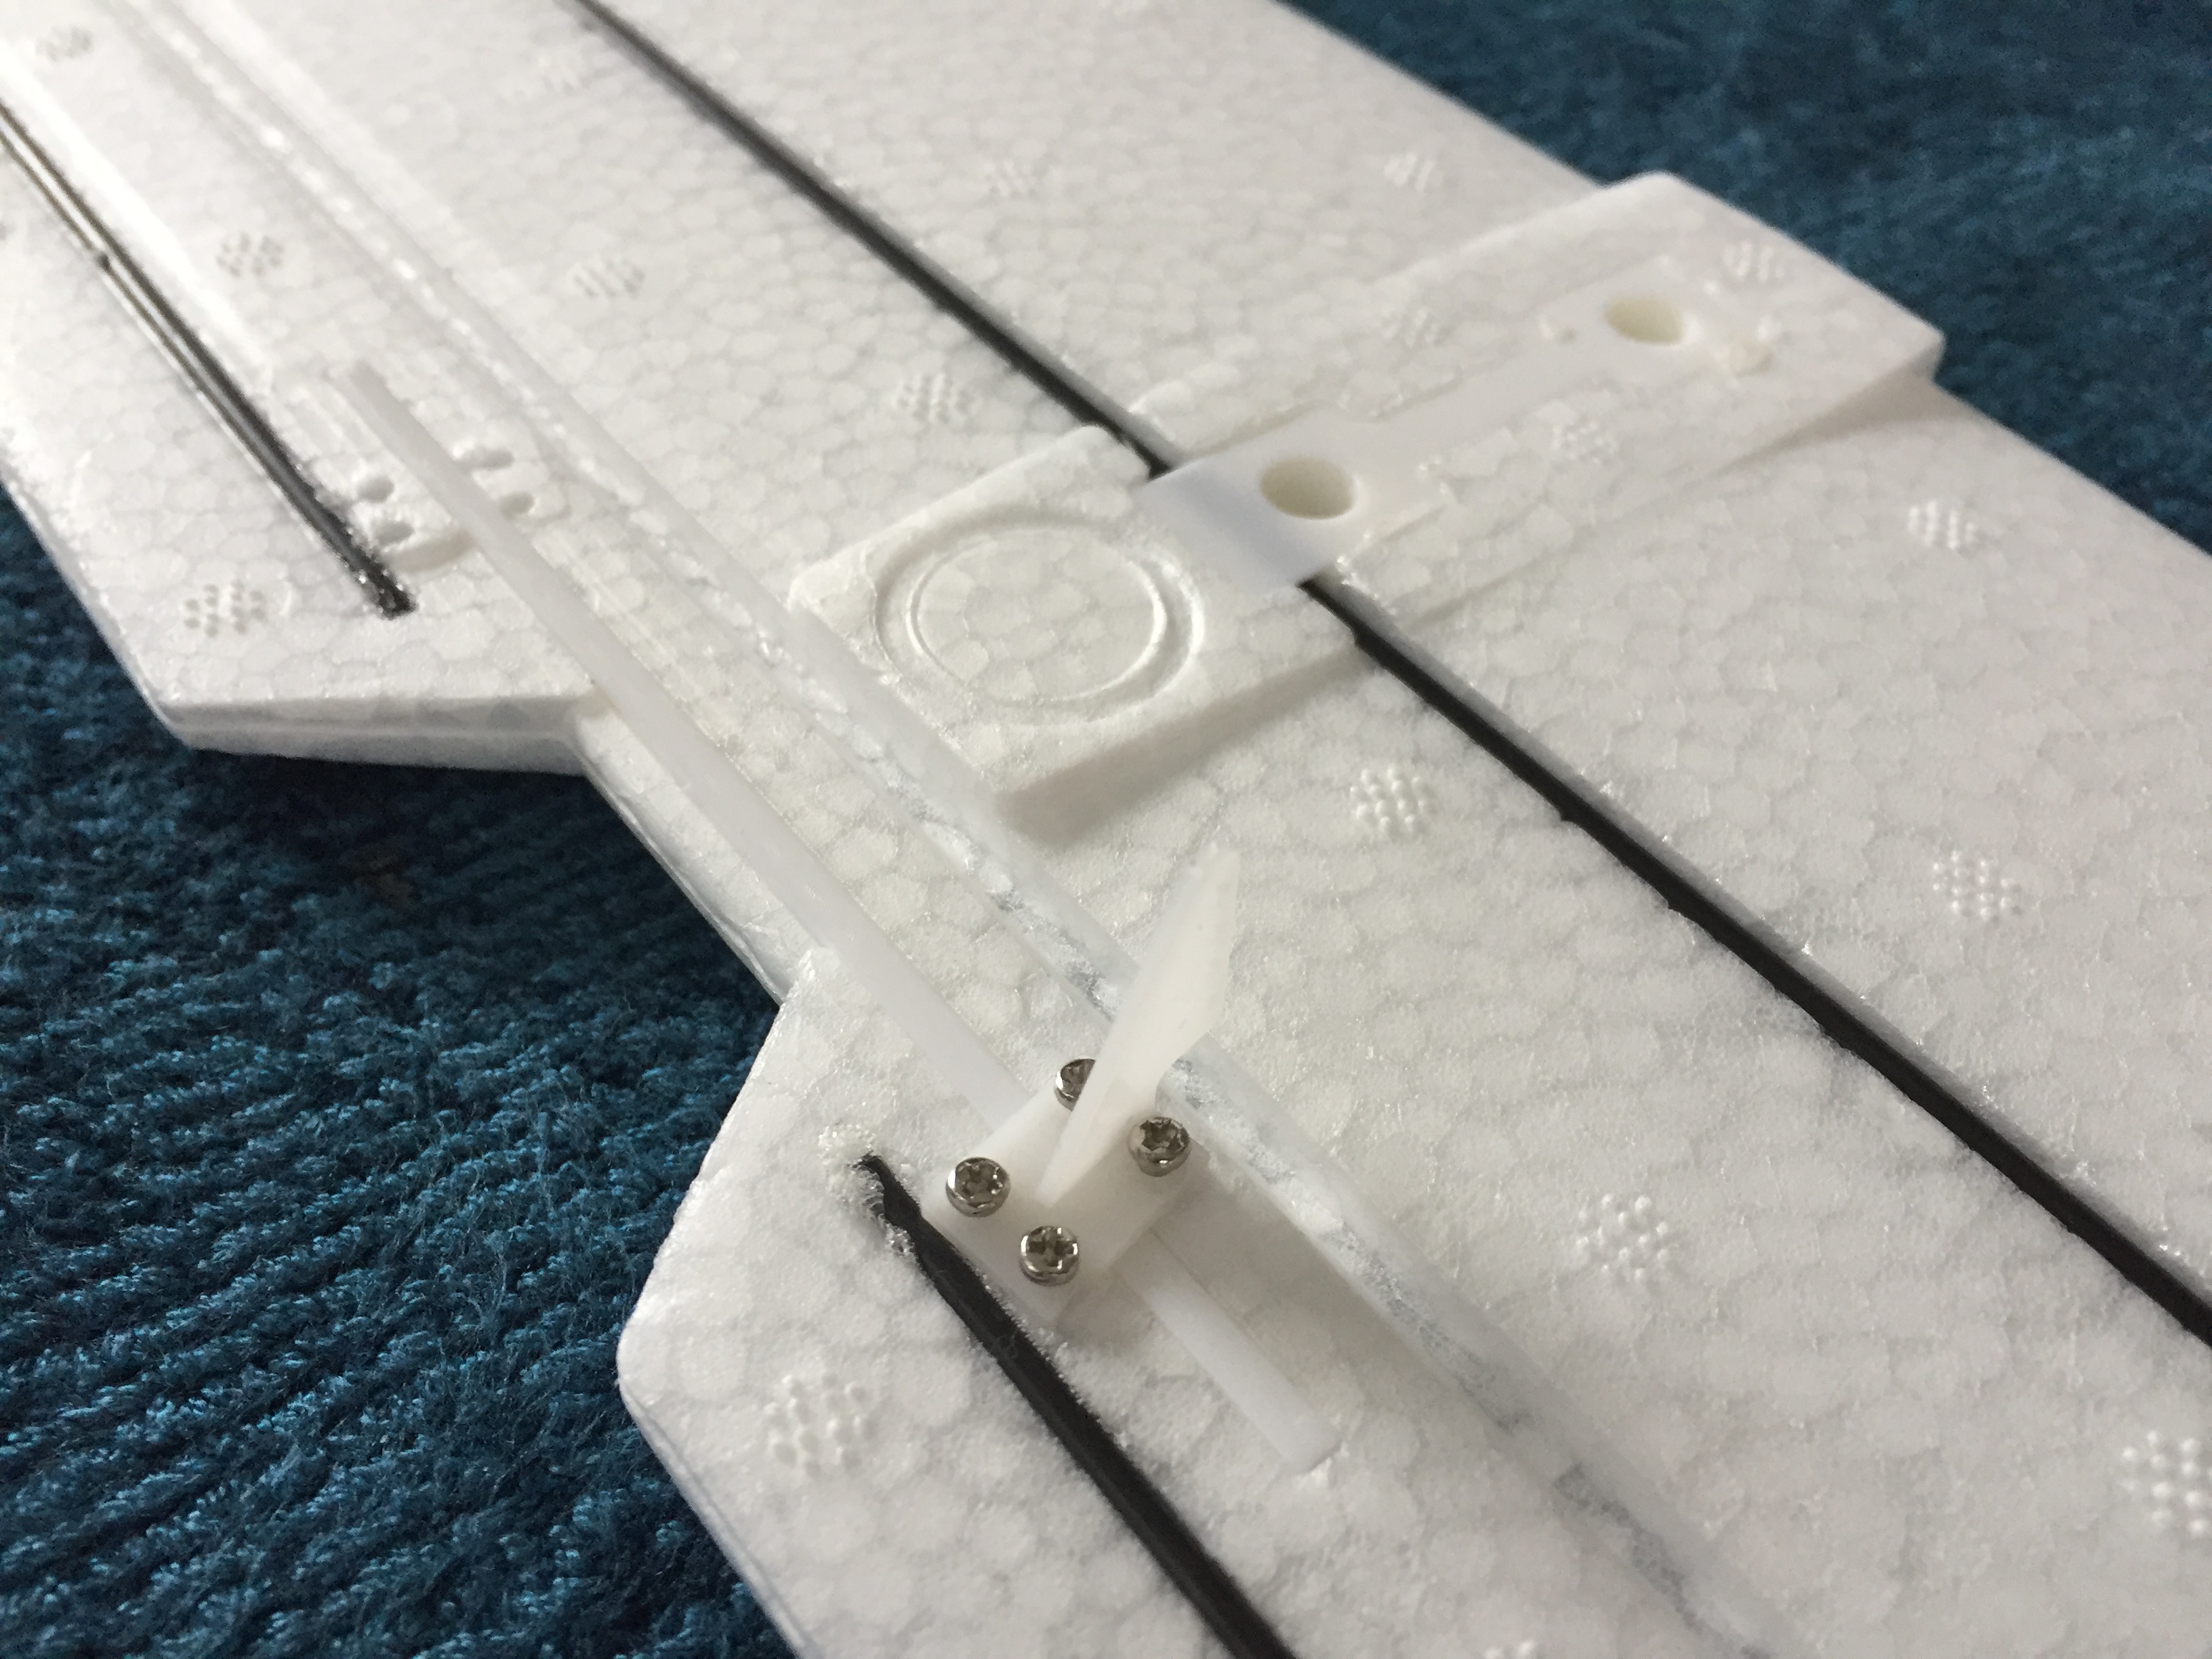
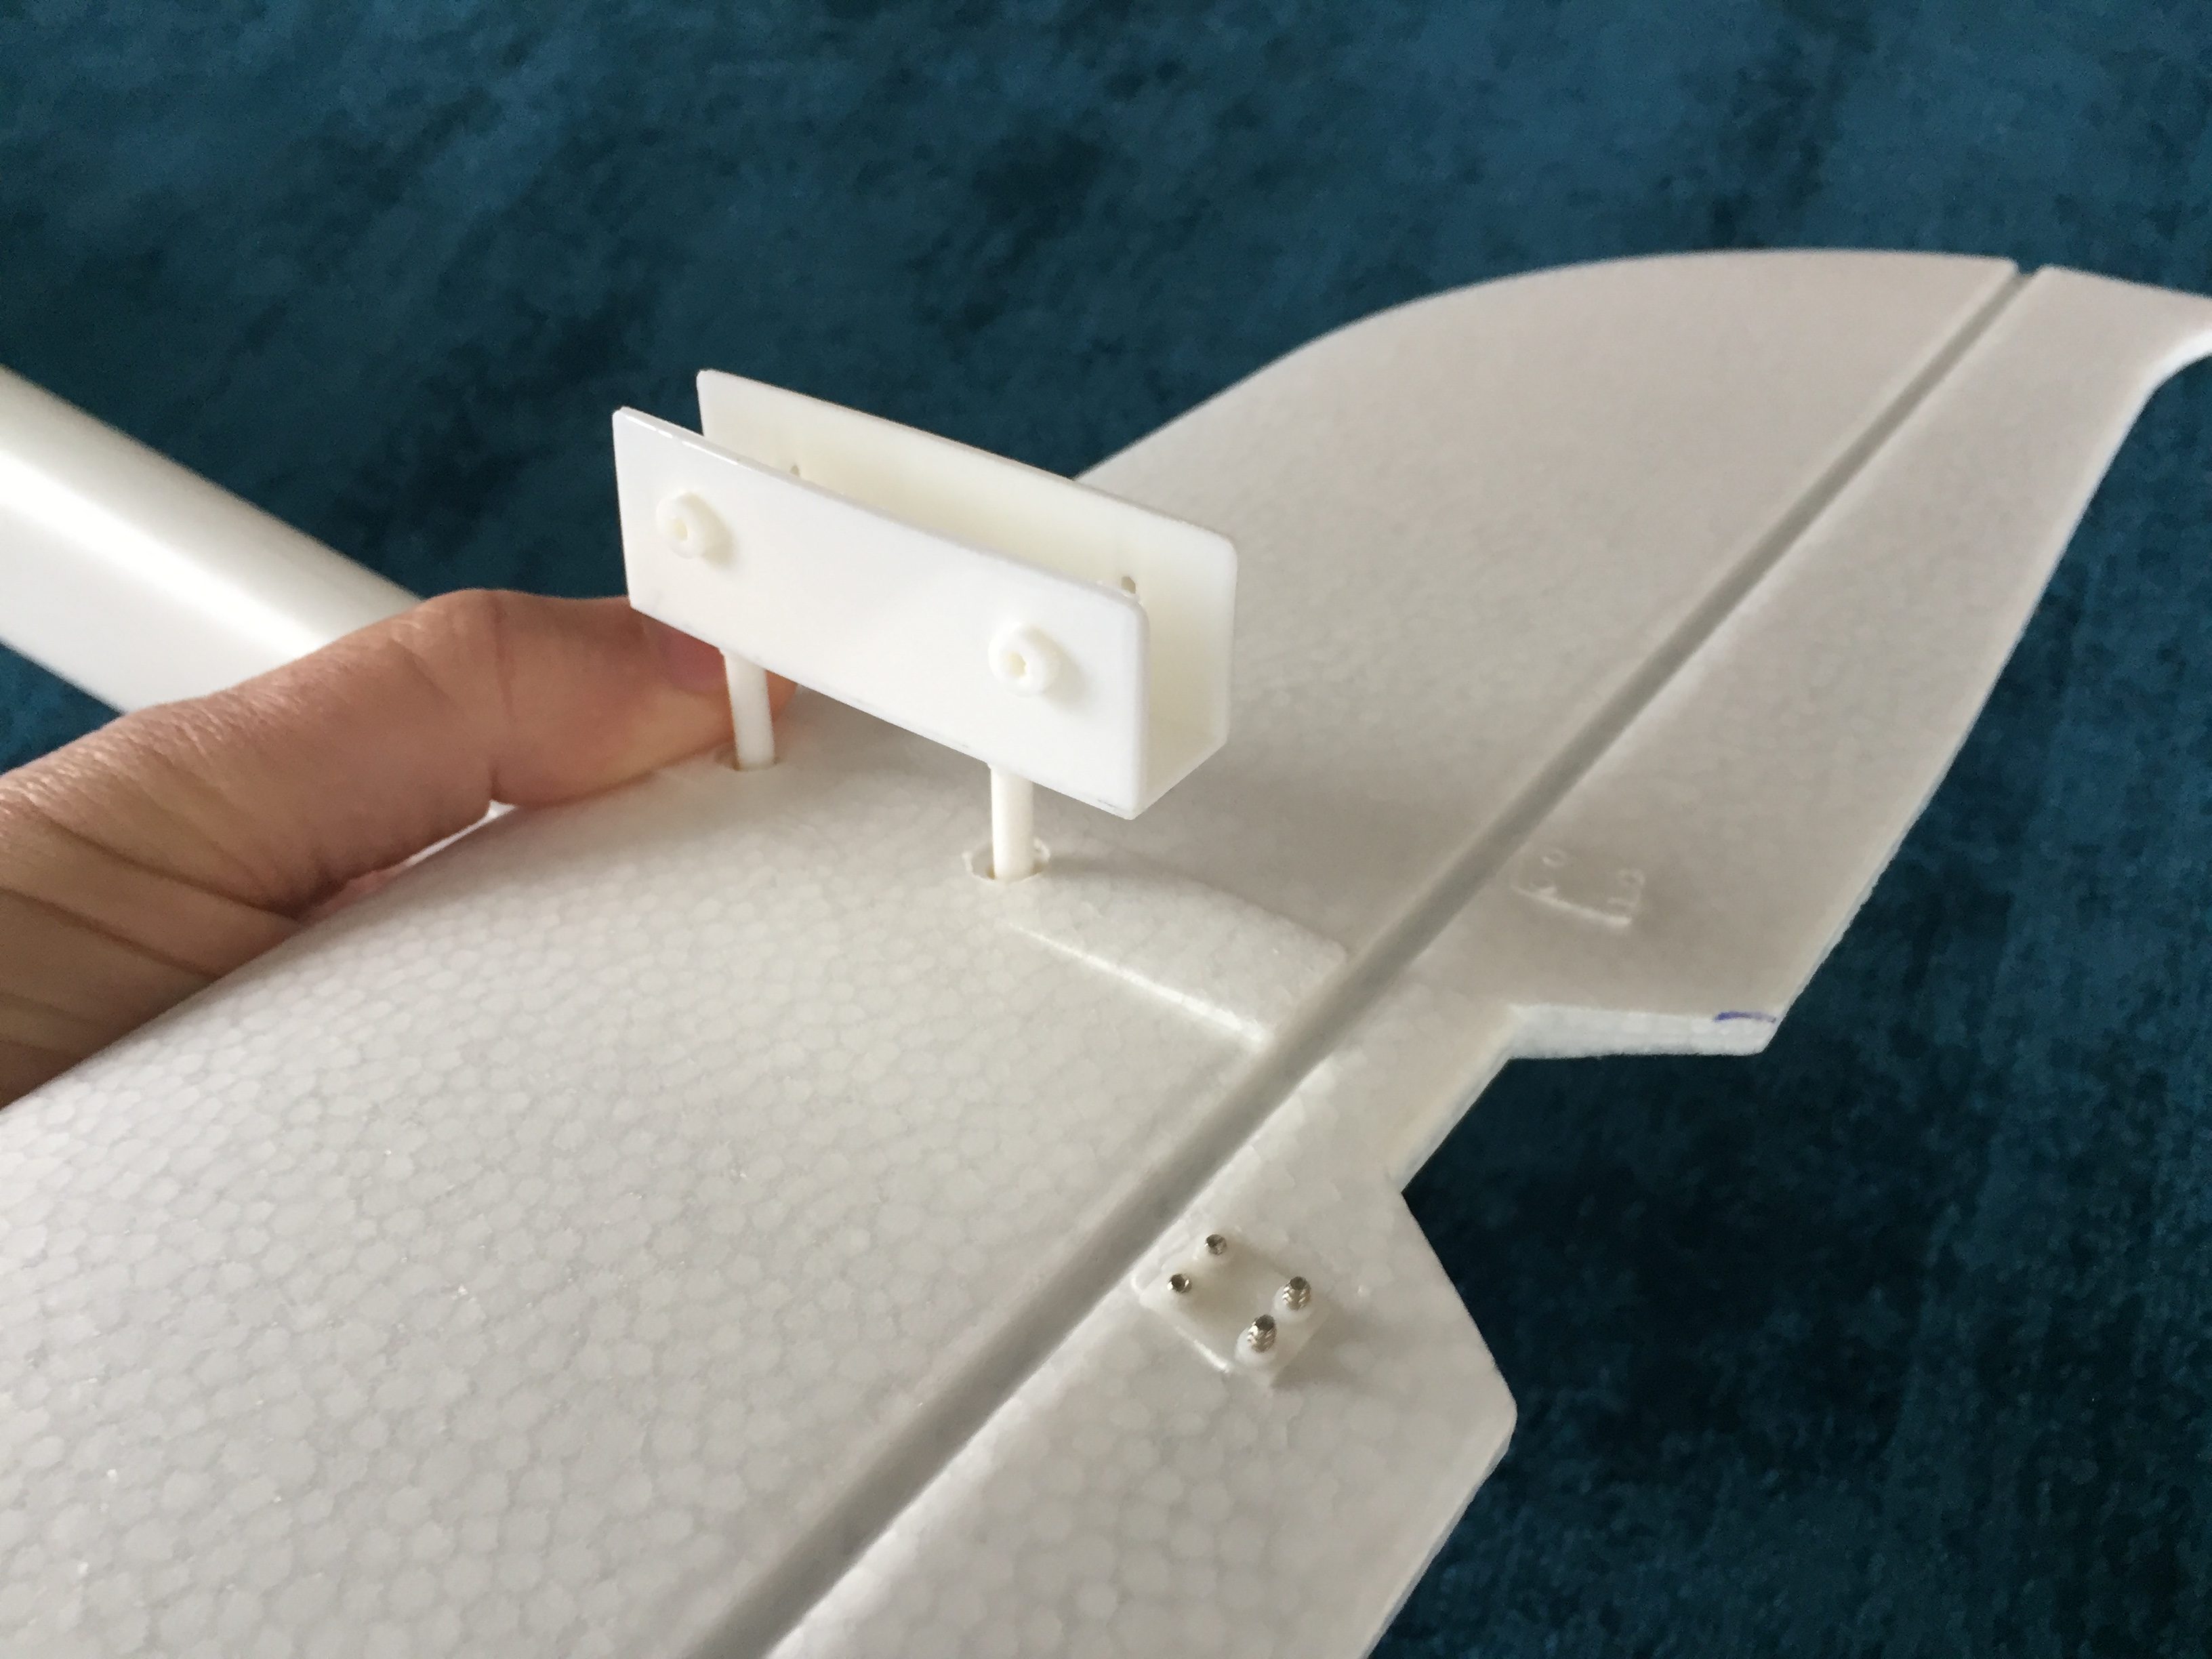
I started with the tail - sorted the parts - cracked the hinges and gave them some flexing - fitted the control horns - assembled the vertical stabiliser onto the horizontal stabiliser before fixing them onto the tail of the fuse. There are two different sized servos in the fuse for the tail controls and the control rods cross - I used the larger servo (on the right) for the elevator horn (on the left).

The bottom screws seem a tad short for fastening the assembly securely, but otherwise, it was simple enough.

IMG_6173.JPG
IMG_6174.JPG
IMG_6175.JPG
IMG_6176.JPG
IMG_6180.JPG
IMG_6181.JPG
IMG_6182.JPG
IMG_6183.JPG
IMG_6184.JPG
IMG_6185.JPG
IMG_6186.JPG
 
Last edited:

bracesport

Legendary member
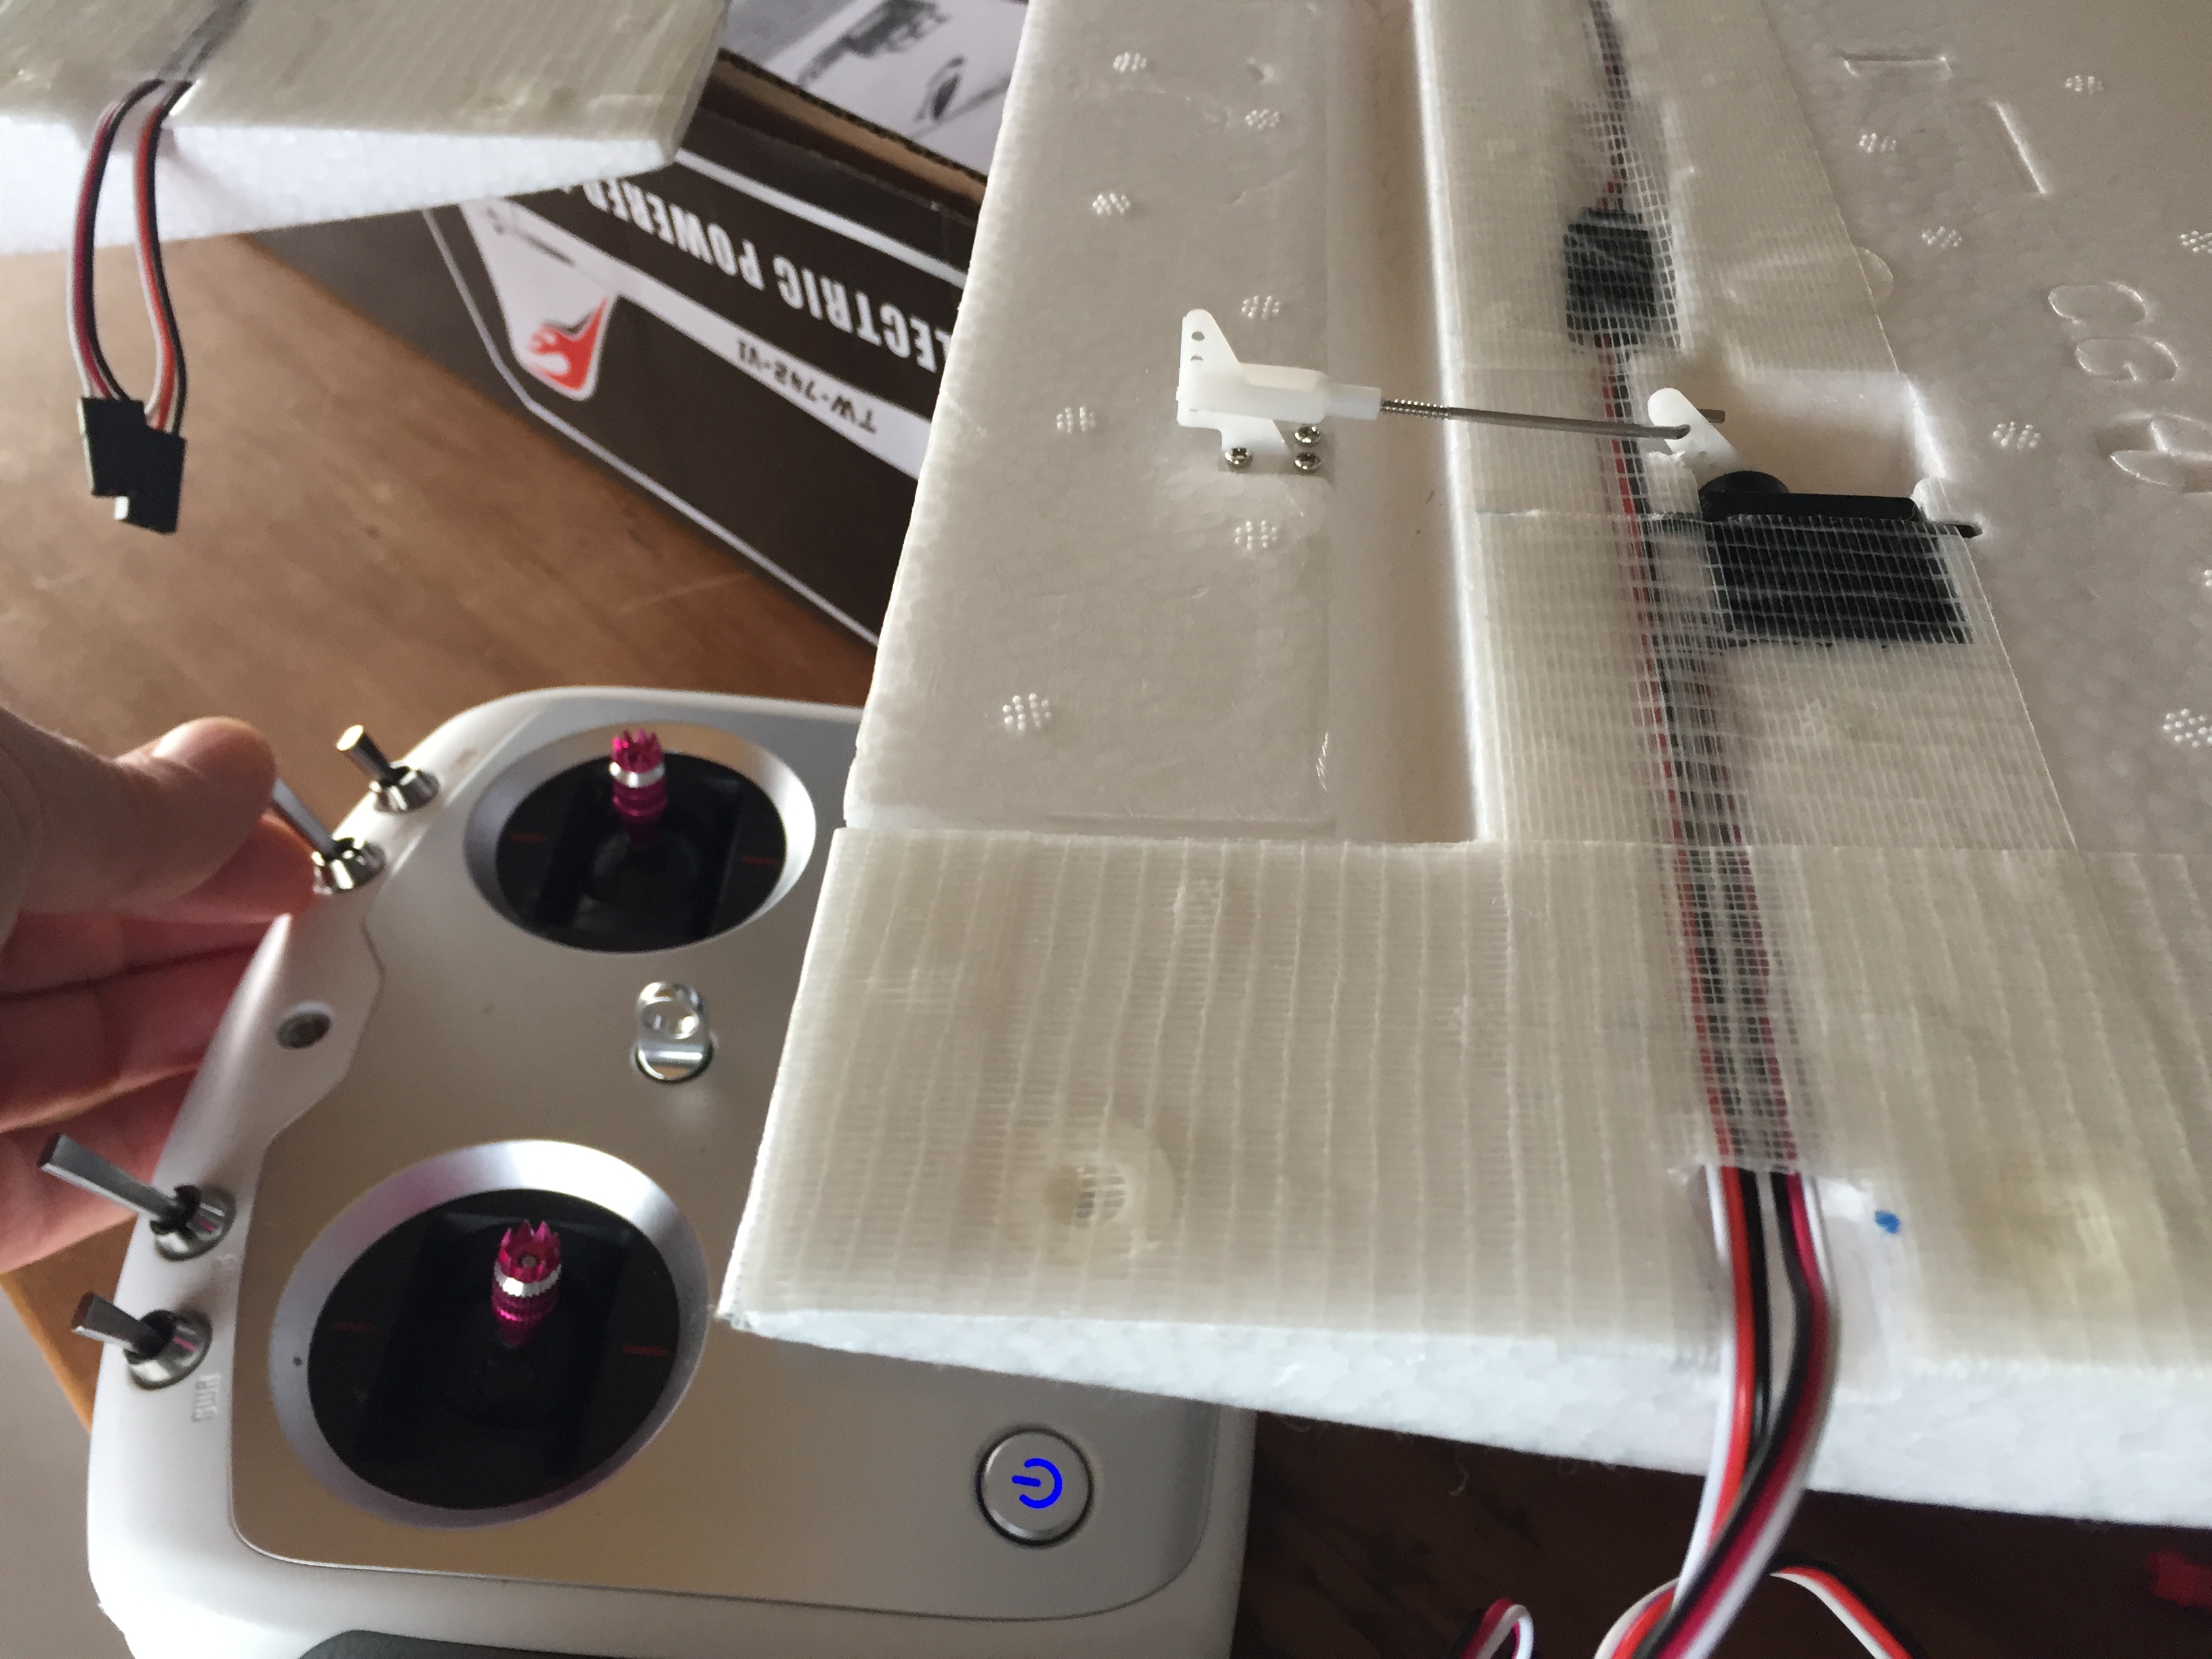
Next, I tidied up the wings - there was a thin strip of tape covering the servo wires but obscuring the servos so off that came - I used fibre tape to do a neater job and using 'Allen Moore's' advice taped the top and bottom of the root chord - to enable the flaps you need to remove the small wedge of foam and then crack the hinge (still a tad tight will improve that somehow) - I taped the back of the flap hinge for more strength.

IMG_6188.JPG
IMG_6189.JPG
IMG_6190.JPG
IMG_6191.JPG
 
Last edited:

bracesport

Legendary member
The servo arms came setup with the third hole from the top drilled to match the pushrods (so I used that position) - the ailerons and flaps both are using the second hole up from the bottom of the control arms - the flaps, however, have the control arms reversed for better throw (another Allen Moore suggestion).

I have set up the flaps on ch6 with the three position switch - the neutral servo position makes the flaps partially deflected.

856EAA79-6A91-4131-97FA-881192A2C281.jpeg
492C2B8E-016E-44B9-821E-F34EA6A1A302.jpeg
C2C7B941-6119-414A-8AB8-A5E8138D0CCF.jpeg
39CF5EFD-DE81-4418-8F3A-426A7939CB61.jpeg
 
Last edited:

bracesport

Legendary member
The bid bird is ready to fly - it’s got Y harnesses for the ailerons and flaps but I think I will mix the ailerons on ch1 and ch5 for better tuning.

I keep forgetting it belongs to my brother in law! 😆 hopefully I can get some time building my FB hybrid version over the weekend!

043564AA-1D70-4026-B847-400AAFE0DA23.jpeg
E8E3942B-E51C-4591-AE82-FE543FE89386.jpeg
 

bracesport

Legendary member
Tonight I tidied up the Pheonix for the brother in law (sadly, he is coming over tomorrow to collect it) - with the 3cell 2200mAh battery strapped in it balances nicely on the CG marks - @daxian that includes the ballast you mentioned under the tray! I'll be sad to see it go off the wall, so I better get my Pheonix (copy) finished A-SAP!

IMG_6325.JPG