Reinforce FT Explorer wings

Craftydan

Hostage Taker of Quads
Staff member
Moderator
Mentor
Reinforce against folding?

Carbon arrow shaft. Cheap and easy to find at nearly any Walmart this time of year. 32" not enough? want dihedral? most come with a standard 8-32 thread insert. get a short piece of 8-32 threaded rod, bend if you want a dihedral and screw the two shafts together nose-to-nose. Glue into the wing.
 

Florida_Pilot16

New member
Reinforce against folding?

Carbon arrow shaft. Cheap and easy to find at nearly any Walmart this time of year. 32" not enough? want dihedral? most come with a standard 8-32 thread insert. get a short piece of 8-32 threaded rod, bend if you want a dihedral and screw the two shafts together nose-to-nose. Glue into the wing.

Craftydan,
That is a great Idea, I was looking something like a carbon rods, but I couldn't find a kind of "connector" to screw it on the wings and fuselage, I am looking something ease to remove it in case you need it, I am trying to avoid glue it, but using a carbon arrow shaft is a great option, the only thing will be find a "connector" that allows me screw the shaft to the wing and fuselage.

Thank so much
 

dayve

Member
That's a really good idea with the bent rod between two arrow shafts!

I'm actually working on something to address this issue for straight wings. I haven't addressed the dihedral issue yet. I'm still brainstorming on that one. I just submitted a FT article about it a couple days ago. It's still pending approval.

If you'd like a sneak peek, feel free to check out the intro video. There's a link there to the torture test video if you're interested.

I know this isn't the forum to try to sell stuff, so I'll leave it at that. Just know that my idea is to follow the FT ethos and make the plans available to everyone for free, as well as have the finished product available very affordably to those who don't want to deal with getting them manufactured. I'm thinking under $10.
 

Hai-Lee

Old and Bold RC PILOT
Craftydan's idea is quite brilliant and I will remember it. As for your reinforcement requirement am I to understand you wish the wings to be separable from each other with dihedral?

On my Big wing version of my FT Tiny Trainer I made the polyhedral wing with a large flat centre section, (No central joint). This reduced the forces acting to fold my wing on the dihedral joint to far less than if I had placed it centrally.

My polyhedral outer section and wing tip section are only both only 6 inches in length with the current centre section being 800mm (The width of the FB sheet I used.

Since building this wing I have up engined the Tiny Trainer and it can fly very slowly, (hover in a head wind), and put on a reasonable turn of speed. as for strength the plane can pull up into a very tight loop from a full power vertical dive and the loop is only about 3 fuselage lengths in diameter.

Whilst this is not your wings the construction method, profile , and even cutting dimensions, (except for span) are almost identical.
 

rmzalbar

Member
Reinforce against folding?

Carbon arrow shaft. Cheap and easy to find at nearly any Walmart this time of year. 32" not enough? want dihedral? most come with a standard 8-32 thread insert. get a short piece of 8-32 threaded rod, bend if you want a dihedral and screw the two shafts together nose-to-nose. Glue into the wing.
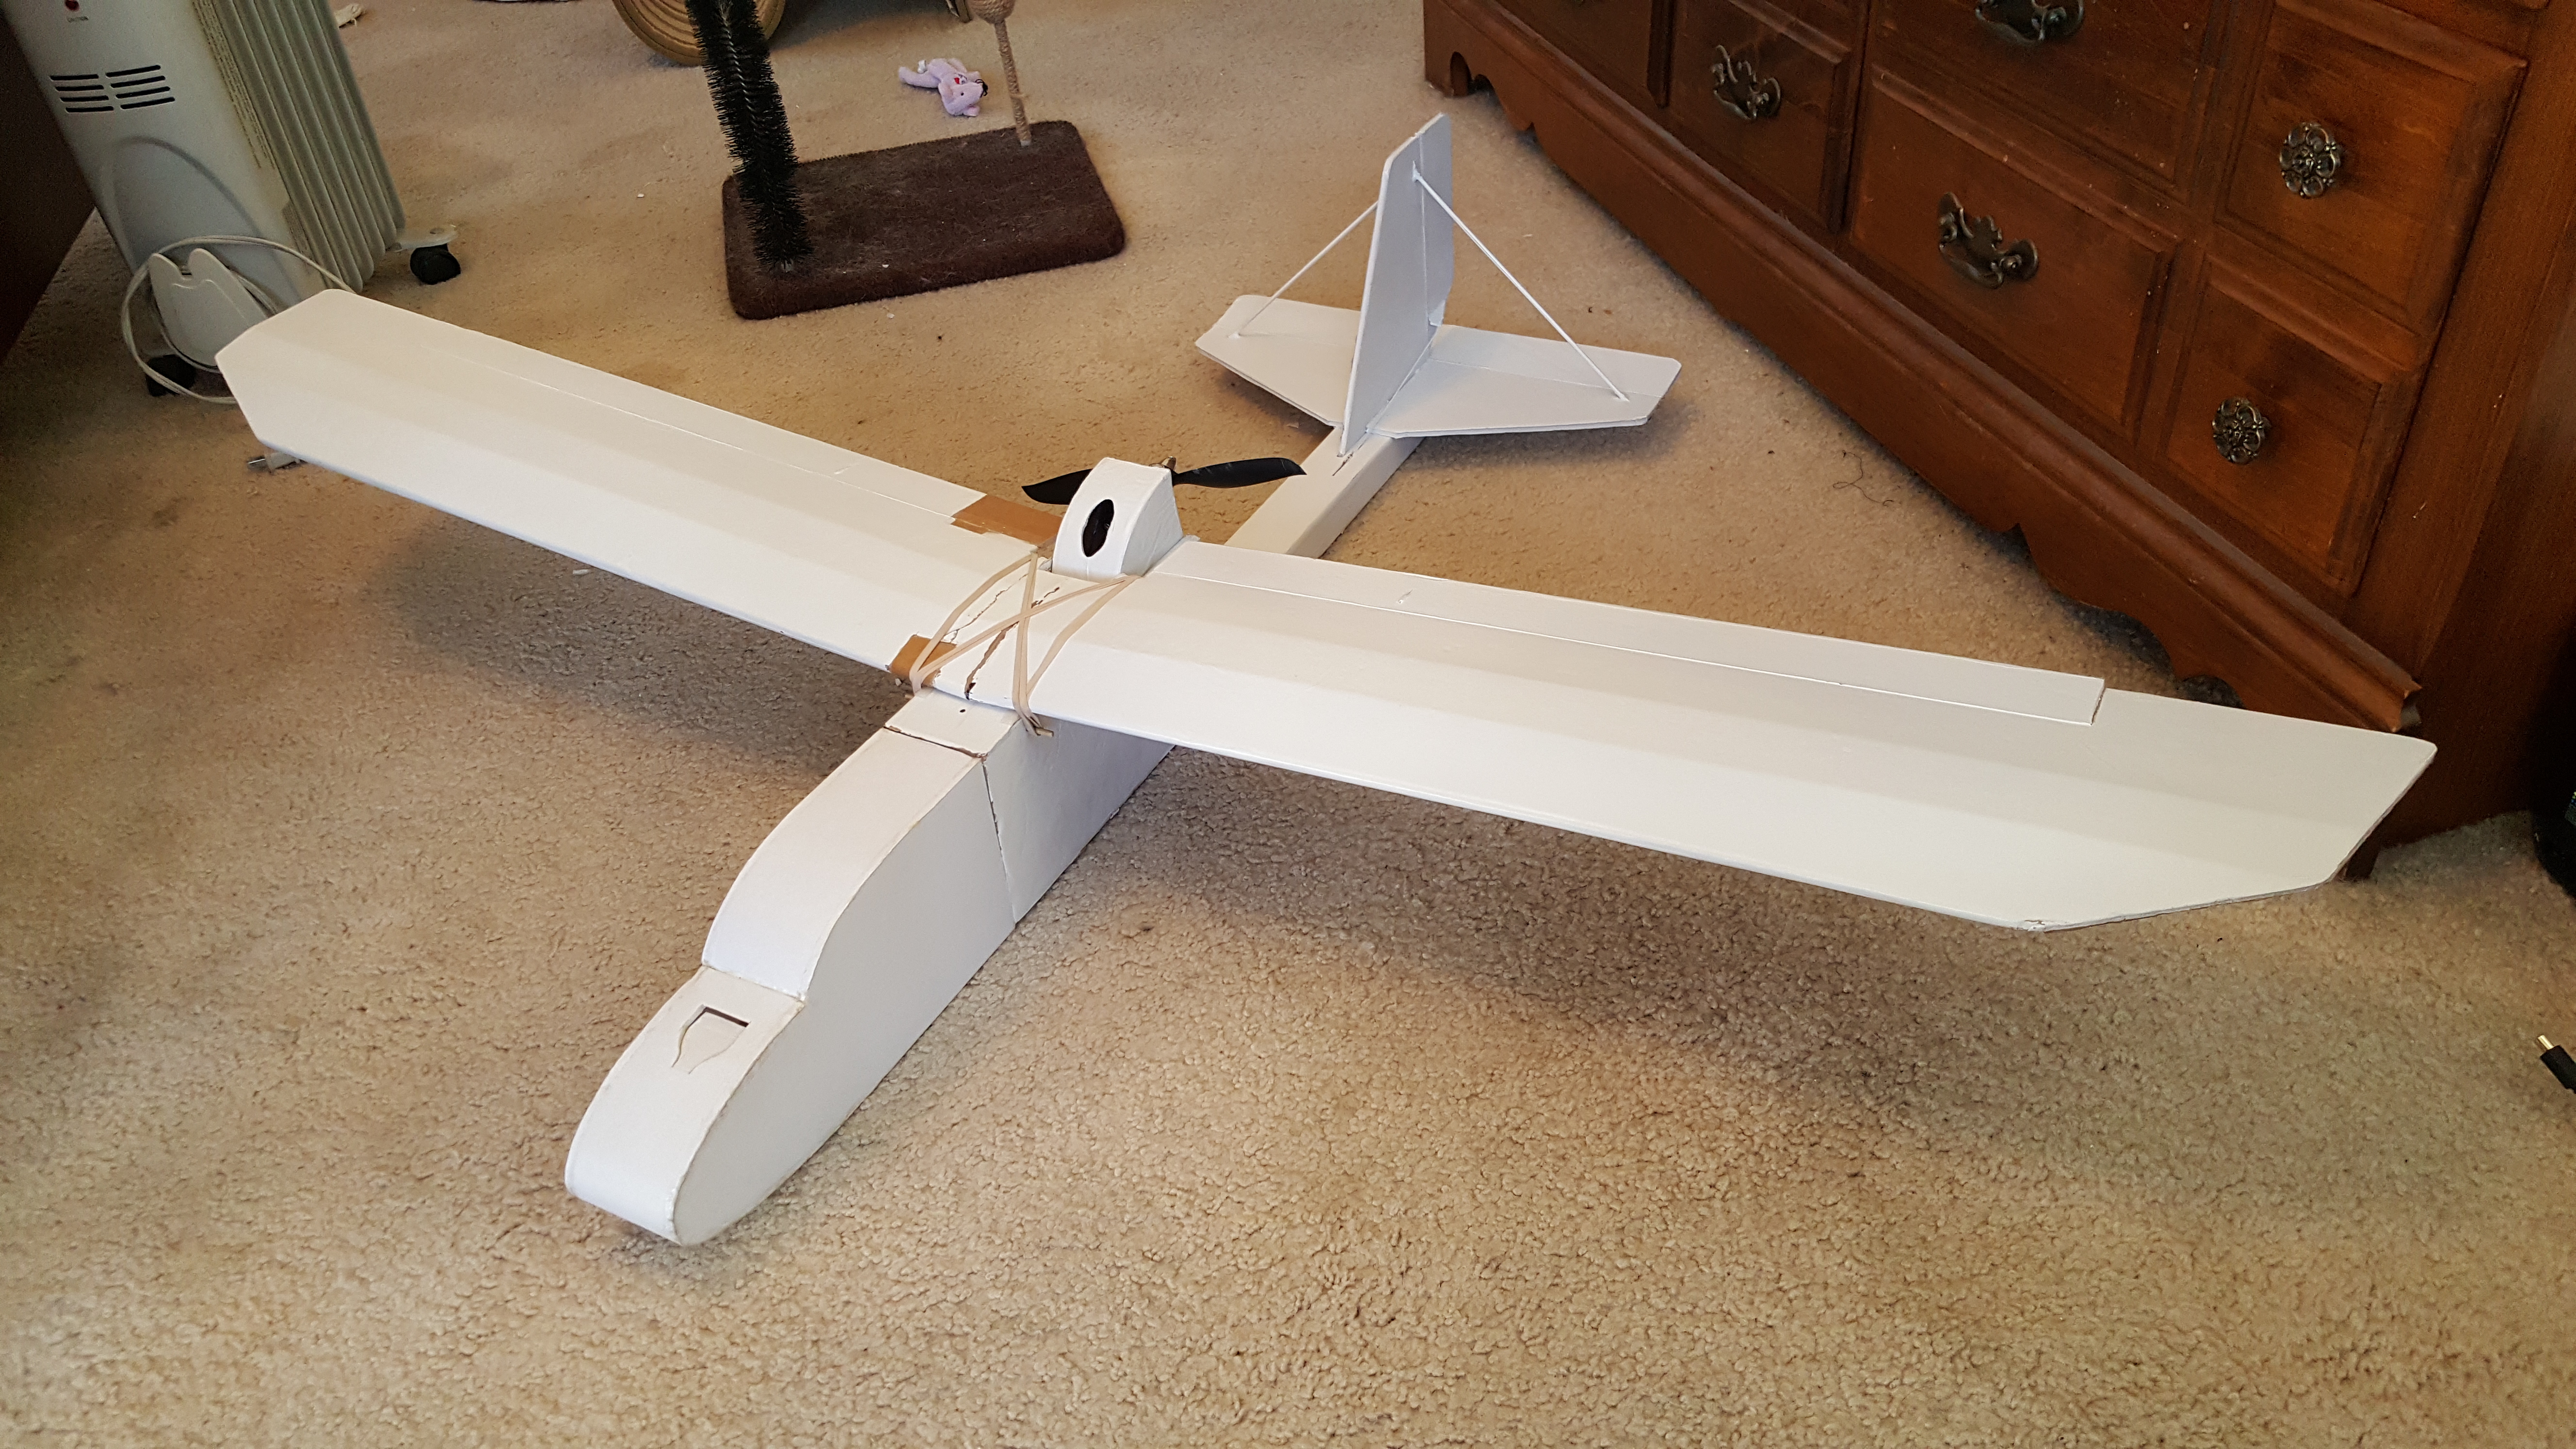
I followed your advice, very clever. Cut a length of 8/32 screw, bent to 9°, and used red loctite. This is very difficult to insert into the wing using the normal build process, so here is how I did it:

I cut the arrow shafts to maybe 12 or 14 inches each. On the sport wing, just a couple inches past the servos so I could bridge the servo gaps in the spar.

Here's where I modified the build order:

When it was time to glue and fold the wing closed, I did the fold-over to form the left and right side independently from each other instead of in one step as they have you do in the video. This allowed me to form the dihedral before I folded the wing closed so I could install the arrow.

To do it this way, I did not glue the joint at the bottom surface of the wings together as they have you do in the build video as the first step. This enabled me to fold over each section independently when forming the wing later.

I did everything else normally until it became time to permanently glue the wing closed around the spar .

At this point I folded the wing closed (no glue) and creased and prepared the top joint and spar as if I were about to set the dihedral. Then, I opened the wing up and glued one arrow shaft along the rear face of the spar (but see my note below,) with the screw coupling centered in the middle of the wing, rotated so the V-angle is in the proper orientation. I set the arrow flush to the top surface of the spar so it will actually mate with the *bottom* surface of the wing when folded over. I'm still working with the entire wing flat on the table at this point, since the other arrow shaft isn't screwed to the coupling yet.

UPDATE: I was about 60g tail-heavy after I finished and painted my Explorer. The paint was the biggest contributor and added some ounces, but in retrospect, for cg purposes, I would have placed my CF arrow reinforcement either inside, or along the front face of the spar instead along the rear face of the spar as I actually did.

Then I carried on with the build instructions to close up the wing, but just one side at a time: I applied glue to the leading edge seam and top of the spar as per the build instructions, and also to the top of the arrow shaft. Then I folded over and formed the wing, but just one side. The result is that the arrow shaft is bonded both to the spar and to the bottom surface of the wing. I reasoned that the force on the wing will be upward, so the bottom surface is what I want the reinforcing member to be mated to.

Now for the the other side. I opened it back up since it wasn't glued on that side yet. I screwed the other arrow shaft to the exposed screw in the center (I'm using red Loctite on the threads,) and by propping up the finished half of the wing, allowed the center joint to flex to the dihedral needed to align and glue the arrow along the back of the spar, flush with the top same as the other side. At this point, the dihedral has been applied to your wing by the arrow, so from now on you'll need to prop up the high side or let the low side hang off the edge of your table as needed so the side of the wing you're working on stays flat on your table. Once set, I glued and closed up this side of the wing the same way as I did the other side, but with the other side propped up.

At this point I followed the normal instructions to glue the top center seam and fully set the dihedral joint. The only thing I had to do after gluing and drying the top seam was to flip it over and glue the bottom seam that I skipped at the beginning.

Because you aren't forming the wing flat in a single piece step, I suppose there's some chance to introduce twist in the wing between the two sides, but that didn't happen on either of my wings, so I think the risk is low as long as you are taking care to line up edges as you work.

You don't need much arrow length. You're just trying to distribute the force away from the center and the fuselage mount points. The weak point will be shifted to the ends of the arrows, and the load there be a fraction based on the remaining unsupported length. 12 inches each side is probably more than enough - you'll have half or less of the load that was originally concentrated at the center.
 
Last edited:

Merv

Site Moderator
Staff member
I use bamboo skewers, 2 on top & 2 on bottom. One on each side of the normal foam wing former, about an inch apart from each other. Each skewer goes about 6" into the wing half. The idea is to form an I beam.
 

kilroy07

Legendary member
I've recently built my second explorer (as you might guess the first's wings folded in half....)
I used a fiberglass driveway marker (dollar store find) to reinforce the wing (but a CF arrow shaft would be better.)
As others have suggested, I used a flat center section with dihedral on the tips (I used the long side of the gauge to "make up" for the missing dihedral in the center section.
Flies just fine on a 3 Channel set up (just getting into FPV.)
IMG_7511[1].JPG
 

PoorManRC

Master member
Thanks Gentlemen!! (y)(y)
You don't know it, but you've just given this Old N00B a big bit of help!!
I may have to get some Hunting Arrows. :eek:
 

rmzalbar

Member
FYI, I was about 60g tail-heavy after I finished and painted my Explorer. The paint probably added some ounces, but in retrospect - for cg purposes I would have placed my CF arrow reinforcement either inside, or along the front of the spar instead along the rear of the spar as I actually did.
 

Flying Kiwi

New member
In the very old days I can remember getting stainless steel rod [ or tube] that fitted snuggly inside the carbon spar tube you were using and putting it in a vice and bending the dihedral angle into it . You only need about 50 mm of metal joiner
 

rmzalbar

Member
Instead of threaded rod, my "trainer wing" was using a 3D-printed connector that a friend wanted me to try.

So the other day, I was using the 3-ch wing, and I was in a vertical power dive, and.. stop me if you've heard this one..

Yup. When I pulled back on the stick the wing folded and it jarted straight into the ground at speed. 3D-printed connector failed. One great thing about the foam is it does a pretty good job of progressively absorbing the energy, while being very easy to repair. I had to replace the equipment shelf and the nose, glue the tail boom back together, repair the motor pod, and shore up a few other stress points where impact energy concentrated. The wing is still waiting for repair (or rebuild.)

Well, I took the opportunity to extend the nose by three inches so I can get rid of all of the lead and balance the plane with battery position alone.

My friend who has 3D-printing on the brain 24 hours a day has now provided me with a connector that's twice as beefy and made of nylon. He really wants me to use it, so I'll give it a go.

The wing in the pic I broke on an earlier crash, piloting skill failure. The spar held, it just tore the foam on impact.

If you want to see the crash (cockpit view) you can see the plane shudder as the wing breaks a few seconds before impact.
 

Attachments

  • 20181112_144317.jpg
    20181112_144317.jpg
    4.5 MB · Views: 0
Last edited:

rmzalbar

Member
I like
I'm building an Explorer now and considering an armin wing. Seems much easier to reinforce with one long CF arrow shaft. Found this video describing it.

I really like the Armin wing video, and will build one if (when) I destroy my Explorer wing. So far, I've ripped both wings in half, yet managed to glue them both back together. But the build looks very straightforward and doesn't require tracing plans.
 

4U2NVME

Member
I got the 8/32 bar stock... Wow its thin. Did you all find it strong enough to hold the dyhedreal on the Armin wing? Do I bend it at 9 or 10 total degrees?
 

jross

Well-known member
I got the 8/32 bar stock... Wow its thin. Did you all find it strong enough to hold the dyhedreal on the Armin wing? Do I bend it at 9 or 10 total degrees?
The Armin wing in the video has no dihedral. Uses a carbon arrow shaft as a center spar to join the wing halves. I've flown mine with it and it works well. Has taken some serious hits and survived. The spar fits nice and snug.
 

rmzalbar

Member
9 total degrees in the center joint is the Flite Test correct angle for both the 3-ch and the 4-ch wing, but since you aren't making a polyhedral wing a little extra might give you a more useful rudder response anyway. I can't comment on the bar stock for armin wing, but a bent 8-32 screw joining two carbon fiber arrows nose-to-nose was fine for my FT-built wing. You can see above that the 3D-printed joint was definitely not fine
 
Last edited:

Headbang

Master member
I reinforced with a couple bbq skewers on the stock sport wing. I built it as a straight wing. Yesterday I slapped in a 3300mah 3s and was banging around the sky, with the added wieght I was not flying tail heavy any more, and it was just all around more stable and fun. I did inverted loops, loops, Cuban 8's, humpty bumps, inverted figure 8's, hammer heads (more like hammer flop overs), and even managed a few seconds of hover. Most was done at full throttle with a c pack motor and apc 9x6 prop. Wing did not fold.
 

rmzalbar

Member
I reinforced with a couple bbq skewers on the stock sport wing. I built it as a straight wing. Yesterday I slapped in a 3300mah 3s and was banging around the sky, with the added wieght I was not flying tail heavy any more, and it was just all around more stable and fun. I did inverted loops, loops, Cuban 8's, humpty bumps, inverted figure 8's, hammer heads (more like hammer flop overs), and even managed a few seconds of hover. Most was done at full throttle with a c pack motor and apc 9x6 prop. Wing did not fold.
Thug life!:cool: