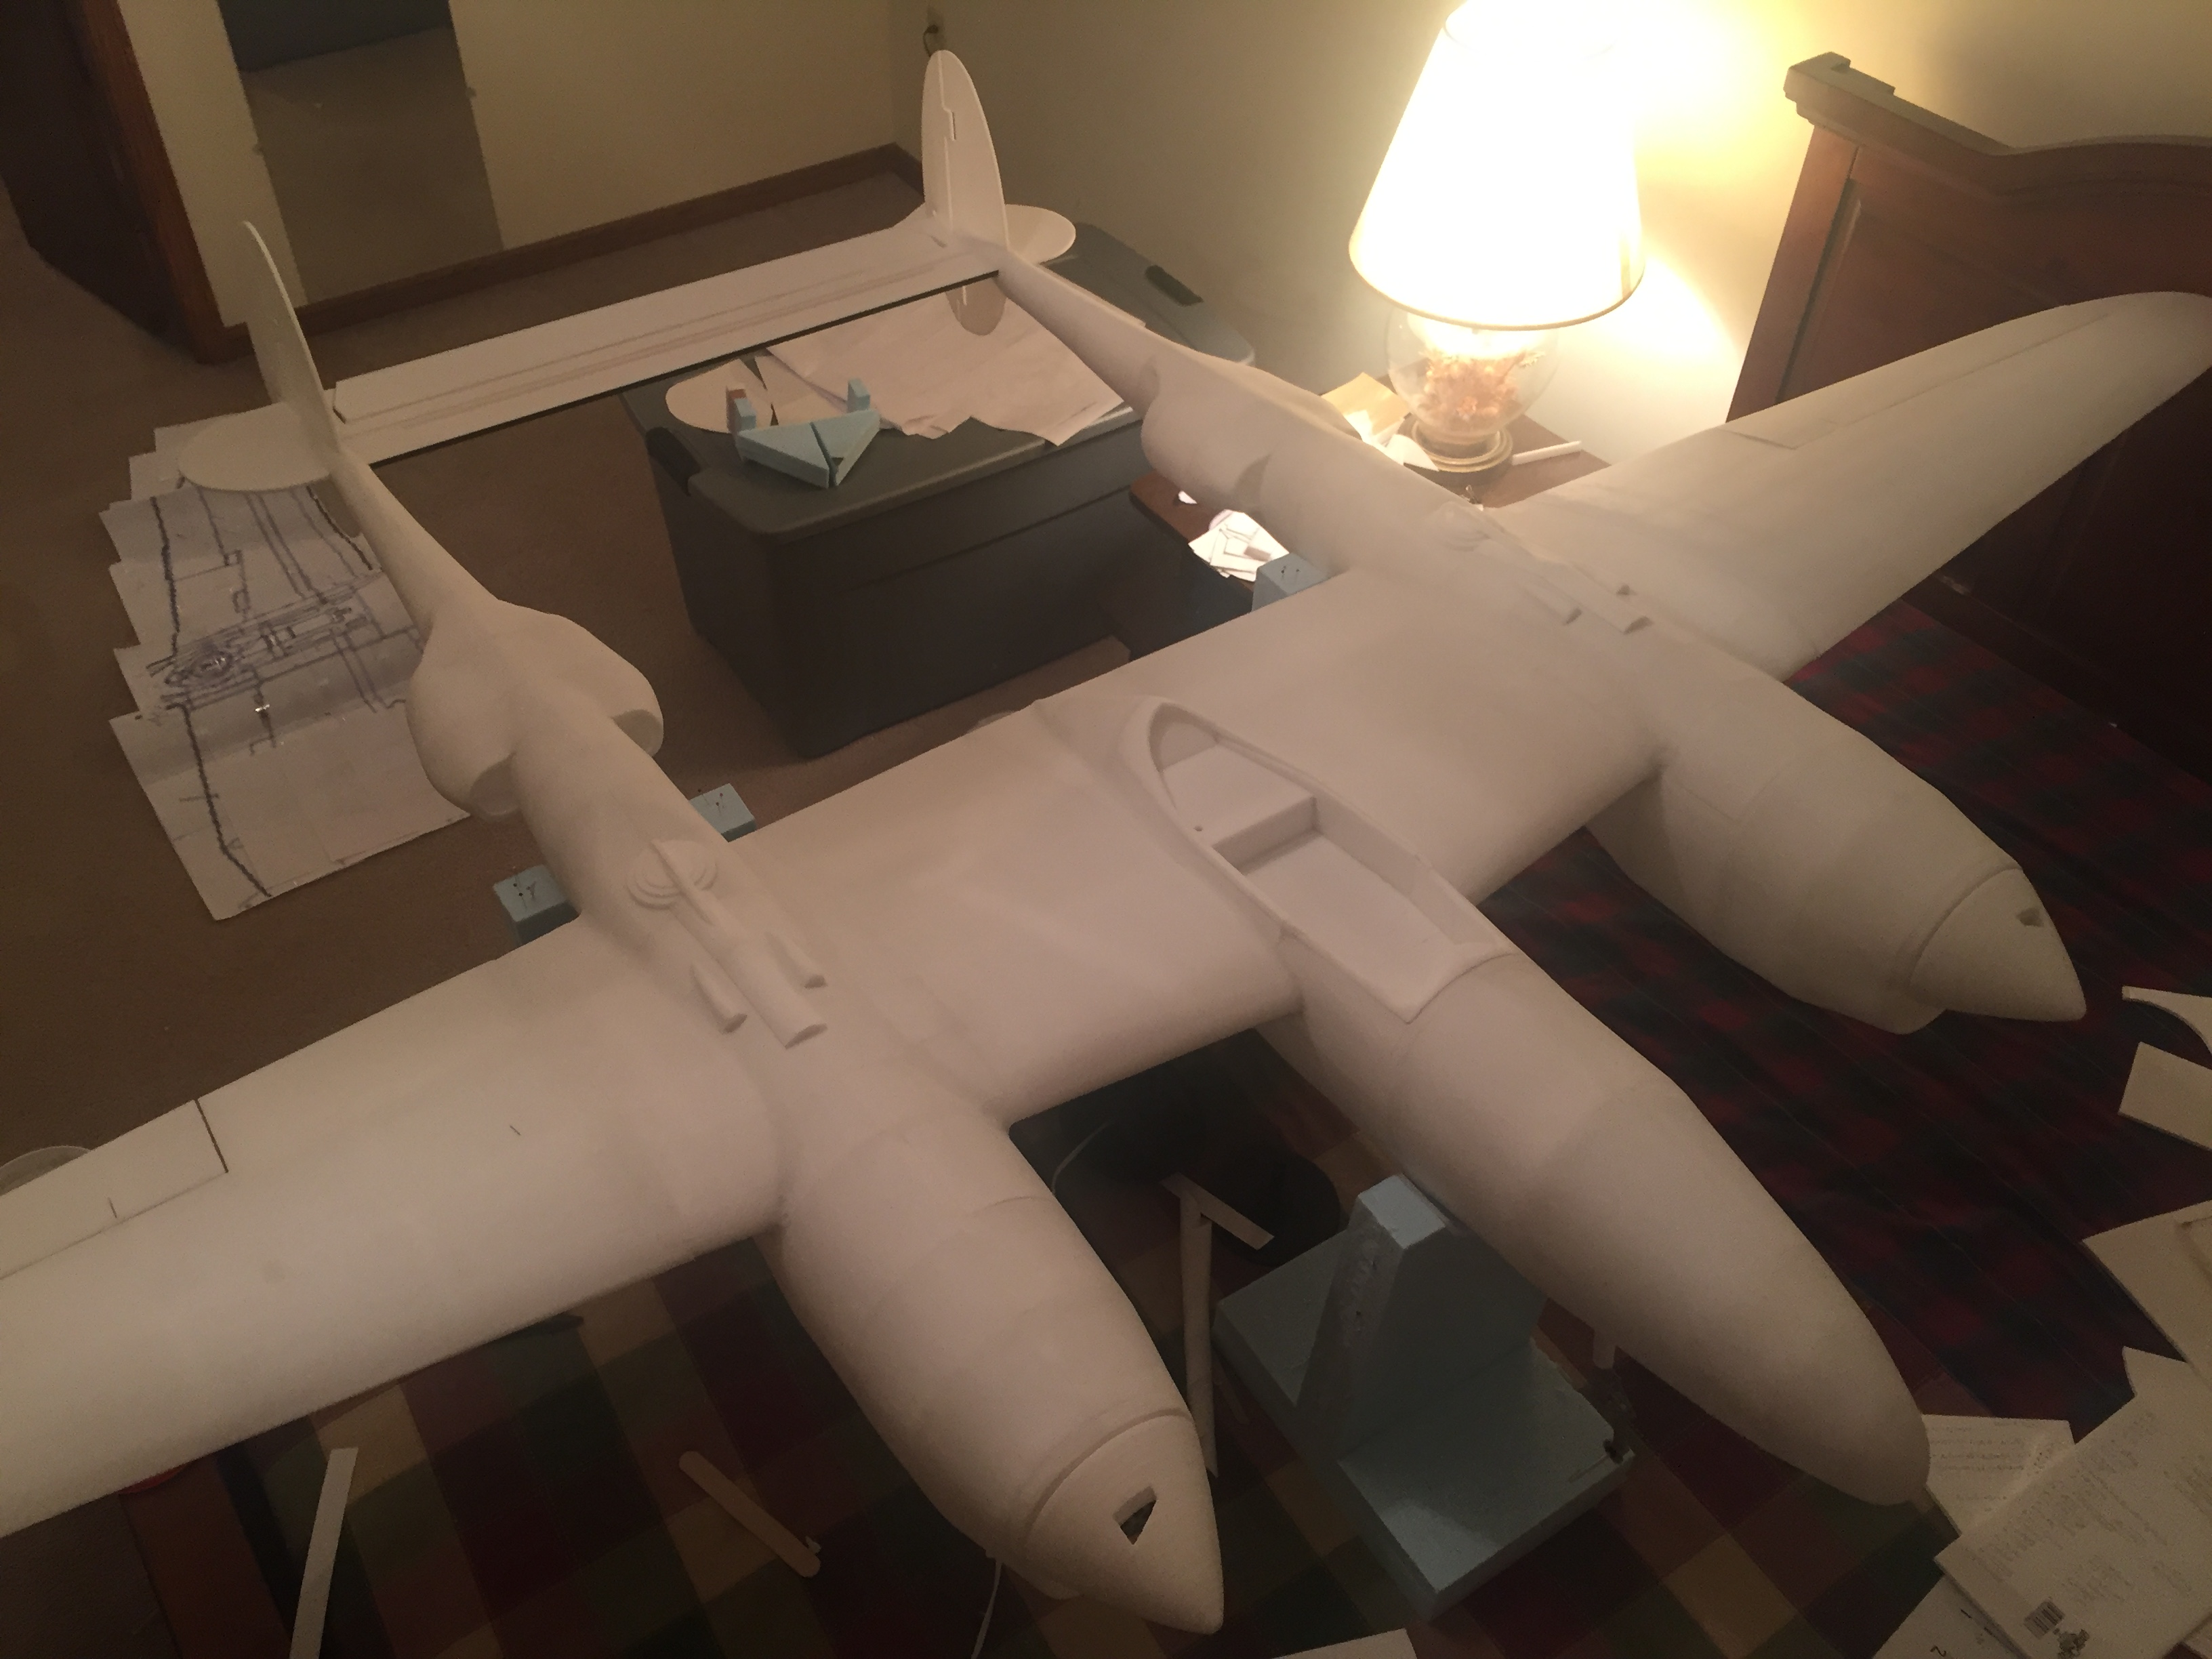
Scale Build Off - Scratchbuilt 96" P-38 Lightning

PsyBorg

Wake up! Time to fly!
:cool: I was wondering what had come of this project after I saw you on the FT episode. Many of us are waiting paitently to see the final product. I was really amazed to see how you you are for such a talented and intelligent person. You will go far in life if you apply those skills properly I am sure. Anyway can't wait to see the next evolution for this project.
 

joker24458

Active member
:cool: I was wondering what had come of this project after I saw you on the FT episode. Many of us are waiting paitently to see the final product. I was really amazed to see how you you are for such a talented and intelligent person. You will go far in life if you apply those skills properly I am sure. Anyway can't wait to see the next evolution for this project.

Thank you so much for the support! :)

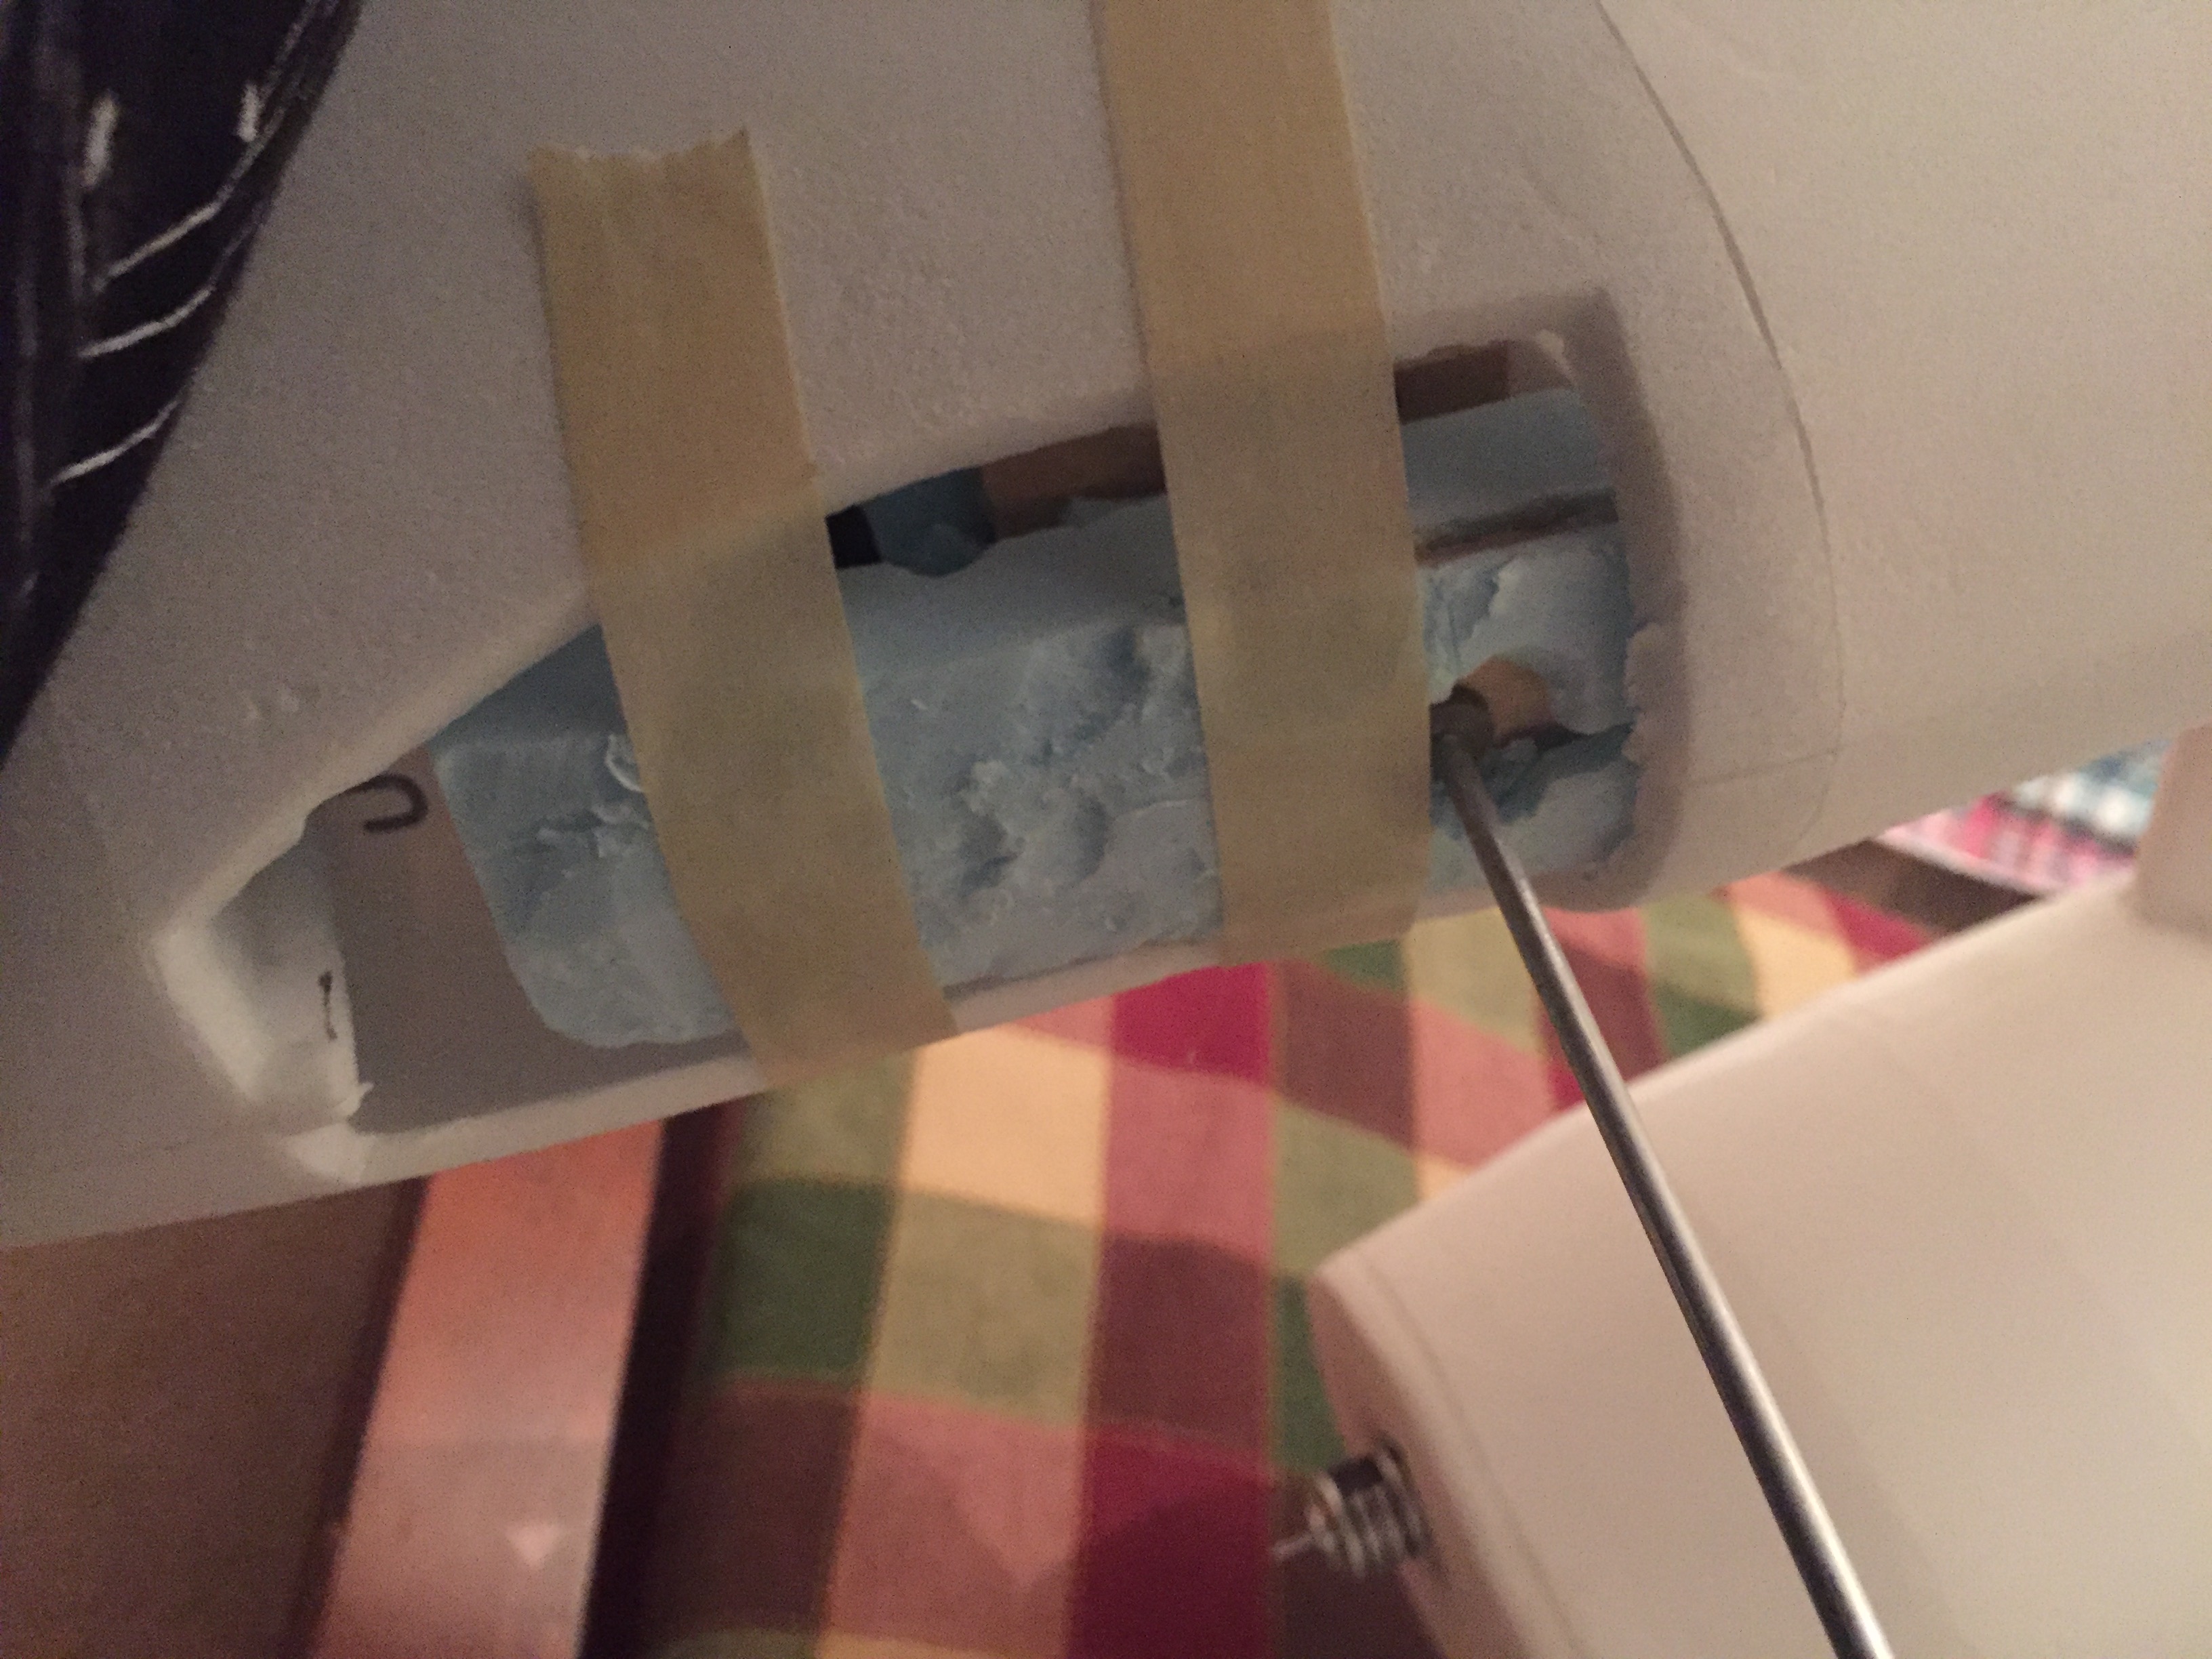
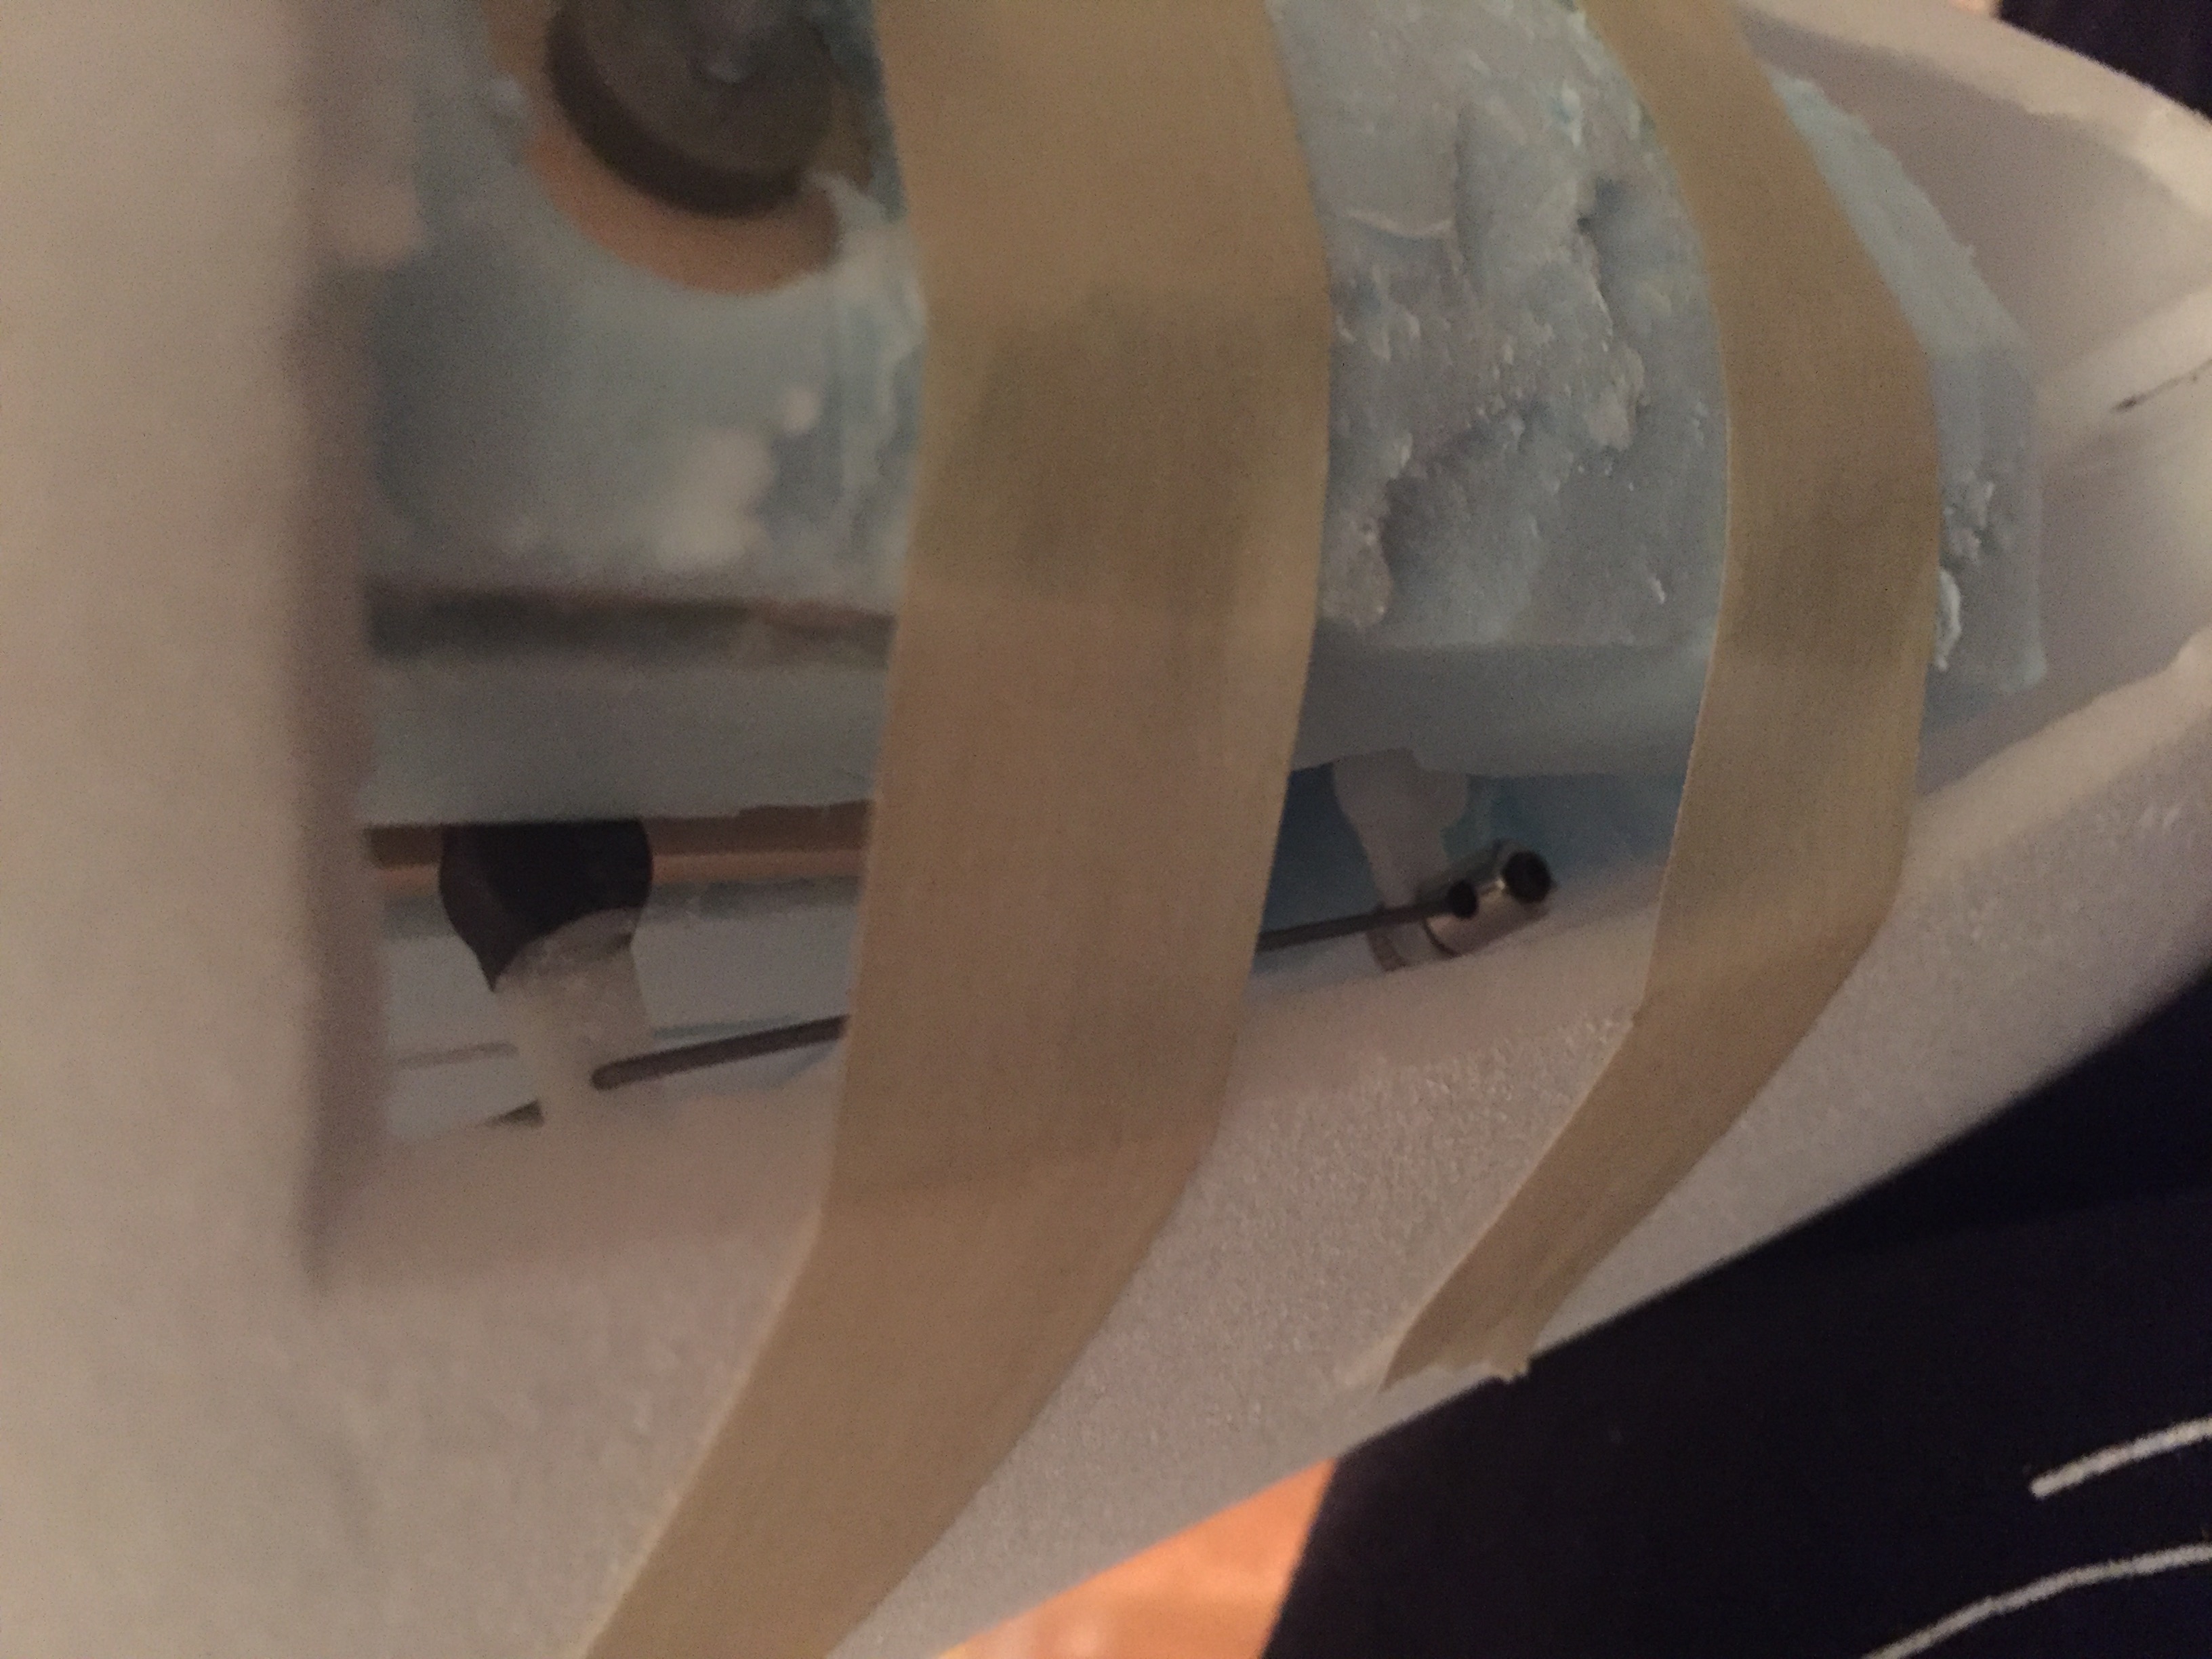
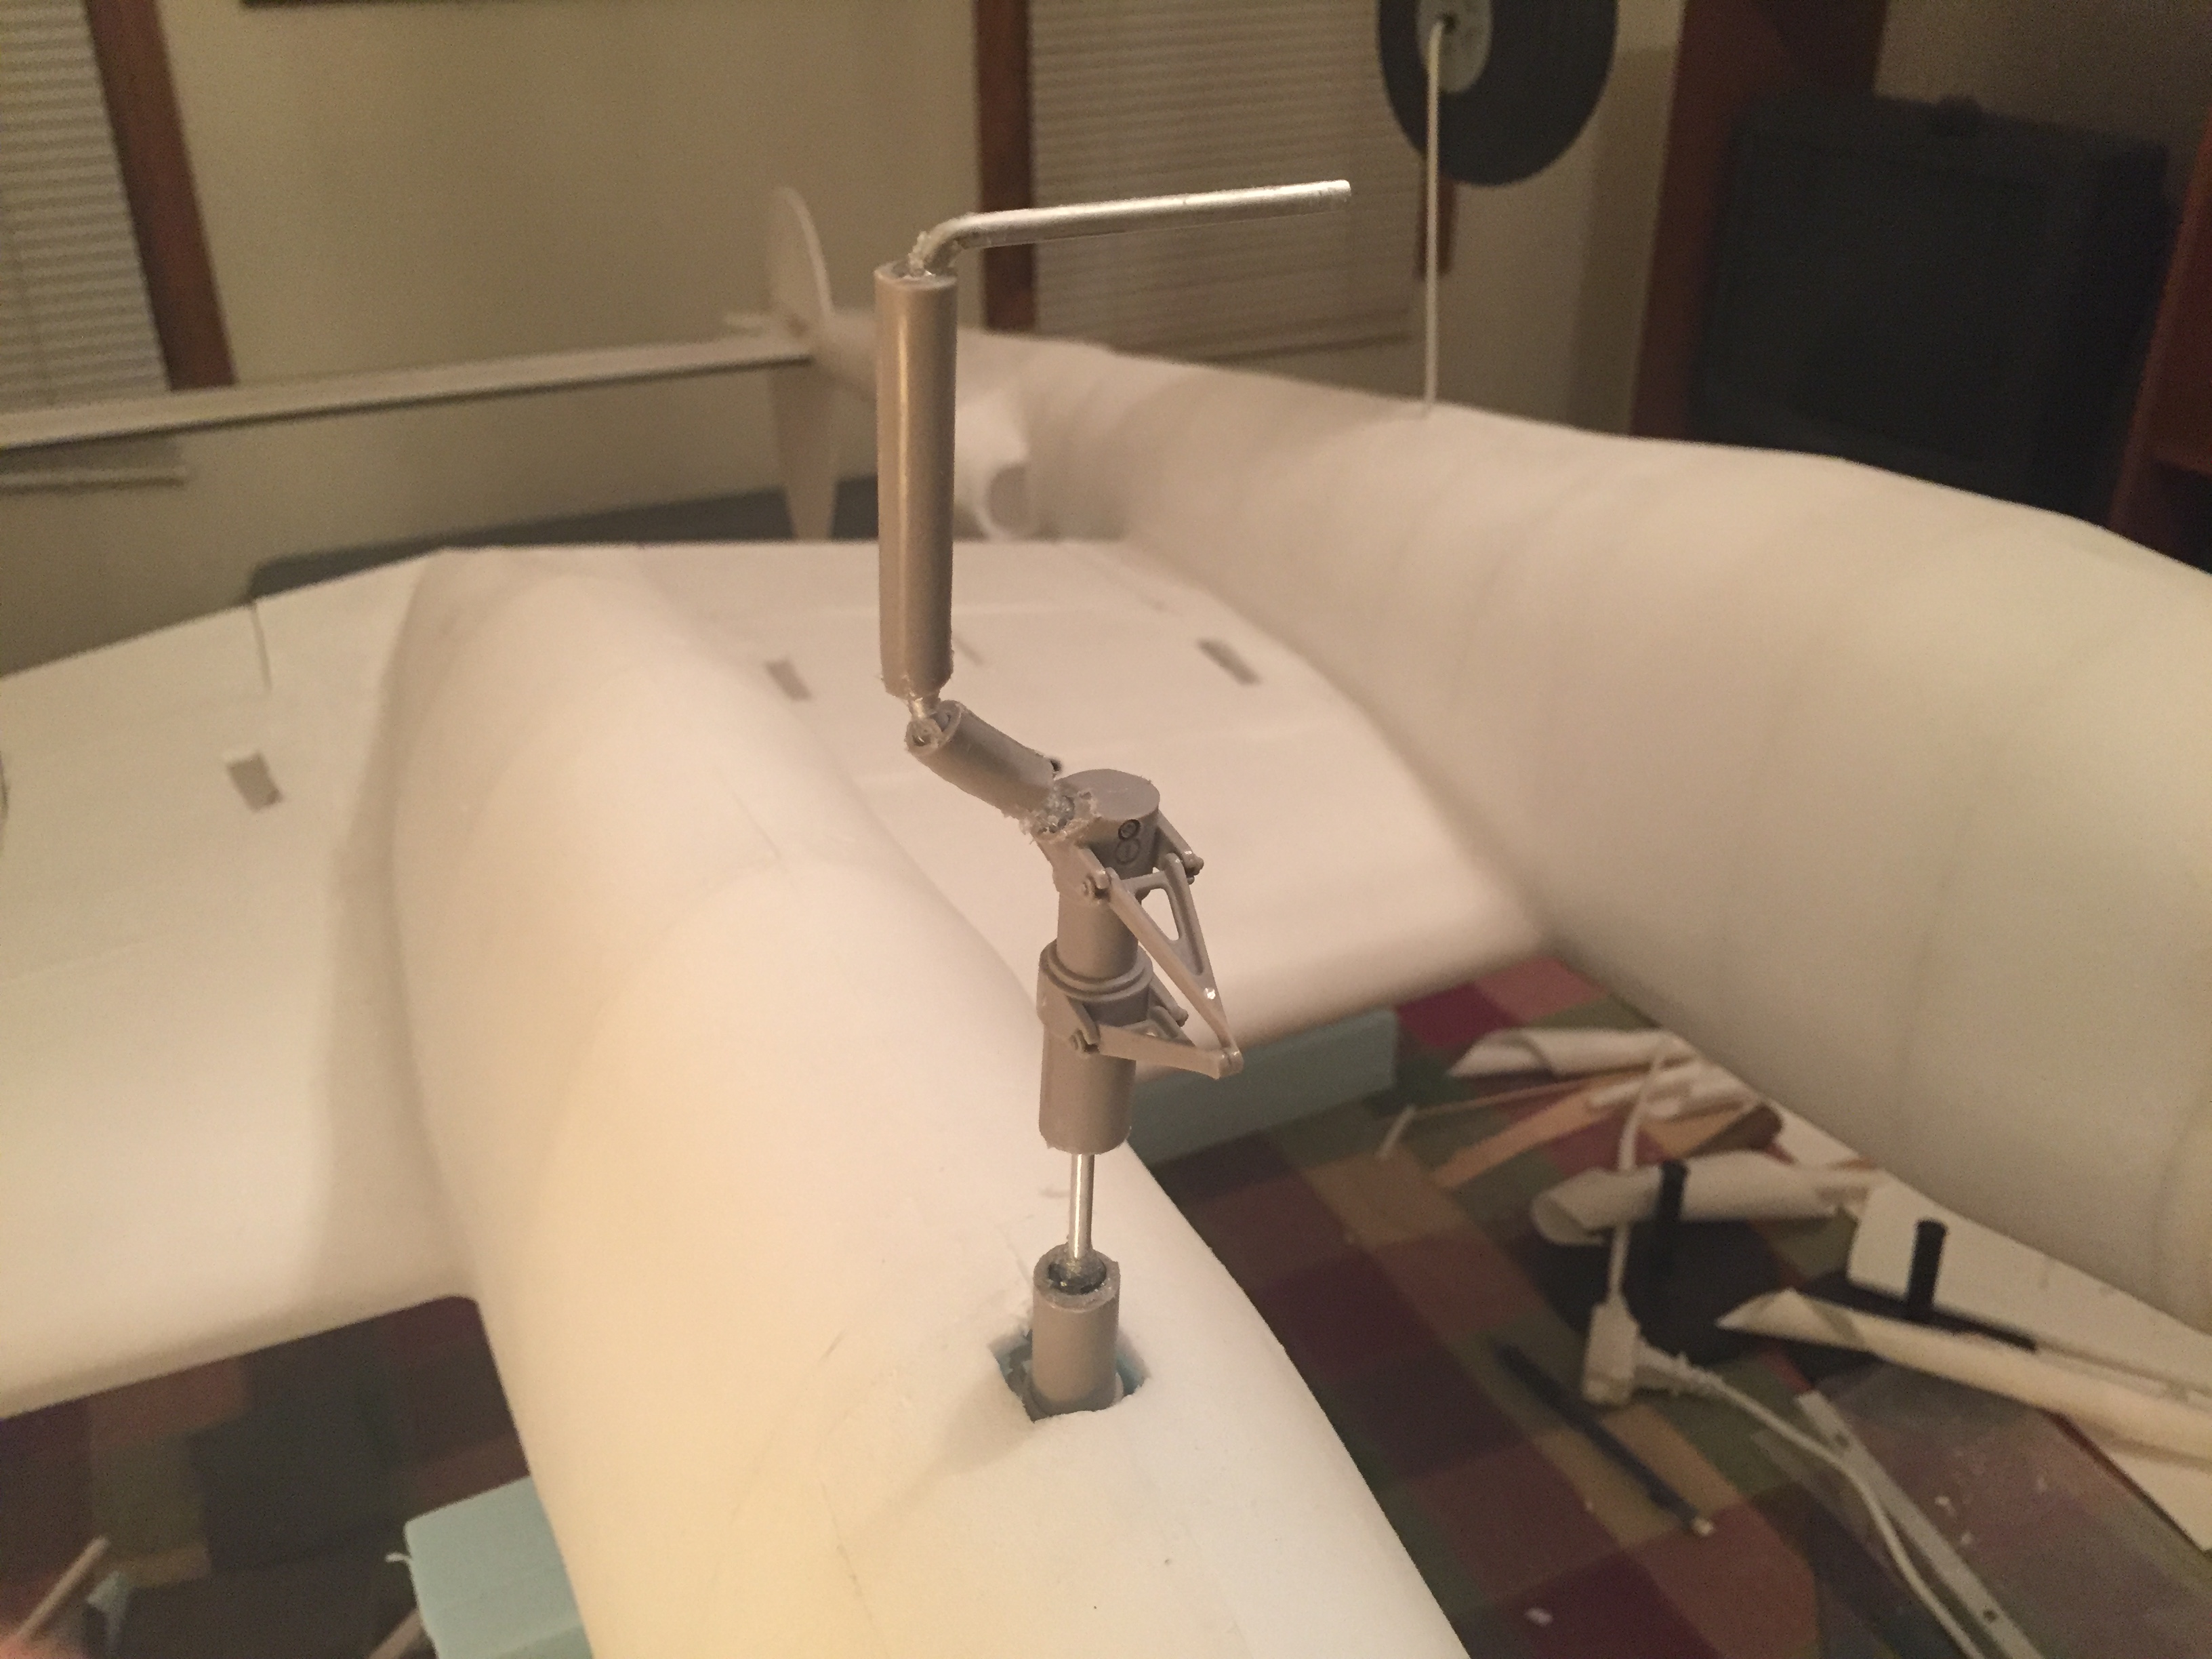
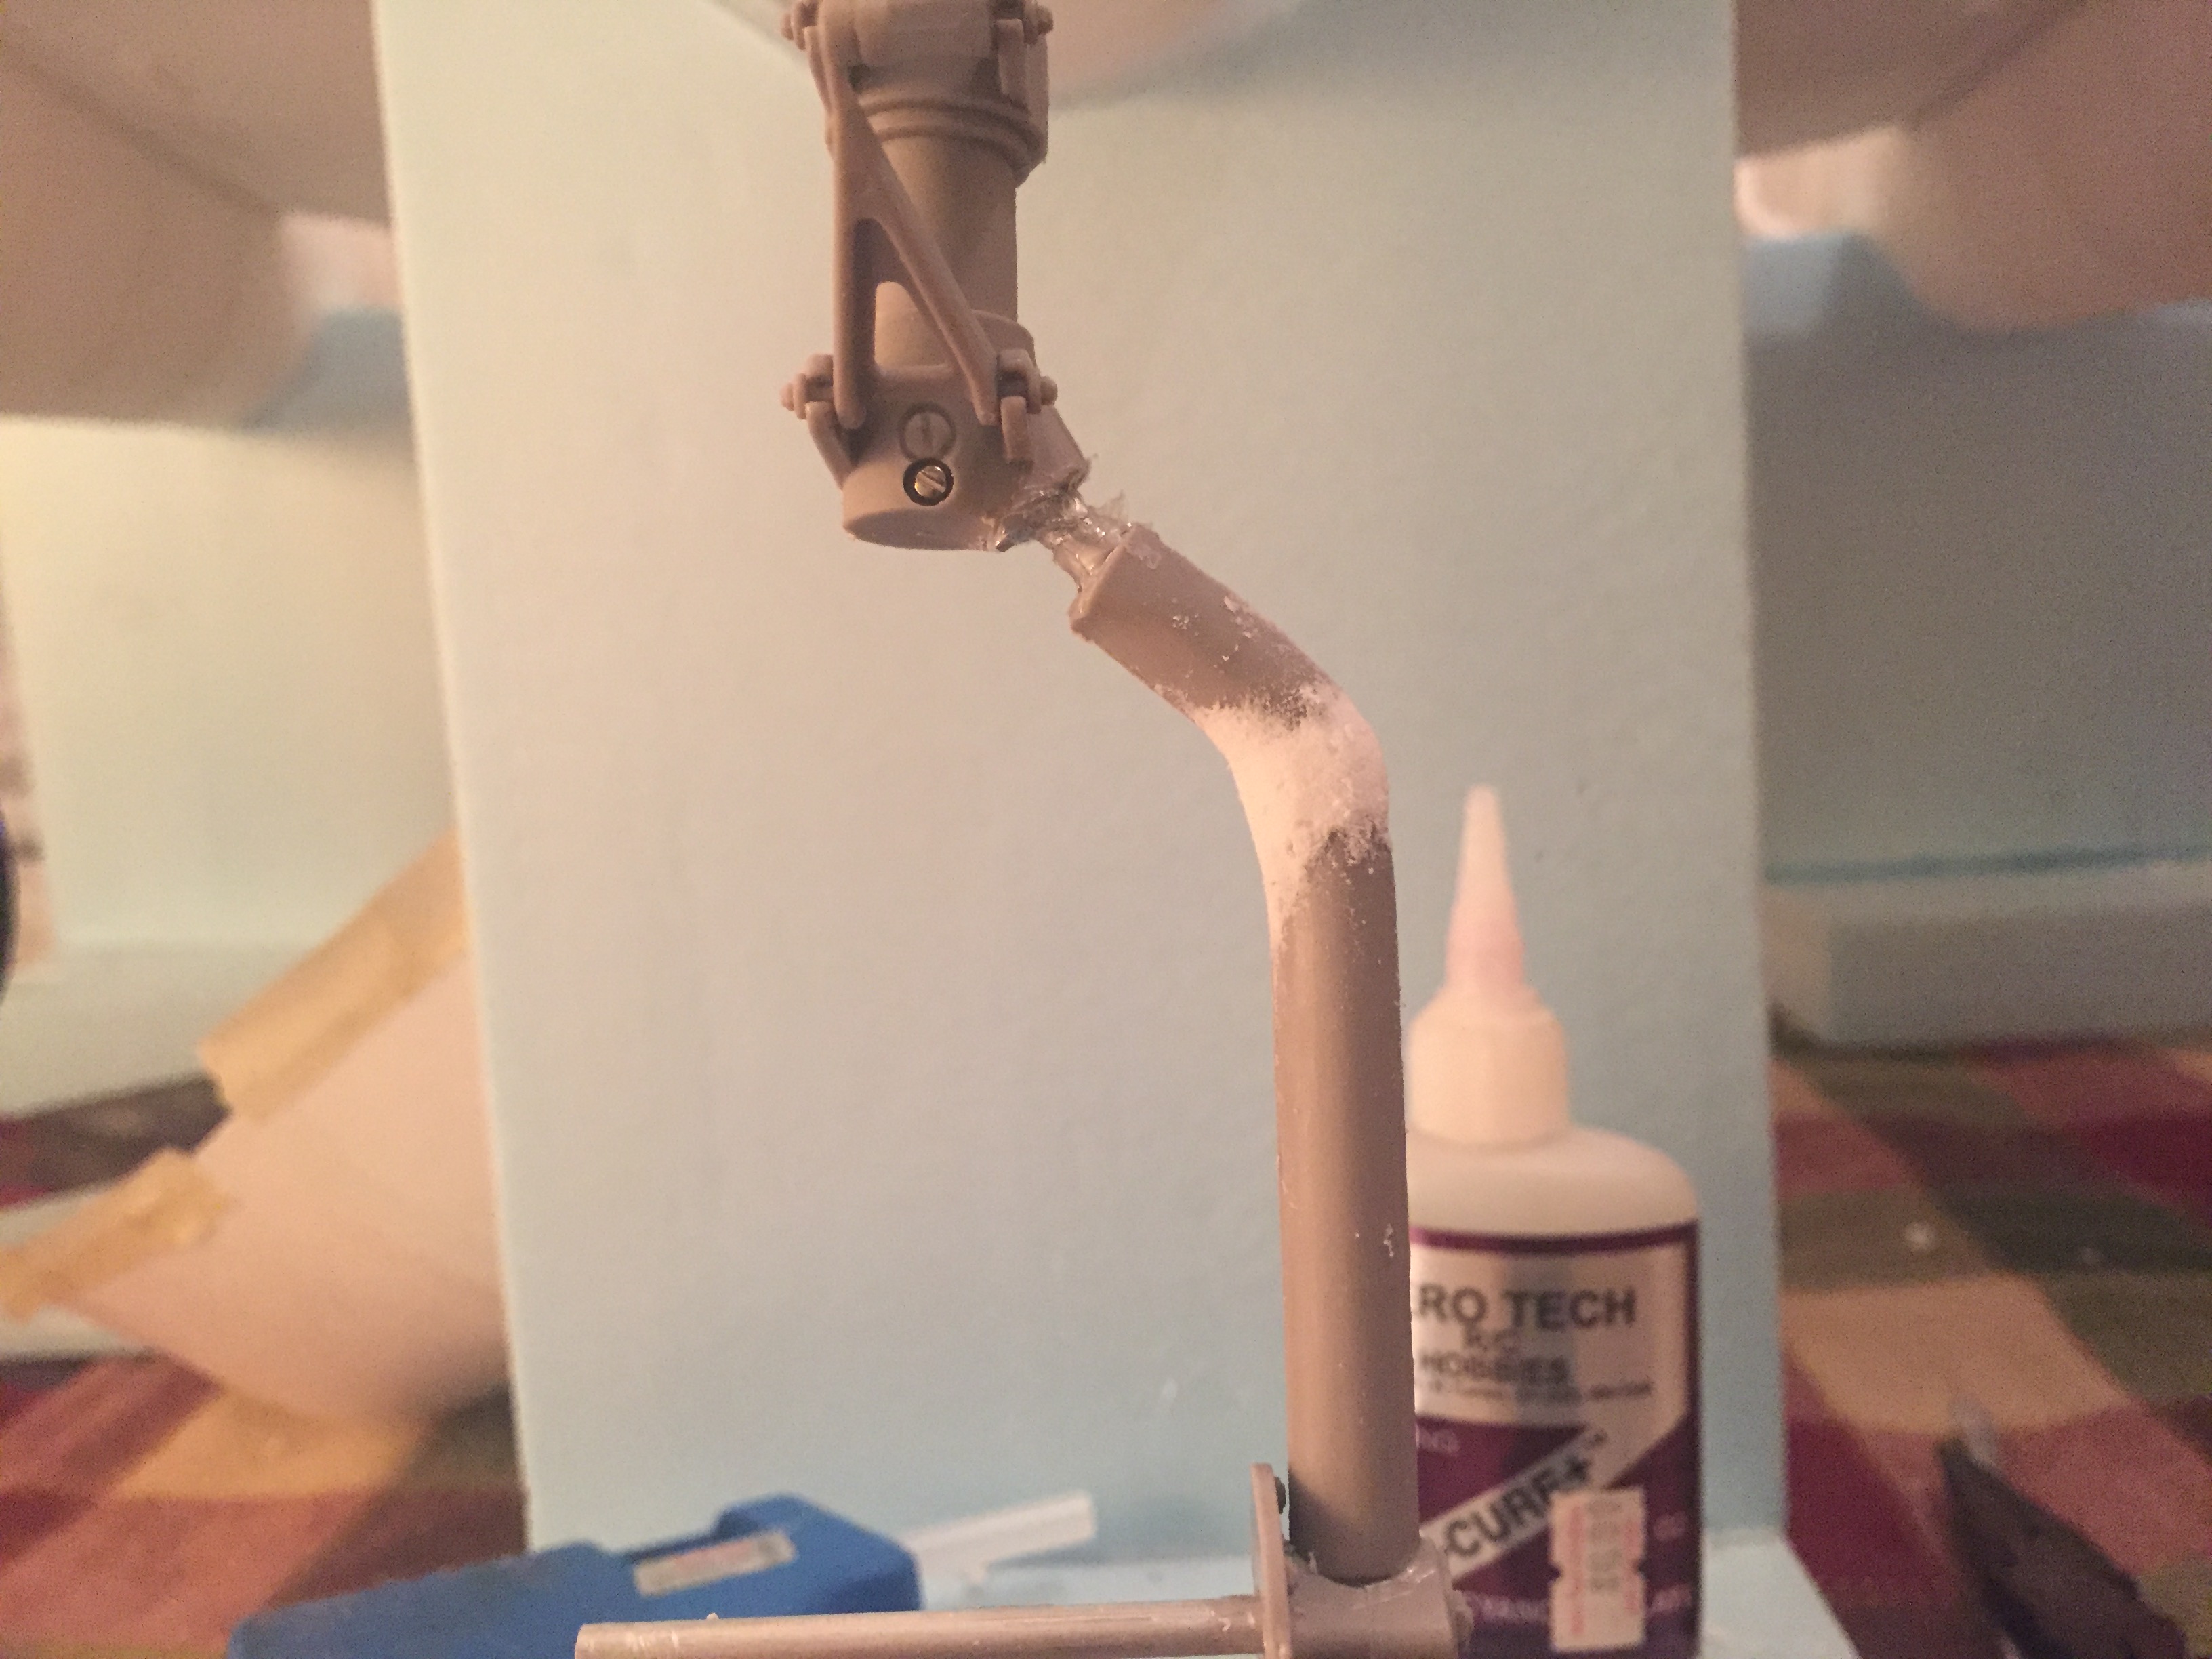
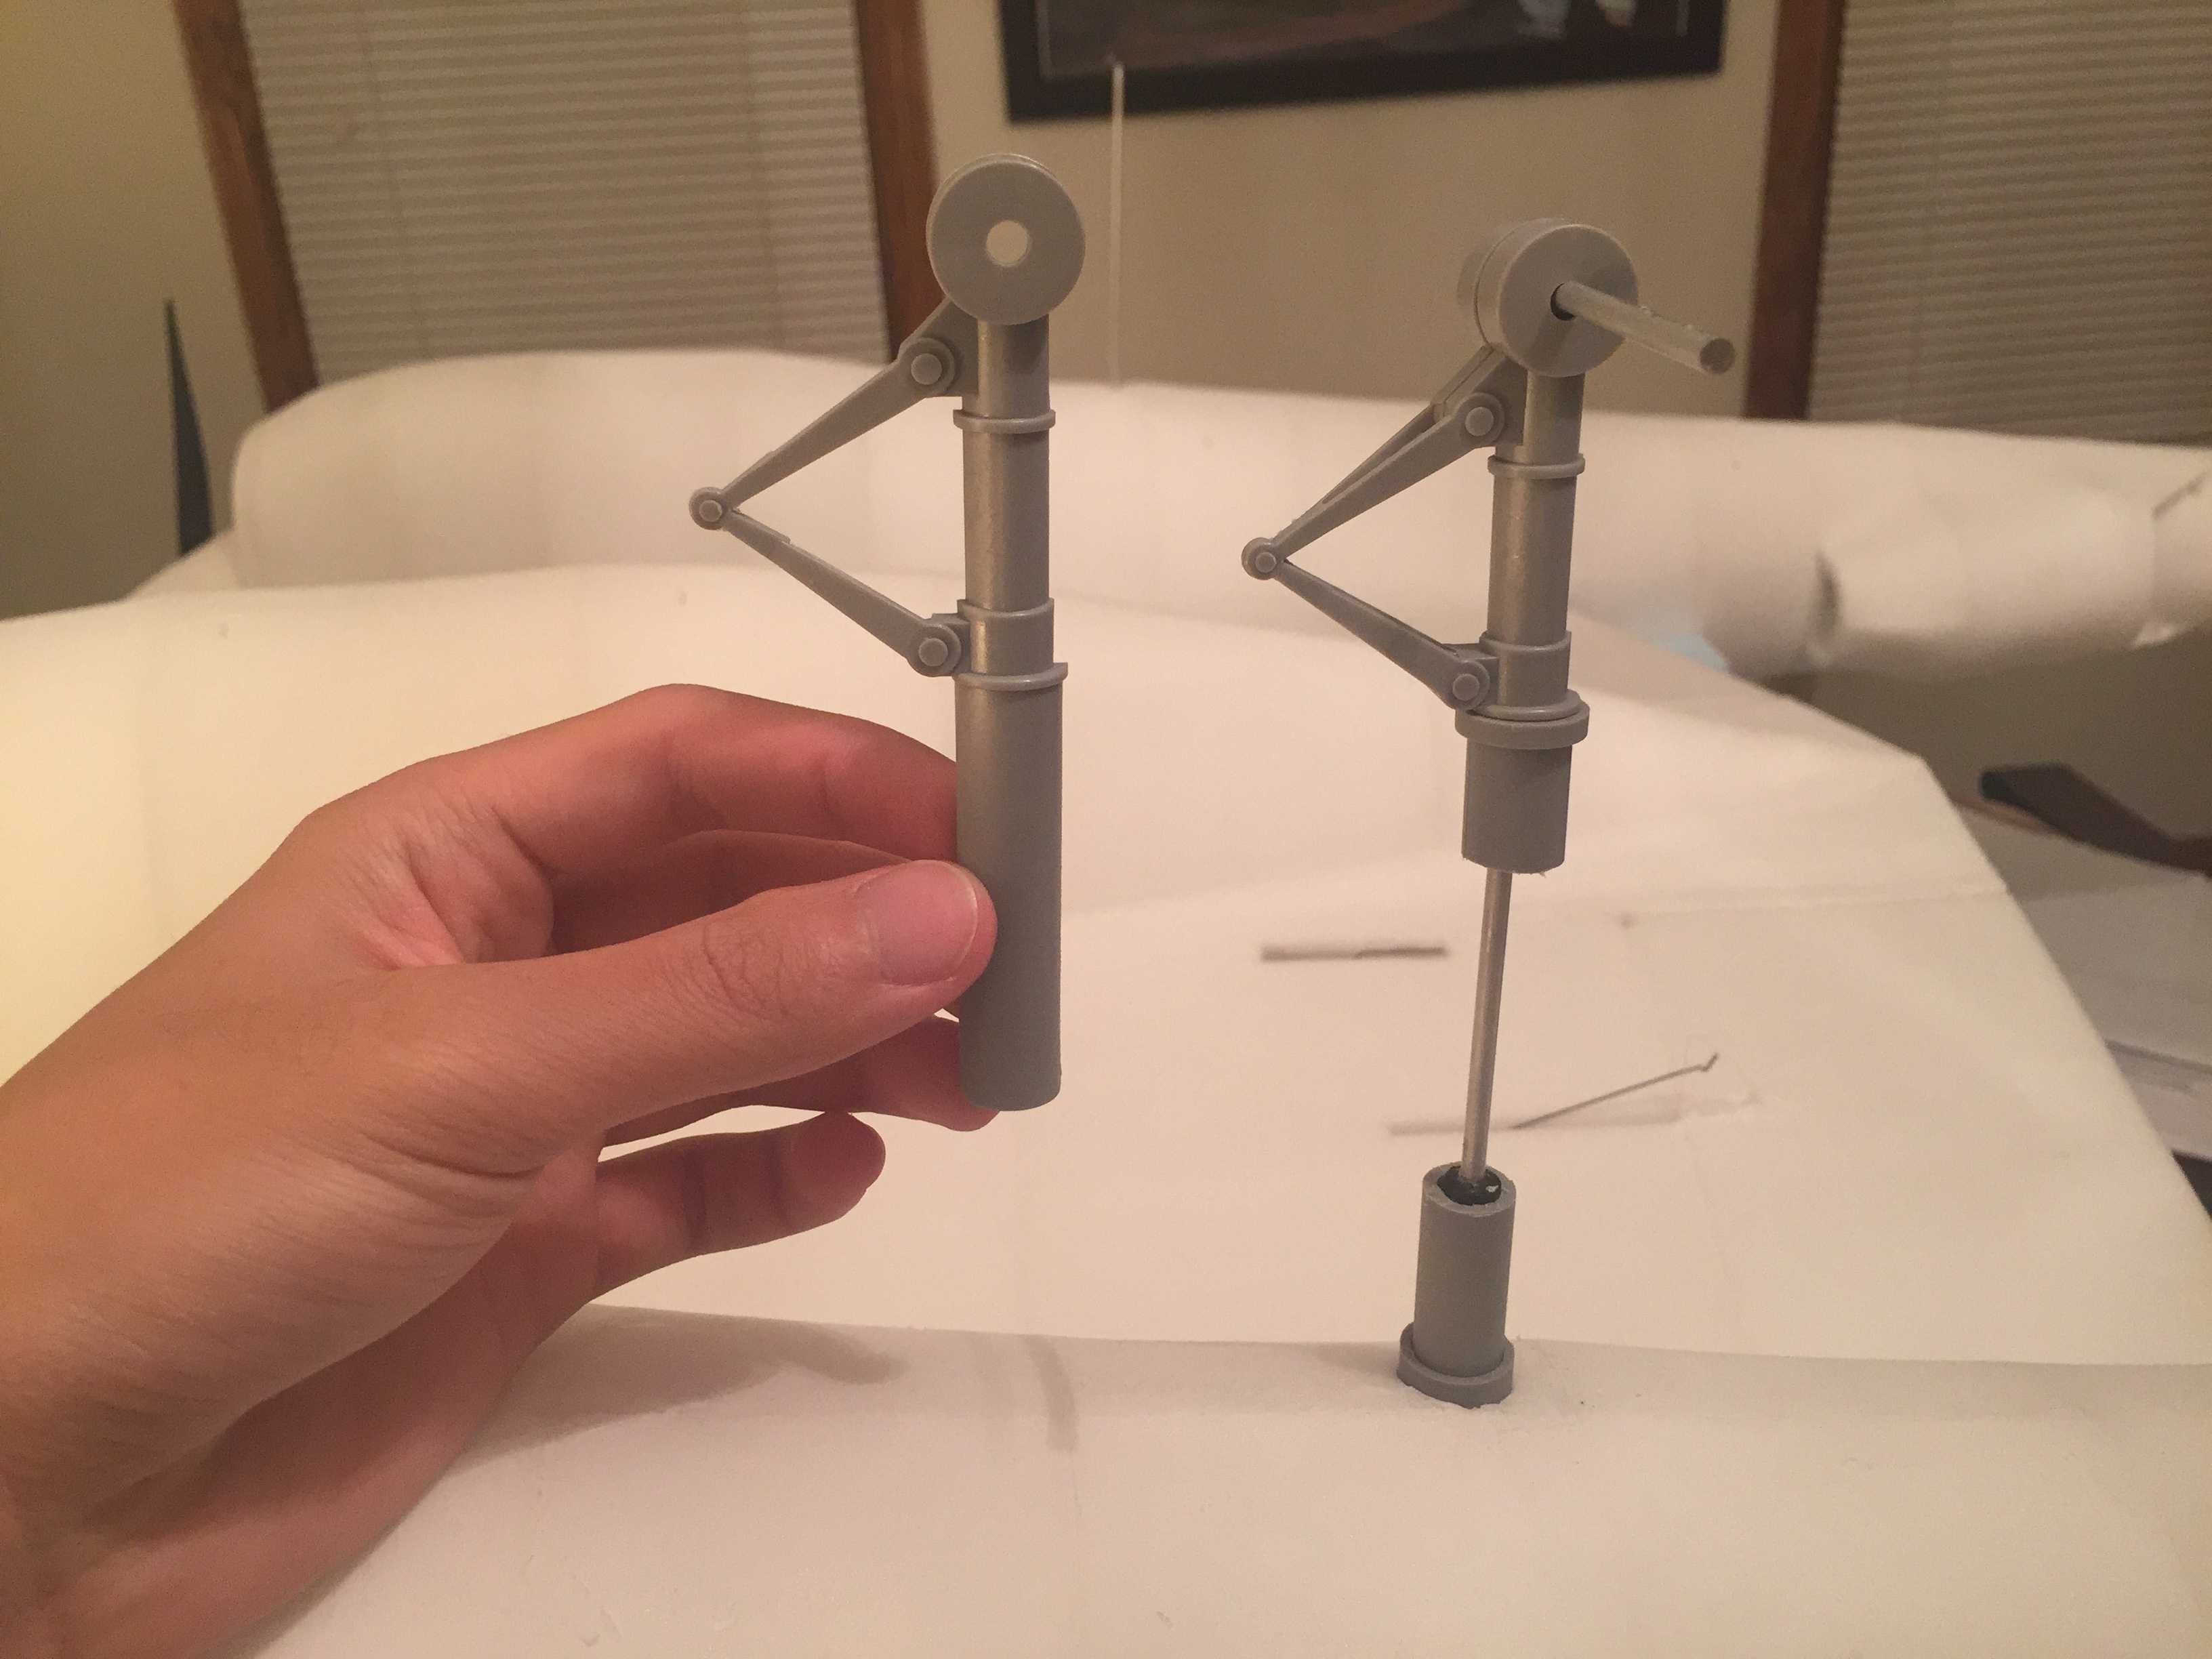
Didn't actually do any work on the Lightning today (homework....:rolleyes:) but I did grab a couple quick pictures of the new nose wheel setup in the plane. I will add some more structural support for the nose gear when I glue it in, it was just taped on for testing. :D It was also a difficult angle to get the pictures while holding the plane in one hand and my phone in the other, so sorry if they don't show as much as I would have liked. :D

IMG_7119.JPG
IMG_7121.JPG
 

PsyBorg

Wake up! Time to fly!
Progress is progress bud. Again you have amazing skills

As always school first. No diplomas and degrees you don't get to play in the big boys sandbox to do all this cool stuff later. That would be a huge loss to the aviation world.
 

joker24458

Active member
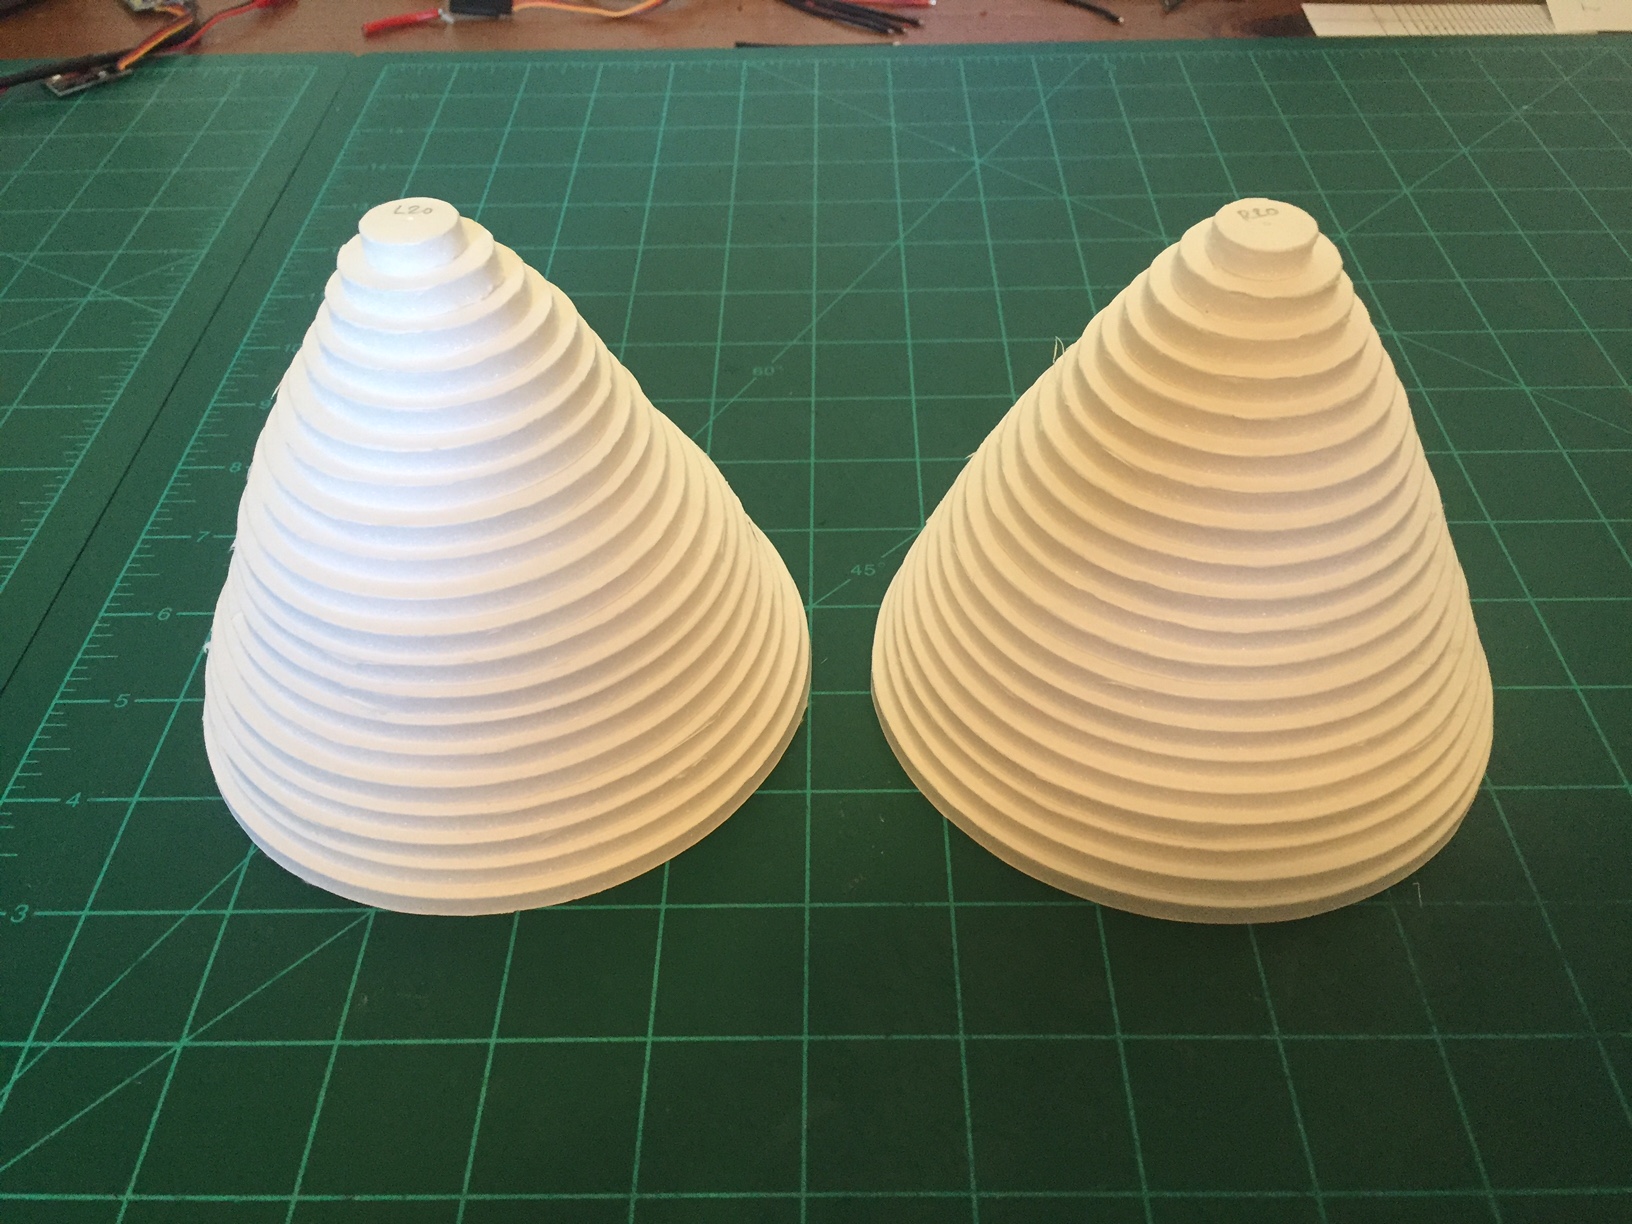
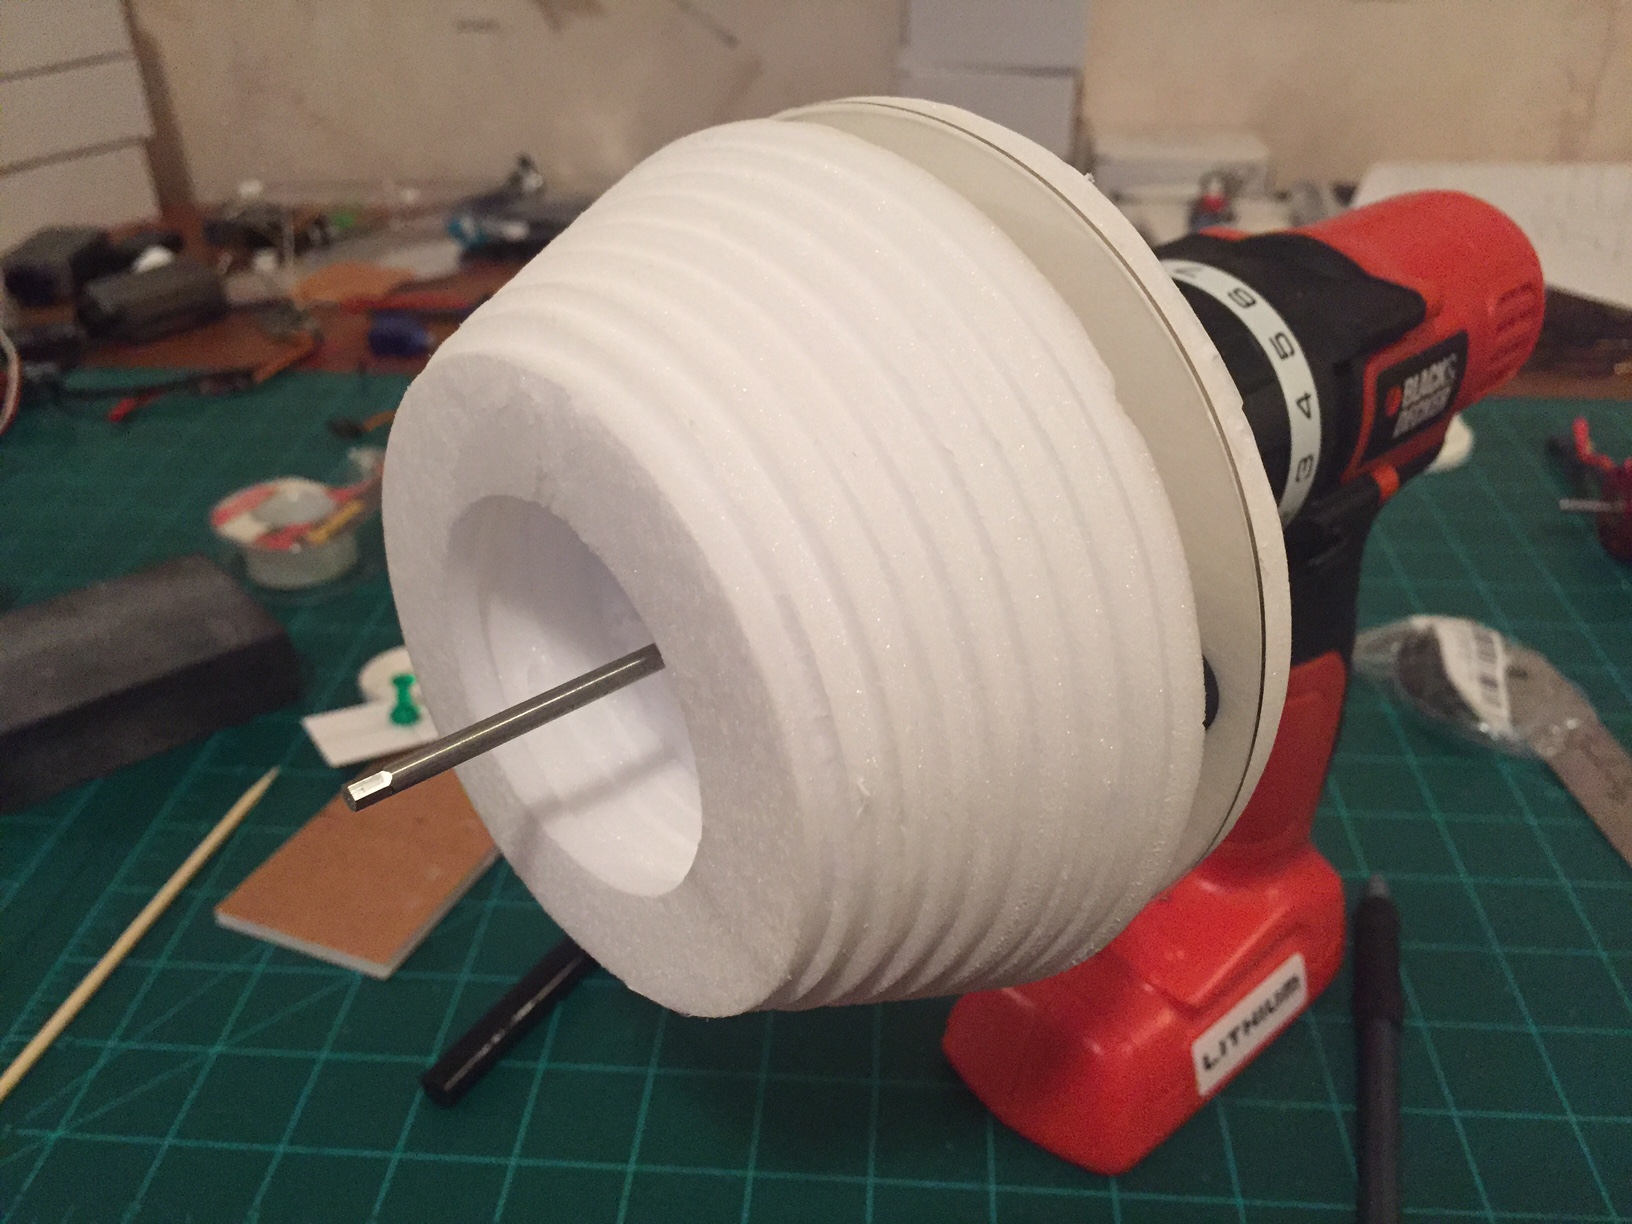
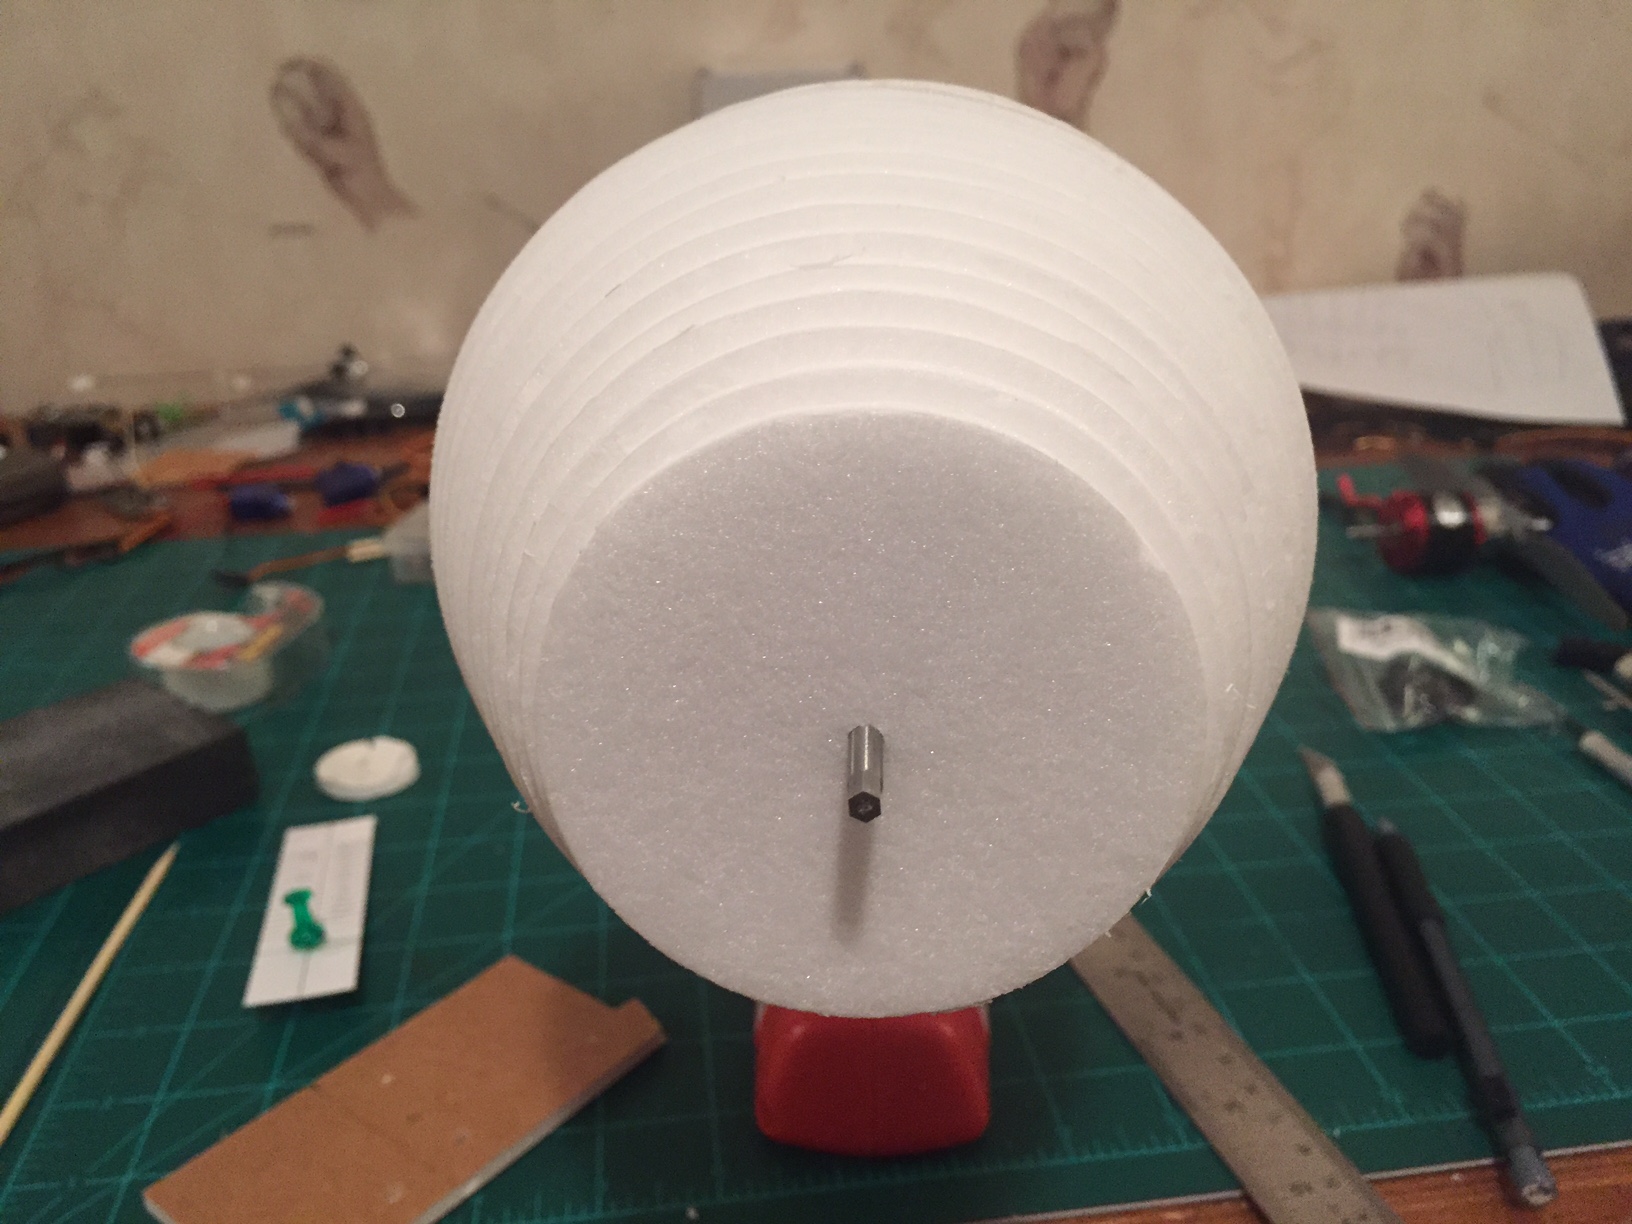
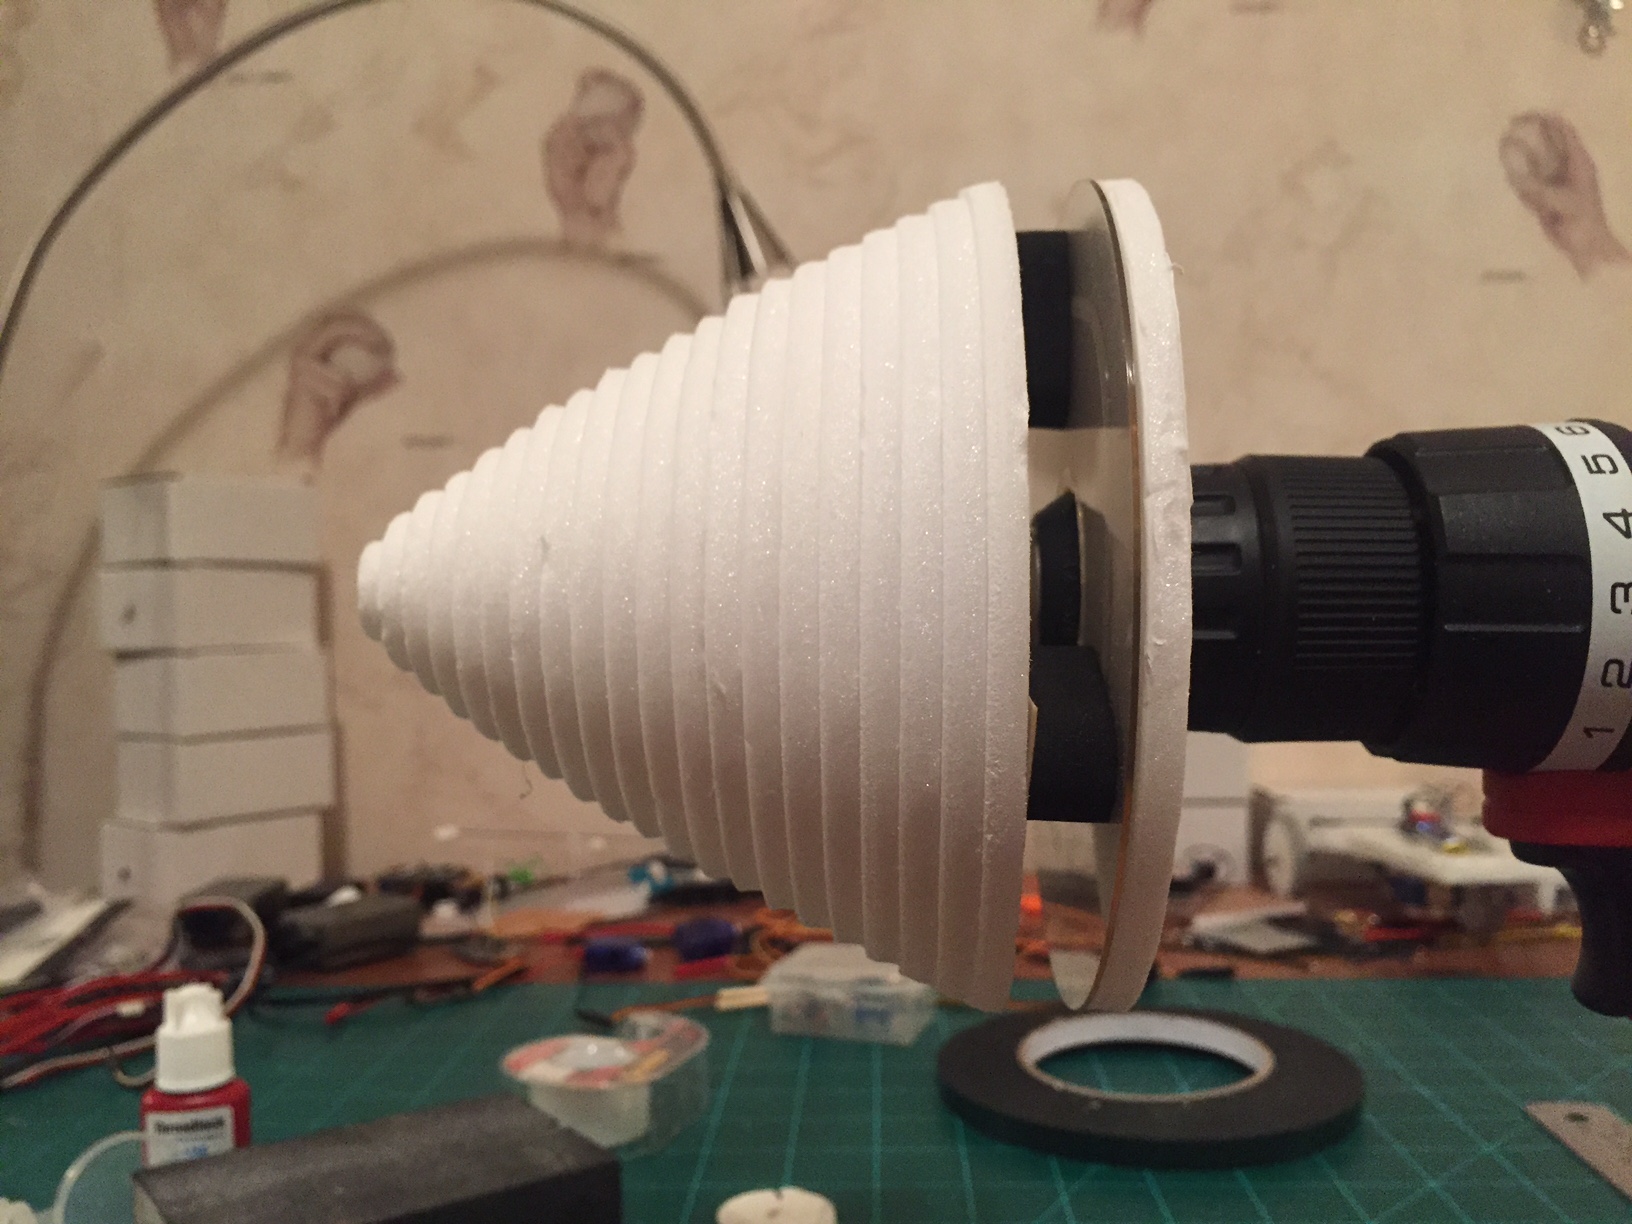
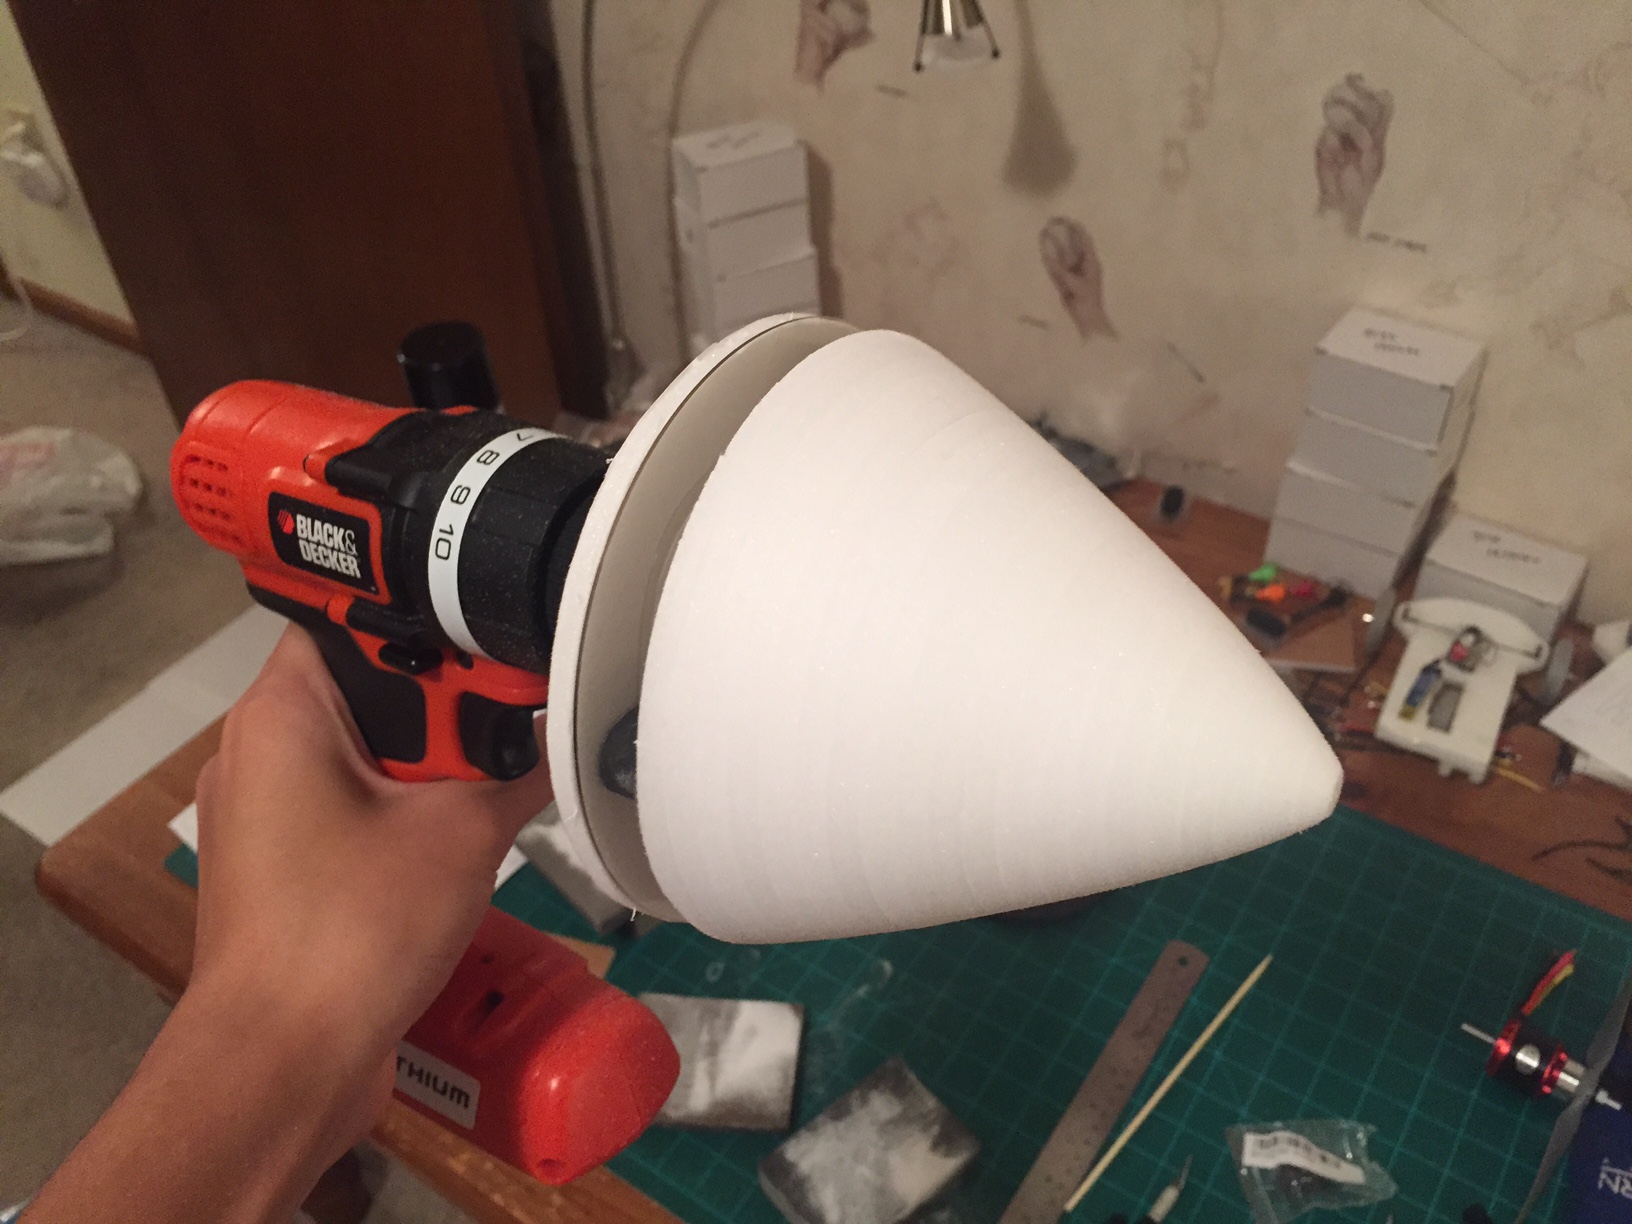
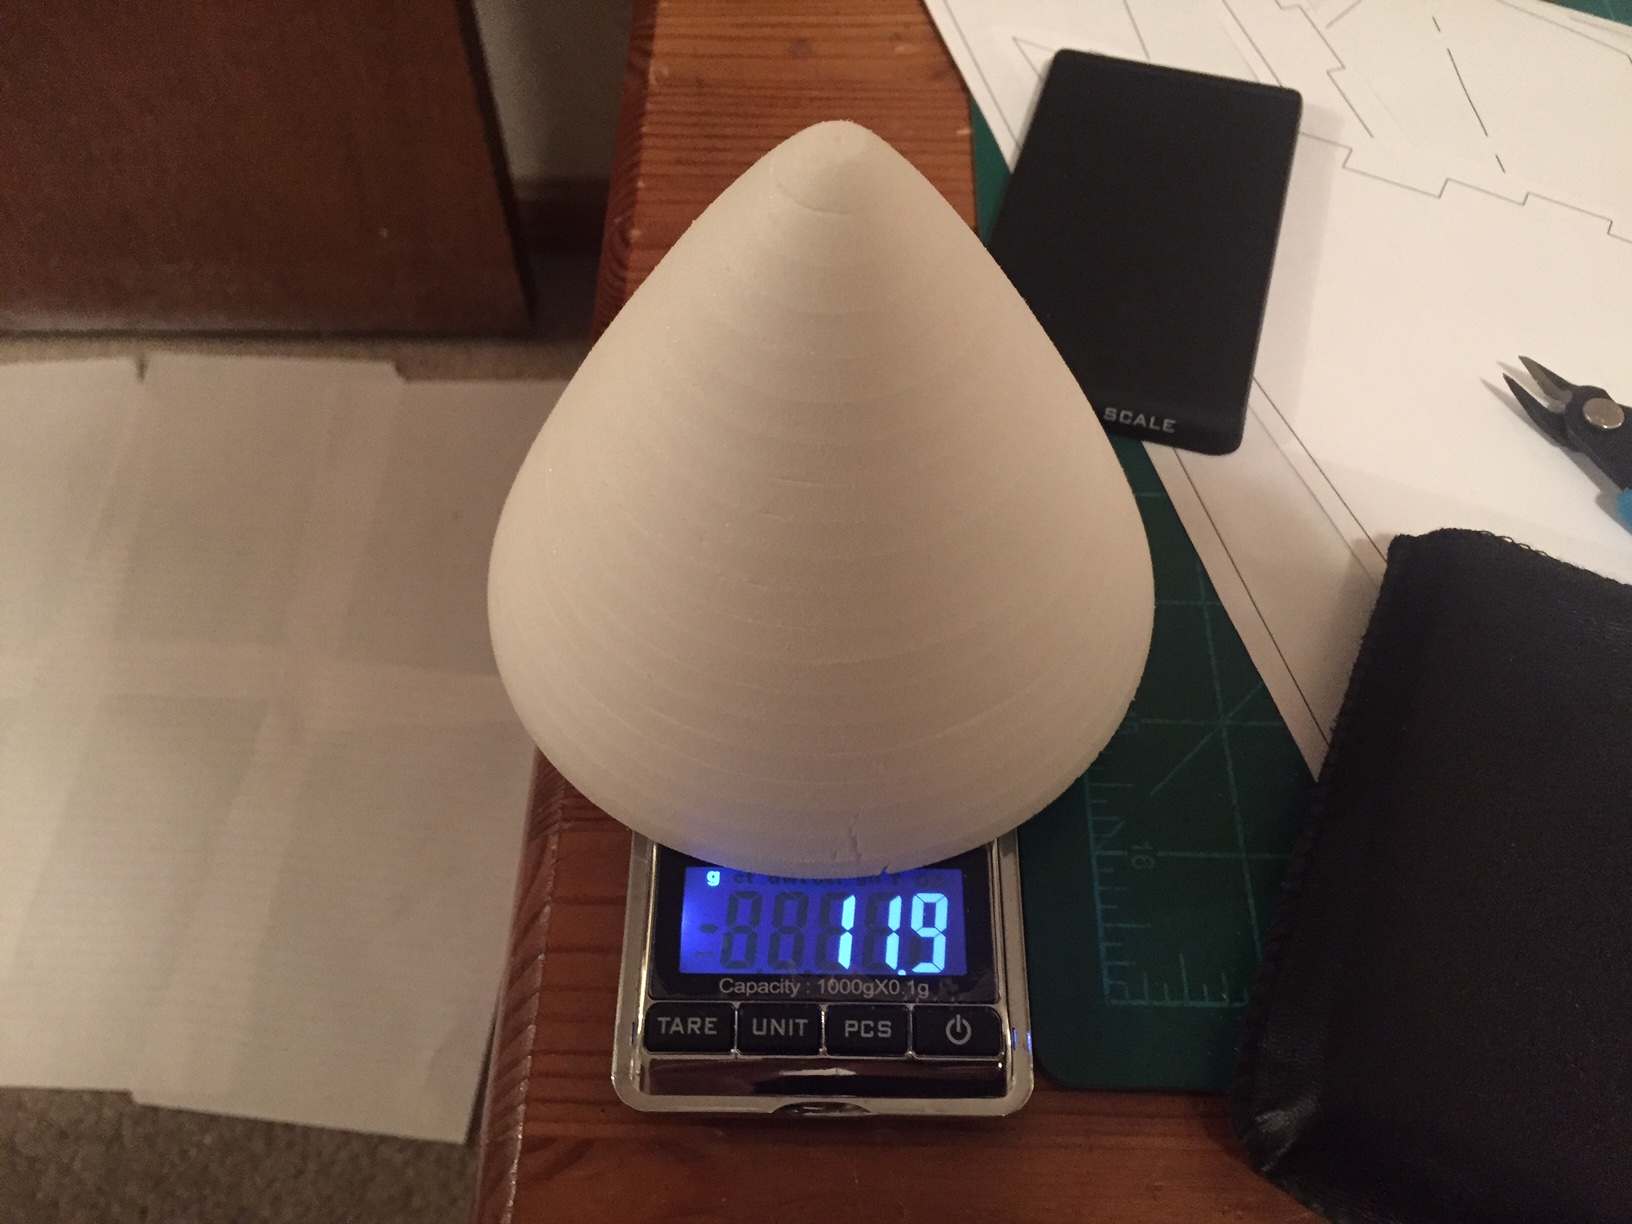
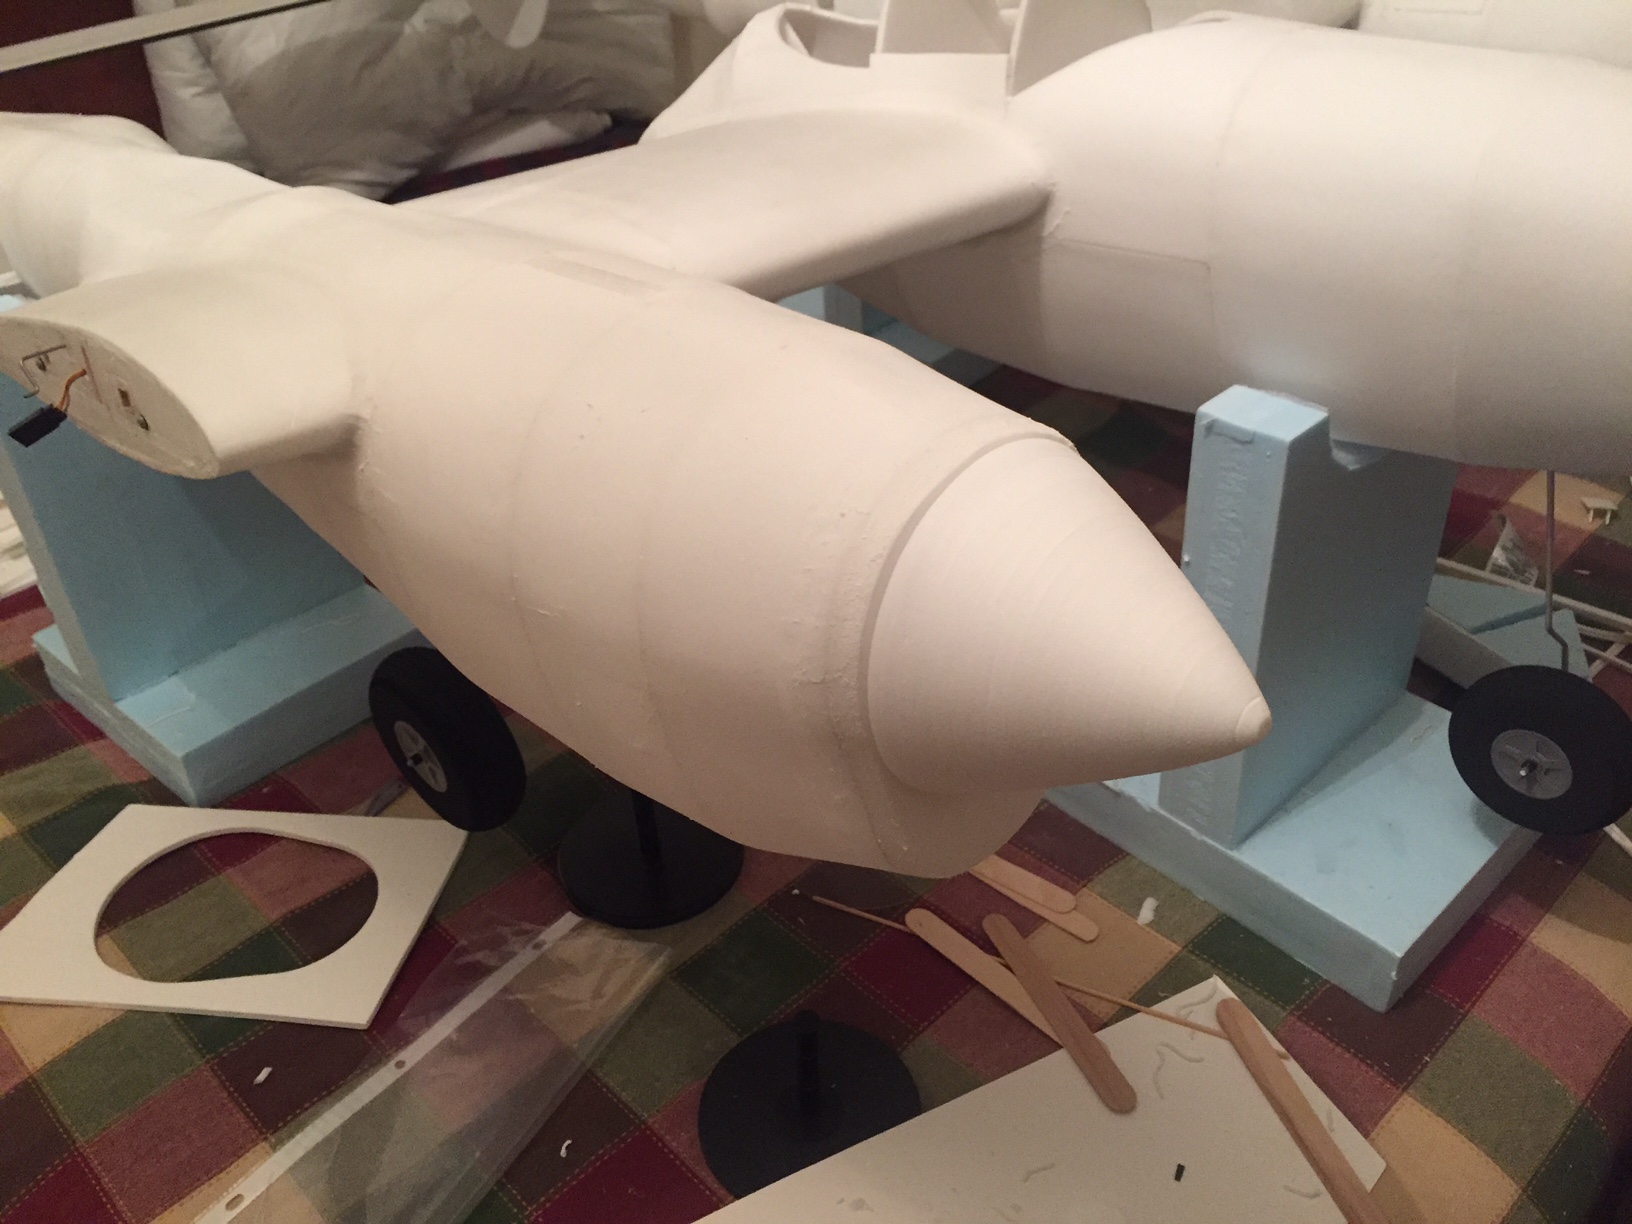
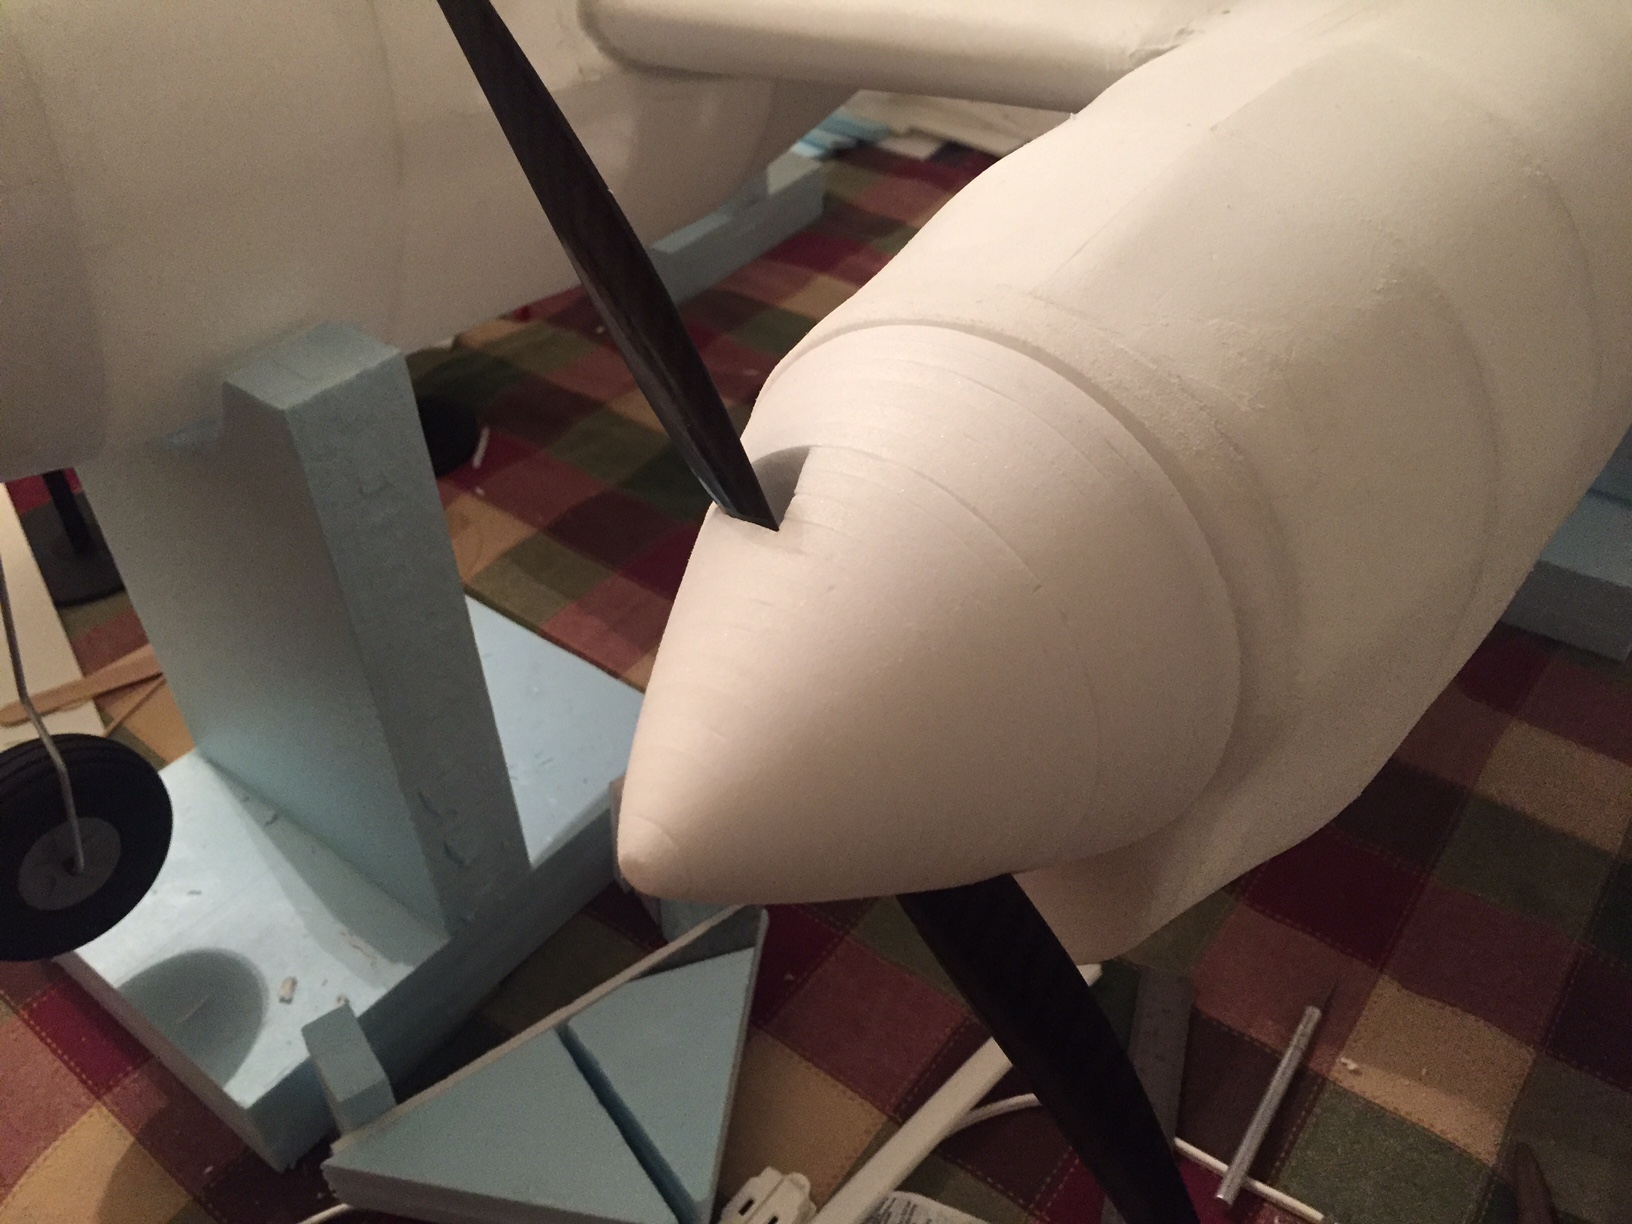
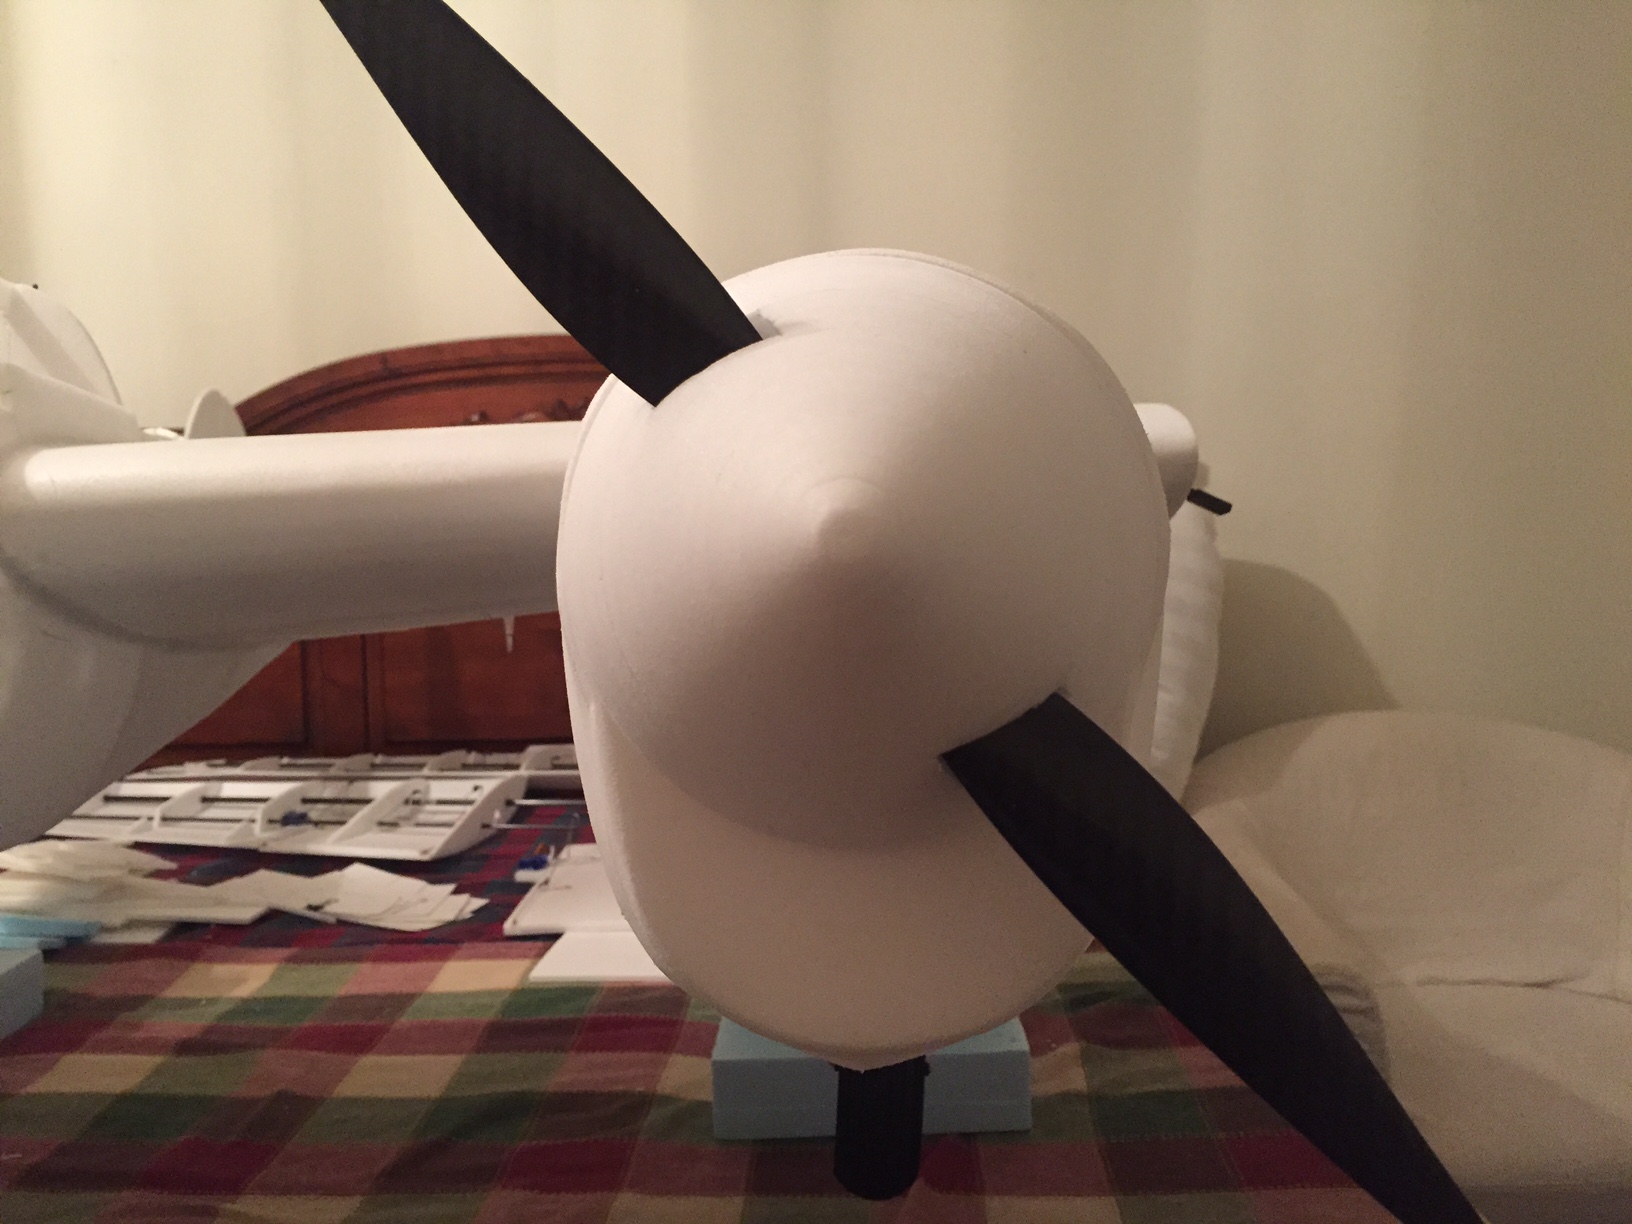
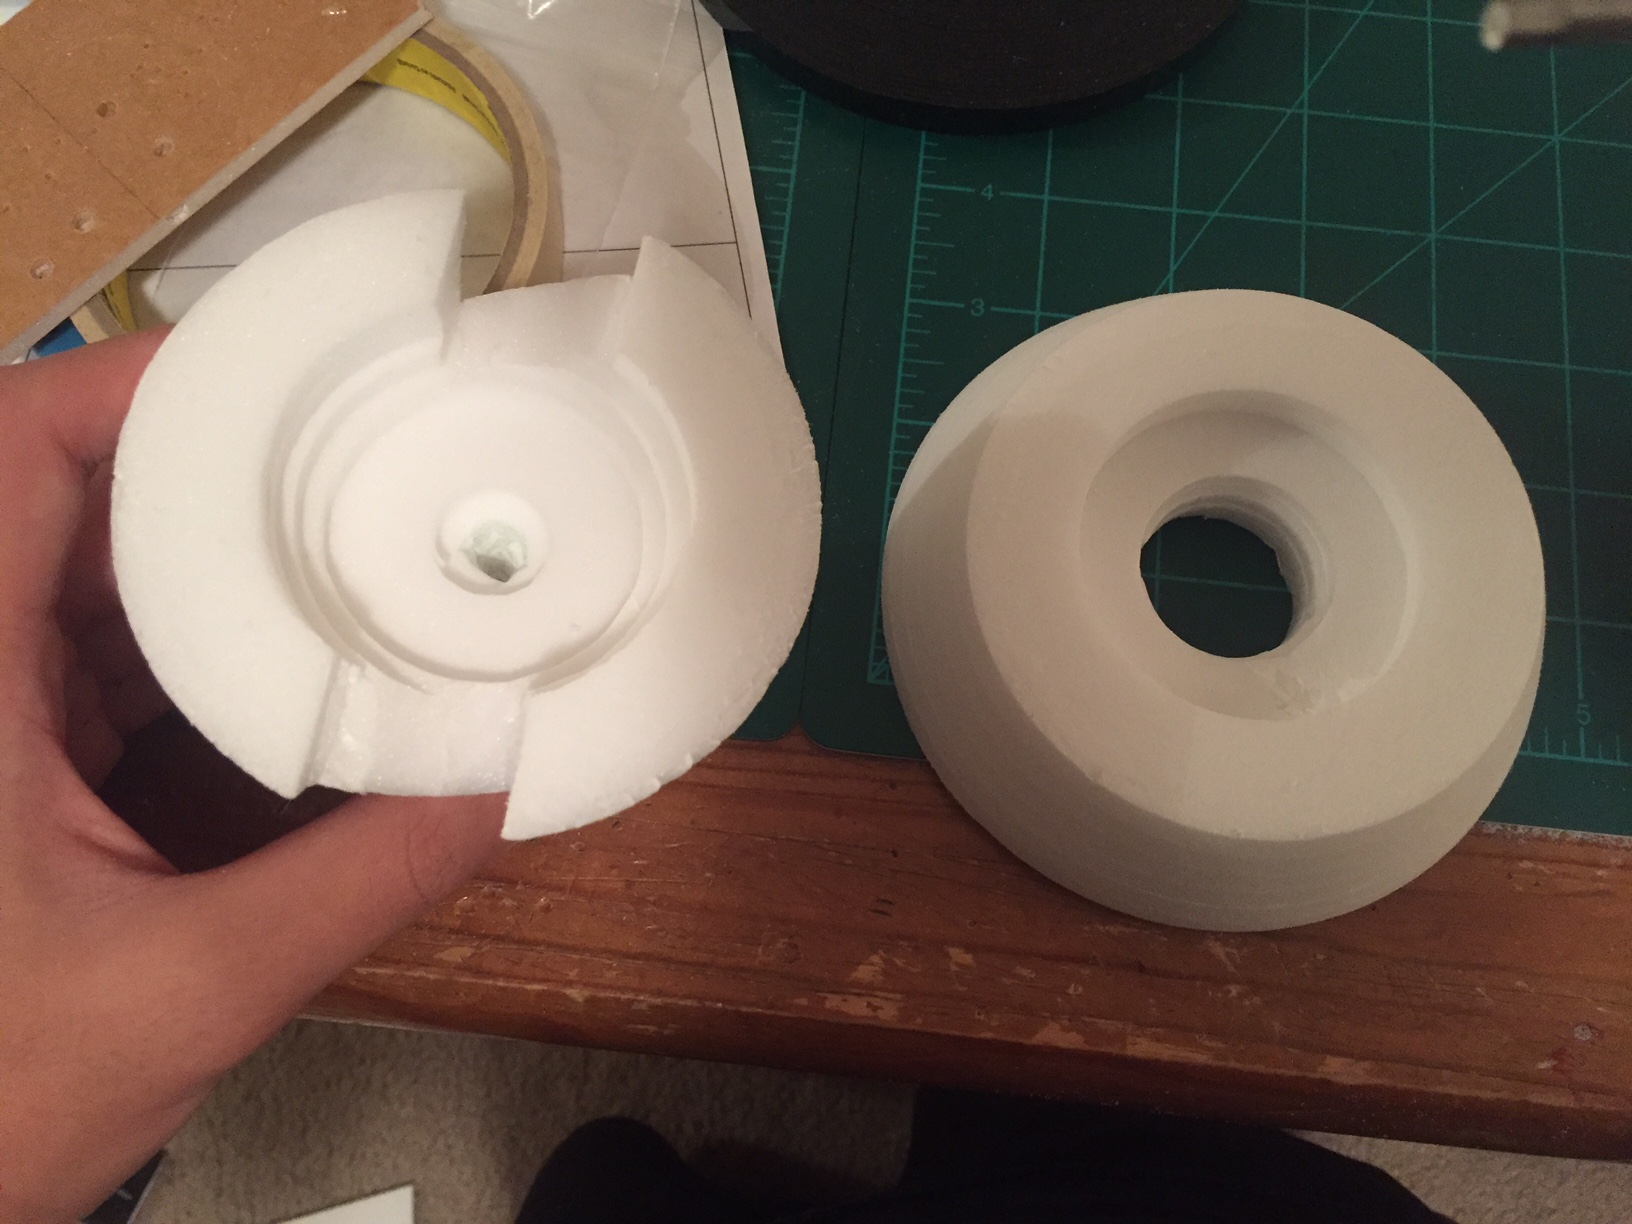
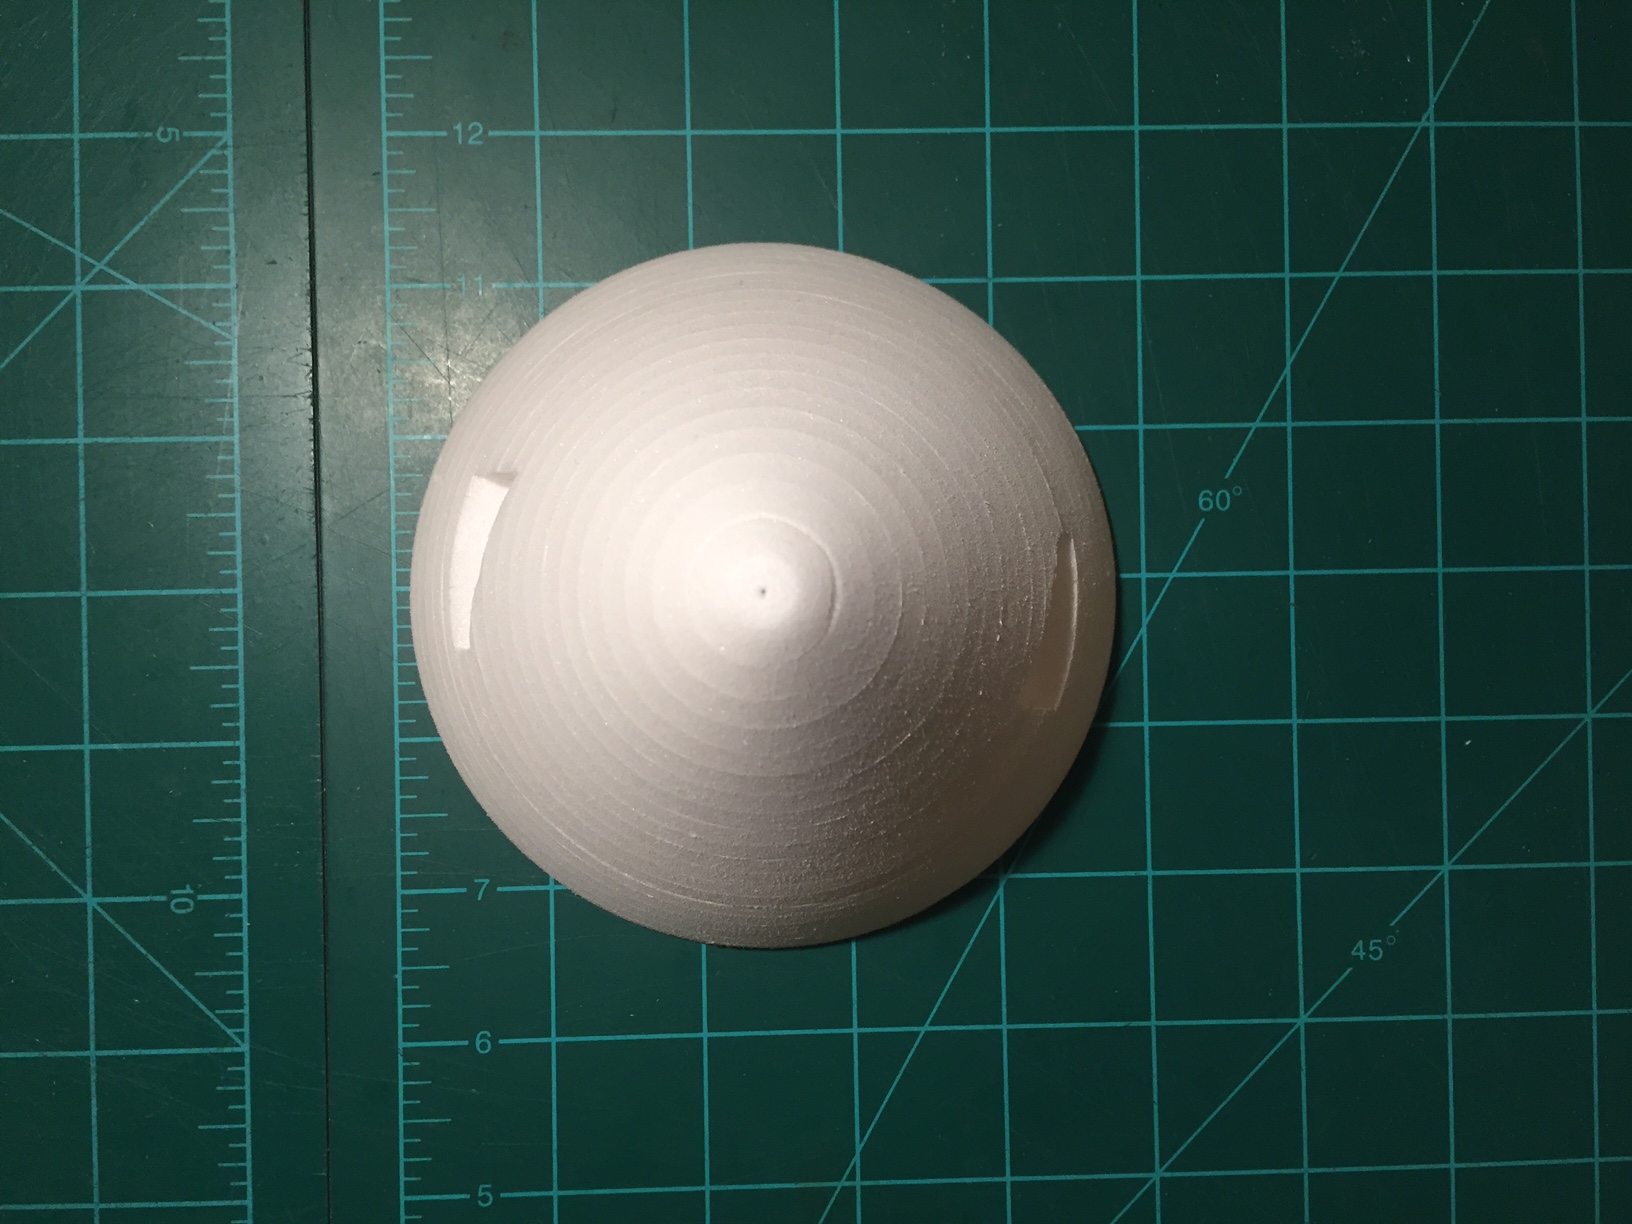
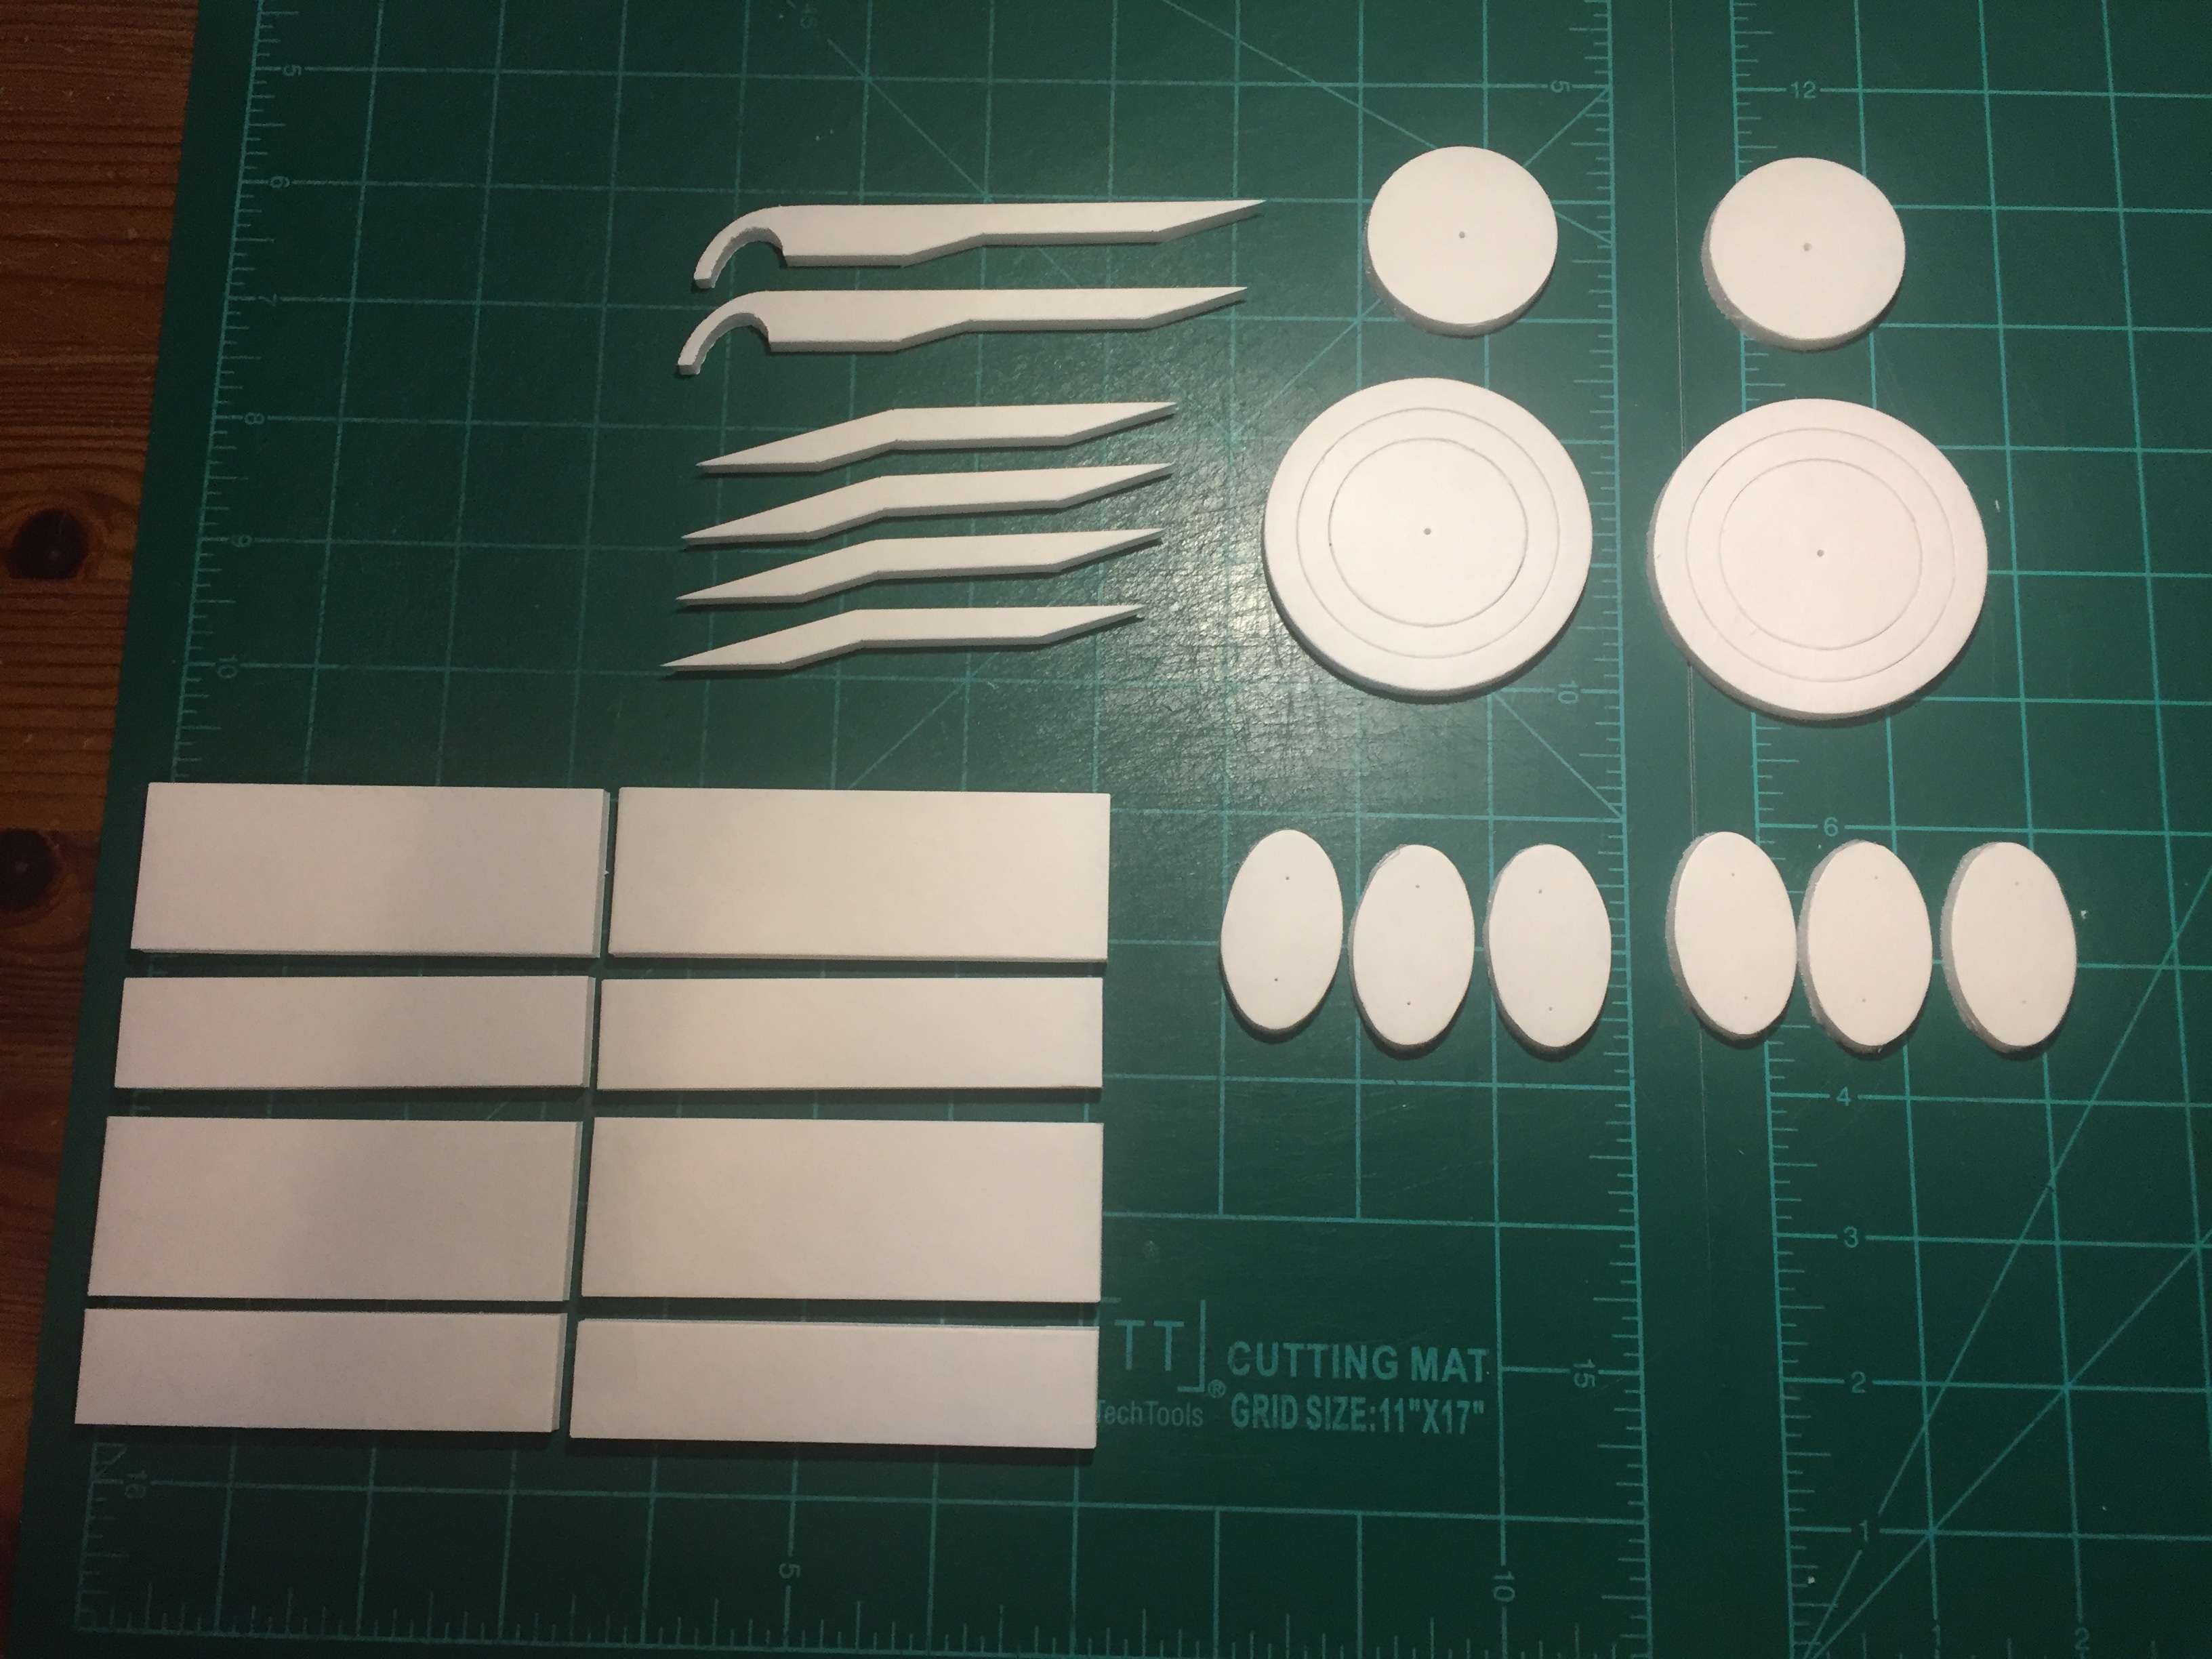
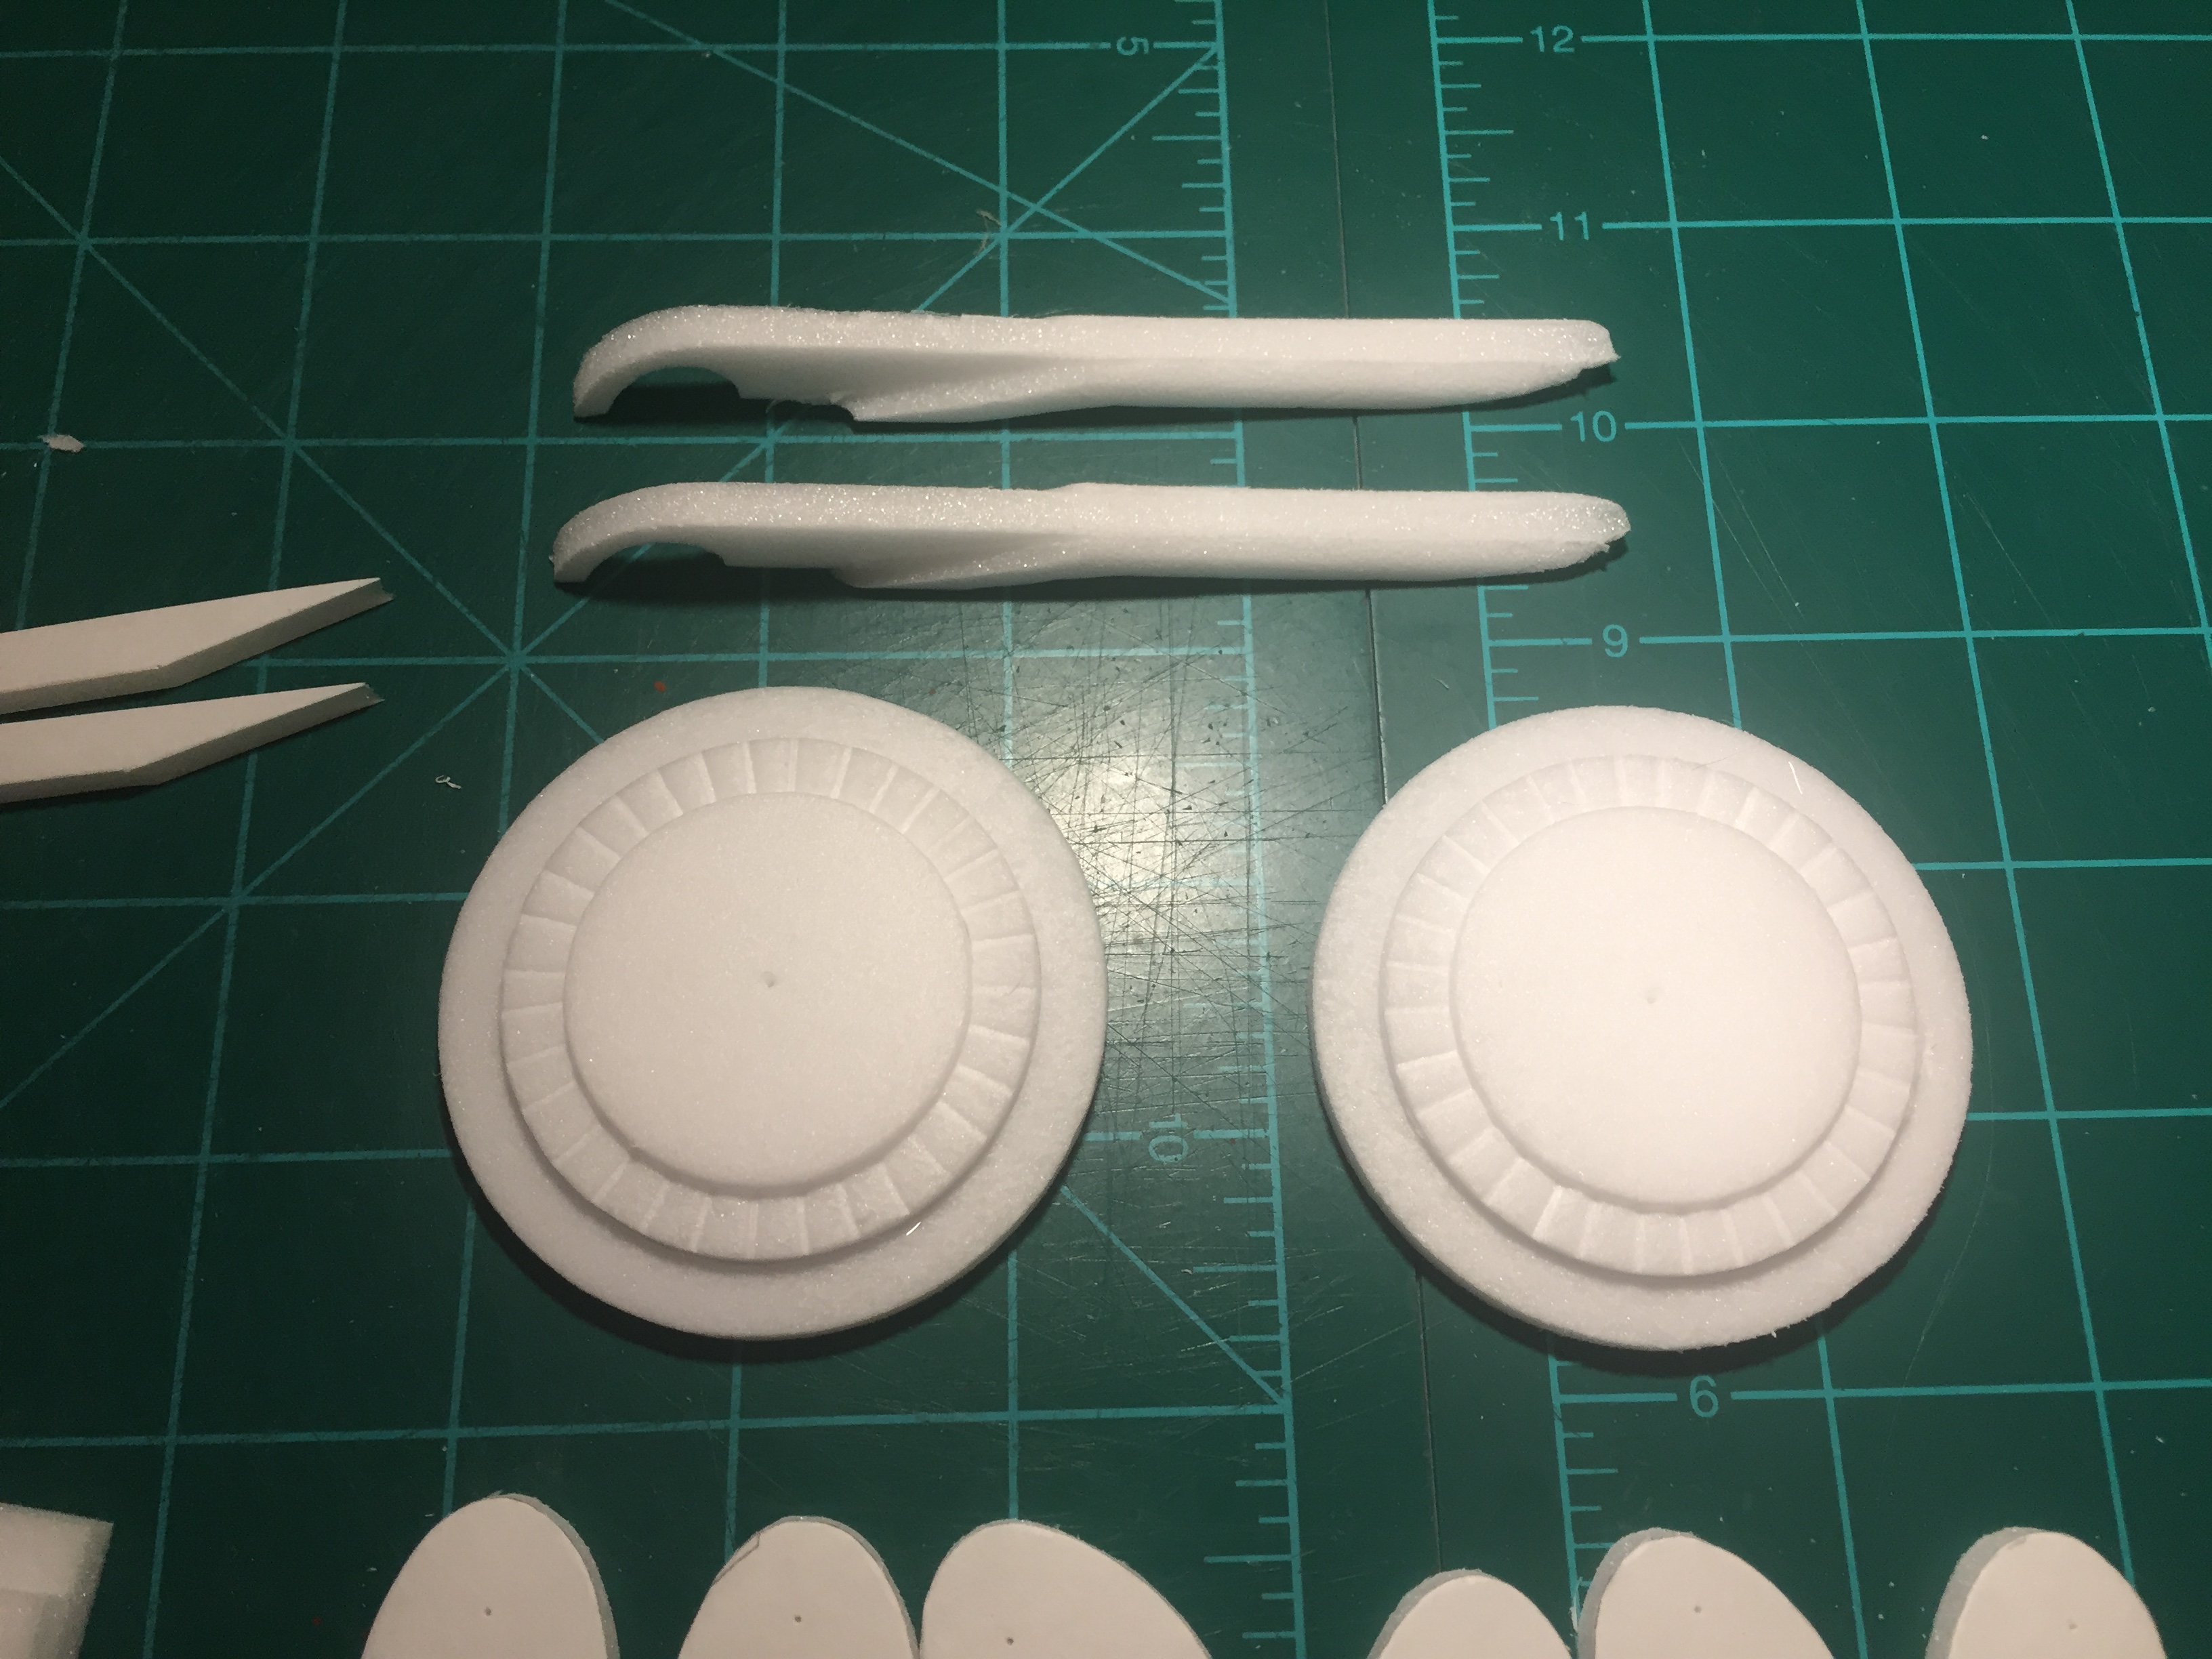
Did a lot of spackling, filling cracks/dings since I last posted, getting a little in every now and then when I had time in between school/drivers ed/life. :rolleyes: Wasn't much to see and therefore not much to post about...started working on the spinners though. I needed lightweight, custom sized spinners so I decided to make them myself out of depapered DTF/FliteTest foam. Second spinner isn't done yet because my drill died halfway through sanding.....both still need some more sanding but I'm very pleased with the results so far. :)

Let me know if this is too many pictures just to show some spinners haha. :D

IMG_7455.JPG IMG_7467.JPG IMG_7469.JPG IMG_7473.JPG IMG_7480.JPG IMG_7483.JPG IMG_7484.JPG IMG_7487.JPG IMG_7488.JPG IMG_7490.JPG IMG_7493.JPG
 

joker24458

Active member
Great work! Looks really clean

Very clever idea with the spinners.

Thanks guys, I remember seeing the drill/sanding idea somewhere else so it definitely wasn't an original idea, but worked very well for this application. I also want to try making the plug with this method and then vacuum forming a spinner, but I don't have a vacuum former, want to build one though. :D

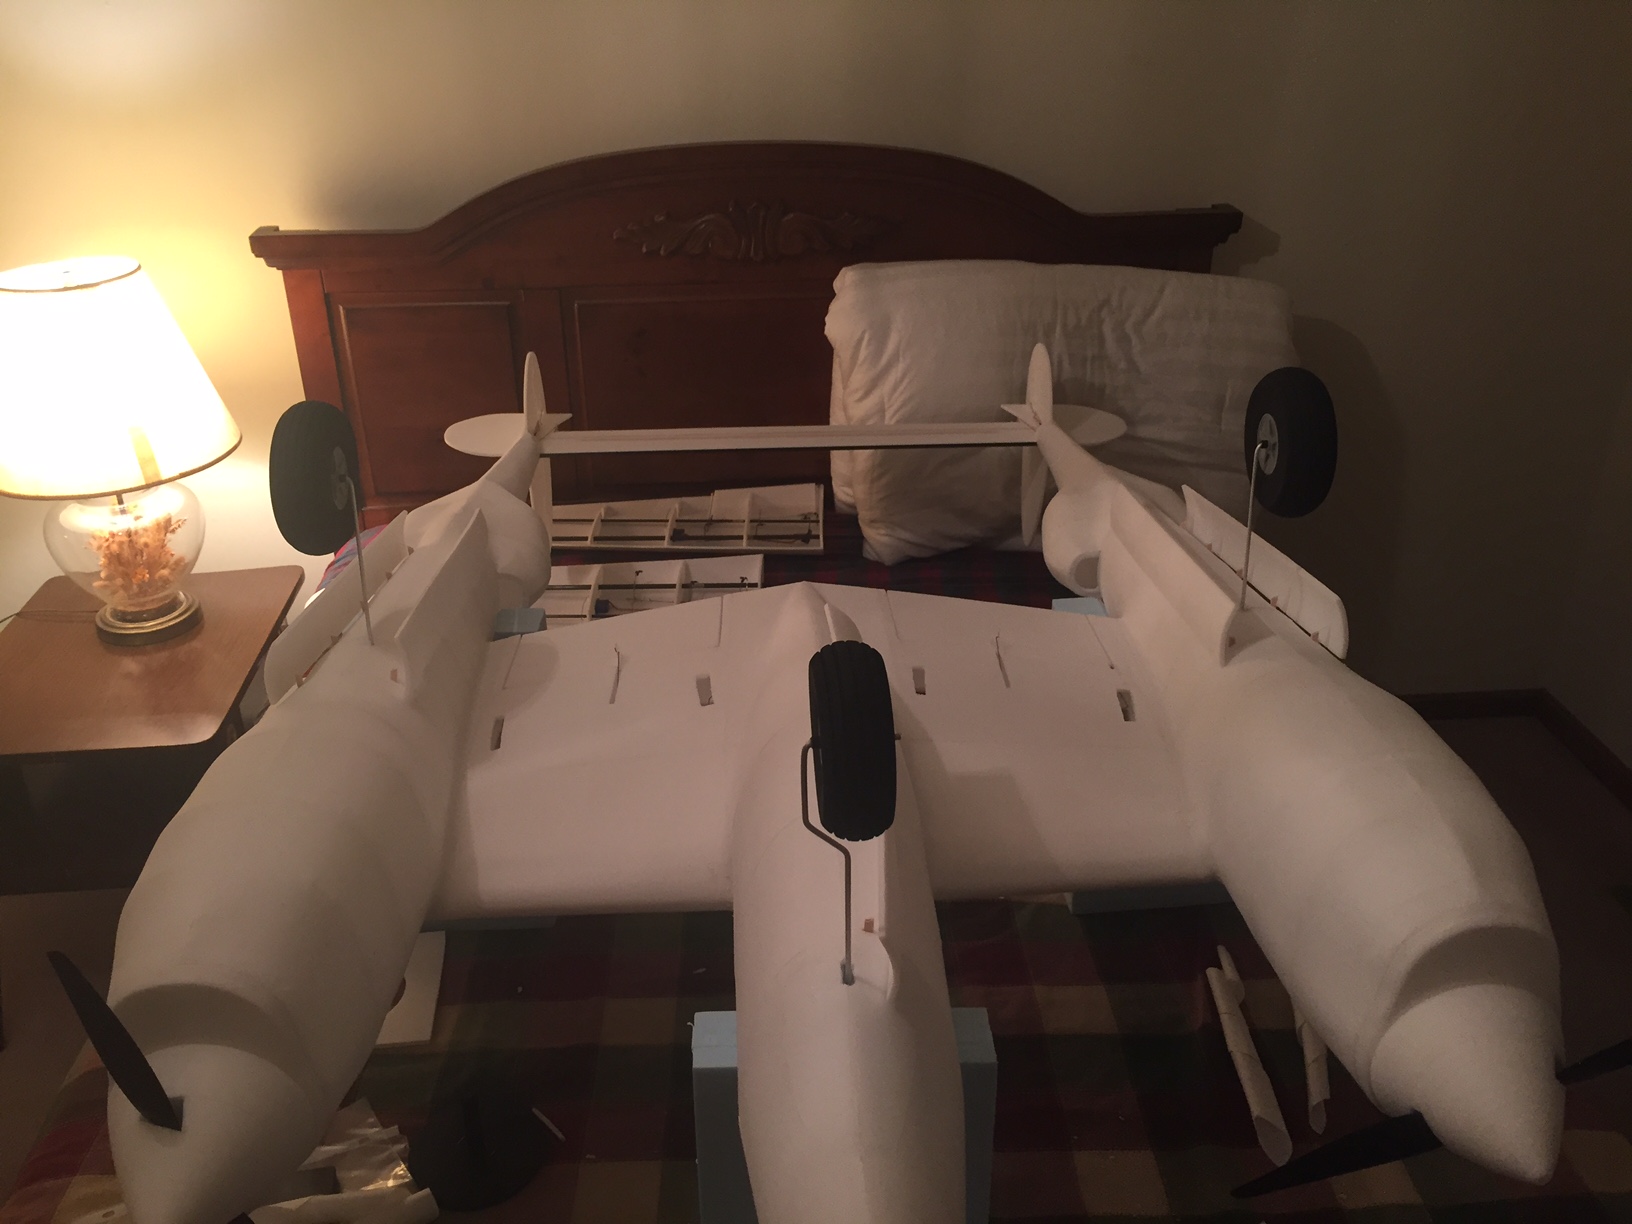
There's not *too* much to do on this plane anymore, just need to do the cockpit/canopy area, finish spackling/sanding, make landing gear doors, install plastic gear covers, and then the rest is just a bit of detailing - I'm just going for semi-scale here so there isn't an overwhelming amount to do. And of course painting in the Pudgy V scheme. Might even end up with enough time to do another "biggish" project for NEF, although it won't be the A-10 that I wanted to do as that would take too much time. Possibly a big WW1 bird, that would likely be easy enough to finish before NEF and would do great at slow speeds indoors (not to get ahead of myself, because I definitely will finish the Lightning before starting another big project haha) but what should I build if I get around to it?
 

WeeVikes

Member
Like the rest of the plane, the spinner is impressive and beautiful!

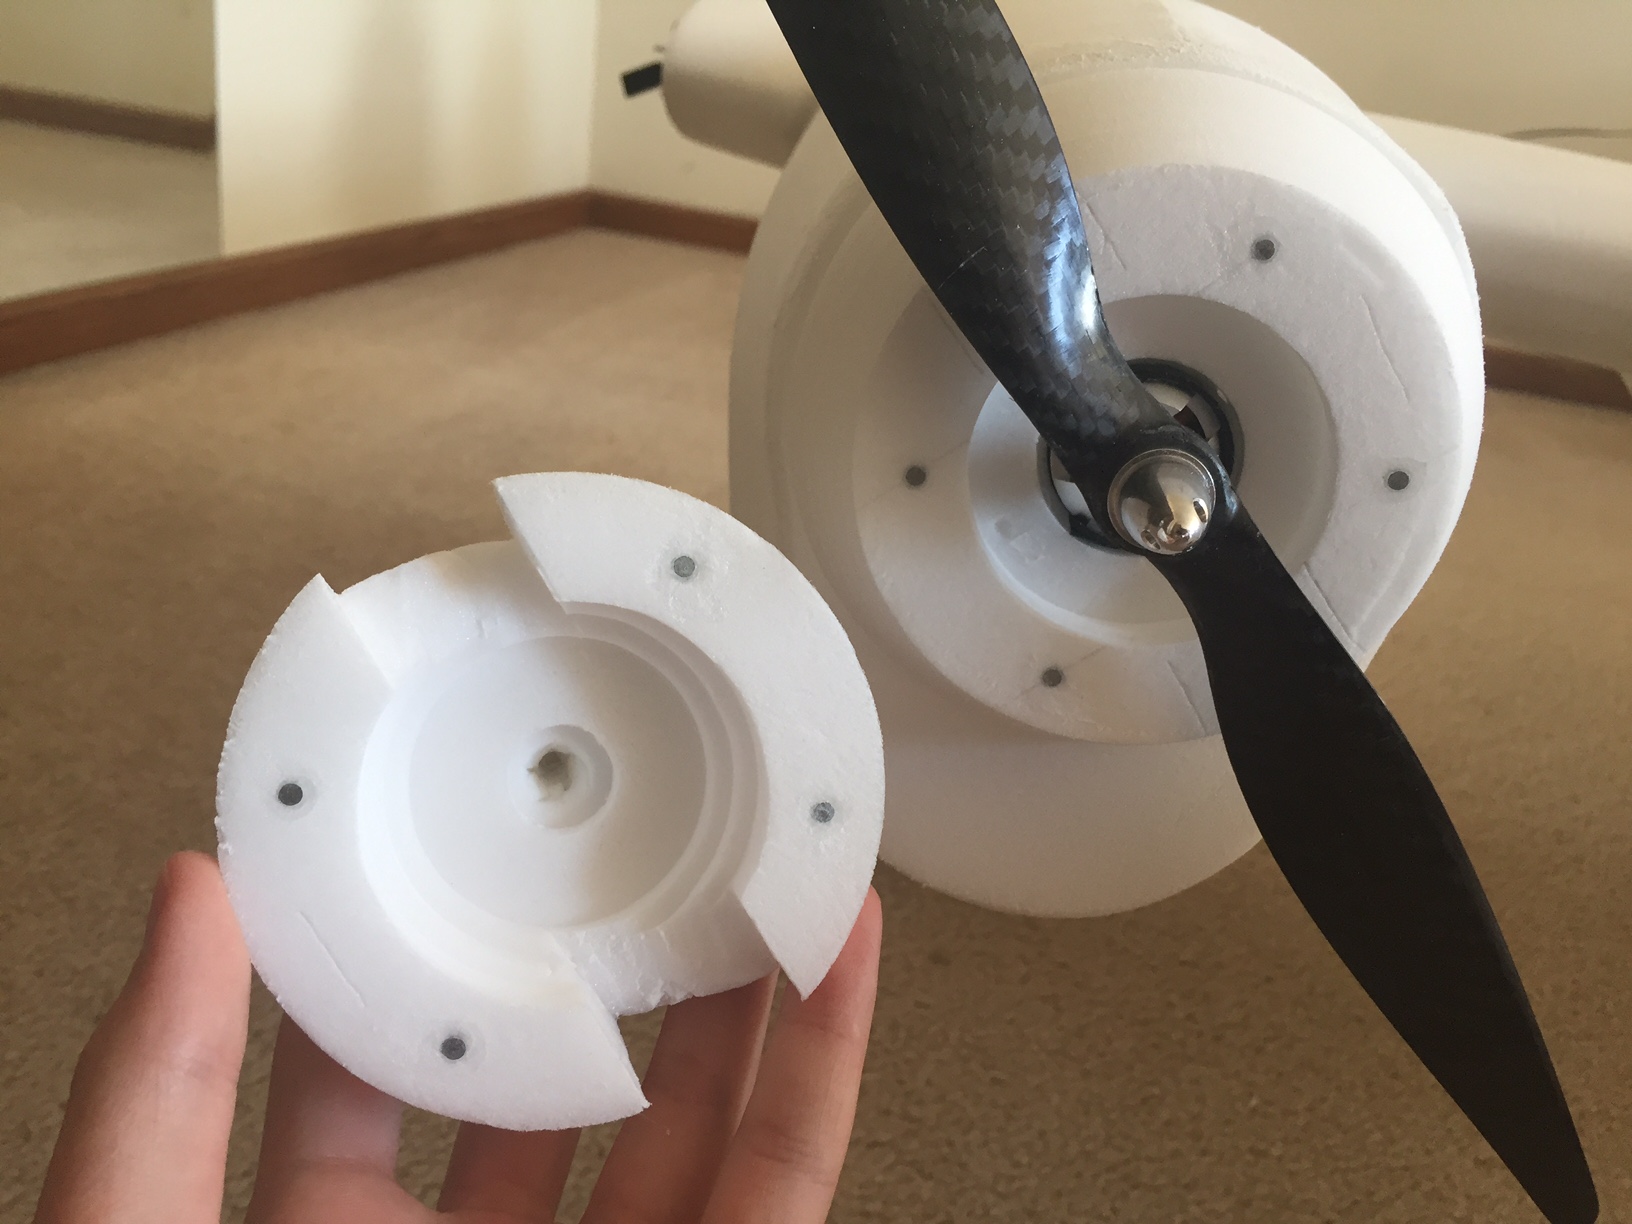
How do you join the two halves? I assume you have a way to pop off the front in order to get access to the propeller?

Thank you.


Mike
 

joker24458

Active member
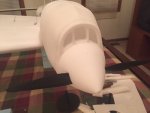
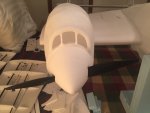
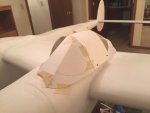
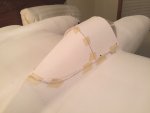
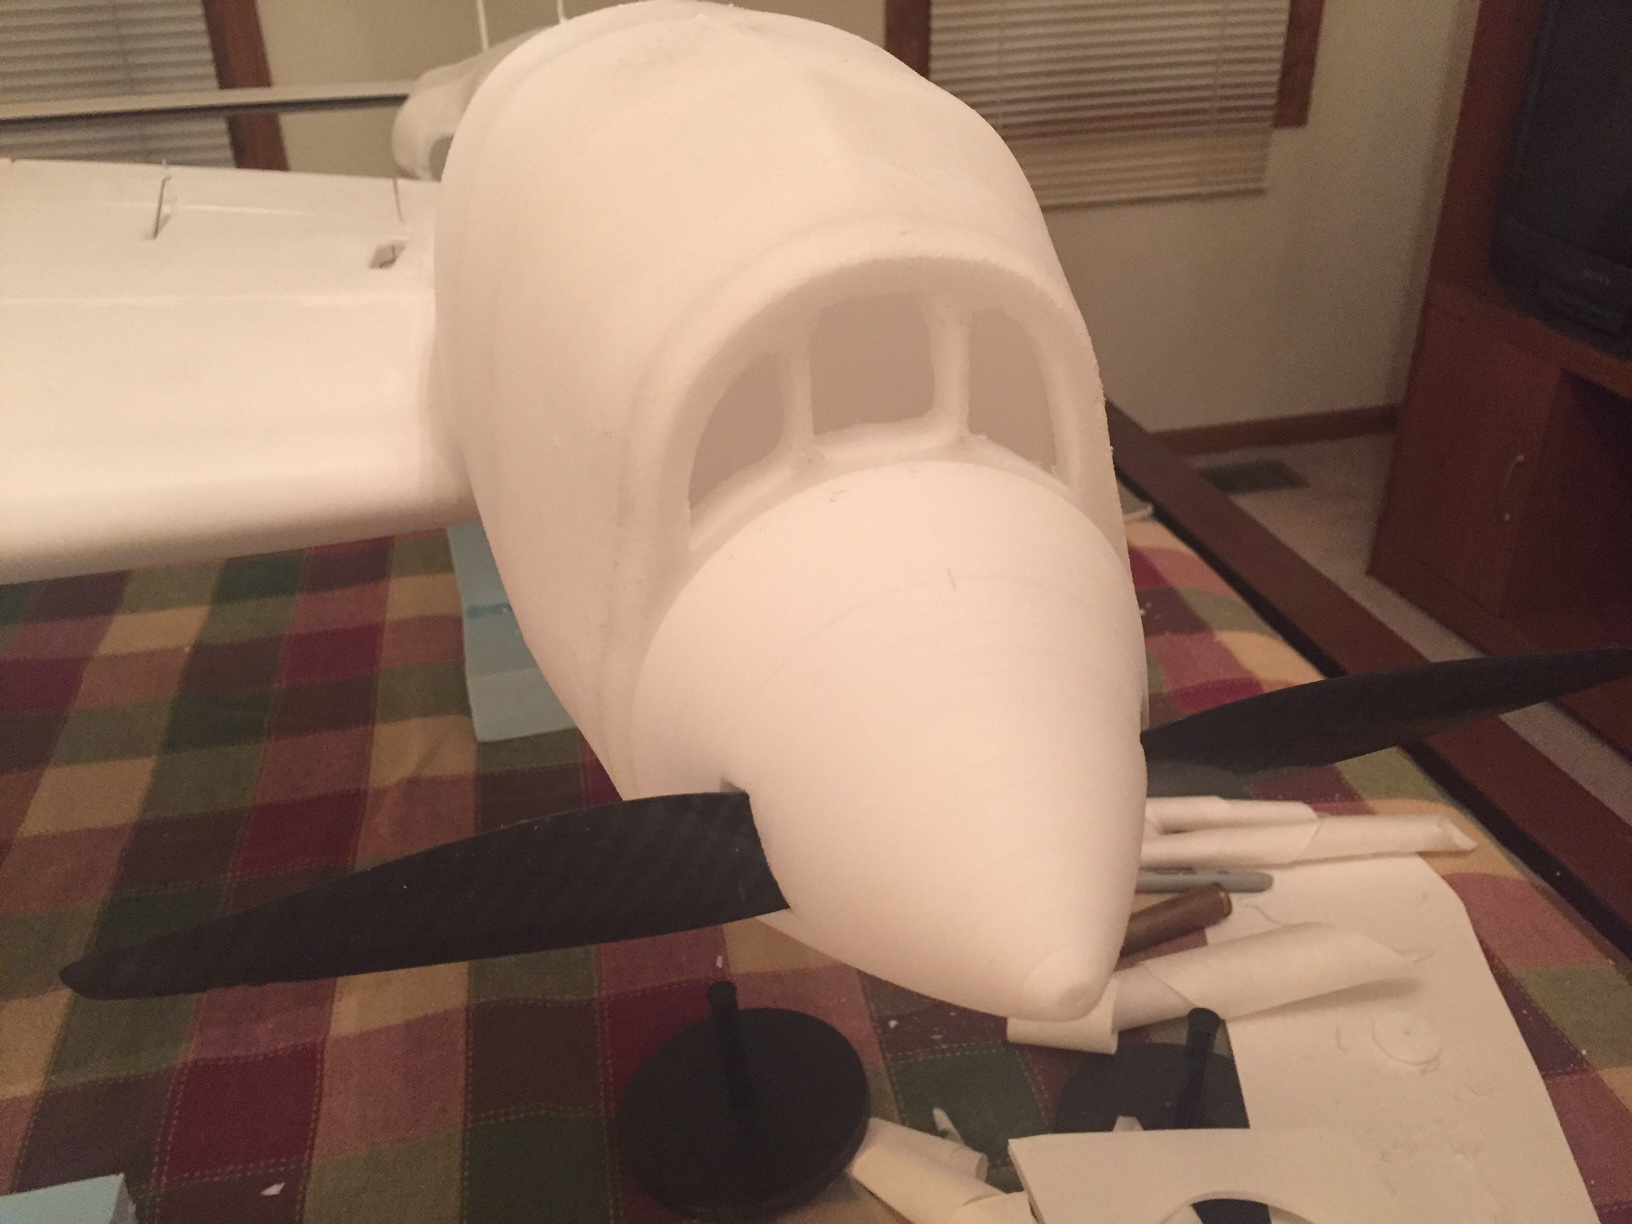
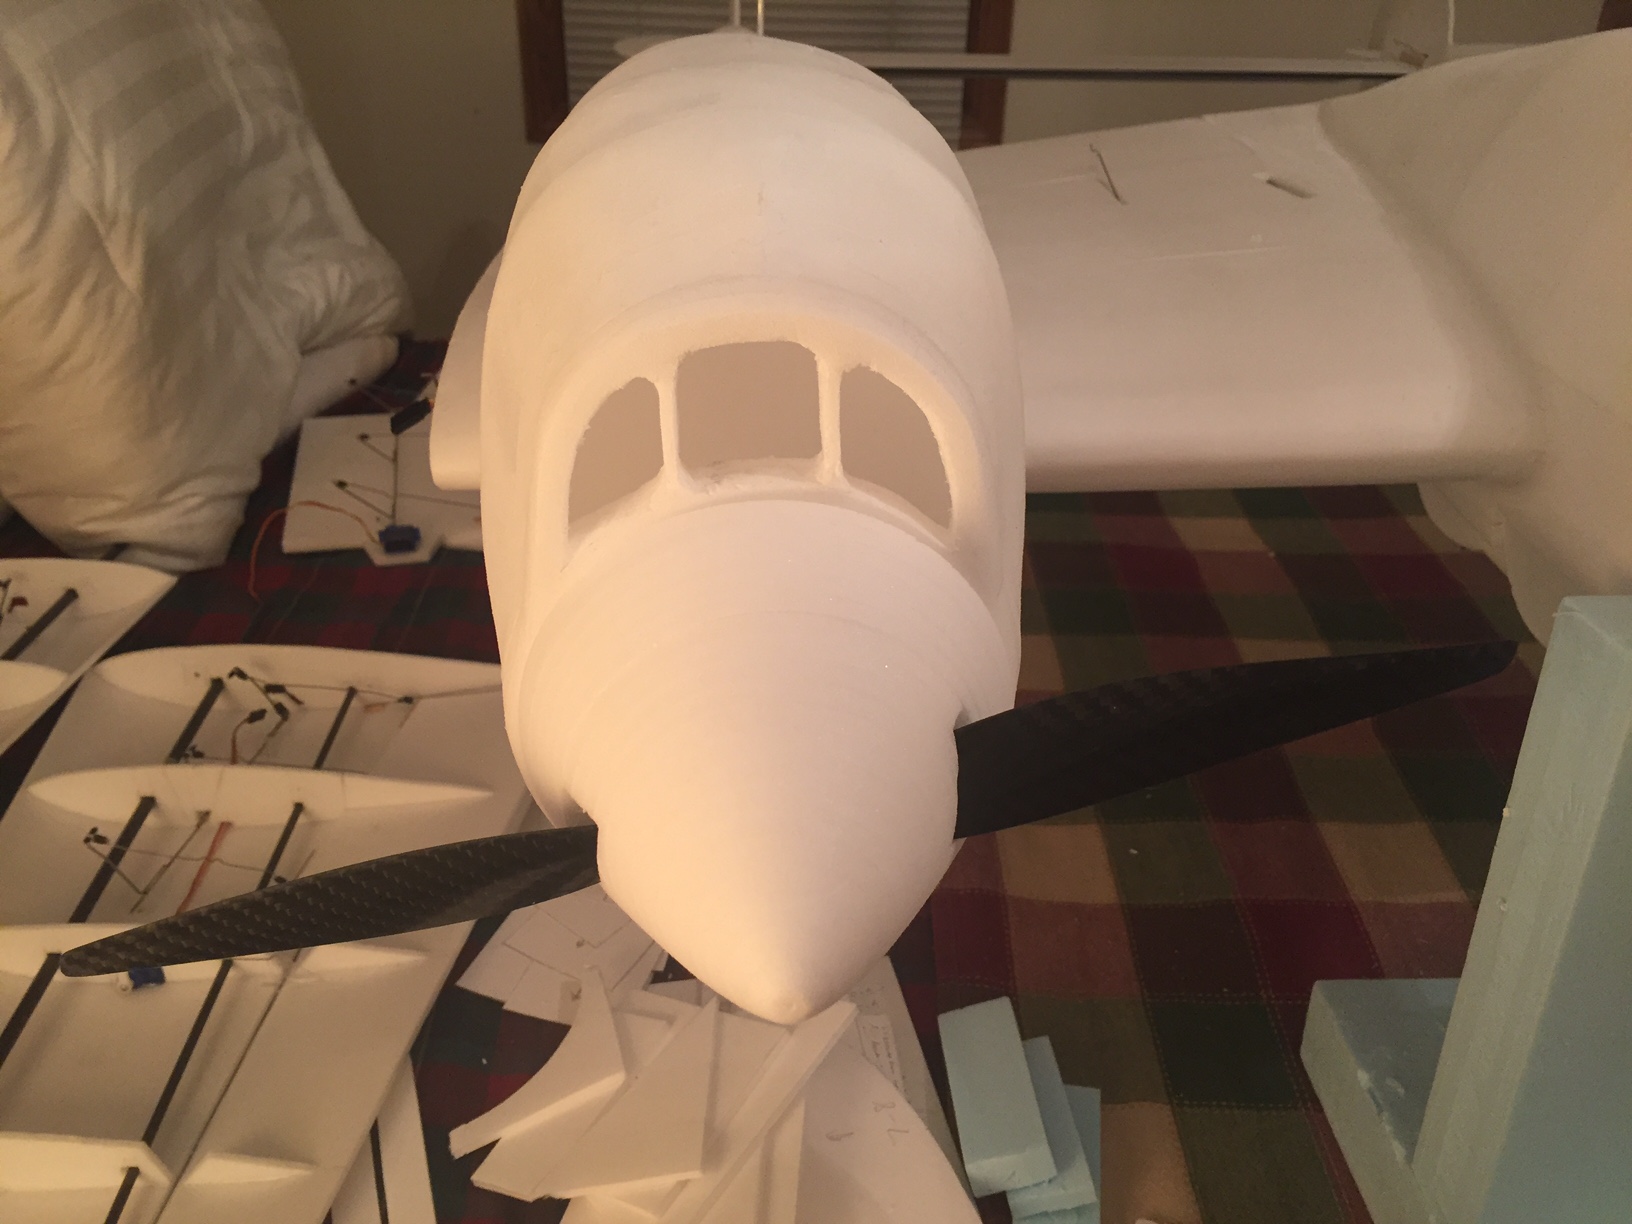
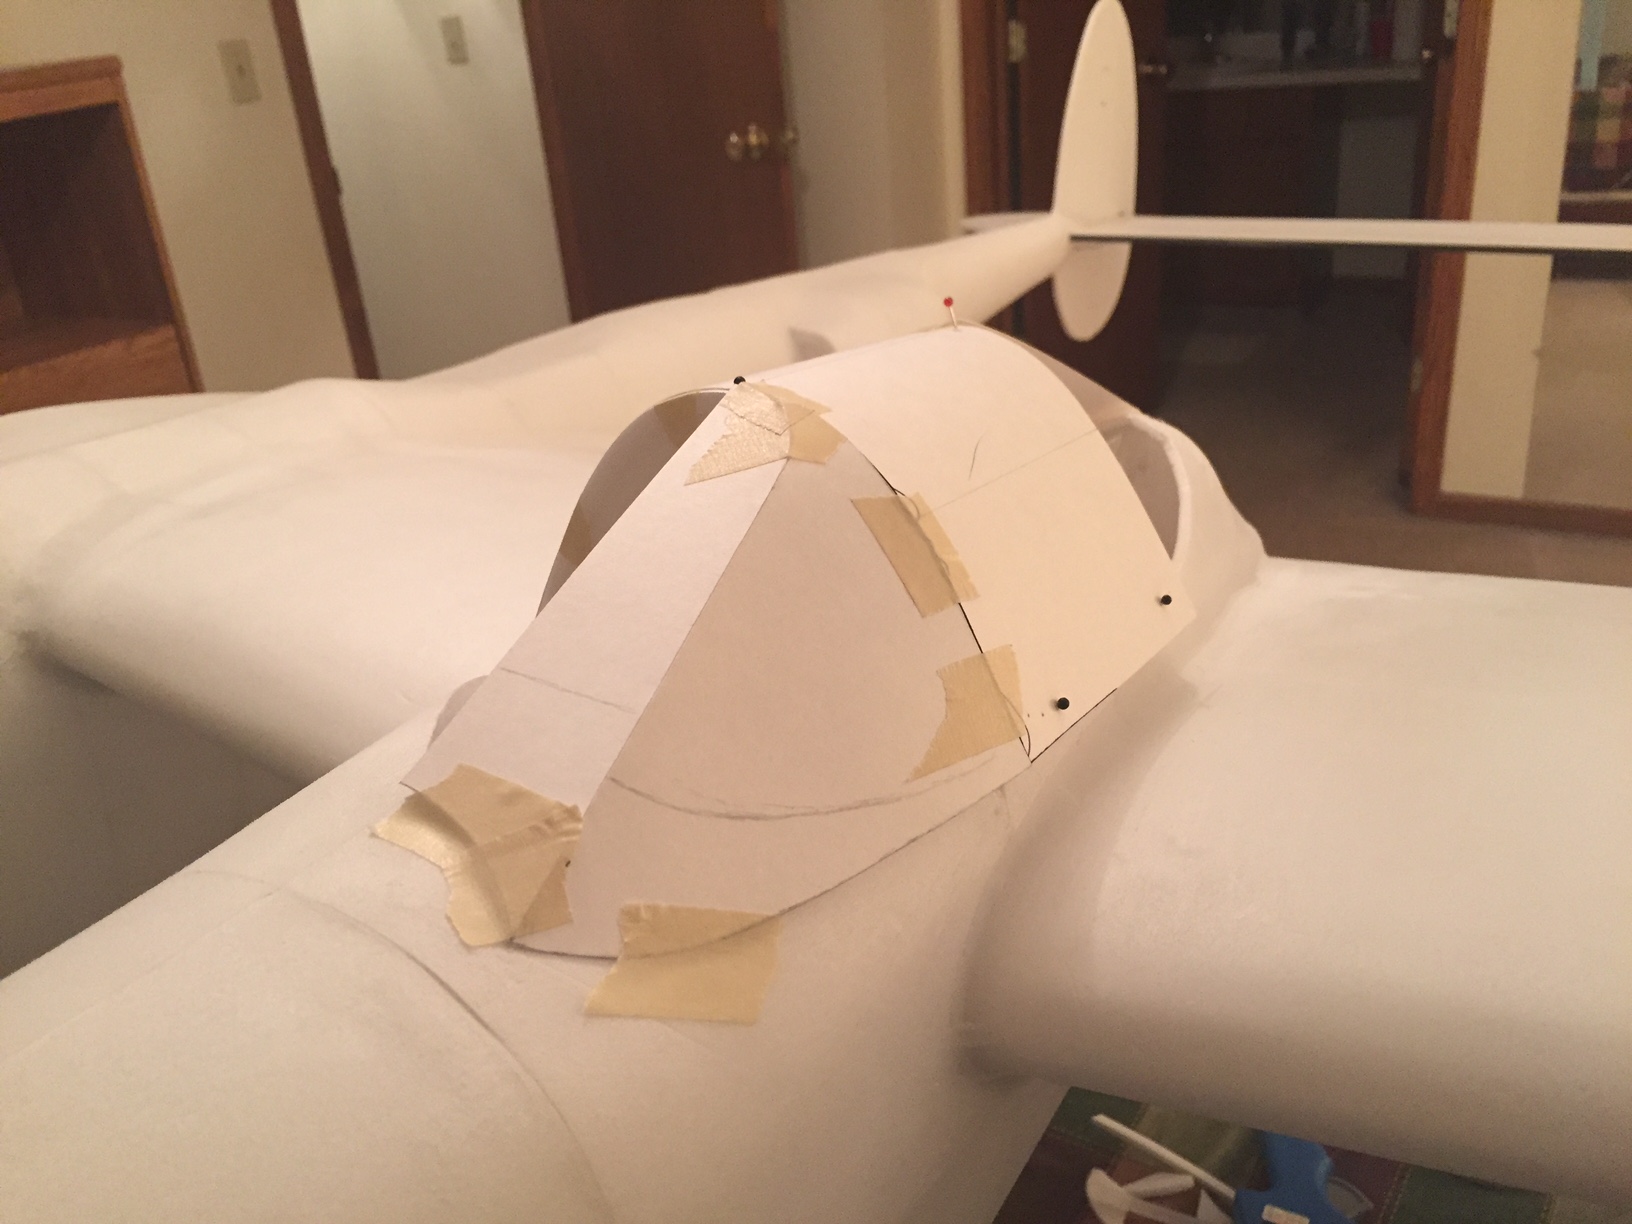
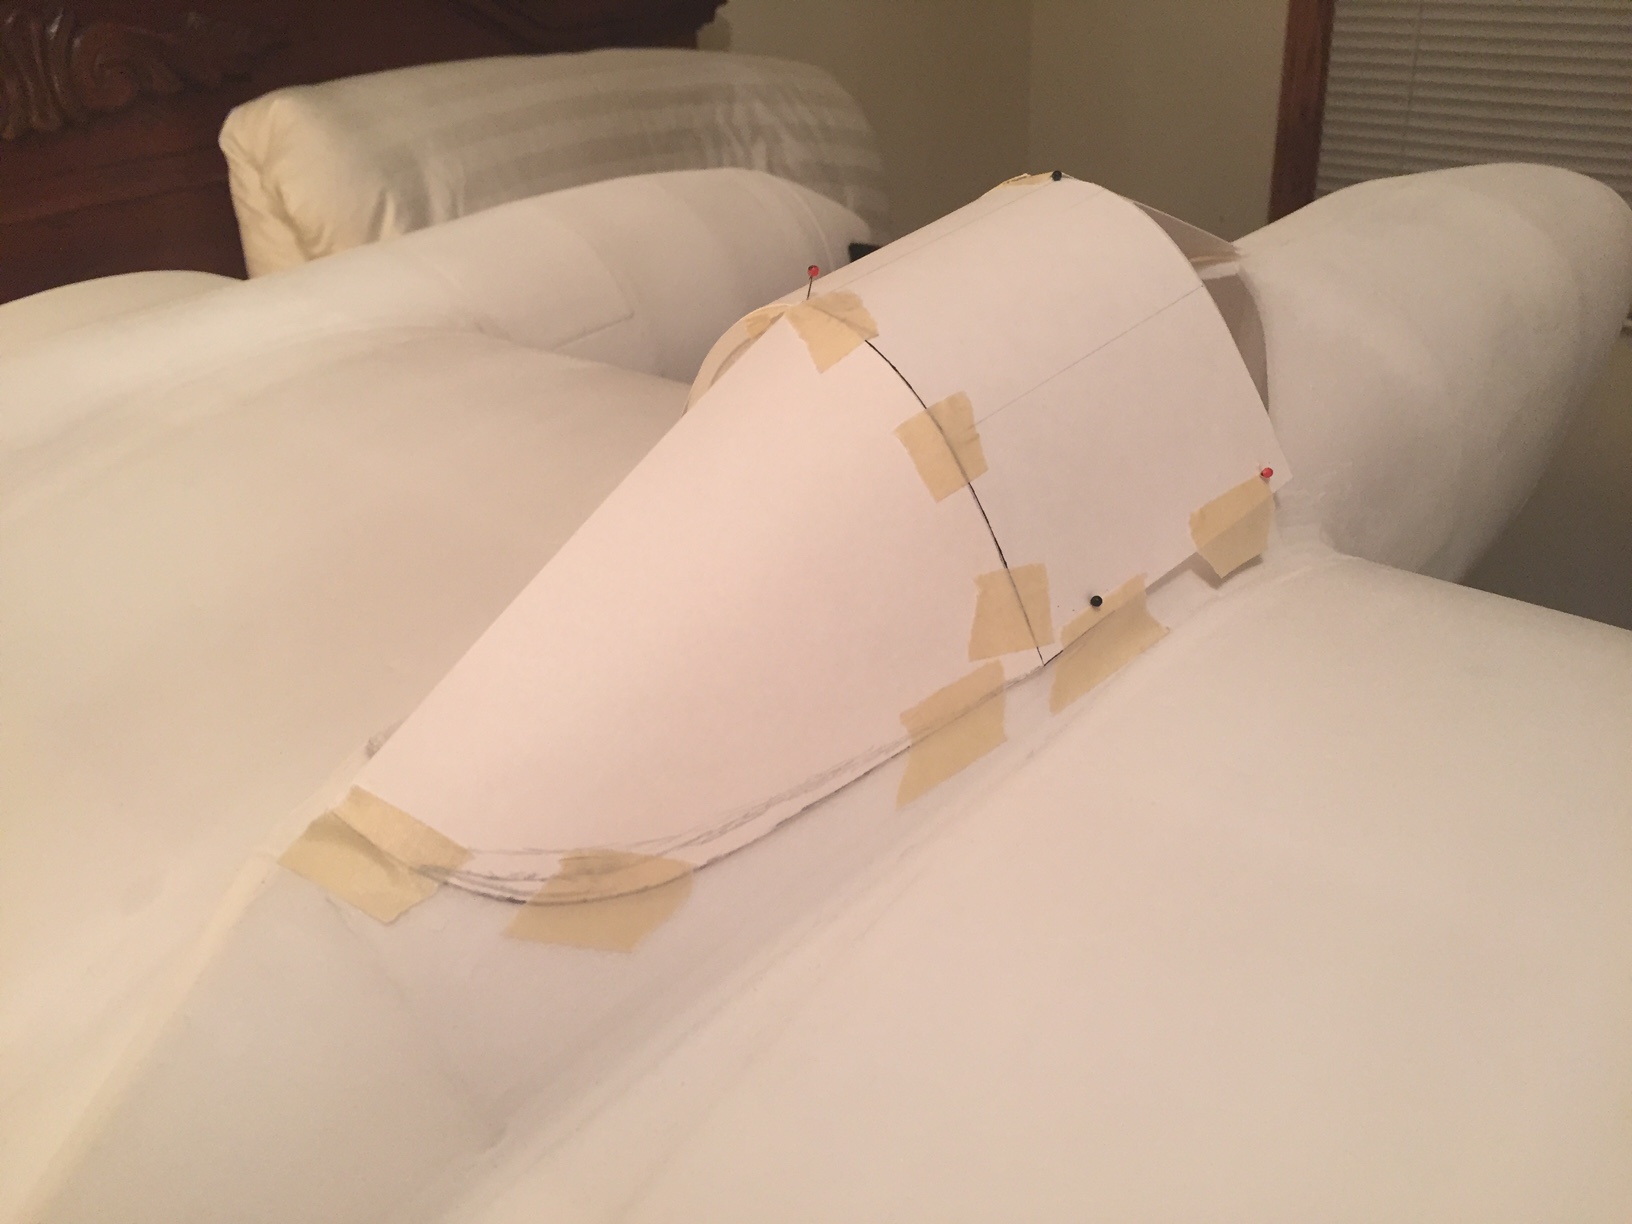
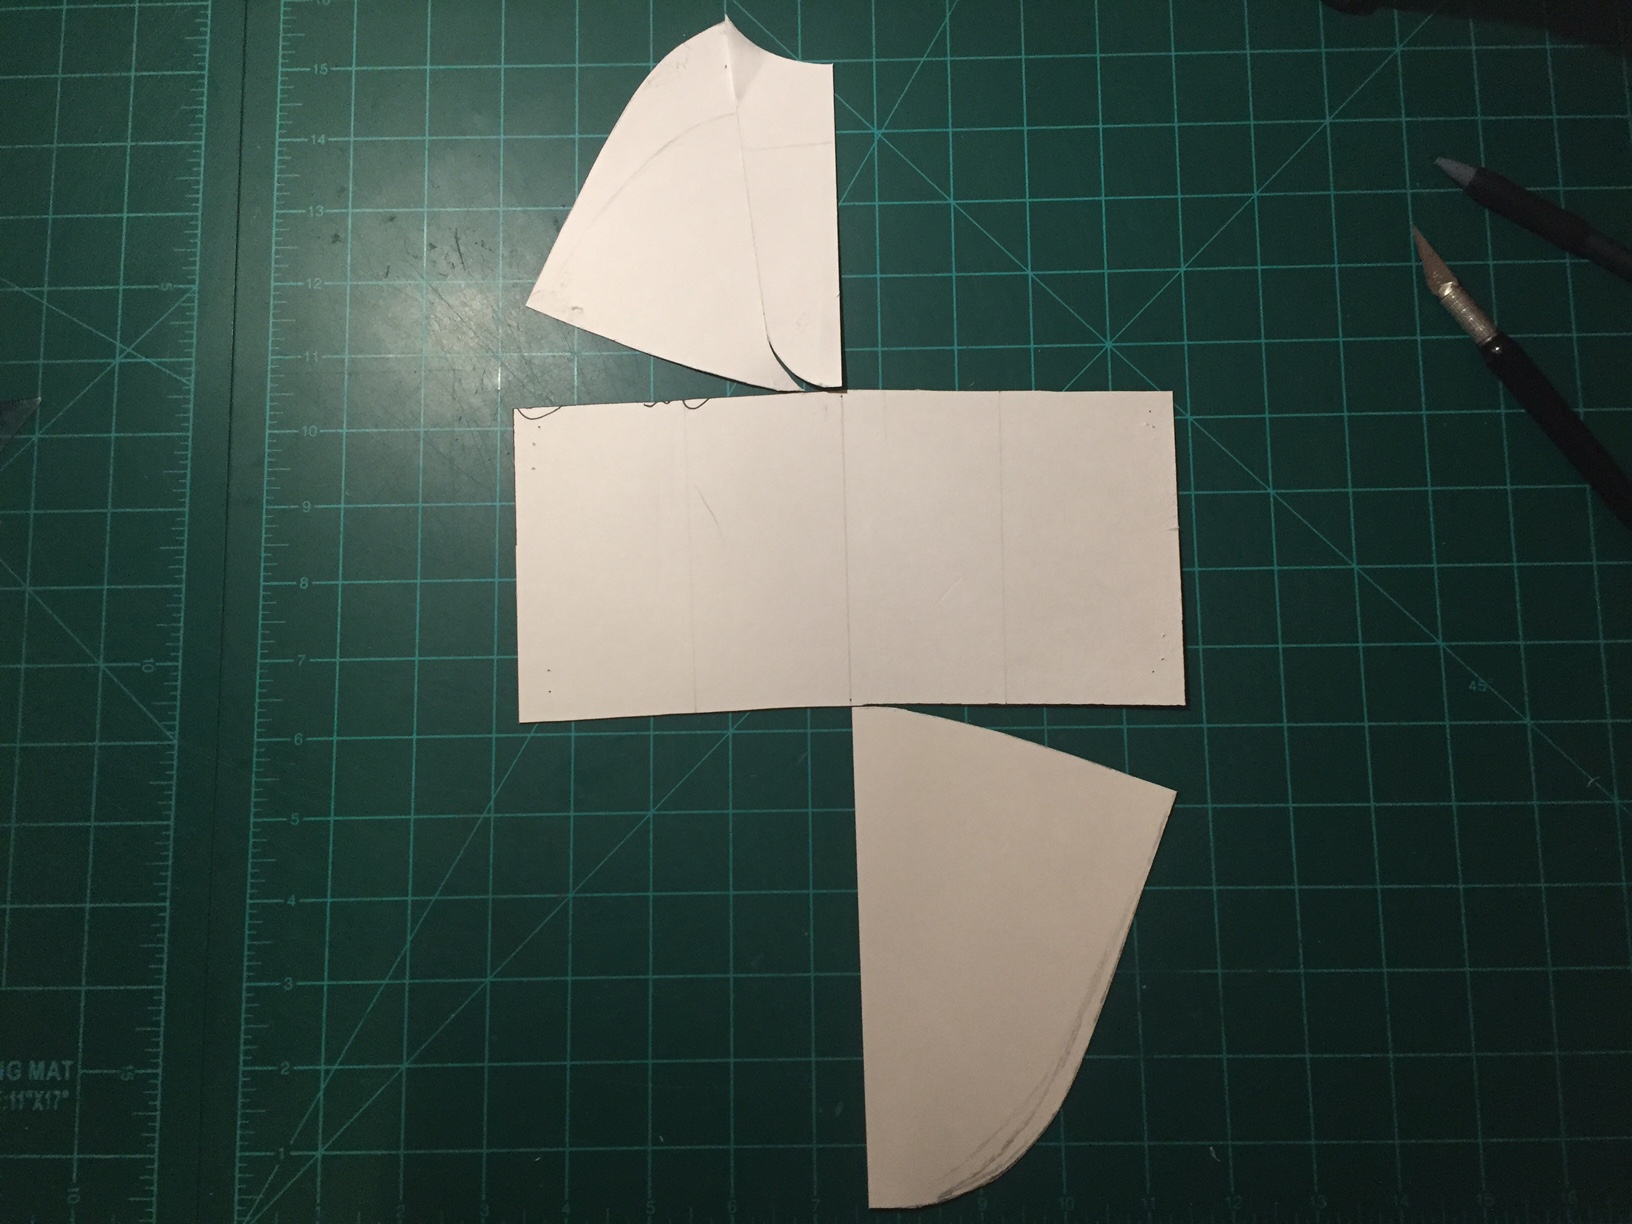
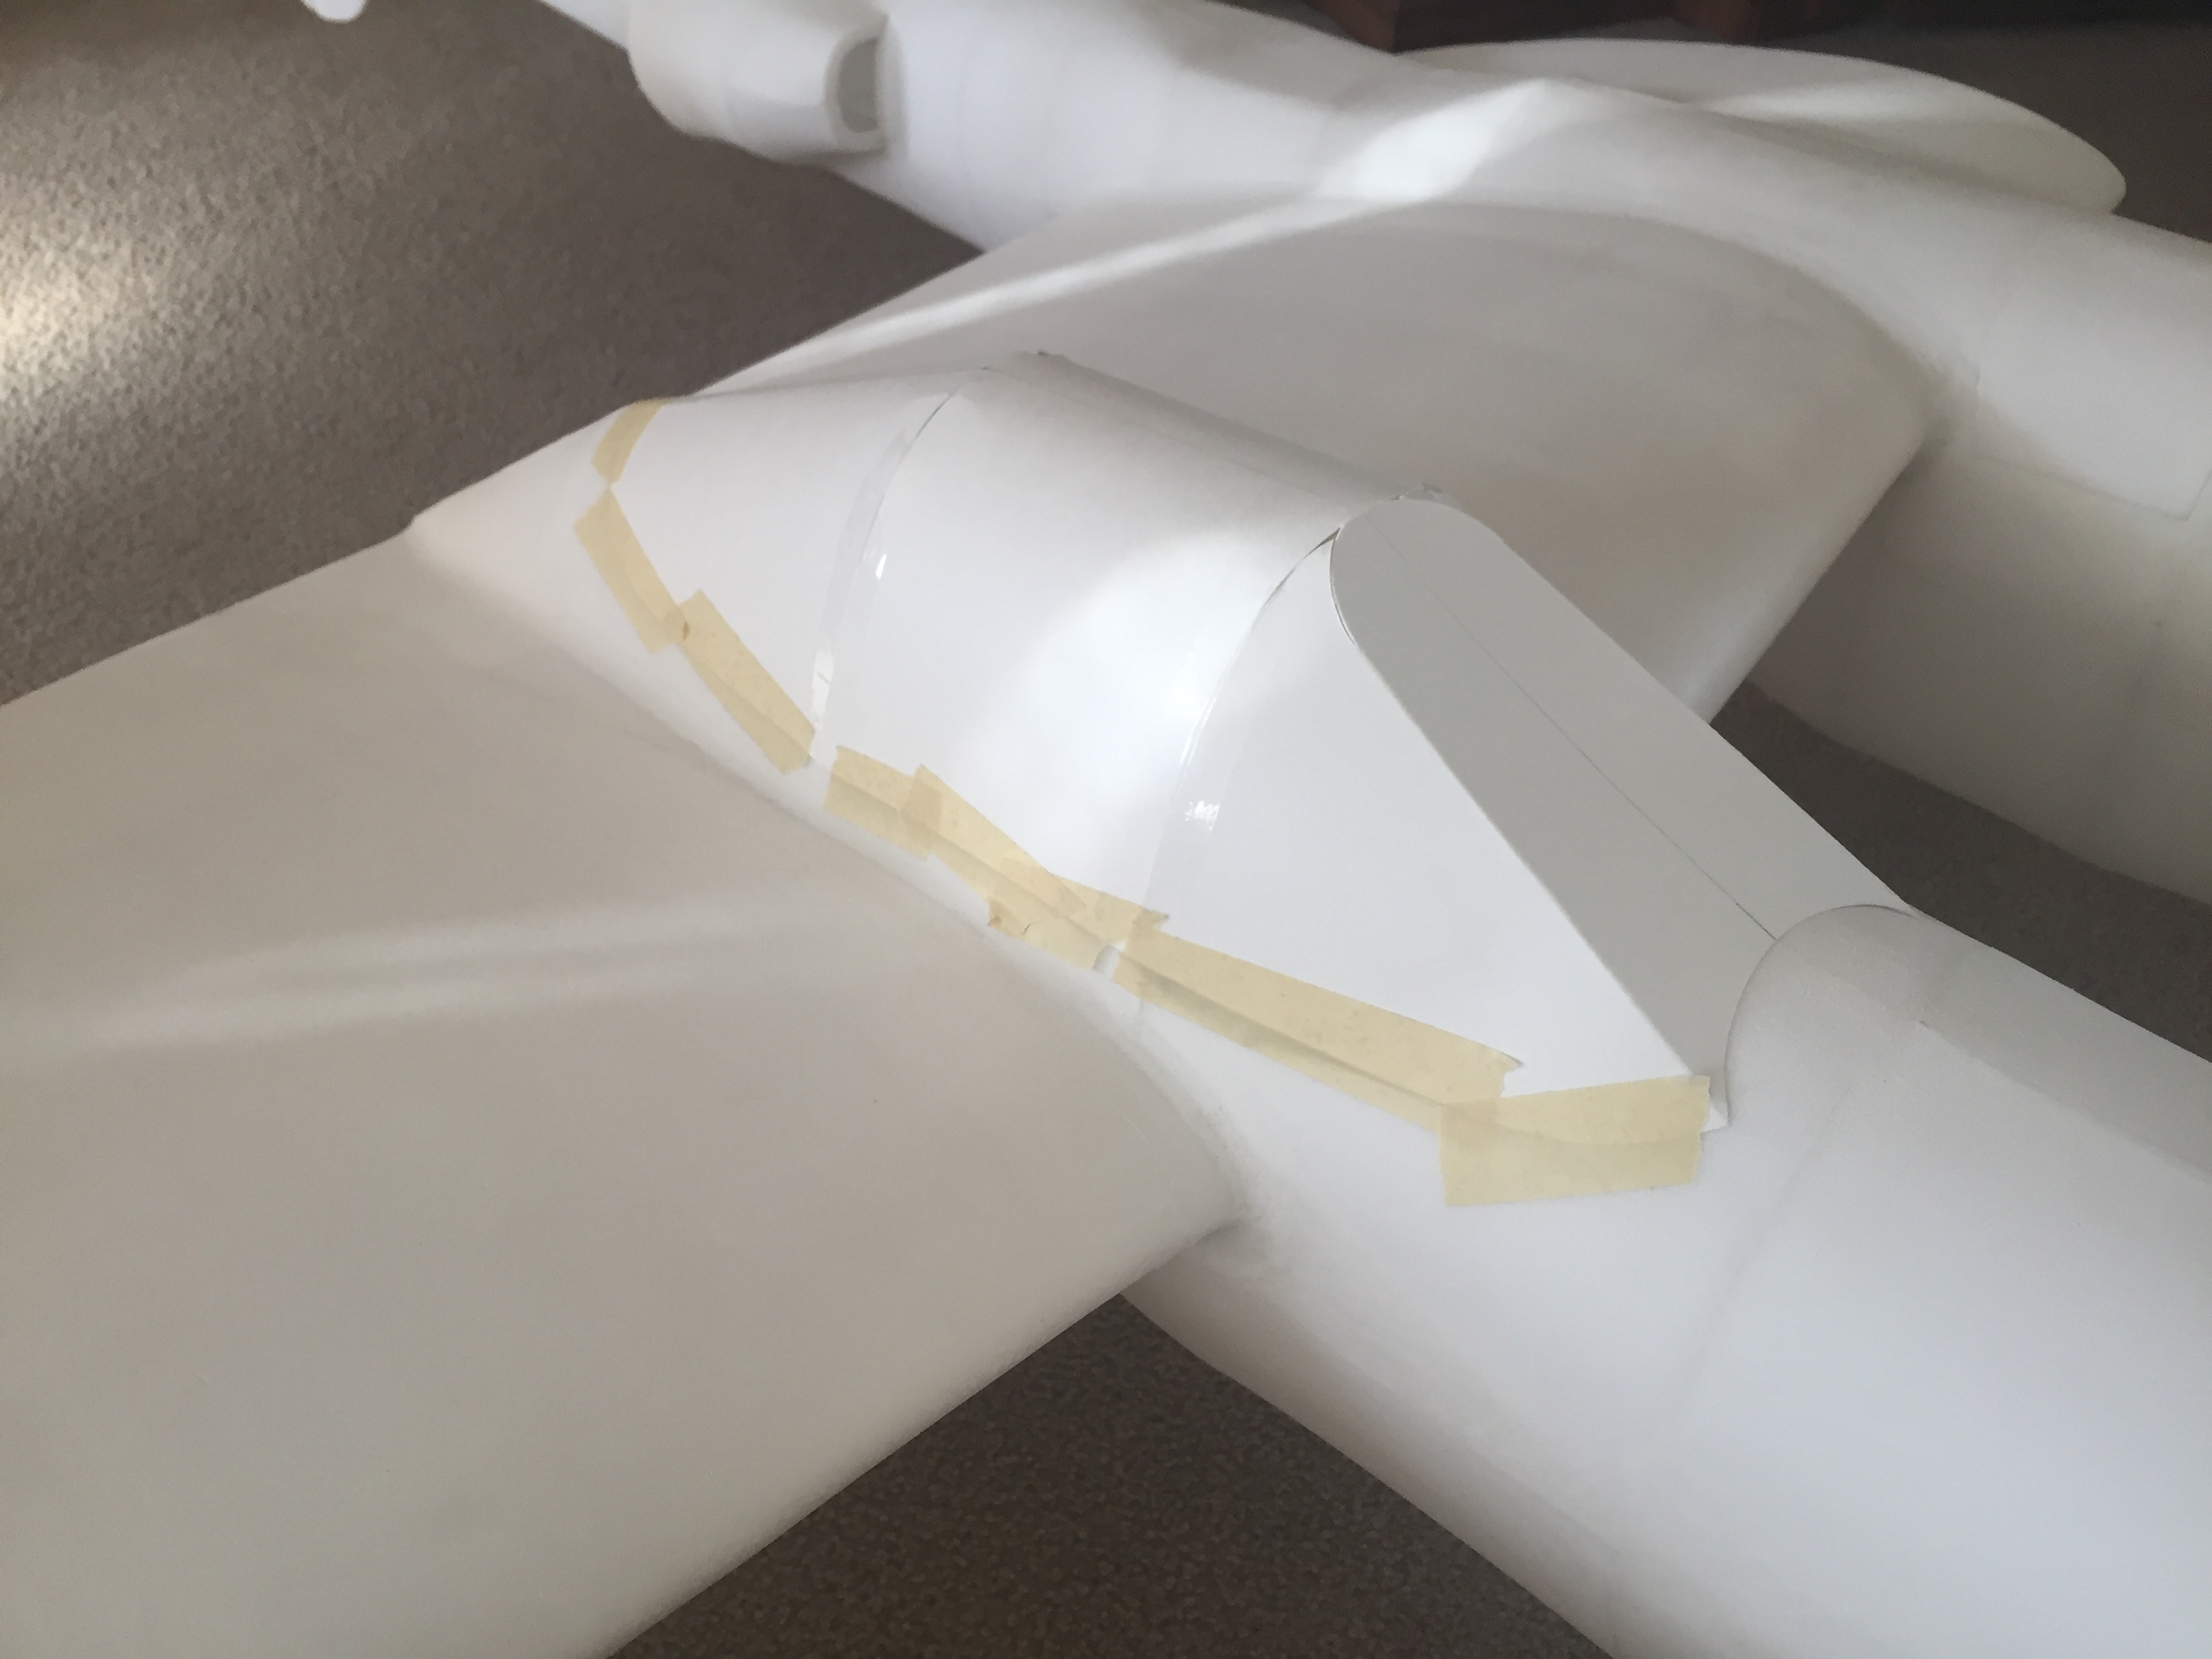
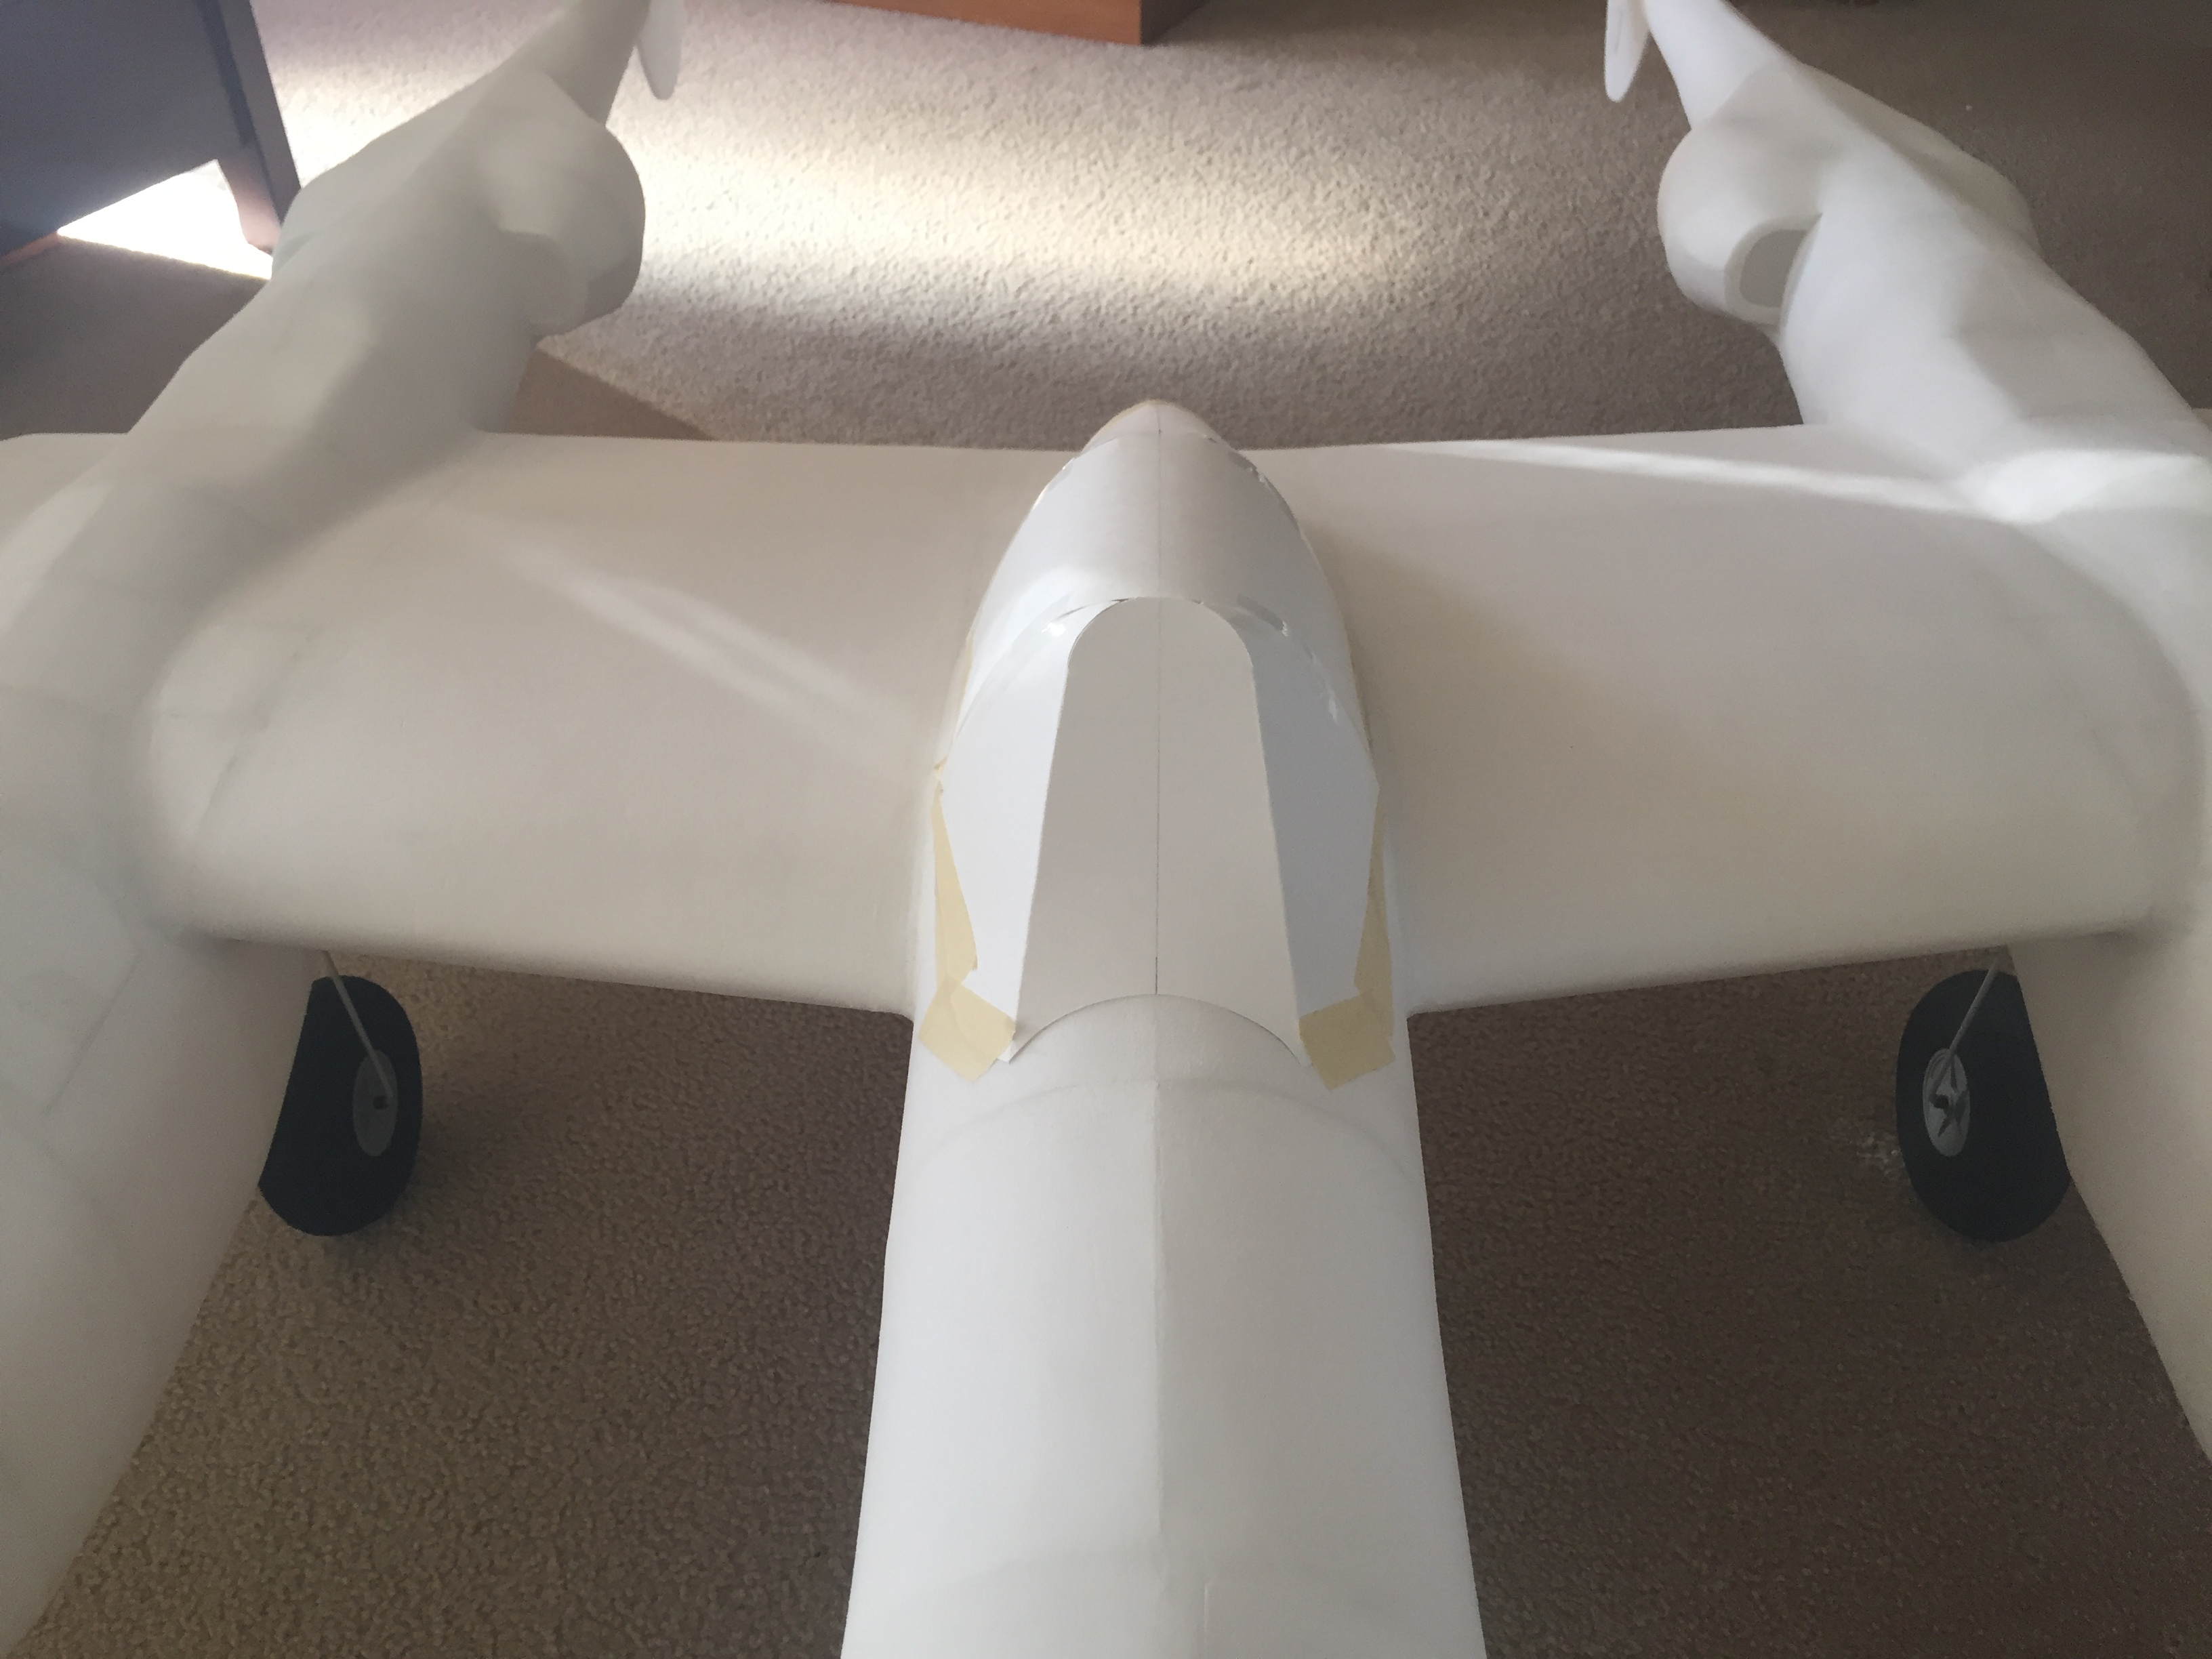
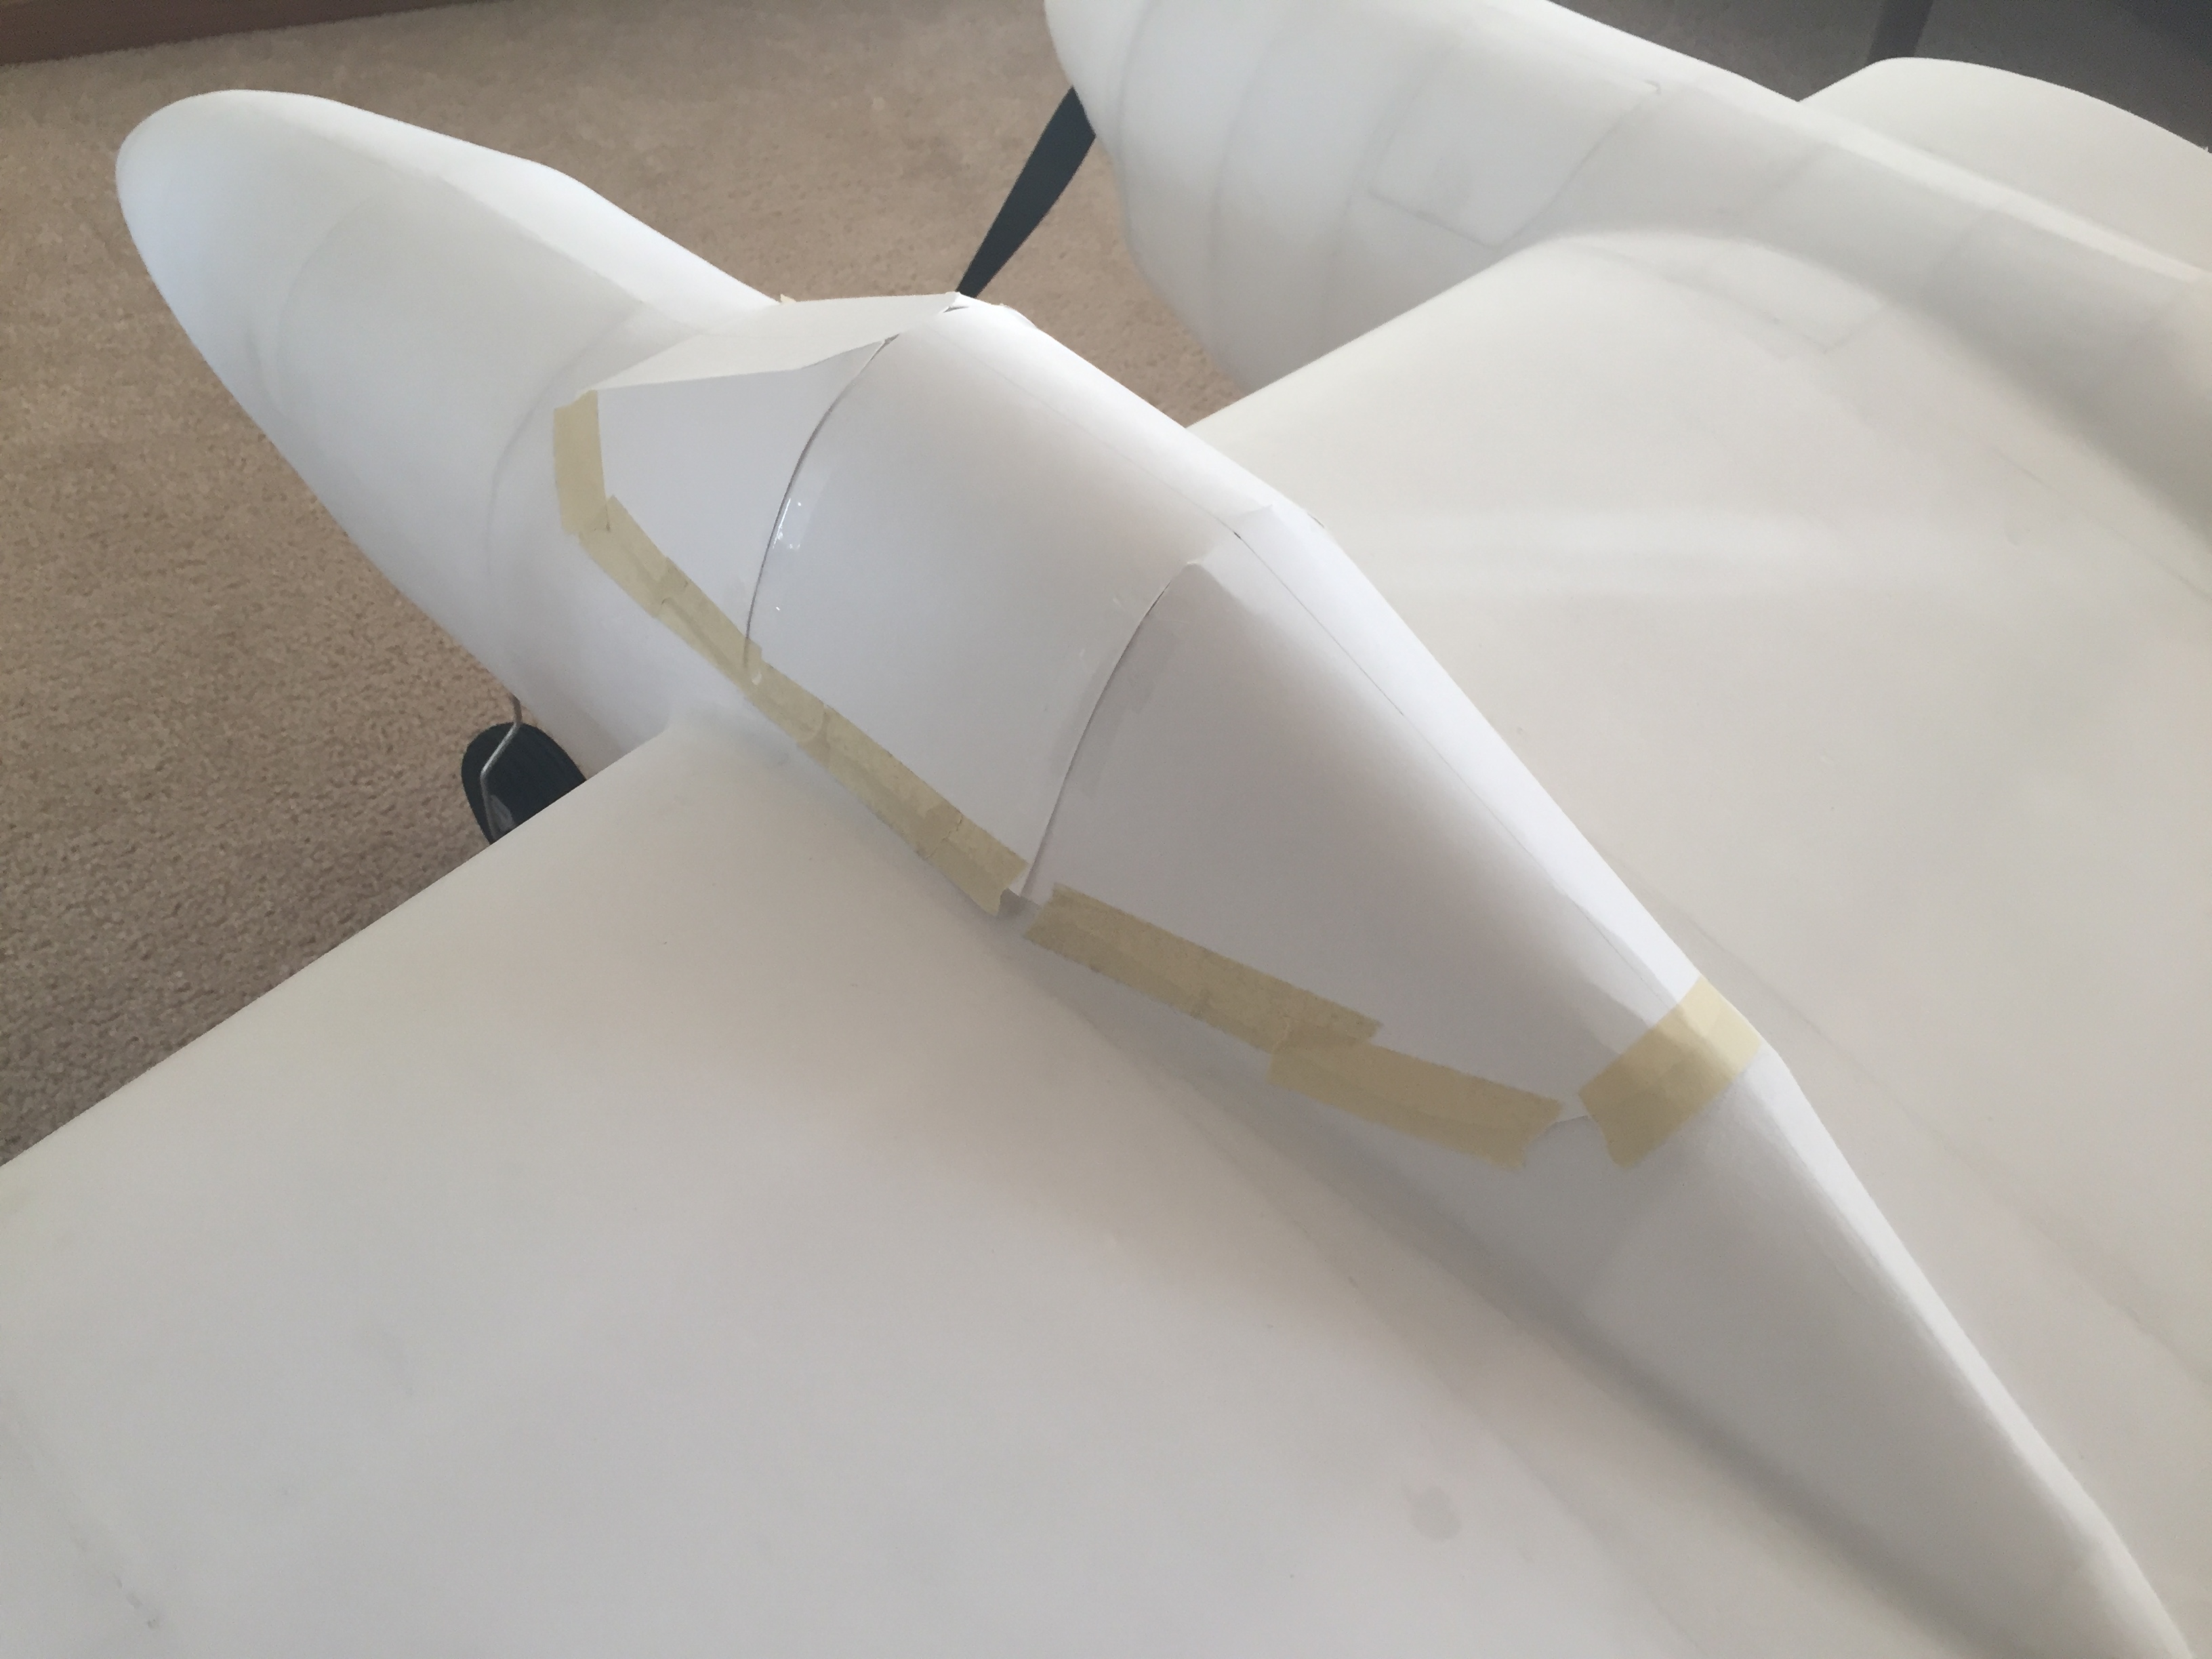
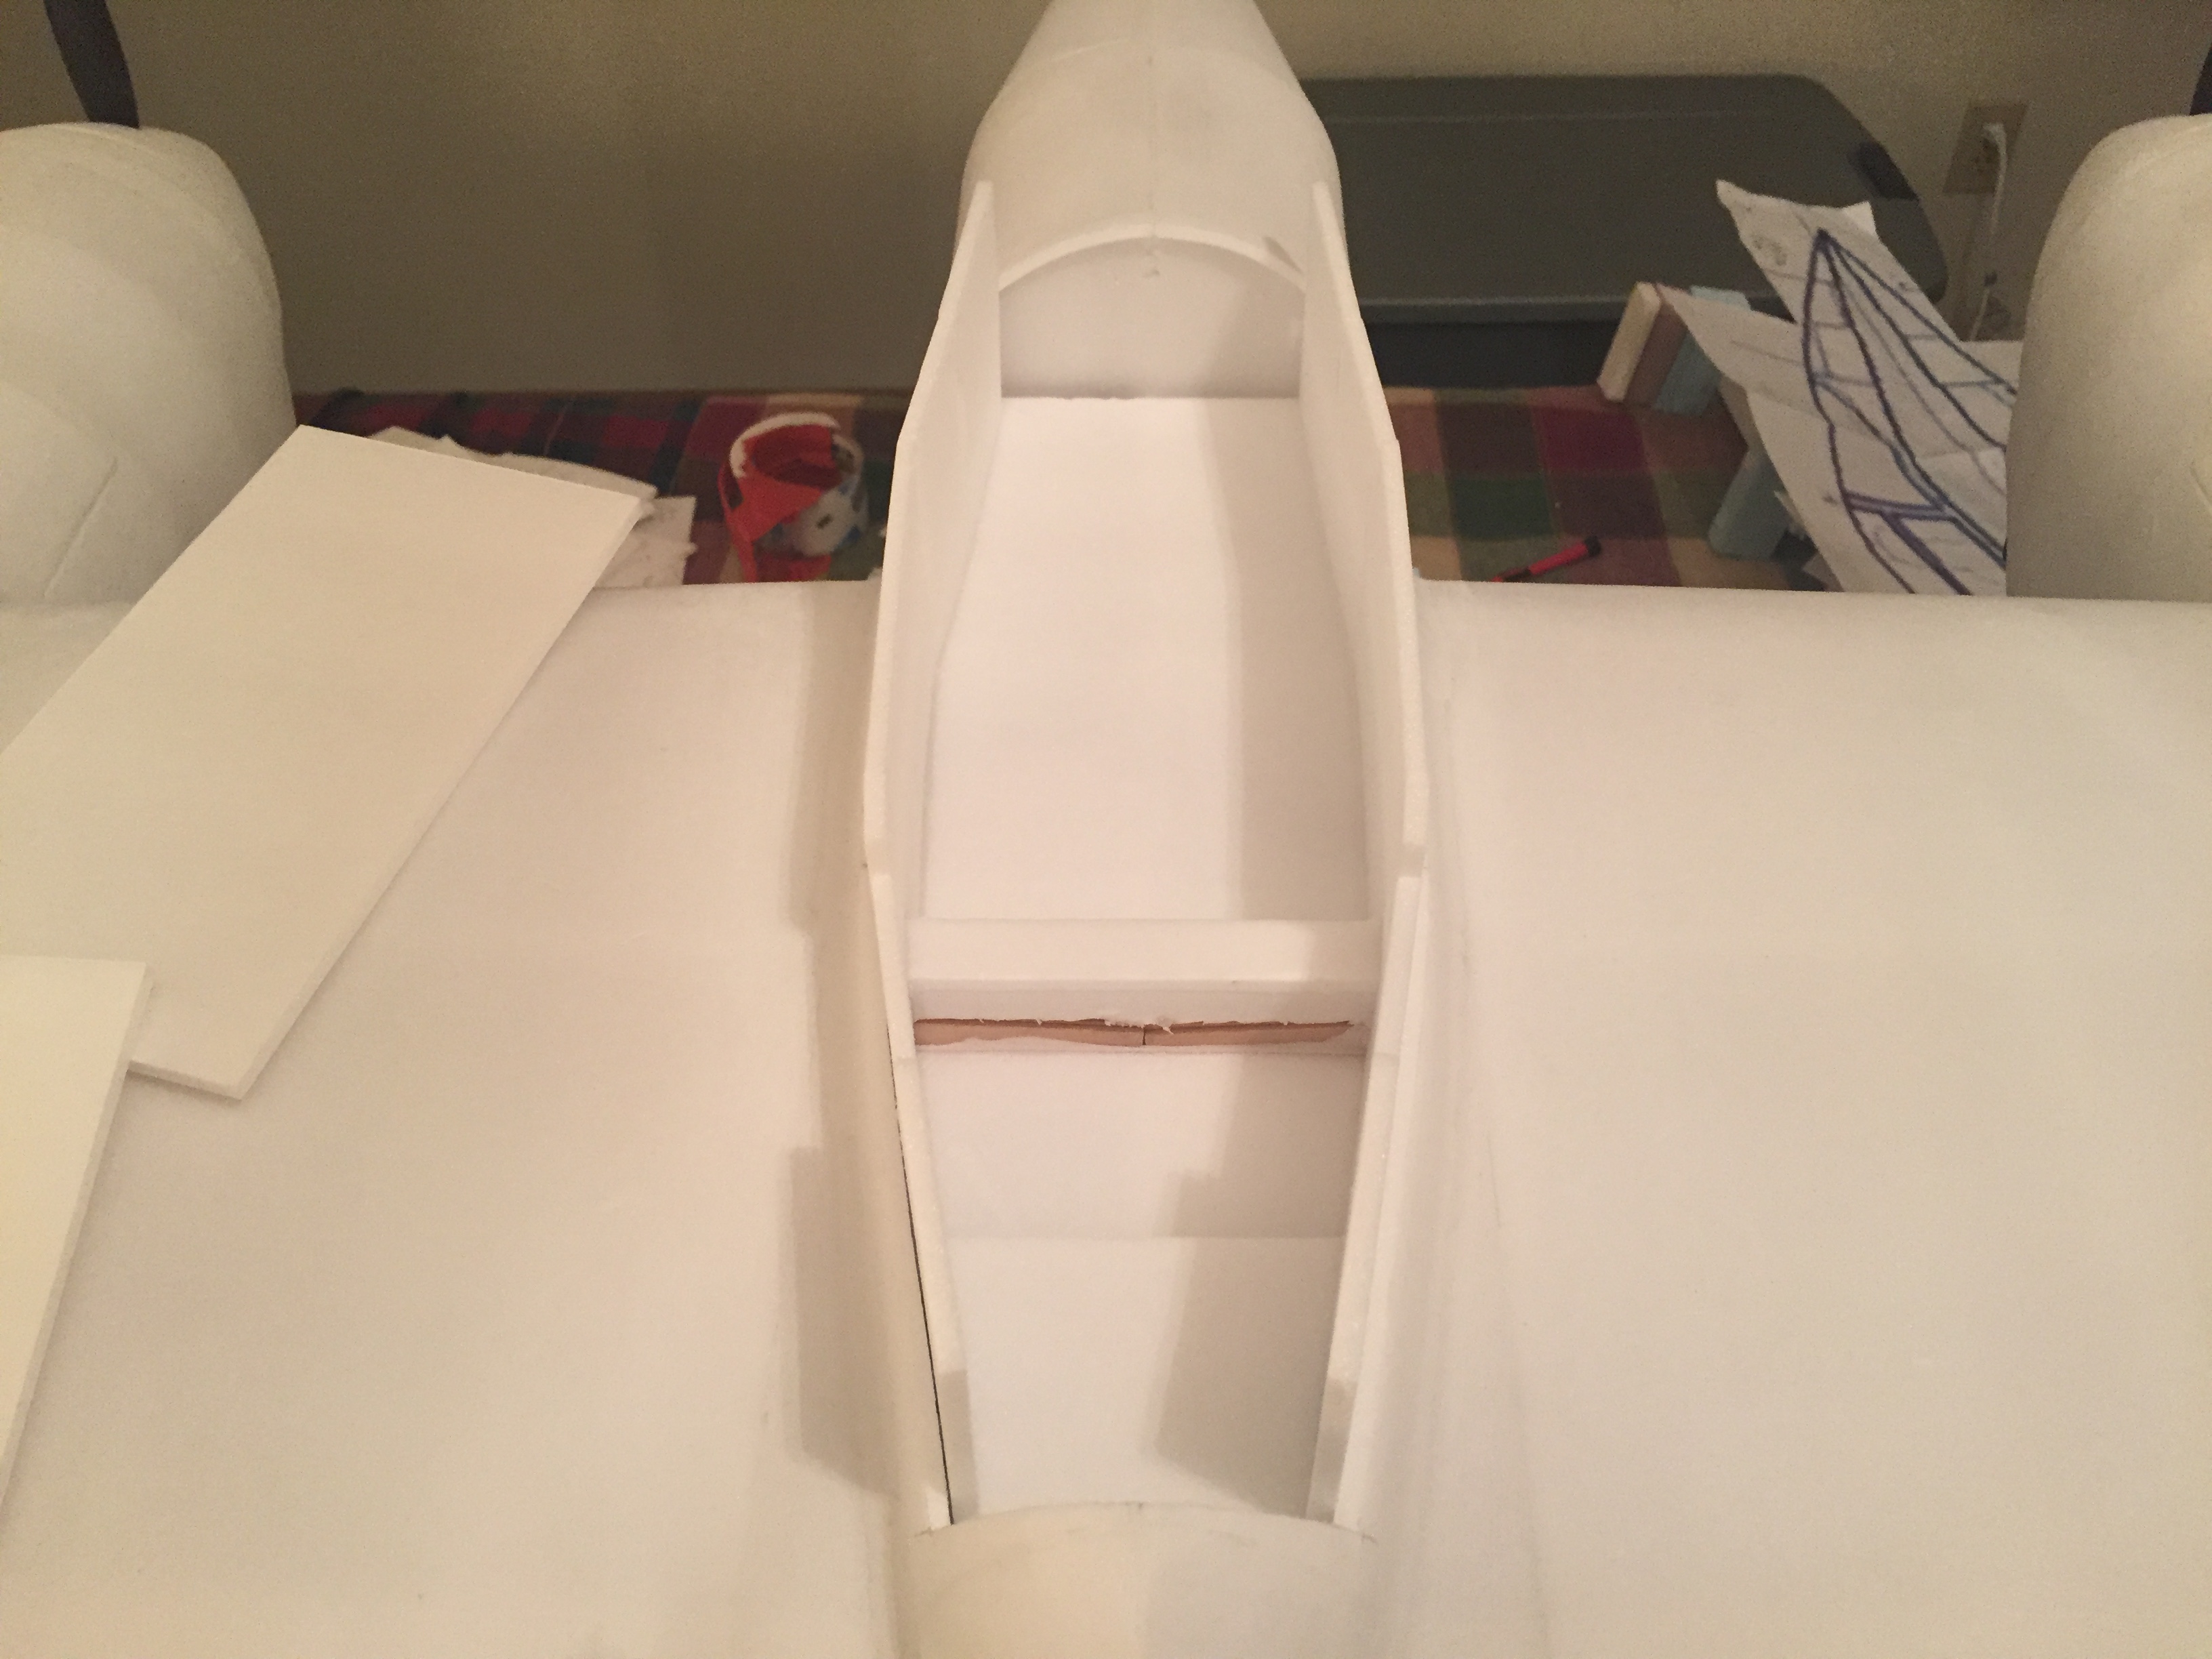
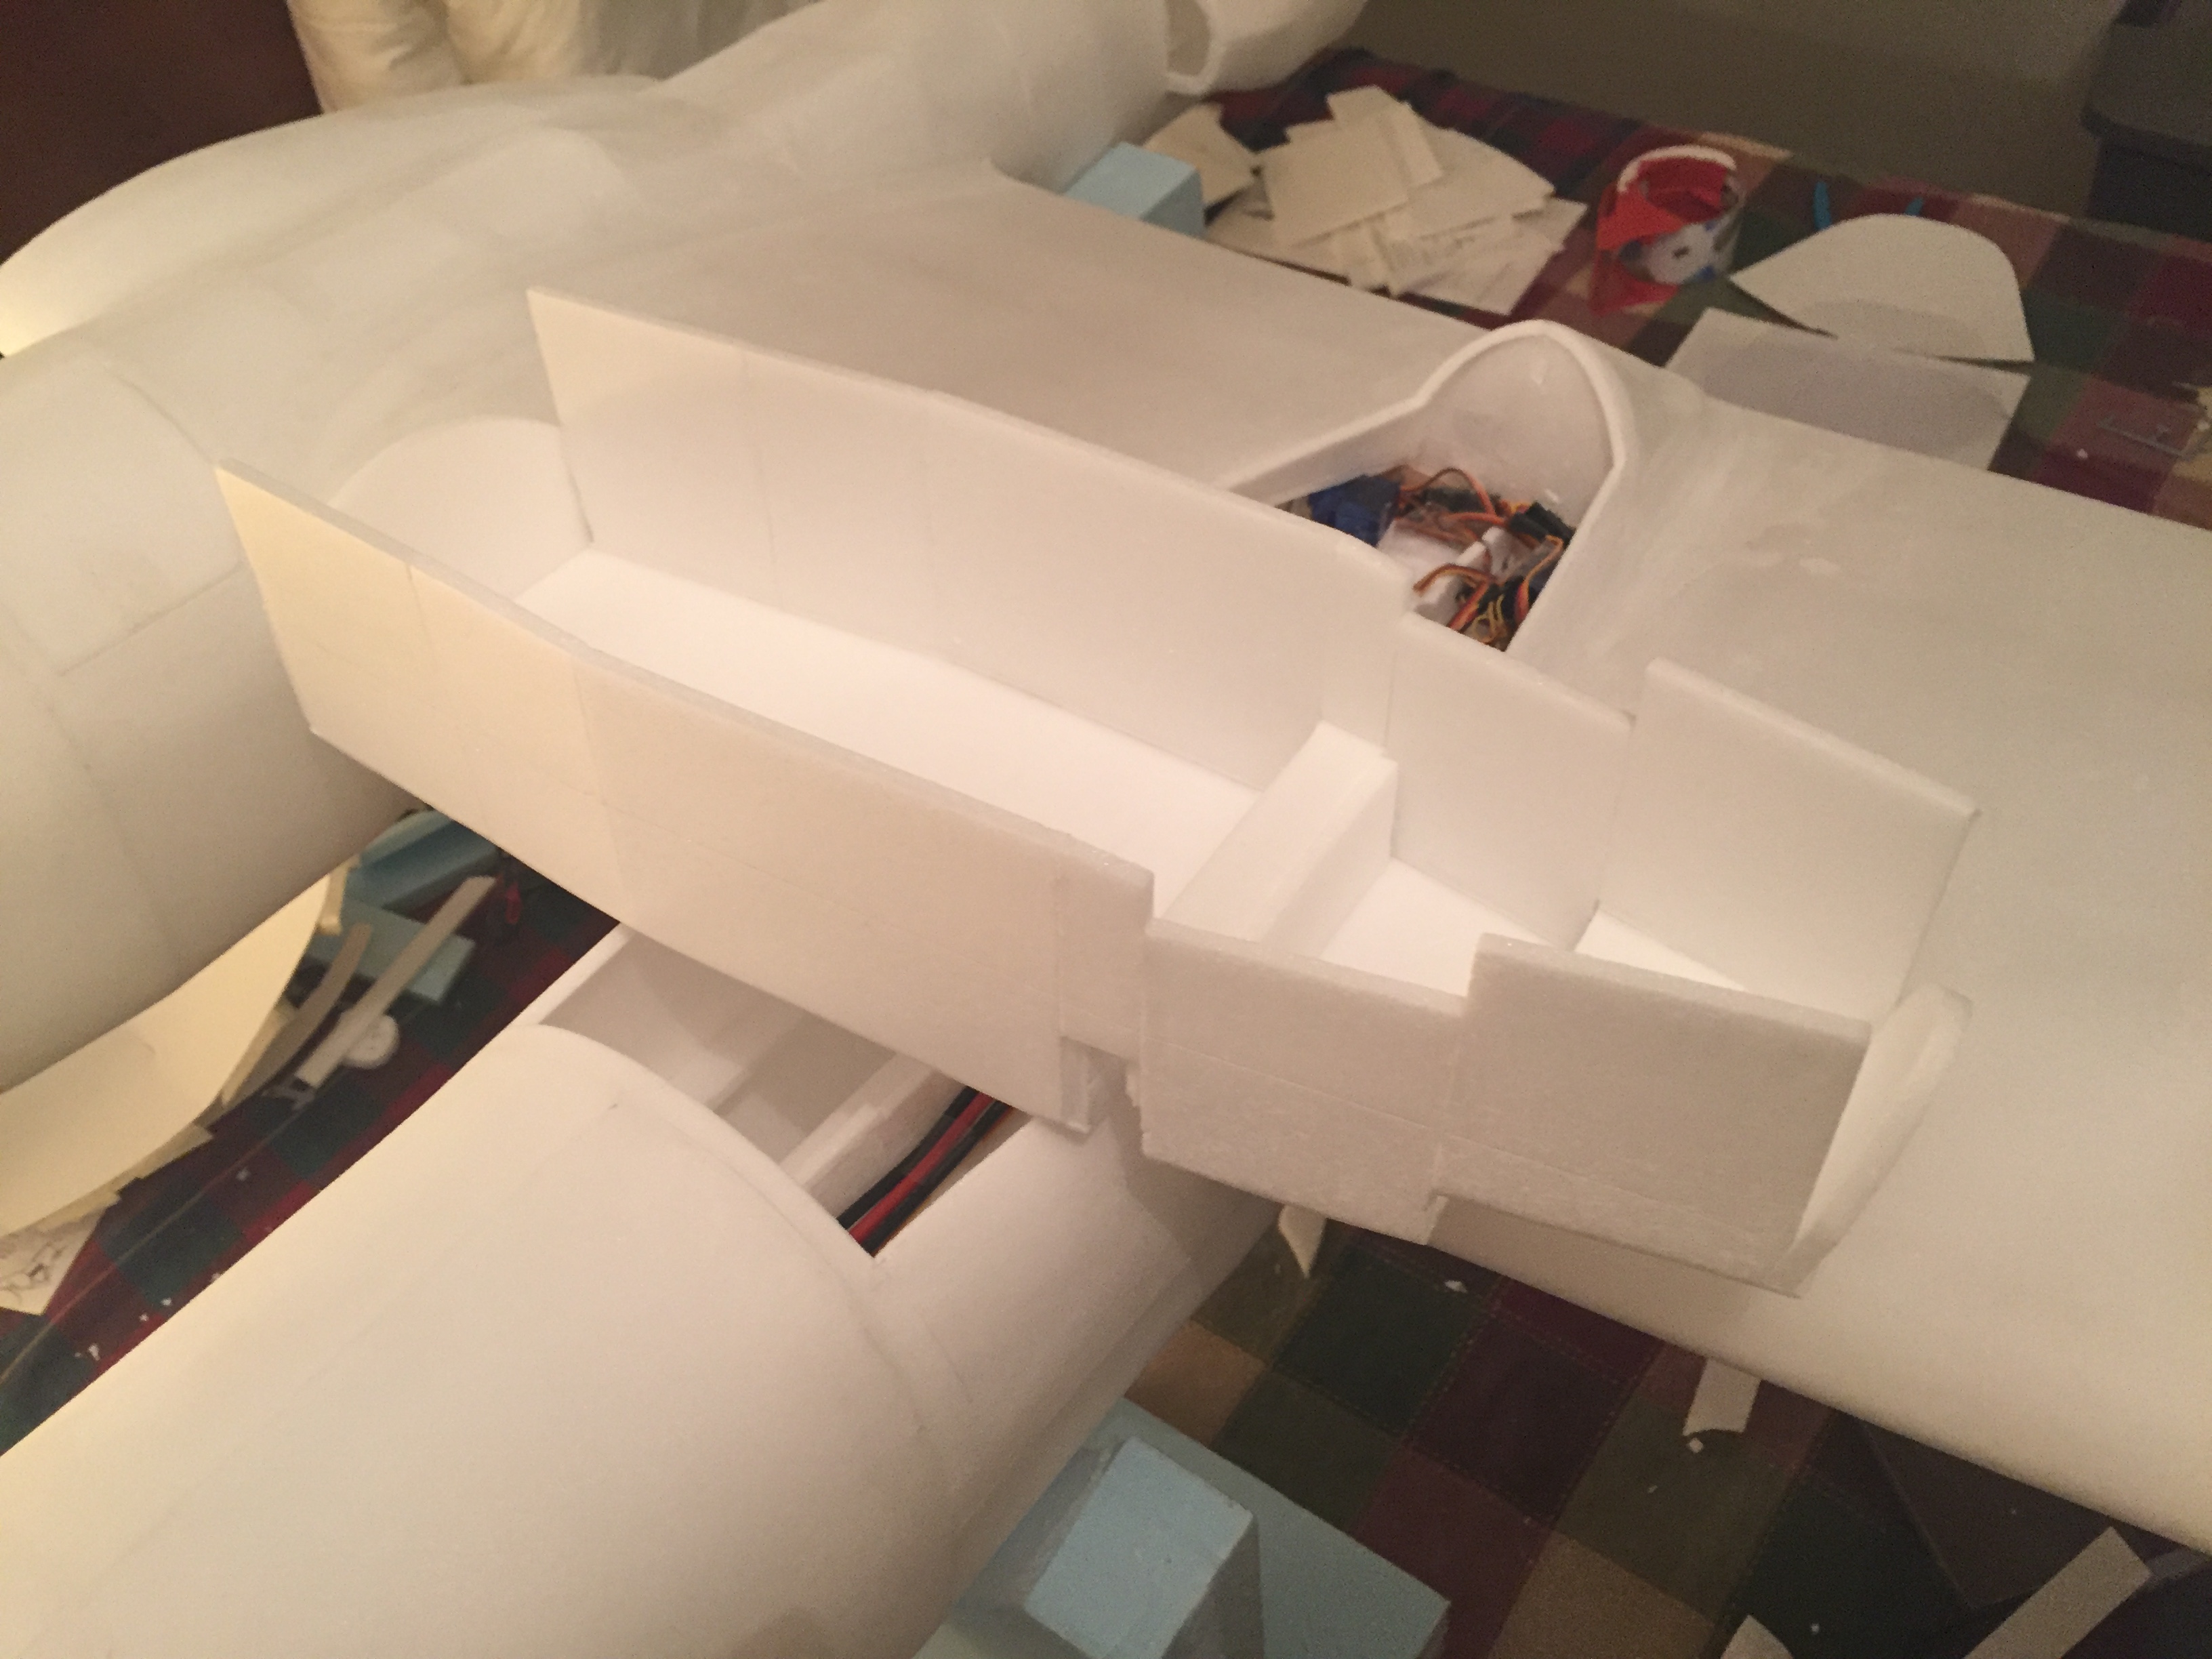
Had the day off of school yesterday because of elections and took some time to get some work done on the Lightning. Landing gear doors done (but not permanently attached, that will come after final spackling and sanding and maybe even painting), some more spackling done, and starting to work on the canopy. I want to make the canopy into a hatch to get to the receiver and wiring but I haven't planned out exactly how to do that yet, it was easy with the 109 due to the simple rectangular shape of the canopy but will be a bit trickier with the Lightning. Also want to put a bit of detail in the cockpit....not a lot by any means, just a simple seat, yoke, instrument panel, etc. so that it looks pretty close to real from 20 feet away. That's what semi-scale is about, right? :D

On the topic of semi-scale I'll just go ahead and call myself out on this canopy. I don't have a vacuum former (yet...possible future project) and don't have access to one either. So the top of my canopy will likely be flat, while the real Lightning had a slight bubble curvature on top. Might try making the top piece out of a 2-liter bottle but I need to find one that will fit the shape somewhat well. Note - final canopy will be clear plastic, not posterboard like in the pictures haha.

Not *too* much farther to go before putting some paint on this bird. Needs the canopy/cockpit, landing gear covers (which I have ordered...went with the large Robarts, the ParkFlyerPlastics one is actually too small to fit the wheels :rolleyes:), final spackling and sanding, turbo boosters, a couple other details...and ready for paint, which will be a whole other area to tackle. That's what I love and hate about this build, it seems like every time I finish a tricky or time-consuming part I'm only met with another equally tricky or time-consuming task to tackle. I guess that's what keeps it interesting, right? But I still can't imagine those people who spend years and years on their gorgeous, super scale/detailed models...I'll settle with semi-scale for now. :D

Like the rest of the plane, the spinner is impressive and beautiful!

How do you join the two halves? I assume you have a way to pop off the front in order to get access to the propeller?

Thank you.


Mike

Sorry it's taken so long to respond to your question, but there are 4 small neodymium magnets on each spinner that holds it on. Easy to take off when I need to access the prop and easy to just snap back on when I'm done. Pic below.
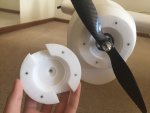
IMG_7646.JPG IMG_7647.JPG IMG_7650.JPG IMG_7651.JPG IMG_7655.JPG IMG_7656.JPG IMG_7657.JPG
 

joker24458

Active member
Got some pretty good work in since my last post here. Finished up the mock up for the canopy to ensure good fit, ended up looking pretty nice even without curved bubble mid section. Have a clear one and the canopy frame cut out too, just waiting until after painting to install that because I need to paint the frame while it's separate from the clear part.
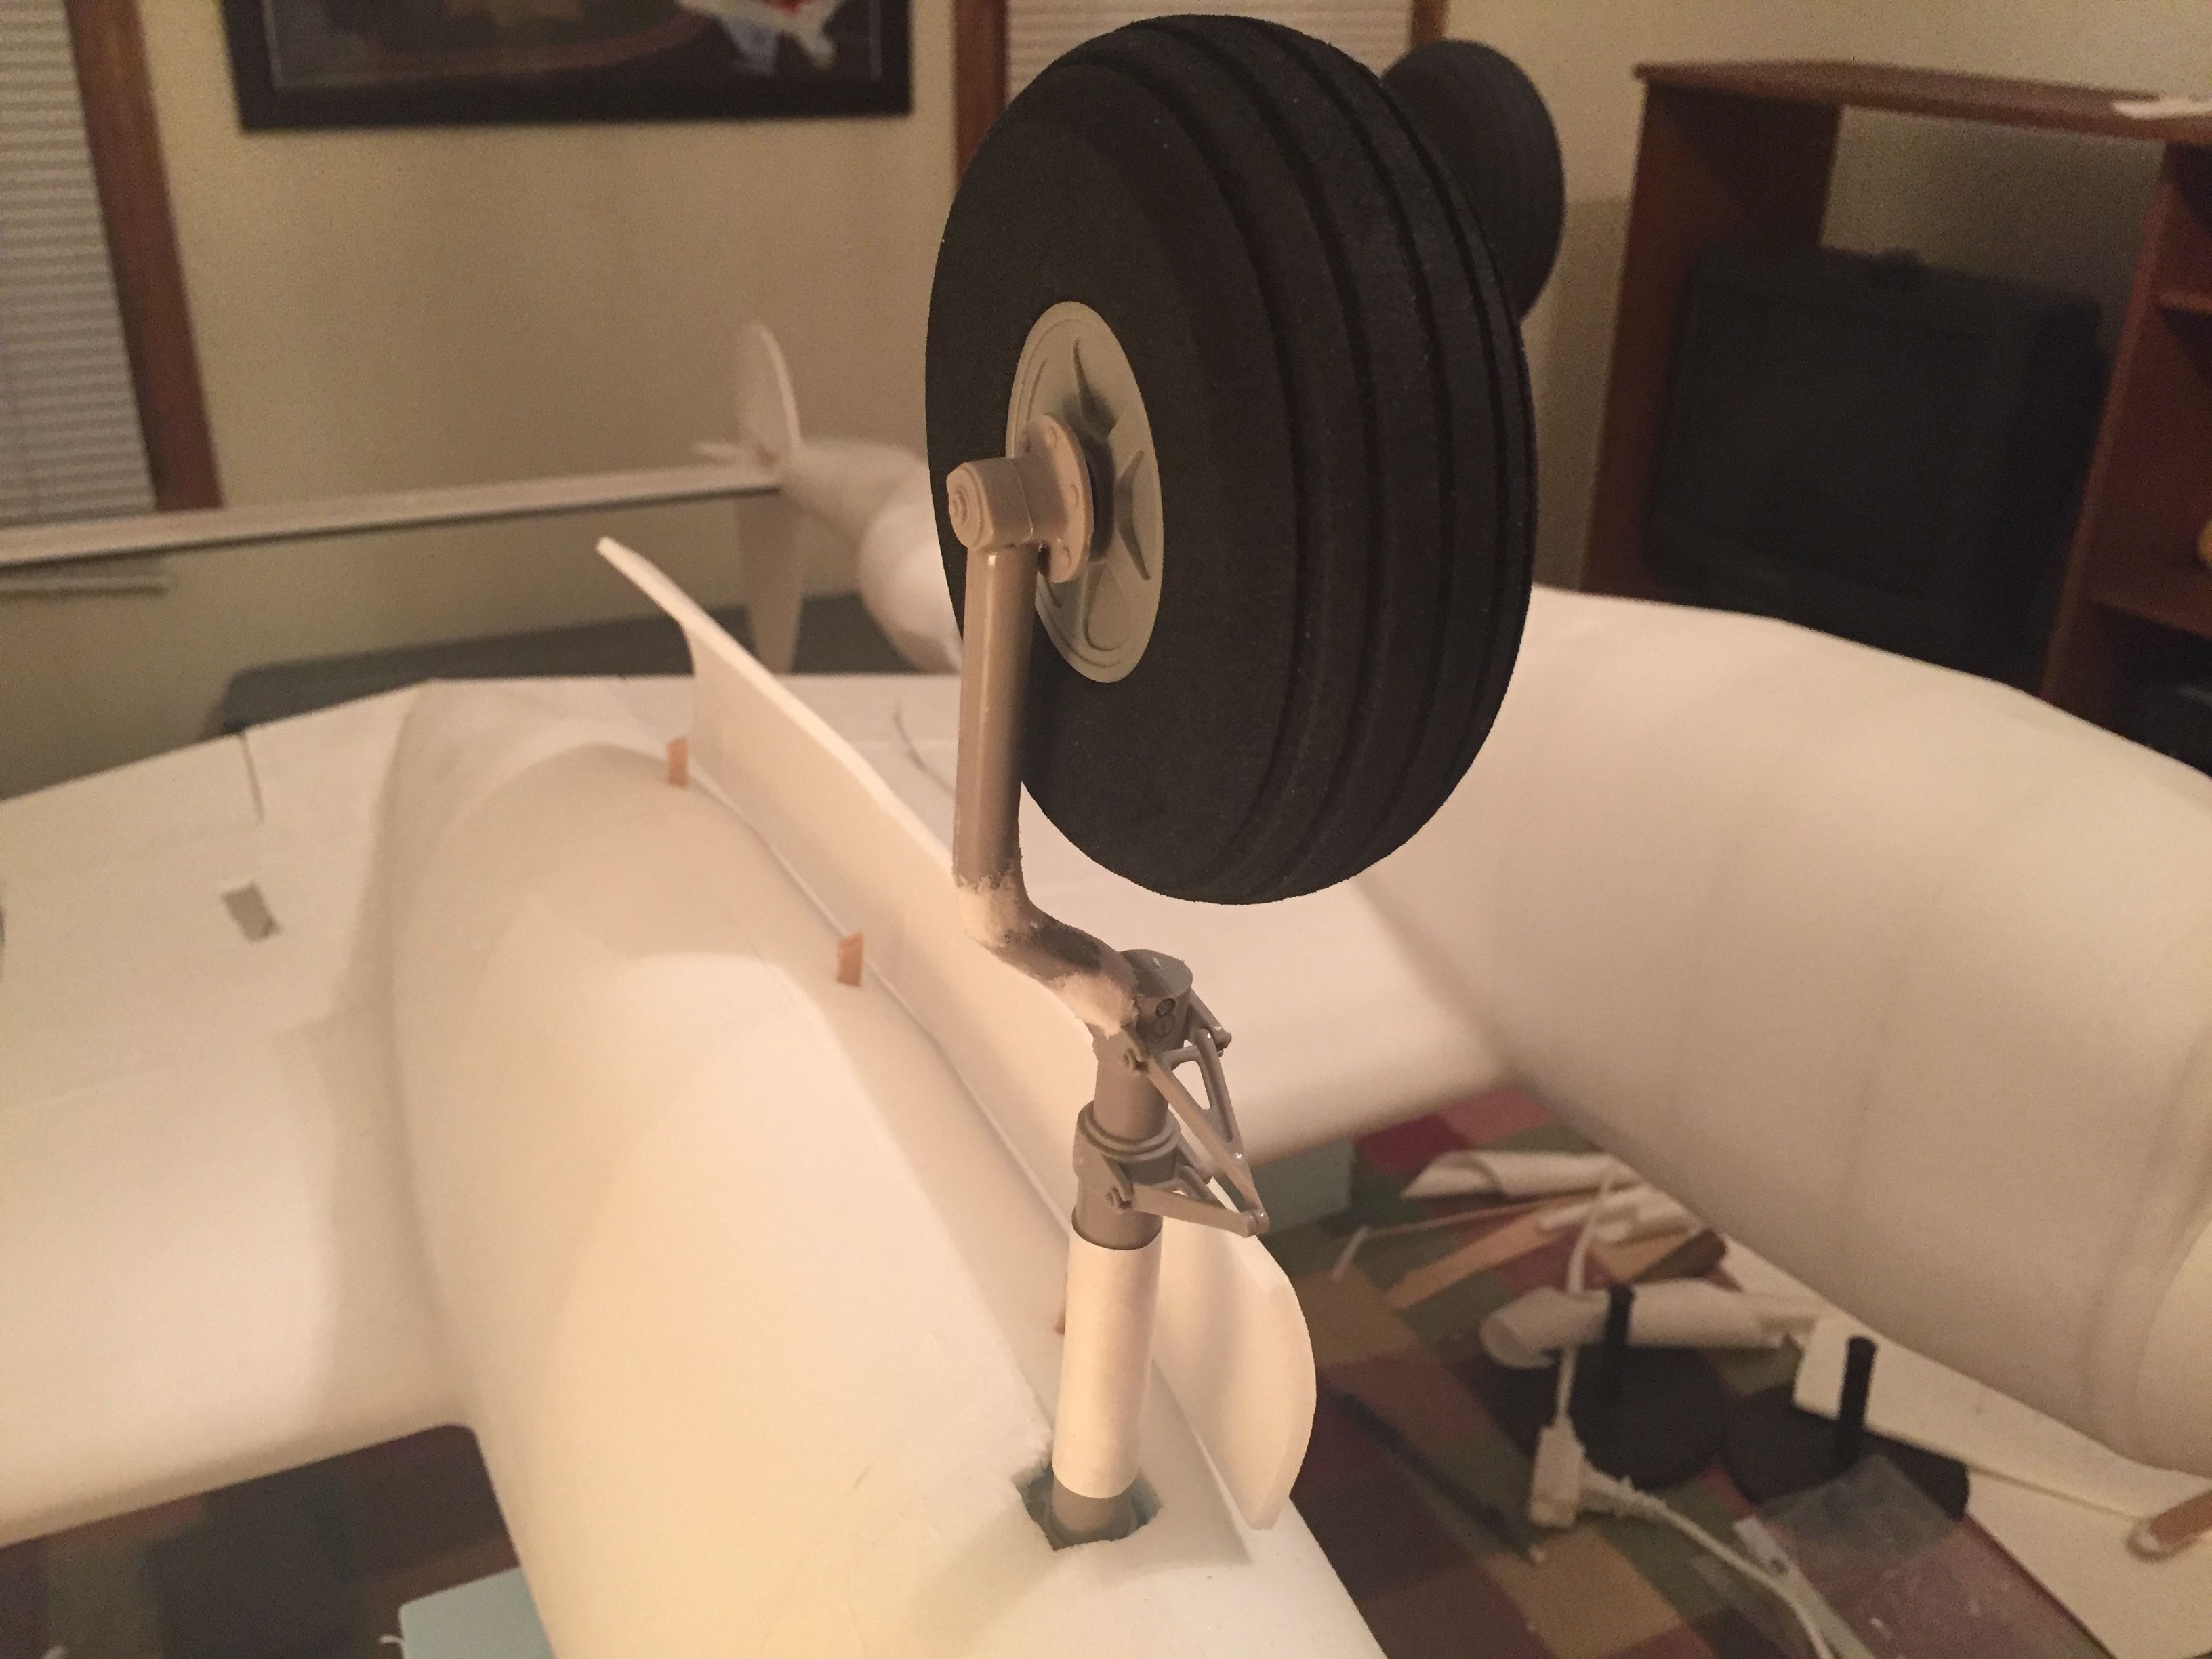
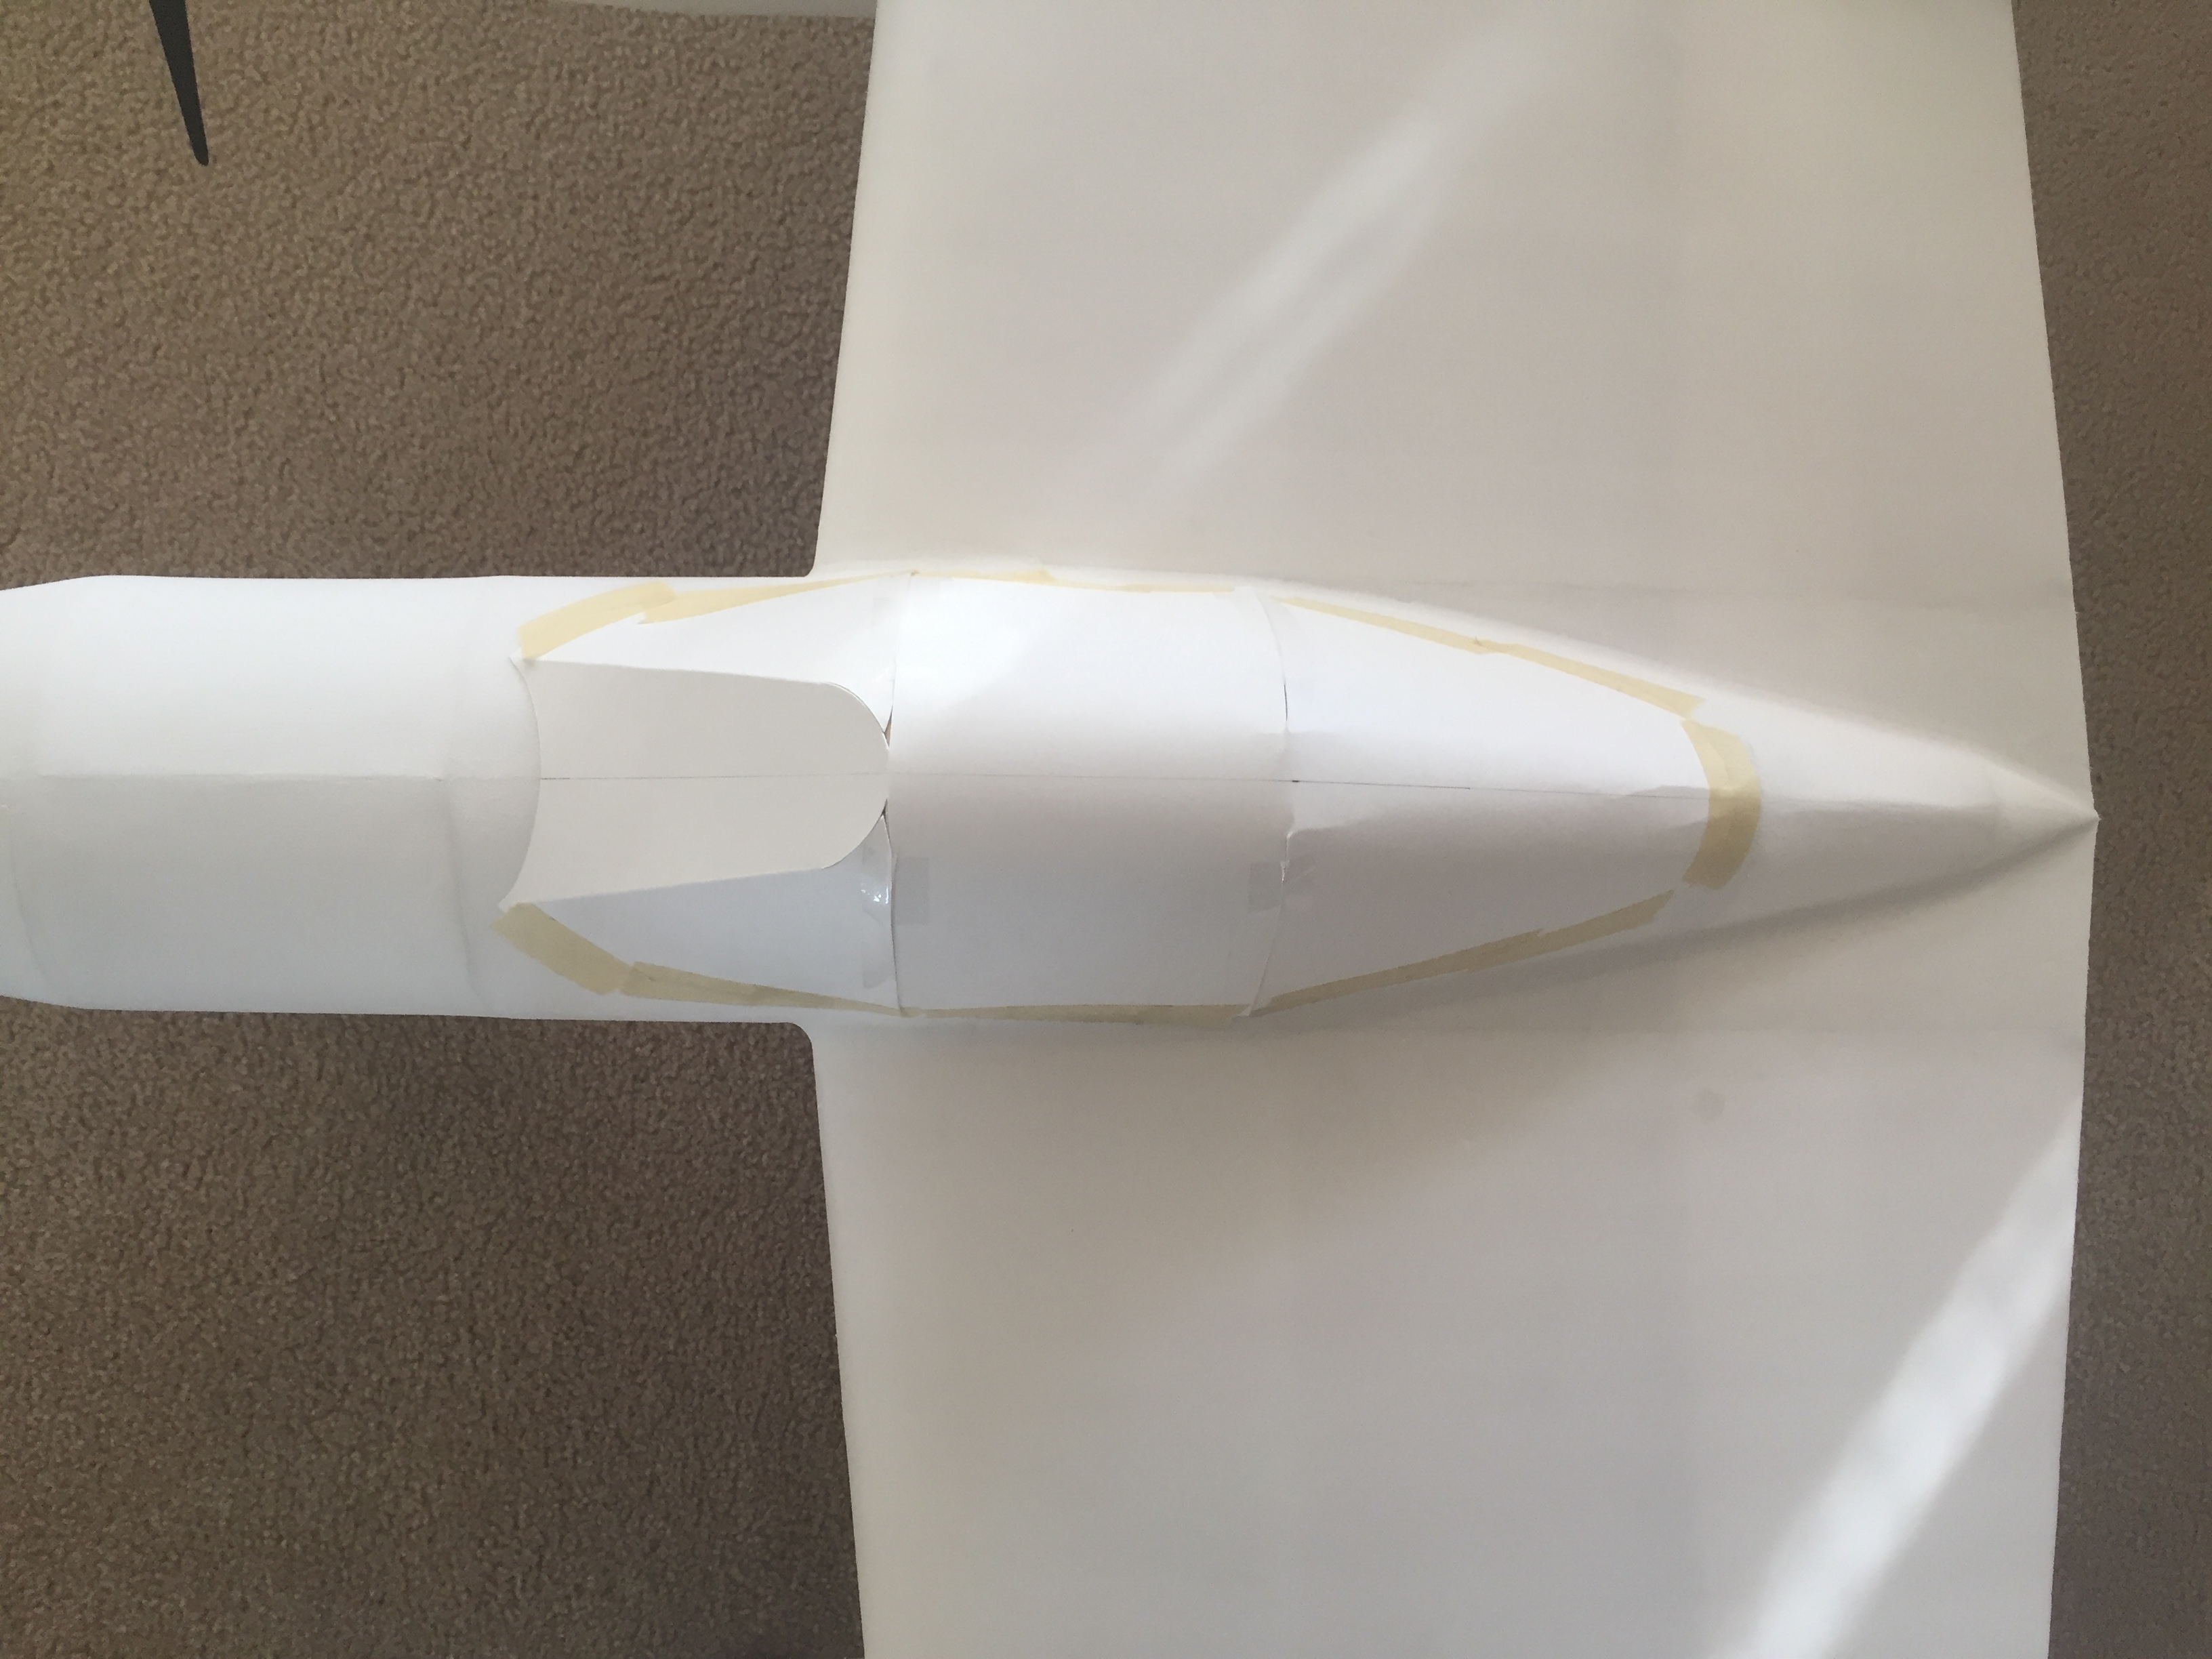
I got the Robart plastic landing gear covers in the mail, and as I expected even the large size was too short. So I had to cut the covers and fill in the gaps to essentially make them longer. Also the nose gear cover wasn't bent exactly right so I used some spackle to fill in the joints and round them off, will sand later. Looks much better than just the bare wire though, should look pretty good with the gear doors attached too.

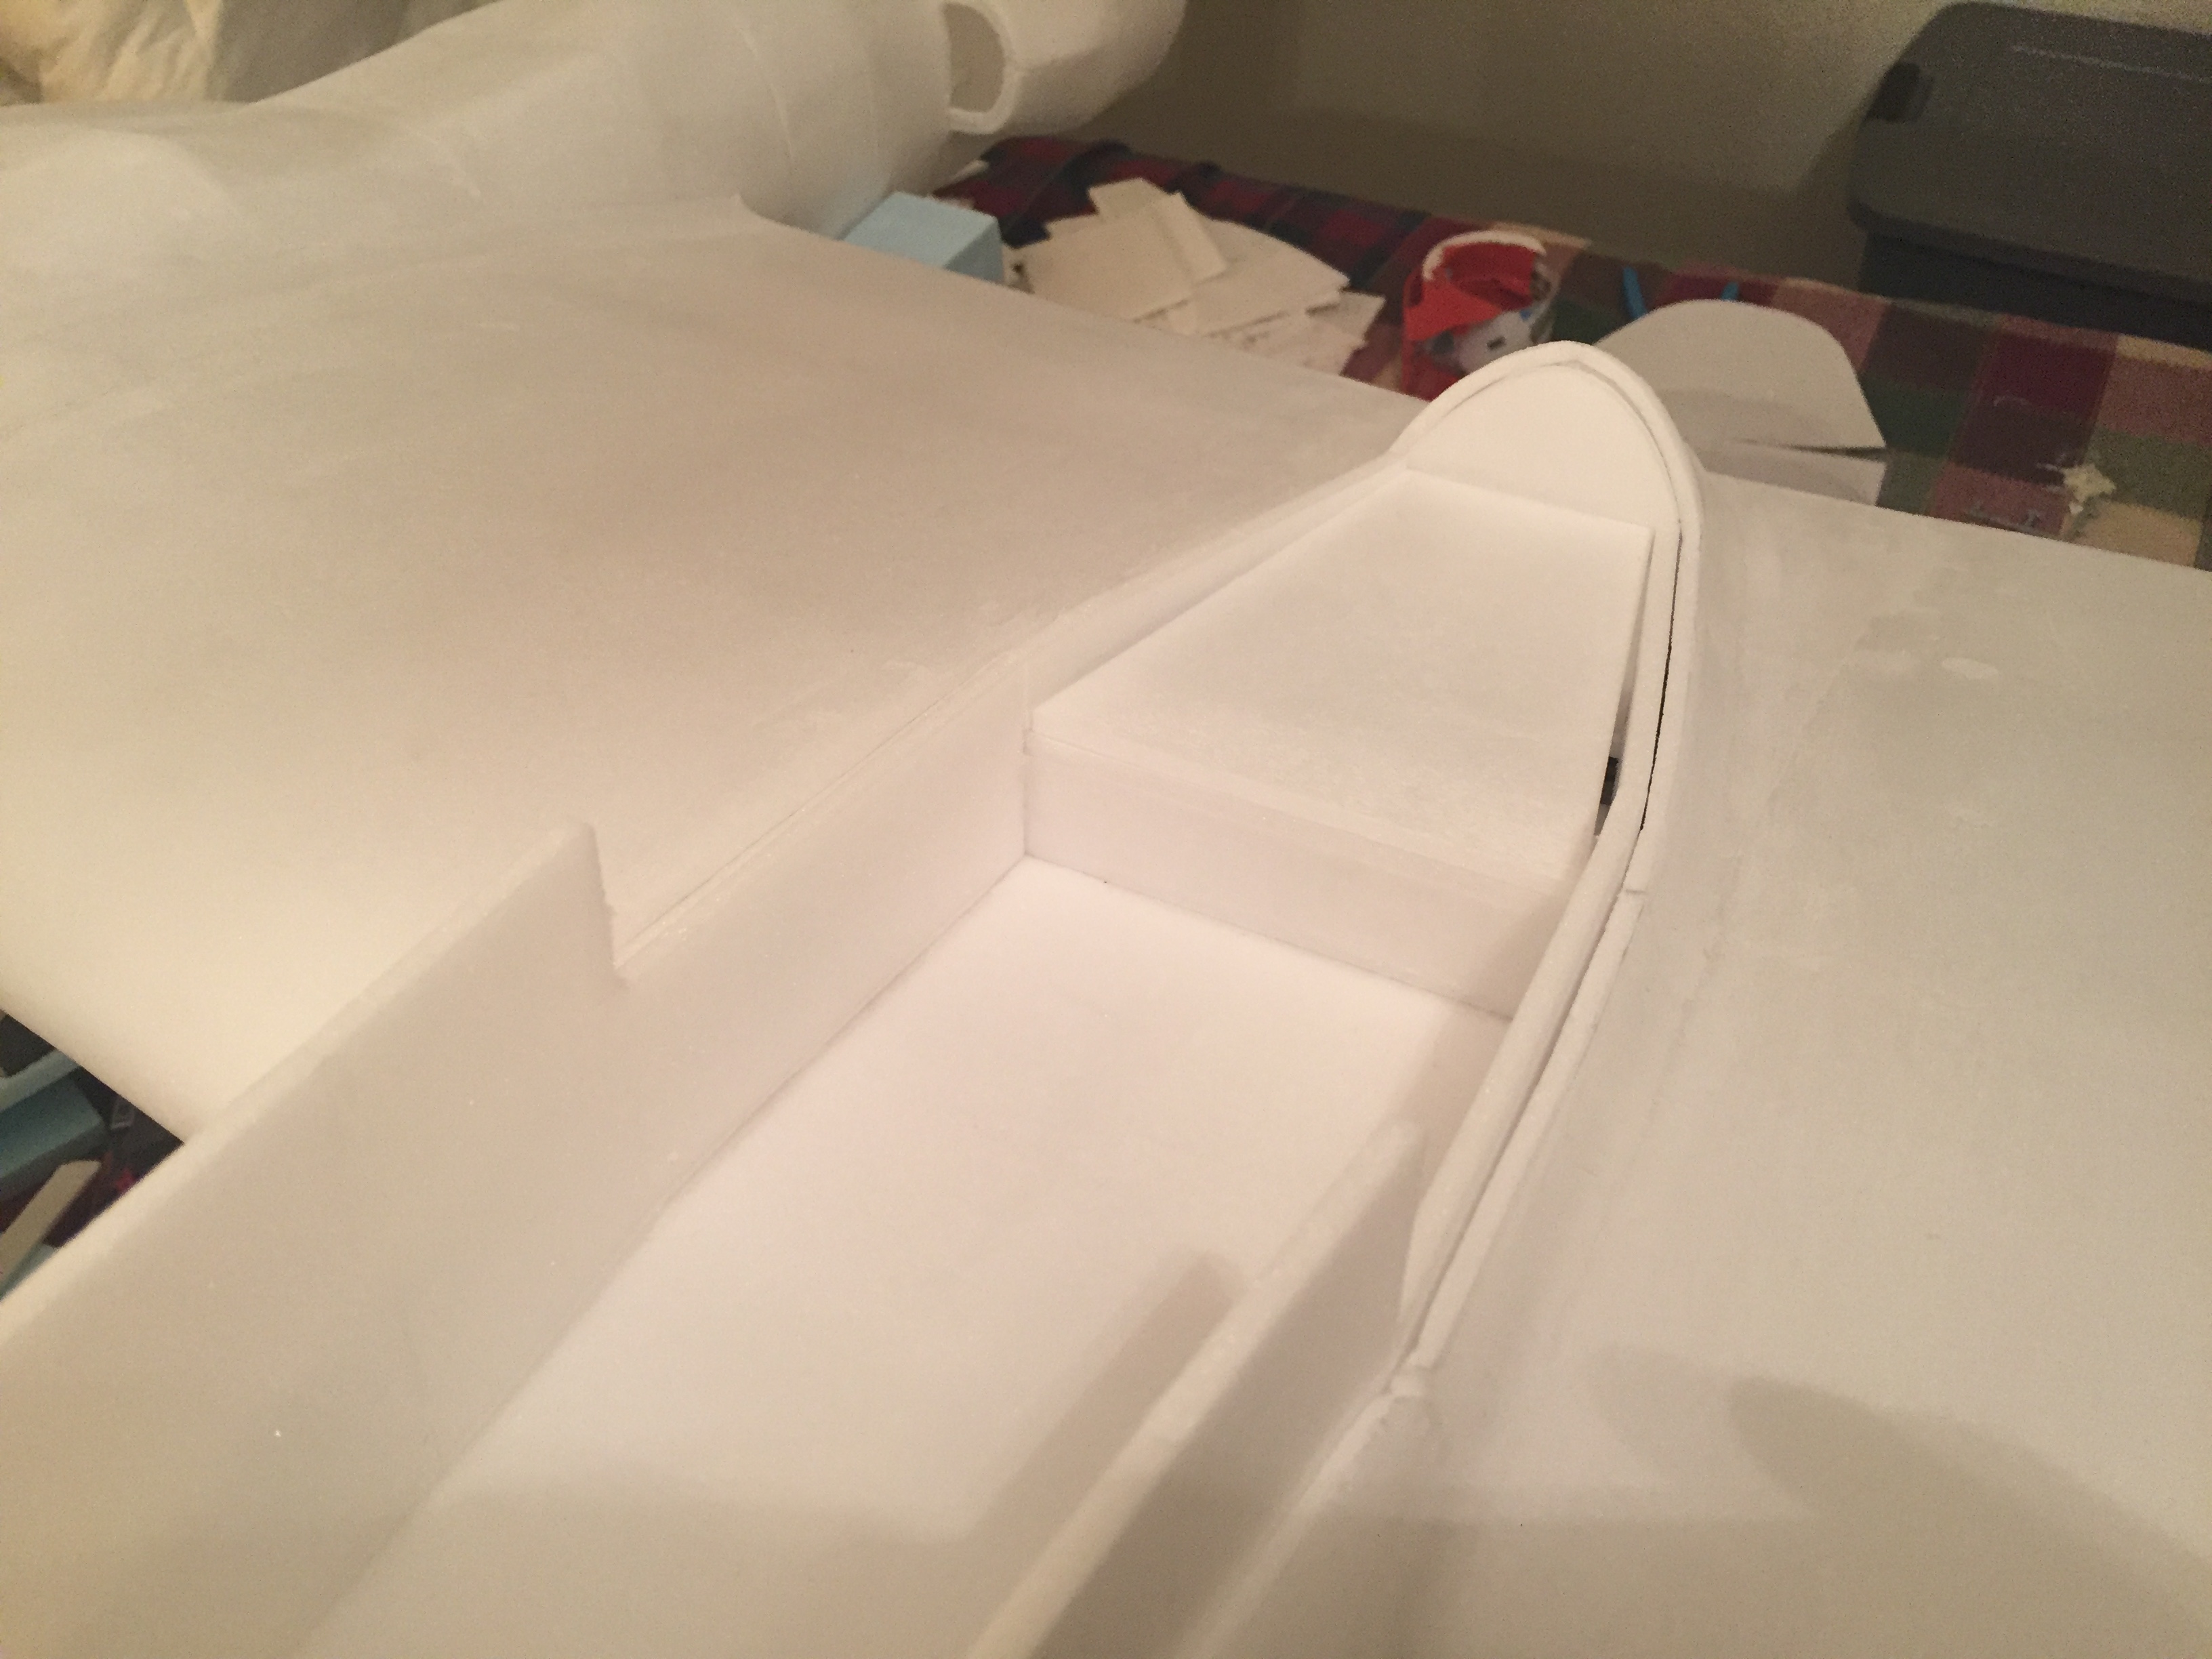
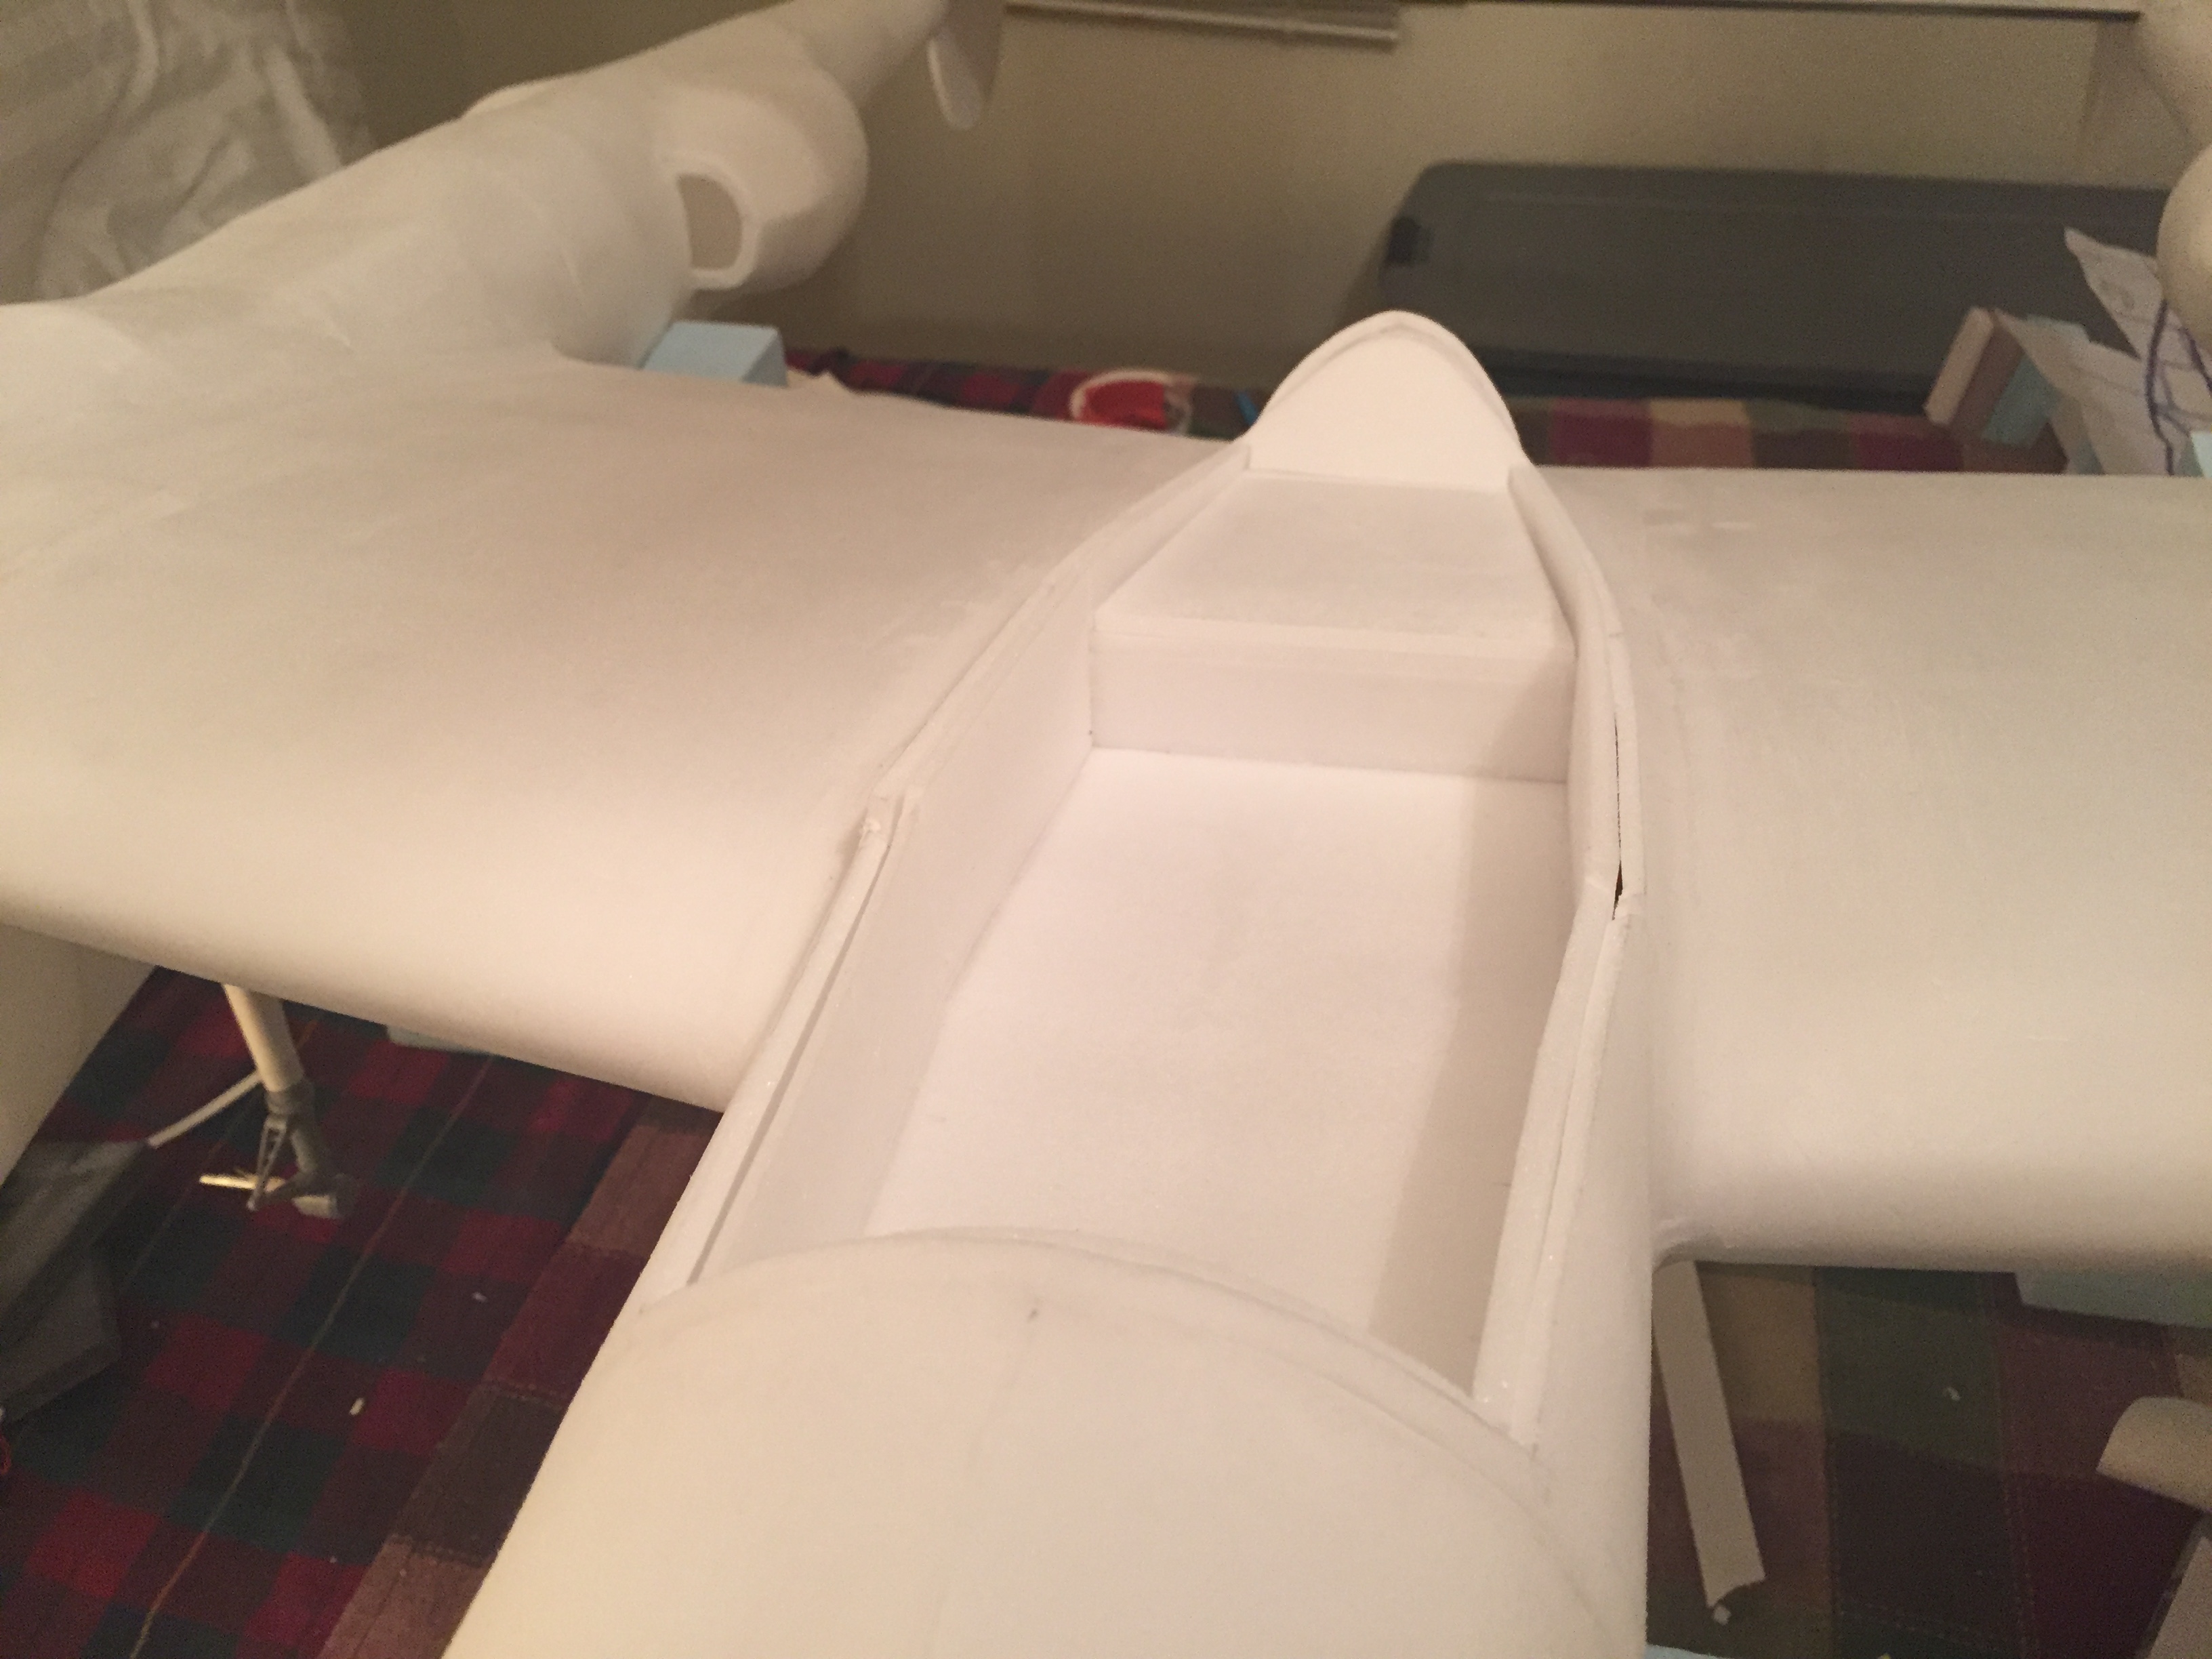
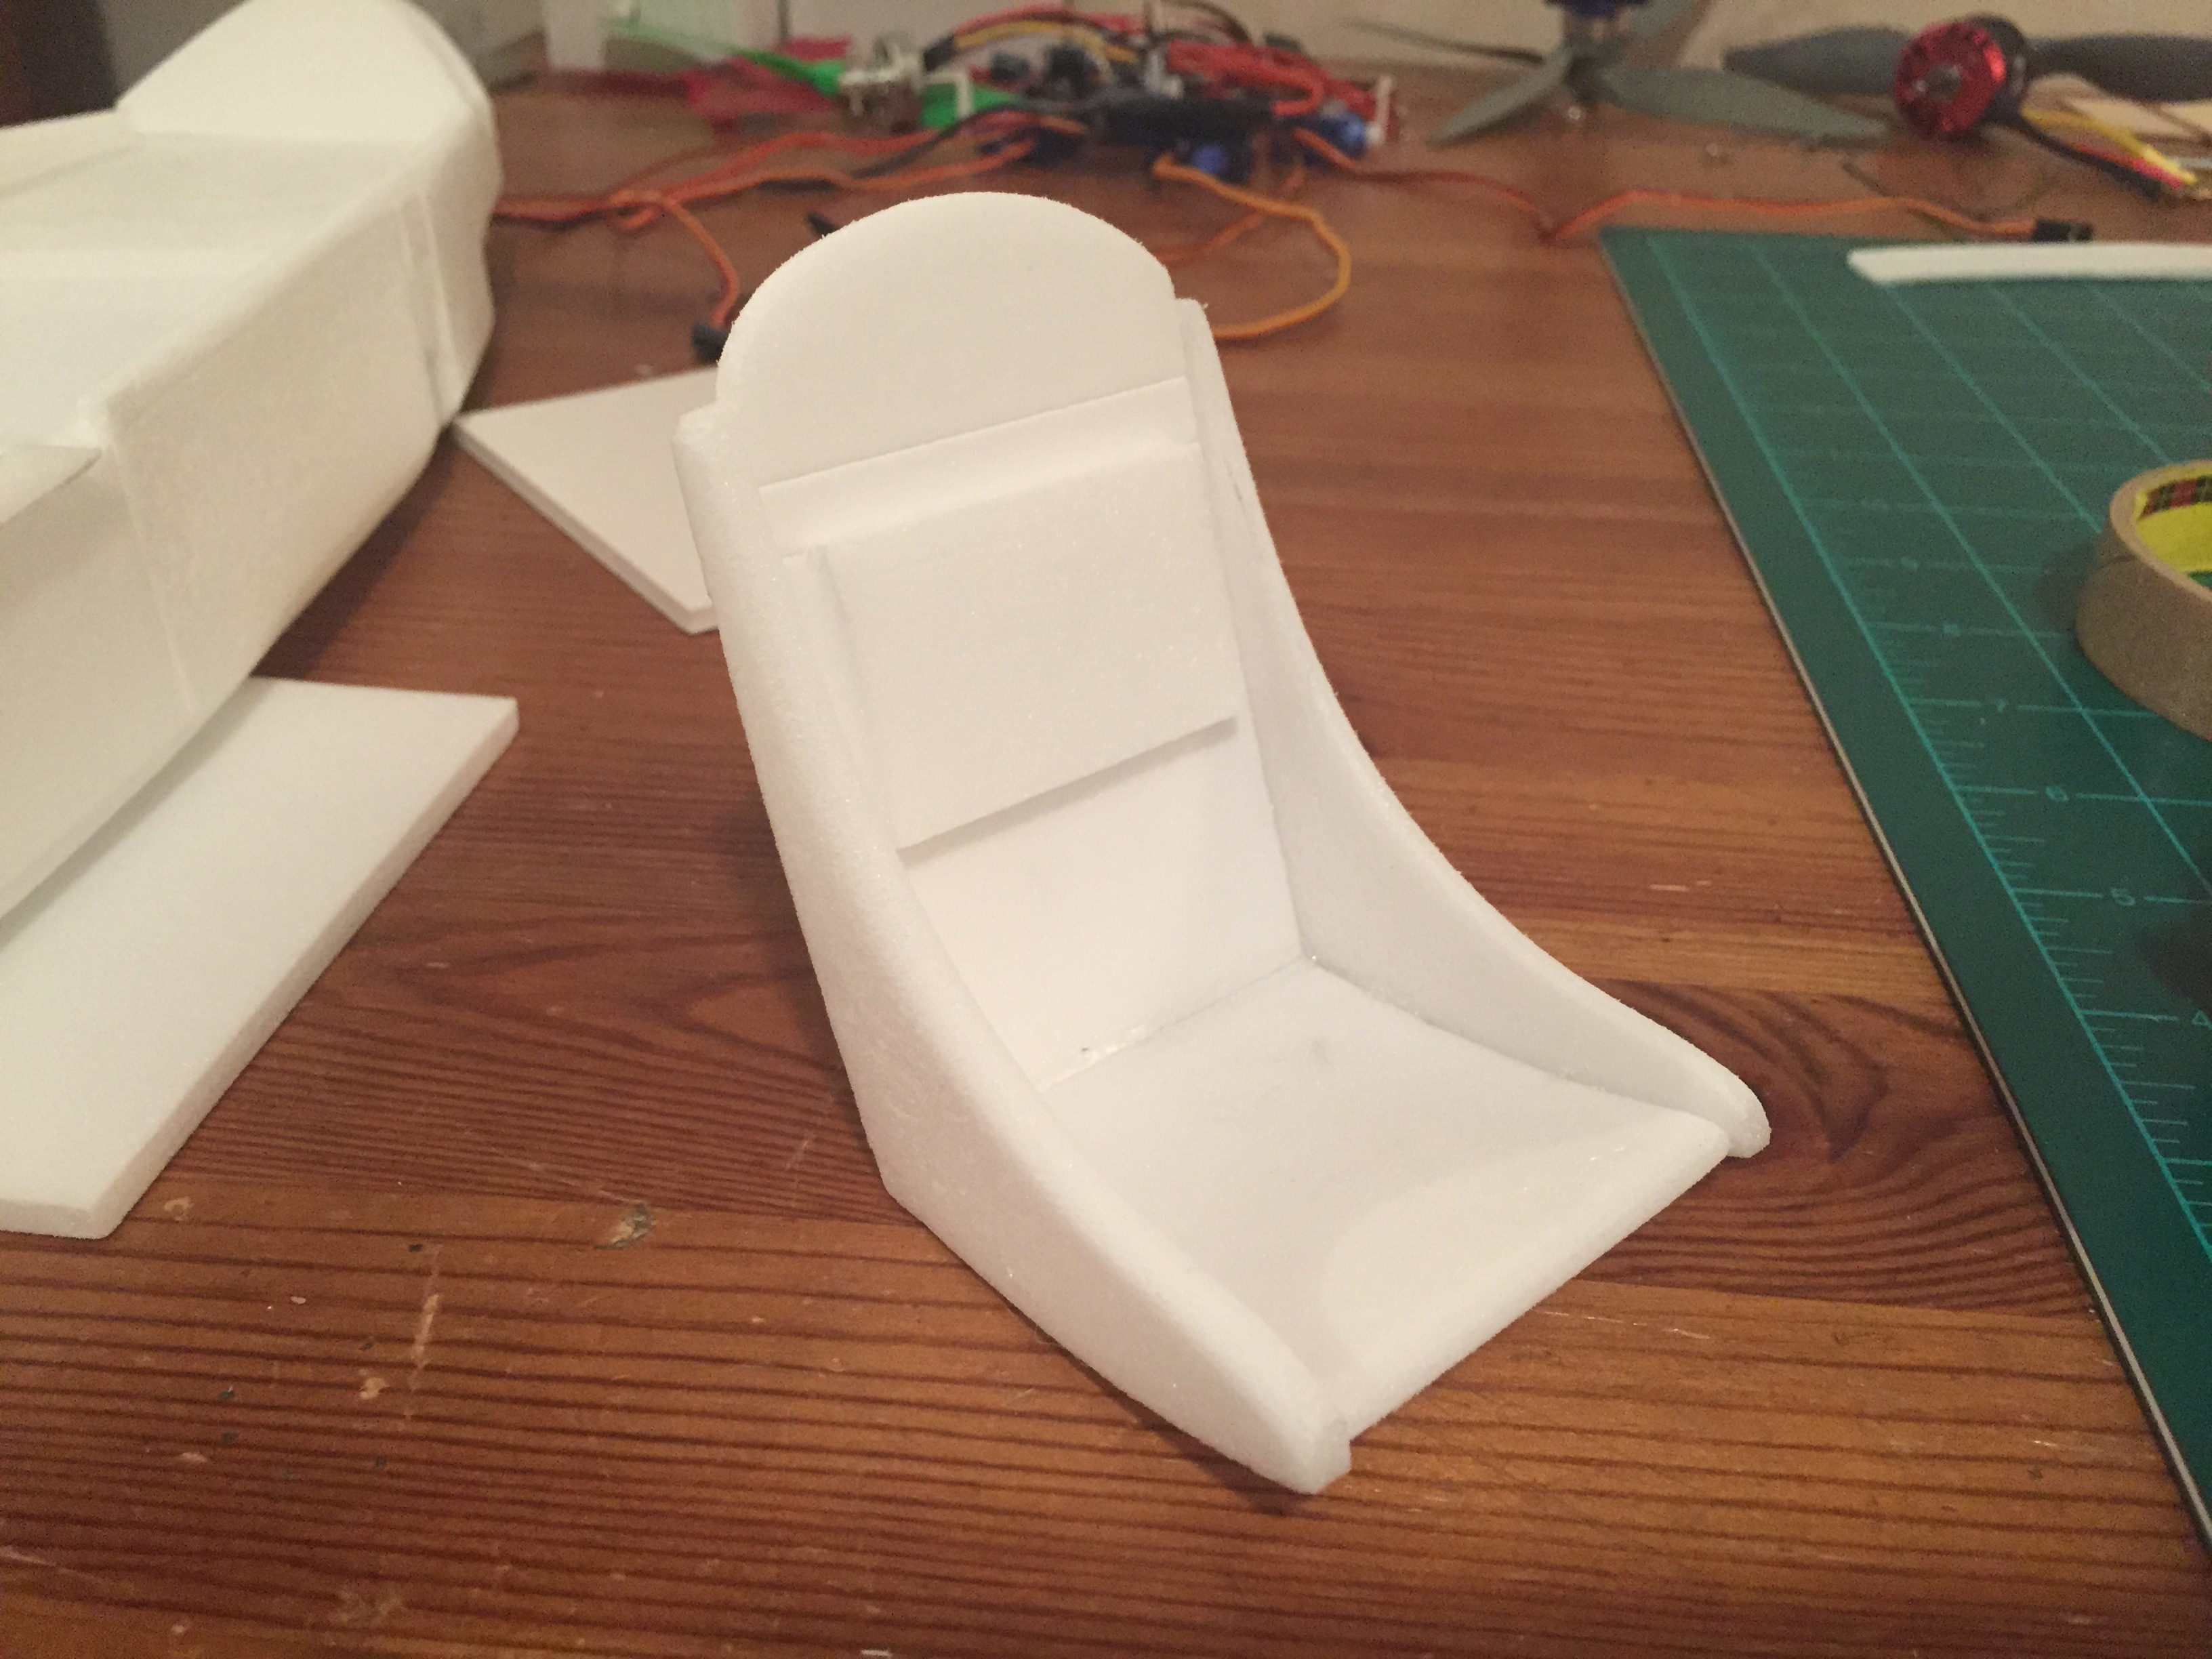
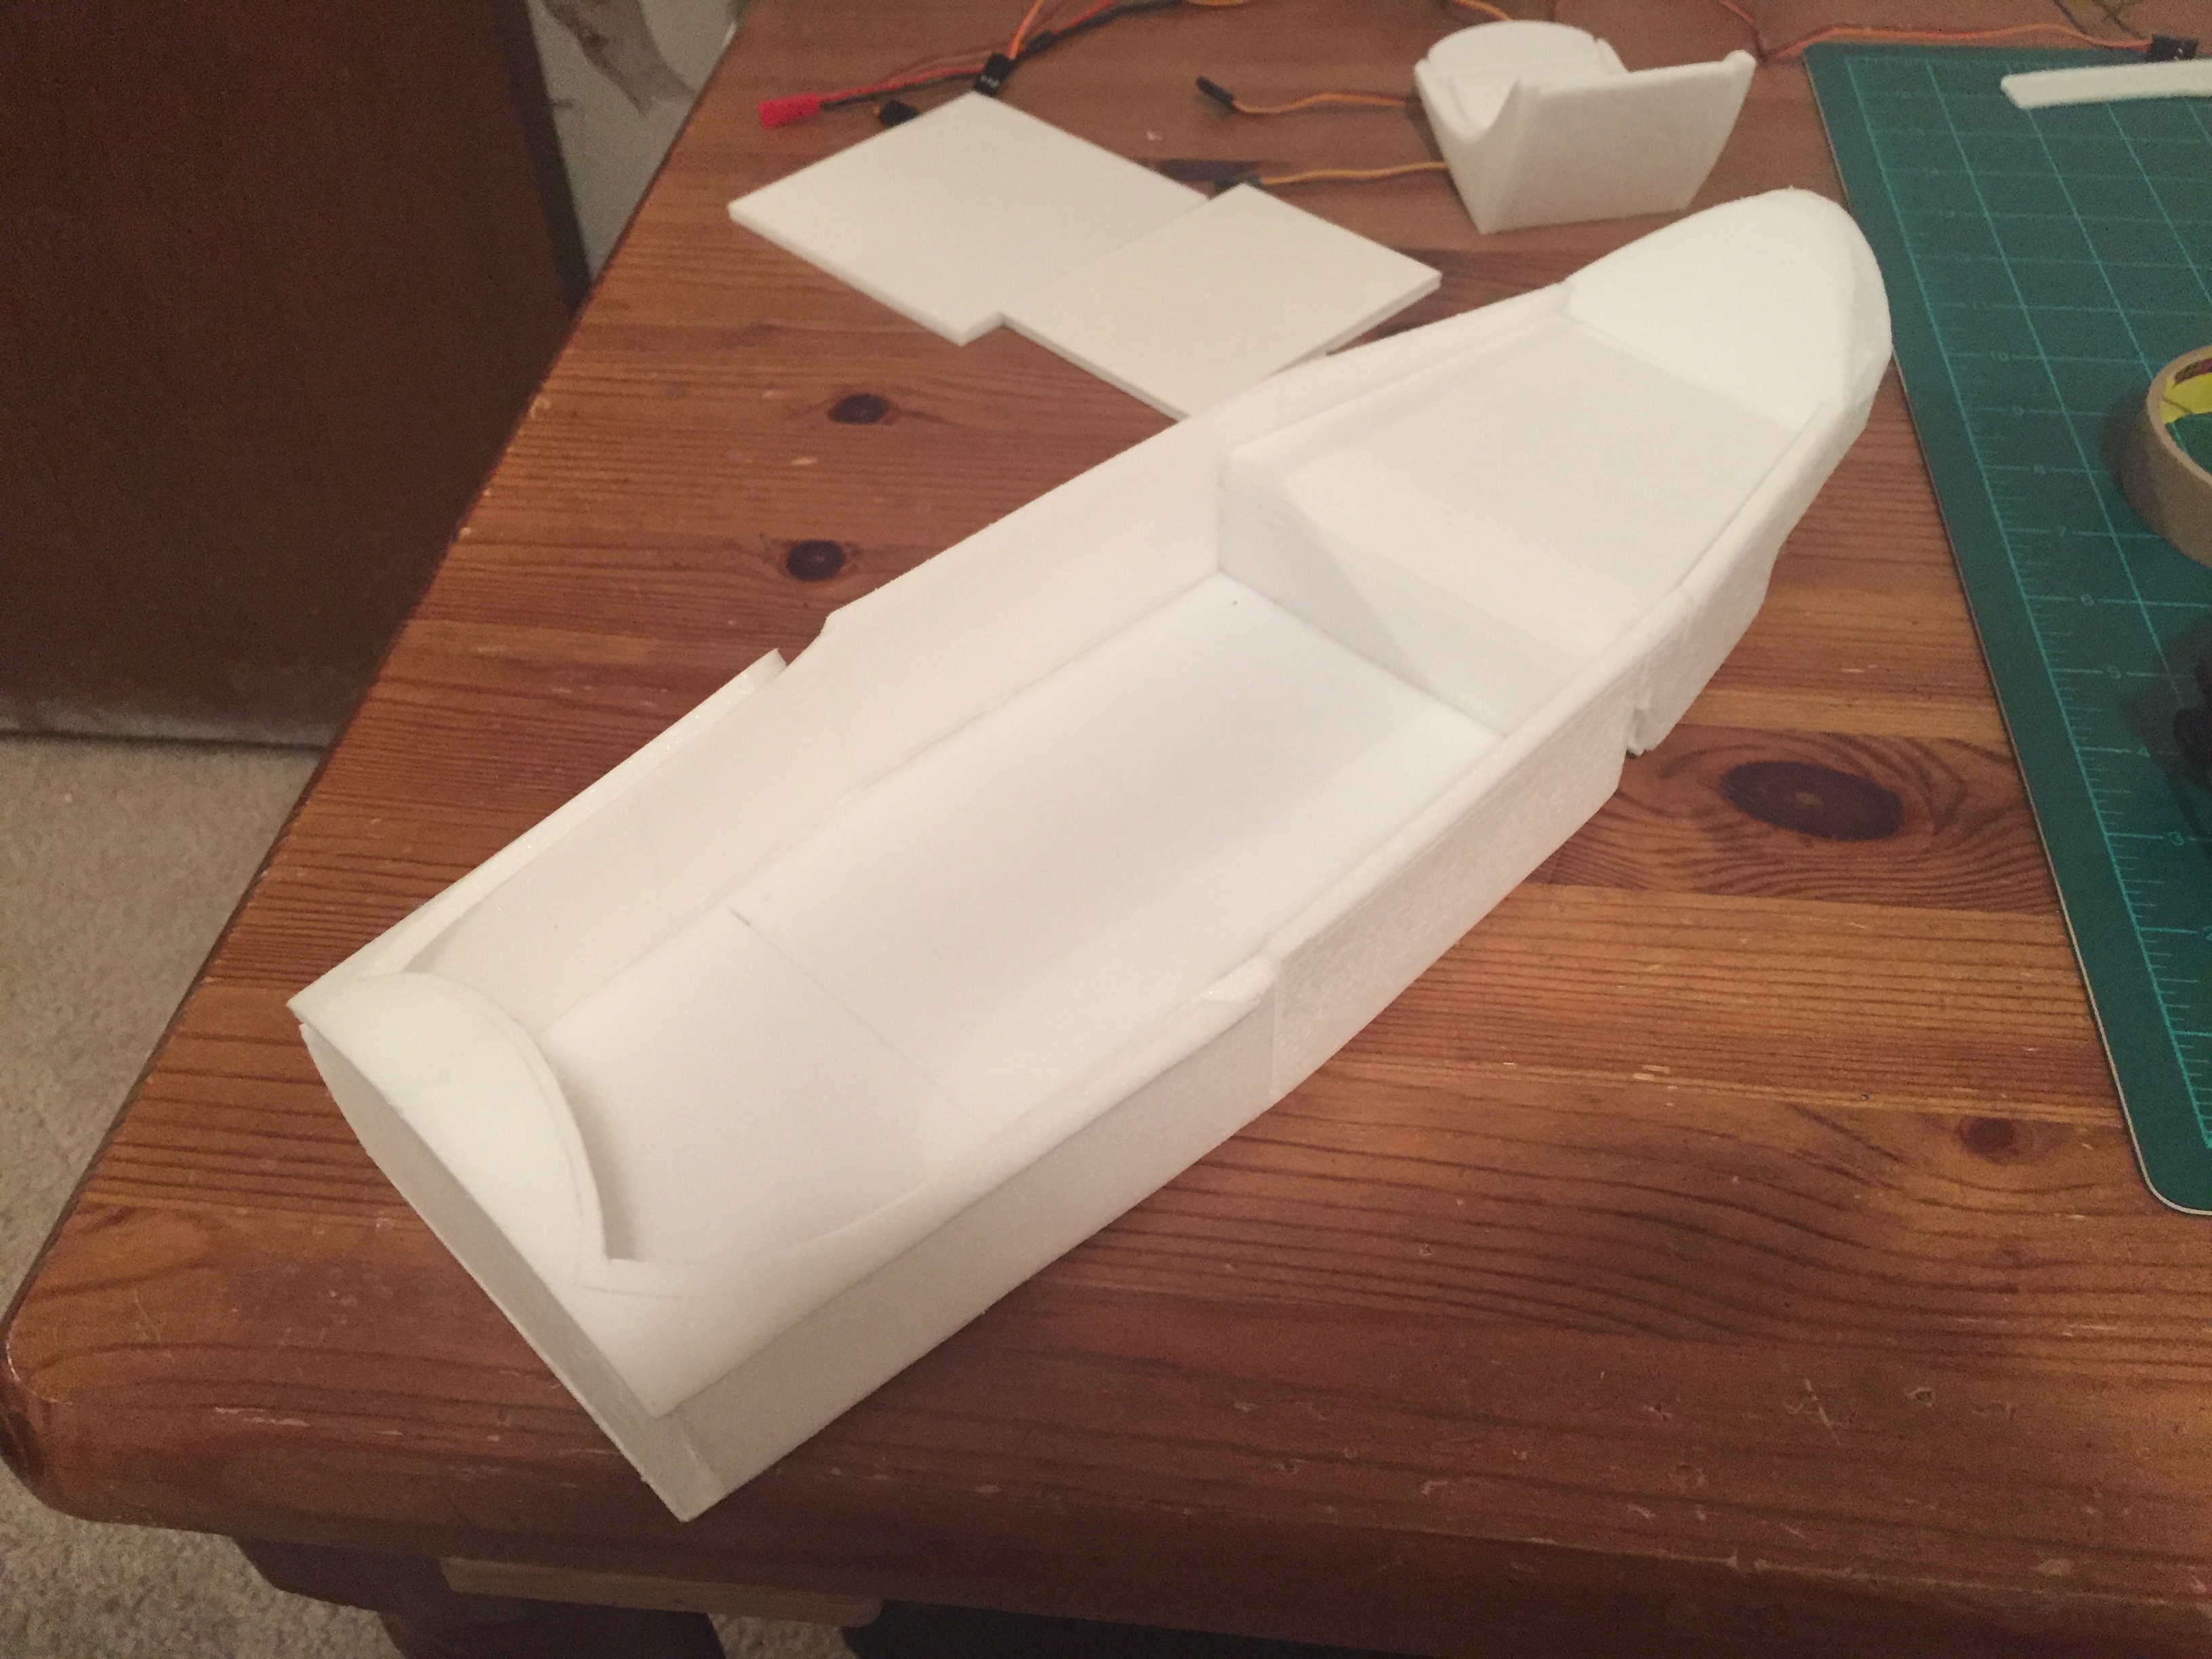
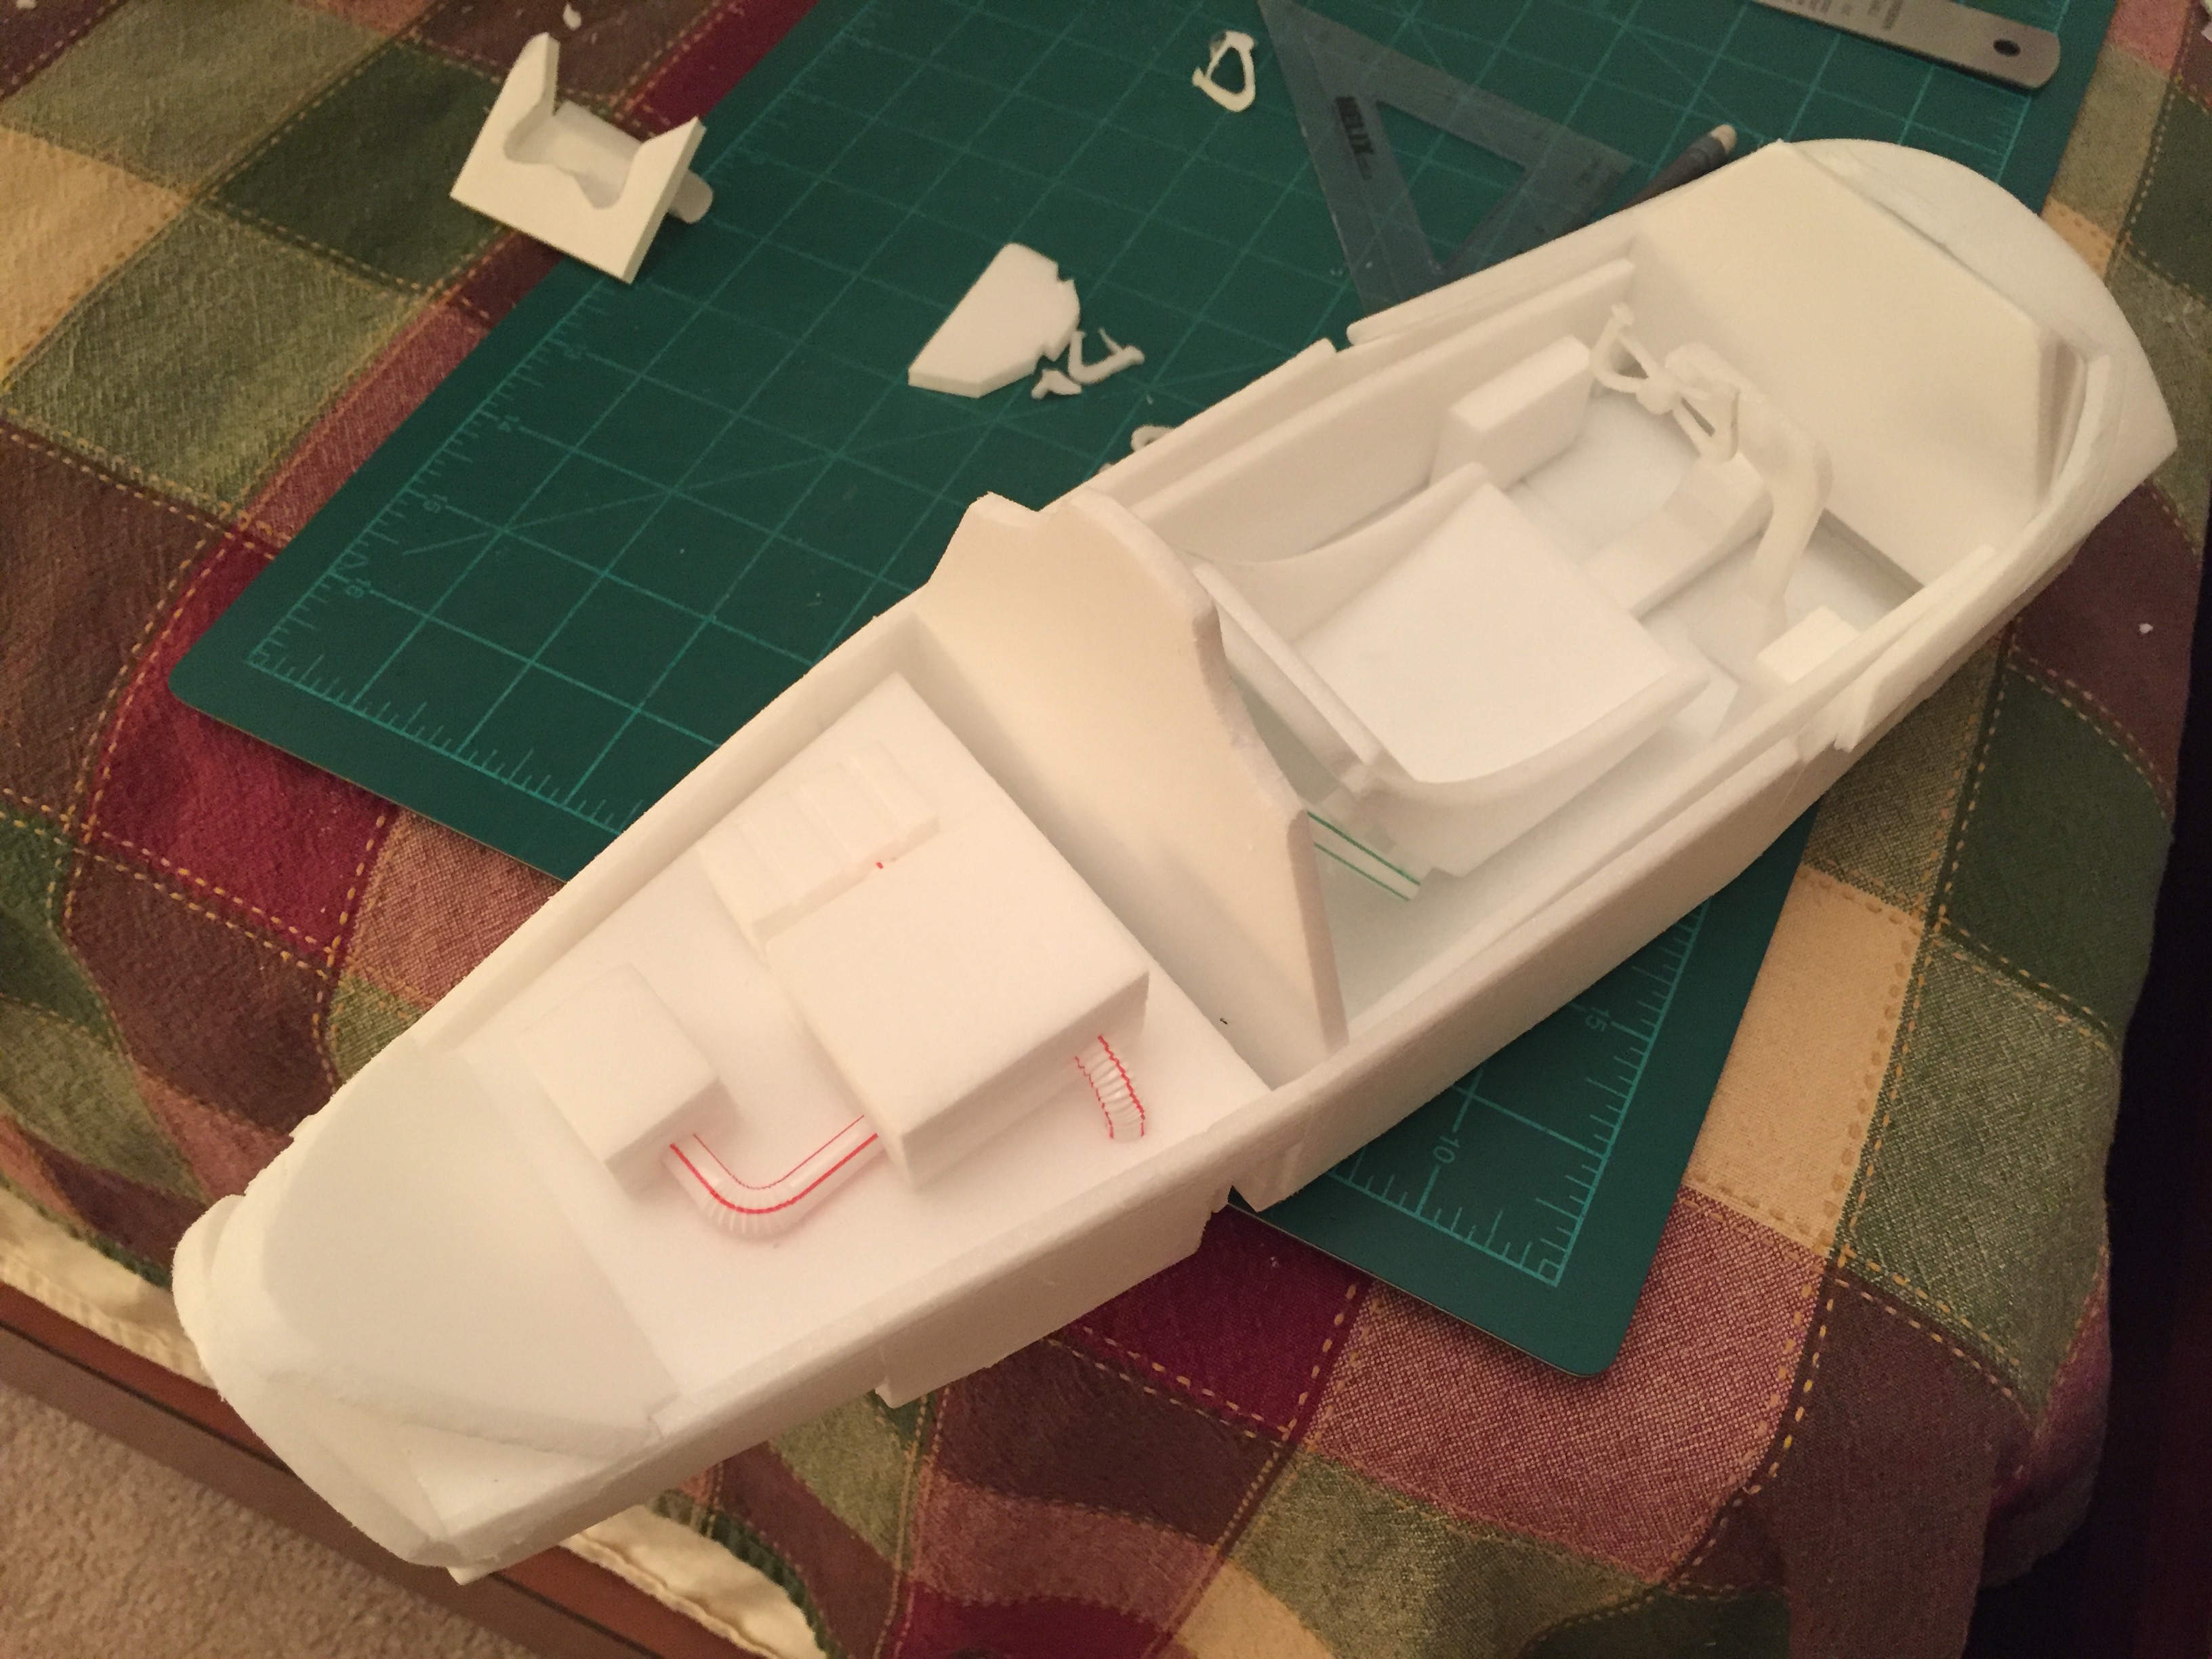
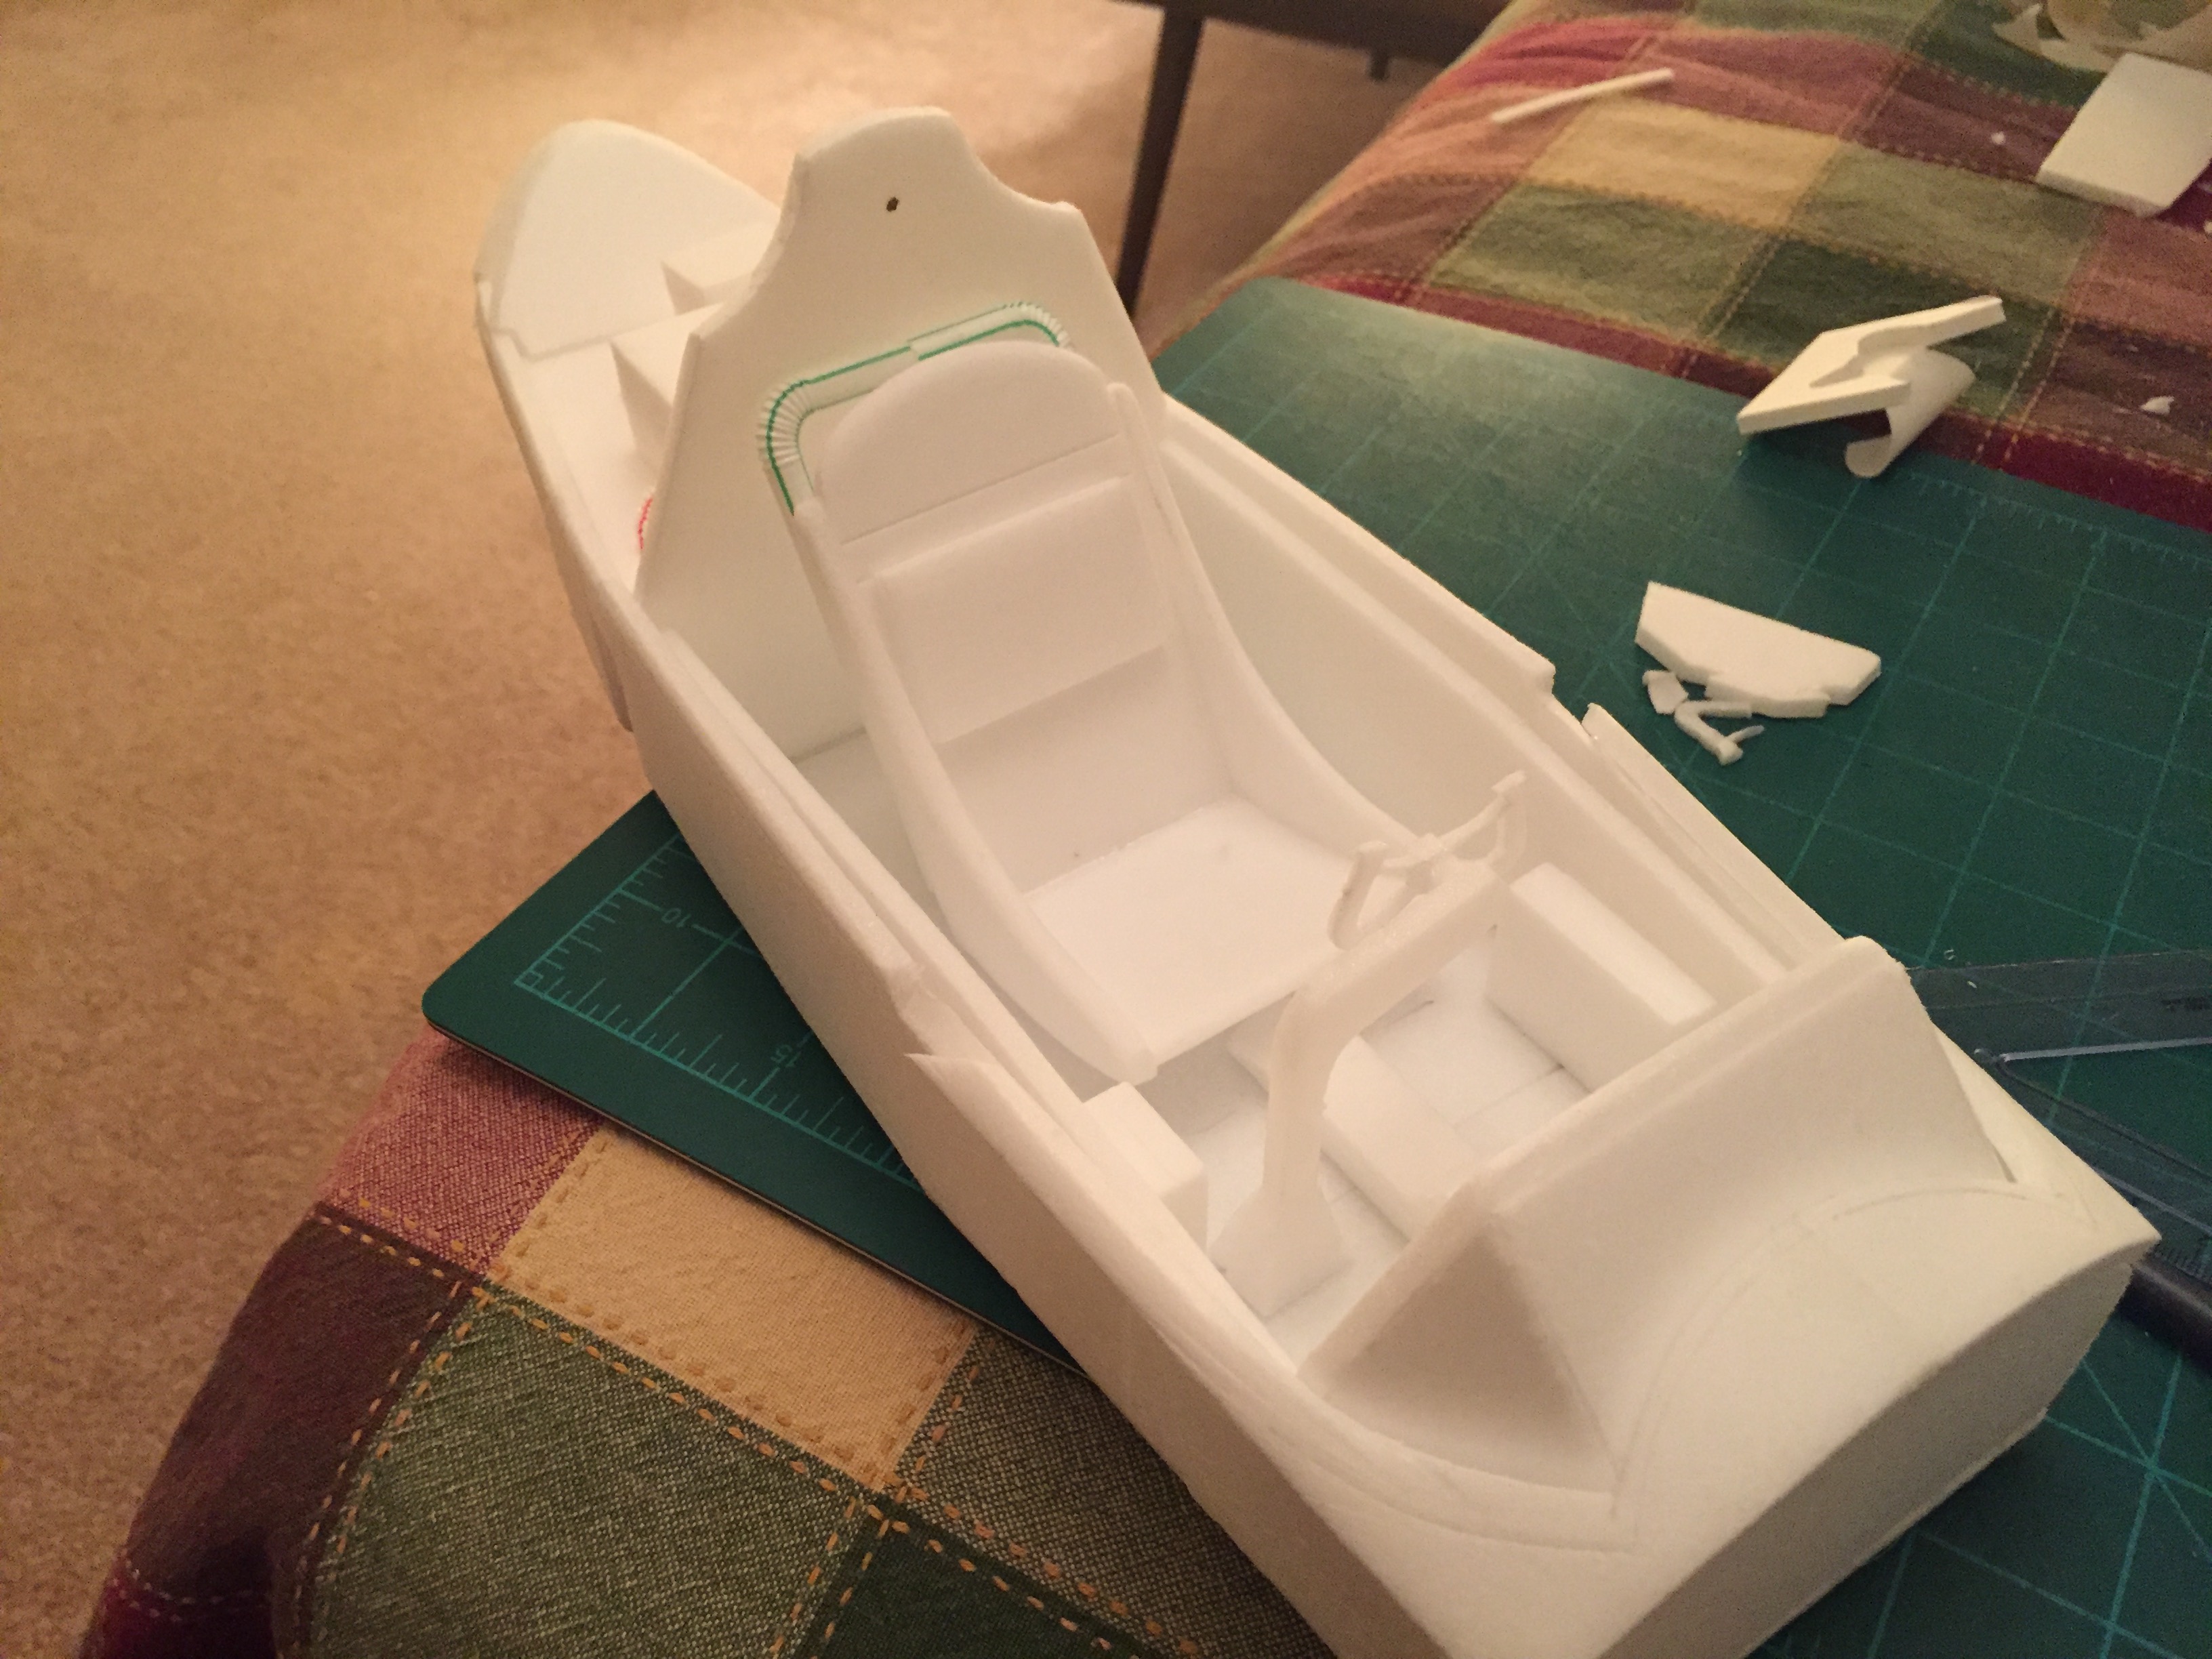
Started work on the cockpit interior, I have the basic frame of it and the seat made at the moment. Worried about the main wing spar running into it, but that ended up being under the raised rear section so that worked out well. Still need the control panel, some rudder pedals and a yoke....not going to do much more than that, want to keep this somewhat simple, just nice looking from 20ft away.

IMG_7731.JPG
IMG_7732.JPG
IMG_7734.JPG
IMG_7733.JPG
IMG_7751.JPG
IMG_7753.JPG
IMG_7753.JPG
IMG_7755.JPG
IMG_7781.JPG
IMG_7794.JPG
IMG_7820.JPG
IMG_7823.JPG
IMG_7823.JPG
IMG_7826.JPG
IMG_7828.JPG
IMG_7832.JPG
IMG_7837.JPG
IMG_7838.JPG
 

joker24458

Active member
Have you decided on colors yet? Paint can't be that far off :)

Every time I think I'm somewhat close to painting there's another ten steps in the way. :D

All jokes aside...yes, I will be painting it in the colors of Thomas McGuire's Pudgy V. Pictures of scheme on first page of thread. Second highest scoring American ace of WW2 with 38 kills and a mysterious death....perfect combination for an interesting scheme. :D Paint is not *too* far away, I'm guessing within the next month I should be ready to paint. Maybe within the next couple weeks depending on how much work I get done over Thanksgiving break. Either way I'm expecting to finish it before New Years and start another project (1/3 scale DVII anyone?) and try to get it done before NEF again in the spring.
 

joker24458

Active member
Merry Christmas to everyone, hope you guys had a great time and got some new RC stuff to play around with. :p

Let me catch you guys up with what I've been doing on the Lightning. First off I've had very limited time, just had exams less than a week ago and got a Tinywhoop a few weeks ago which has kept me busy in my downtime. :rolleyes::D

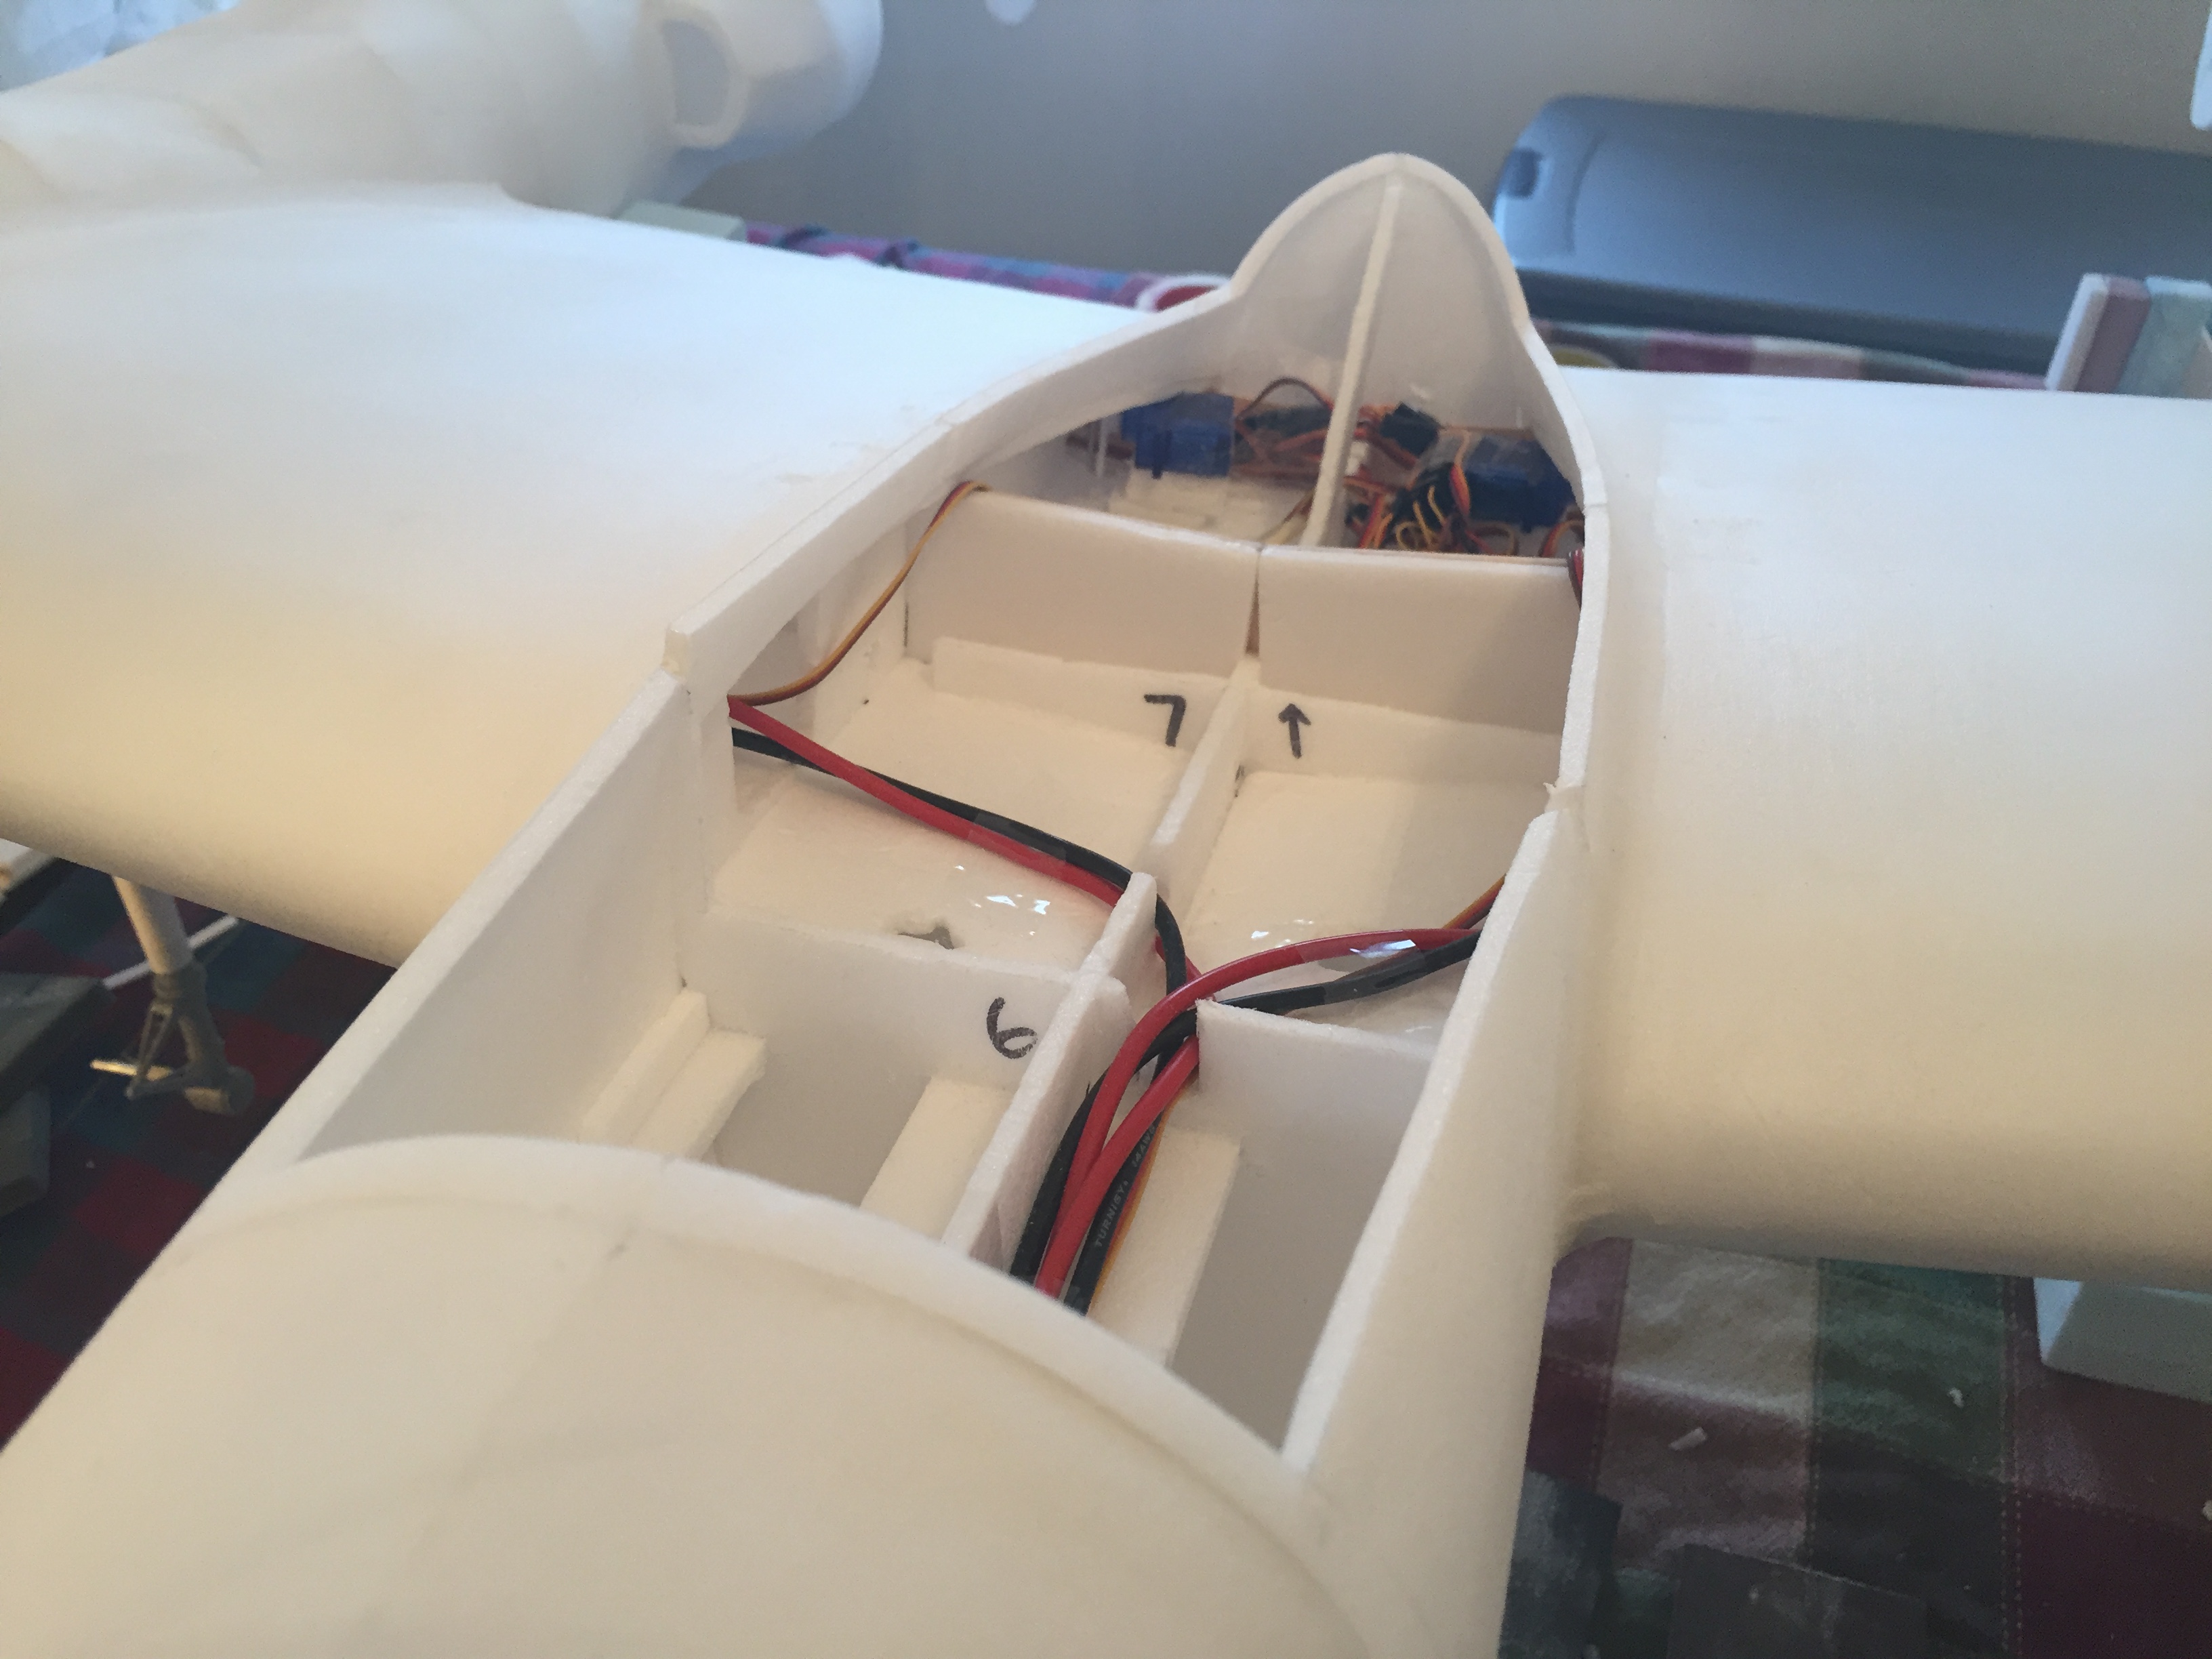
I finished up the cockpit....kind of. Got all the pieces cut but not glued in since I will be painting everything beforehand; I figured that would make it easier. Same with the canopy which will go on after finishing up the cockpit.

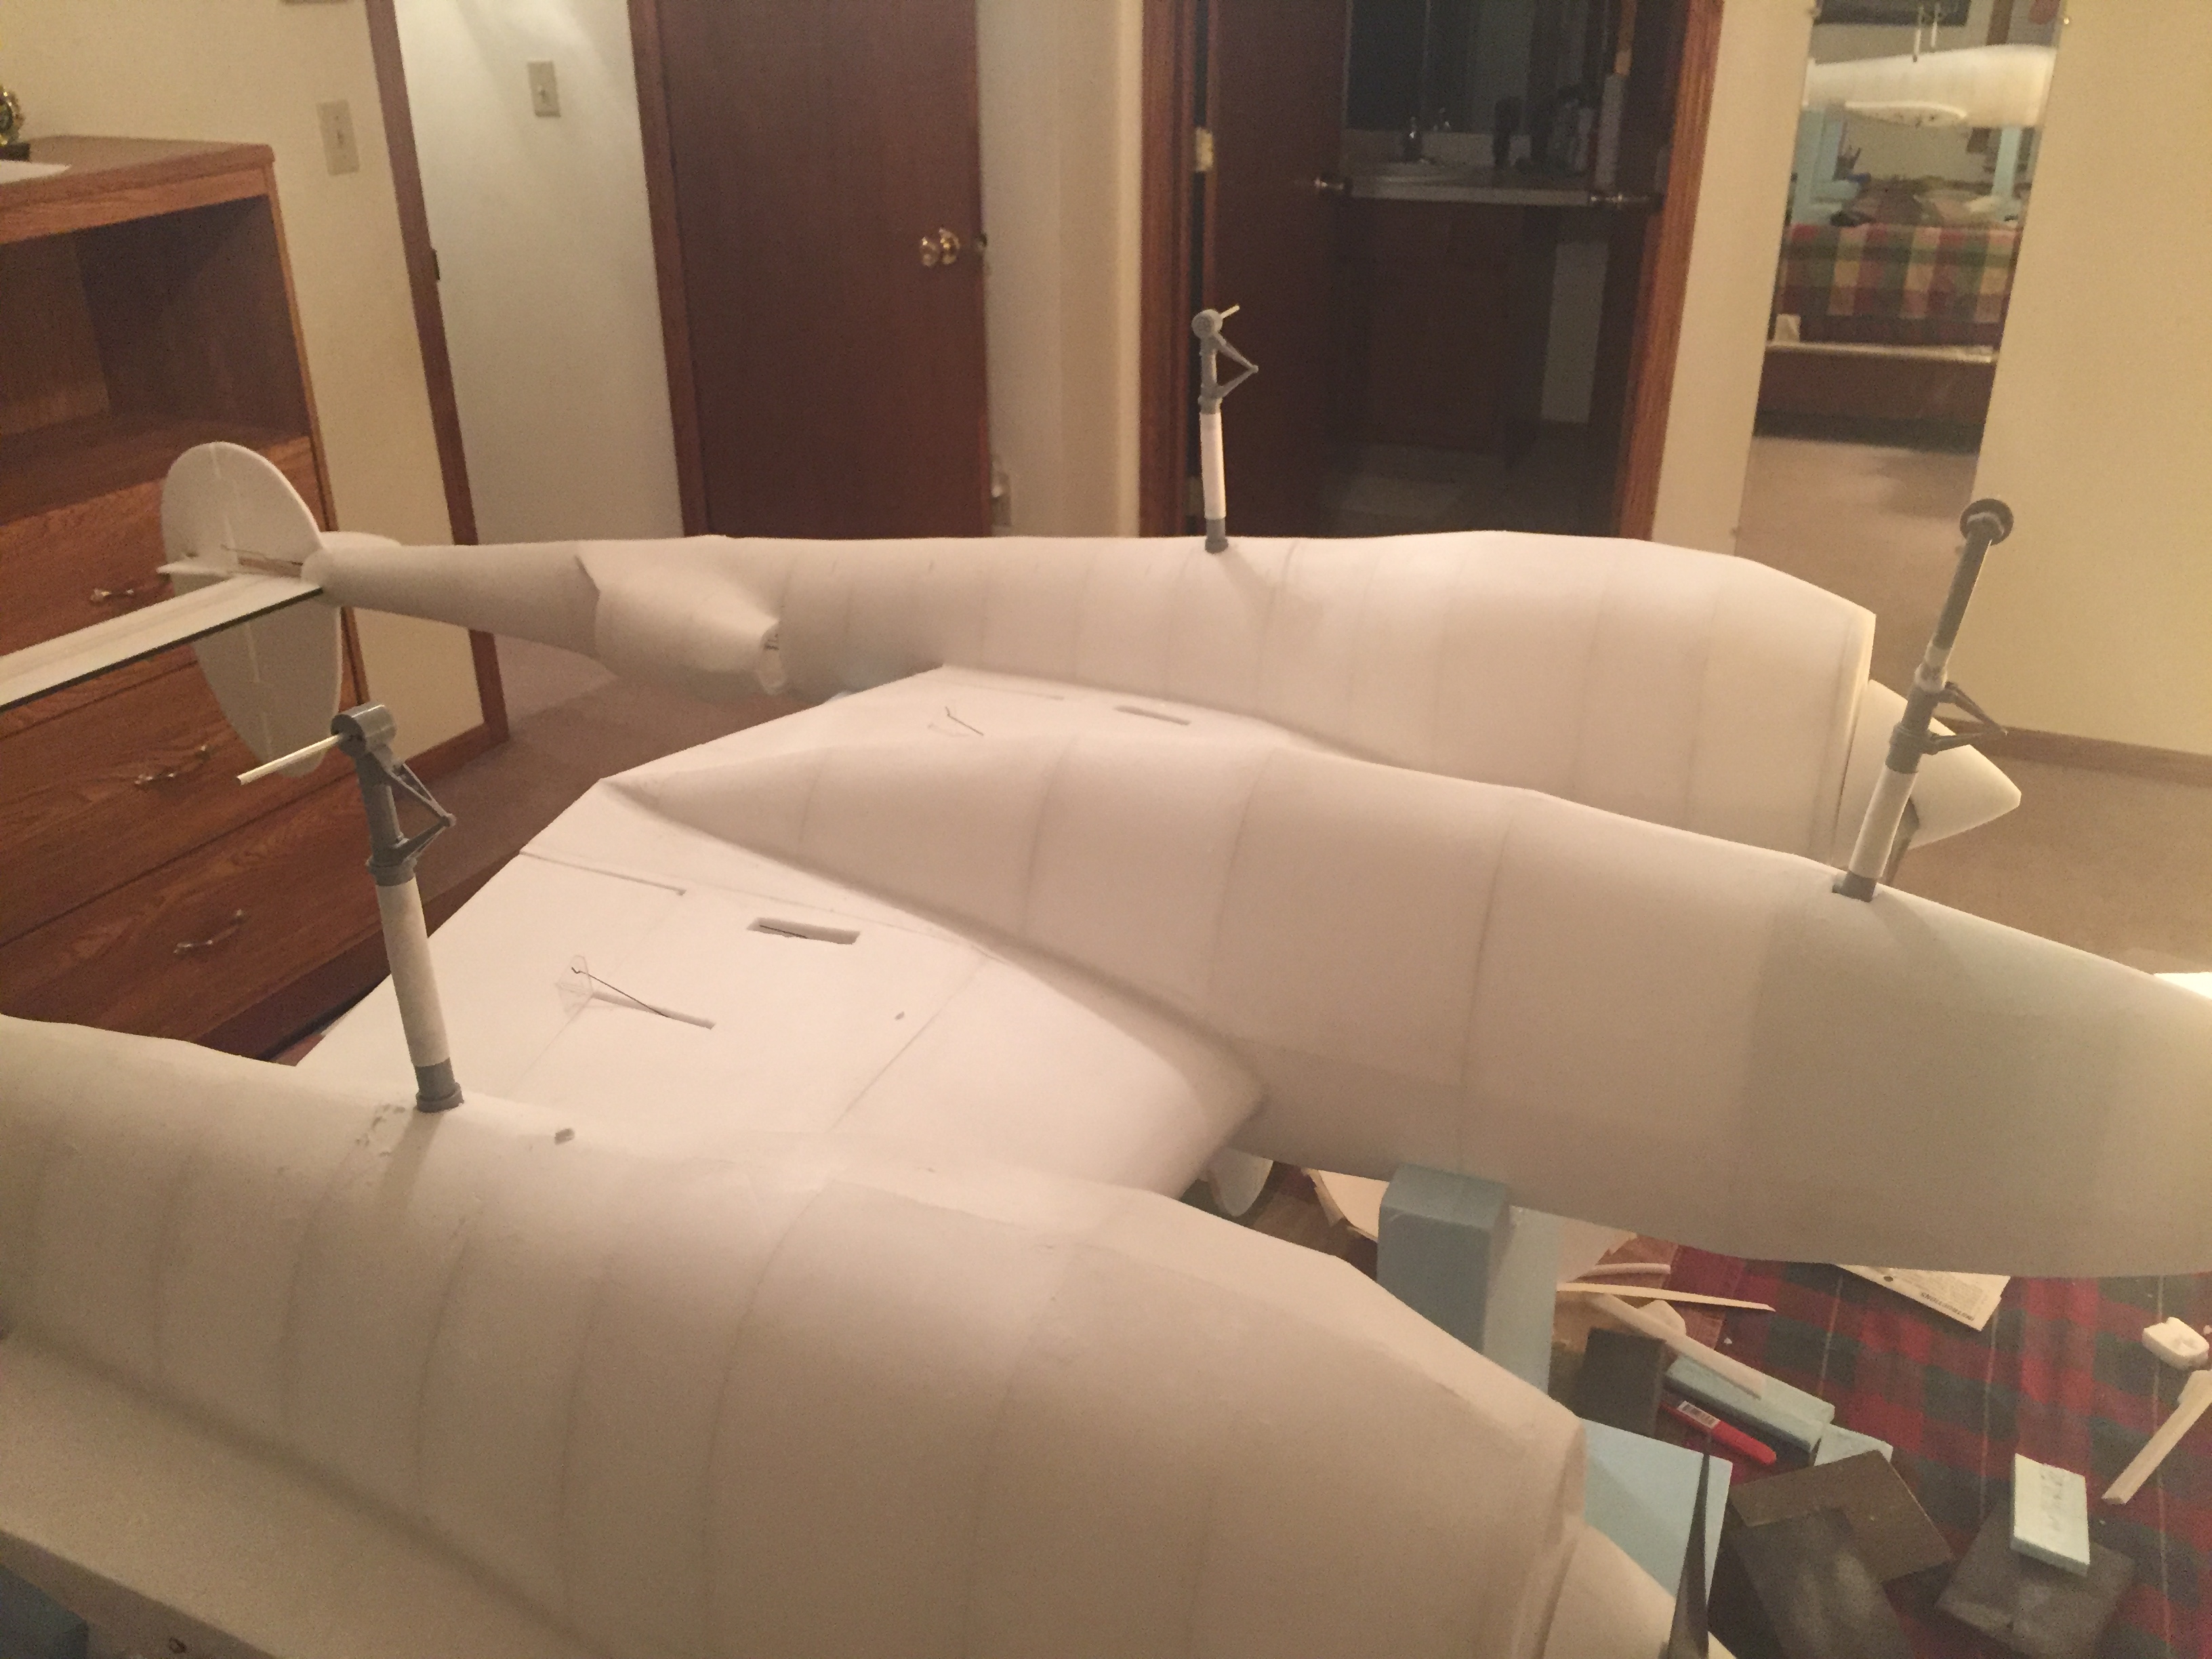
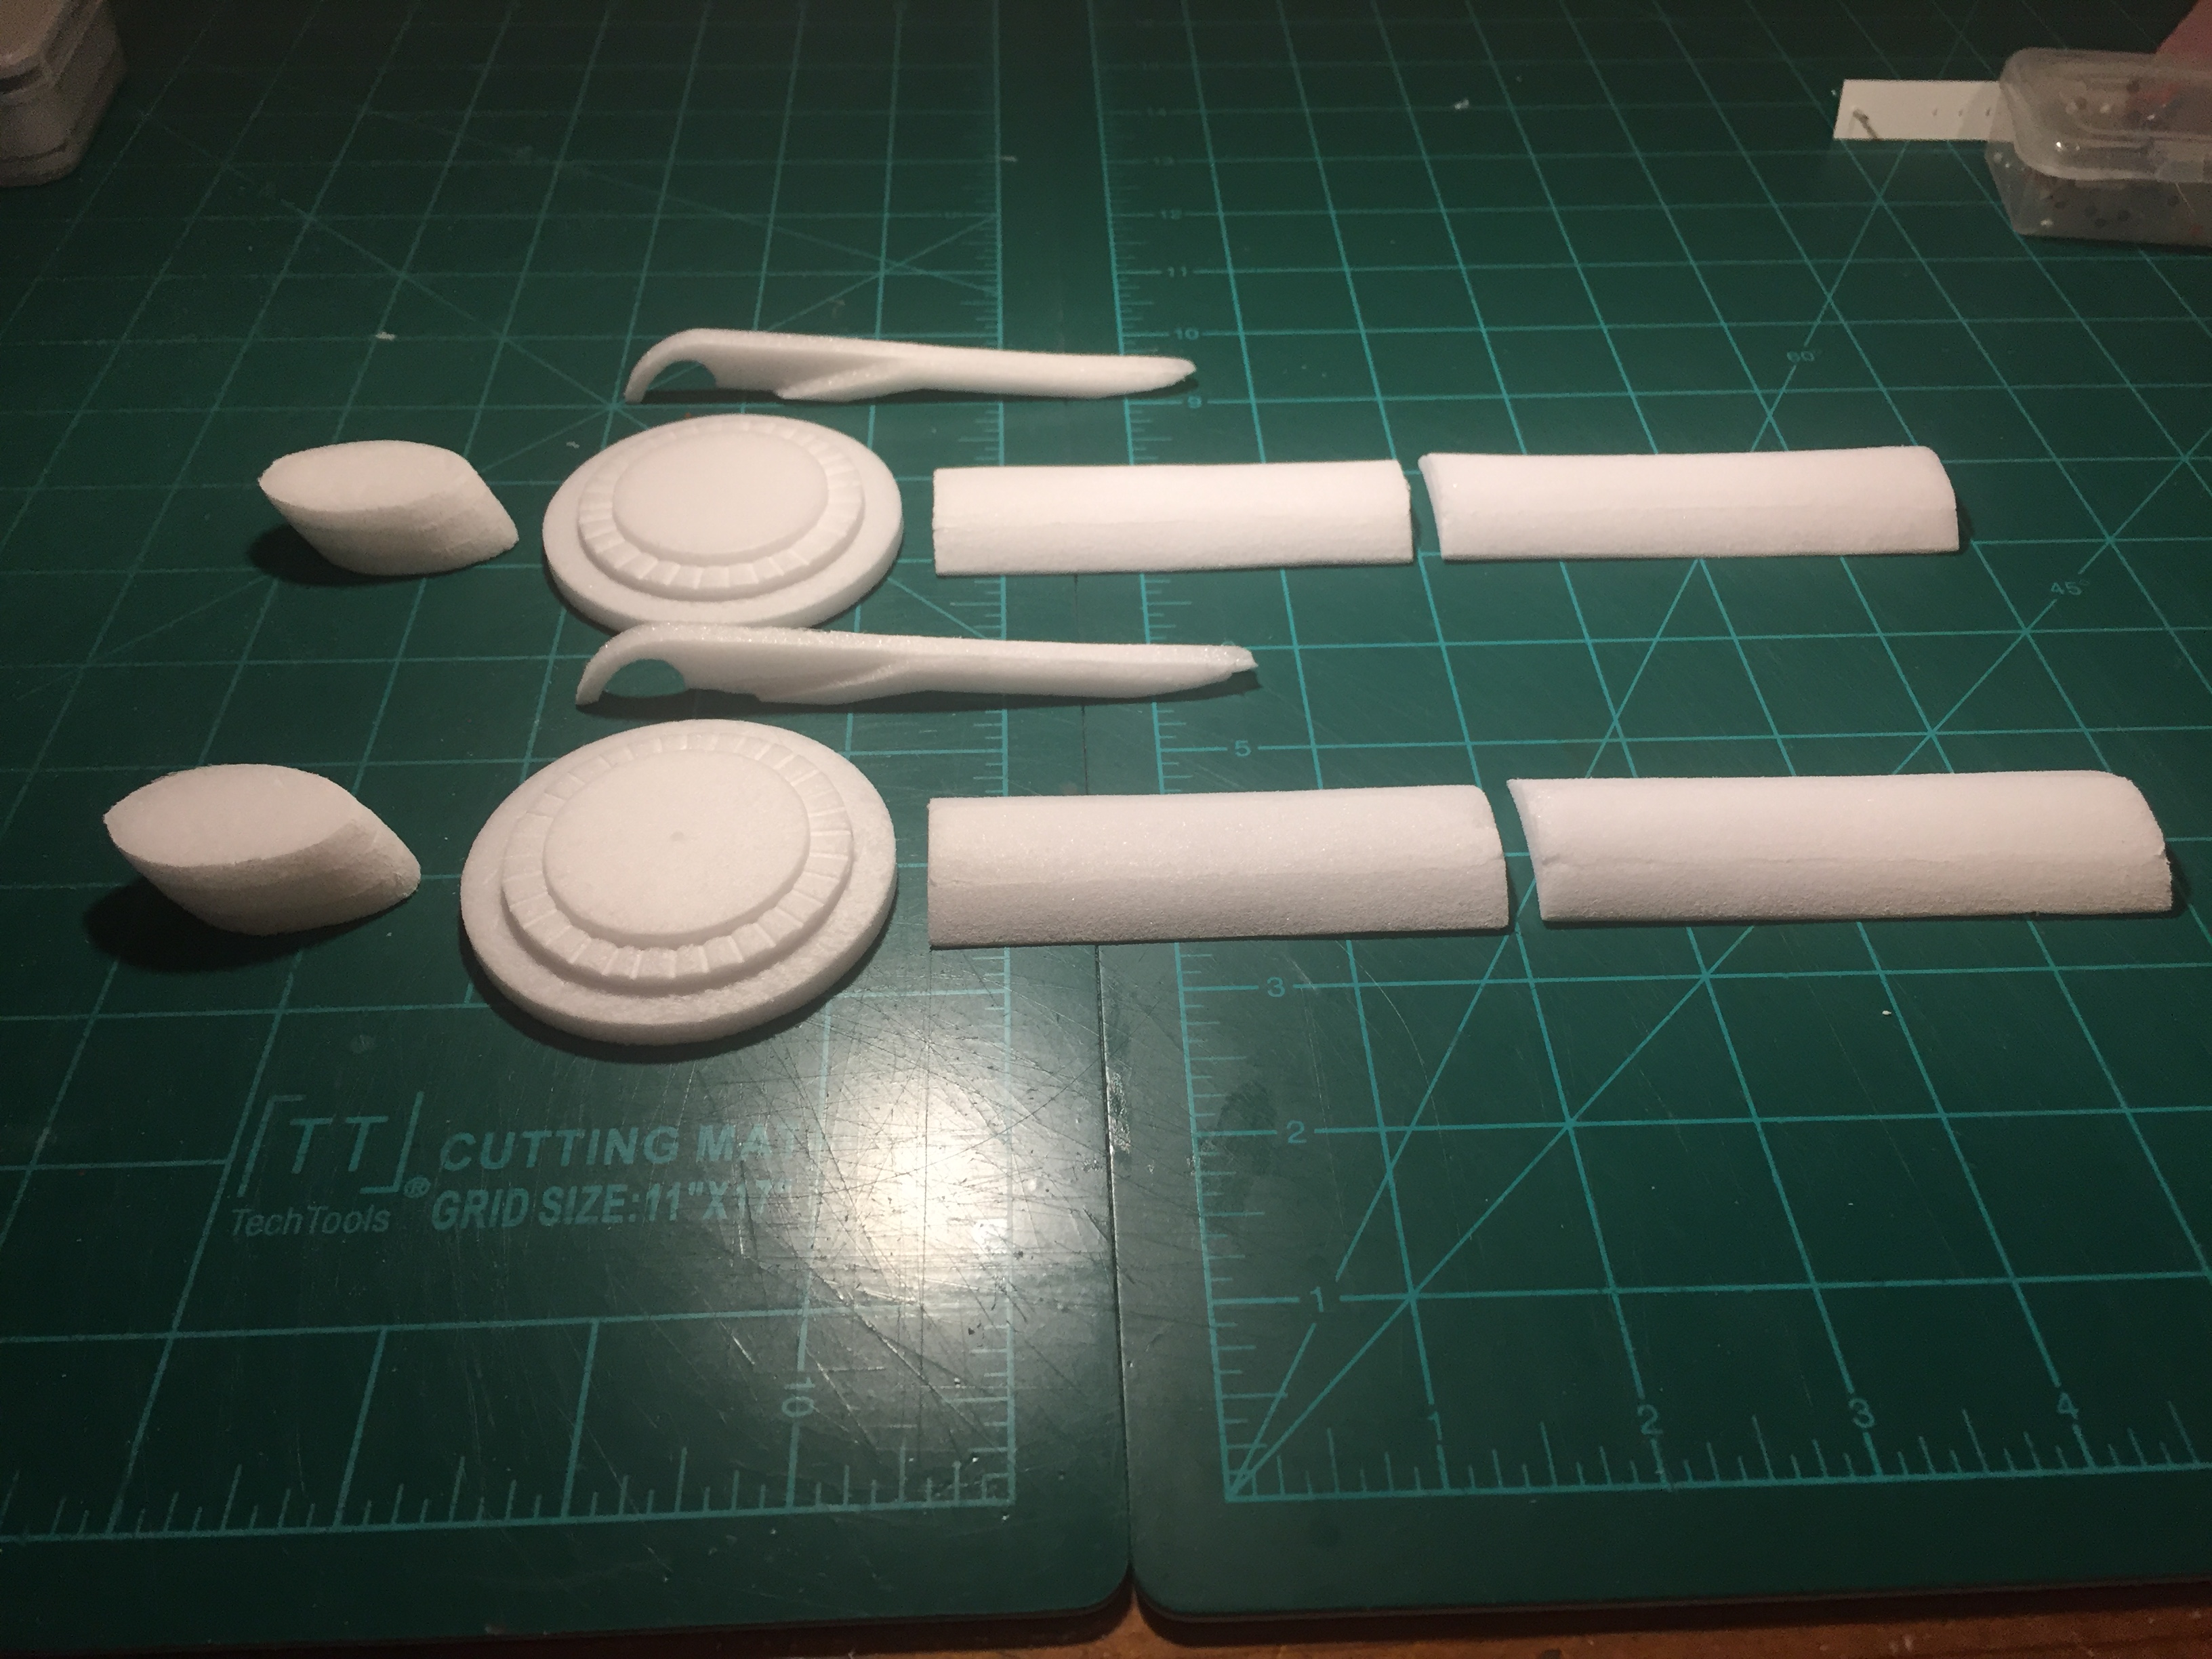
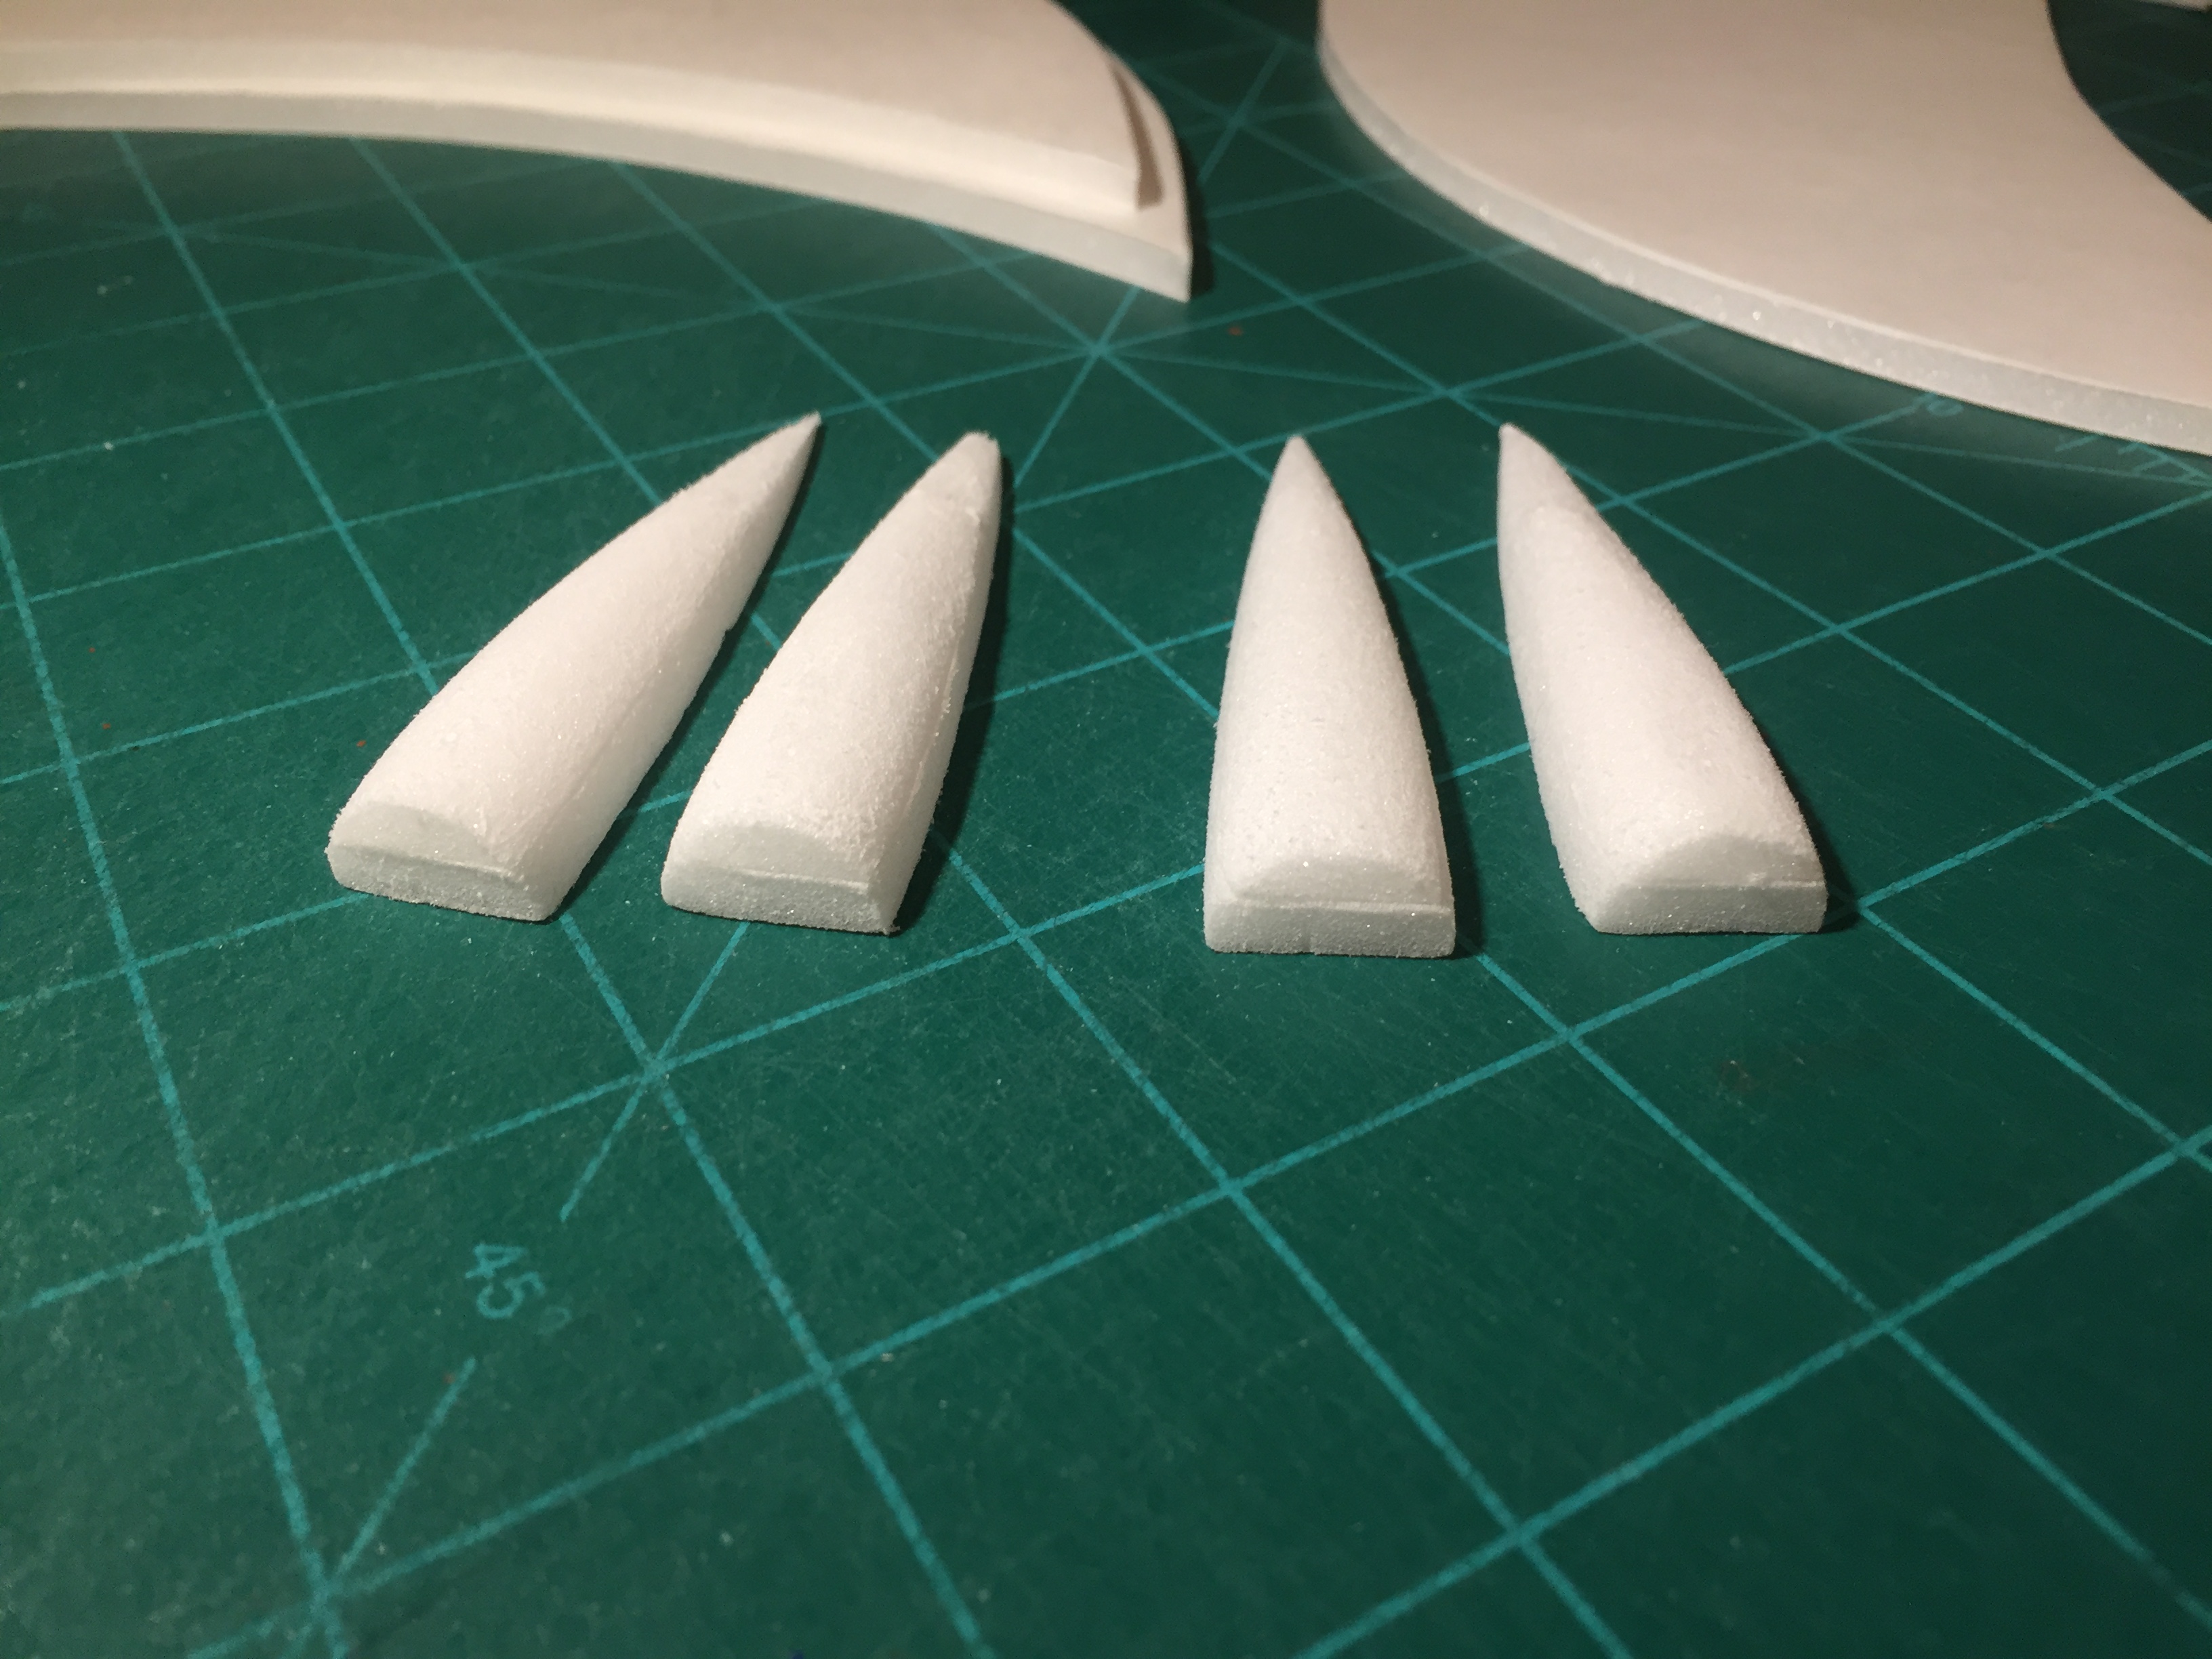
Decided to make some little mock up turobo superchargers like the ones on the real thing. Now, I'd say that they are definitely not that scale, but close enough to pass by without close inspection haha. Didn't want to complicate it too much so I did it as simple as possible while still getting a semi-scale look, which is what I'm after. Did more sanding/sparkling/more sanding...spackled the wing root flush, there was a noticeable gap before. Really didn't do much more as I was occupied with other things but thankfully there's not much left to do.

The Lightning is *very* close to completion. Next step is officially to paint it, which will happen tomorrow and maybe the day after if it takes that long. If you haven't seen the scheme I will be using, check out the first post in this thread. I can't wait to paint the thing, hopefully it comes out well!

IMG_7920.JPG
IMG_7922.JPG
IMG_8180.JPG
IMG_8183.JPG
IMG_8186.JPG
IMG_8387.JPG
IMG_8389.JPG
IMG_8392.JPG
IMG_8394.JPG
 

PsyBorg

Wake up! Time to fly!
Wow that extra detail is great. This raises your build to a new level and painting will do that yet again. Awesome job on this project.