
HilldaFlyer
Well-known member
Over the top awesome.



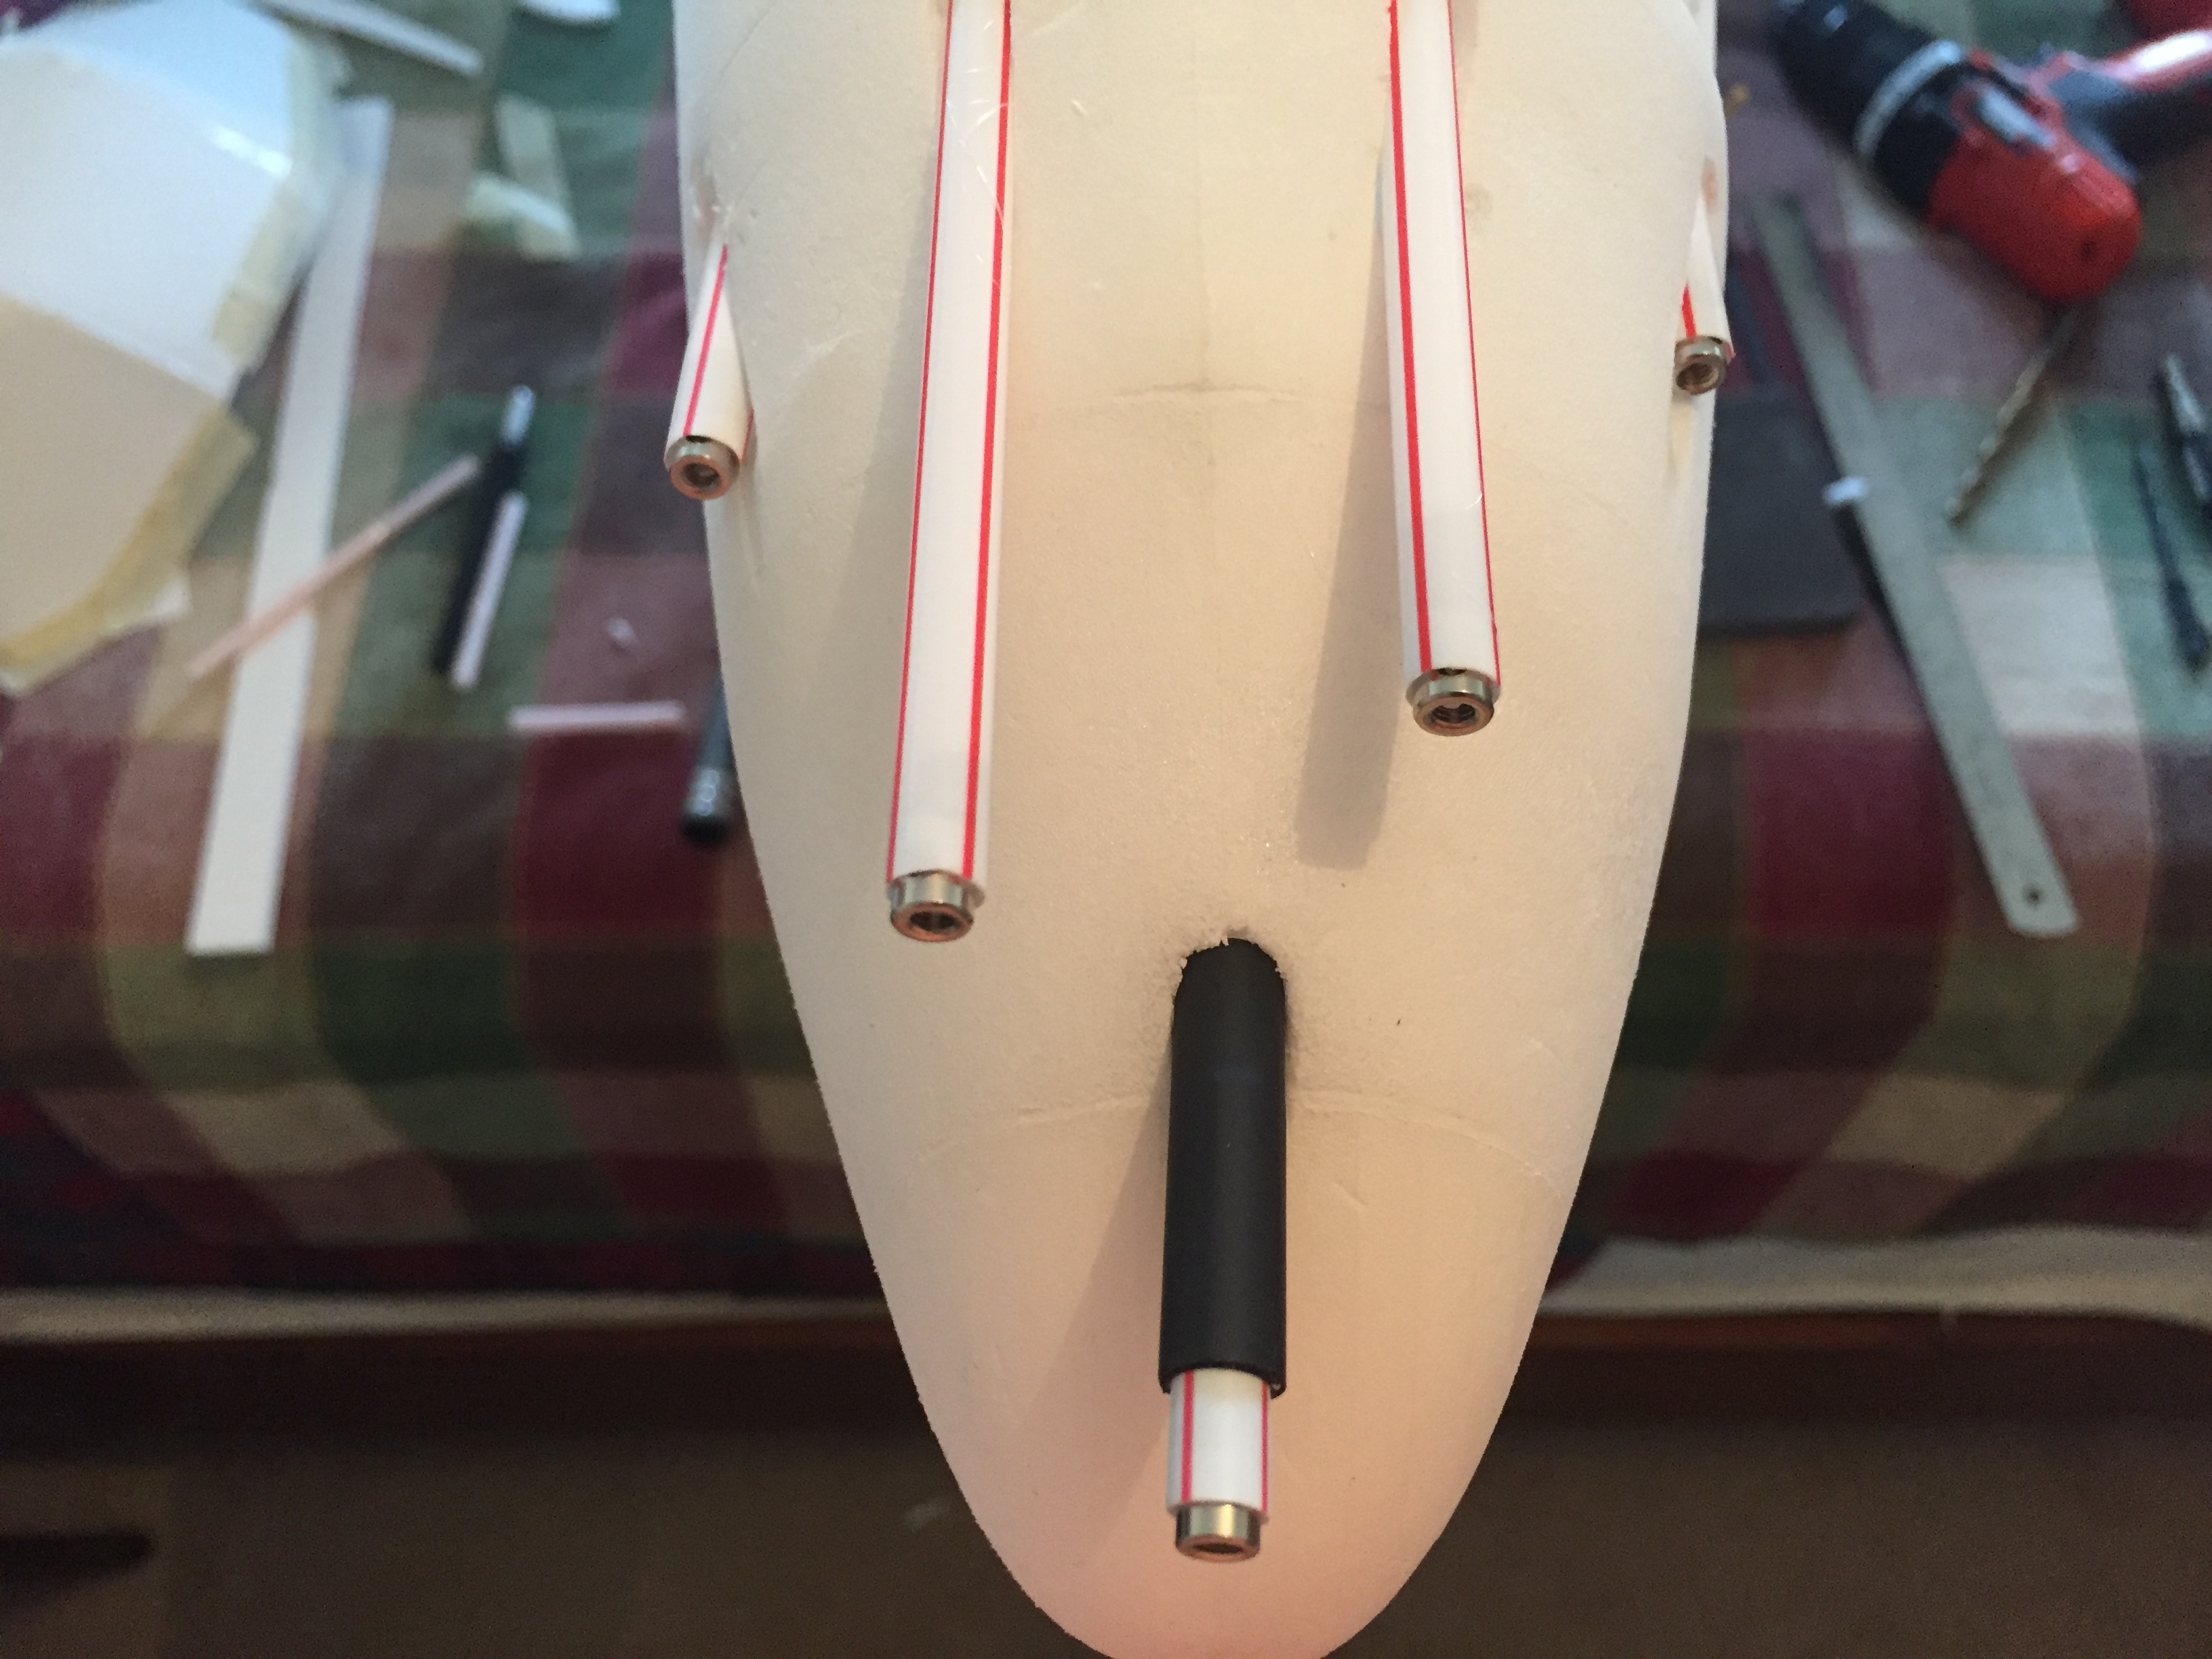
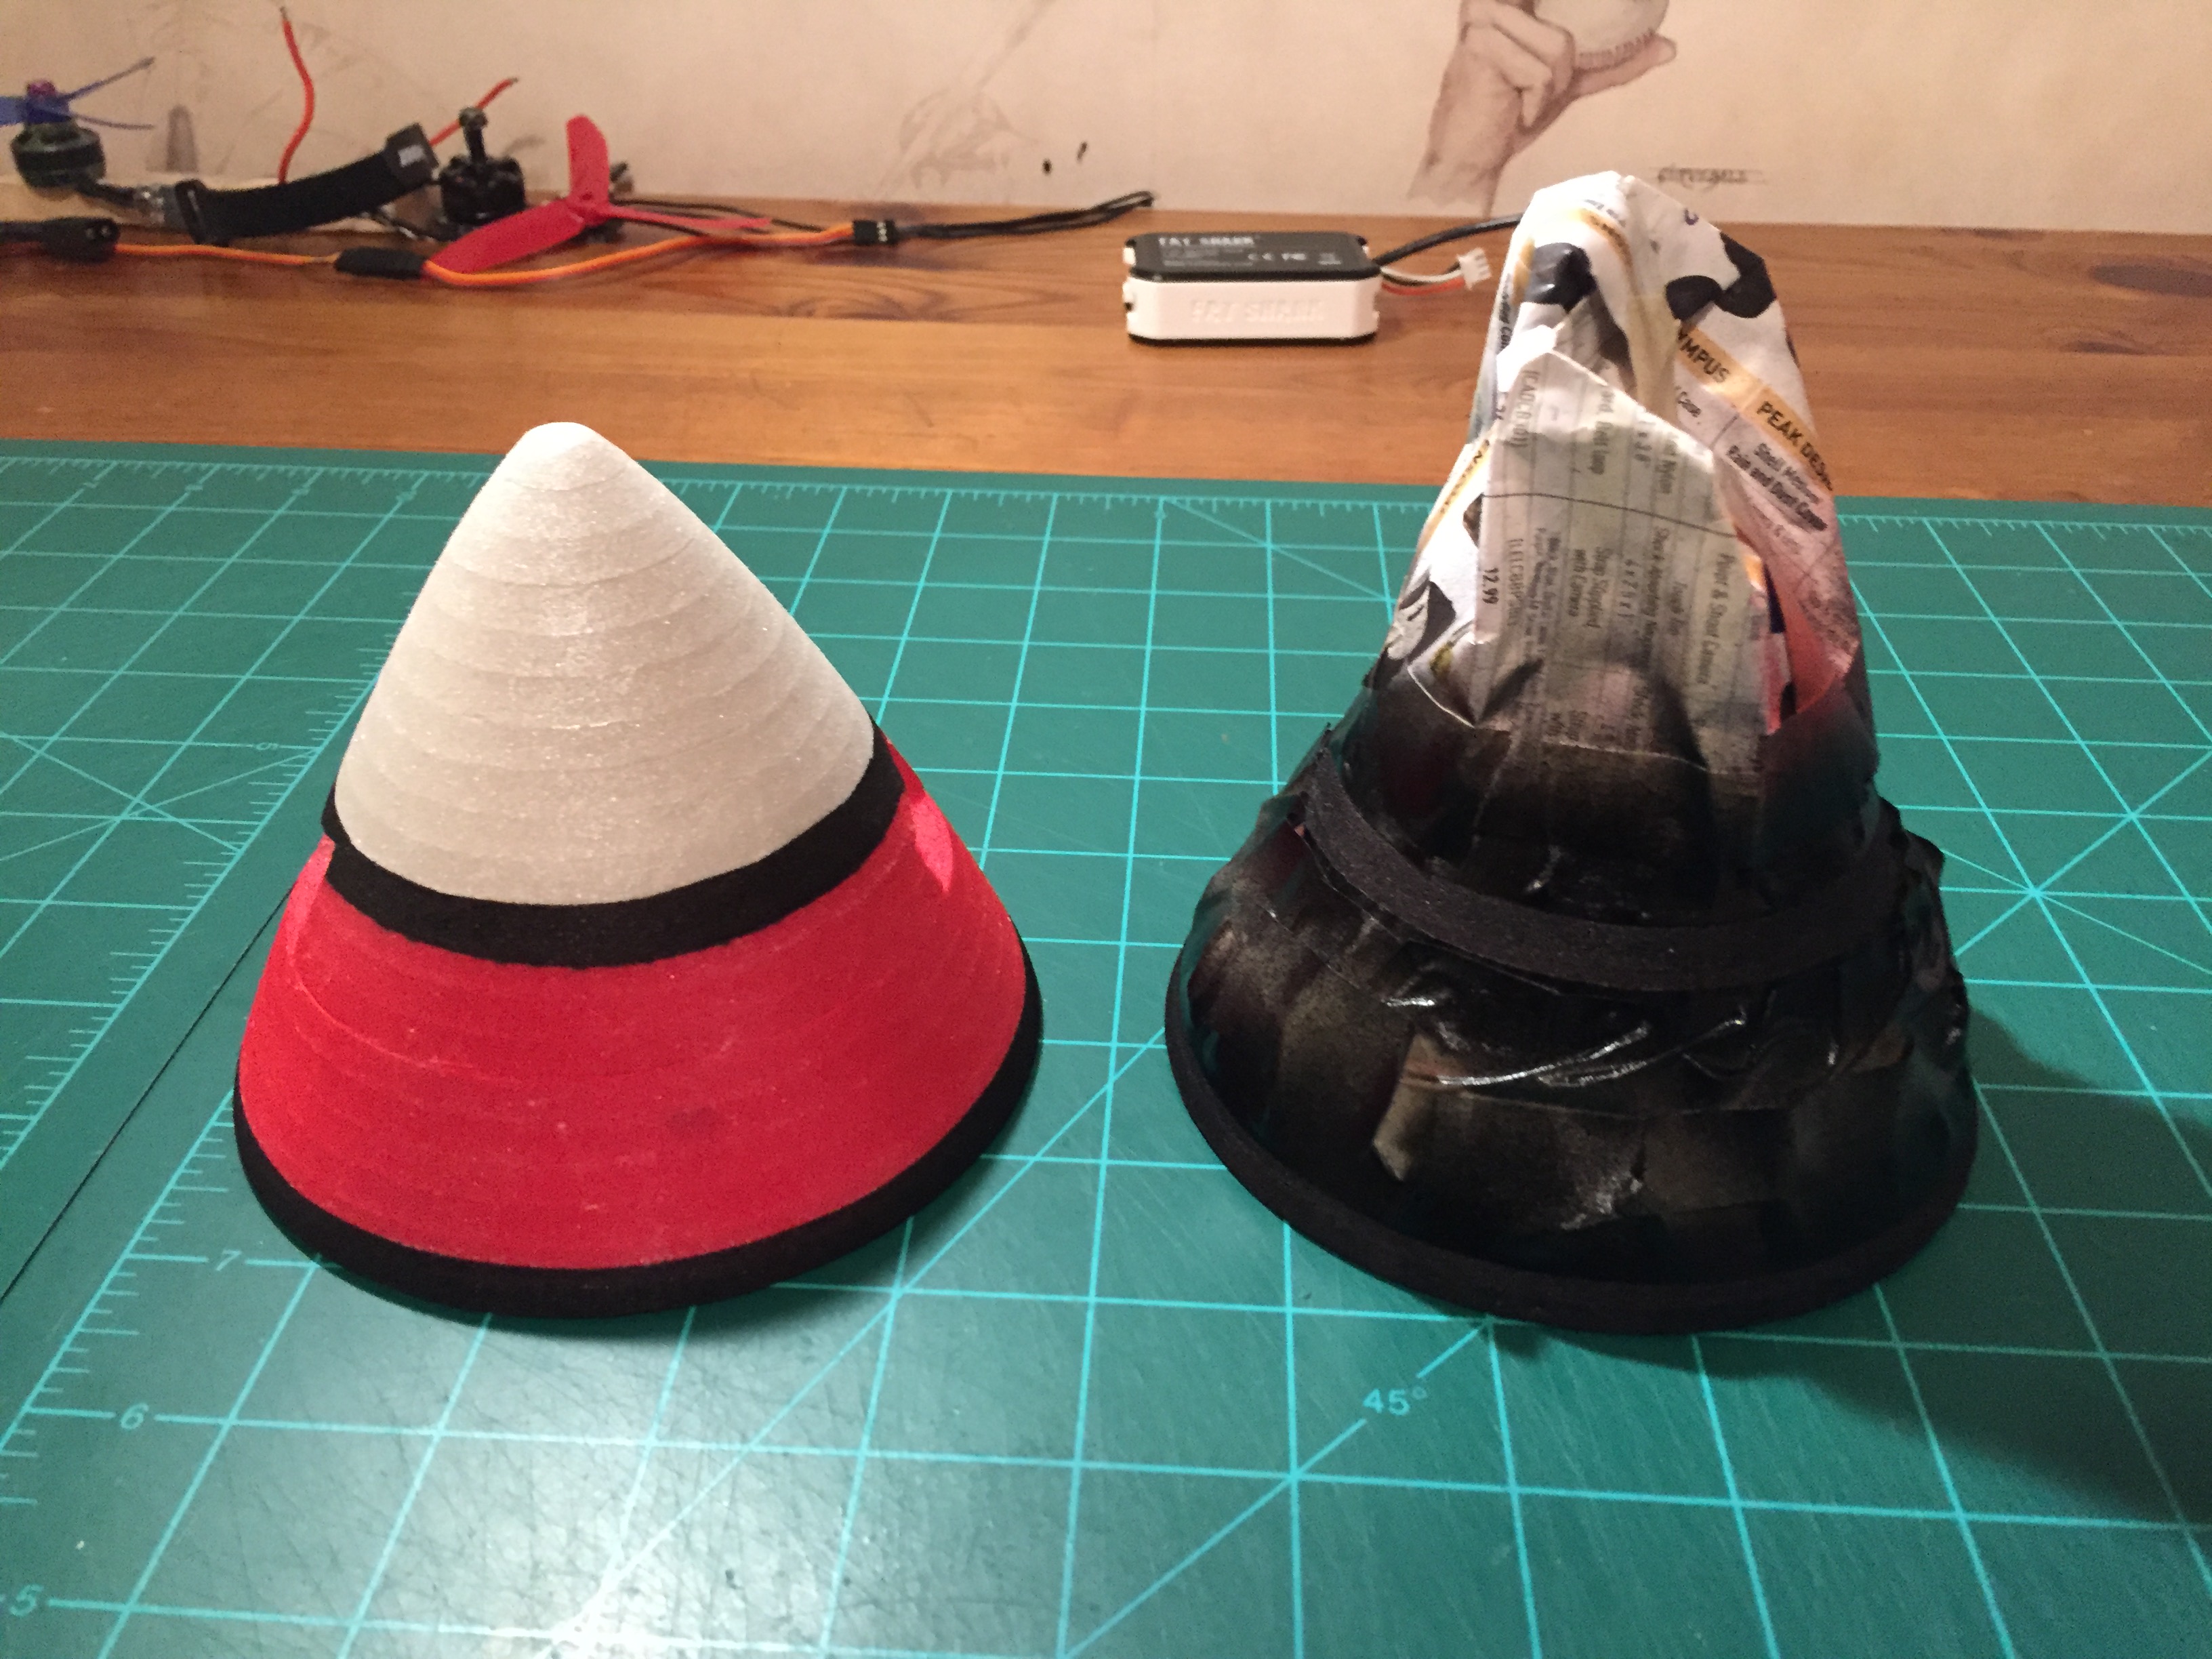
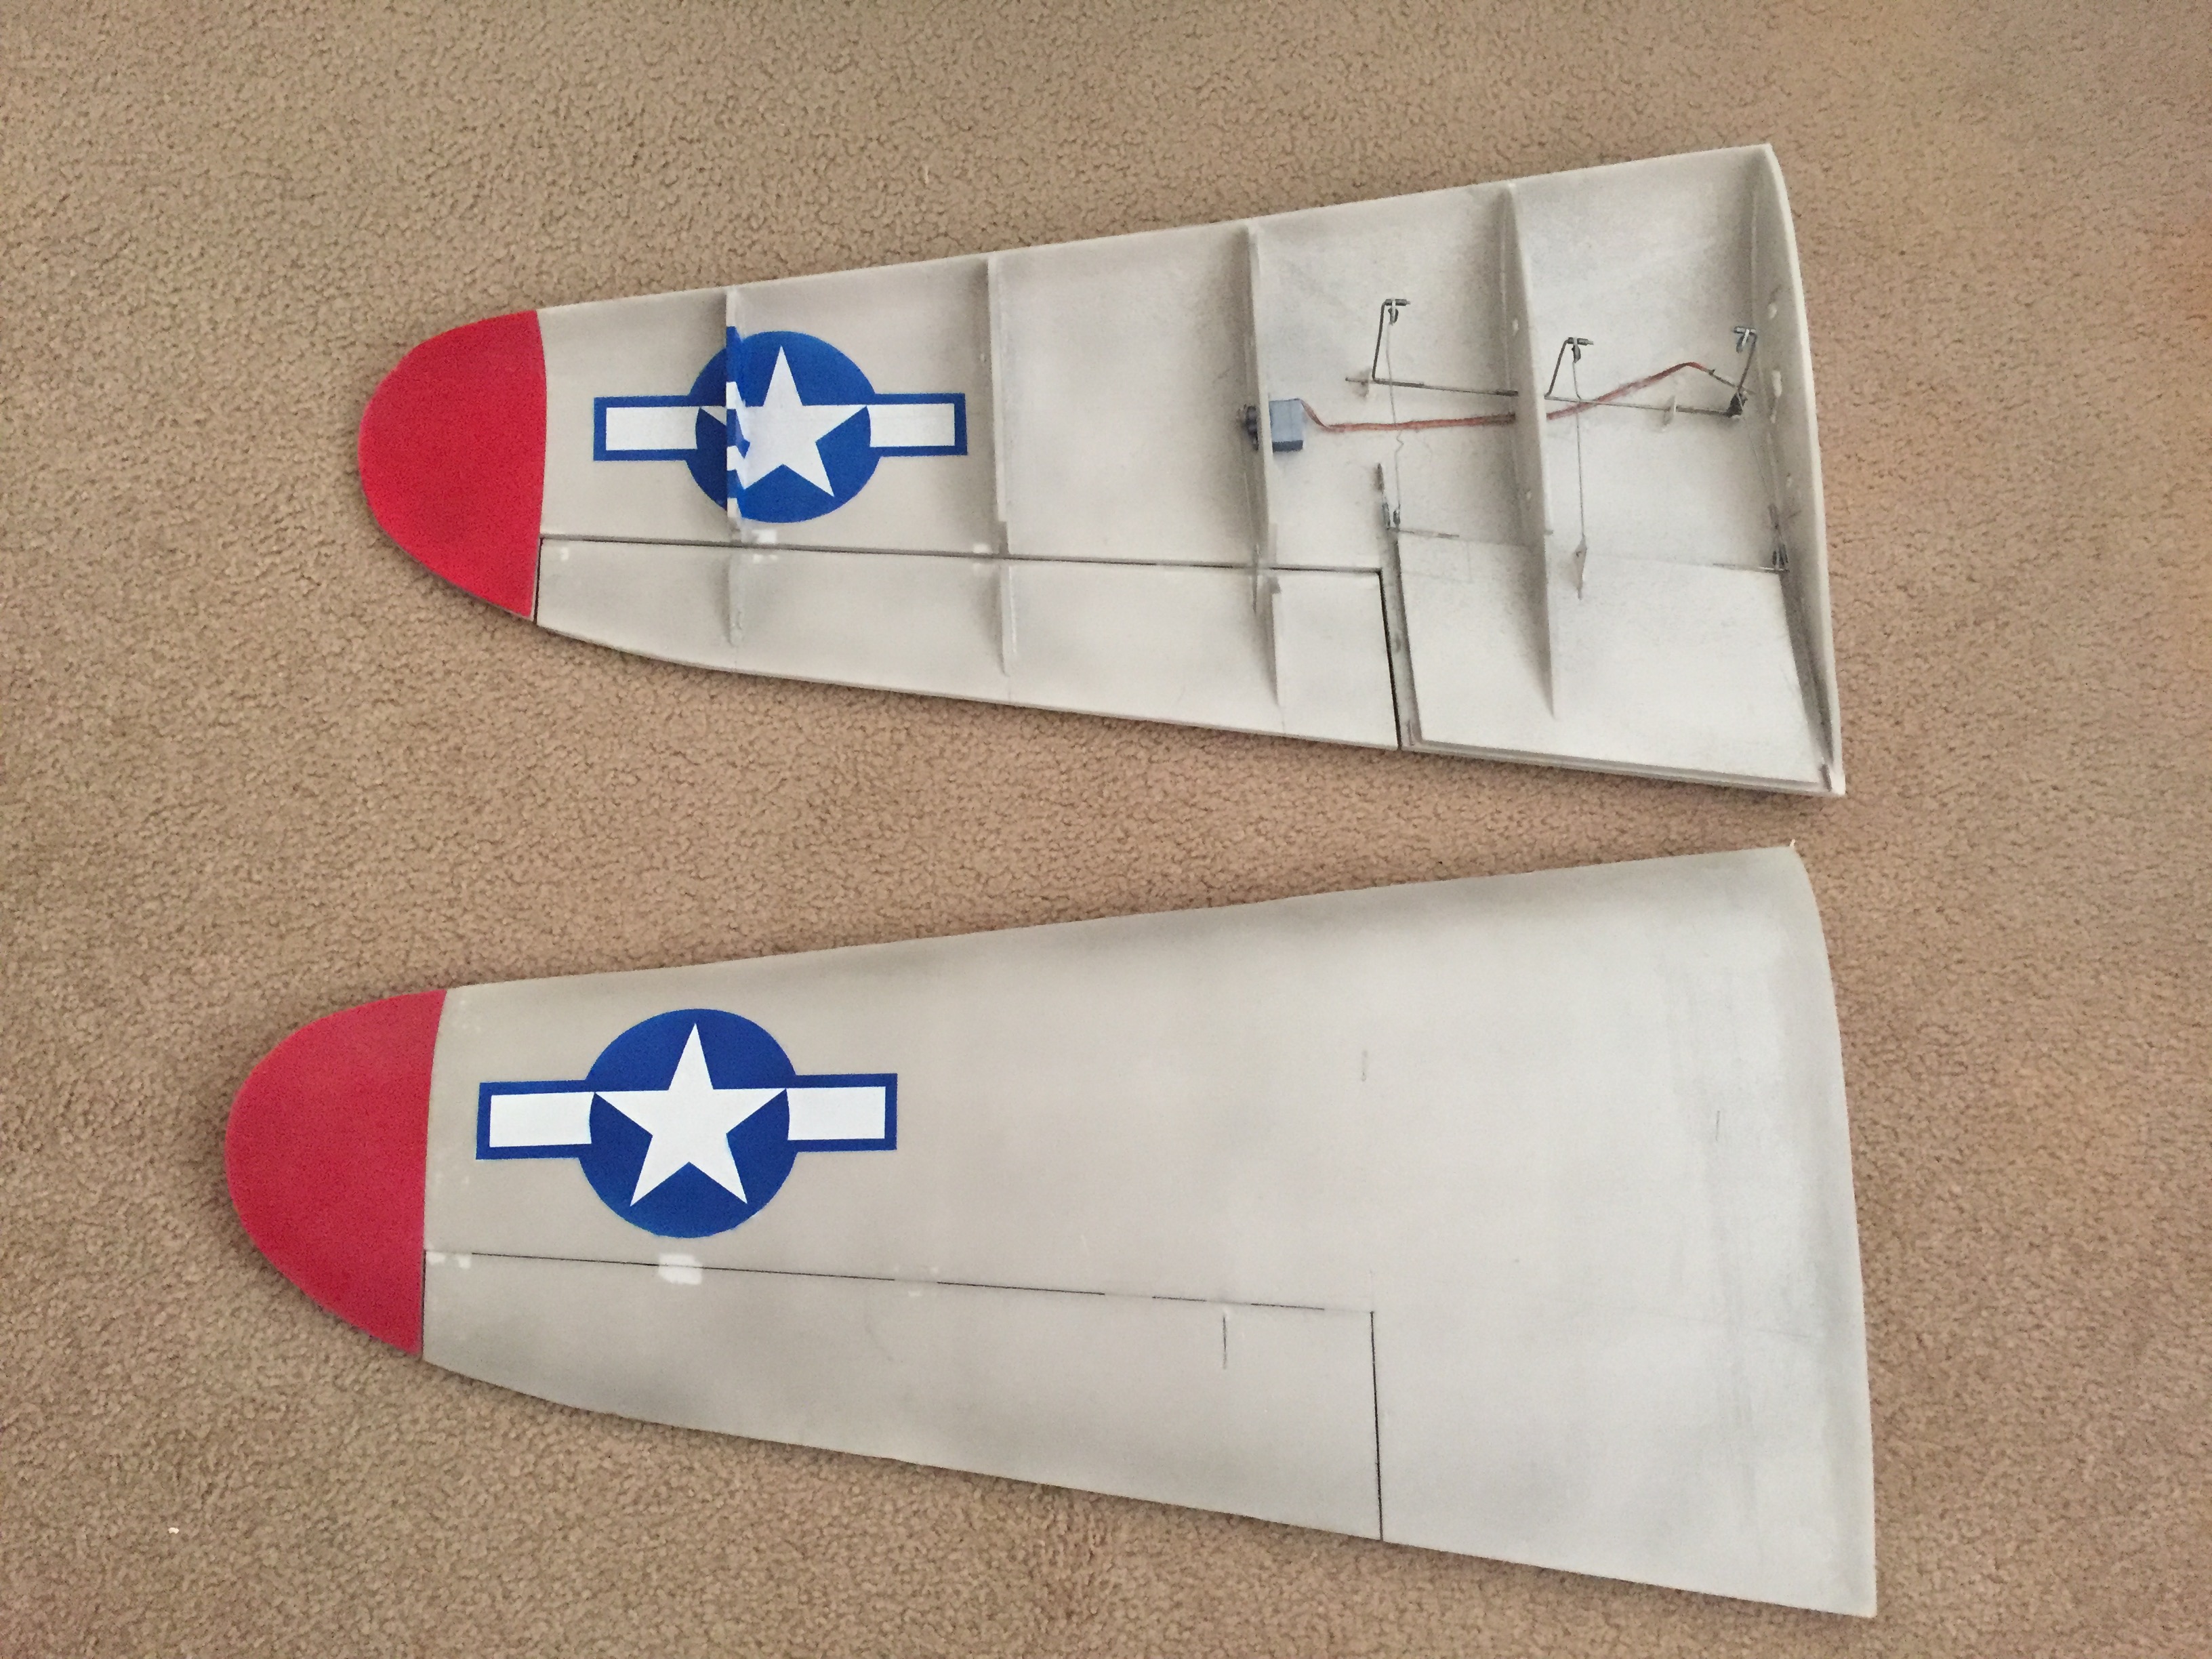
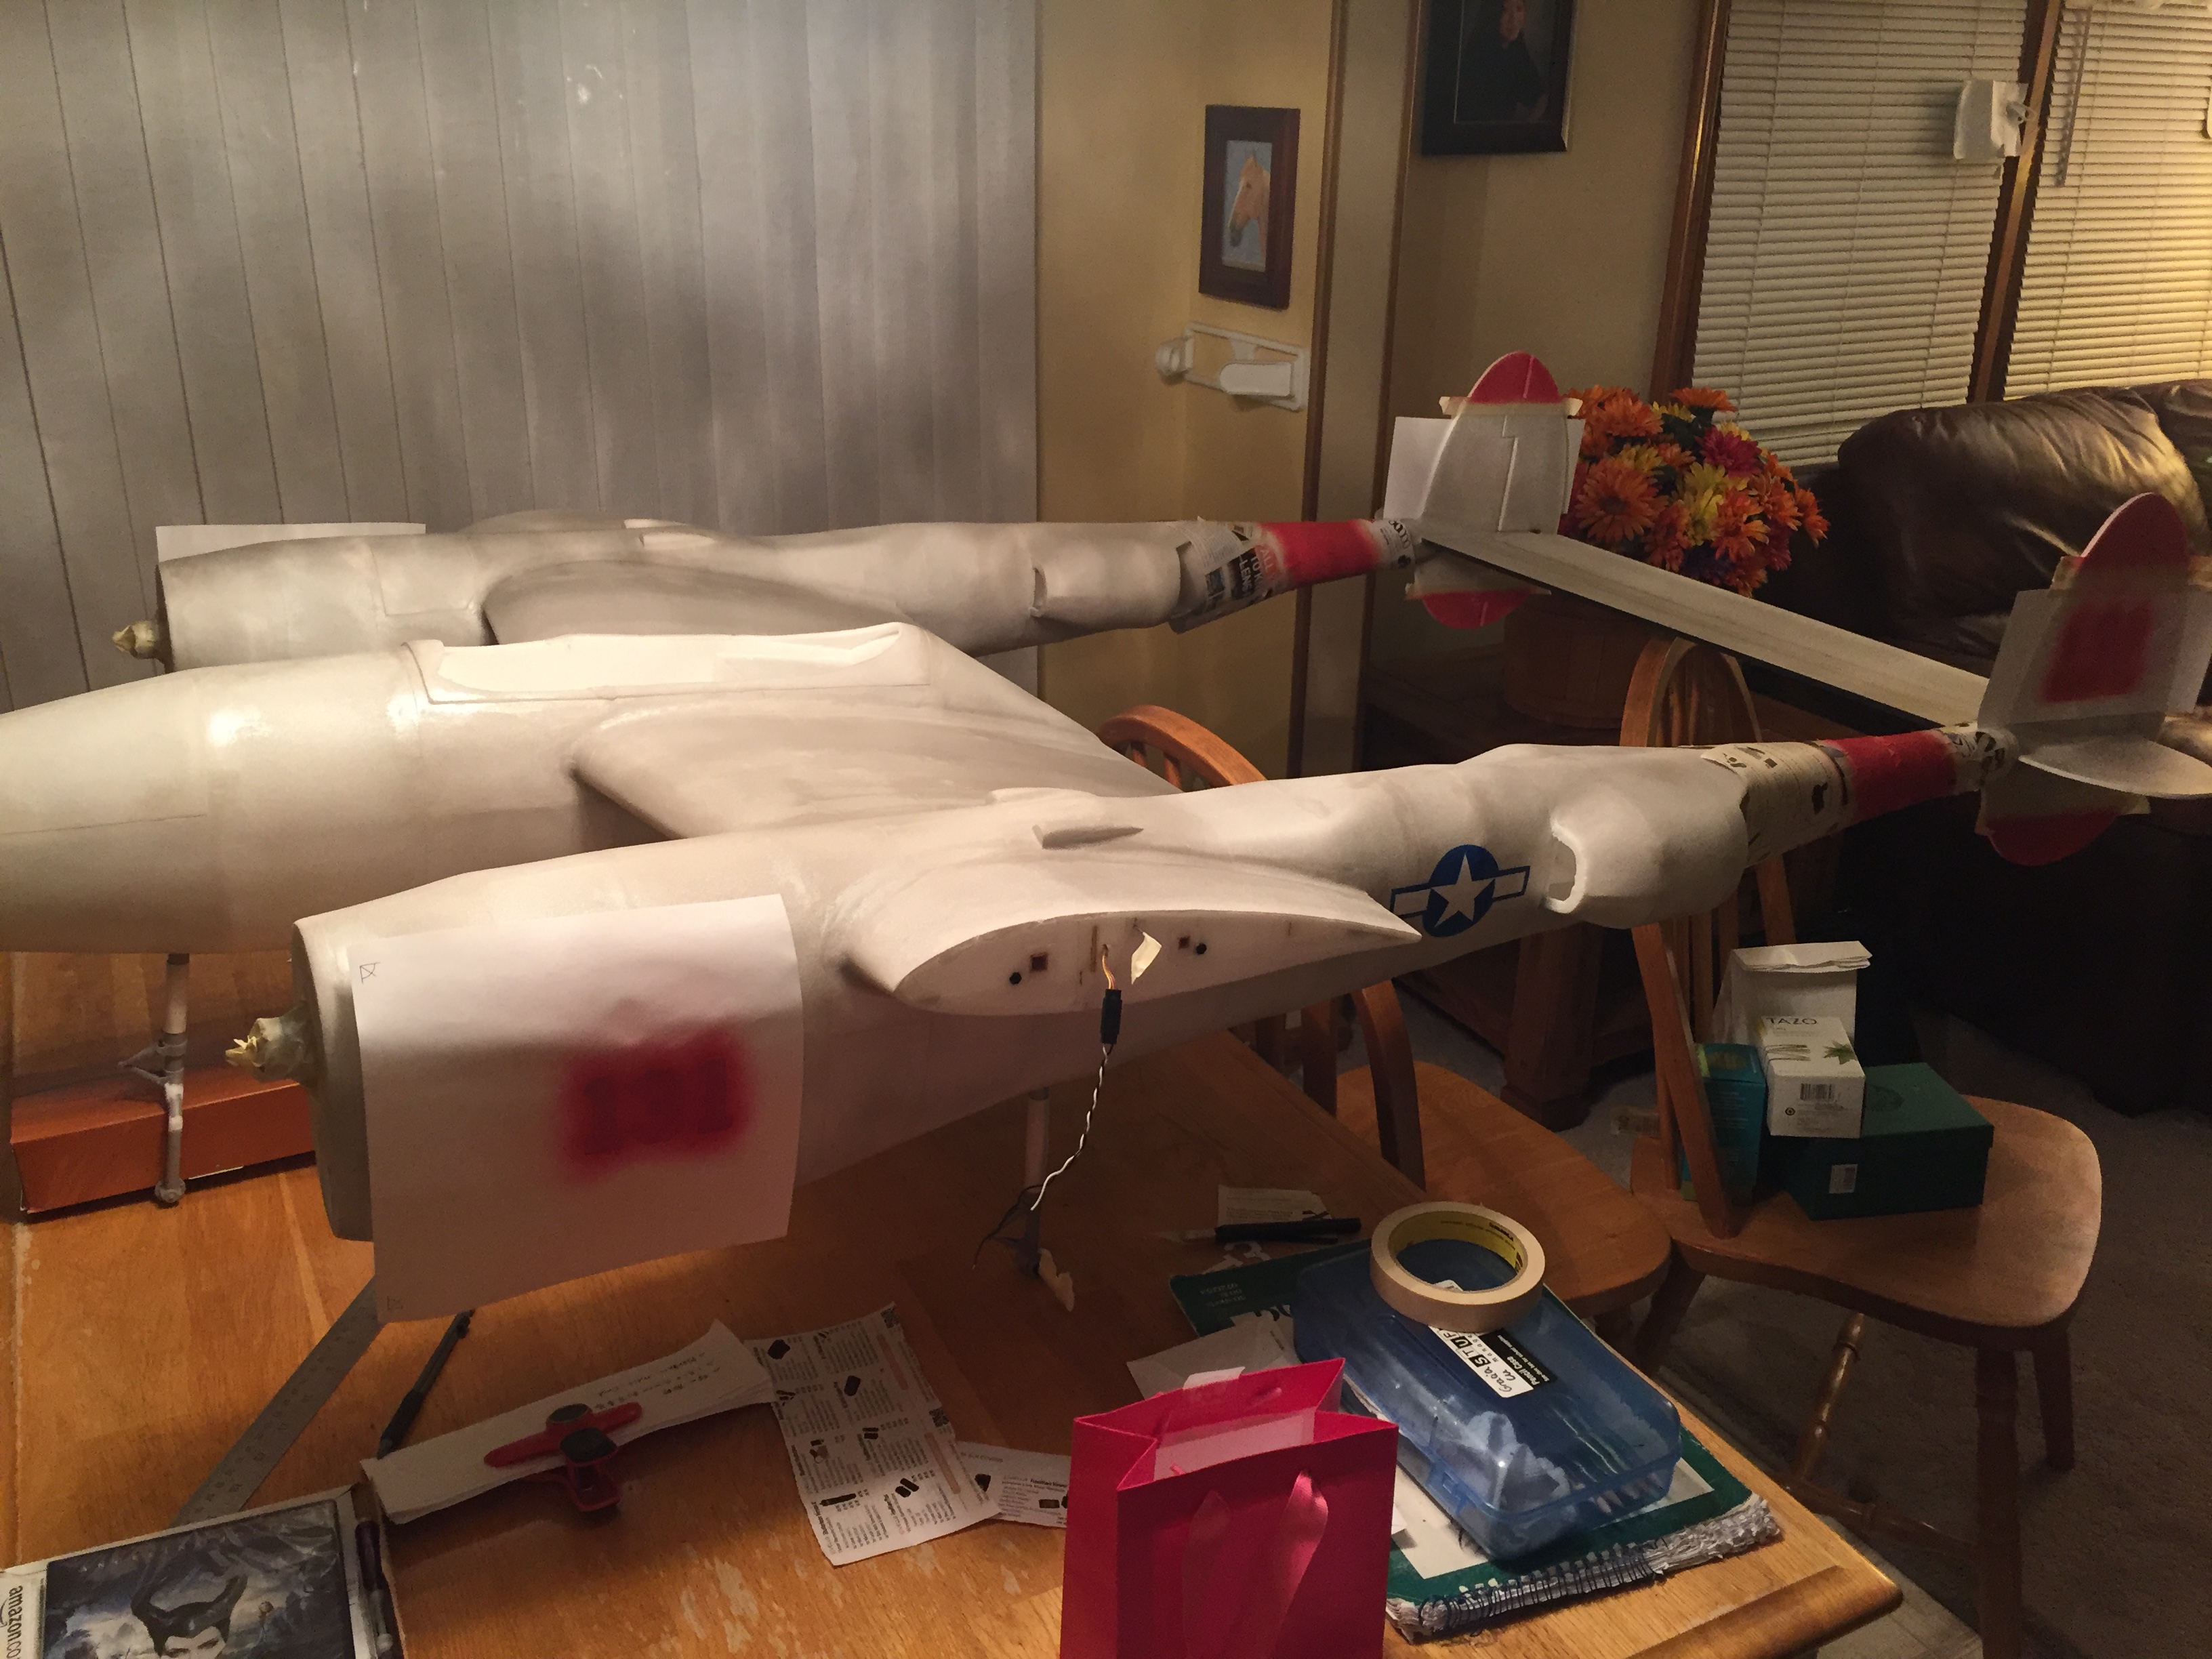
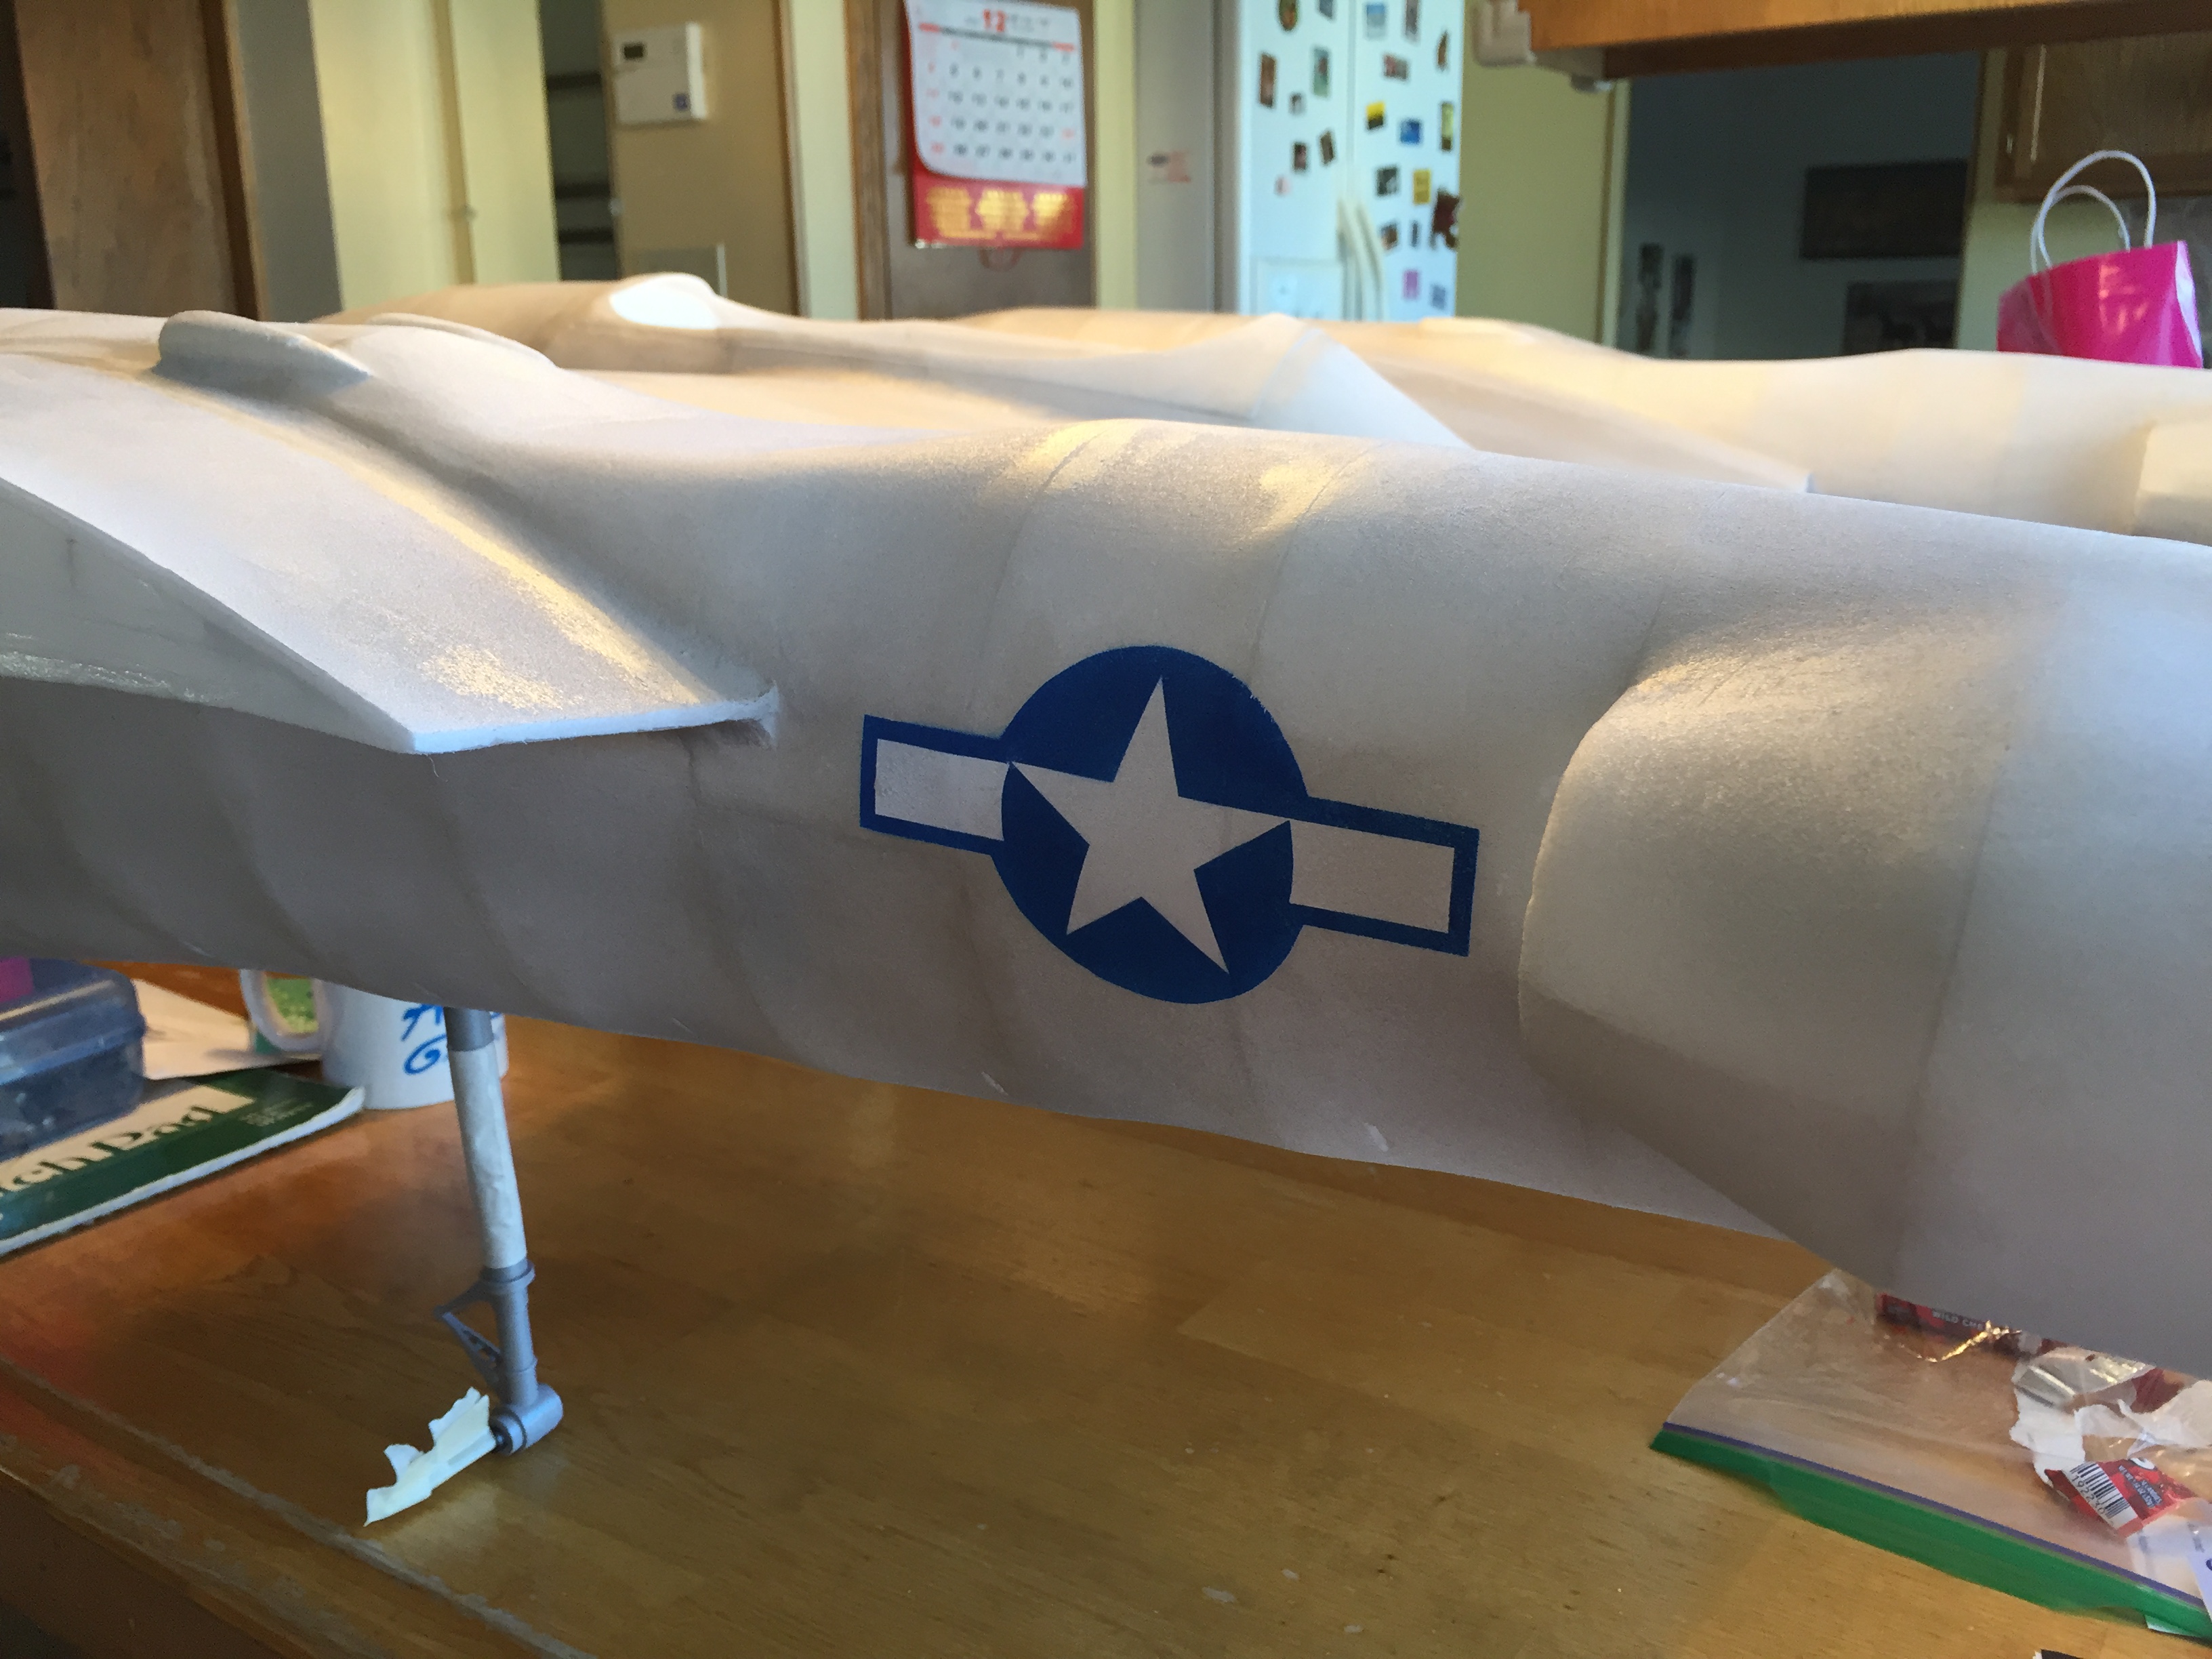
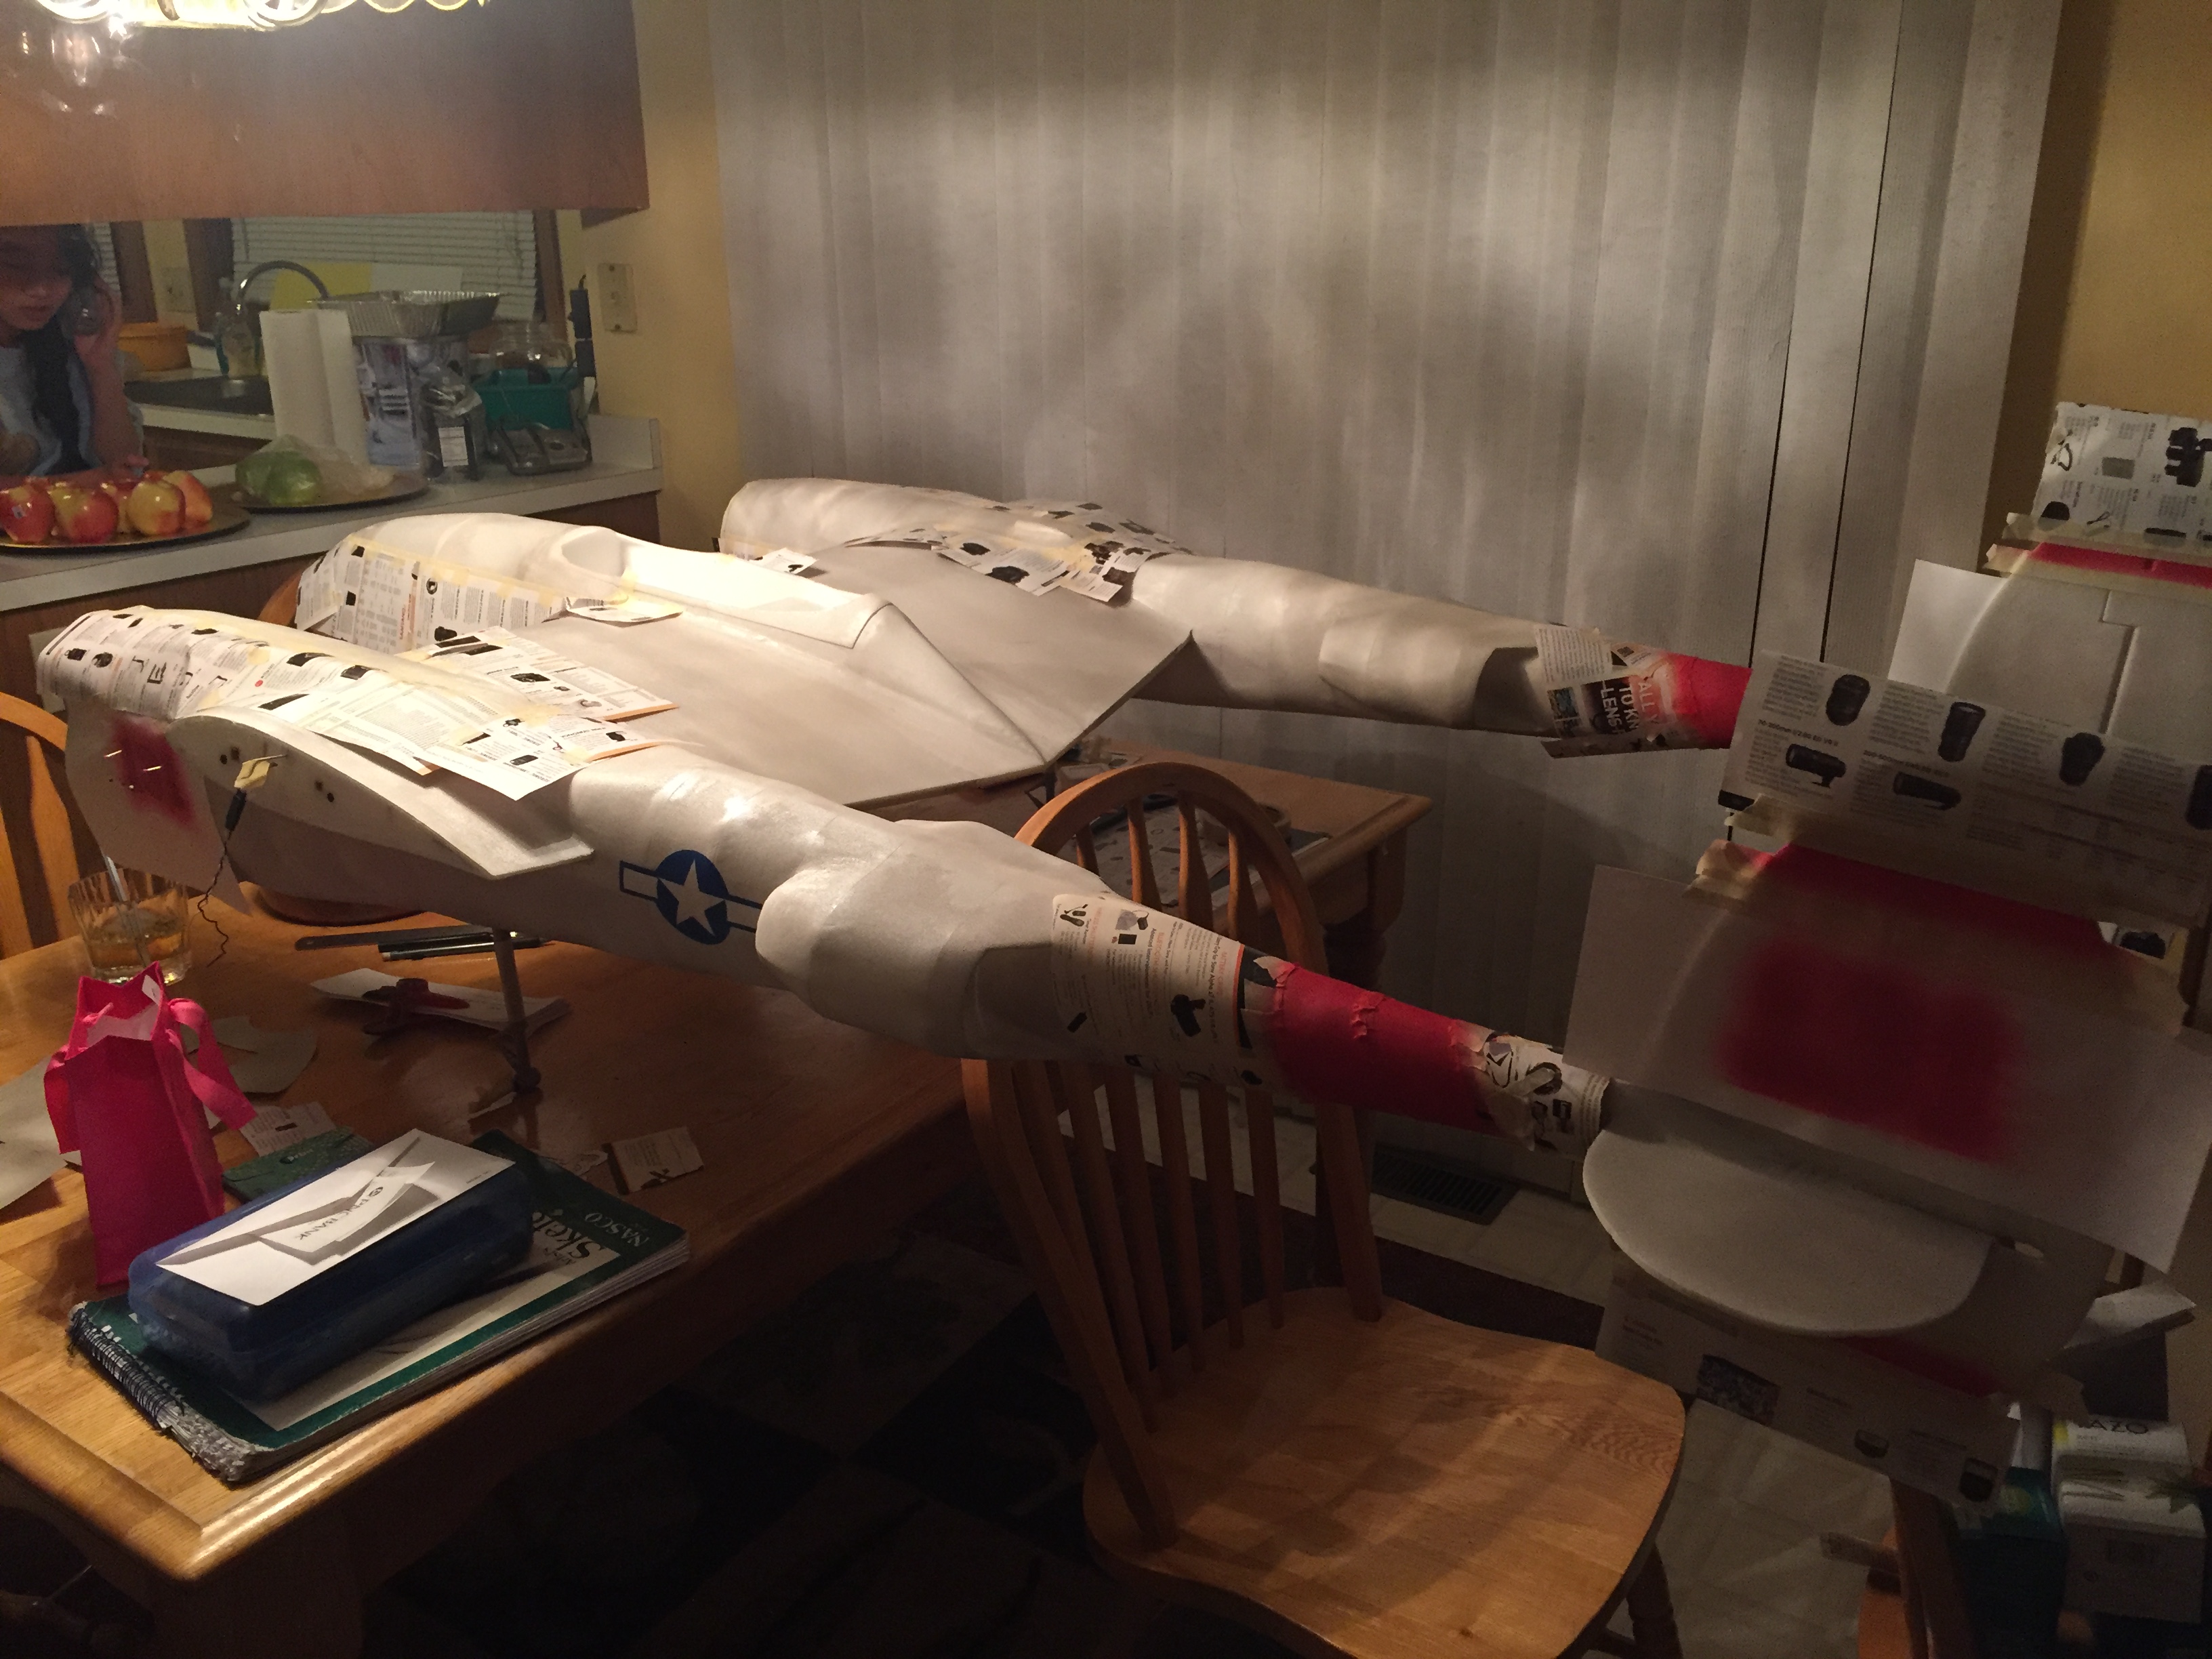
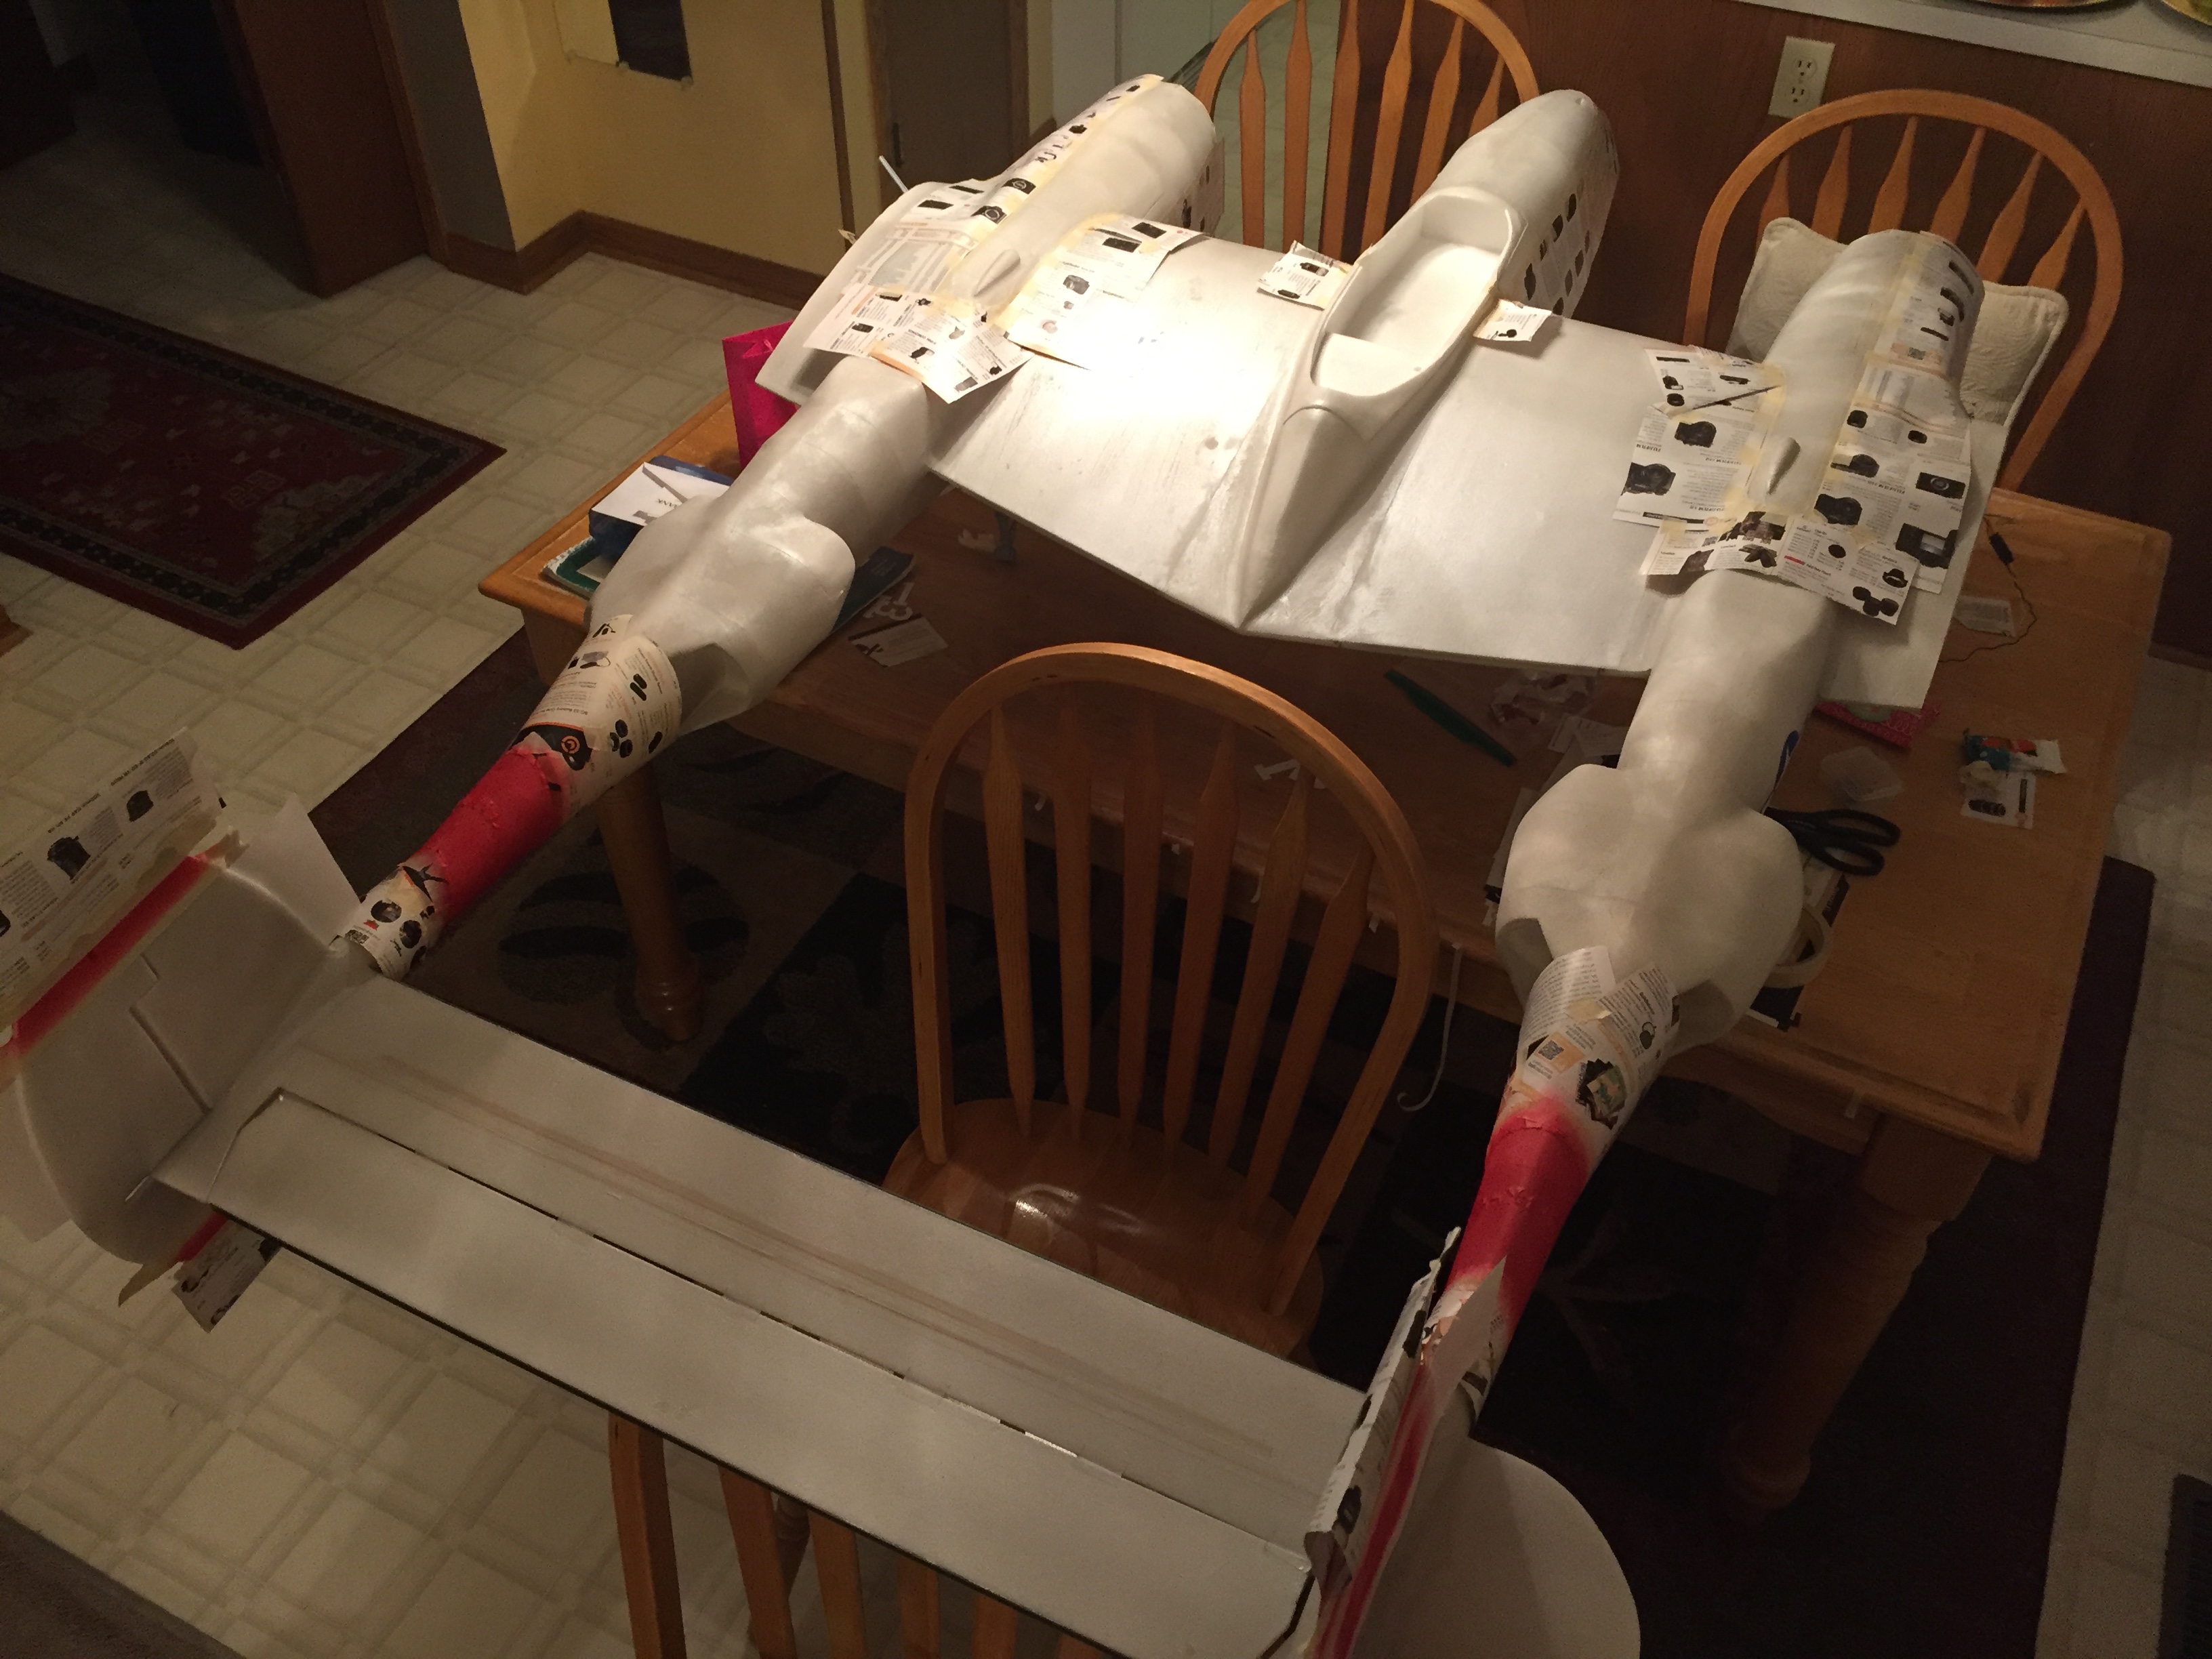

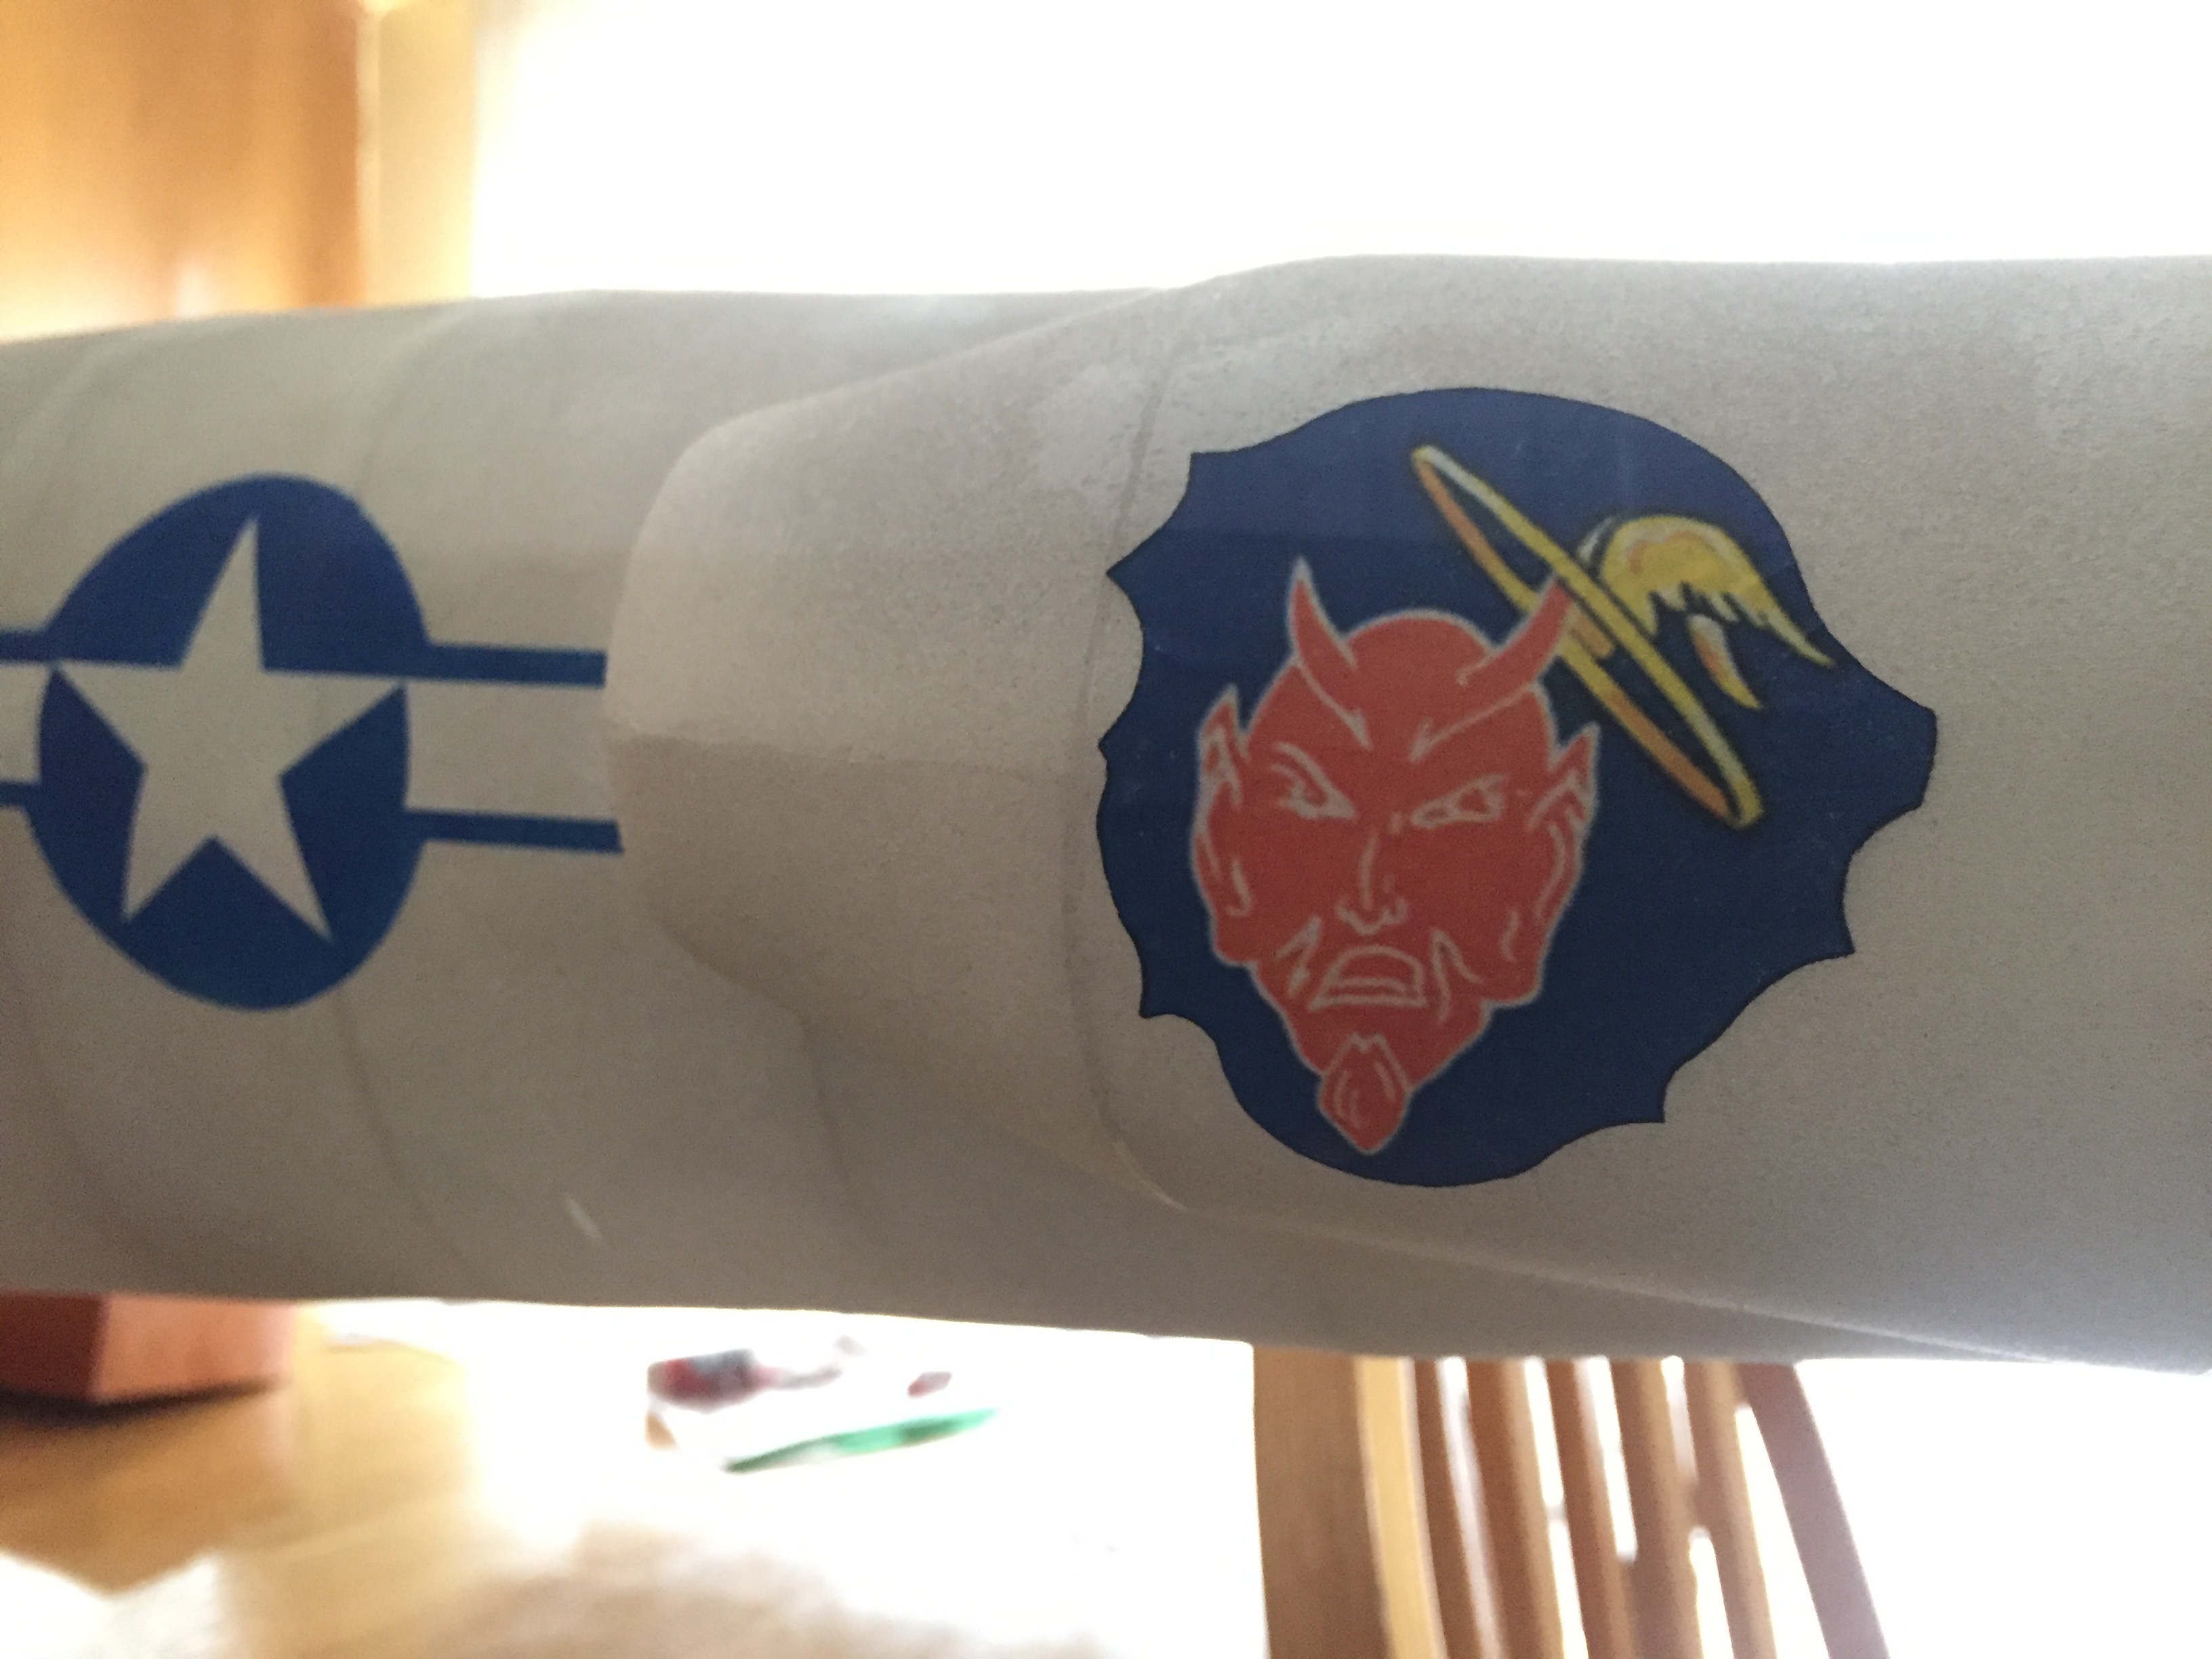
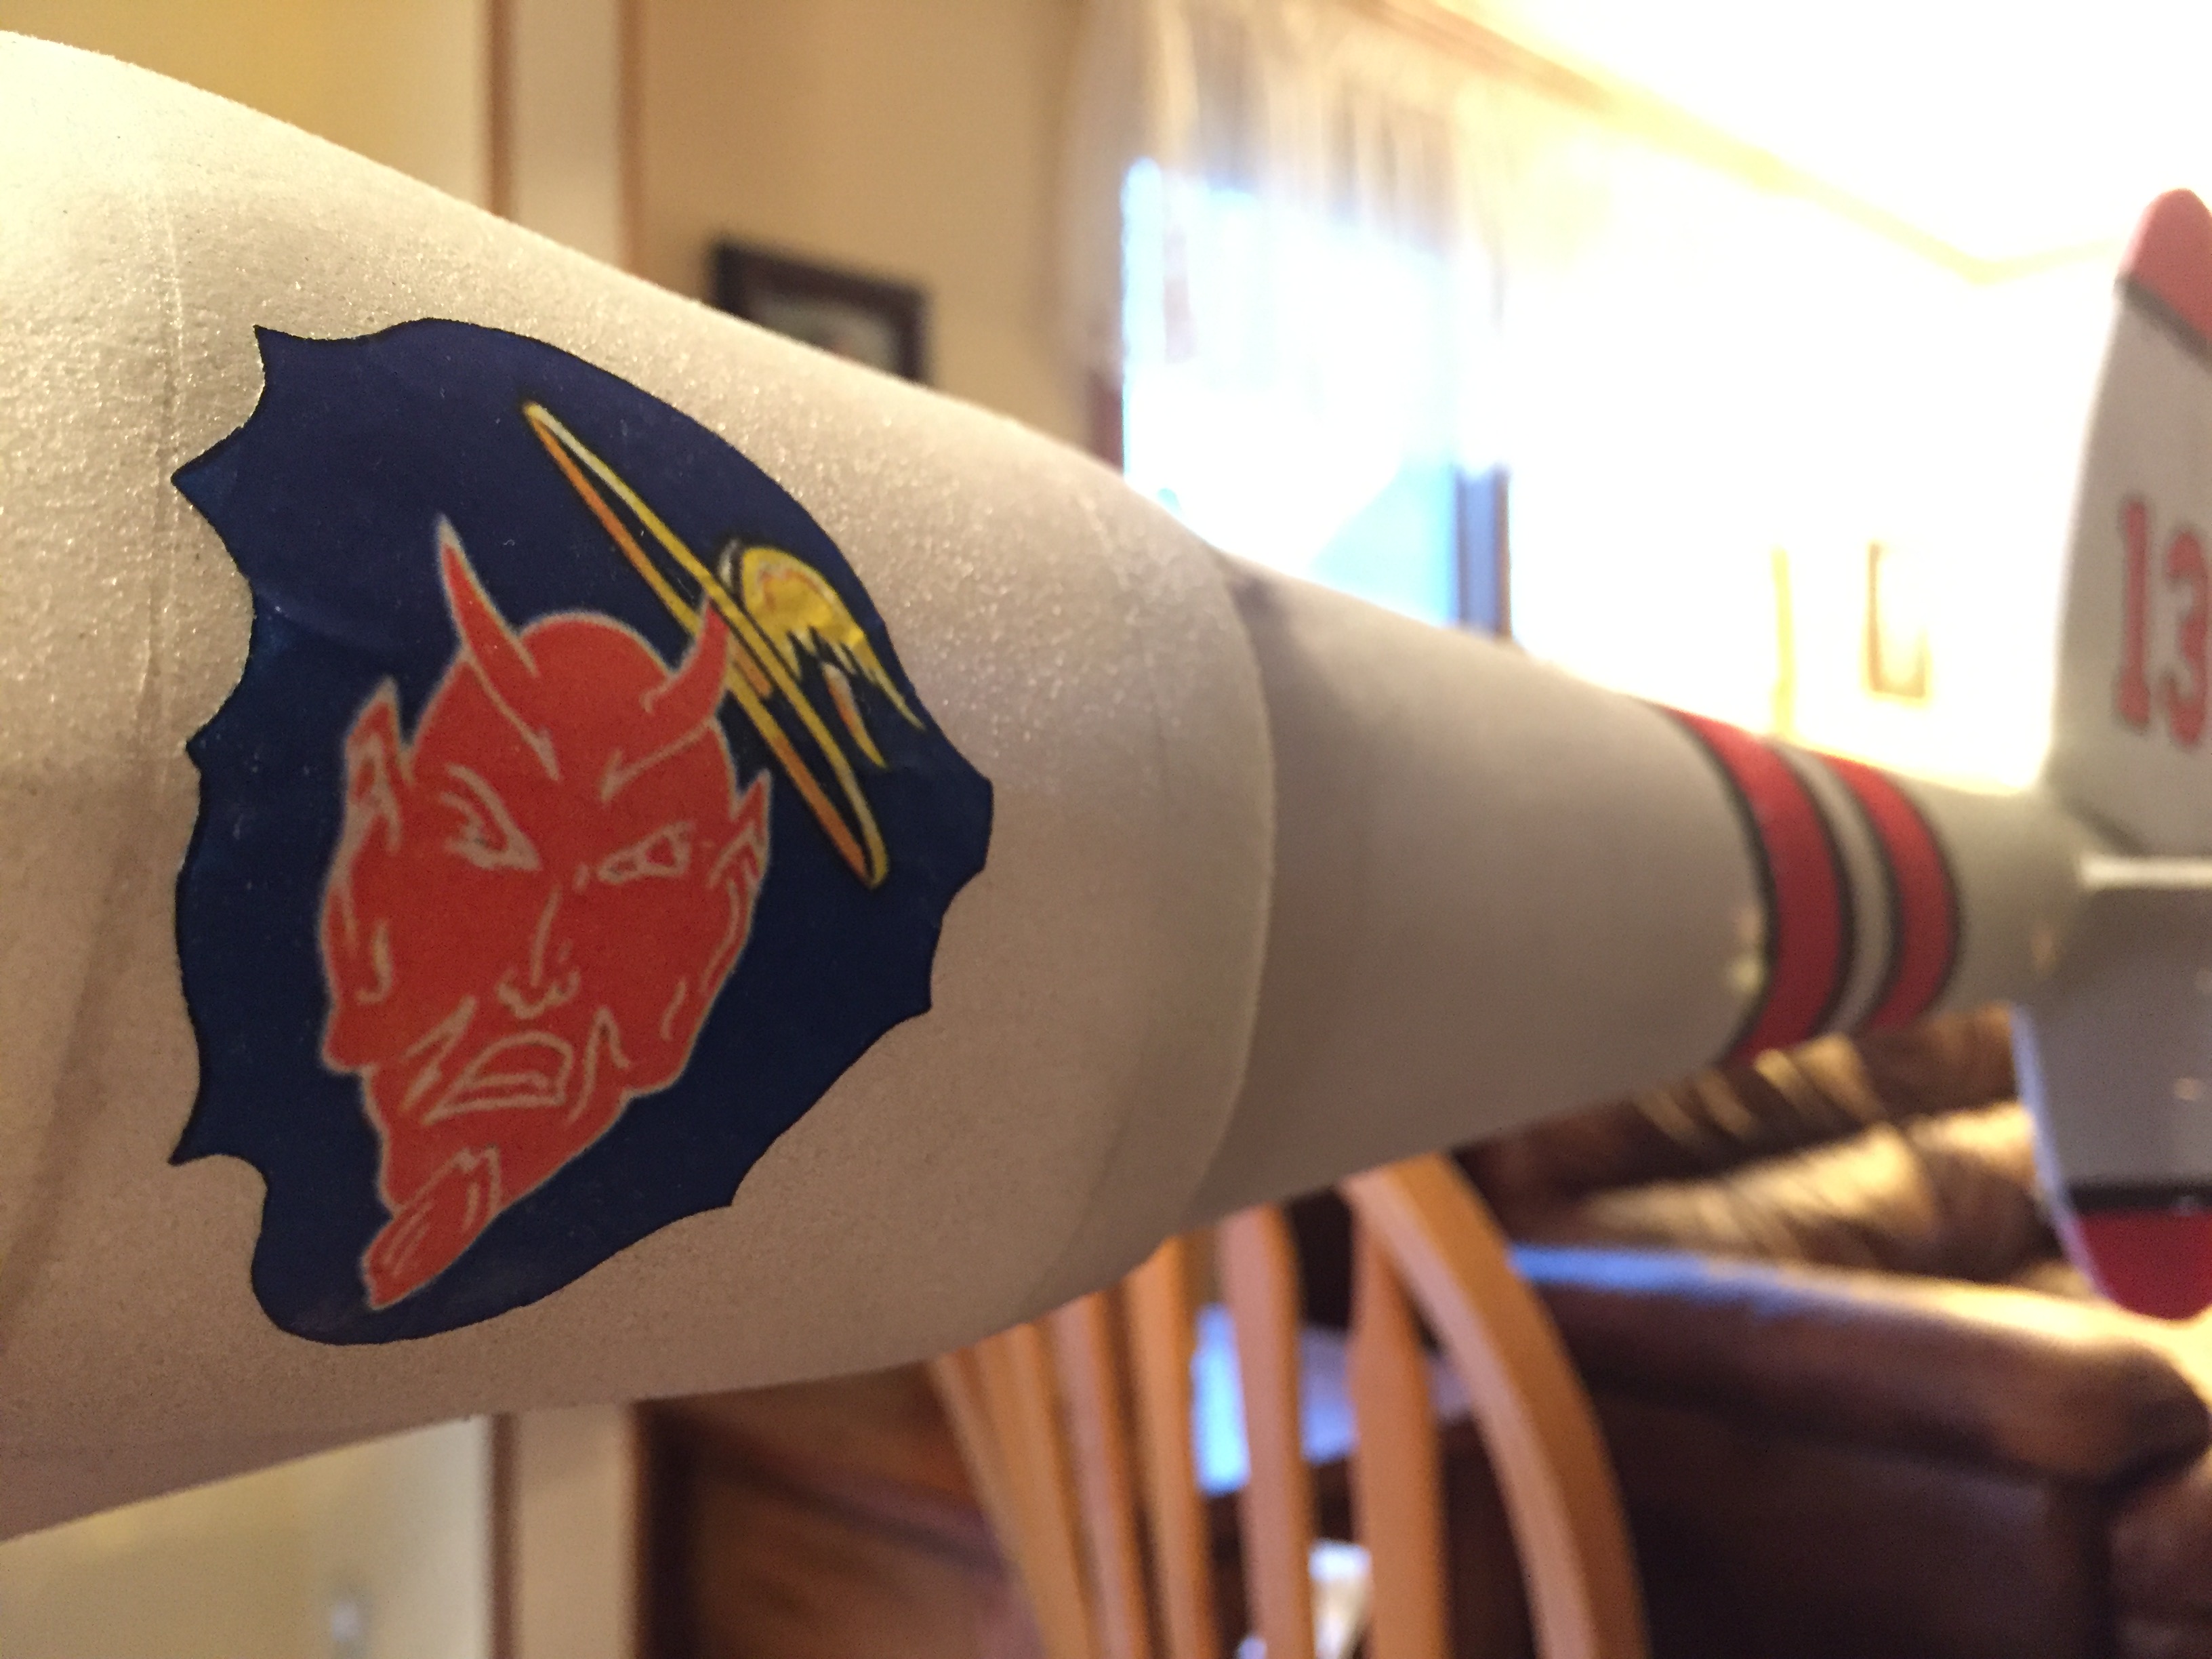
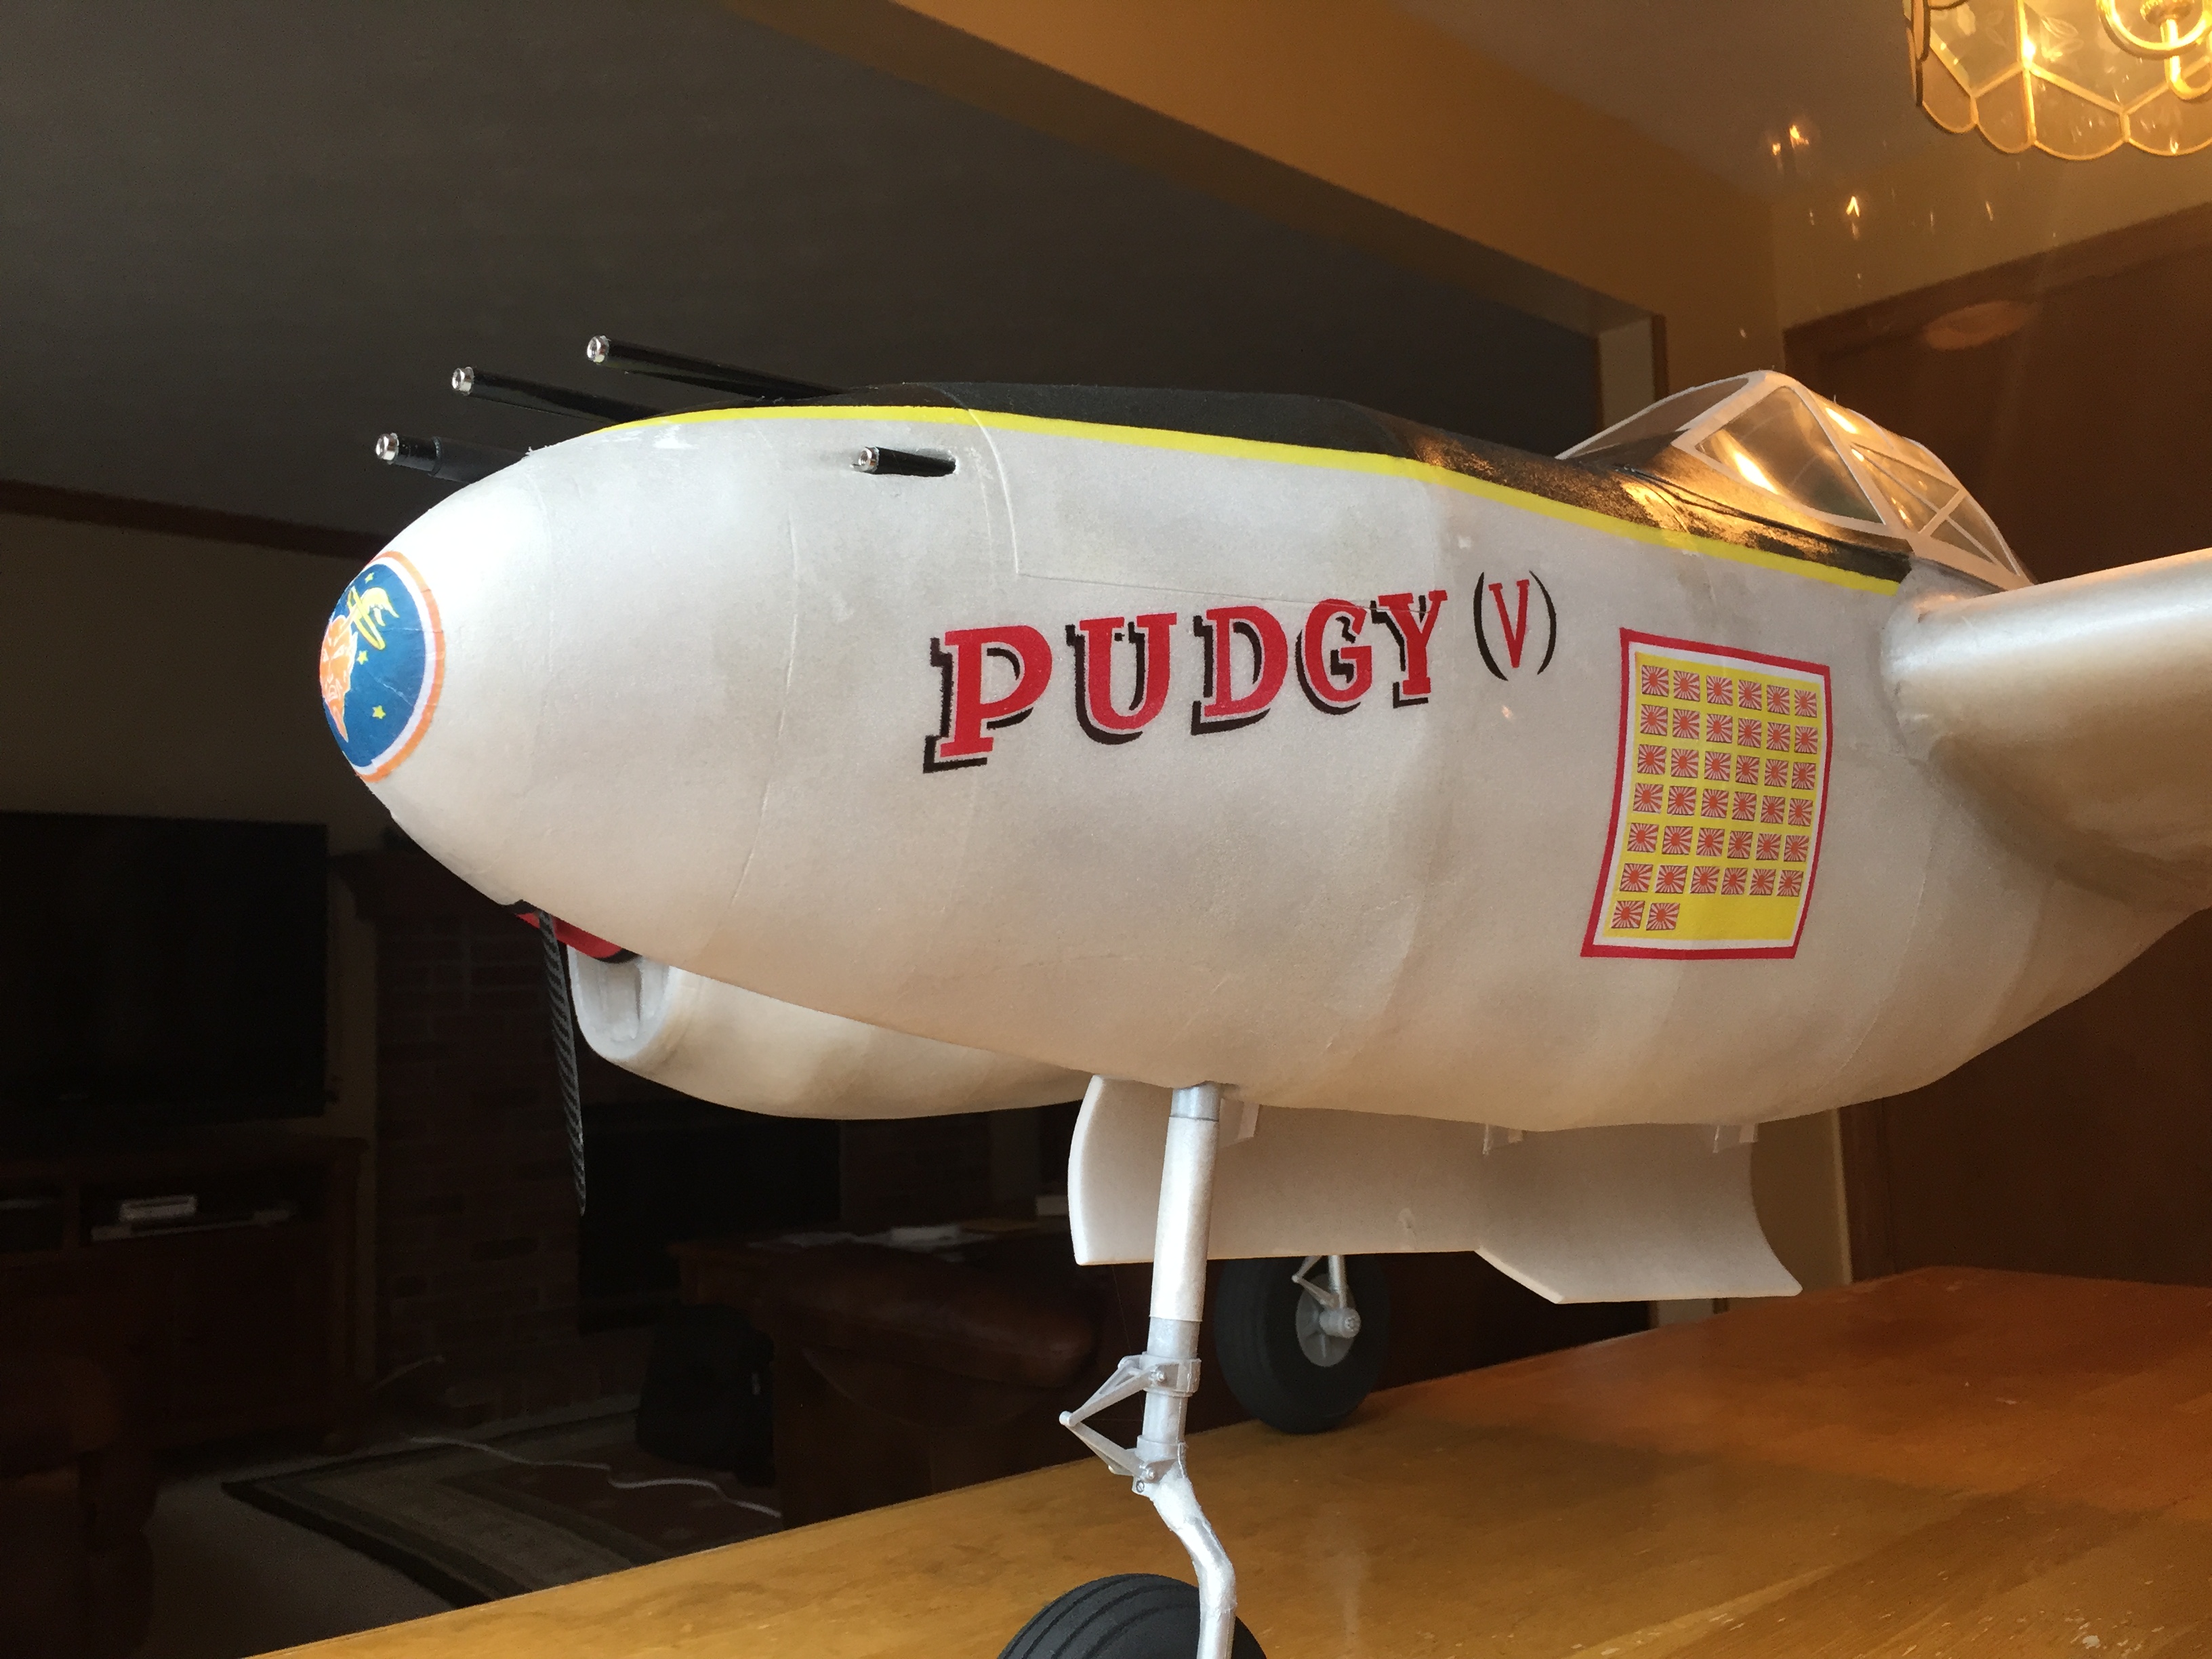
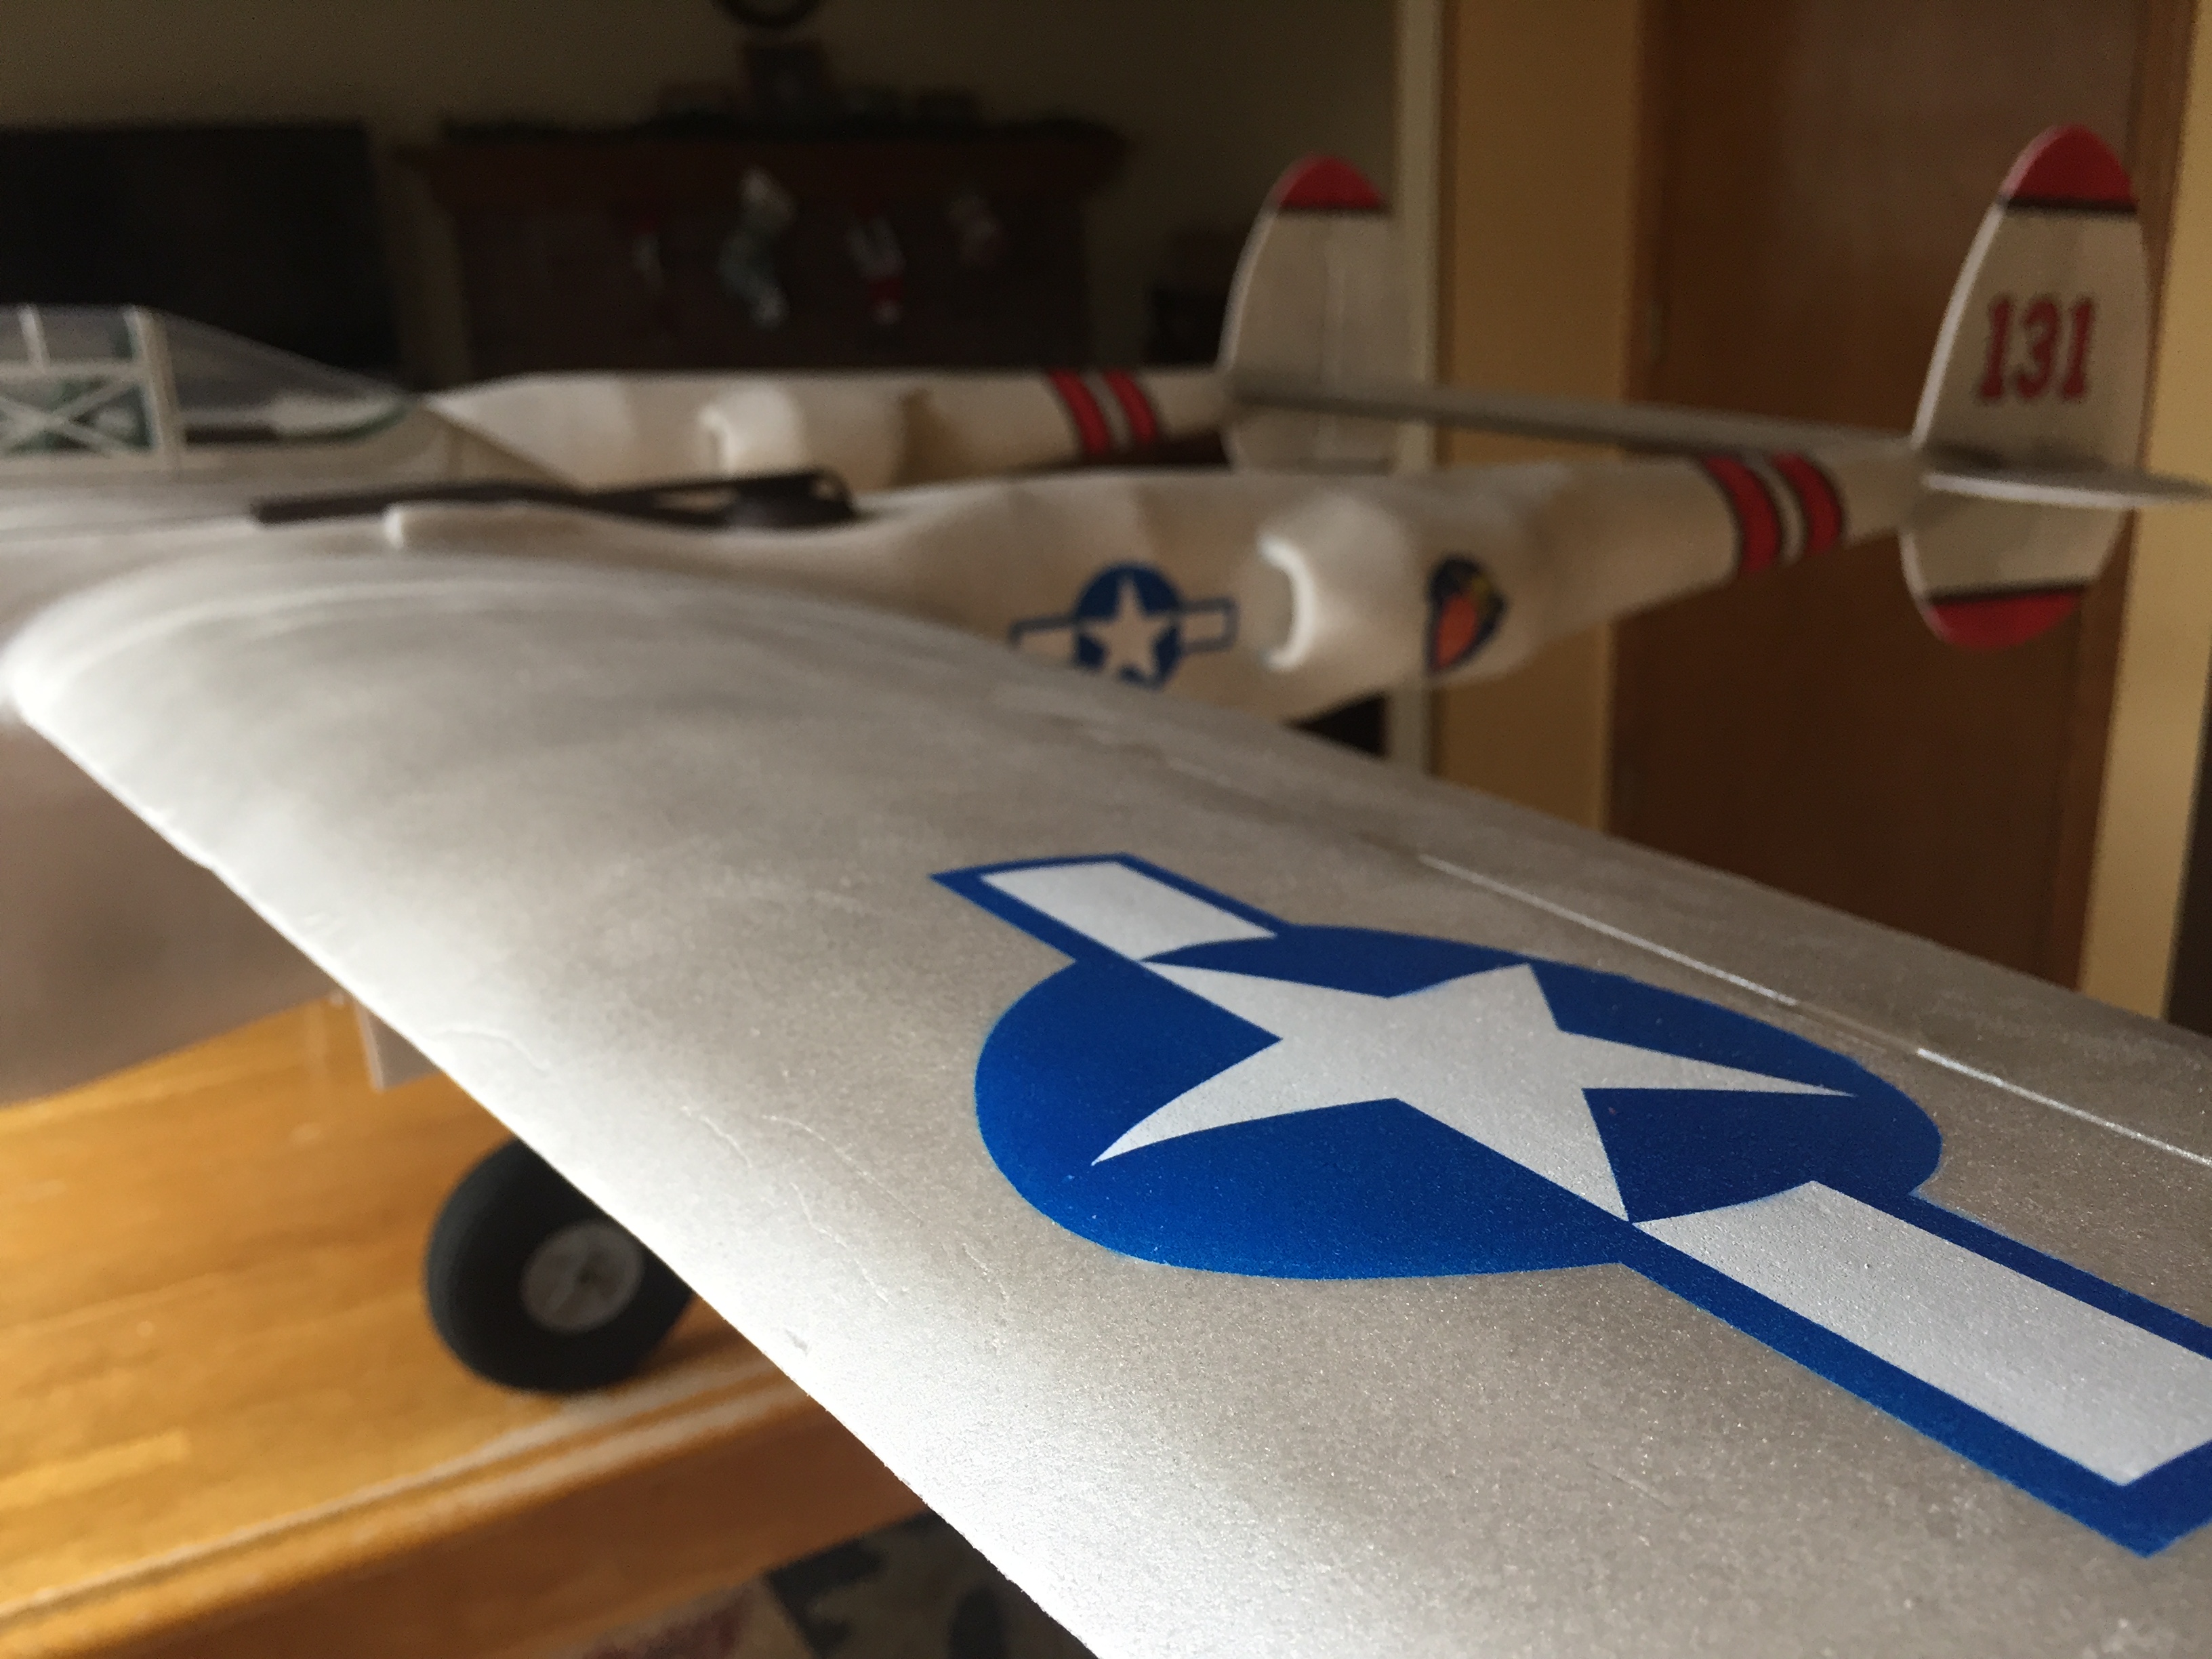
Update- just found what I was looking for. The marking is the 475th Fighter Group "Satan's Angels", which I suppose were painted on every Lightning in the squadron. Finally found some better pictures of it too with these new keywords in my searches.
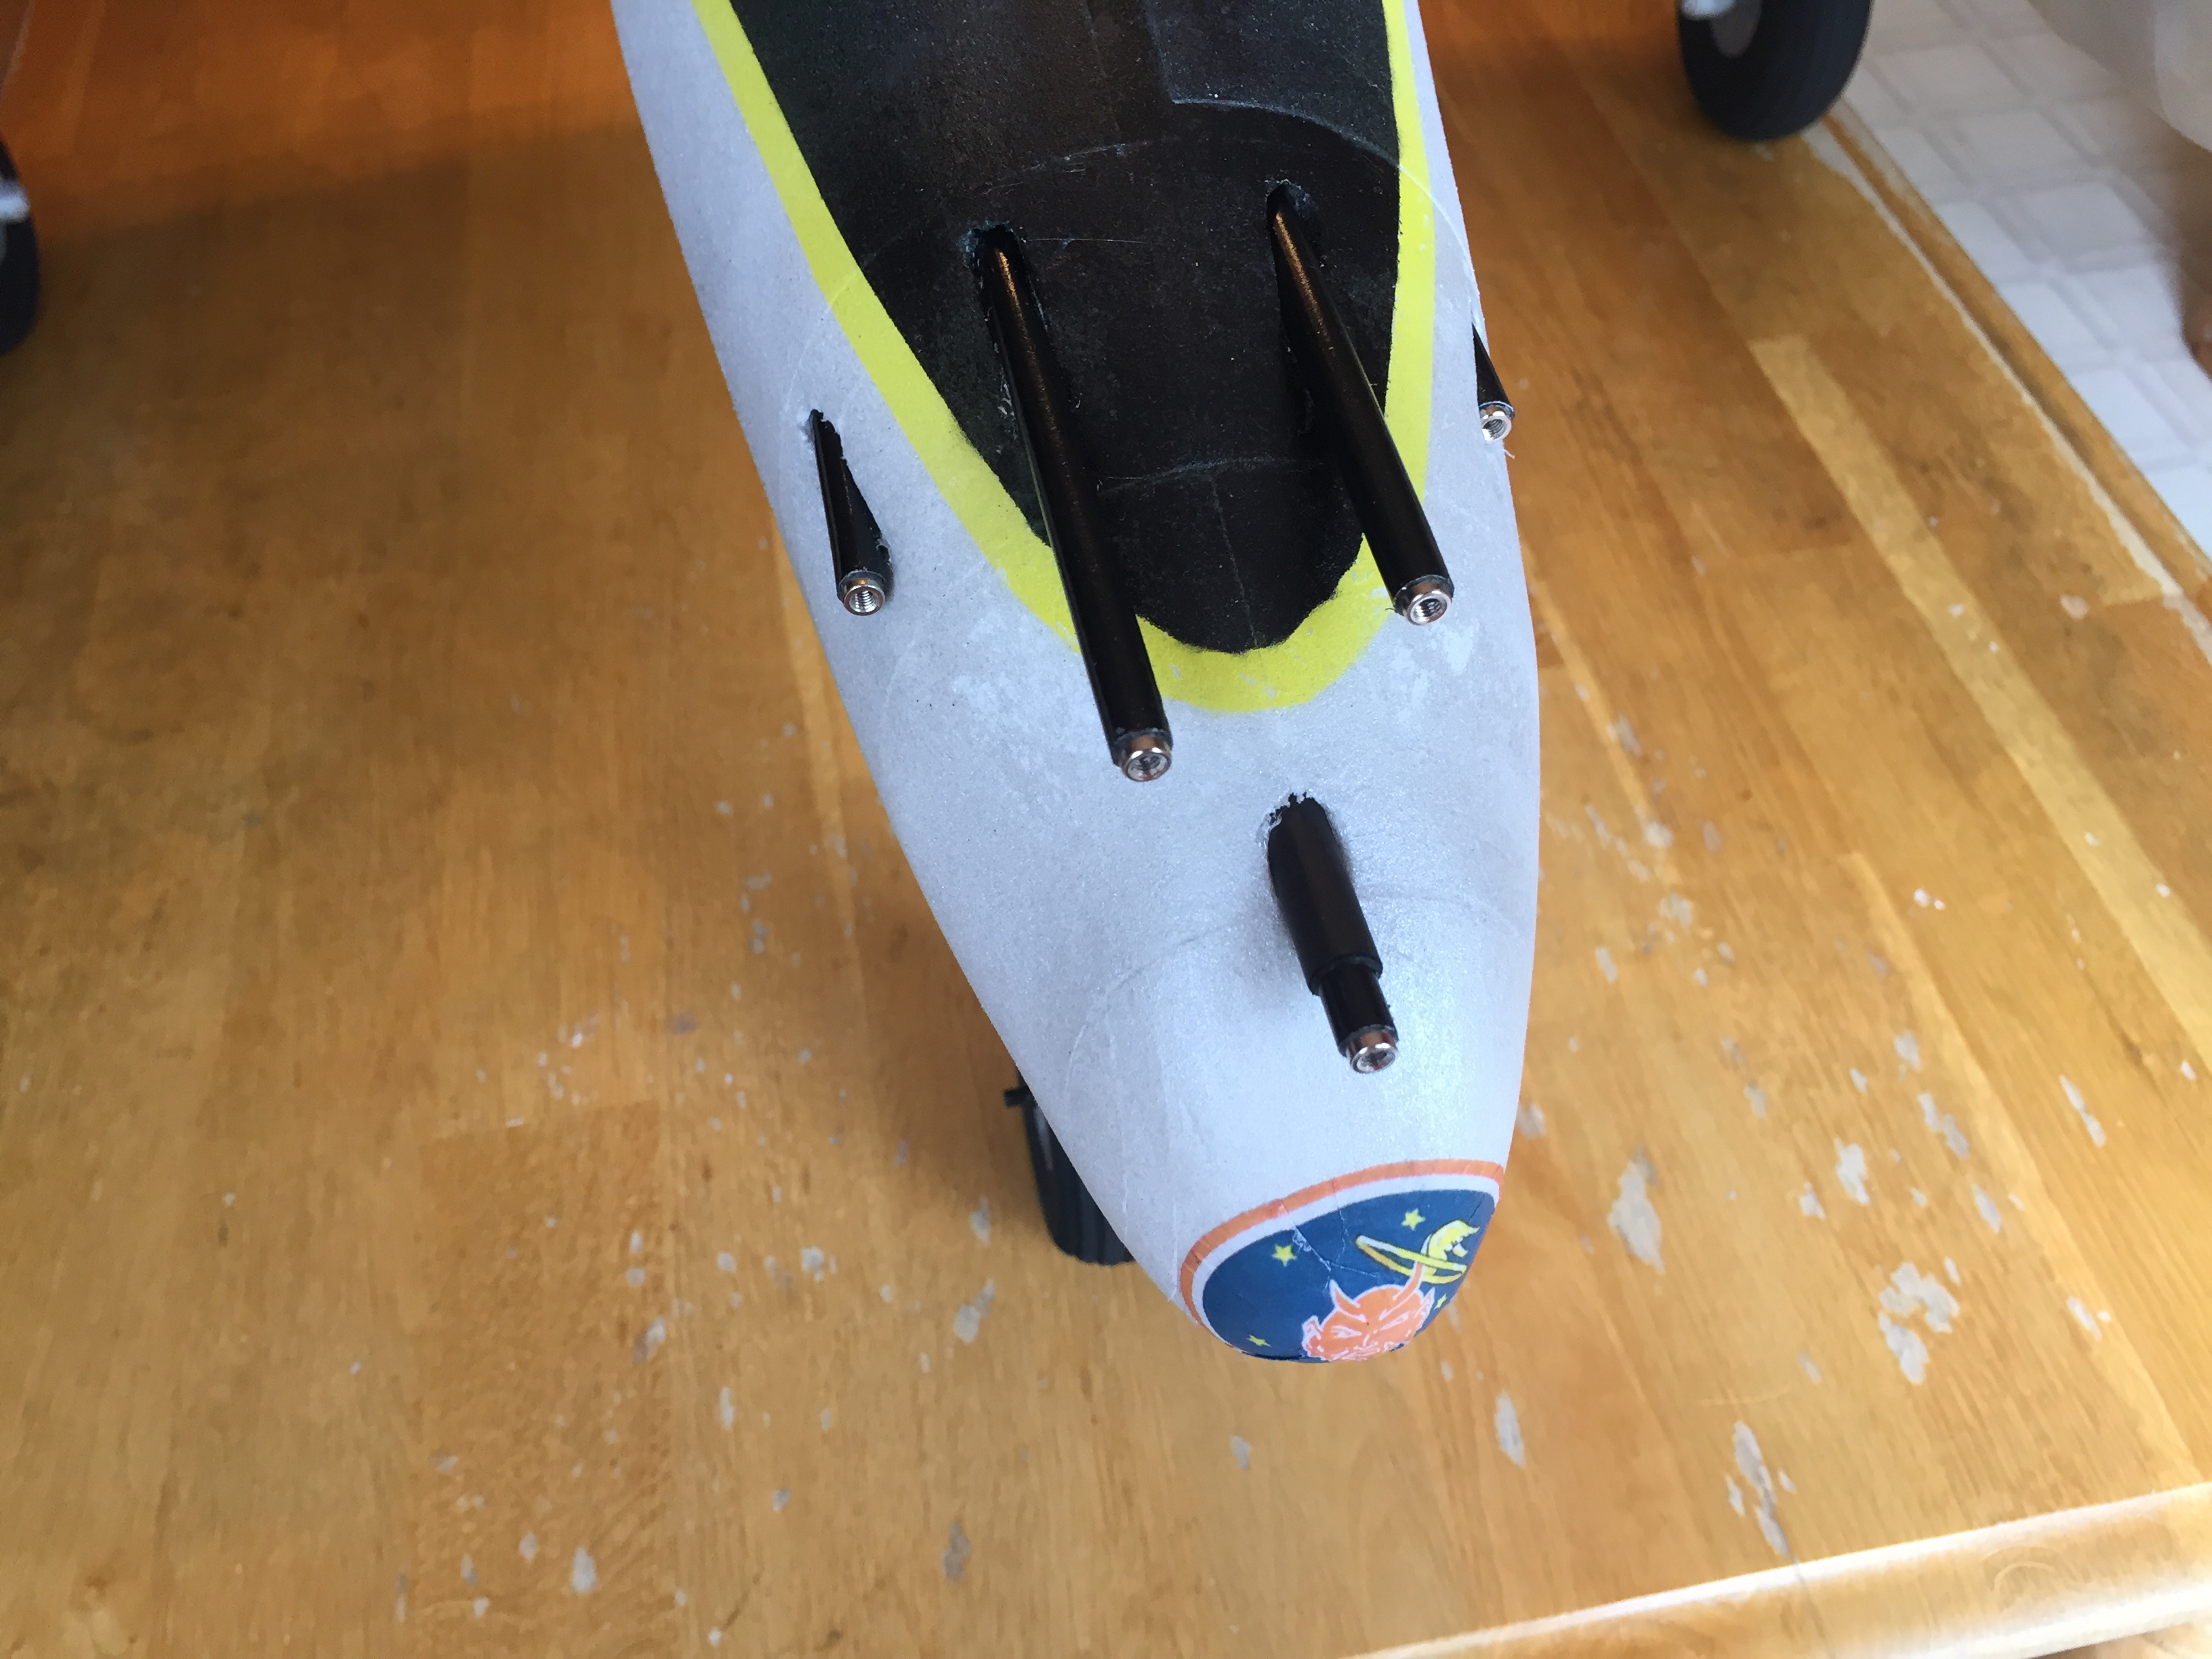
if you look at the Pudgy V you'll notice a circular emblem of the 431st FS Satan's Angels marking right on the tip of the nose. I'm not sure how I'm going to do that. With the two other Satan's Angels markings, I printed them out on white tissue wrapping paper and used spray adhesive to attach them to the plane. This won't work for the nose because it is so heavily contoured, and masking it off to paint on the same curved surface would be quite difficult....any ideas are welcome. 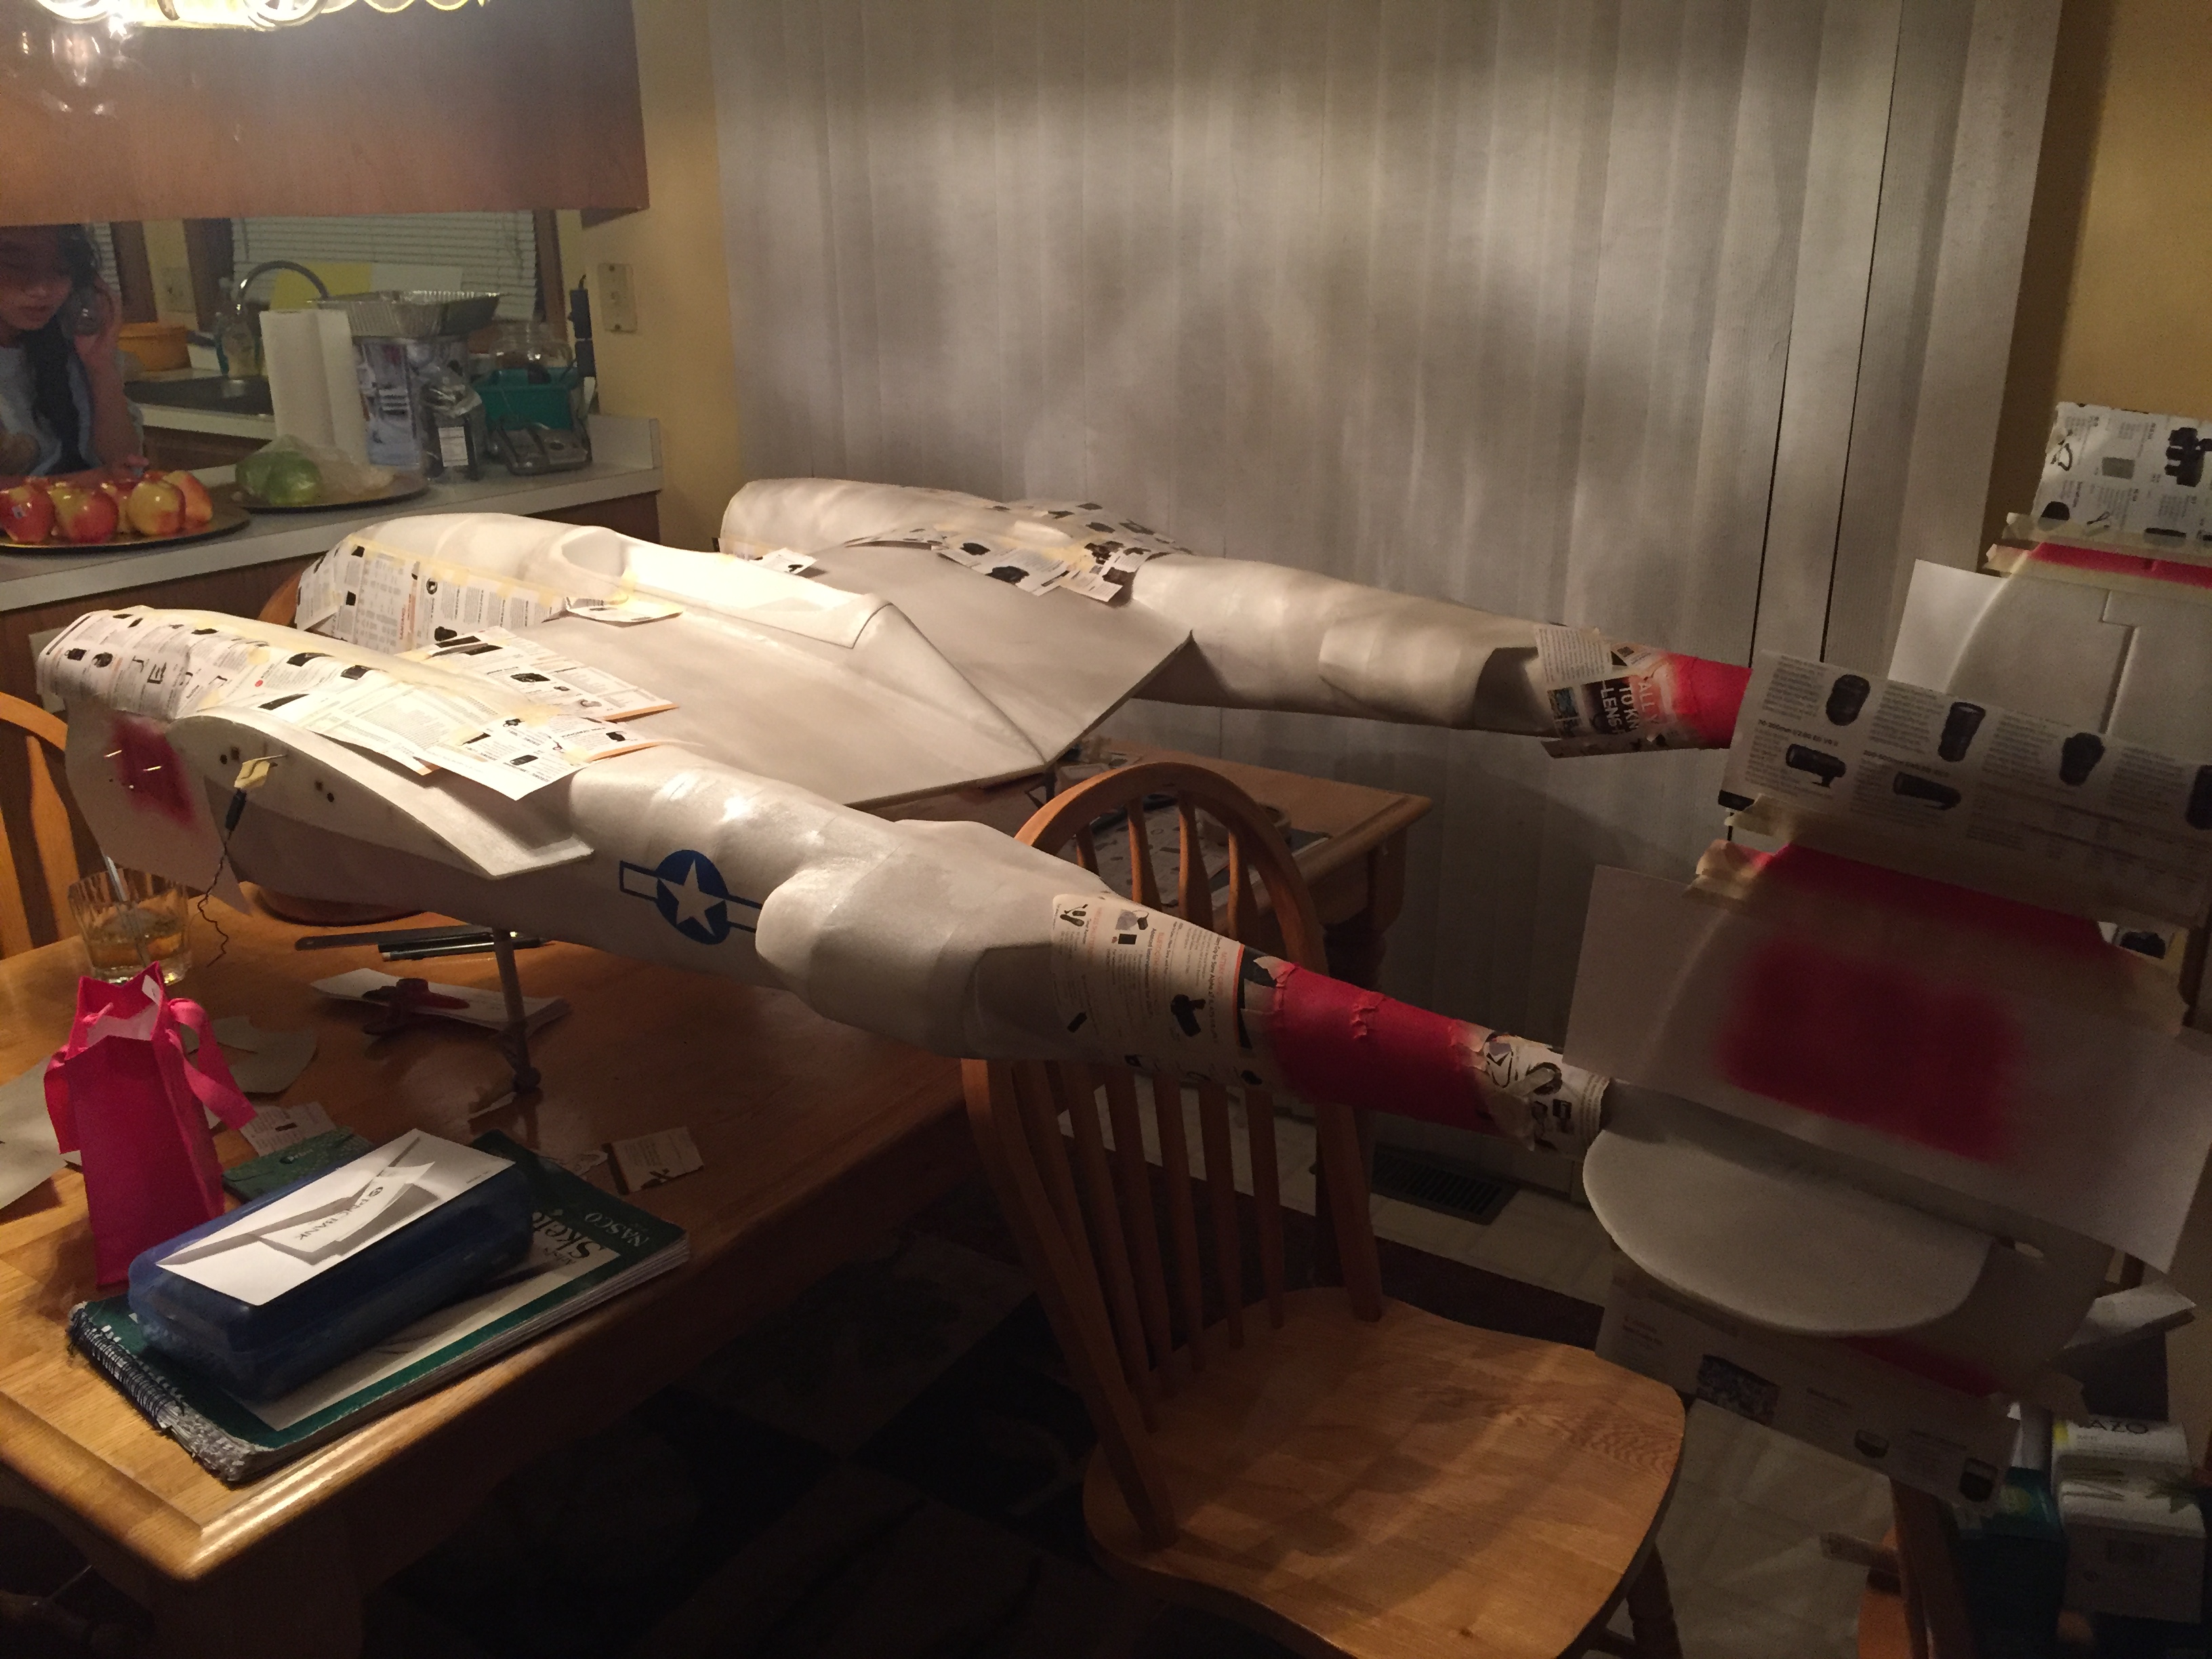
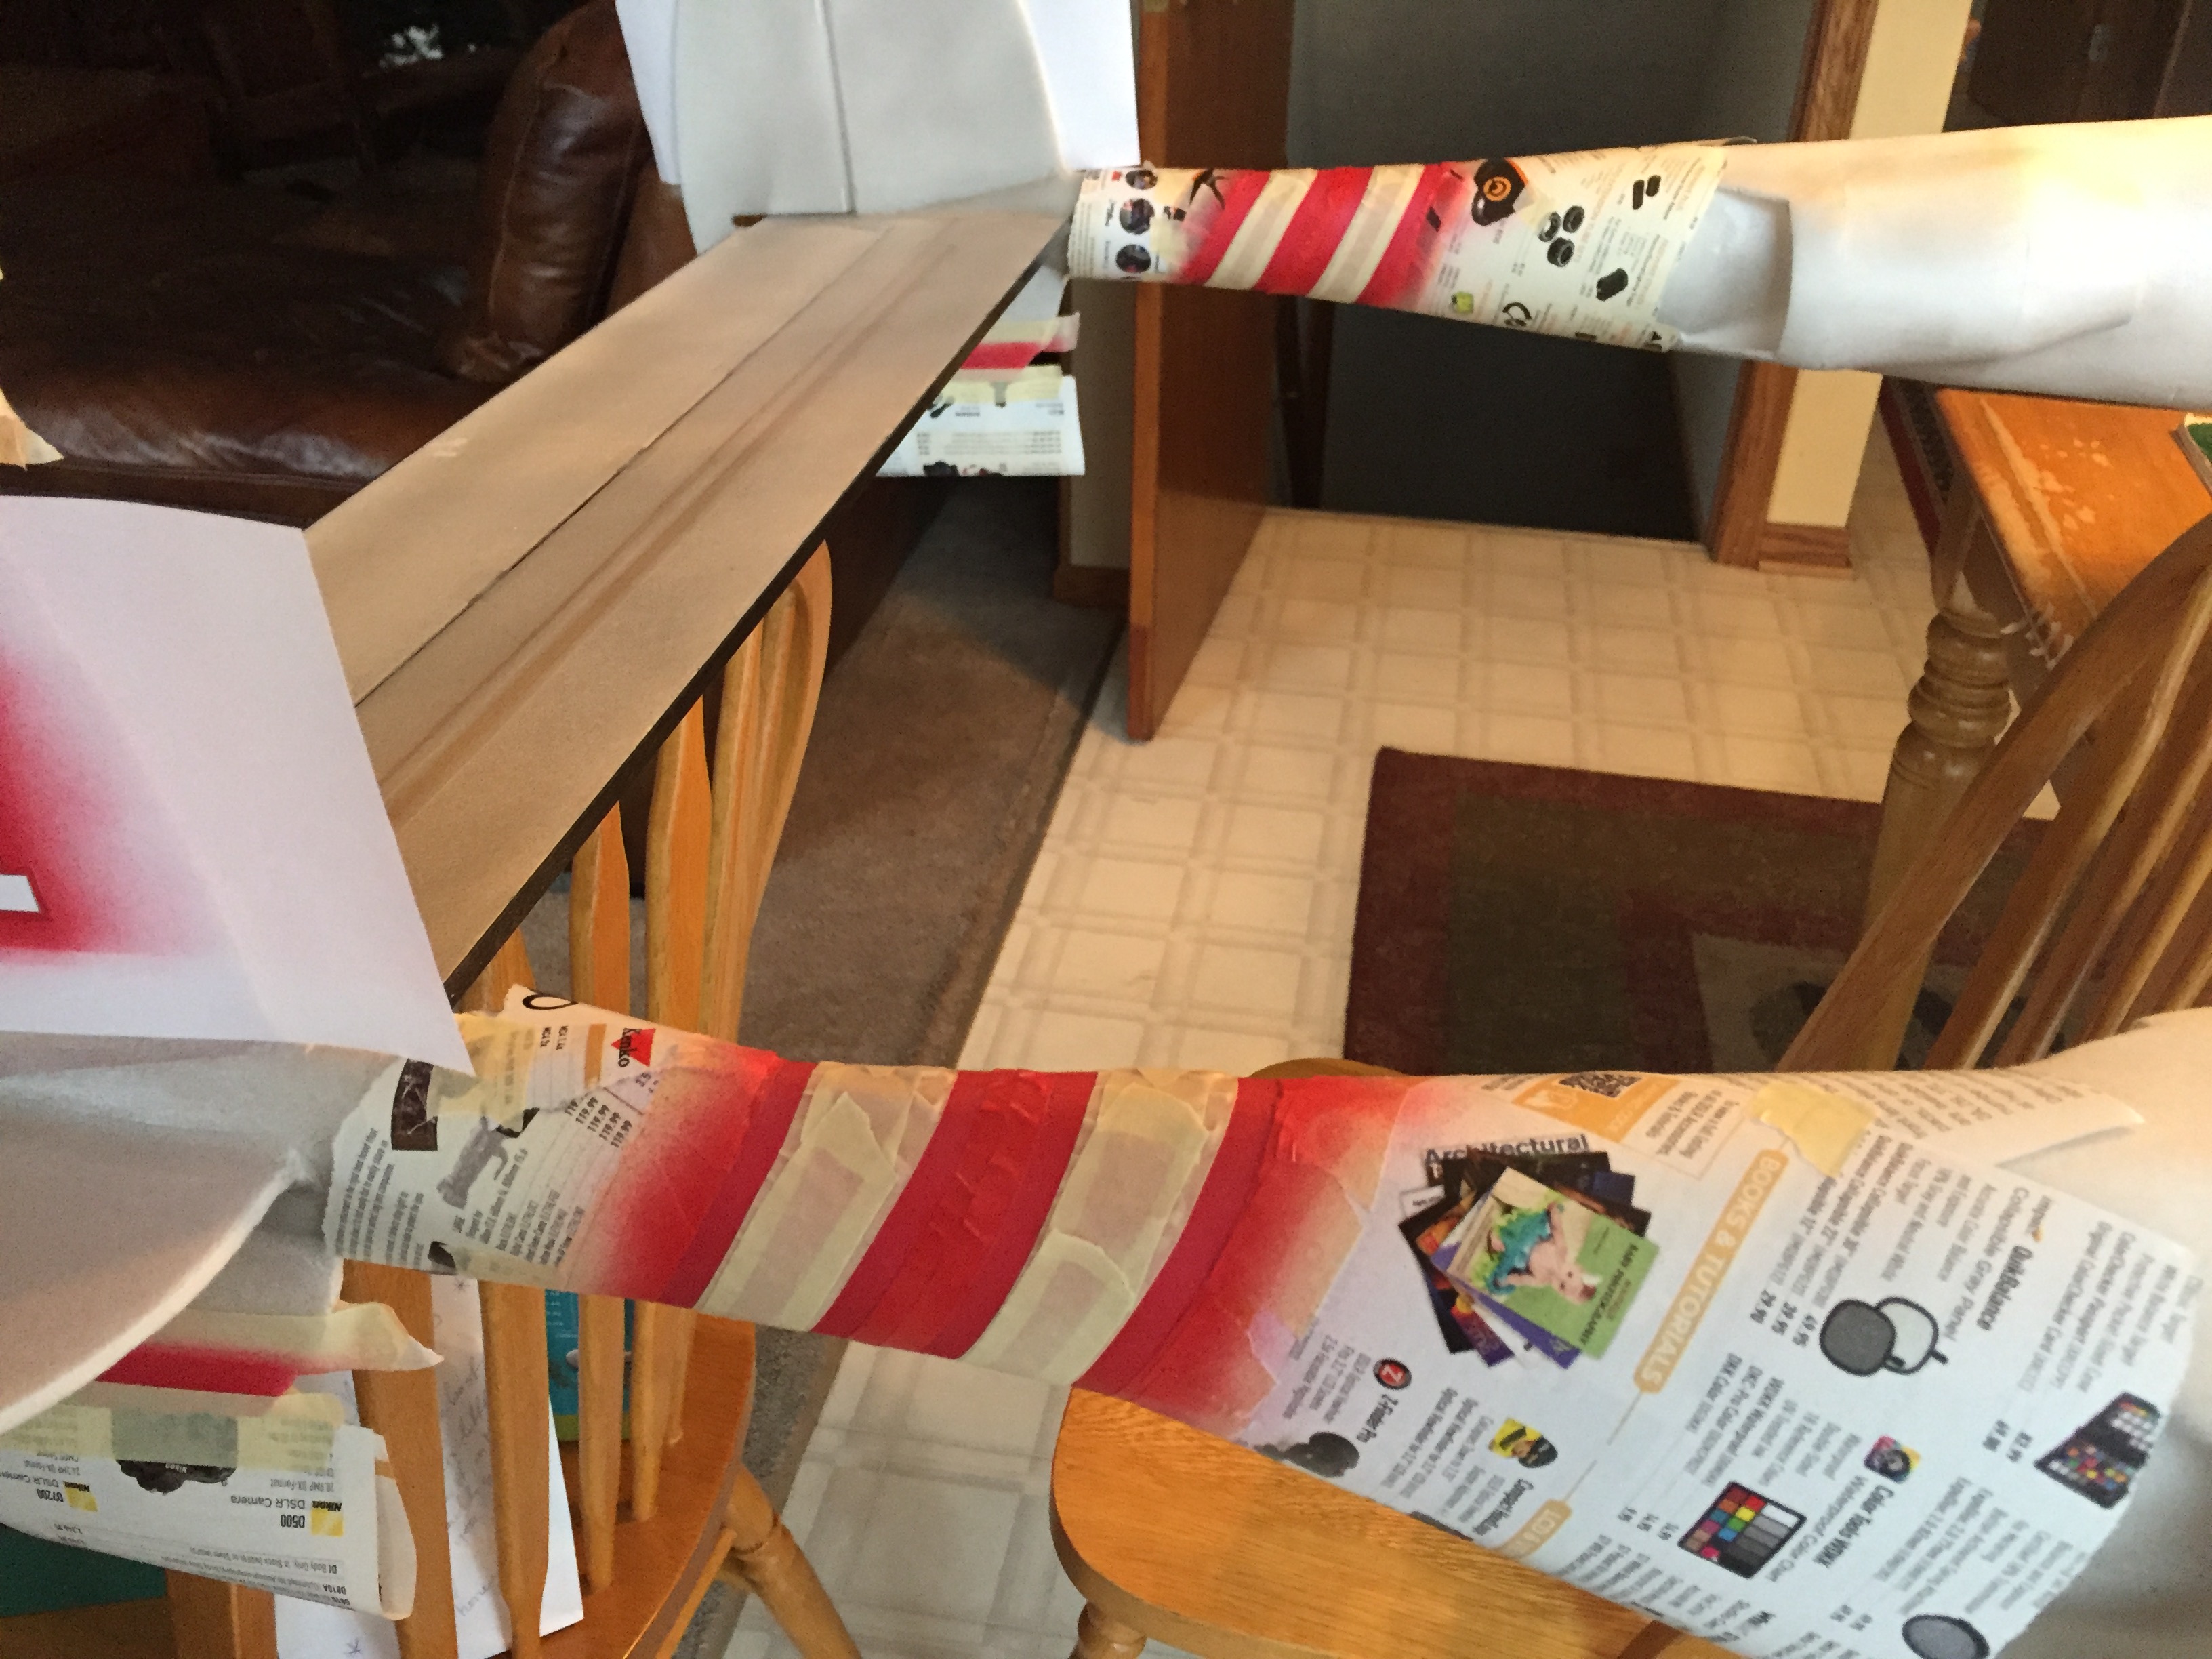
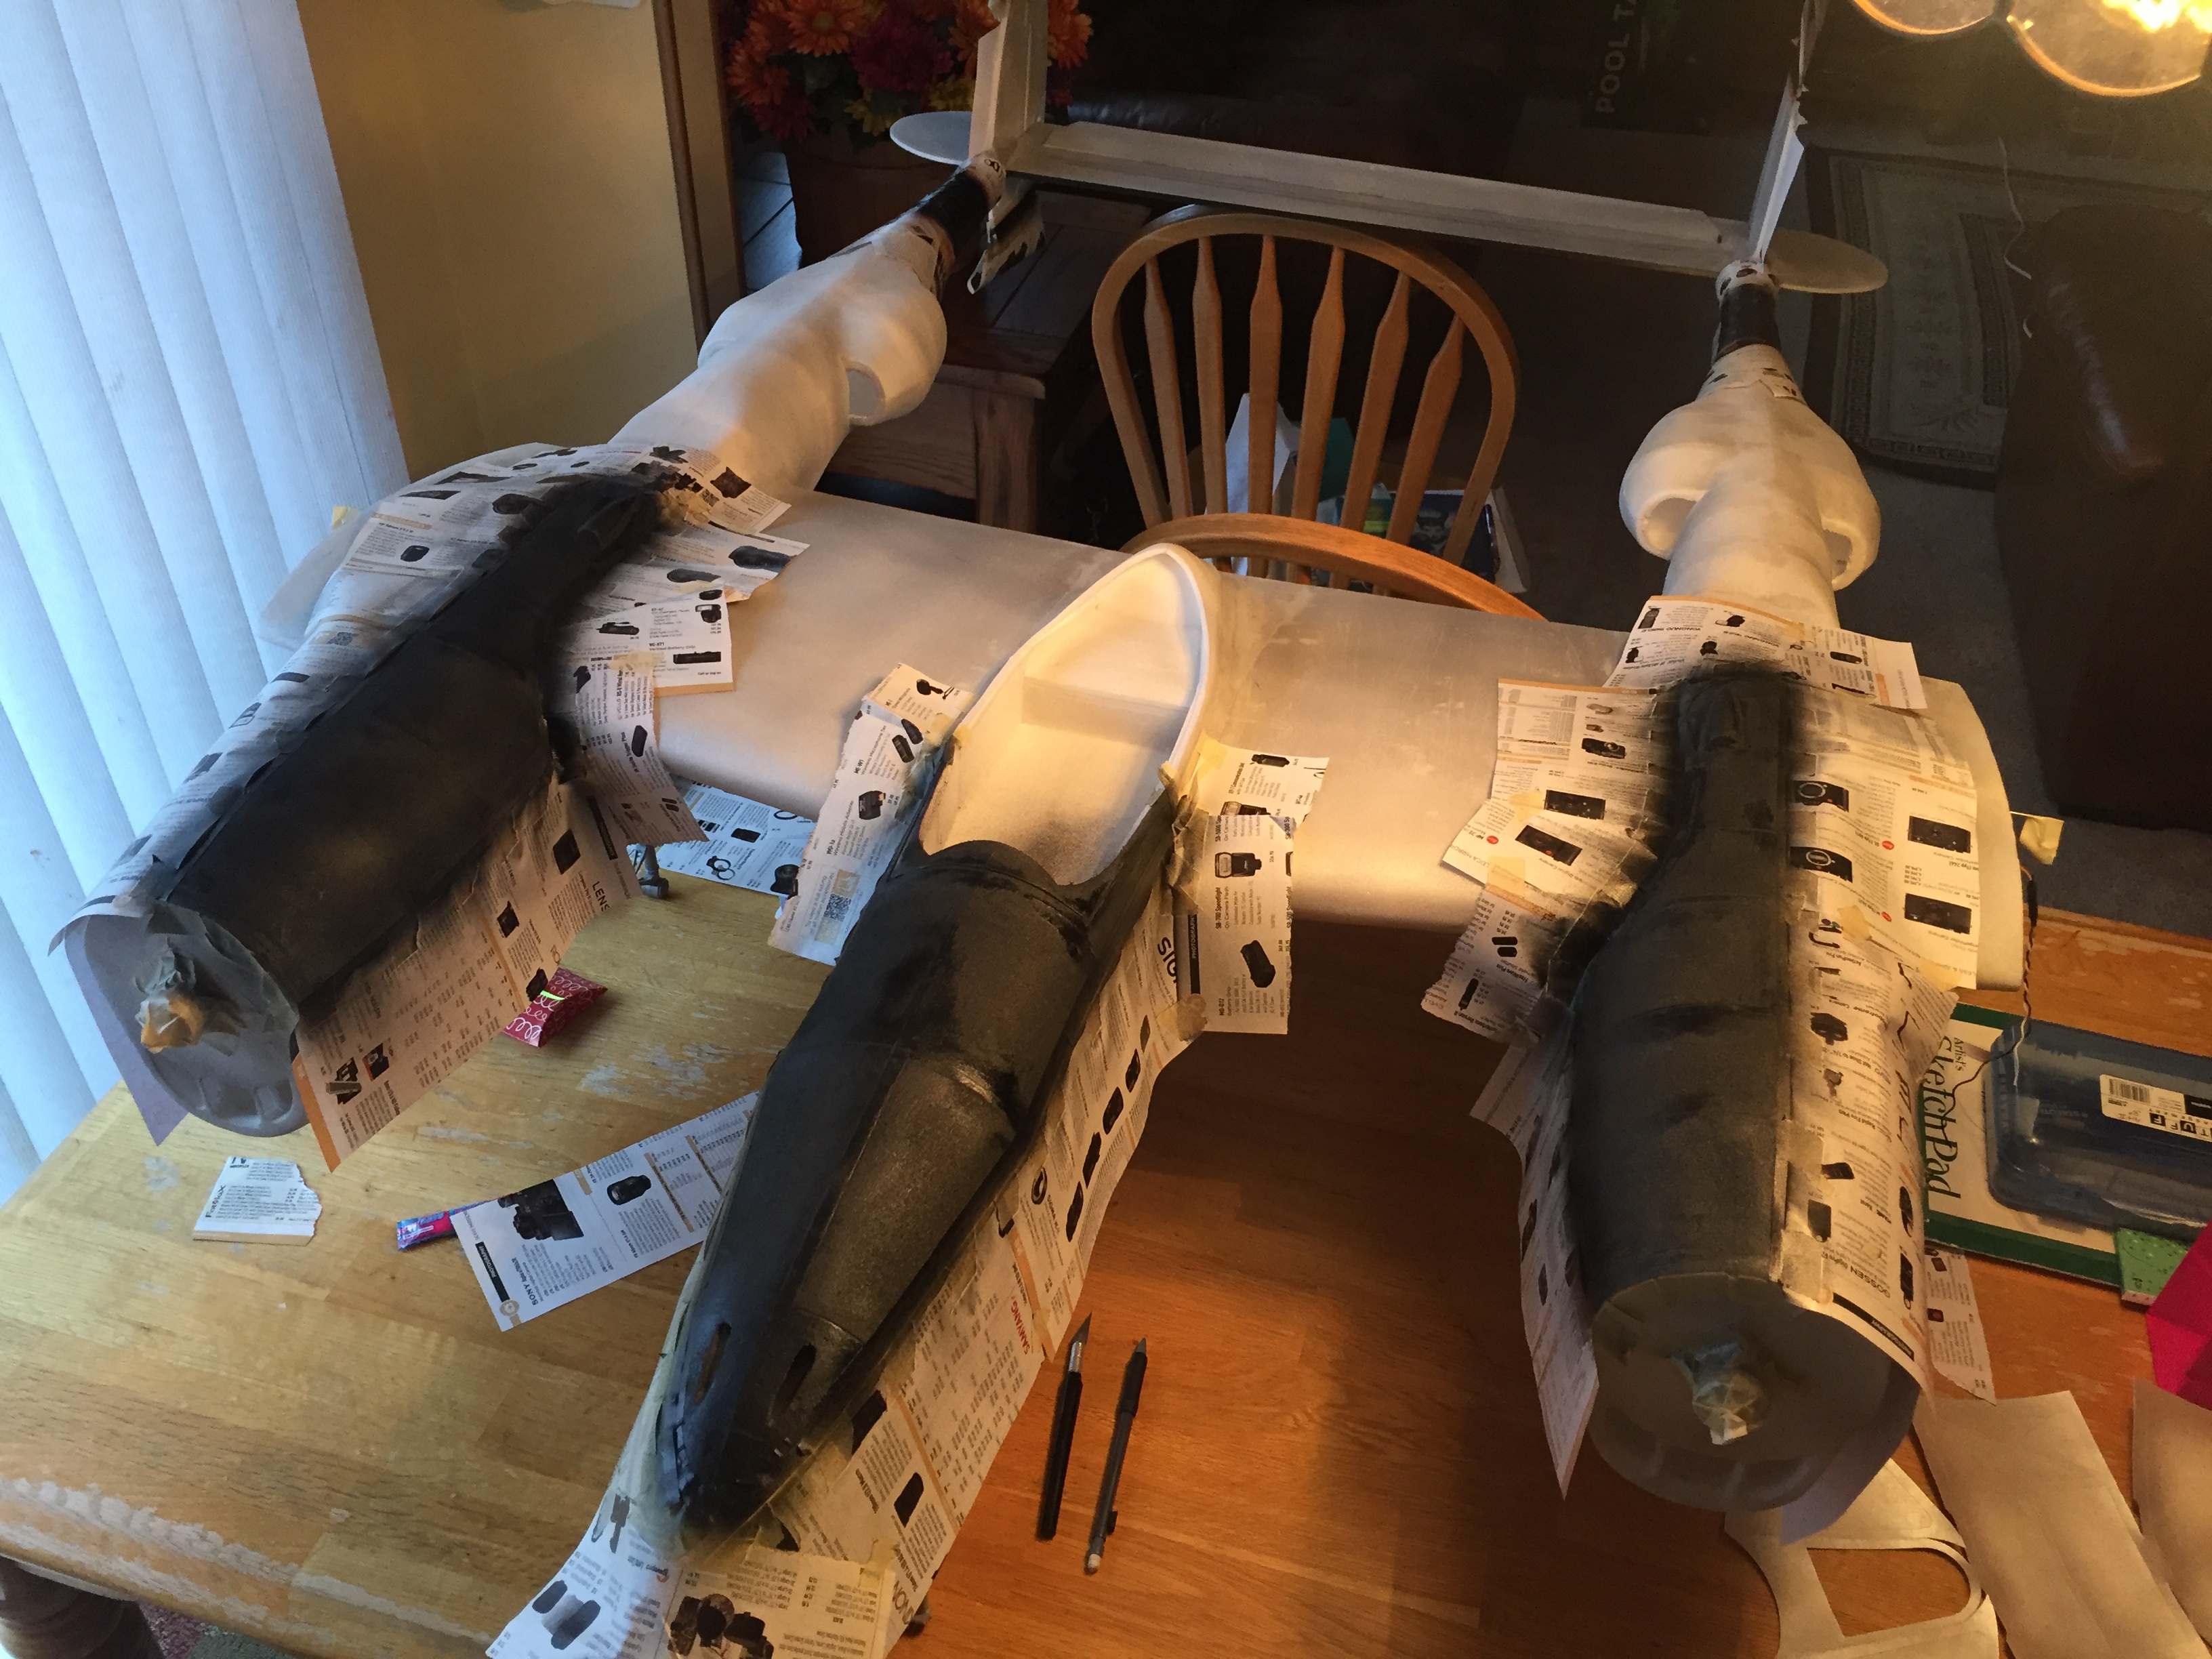
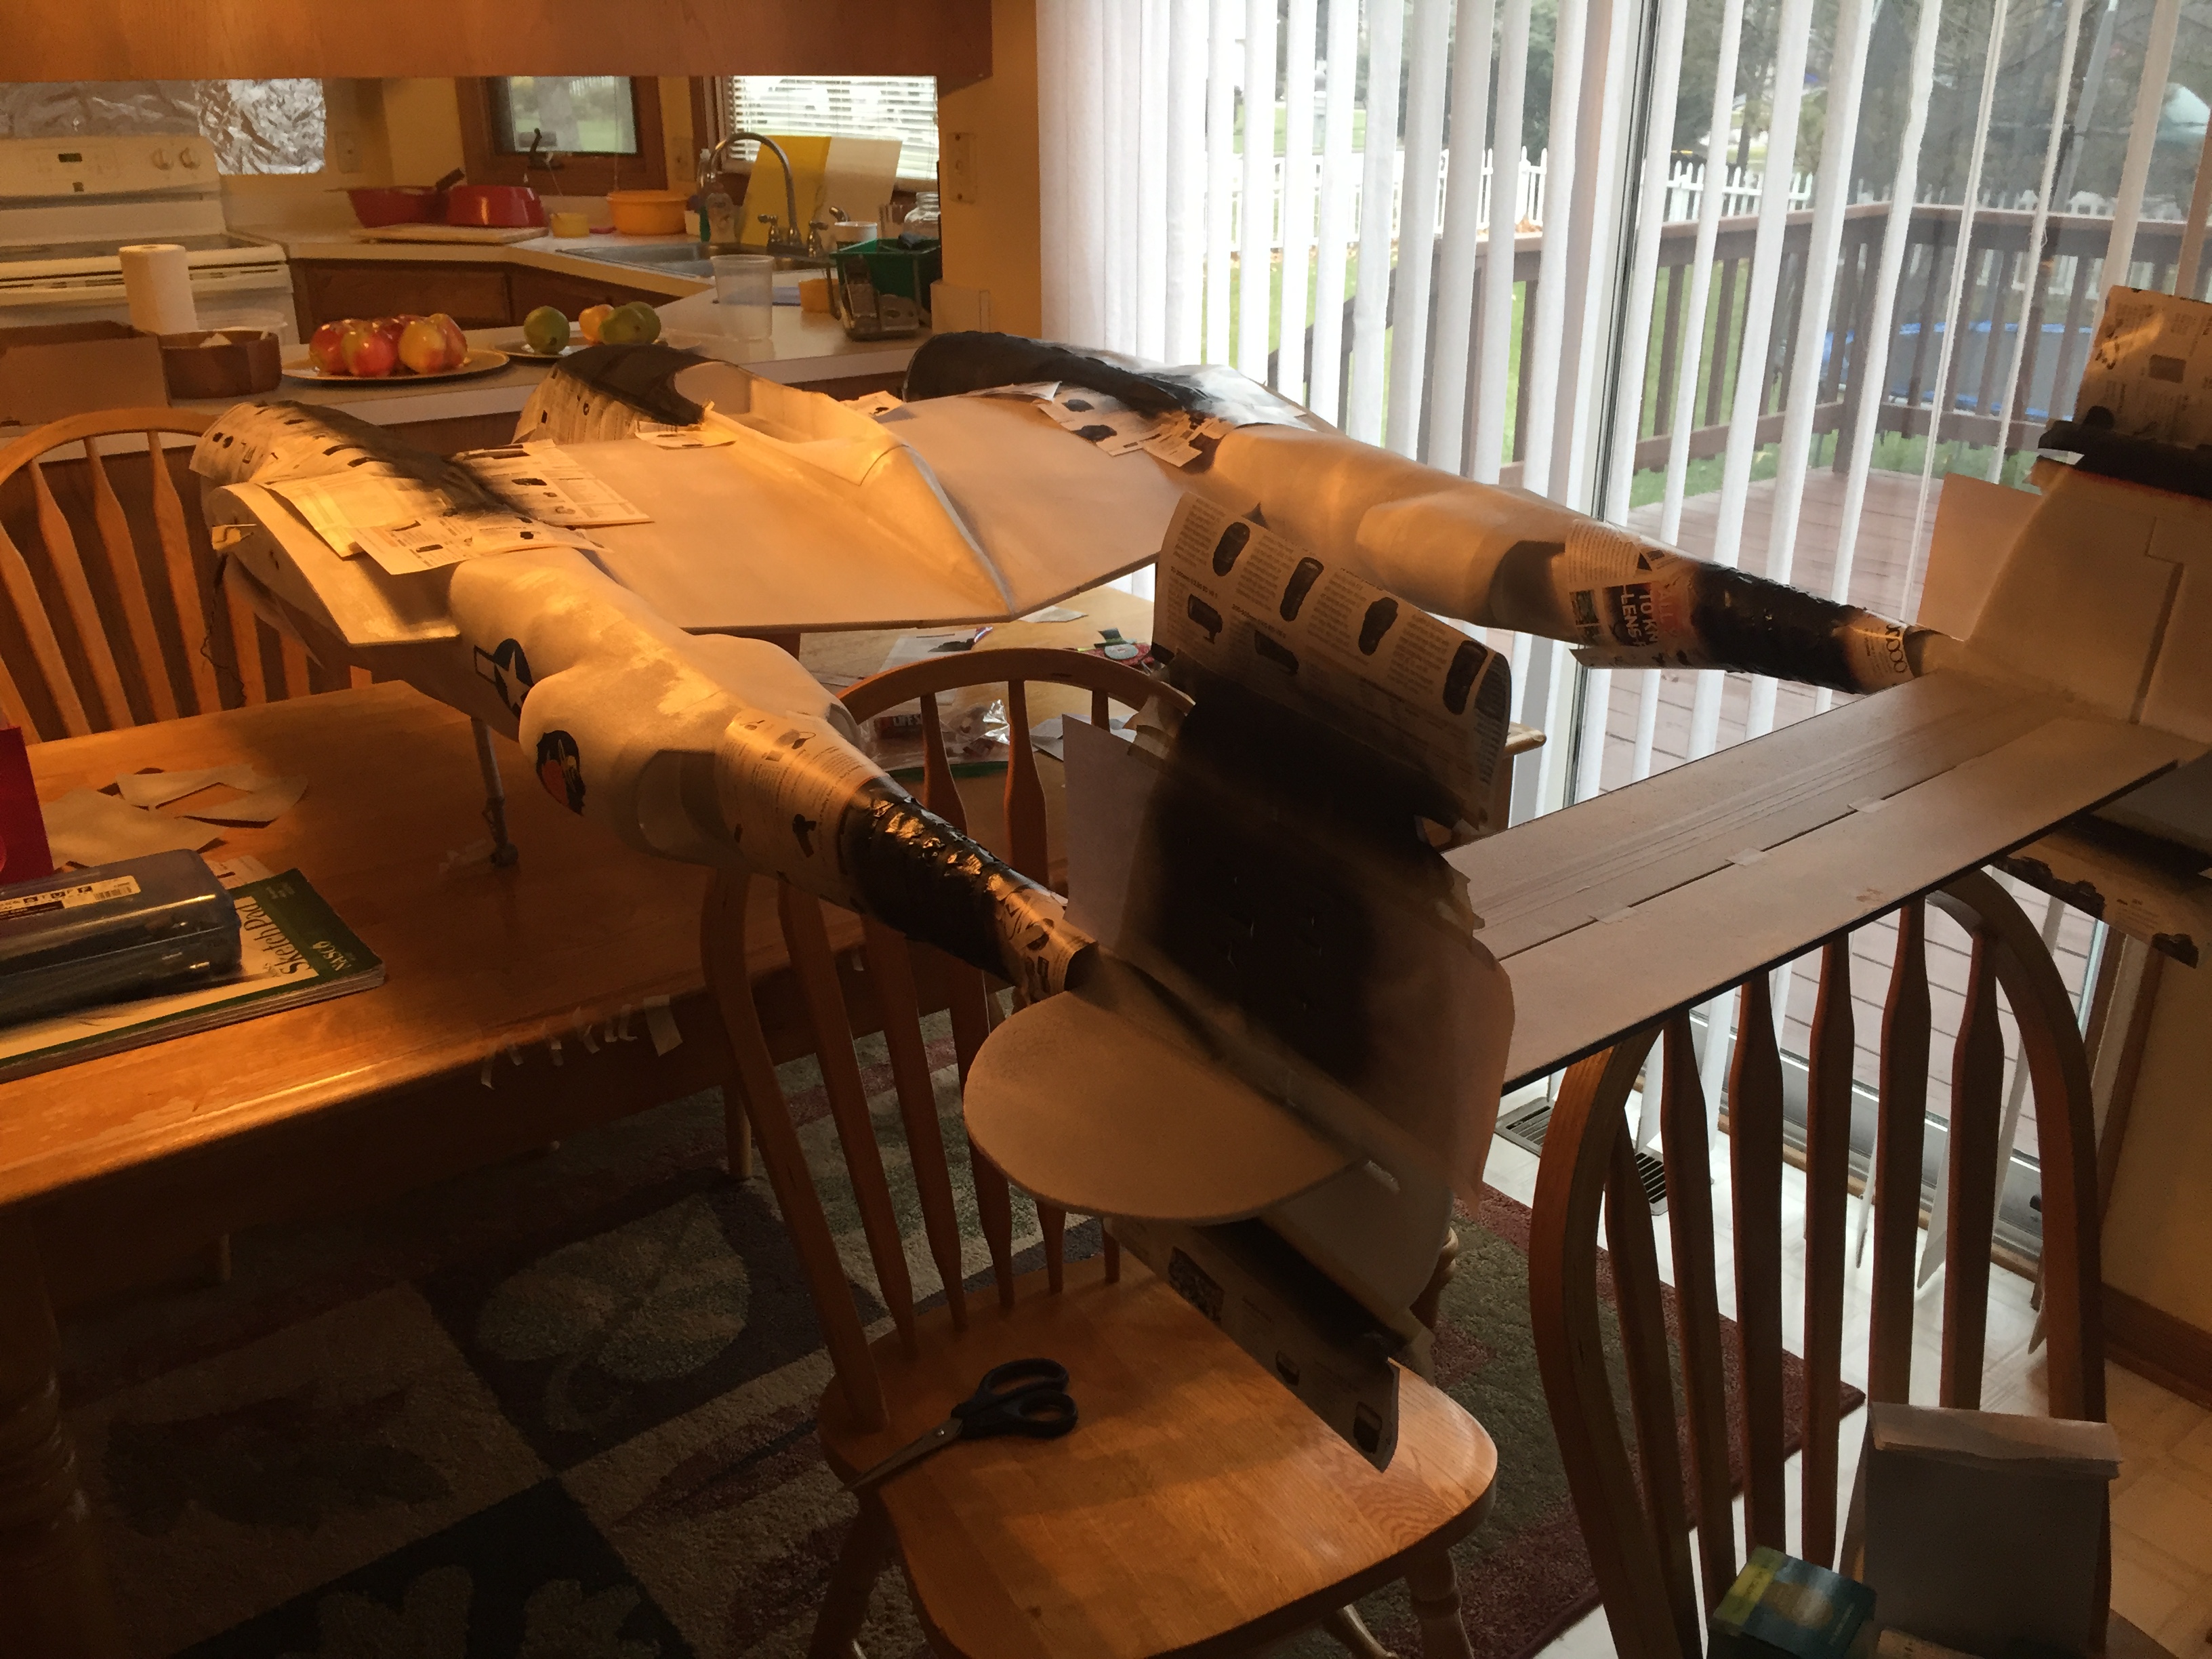
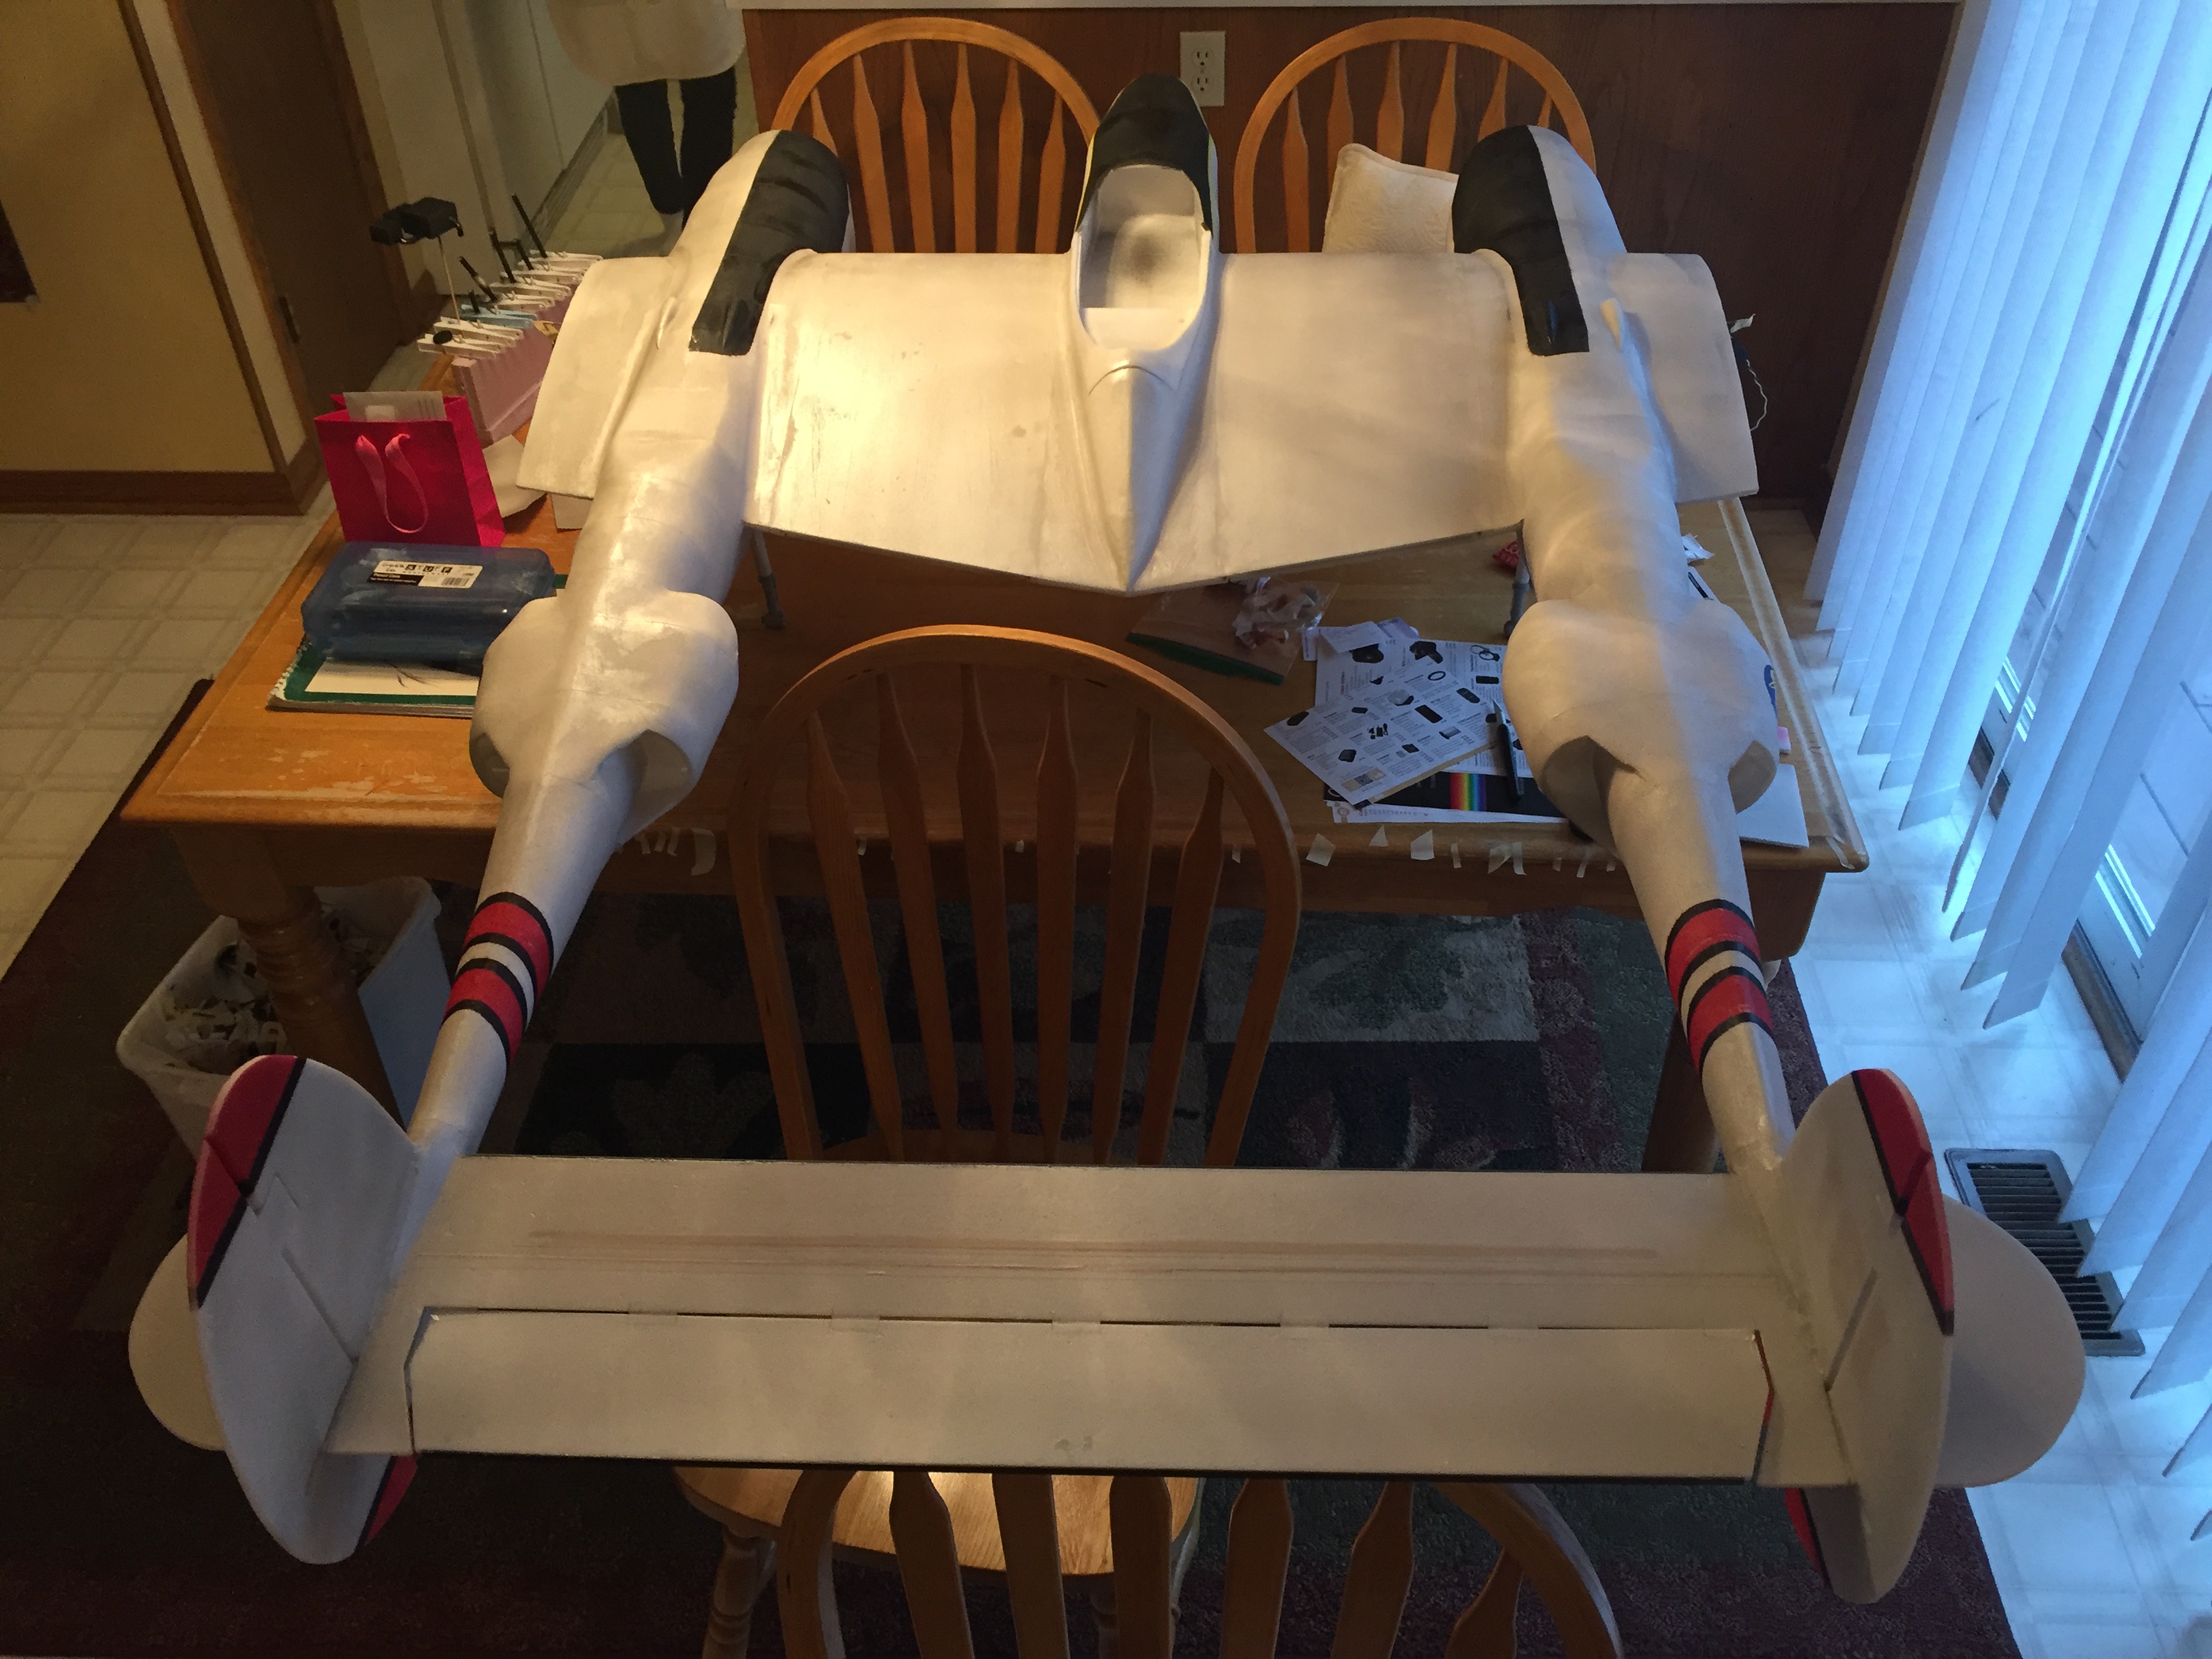
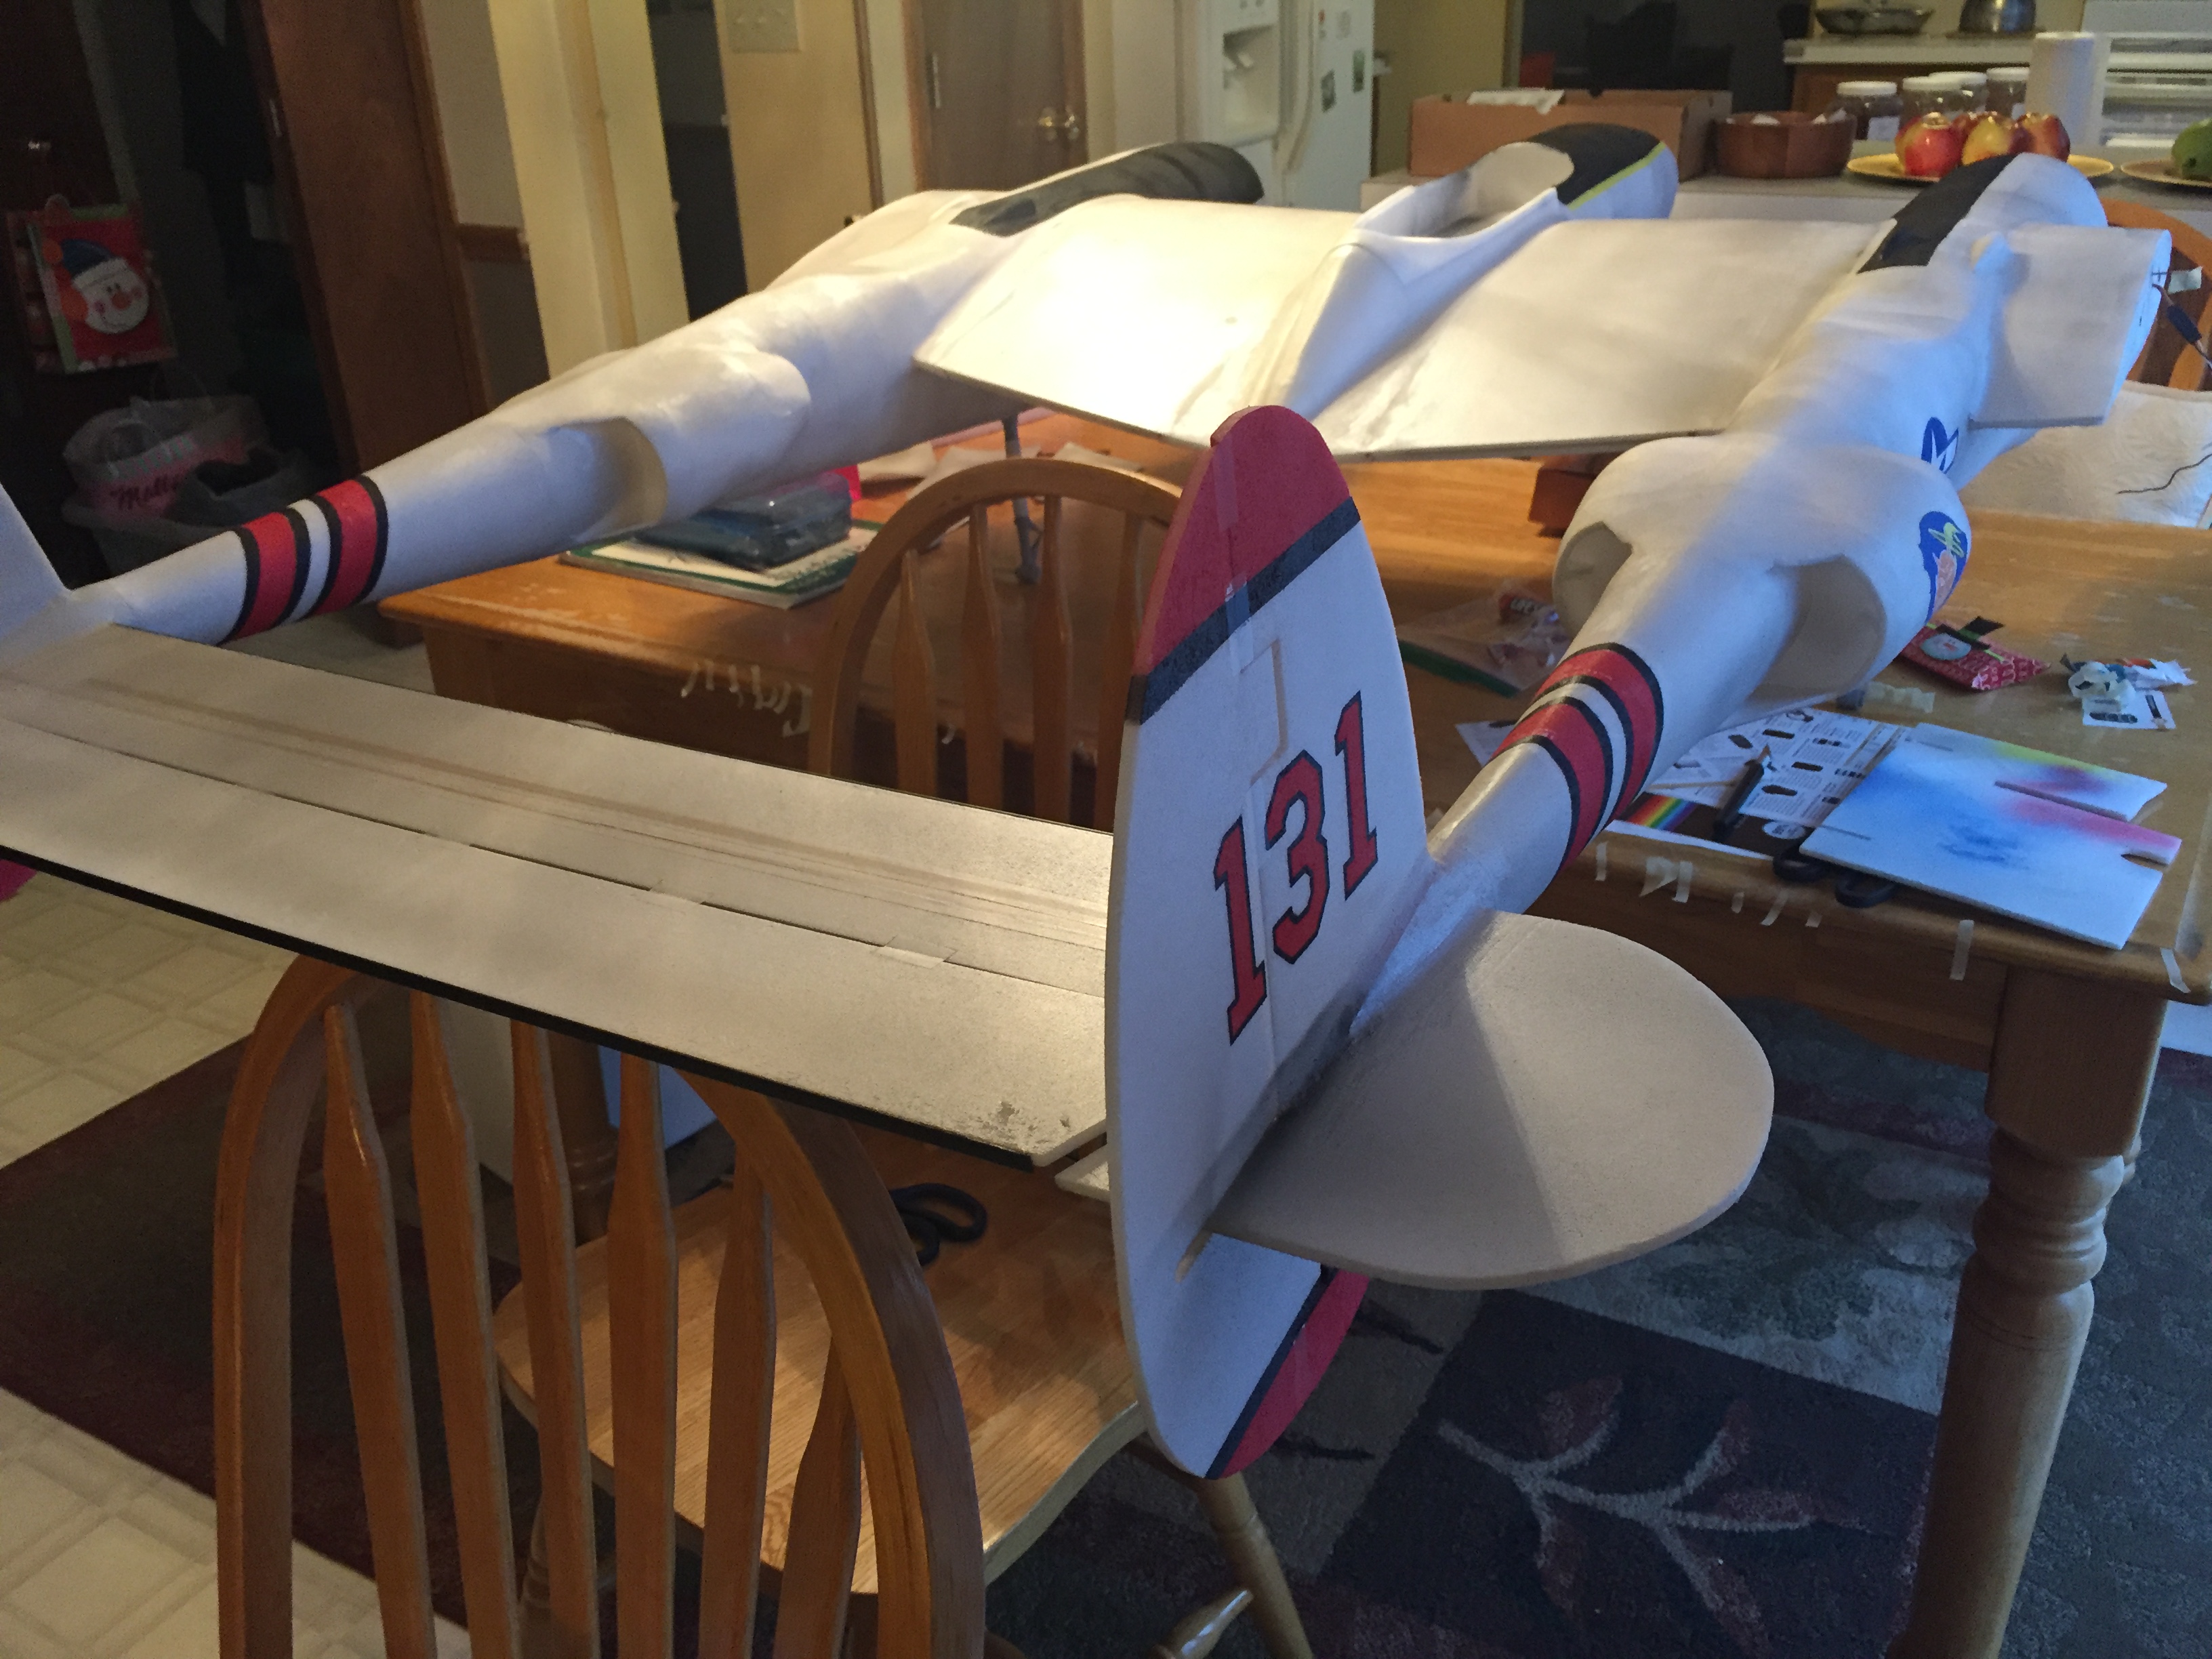
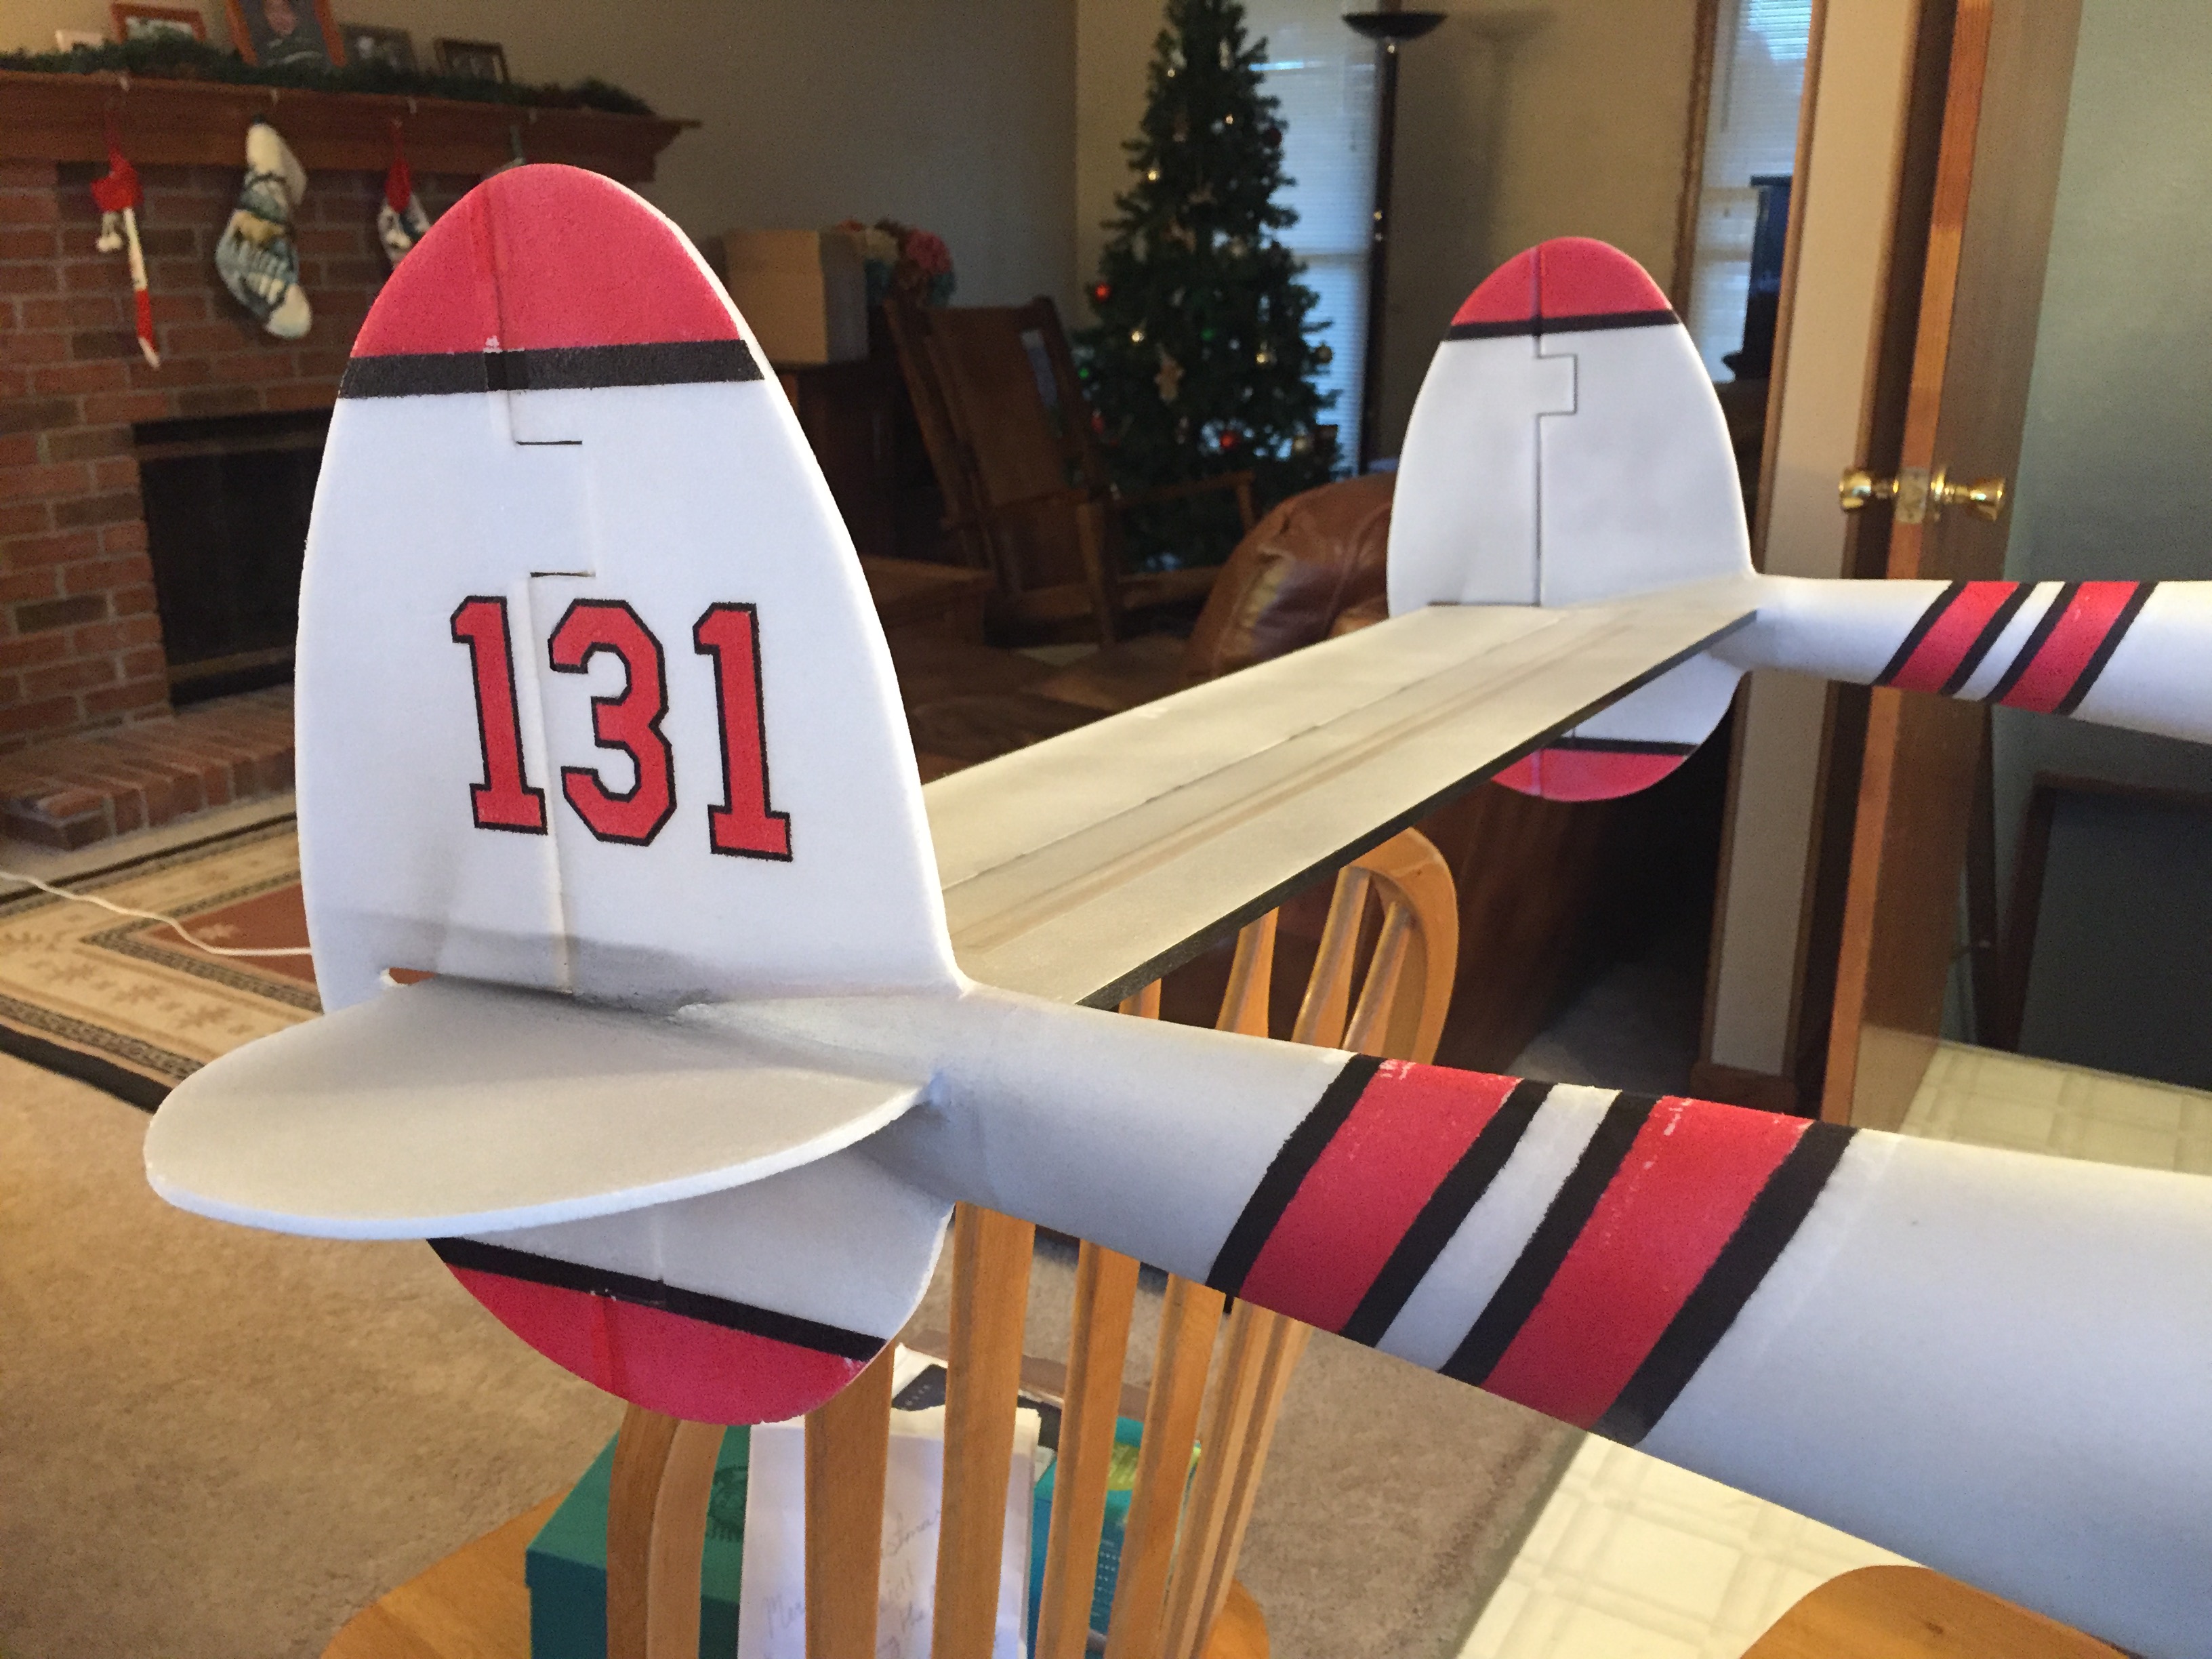
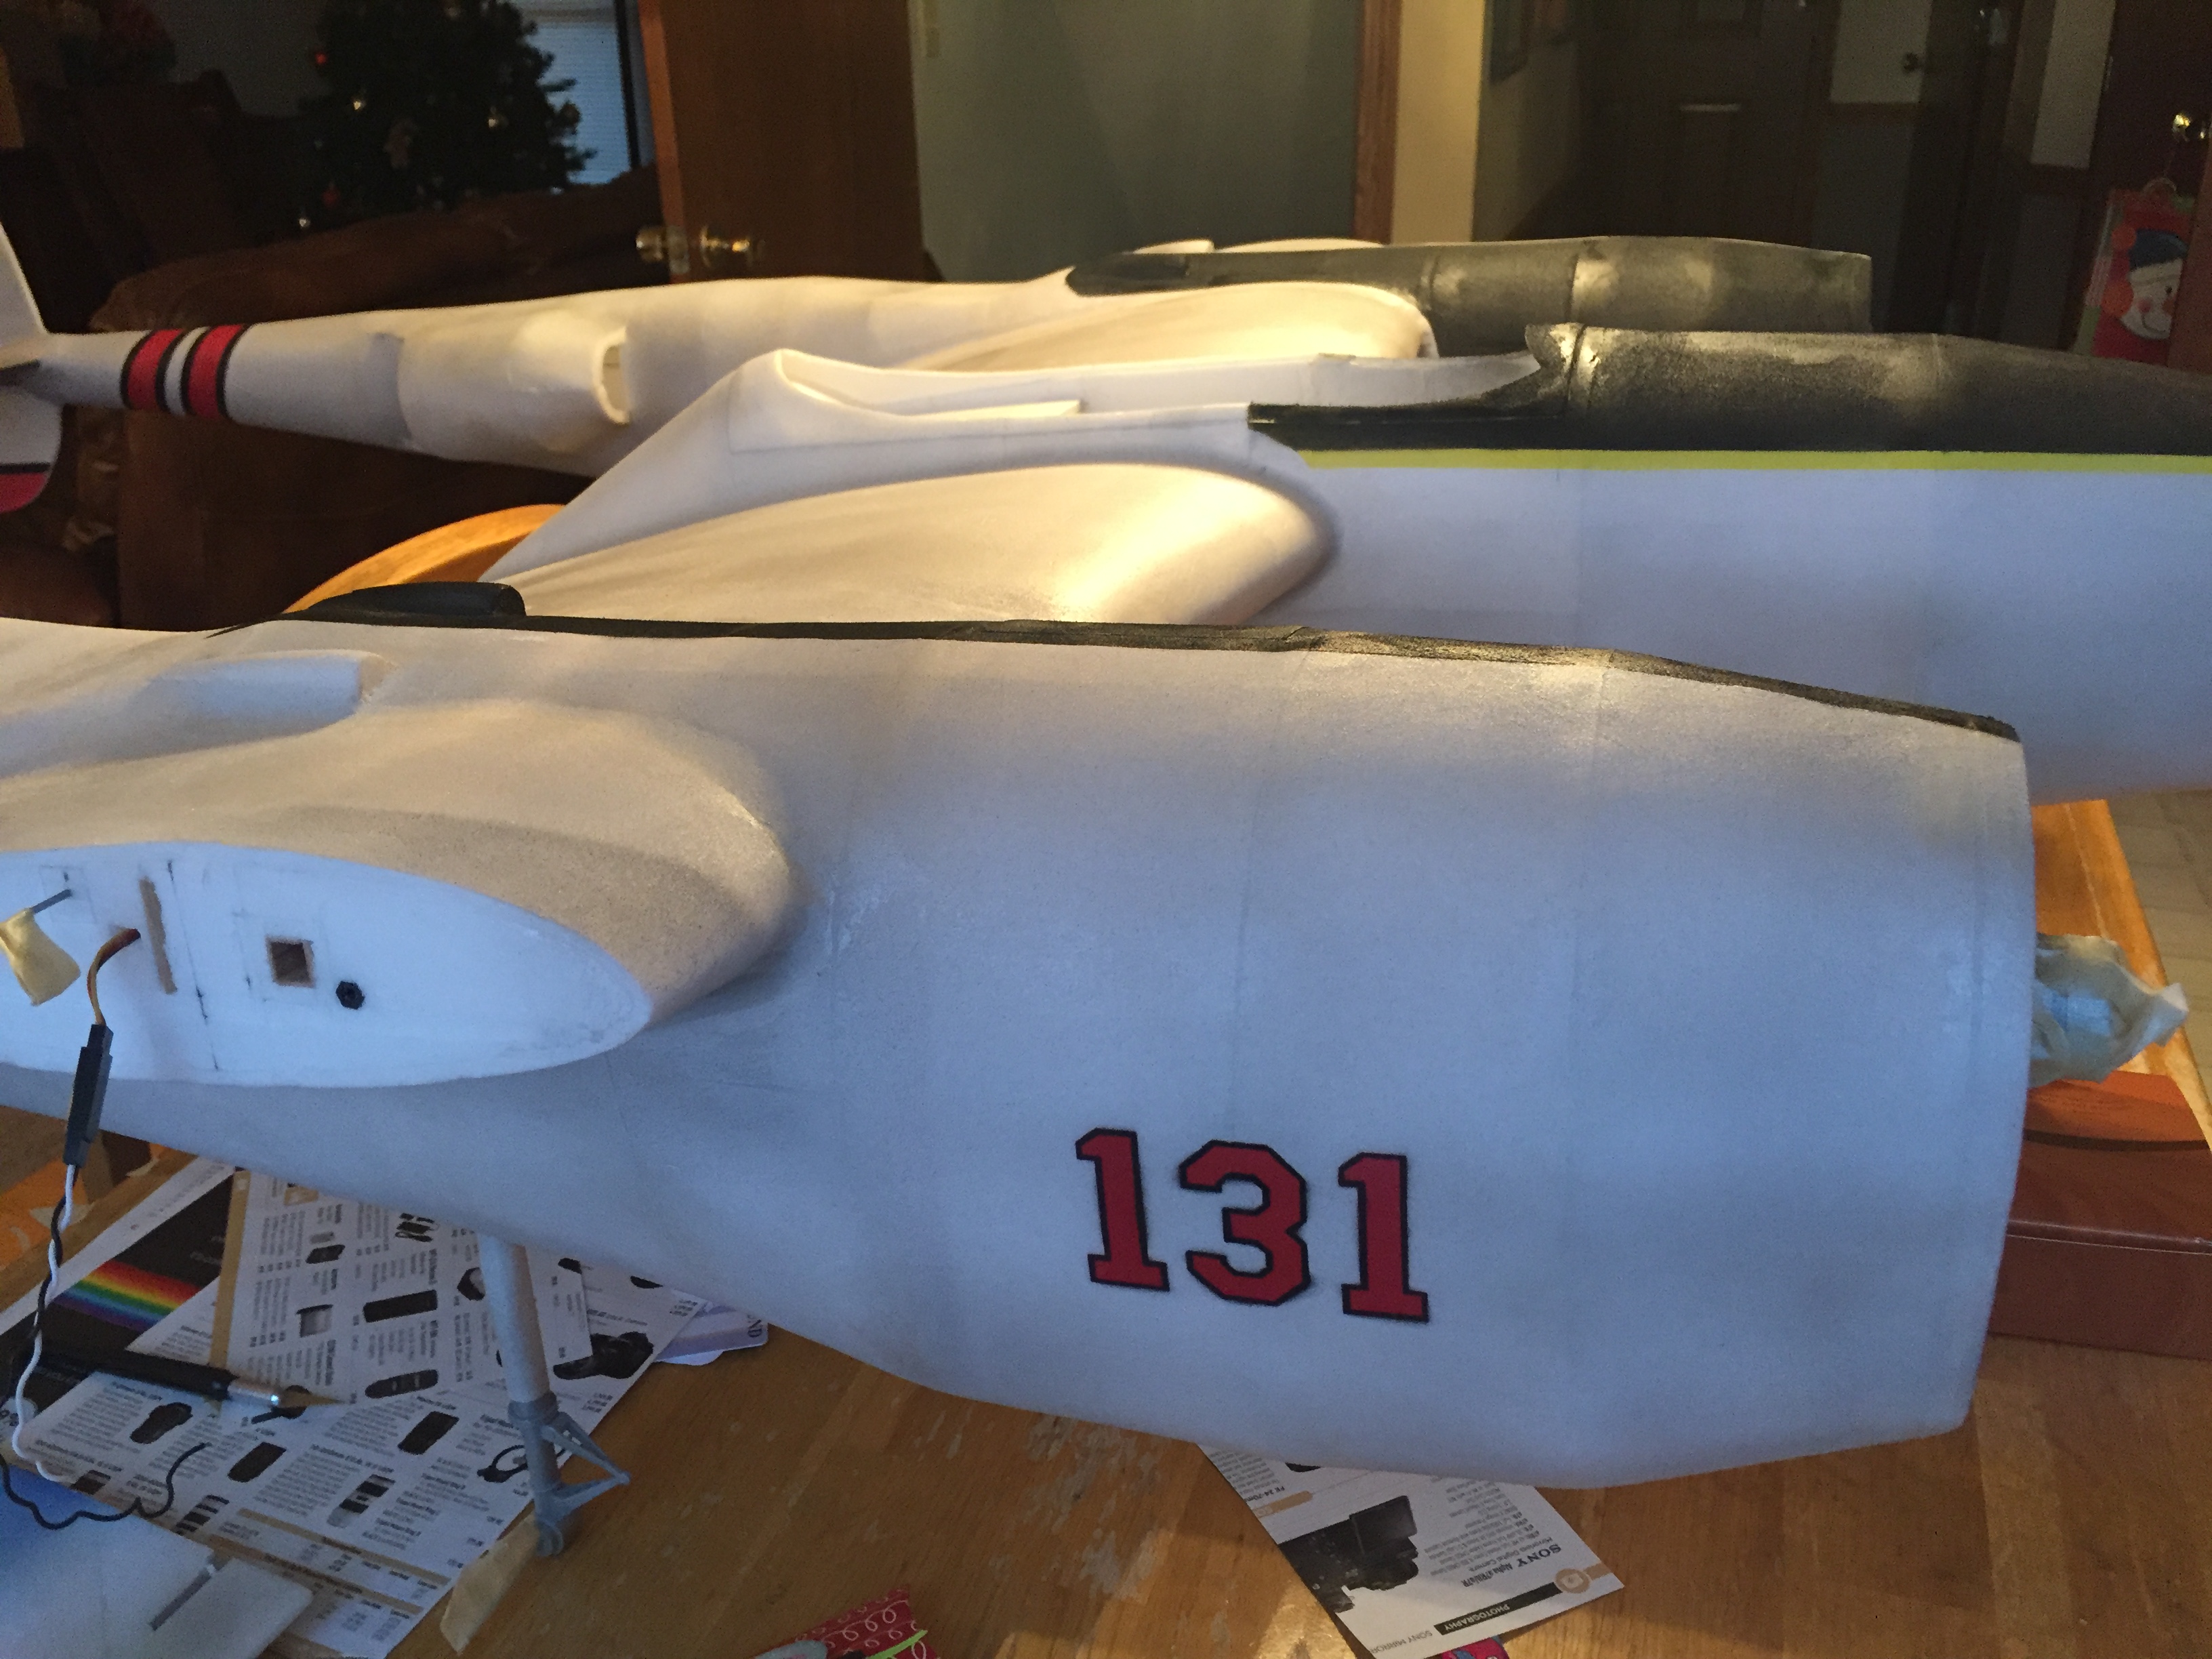
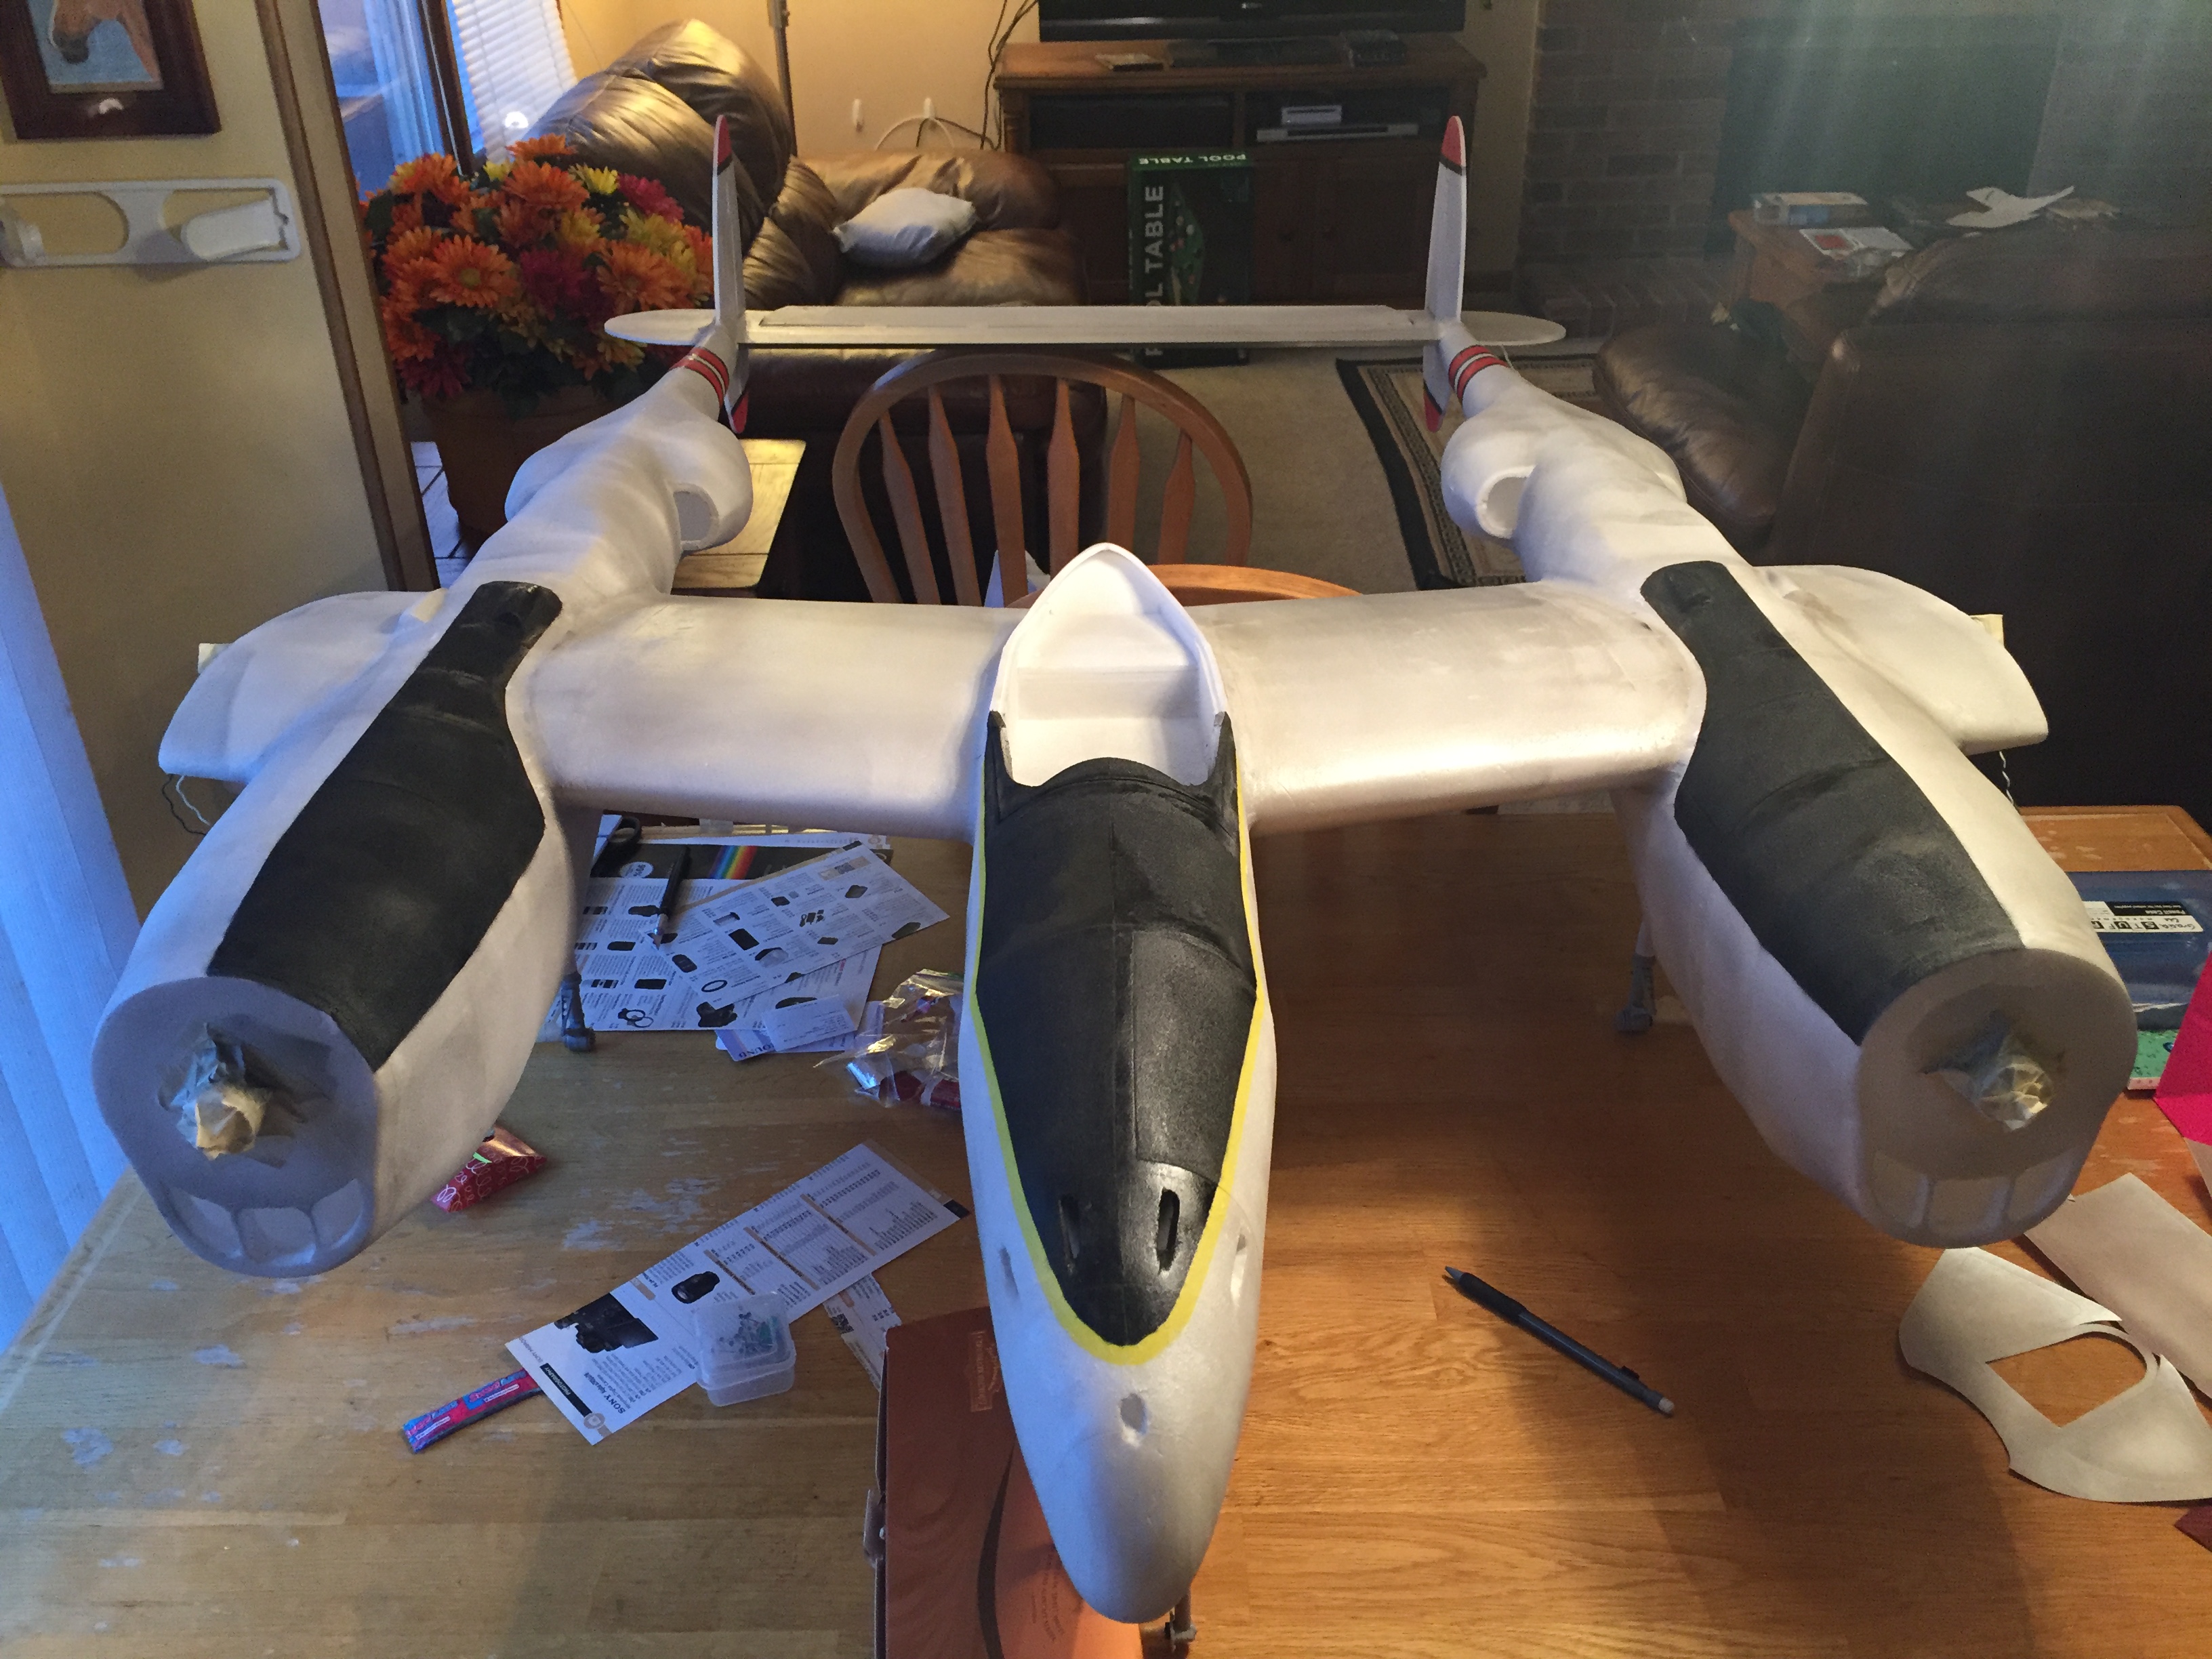
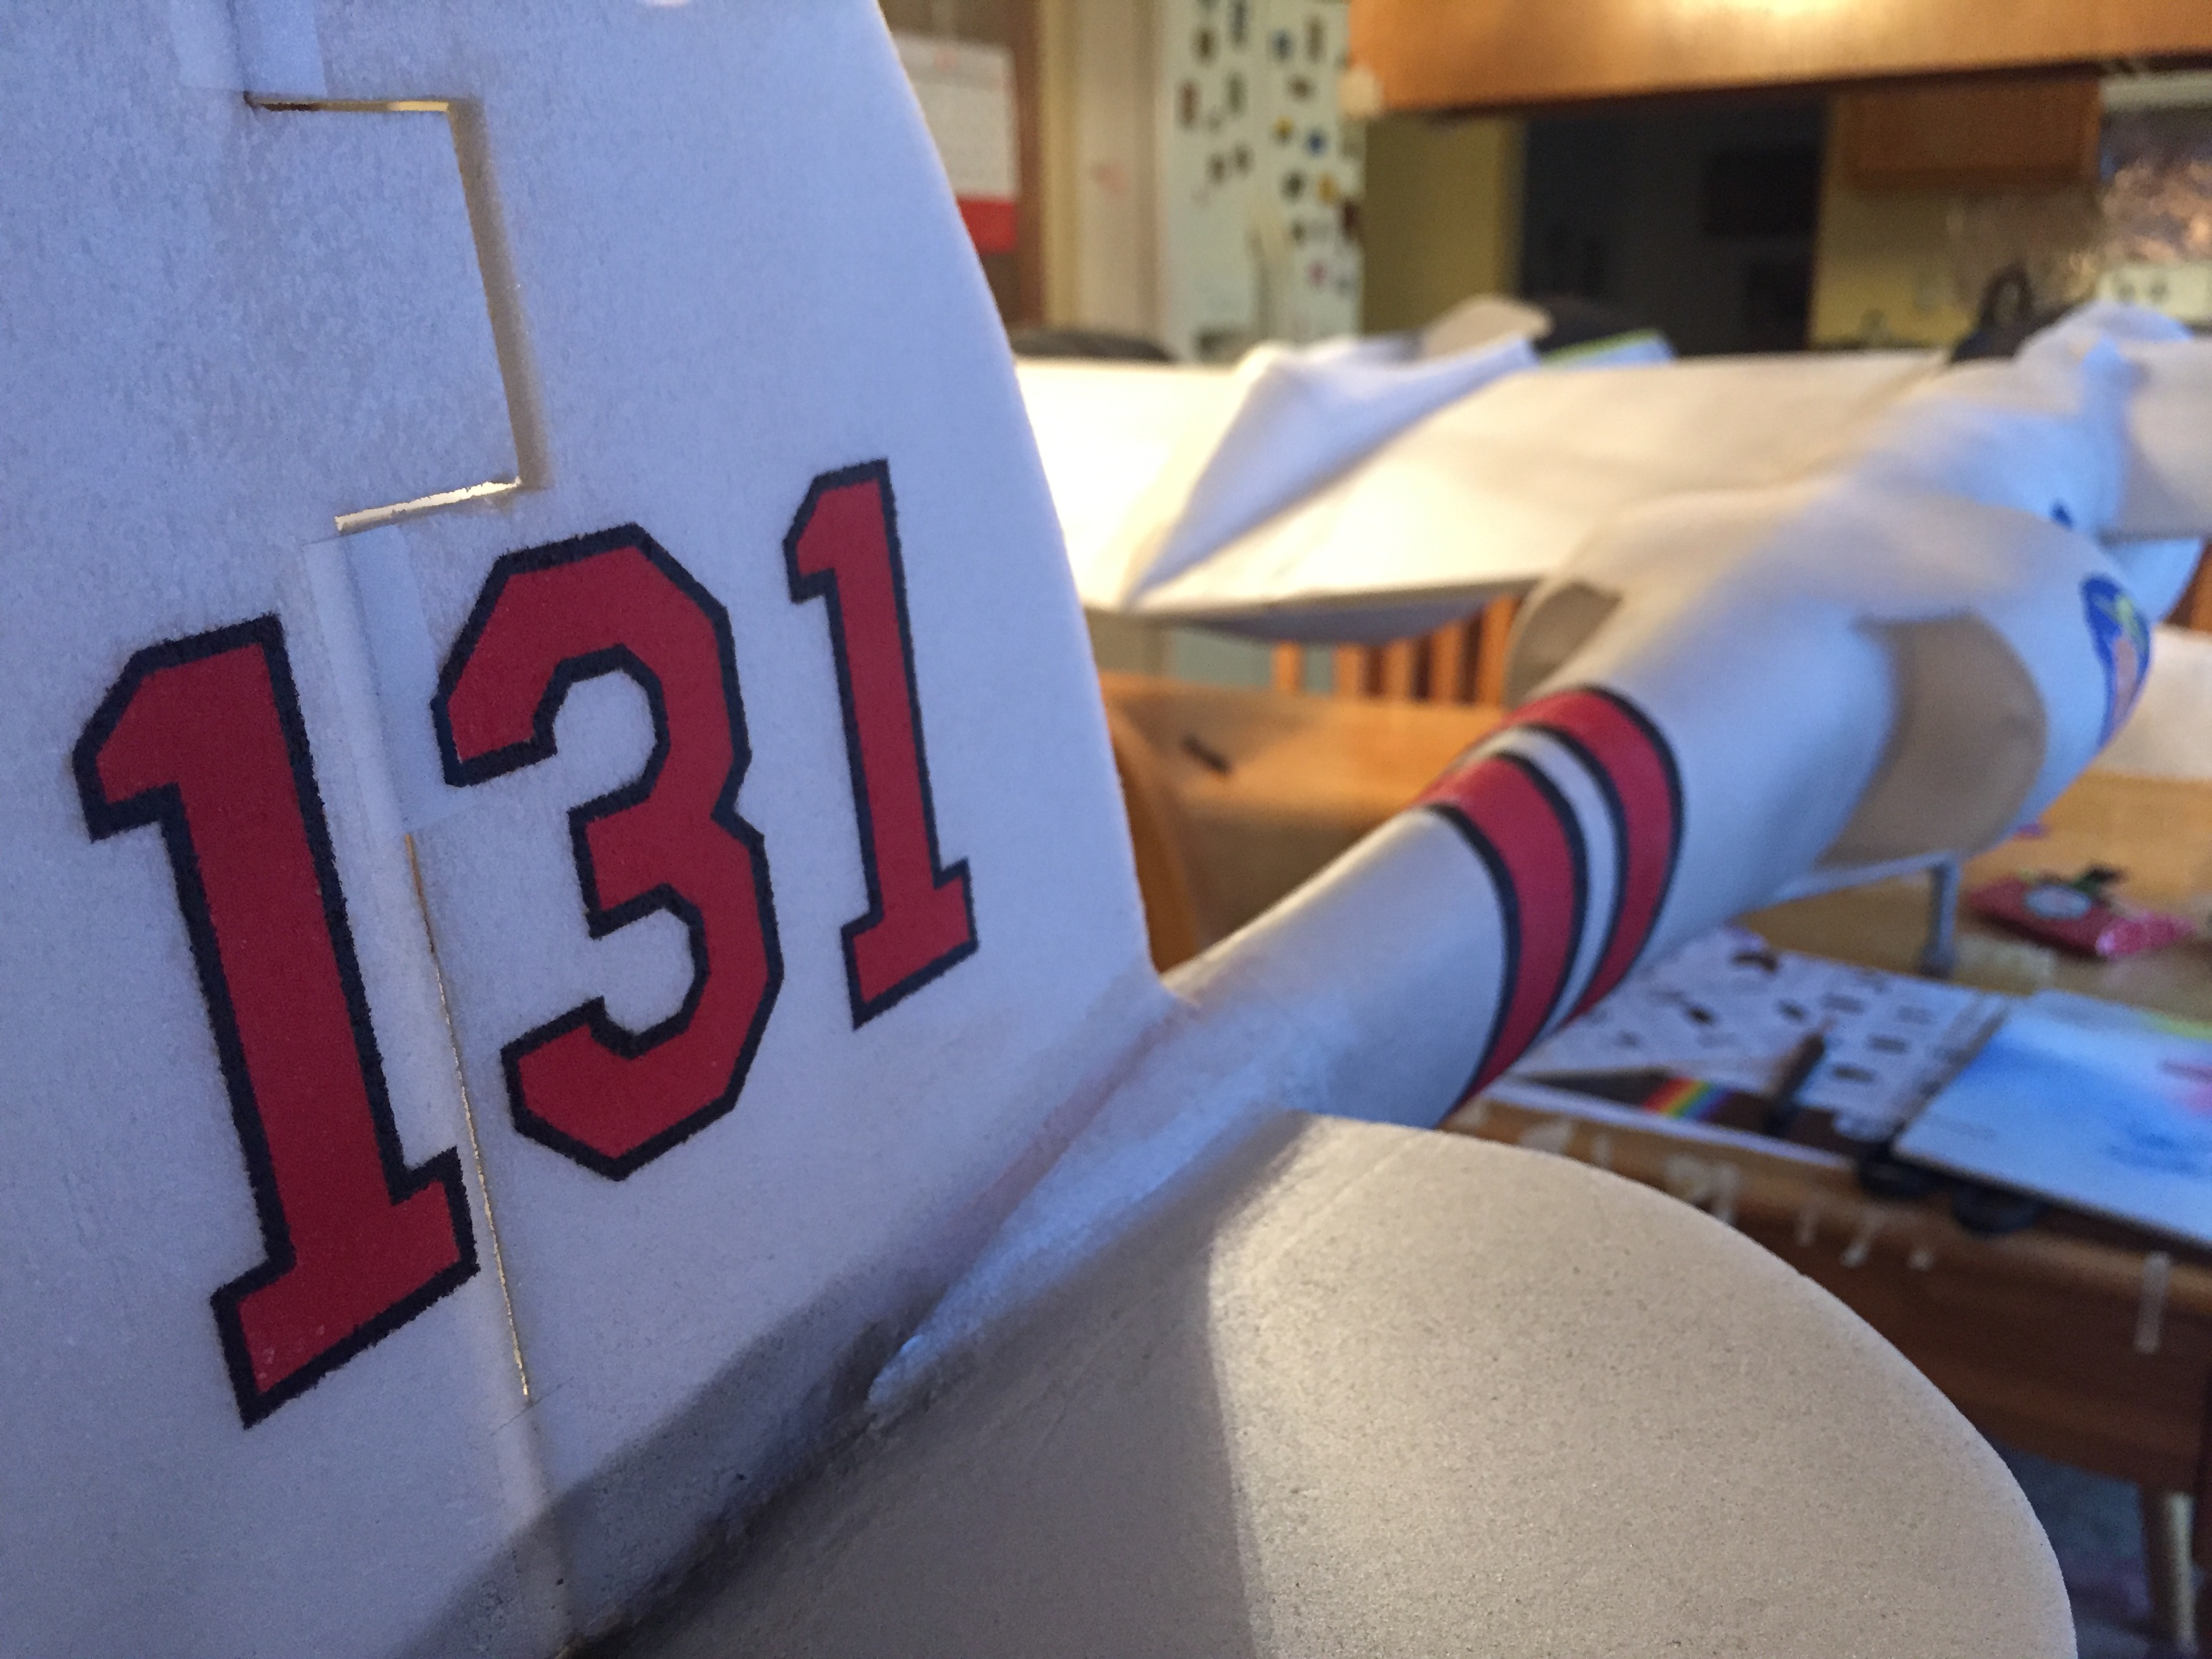
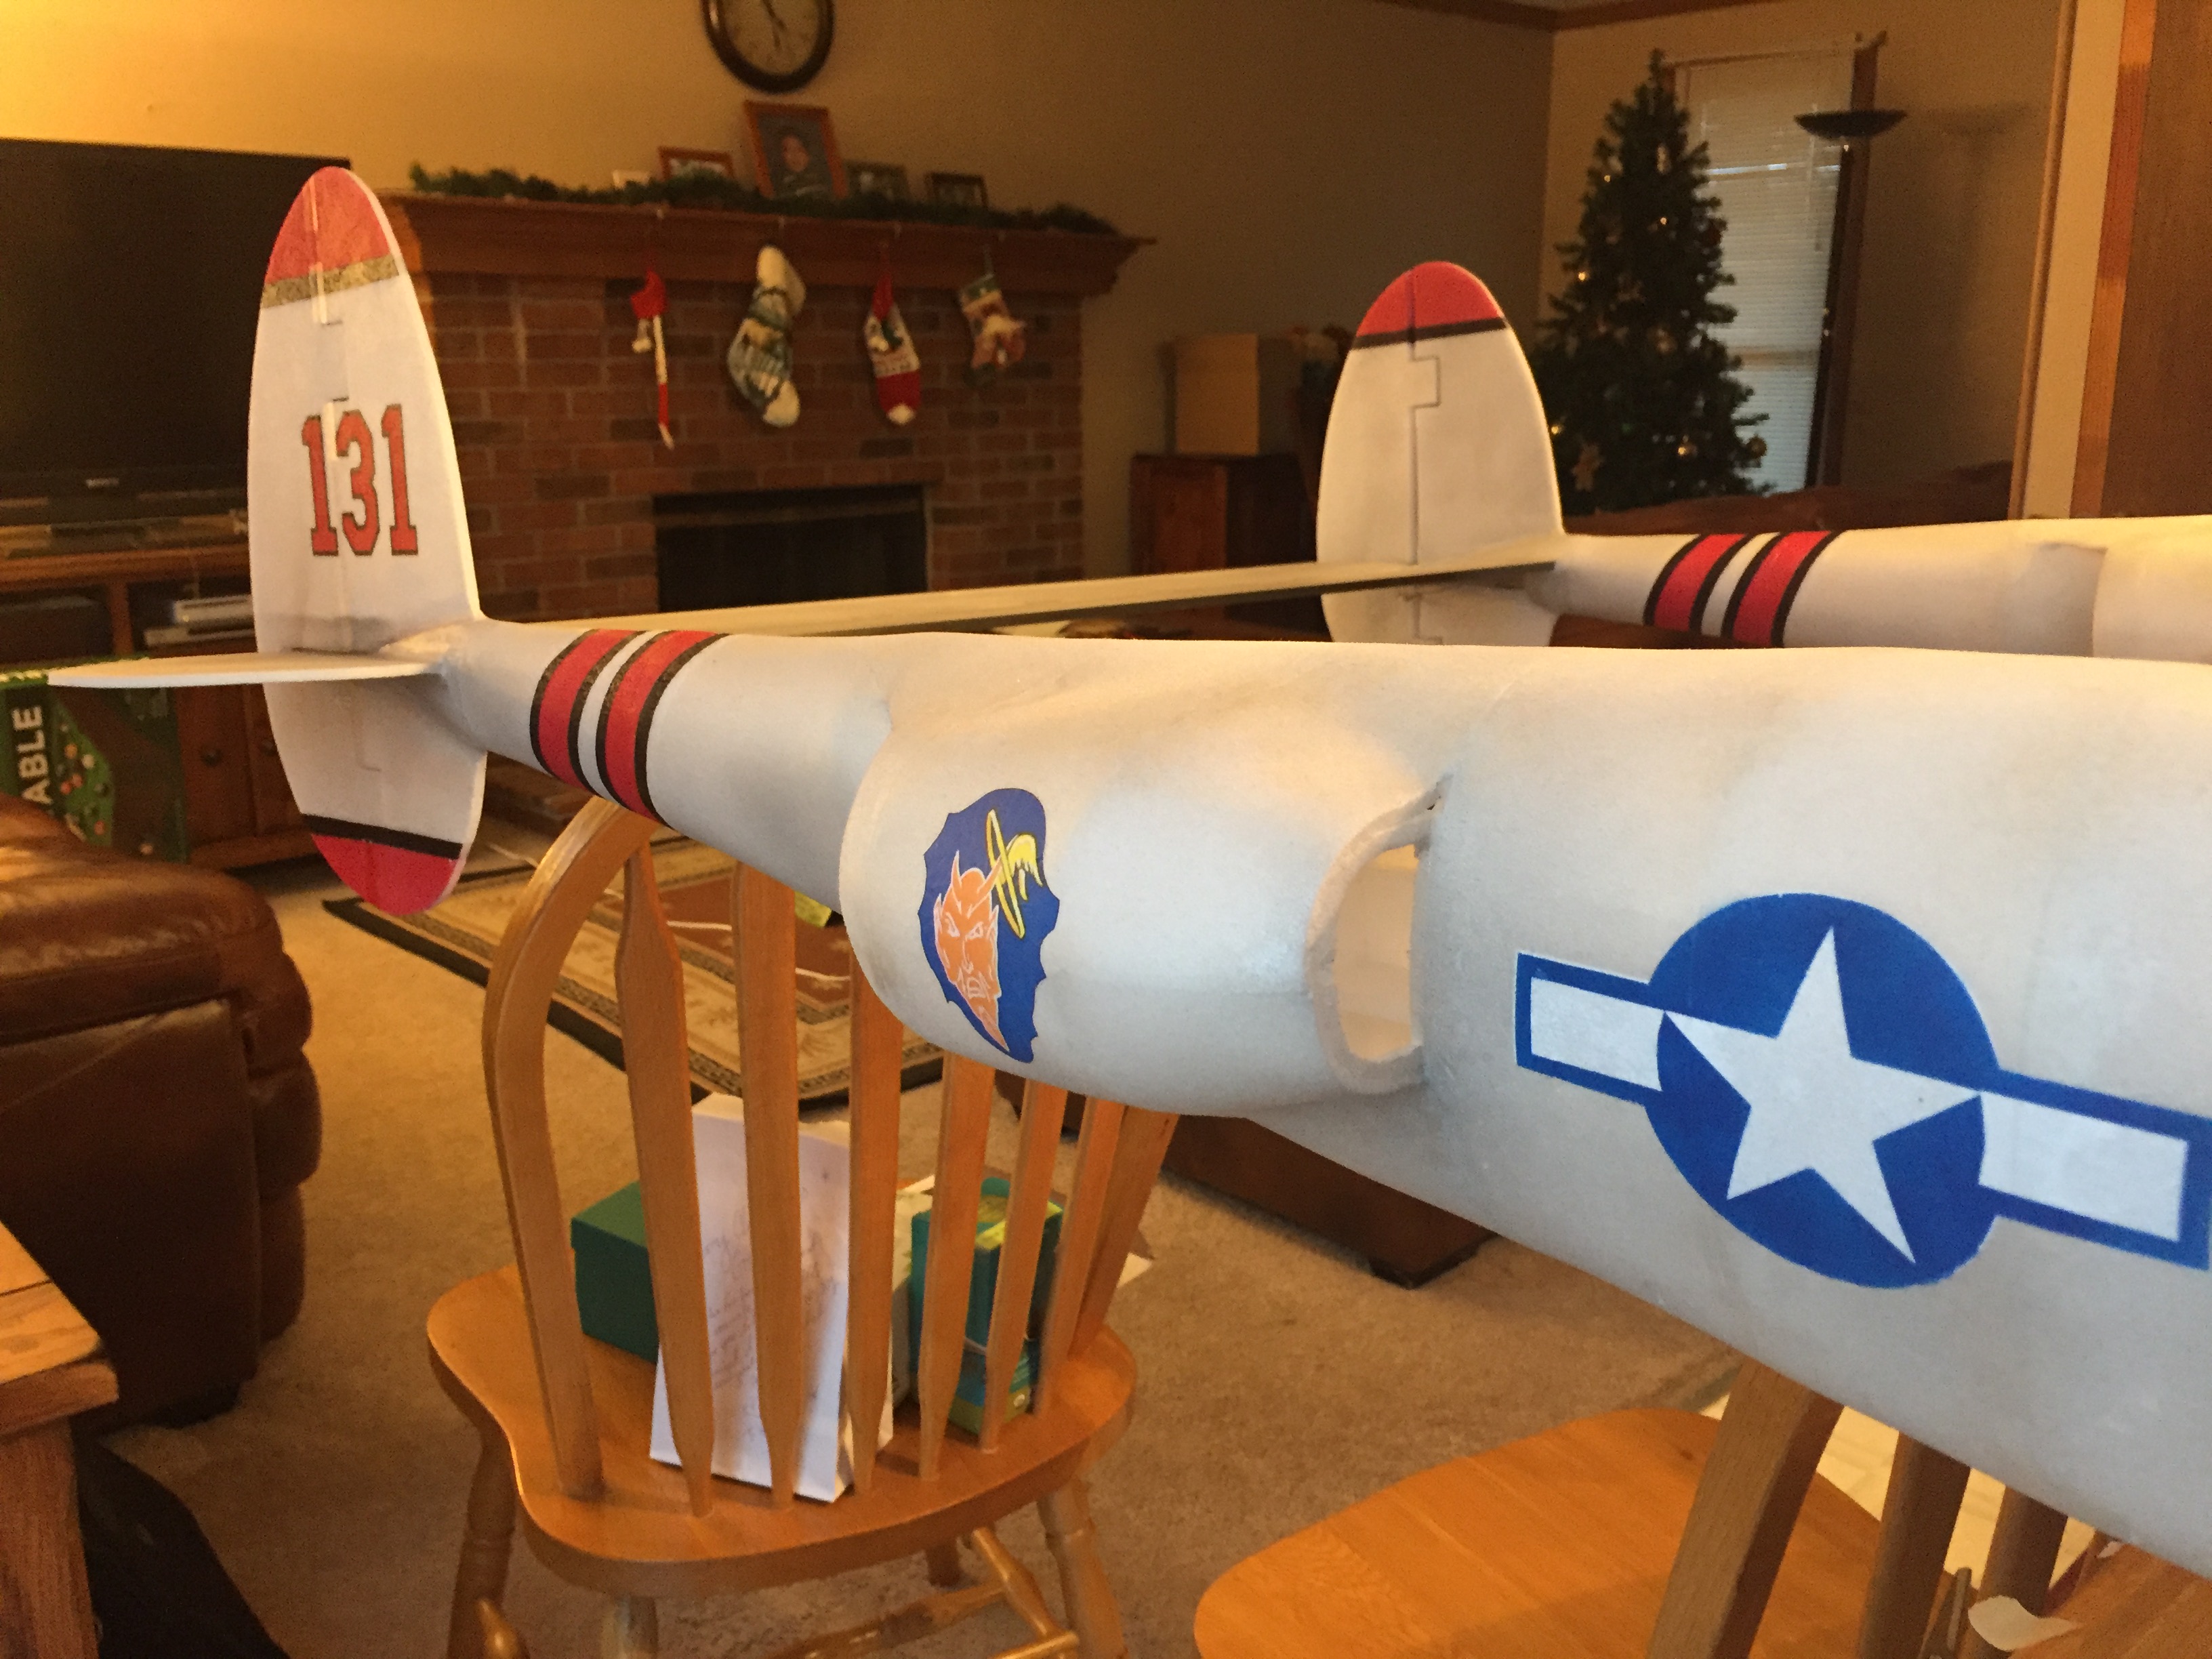

This project is super impressive even before you consider it is built out of delaminated DTFB. I'm curious how soft/rigid the outer layer of foam is considering this project's age and the coats of paint. How gentle do you need be when handling the model?
Darn nice work!


Your nose decal is a problem. Normally I would recommend a vinyl decal with a heat gun to adhere to the compound curve but is really not an option on your foam skin. You may have to settle with making tiny cuts to feather it in.
You could also do some experimentation... Print on the tissue but use a spray on fixative. Then use WBPU and see how well the tissue will conform to the surface. You may have some bubbles created but you can try lightly smoothing them out as it dries.
Really very impressive work. Glad to see it make it this far.
Have you considered 3d printing the gear covers? You would have to design them light and remove the infill, but I think it's a viable option. Thin wall PLA printing doesn't weight much and should be fairly resilient.
So for the nose image I have a thought, but it might be a bit overkill. I know a lot of prop and card model guys use an application called Pepakura (http://www.tamasoft.co.jp/pepakura-en/) to design full models. I haven't used it in a while and never dug TOO far into it, but it could be used to create a model of the surface (nose of the aircraft in this case), put the image on it, and then flatten in out so it could be printed and folded/glued together. I suspect it could get you close enough to a smooth graphic if you took your time with it.
Like I said... Overkill for a nose graphic, but to be honest I suspect a modeler like yourself could find other uses for the software too
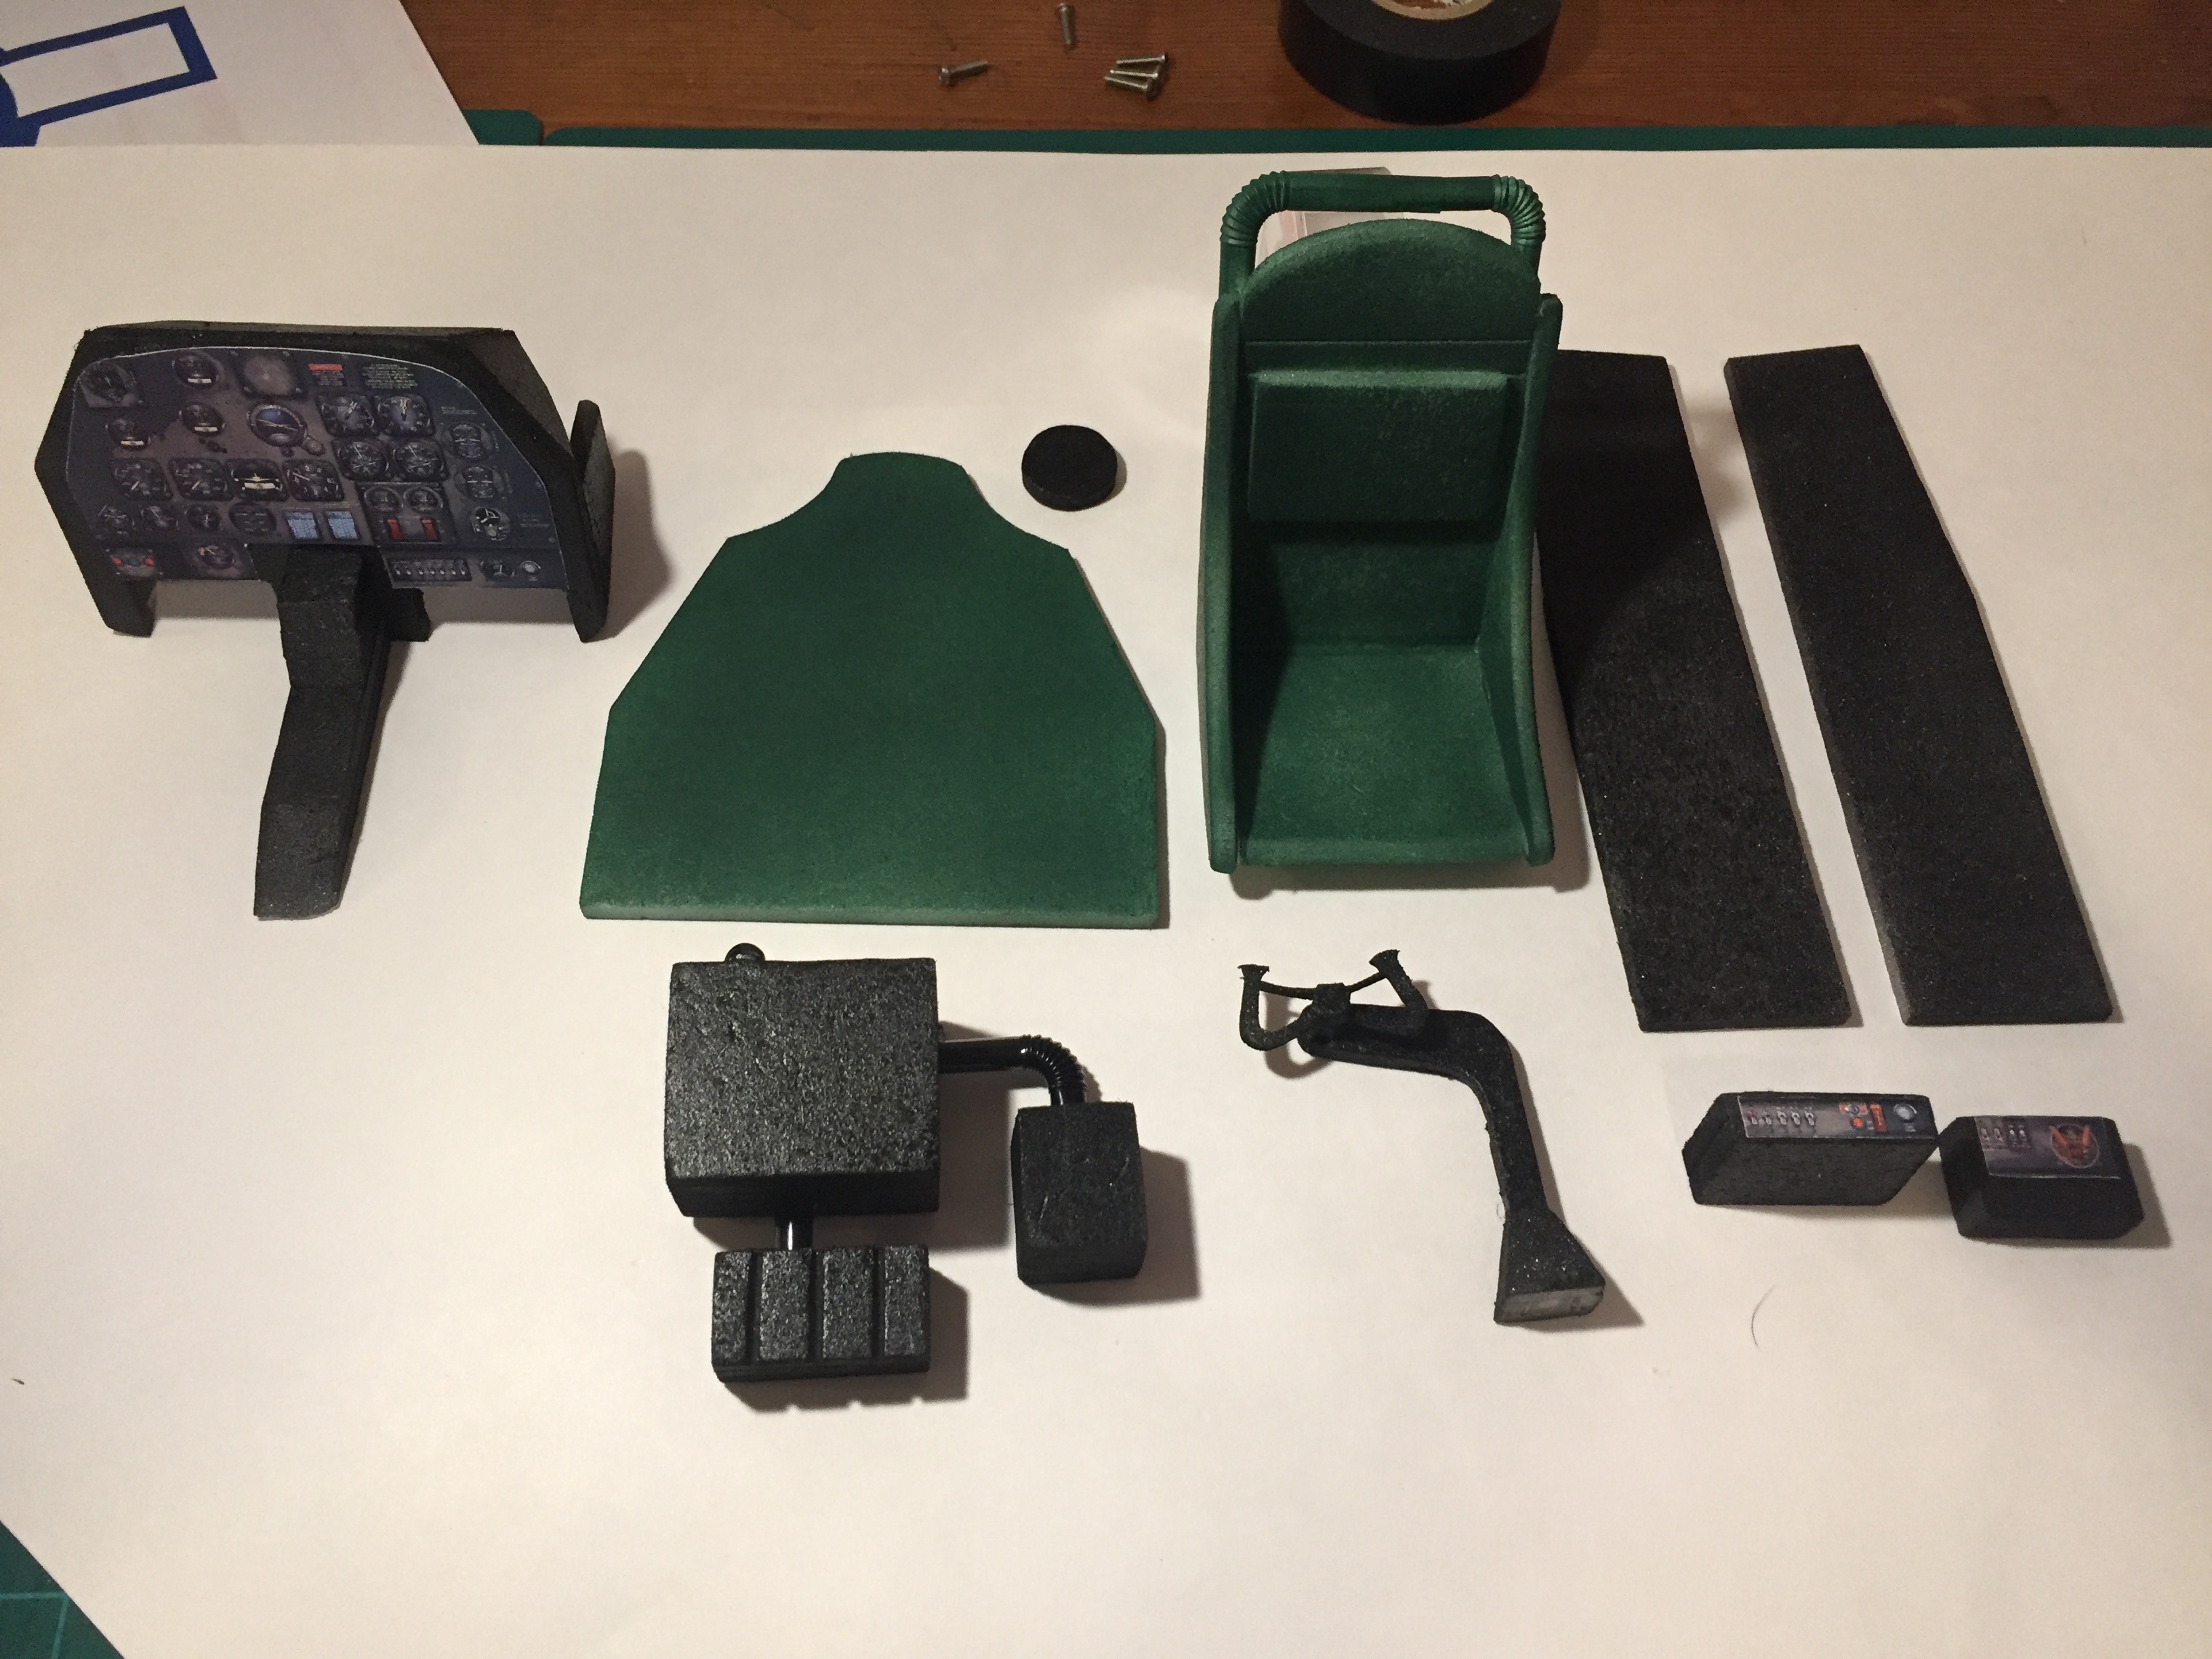
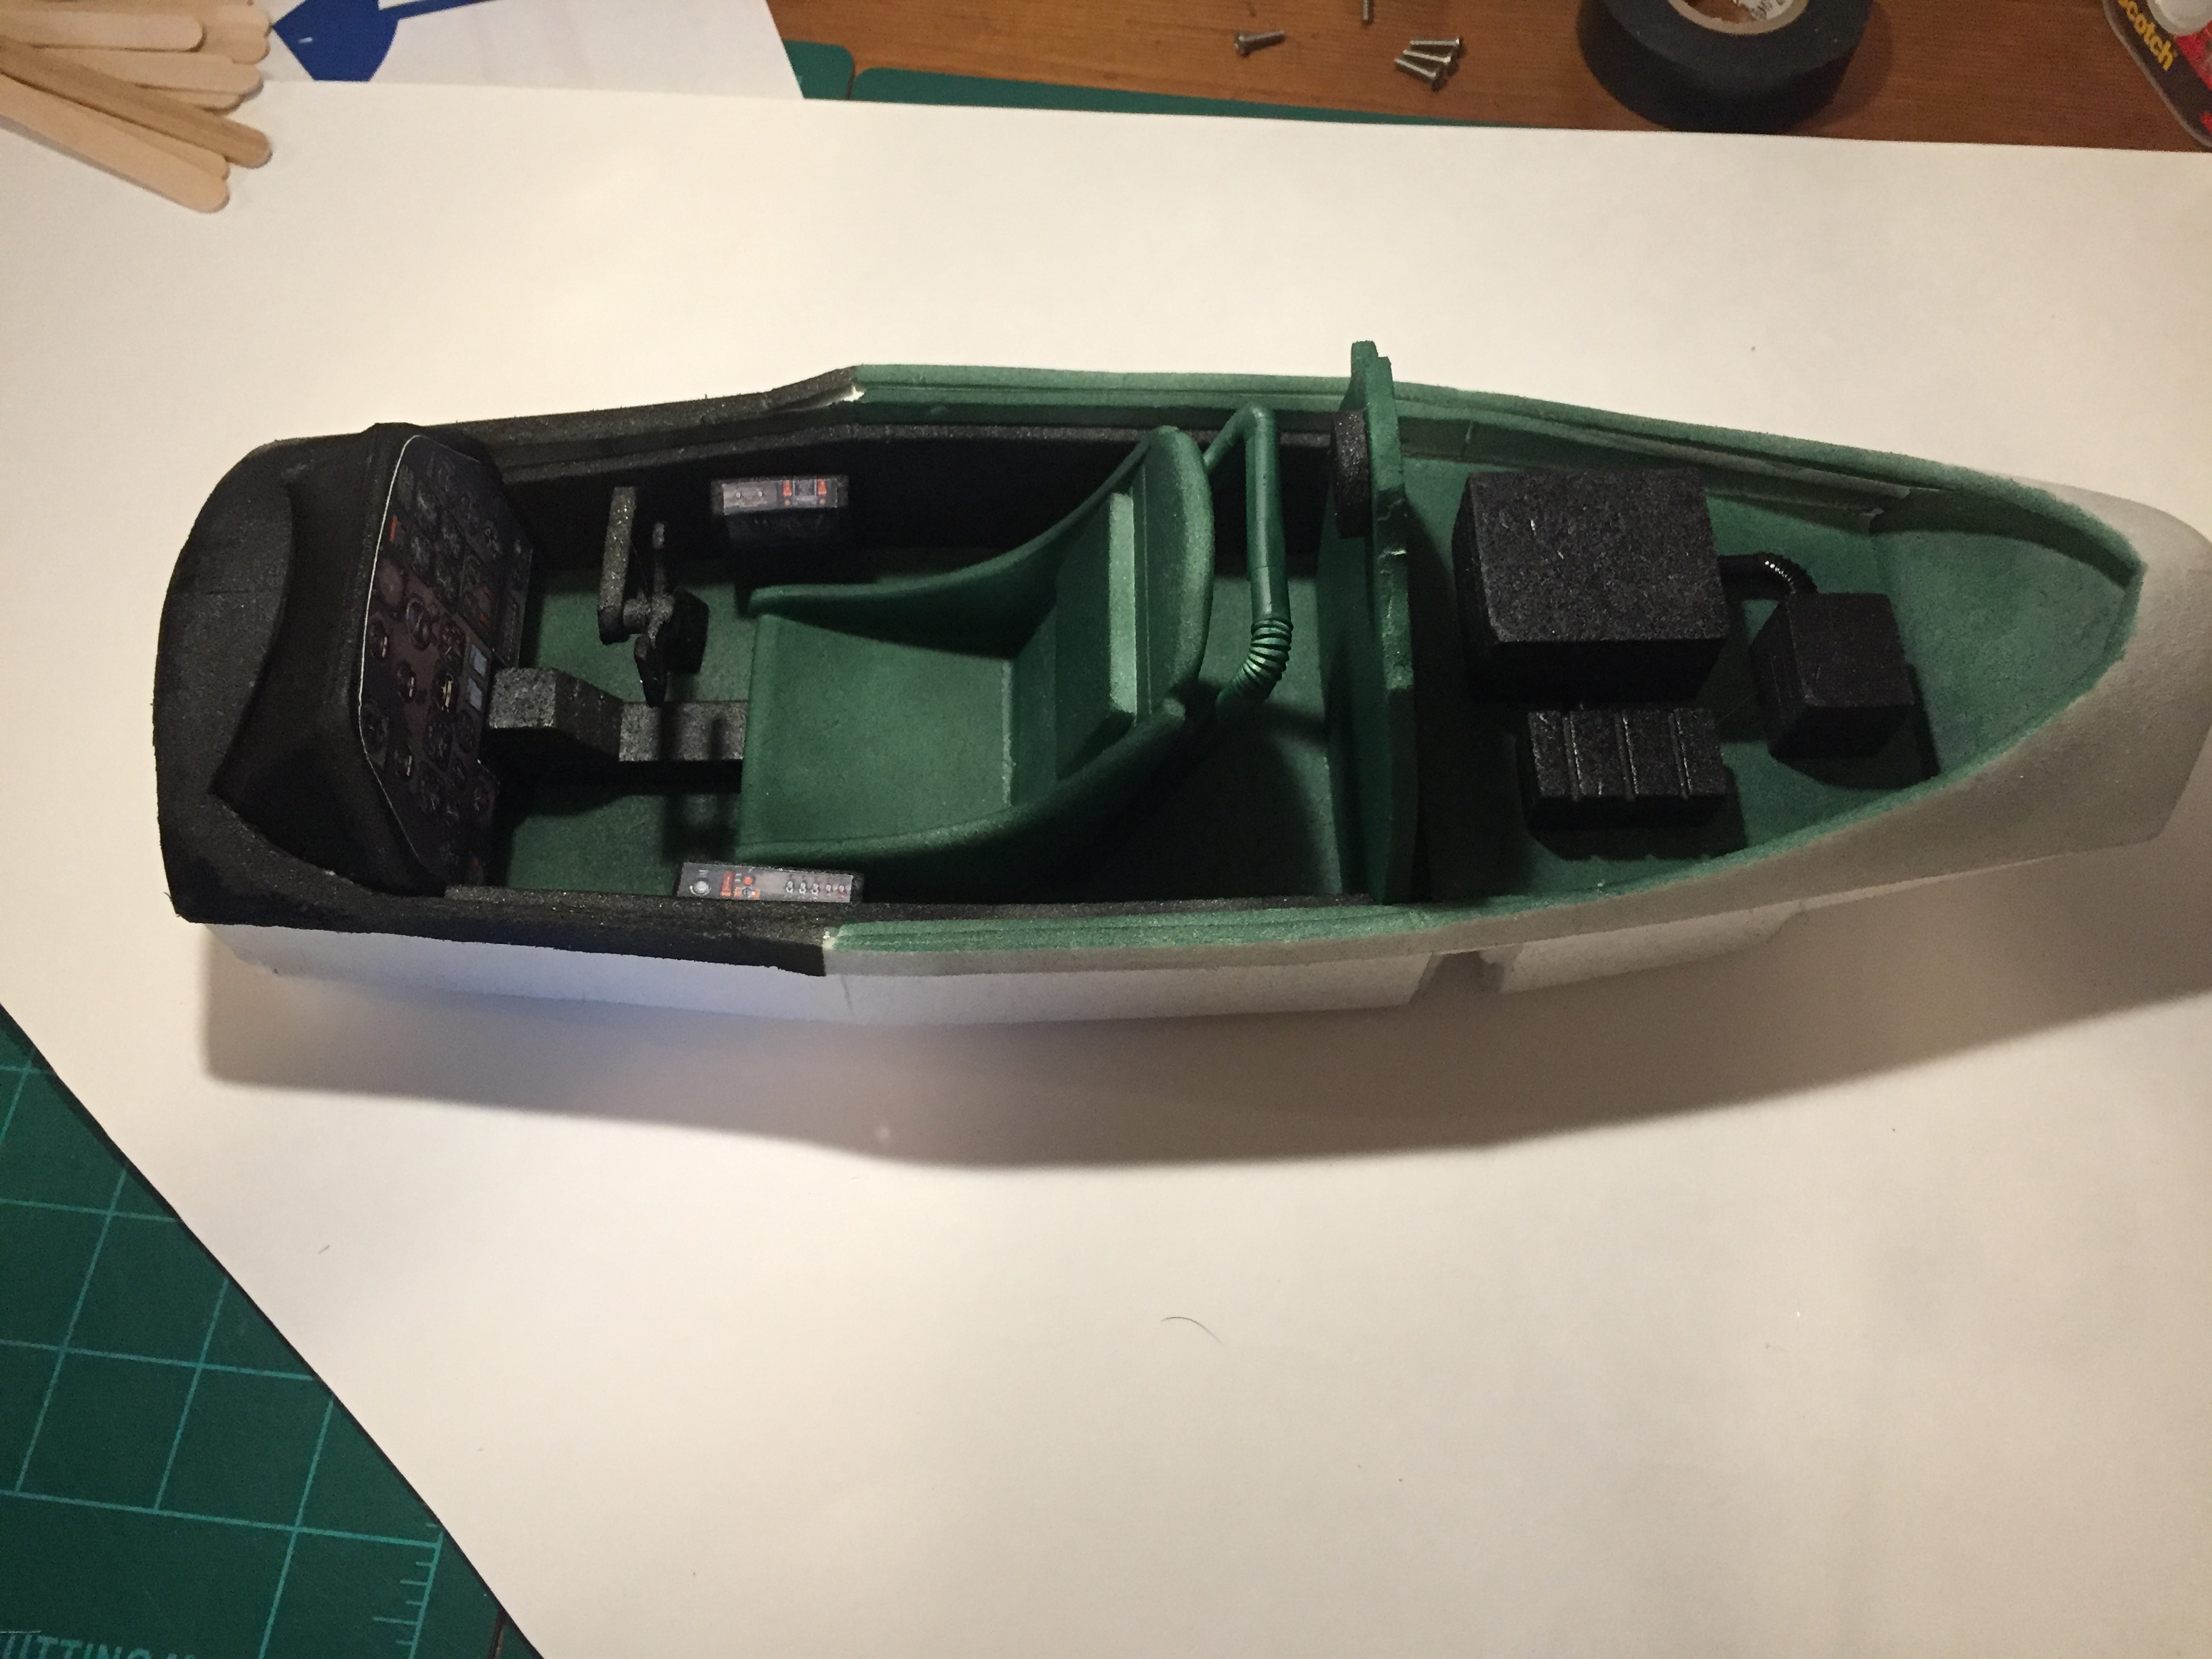
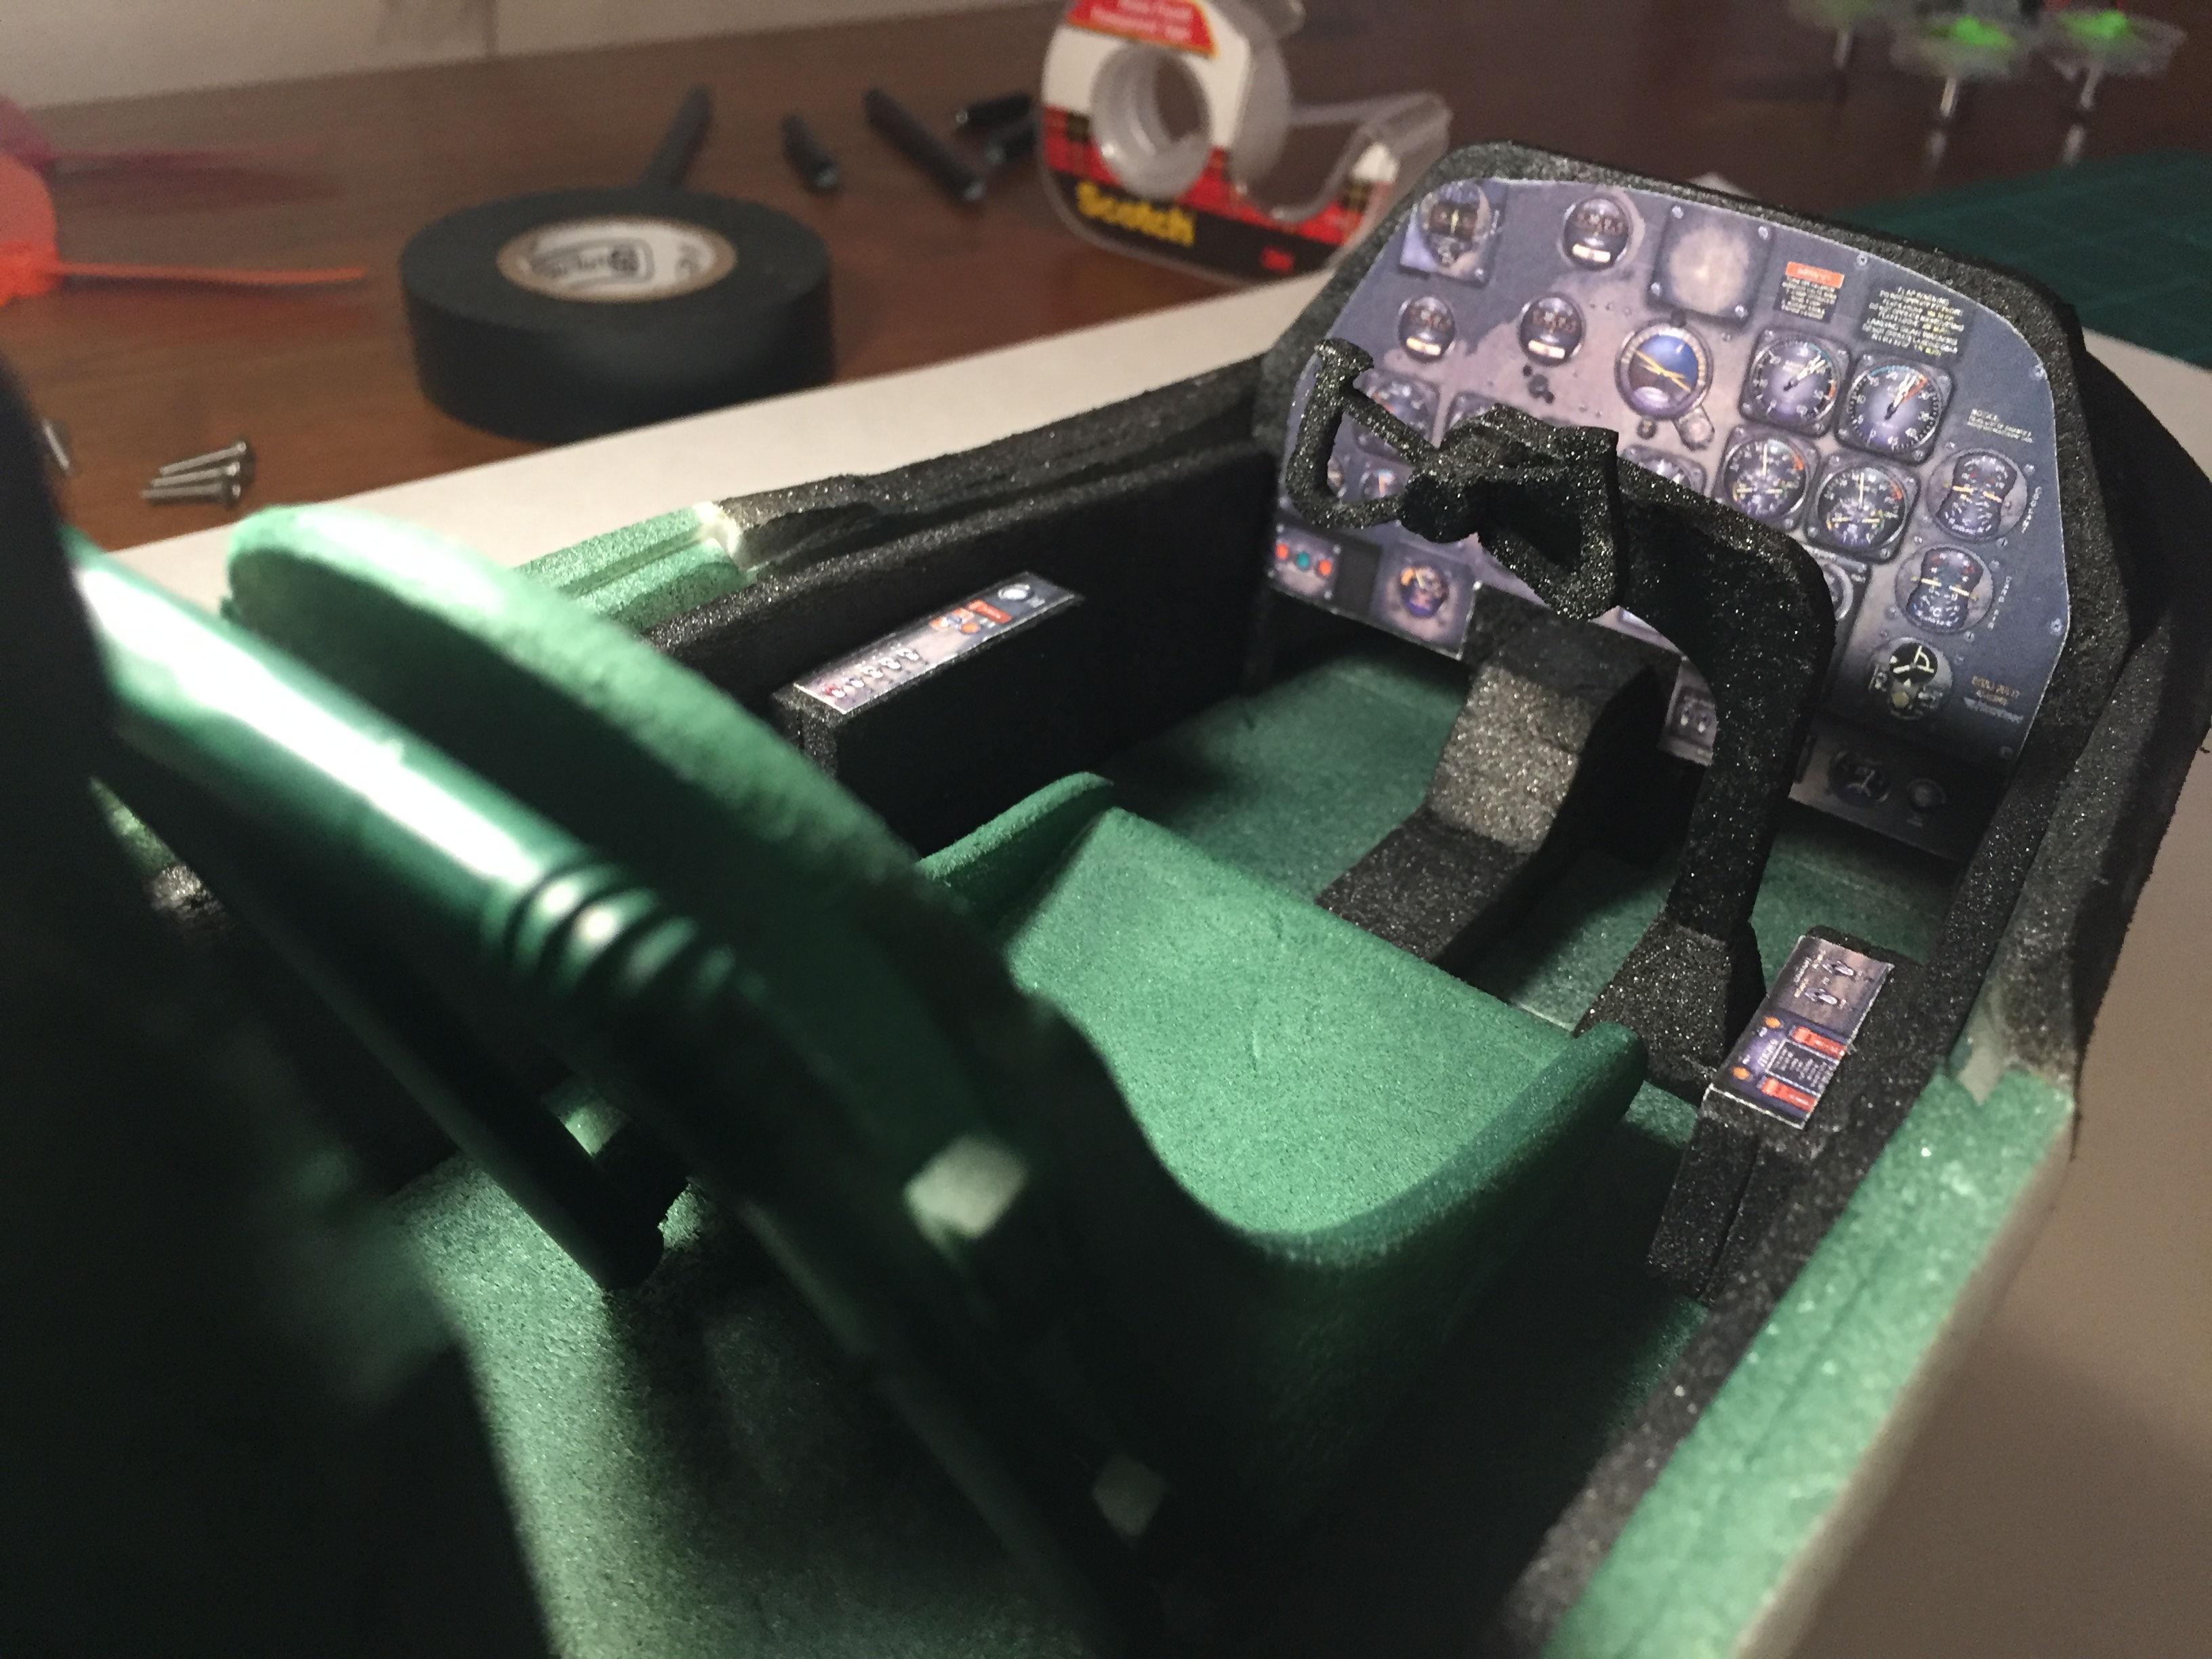
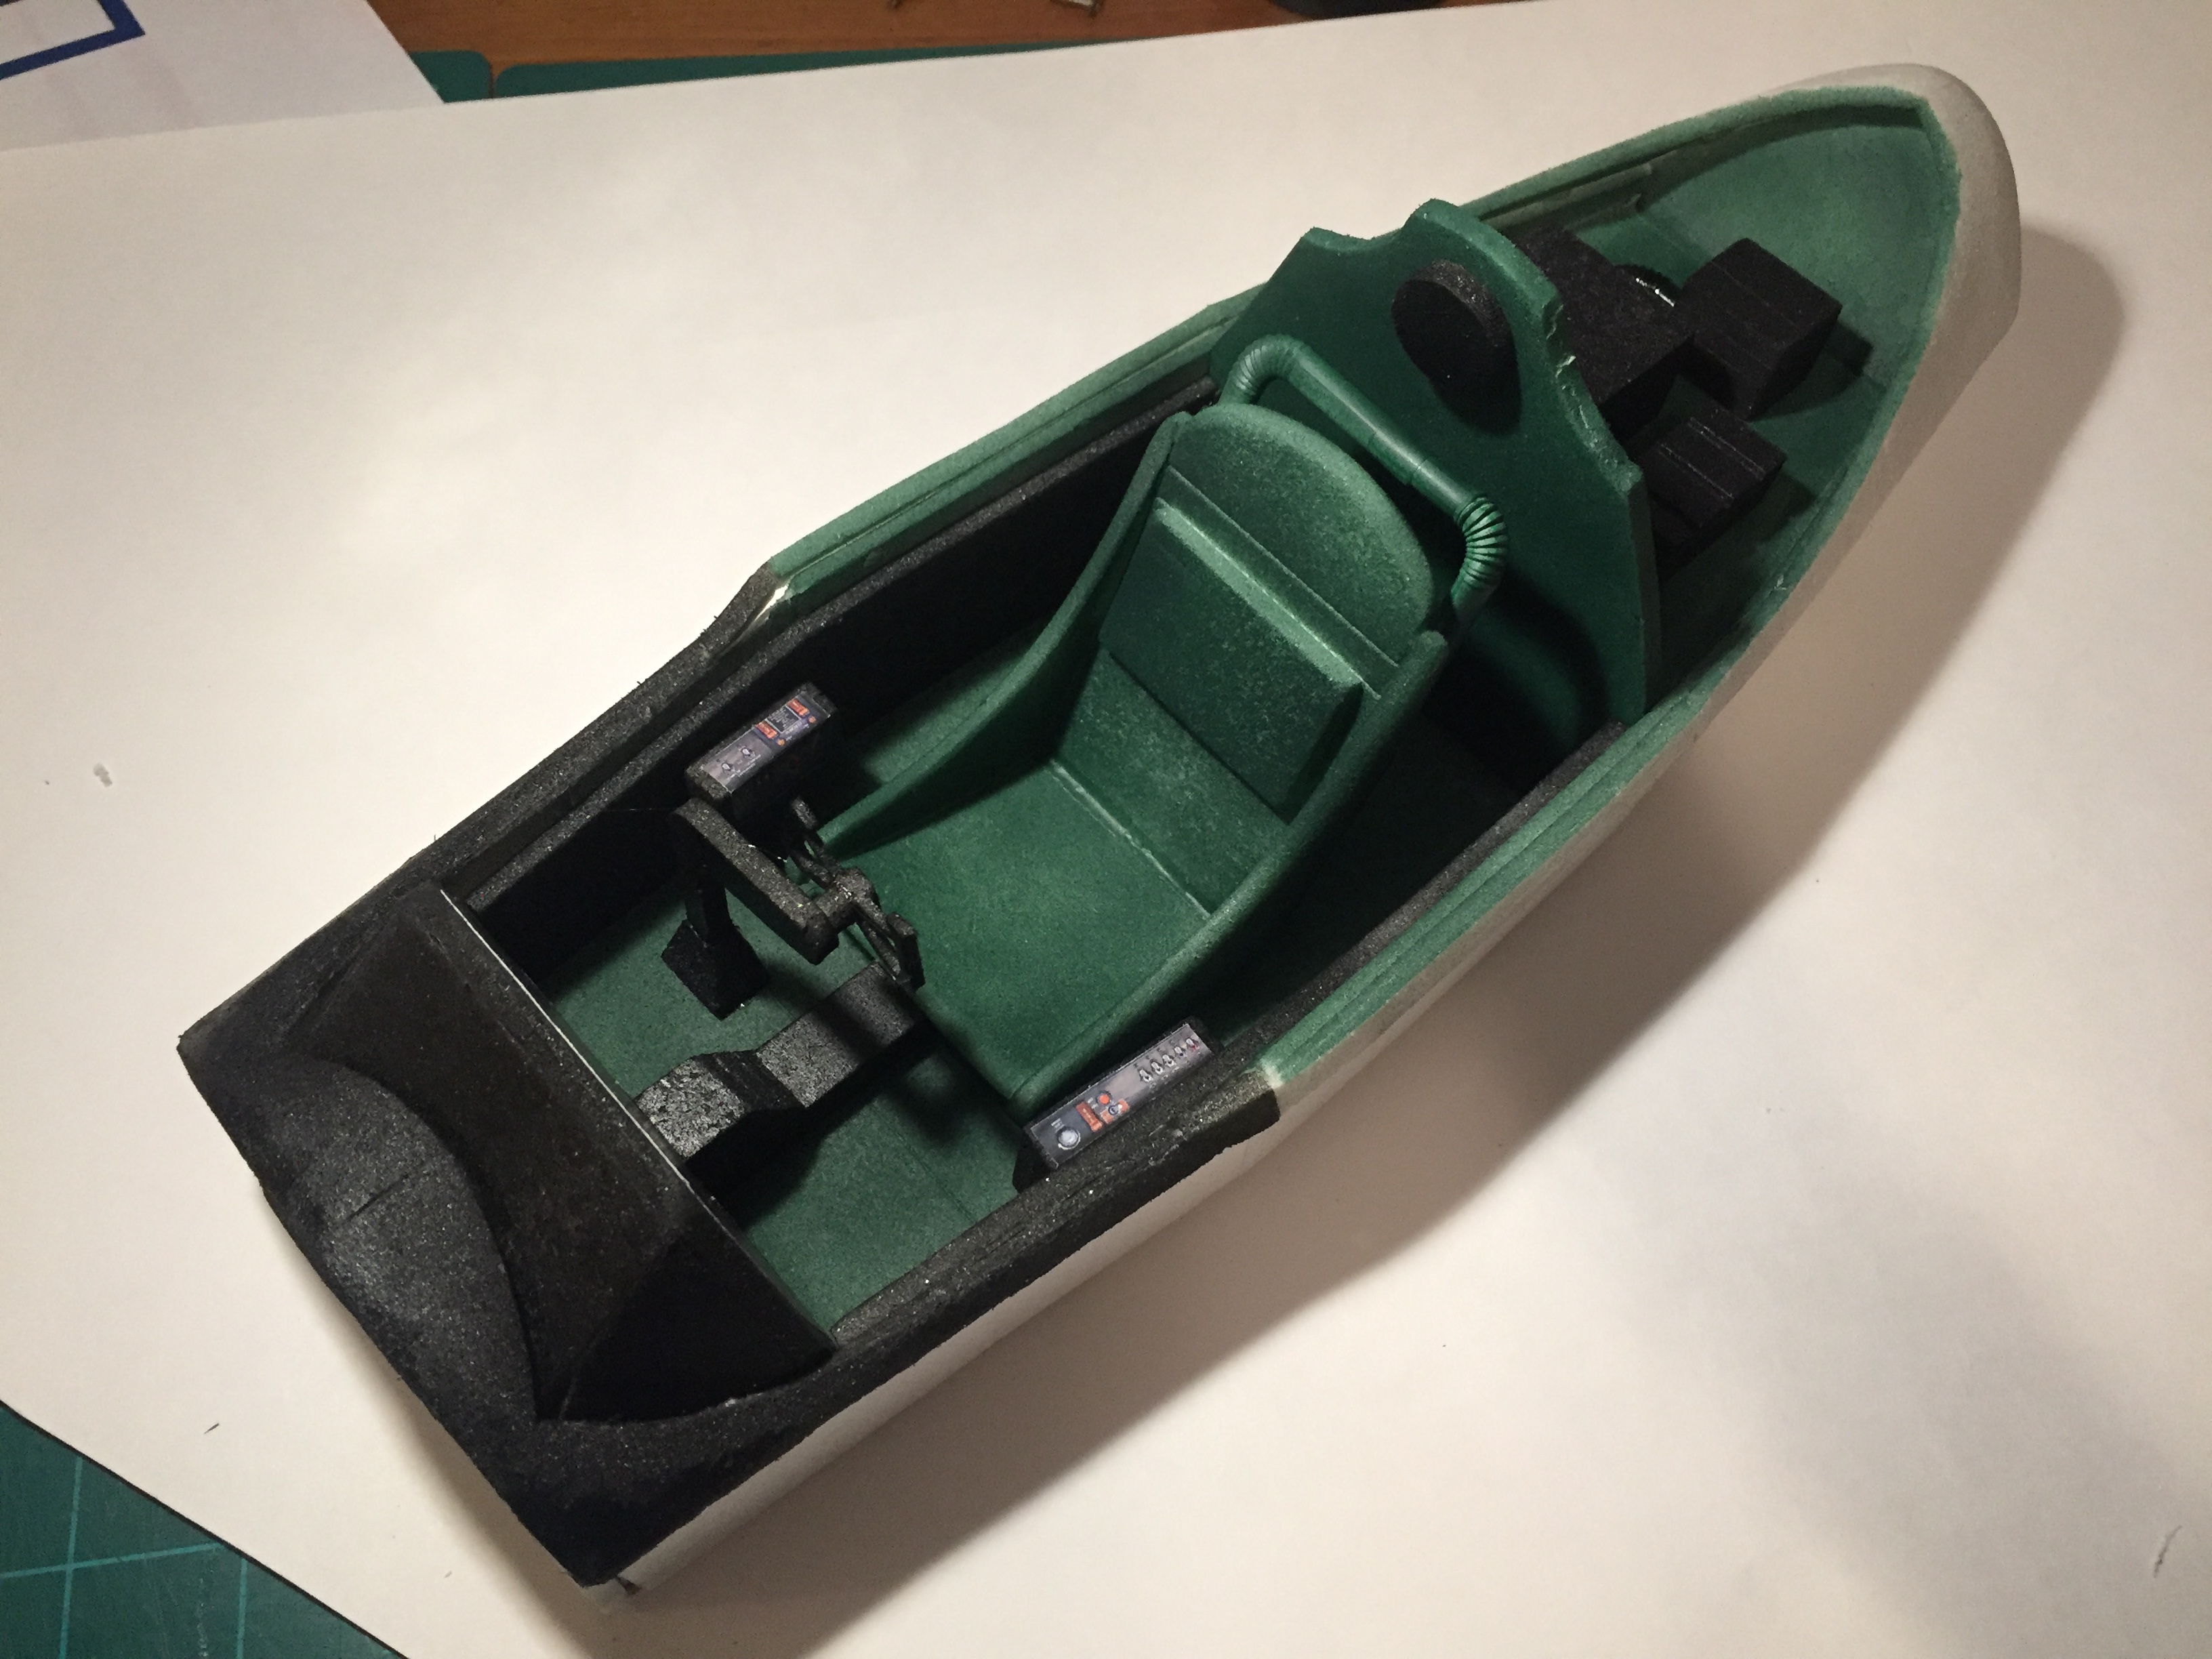
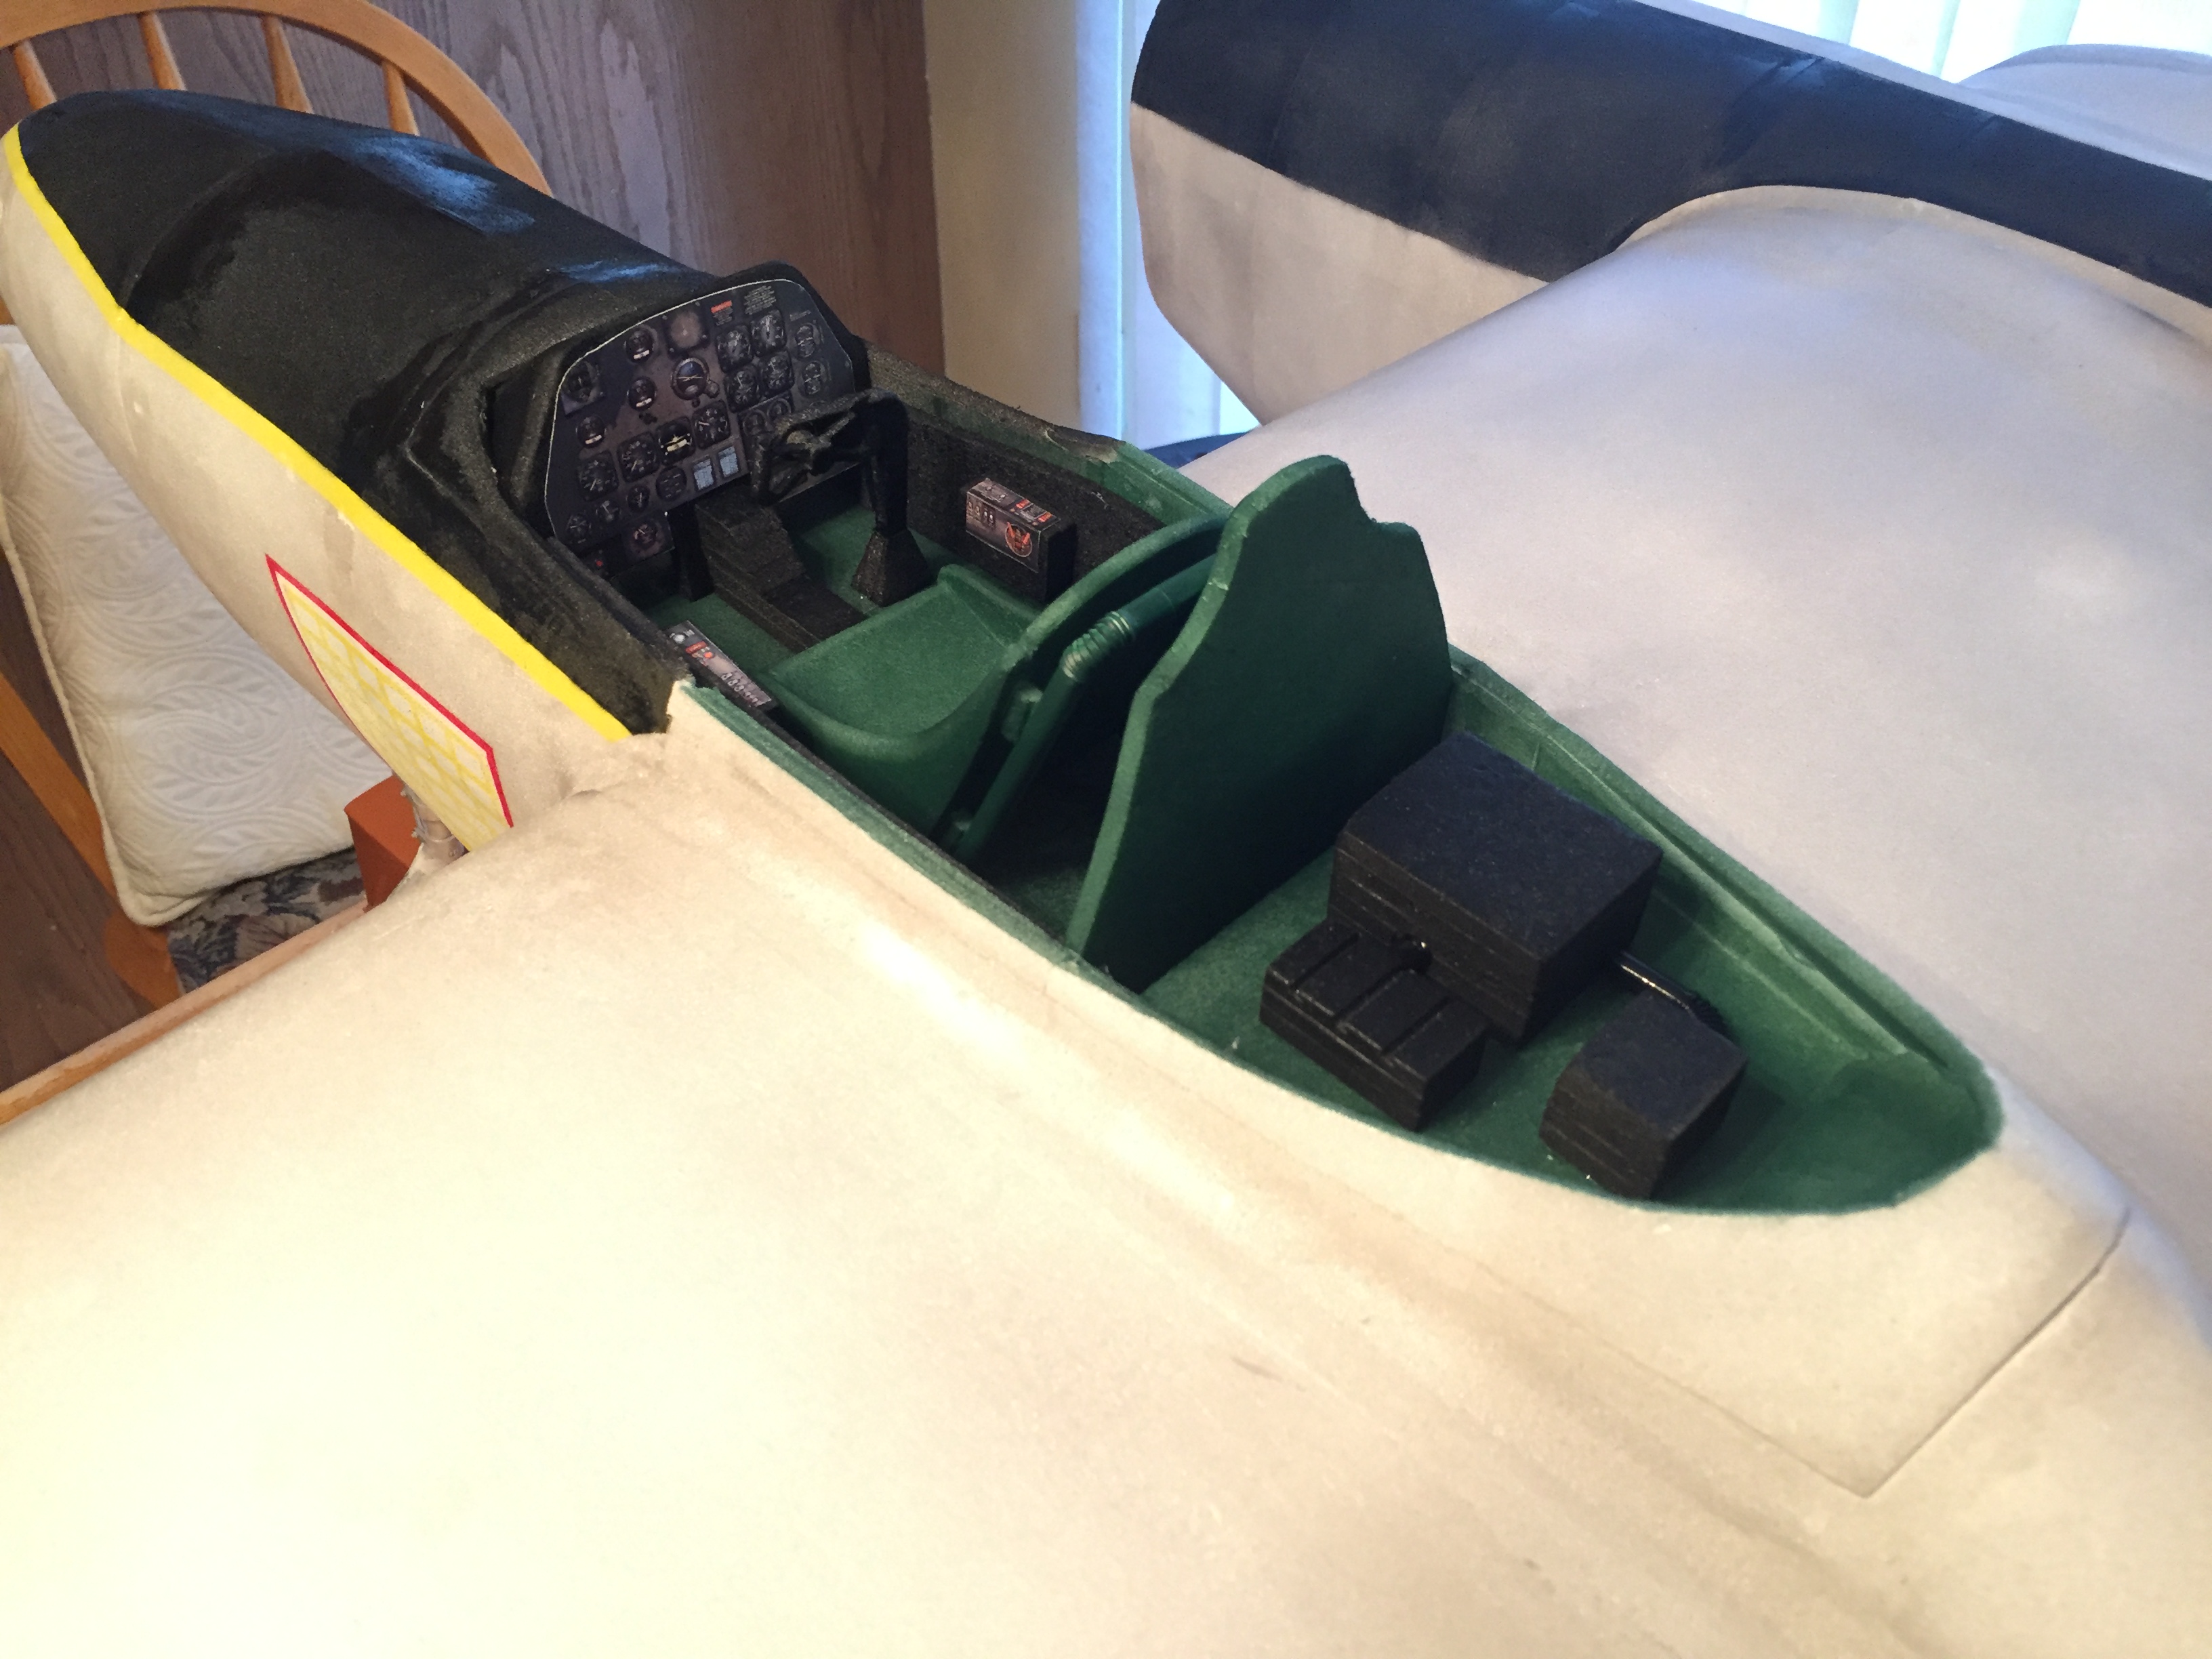
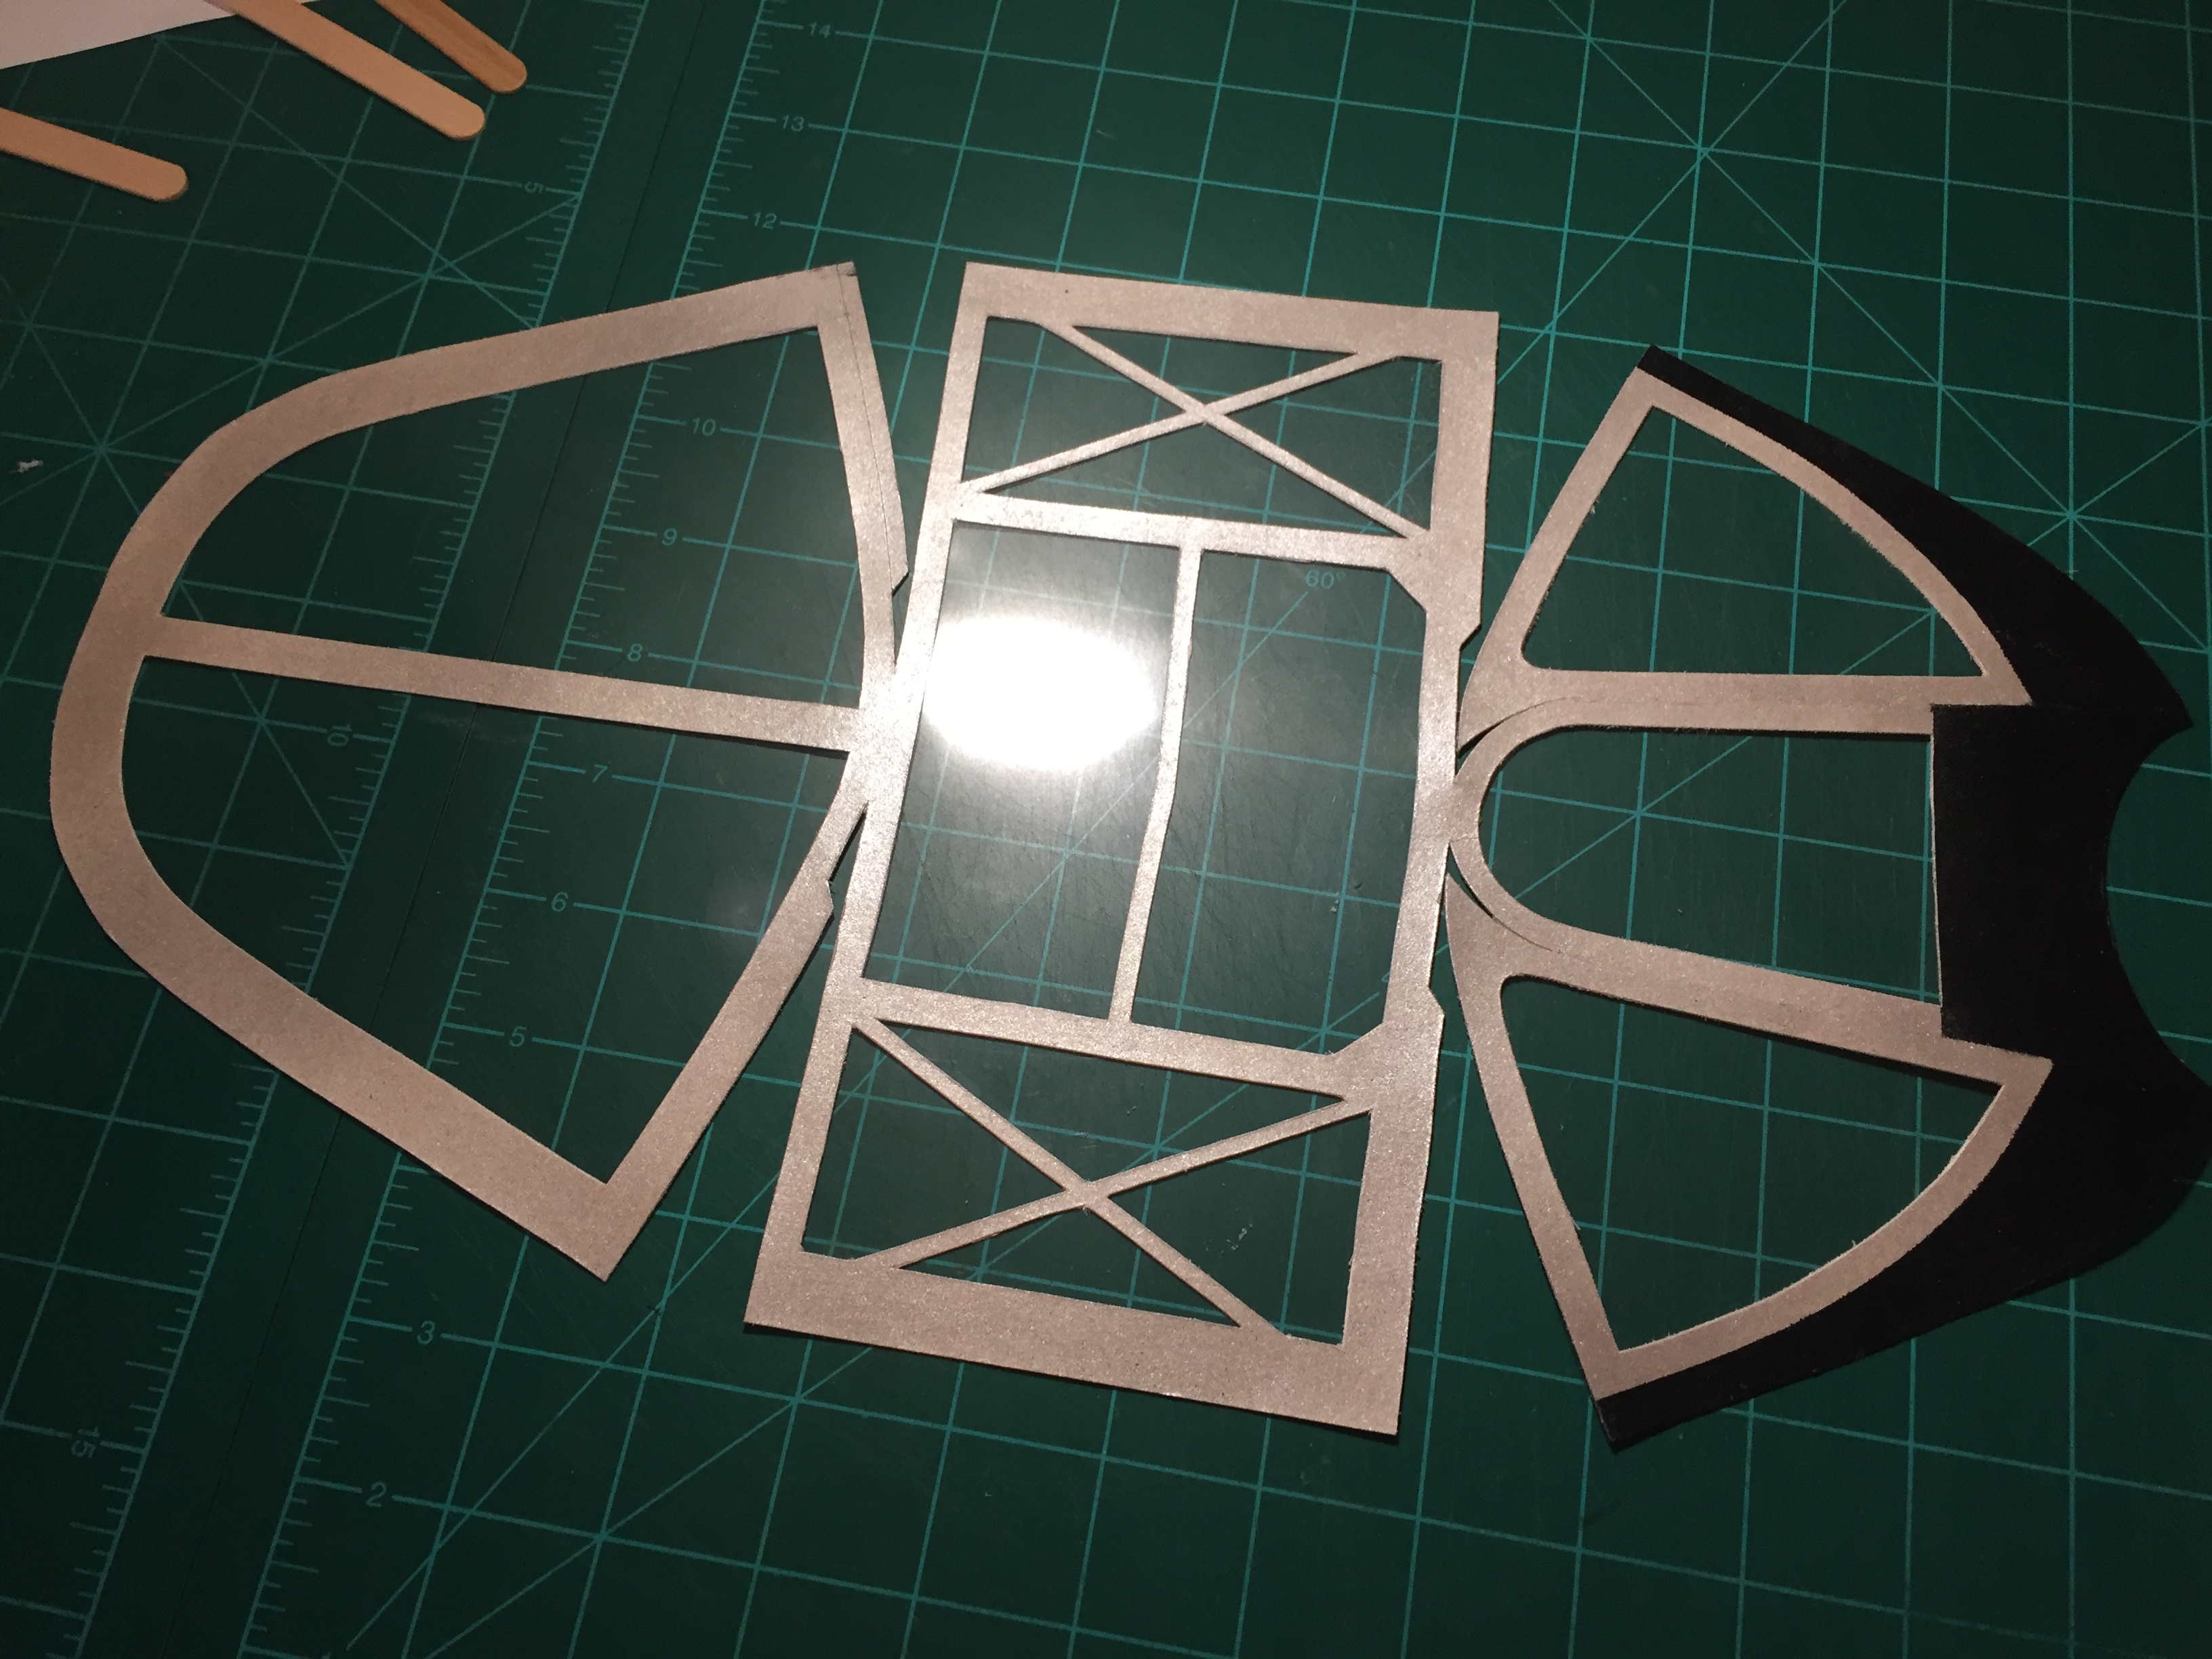
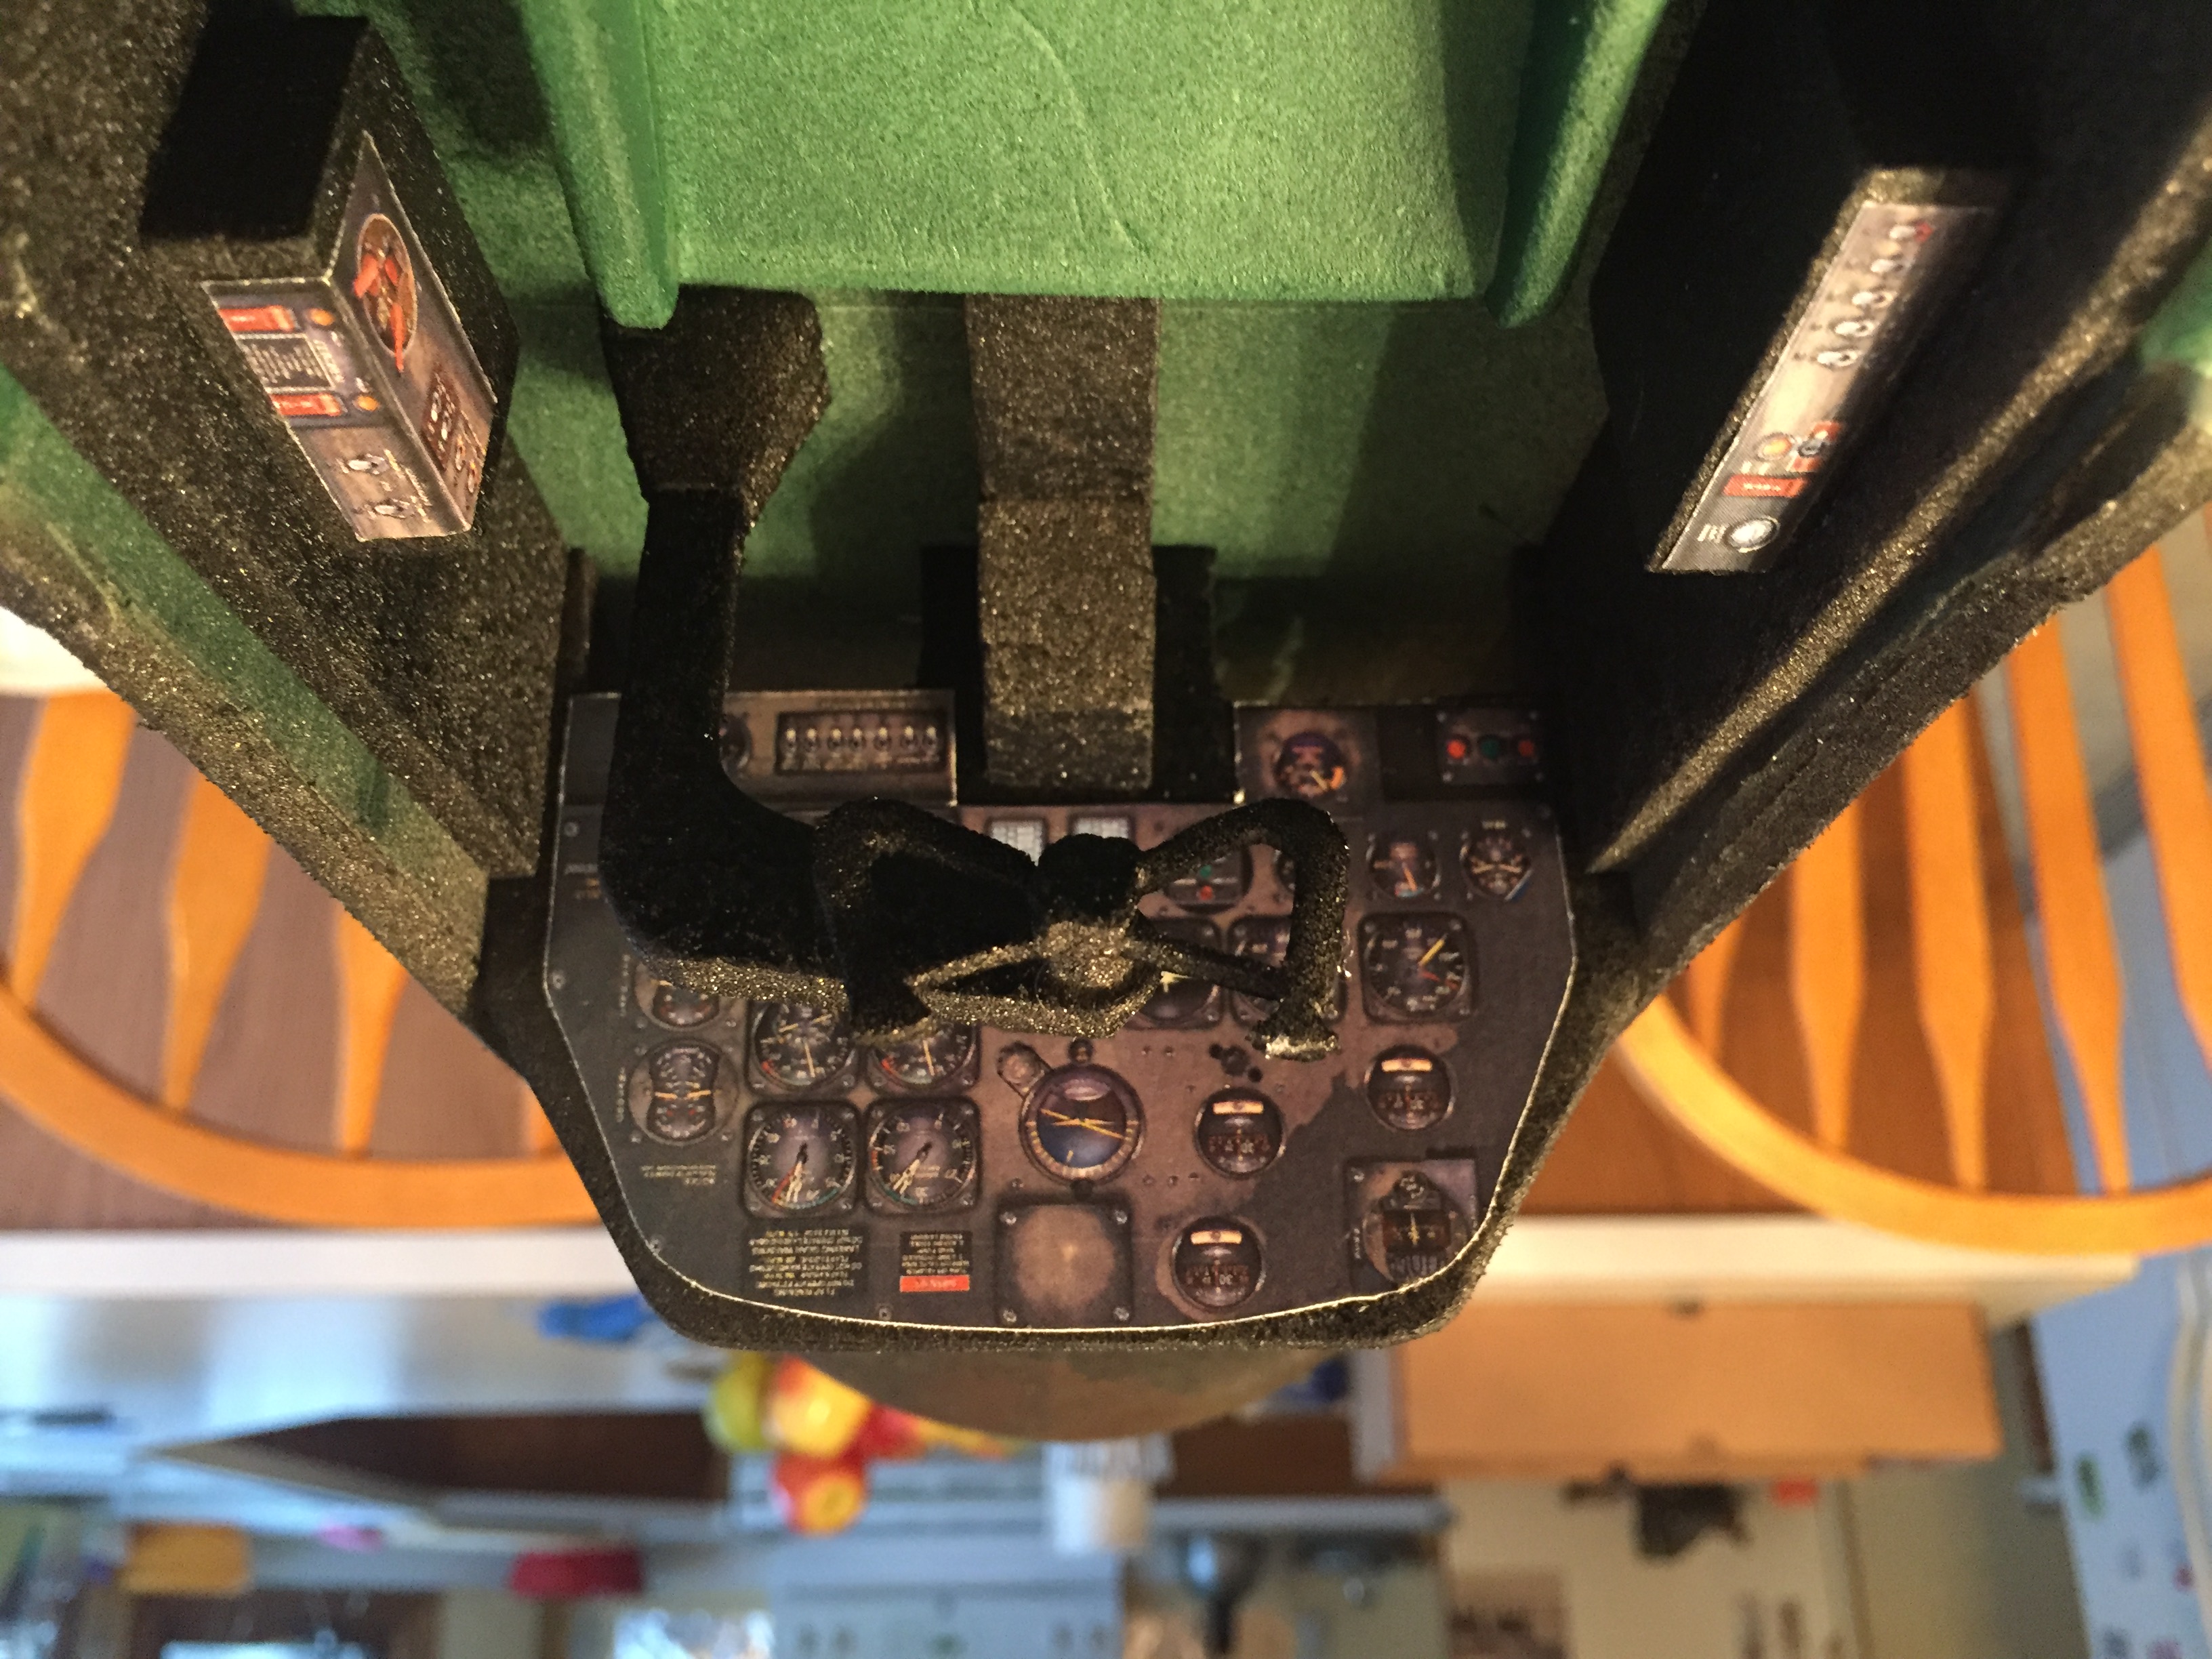
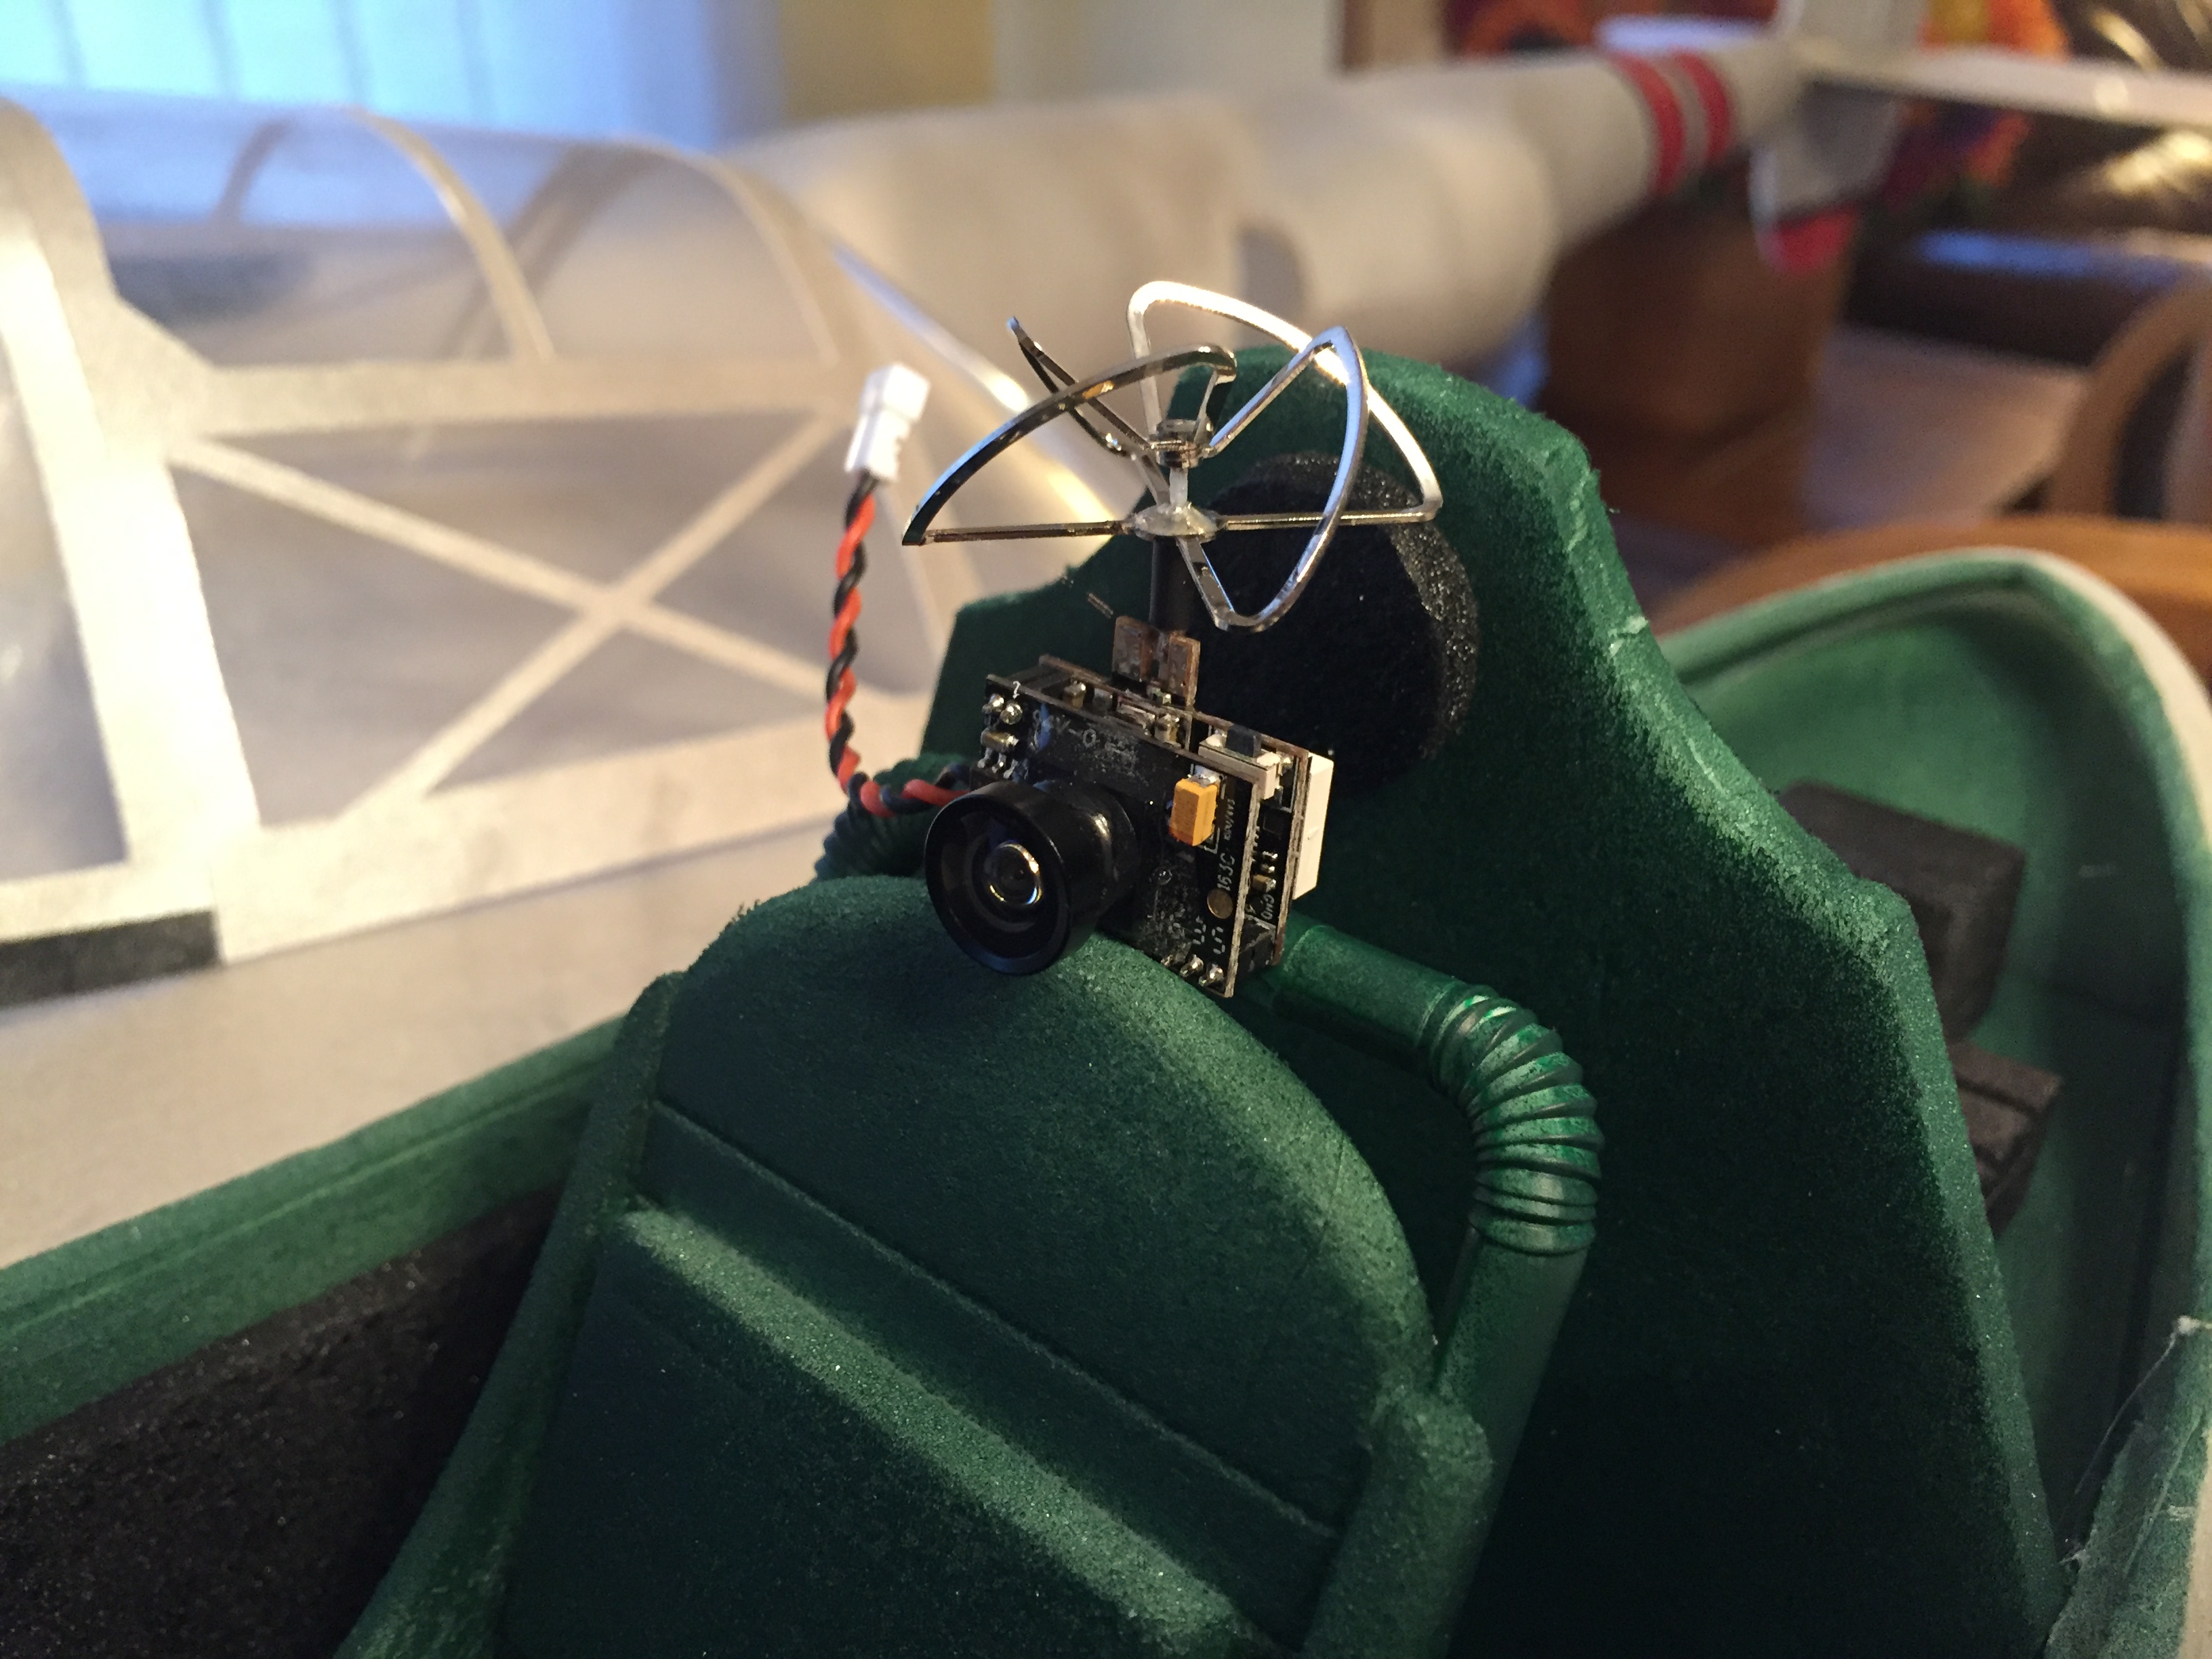
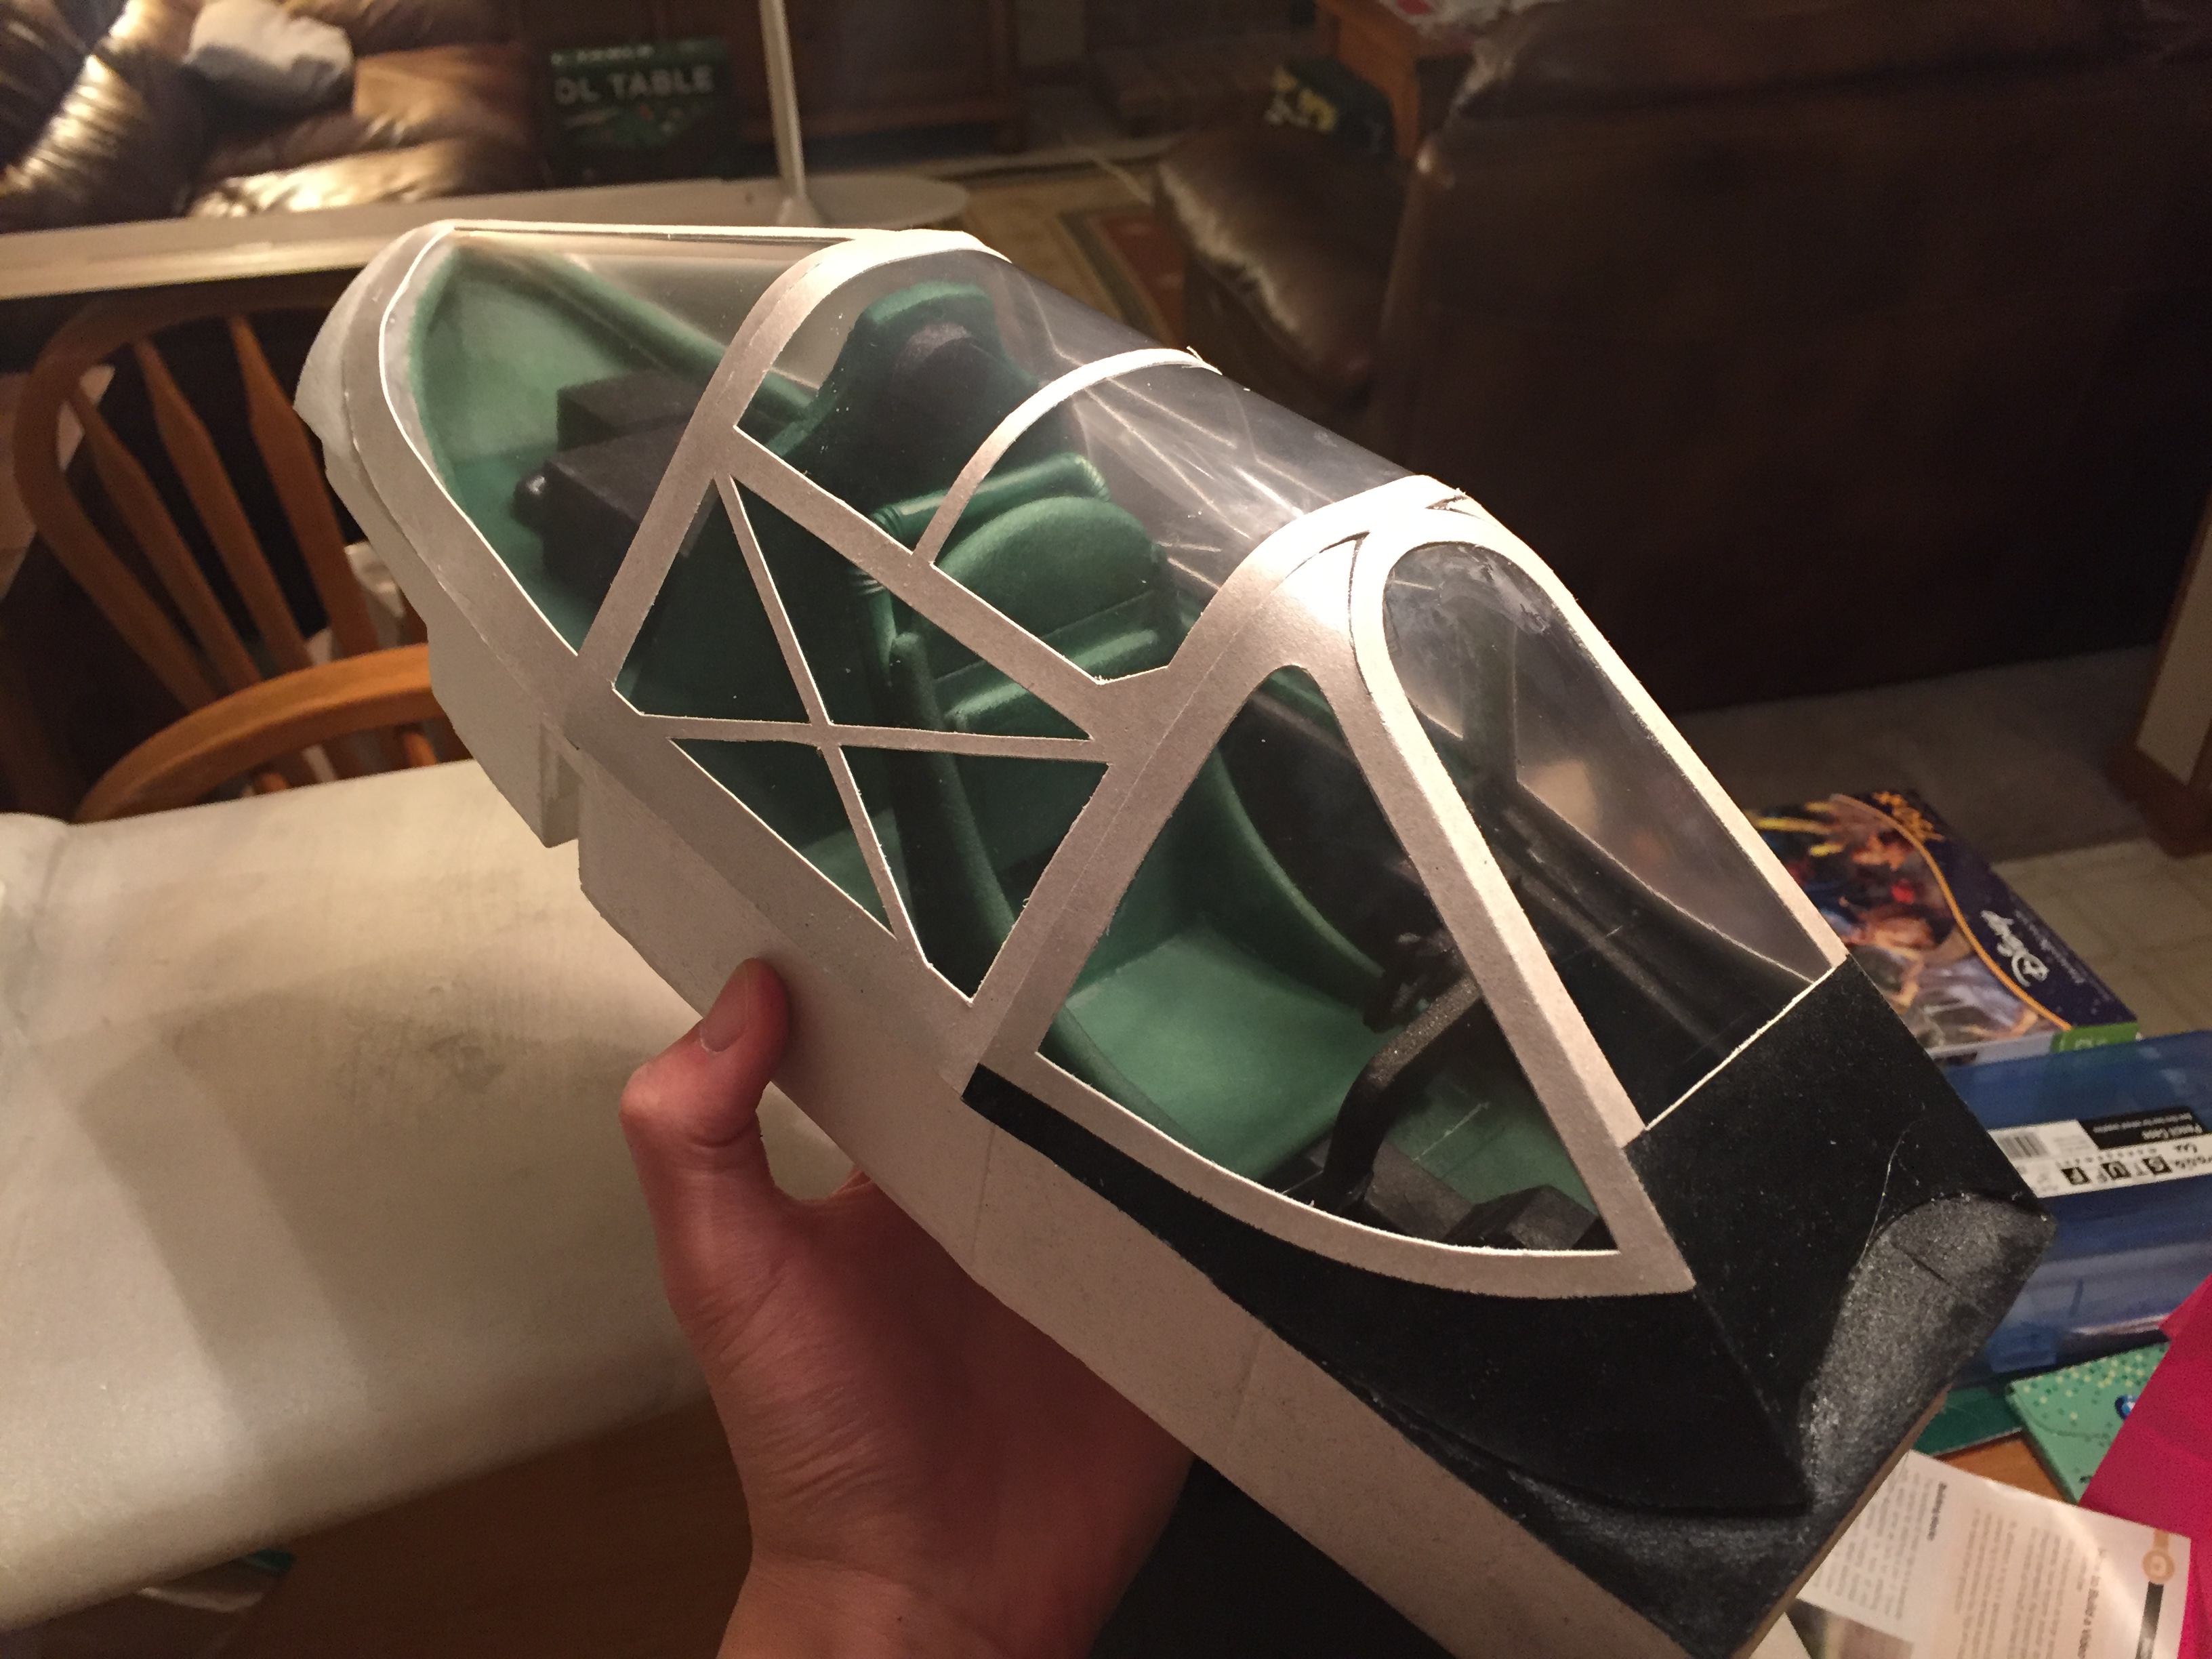
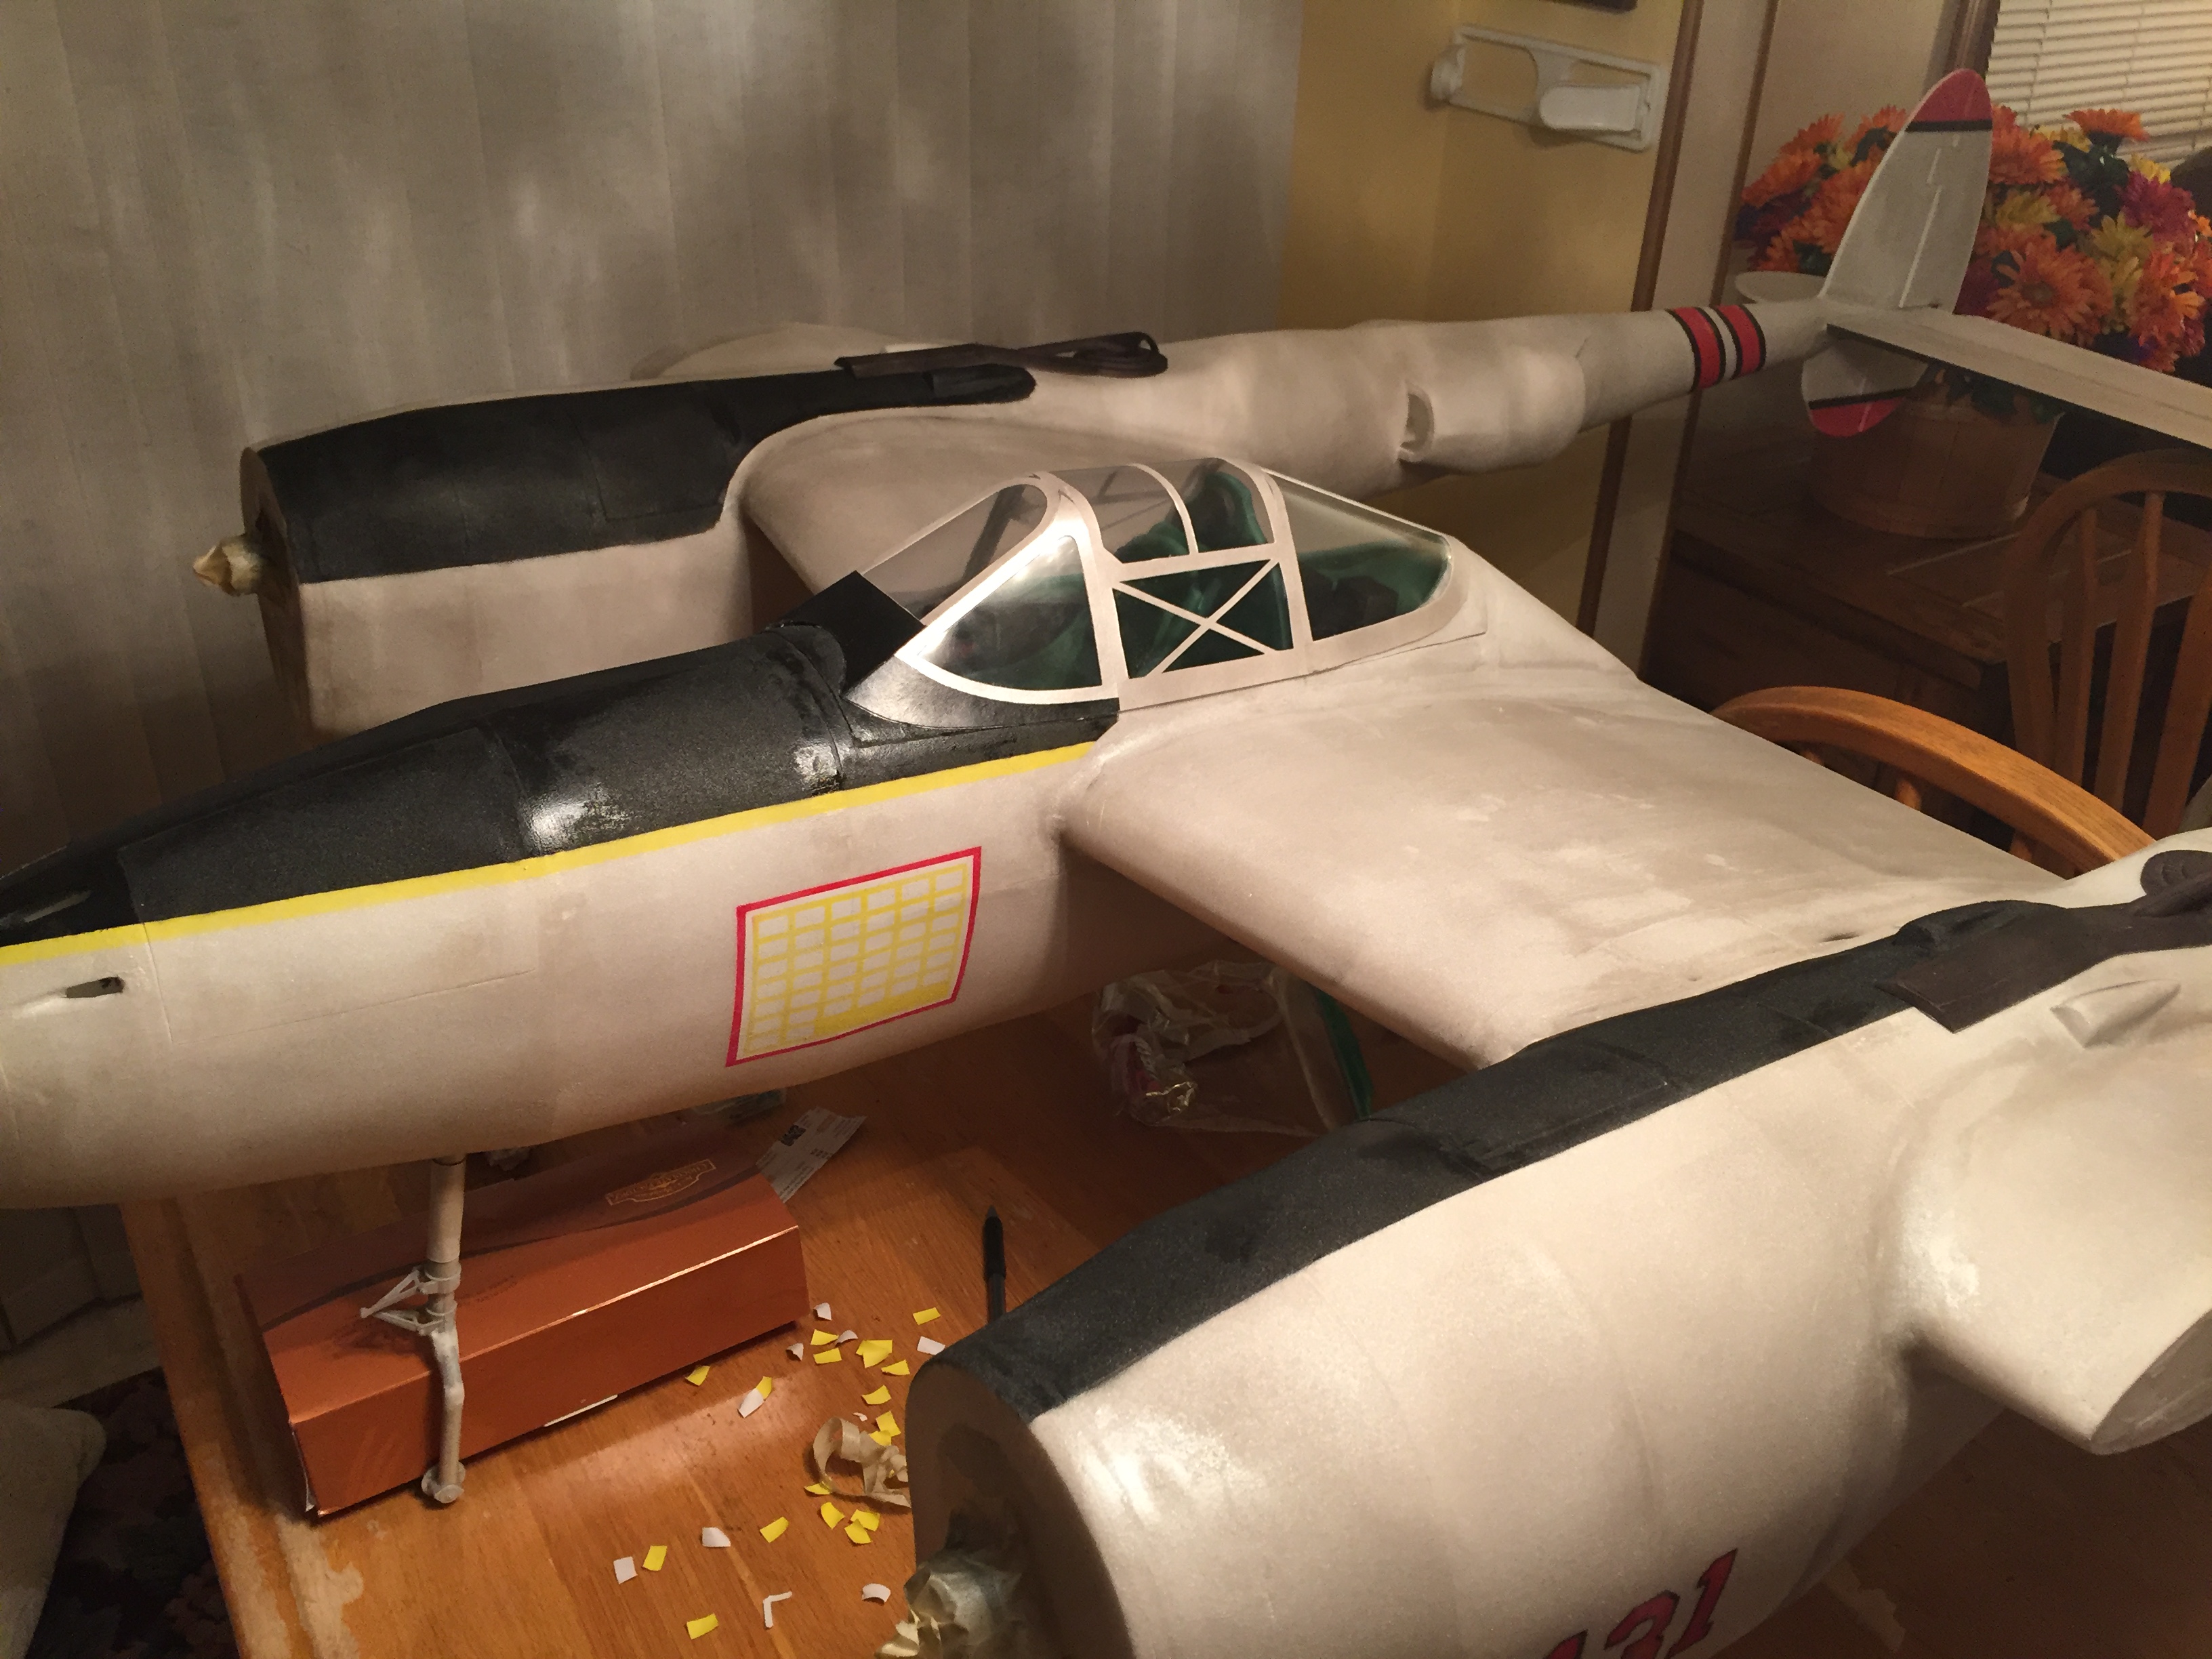
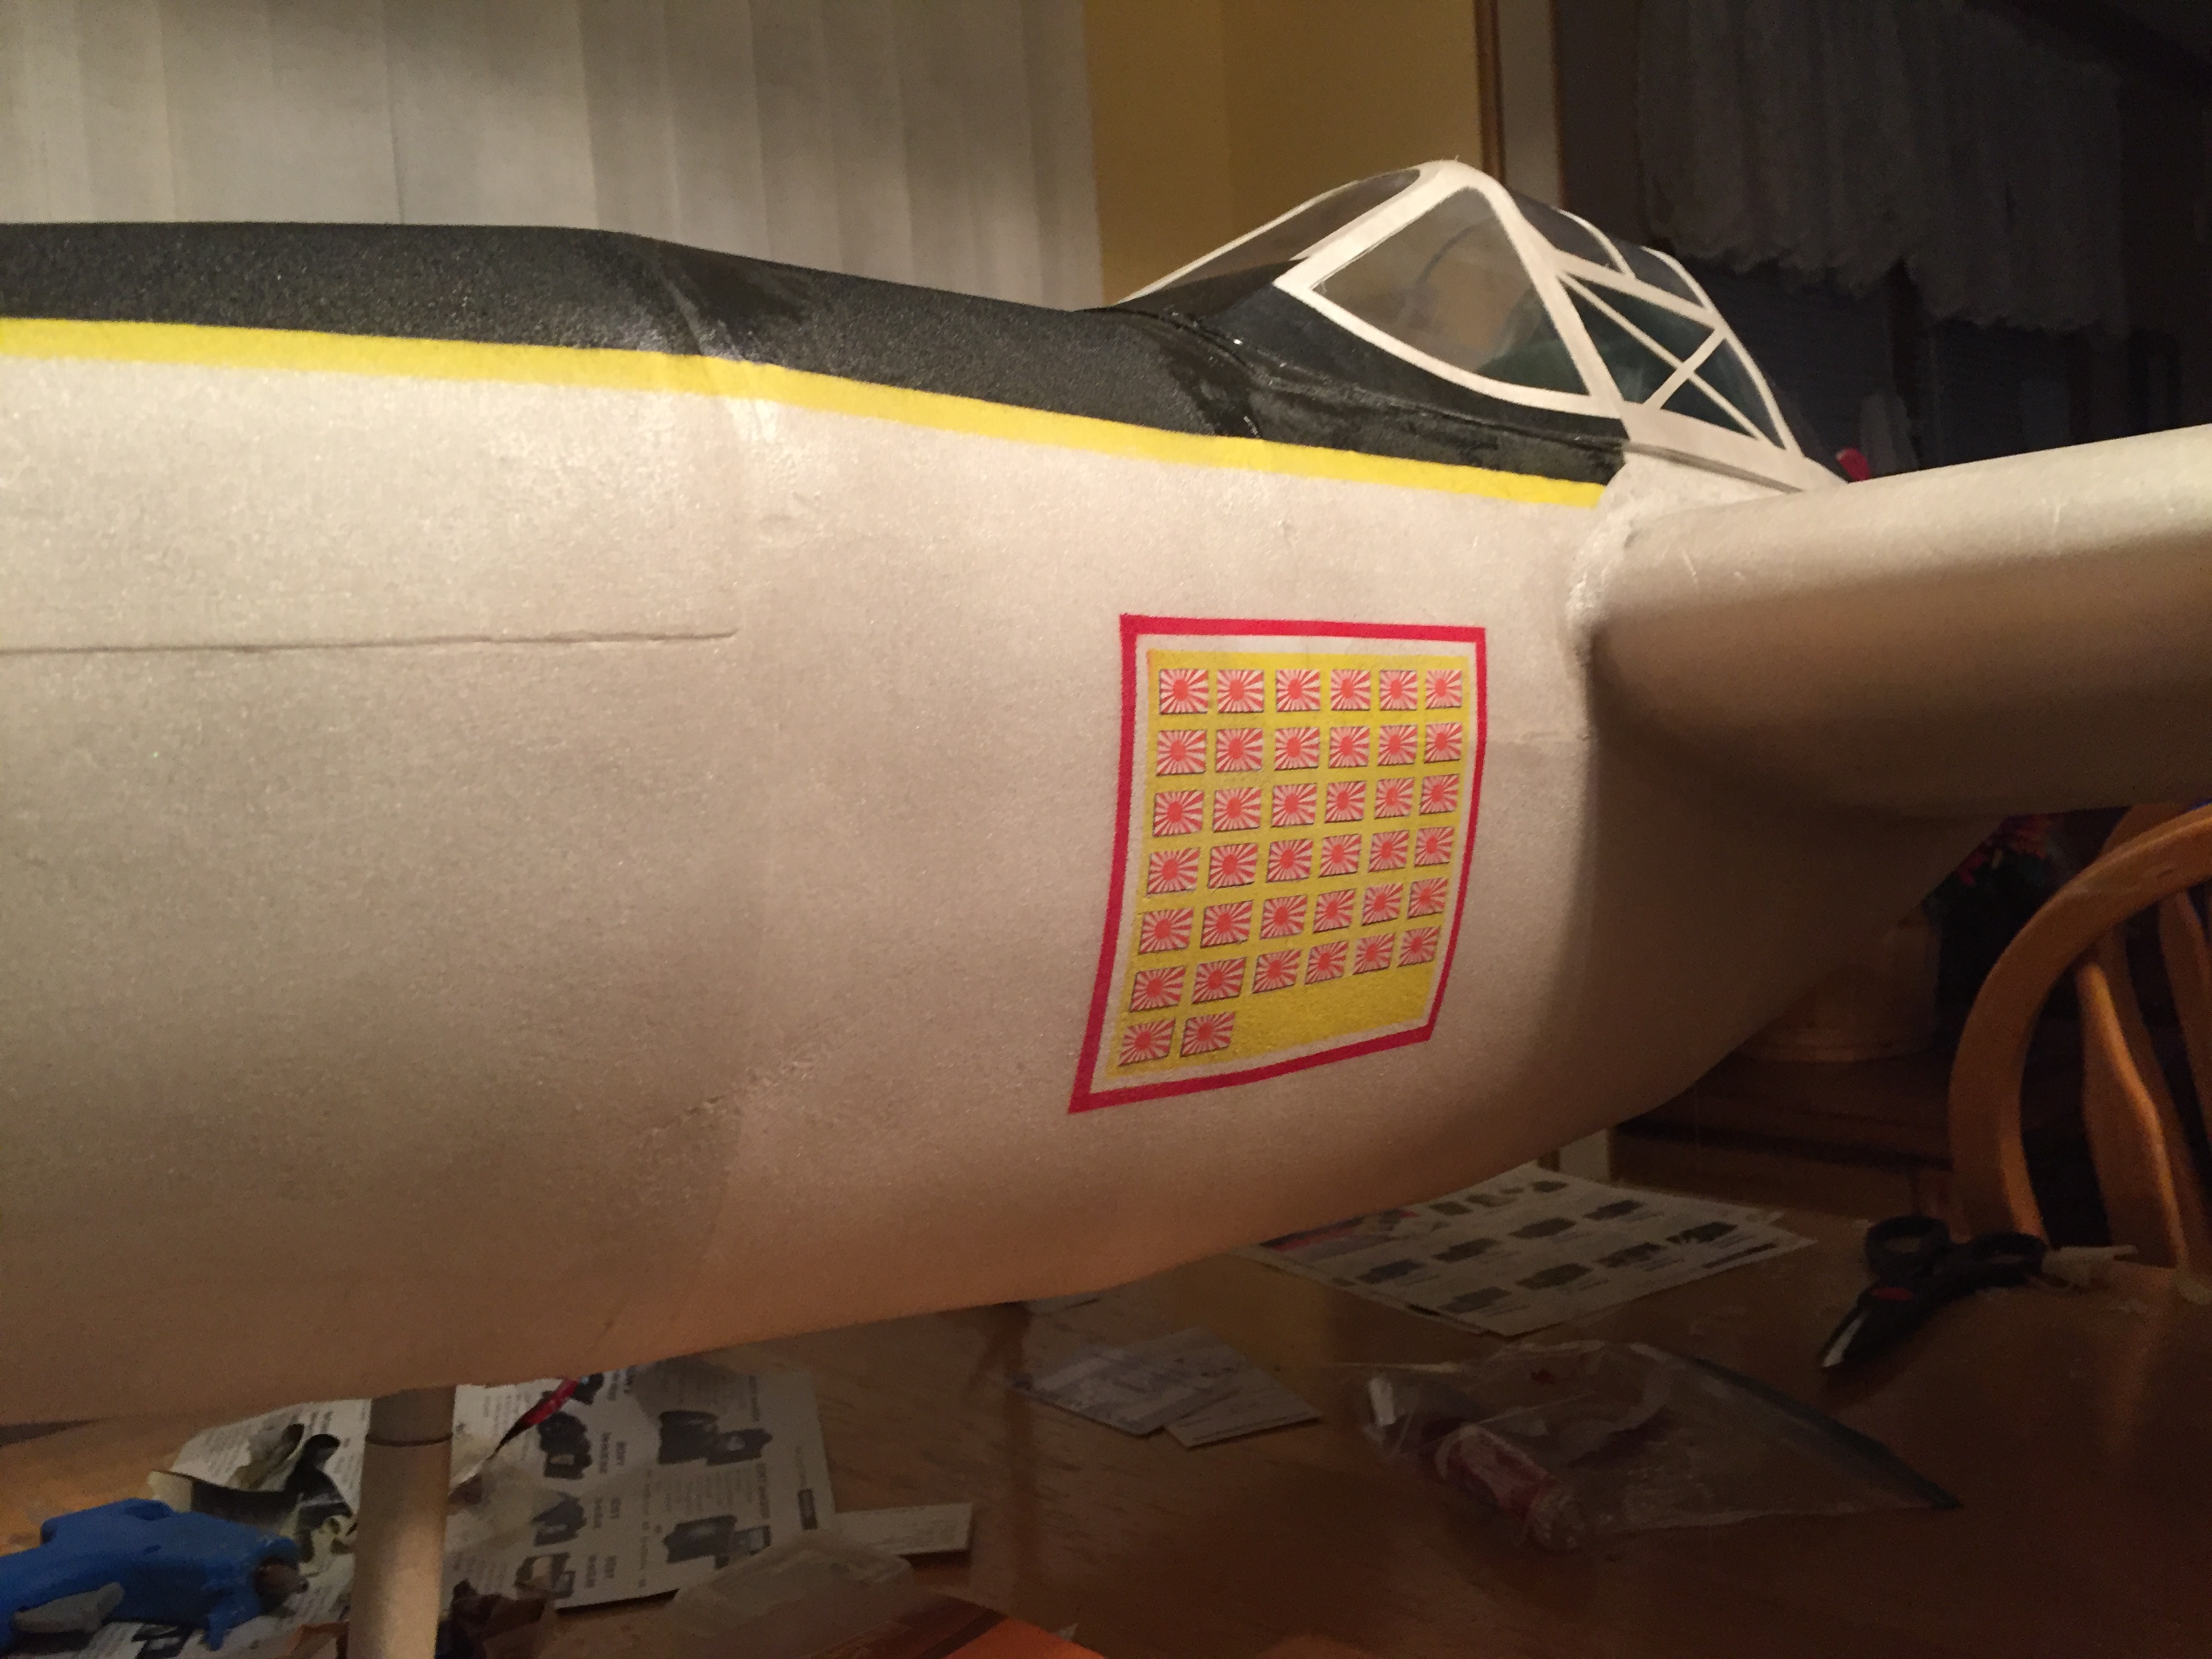
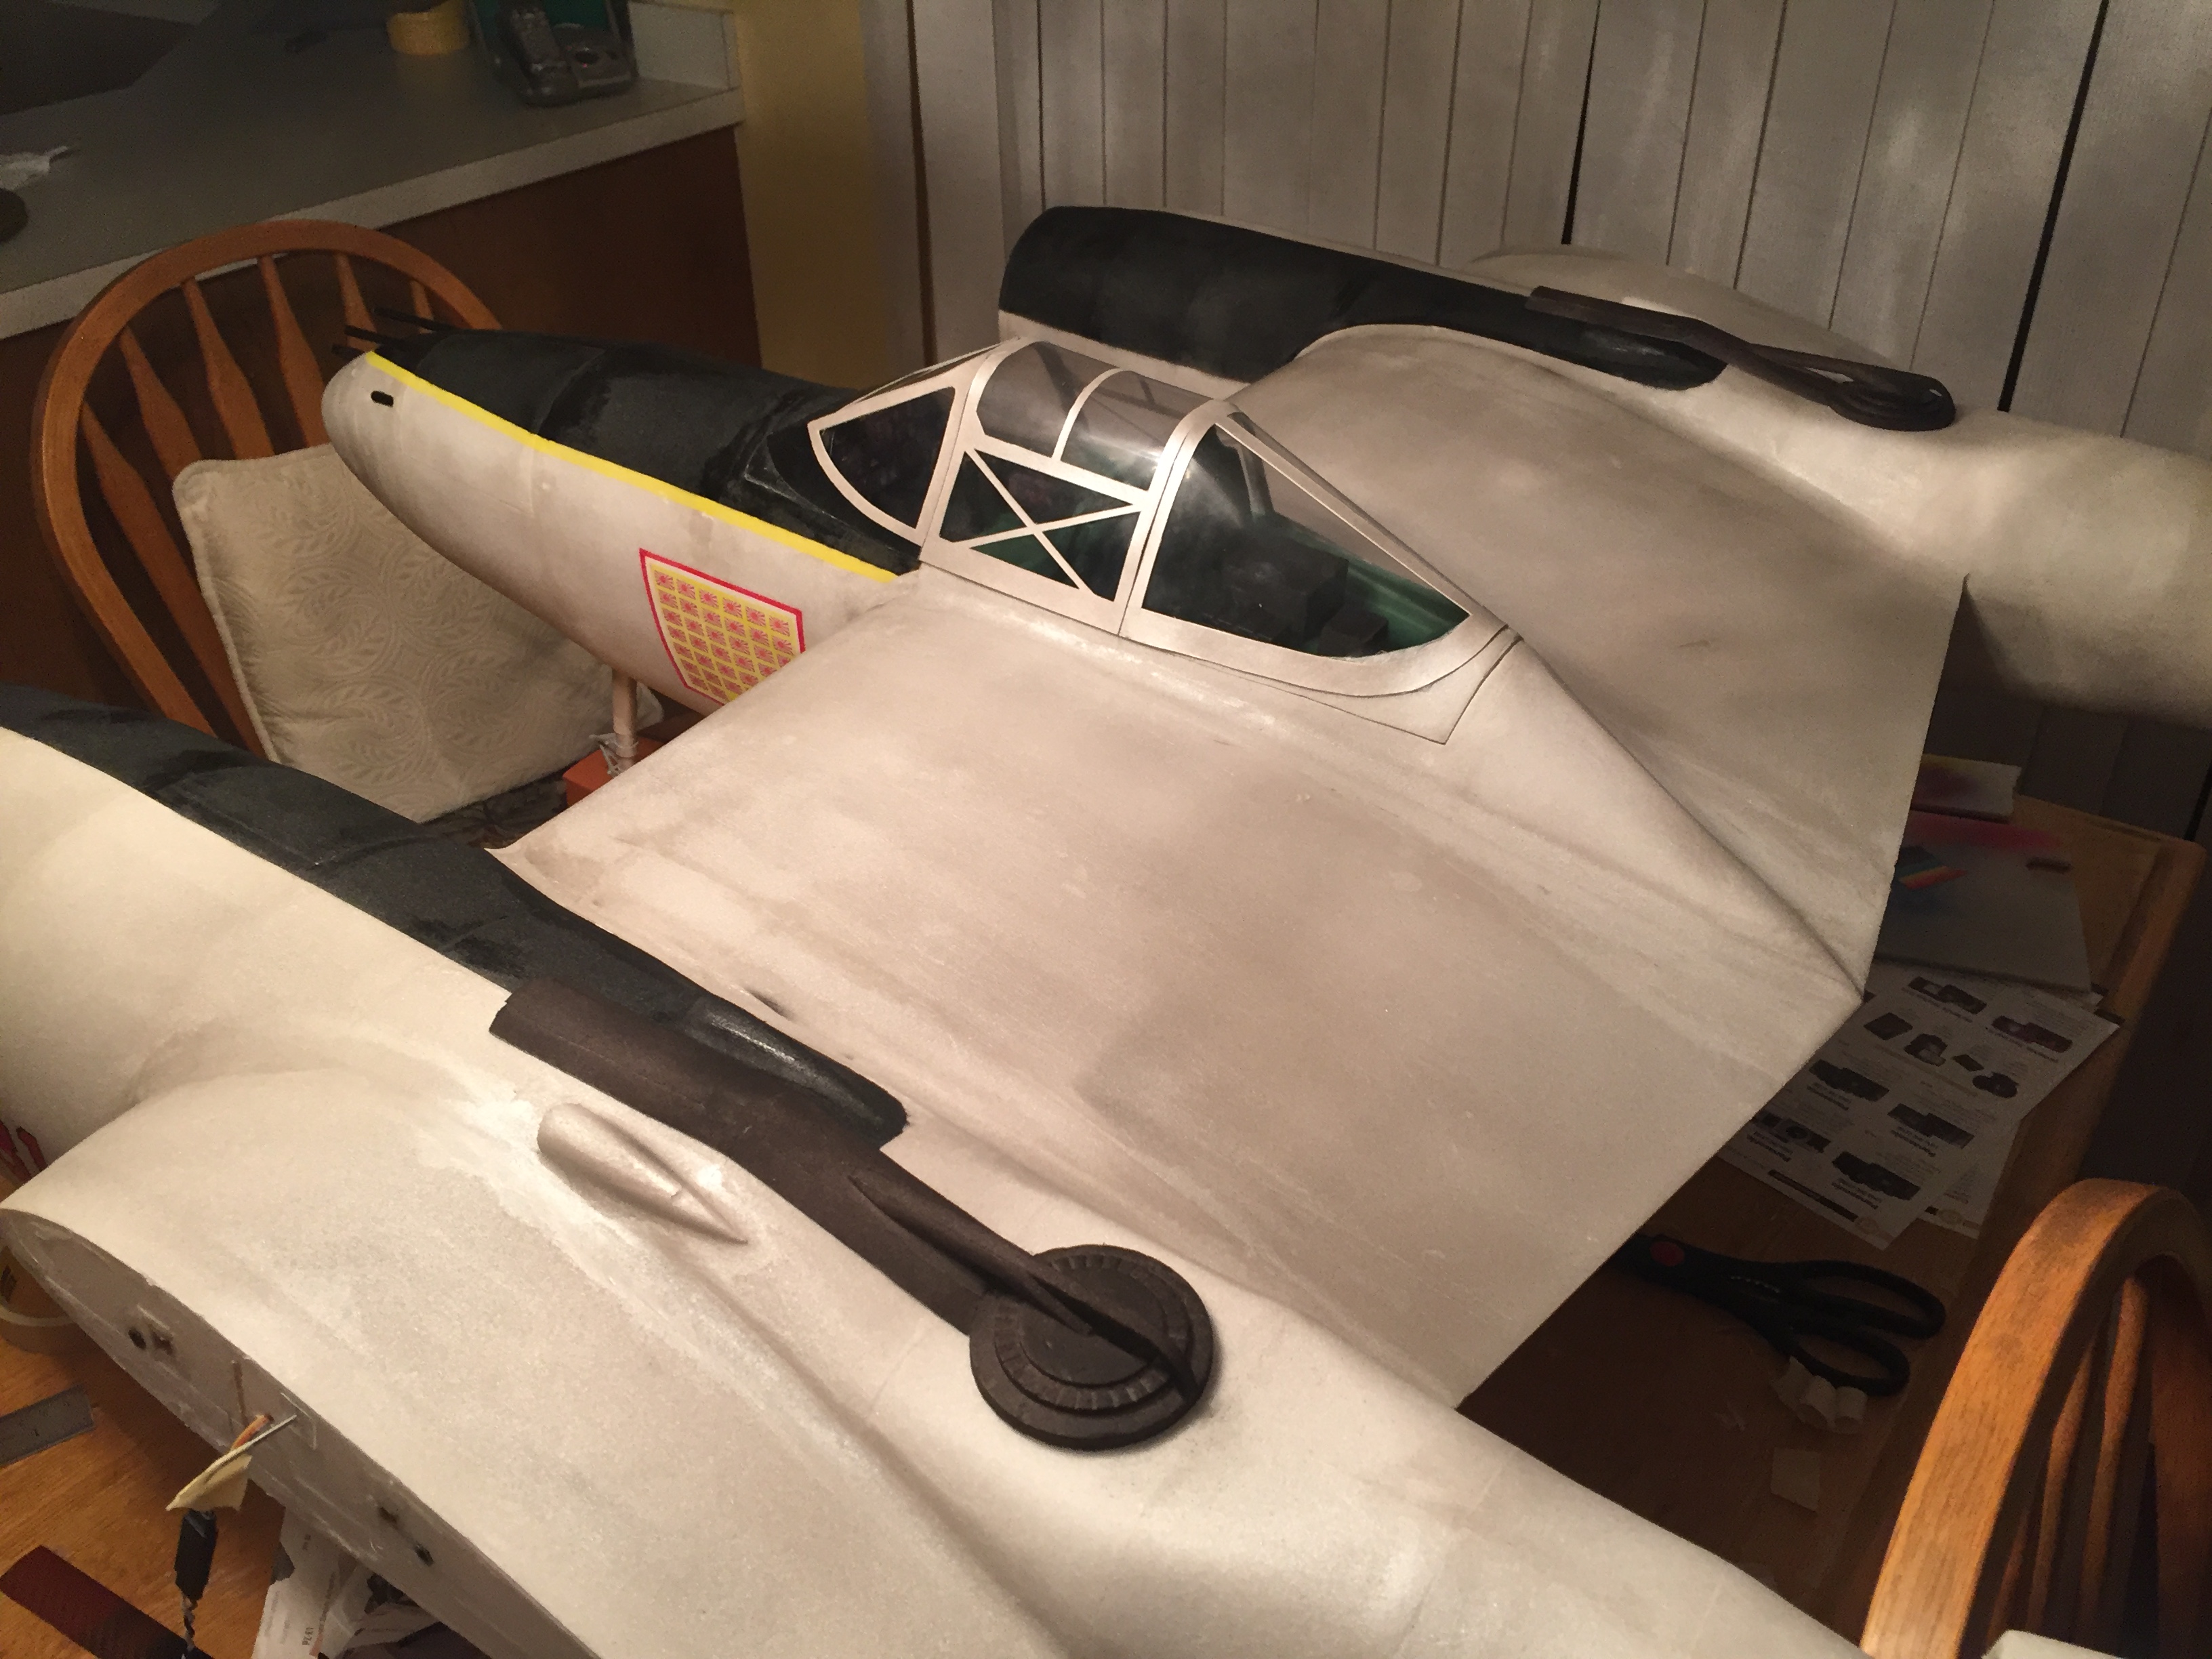
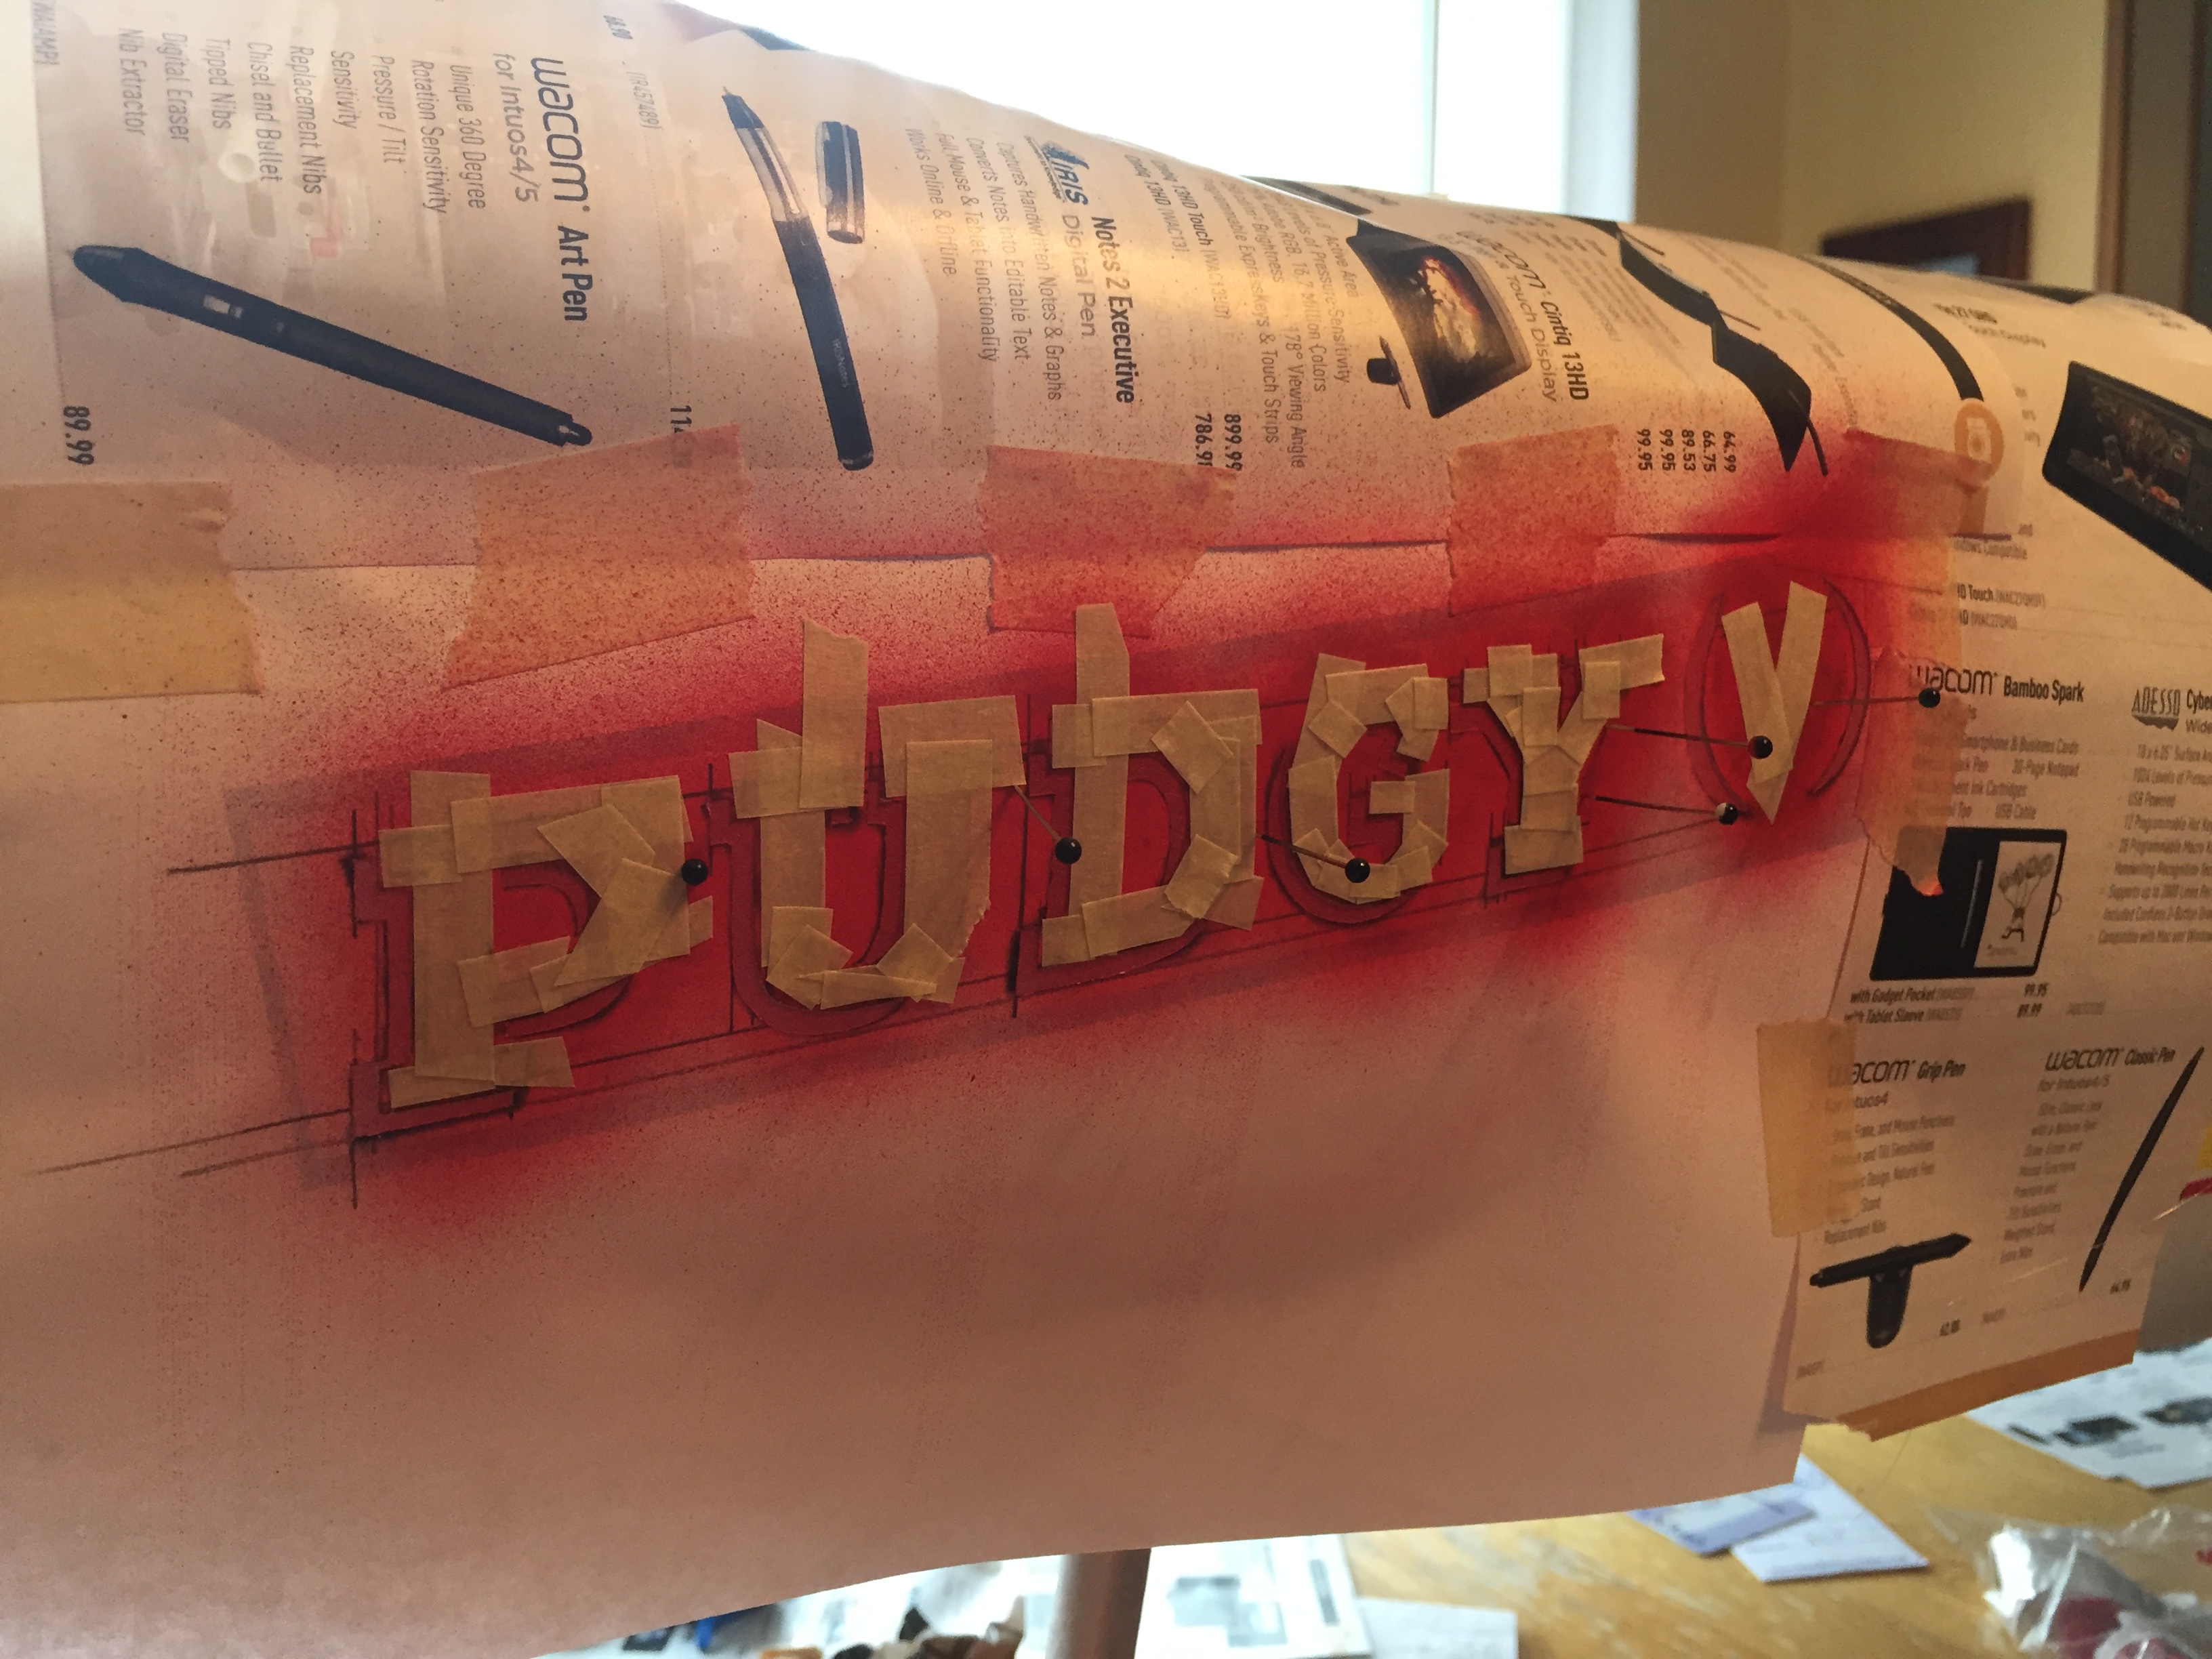
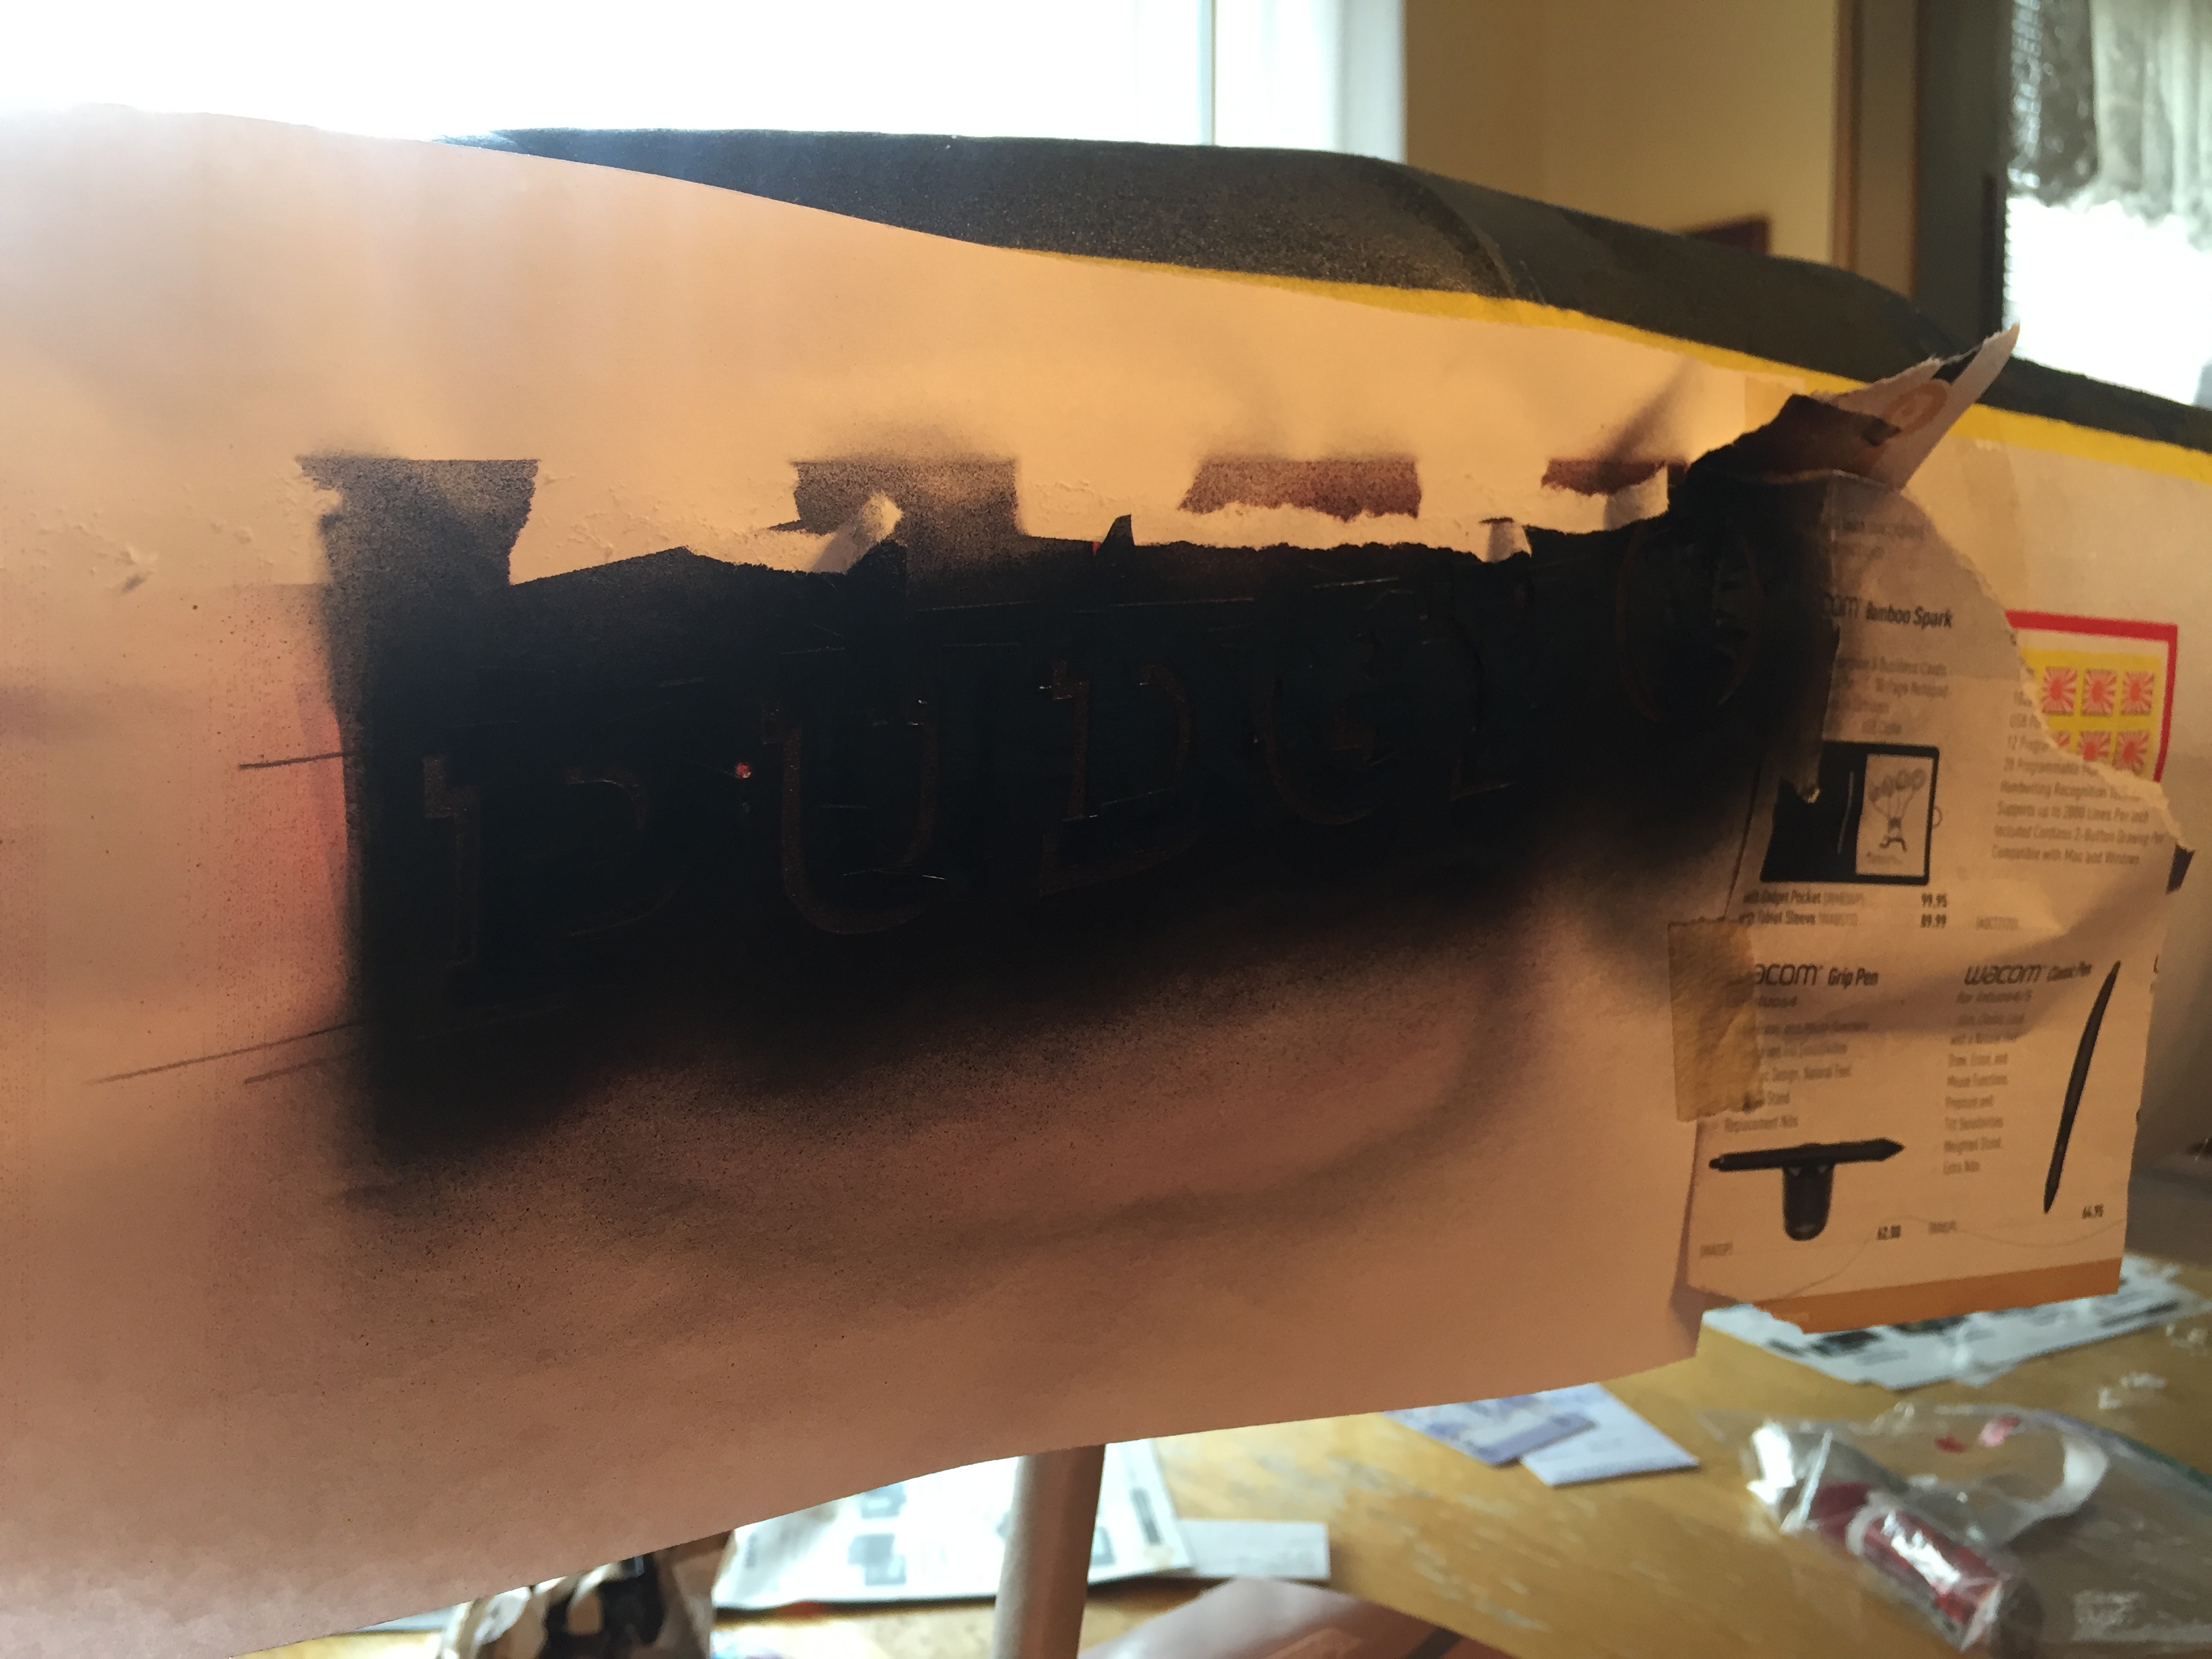
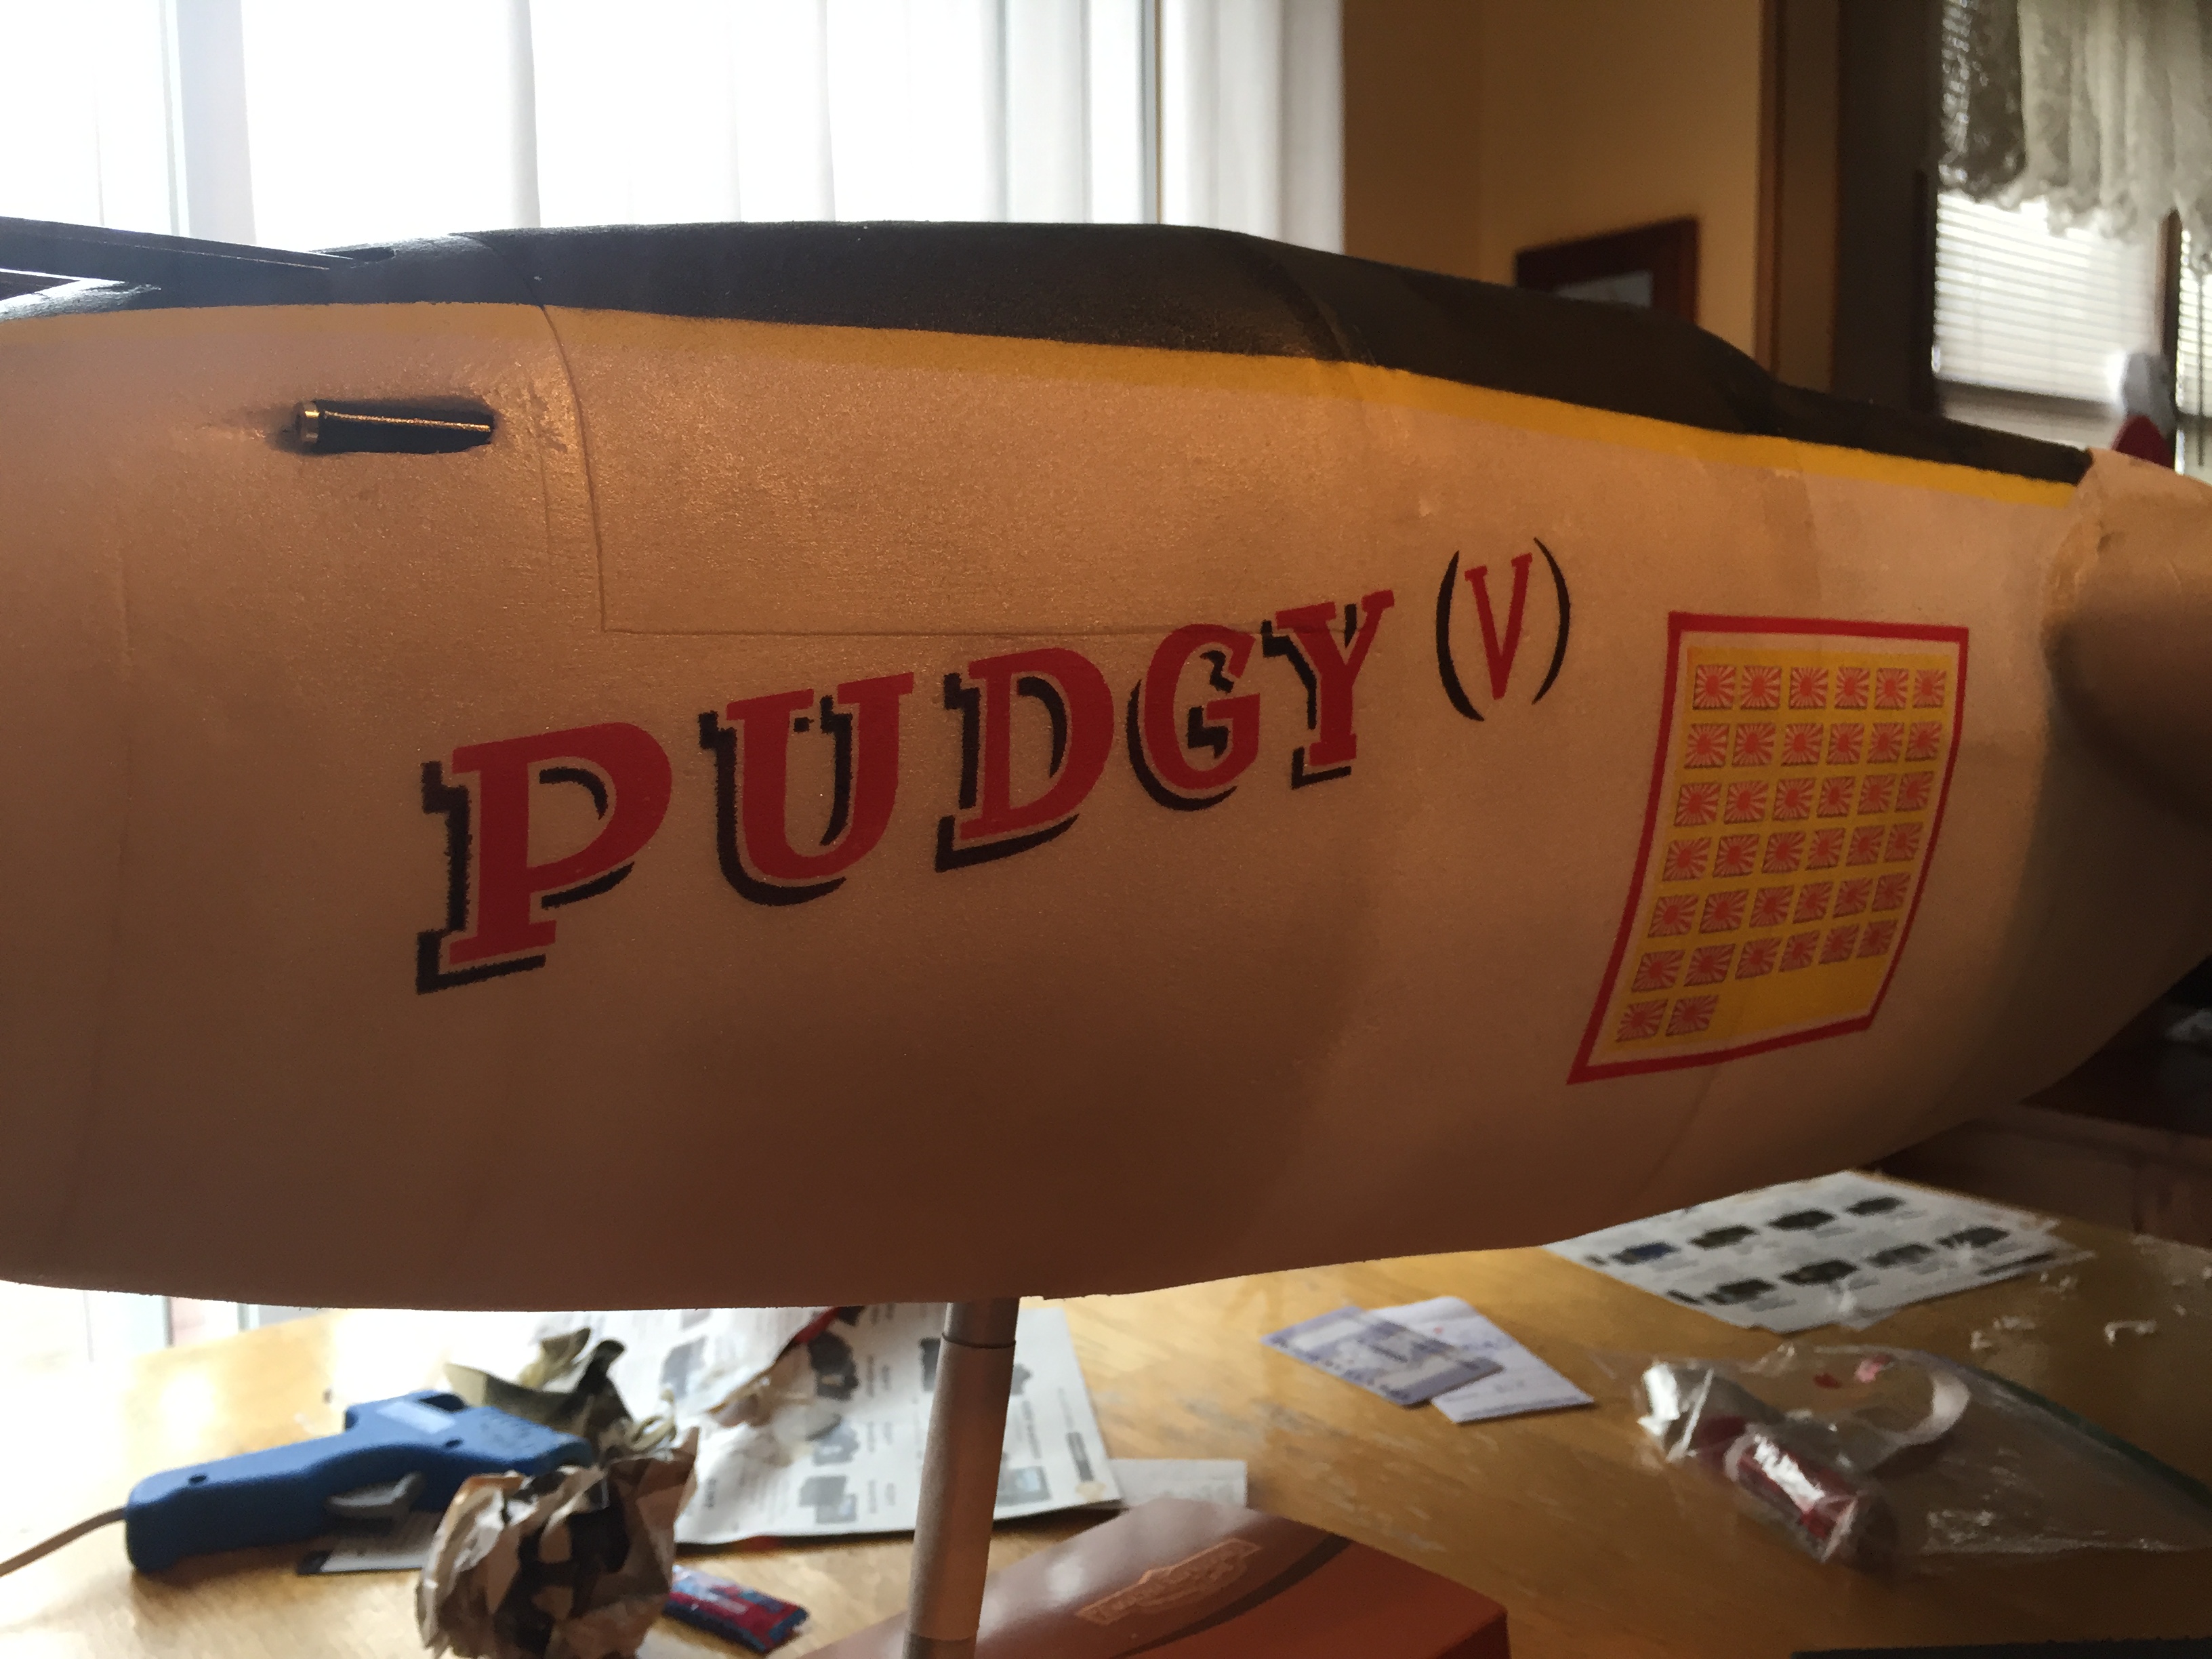
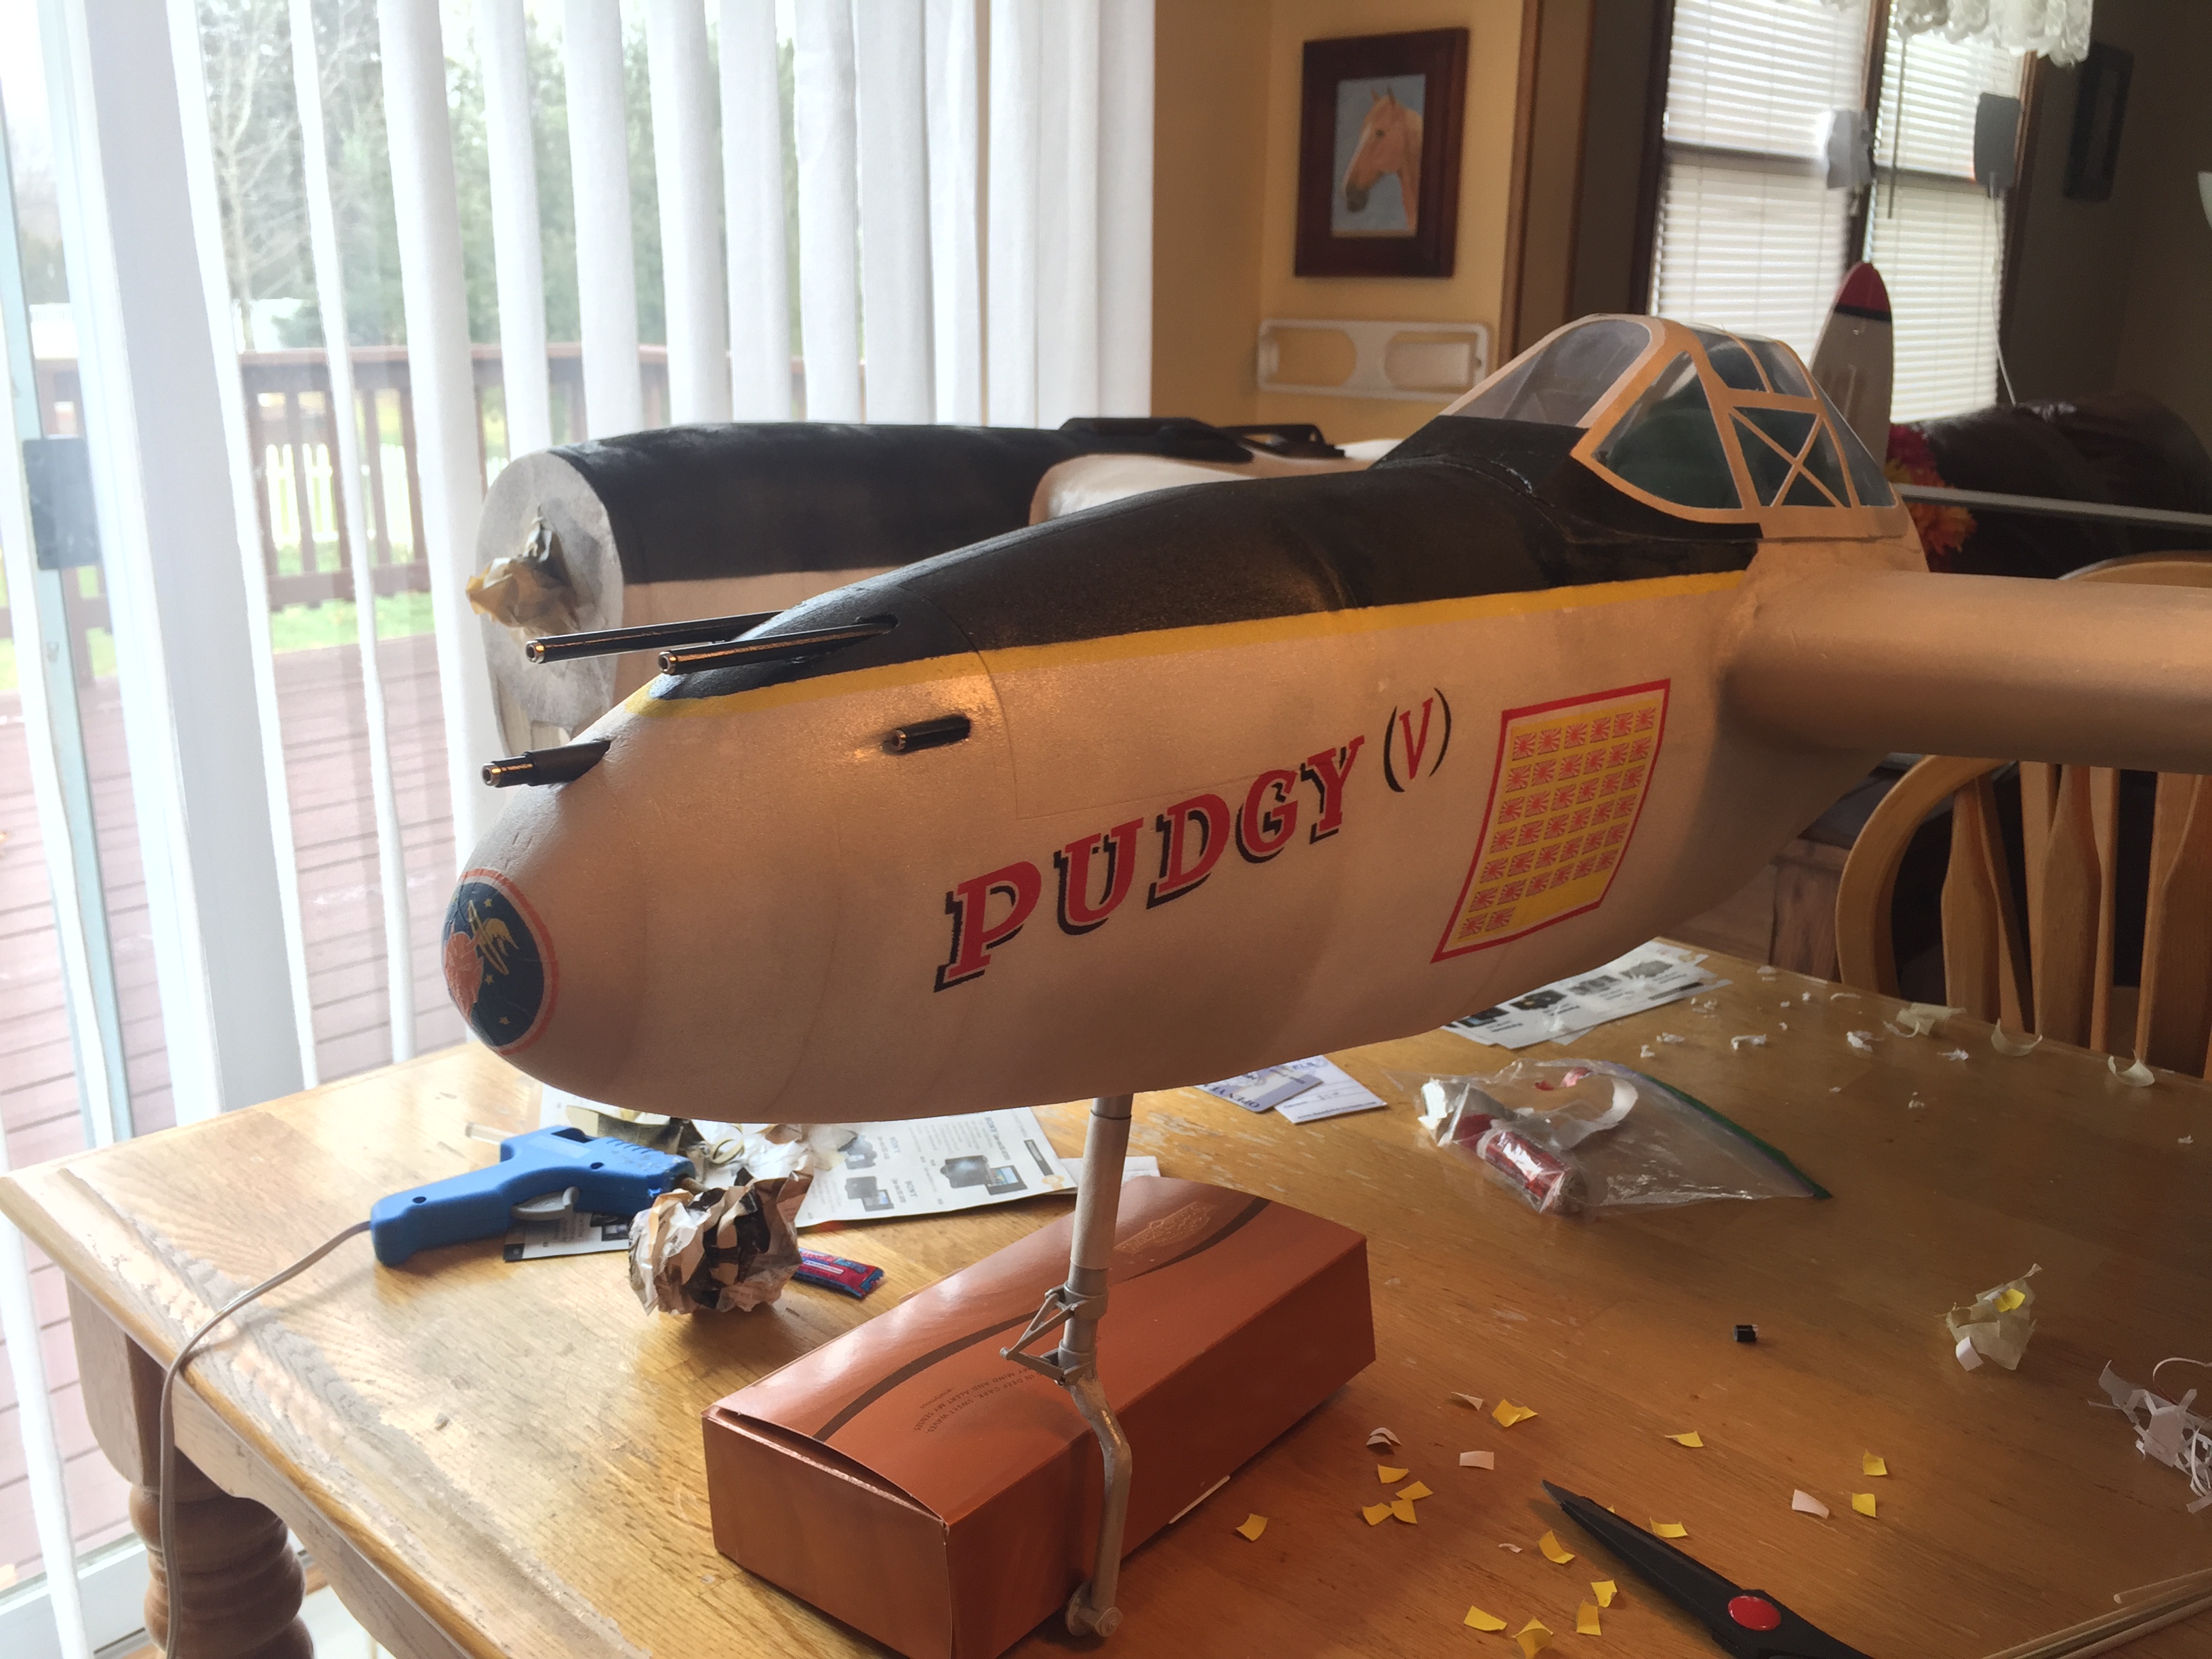
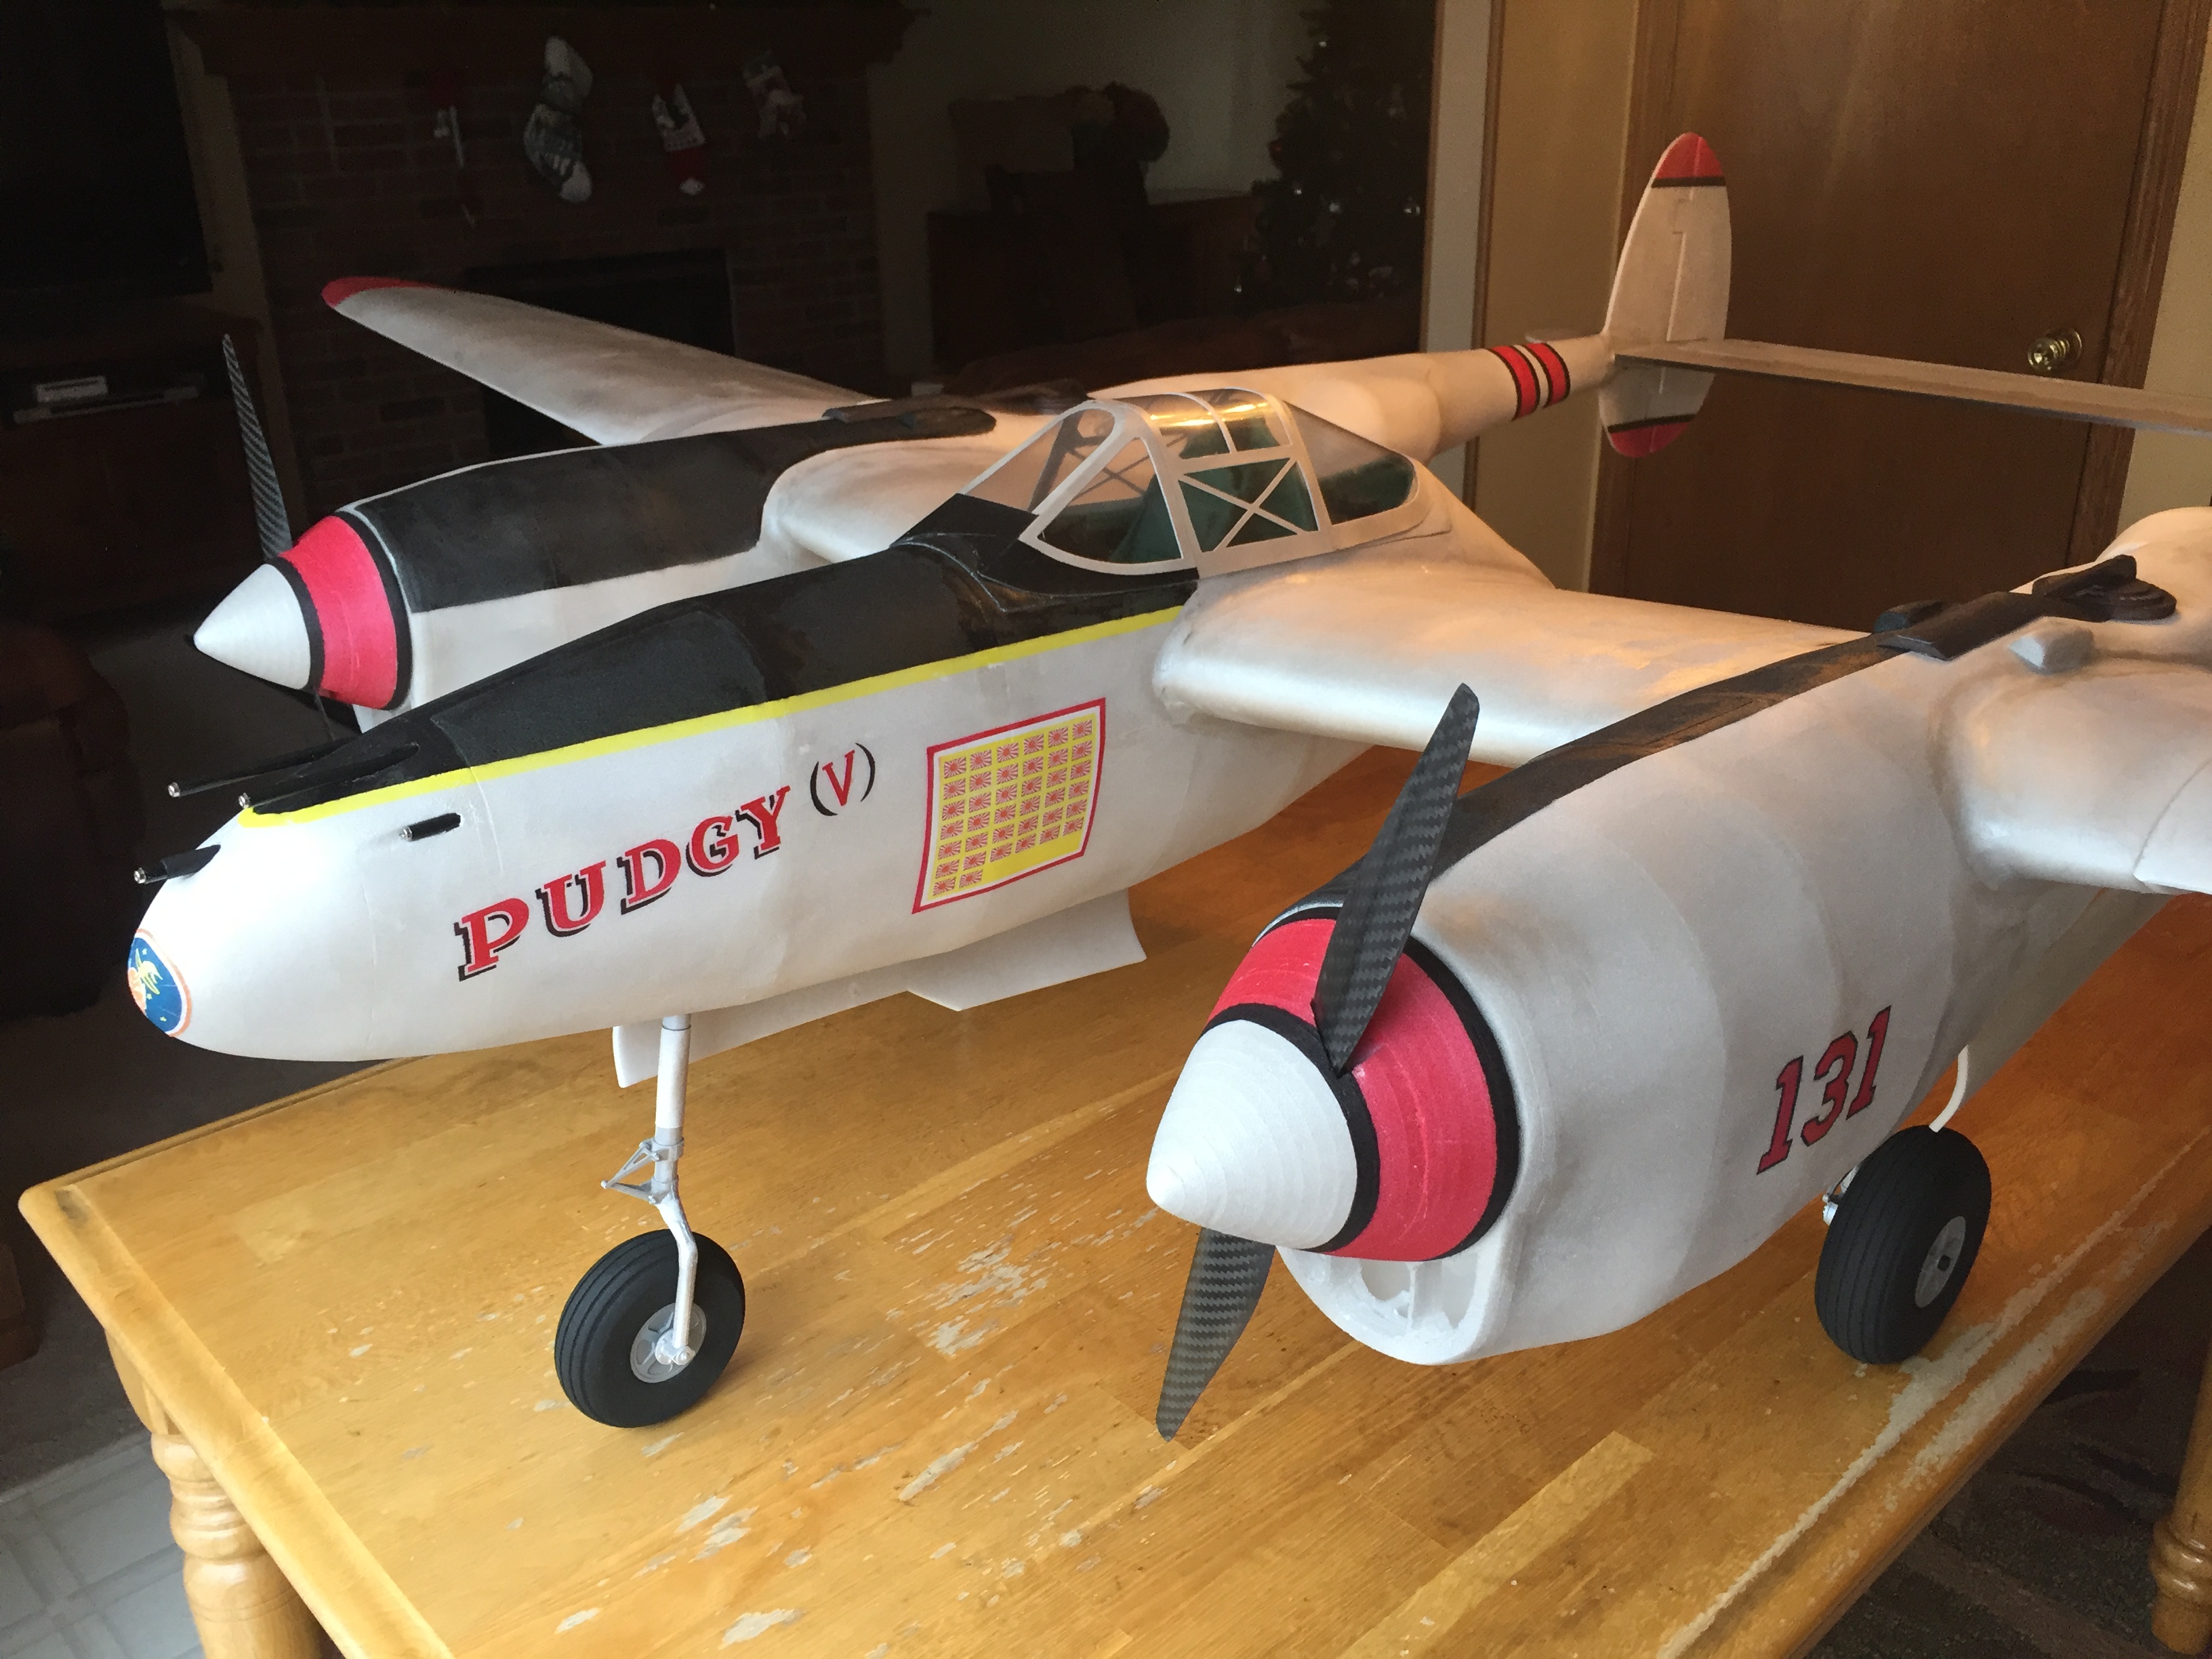
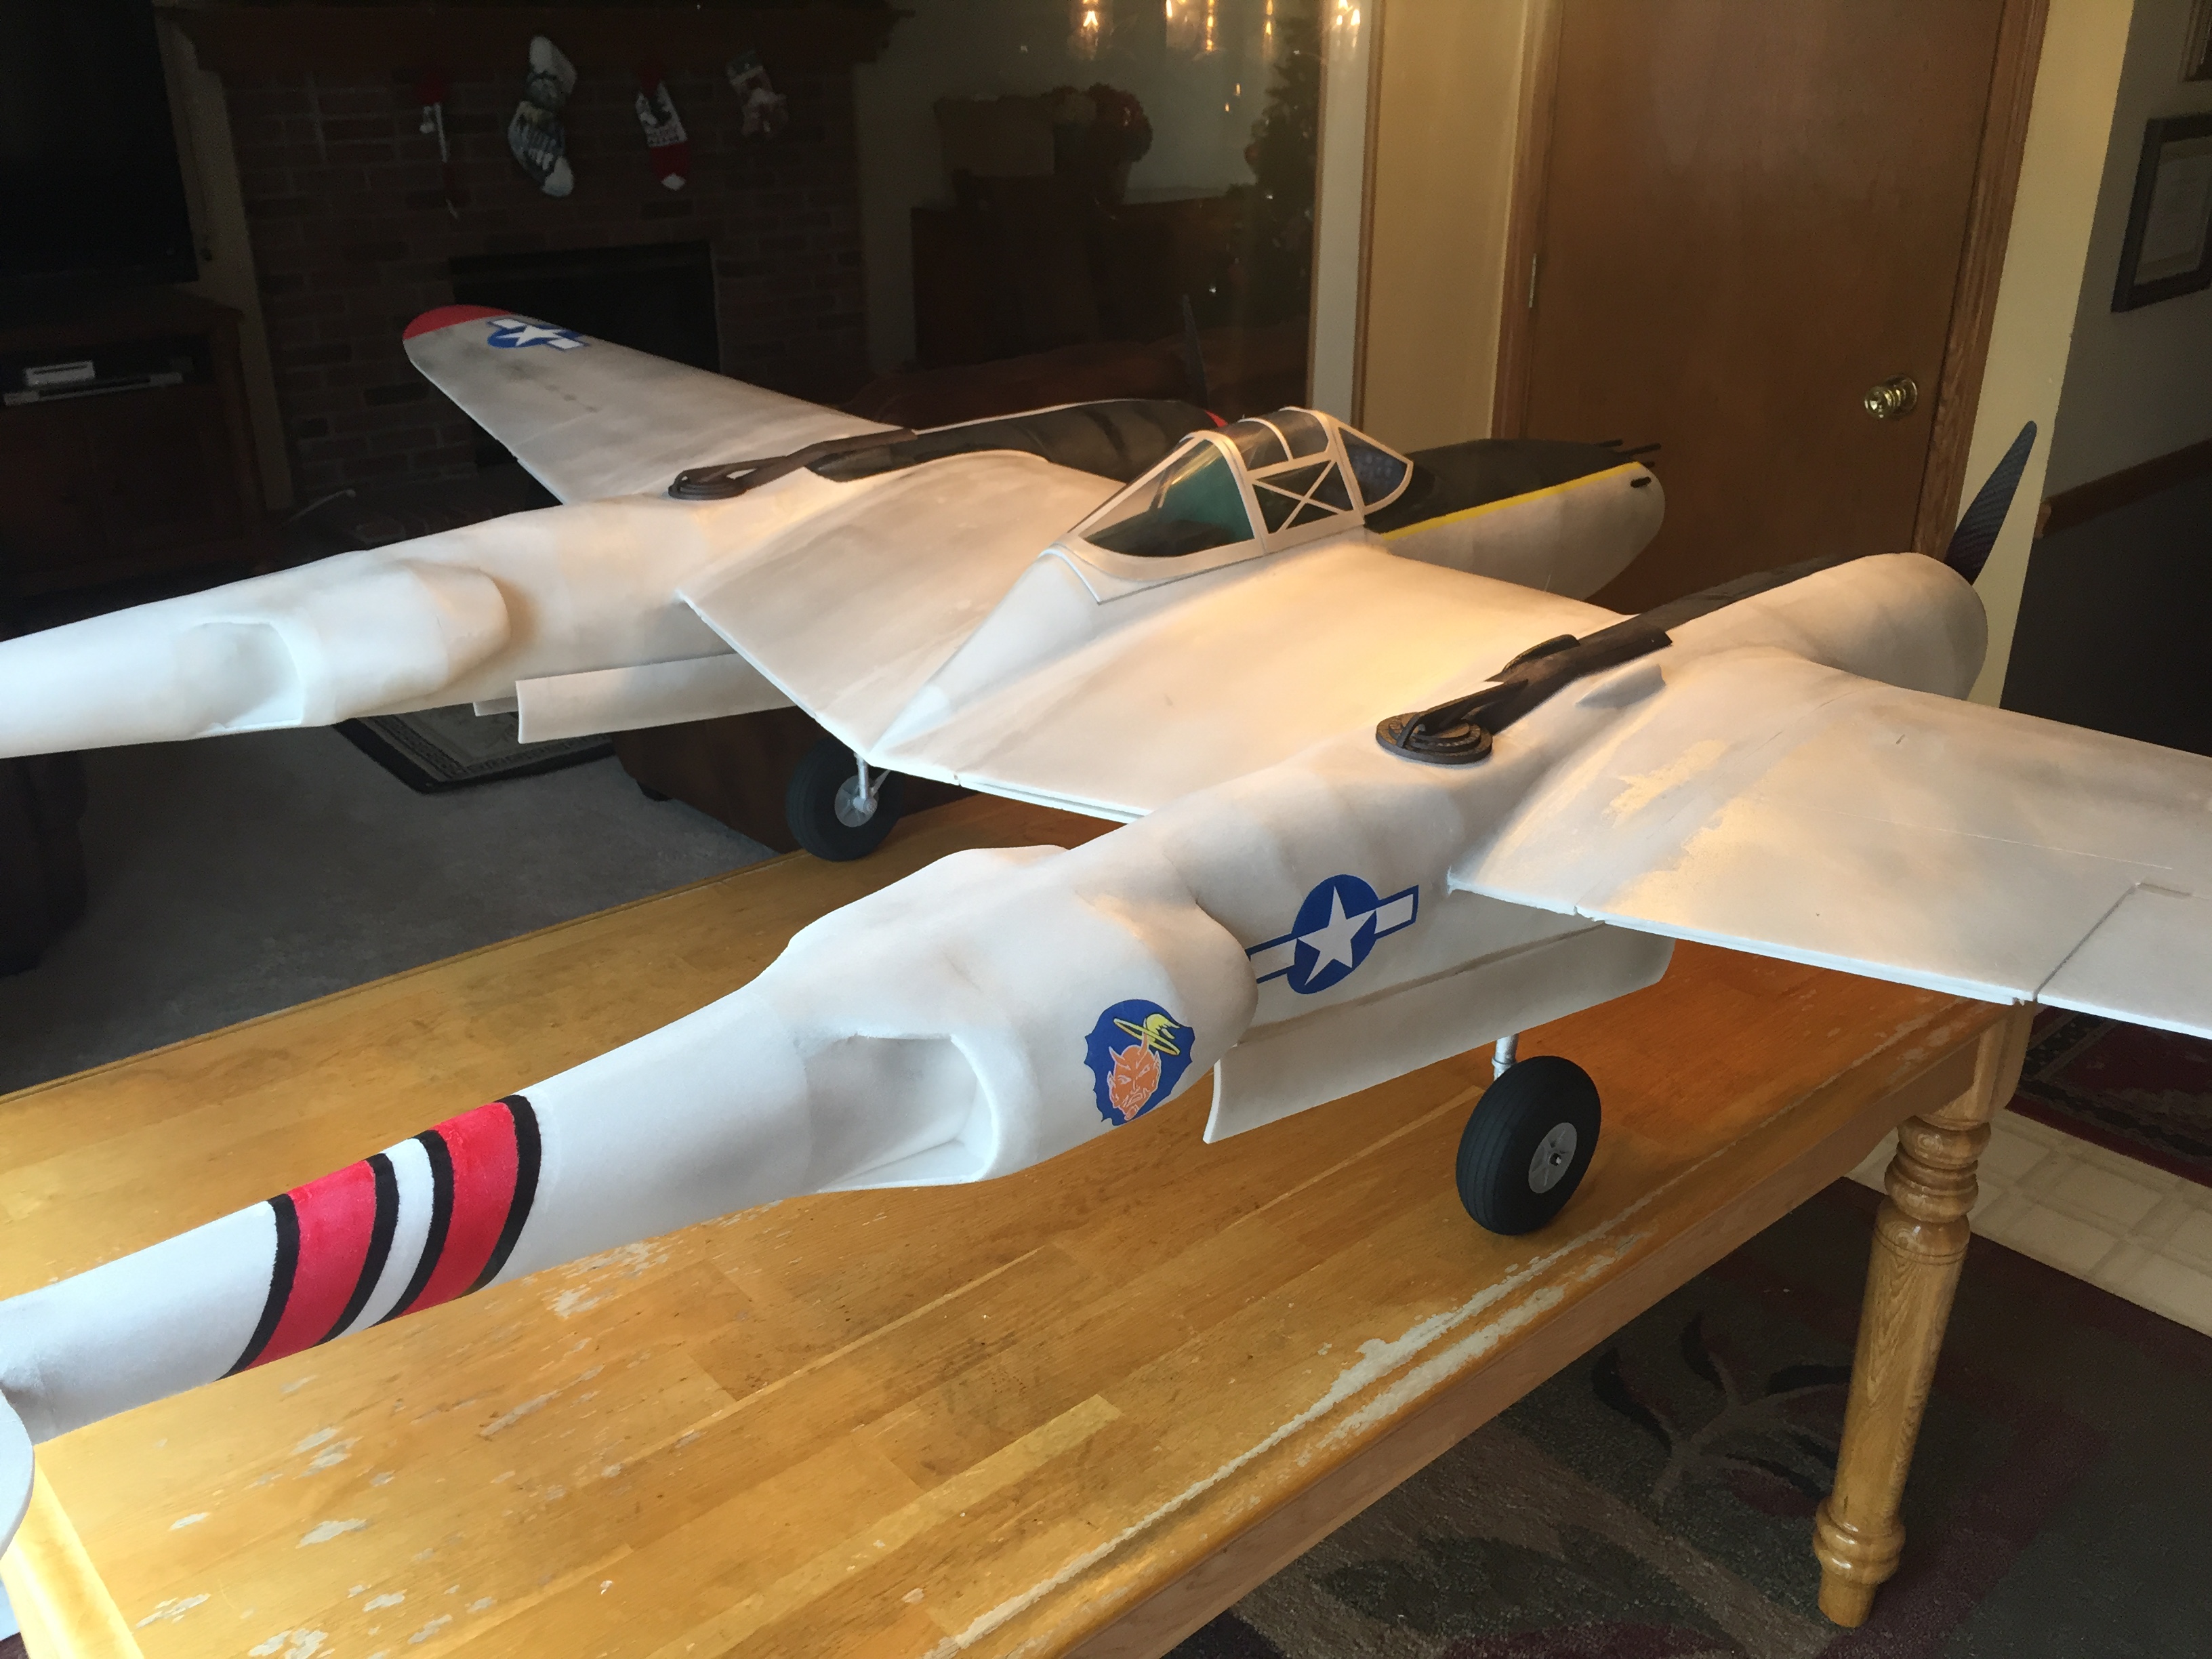
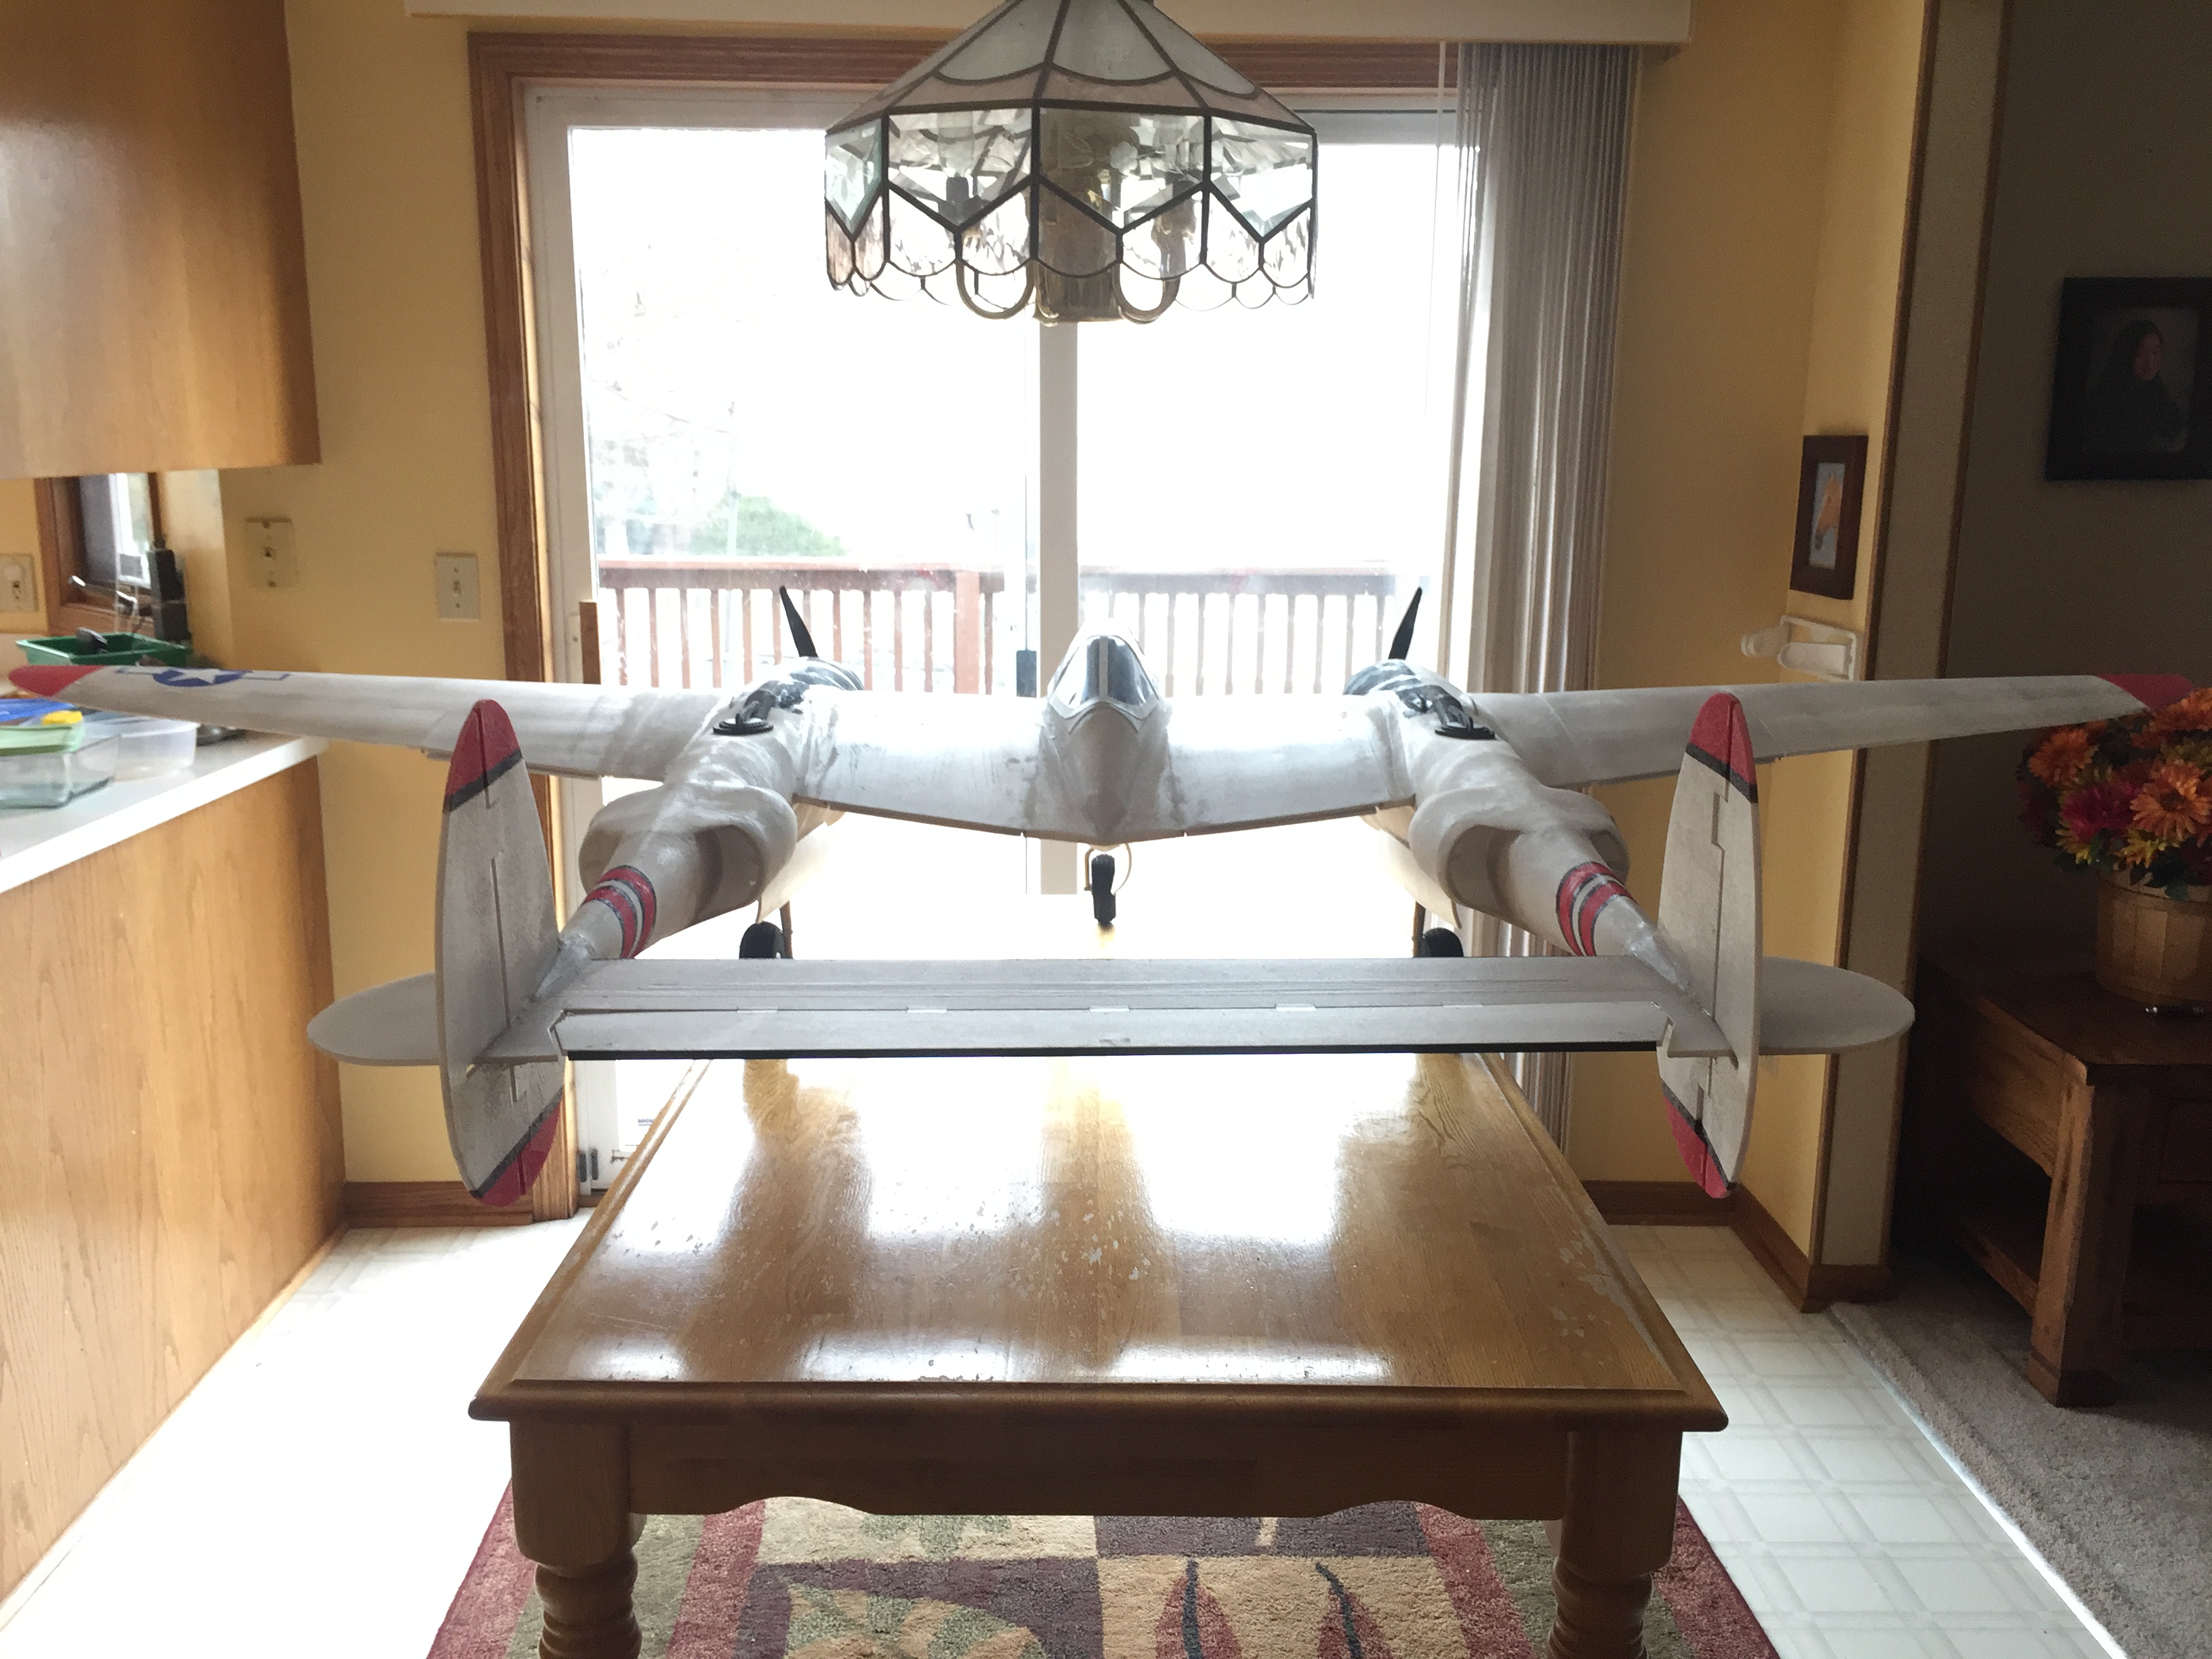
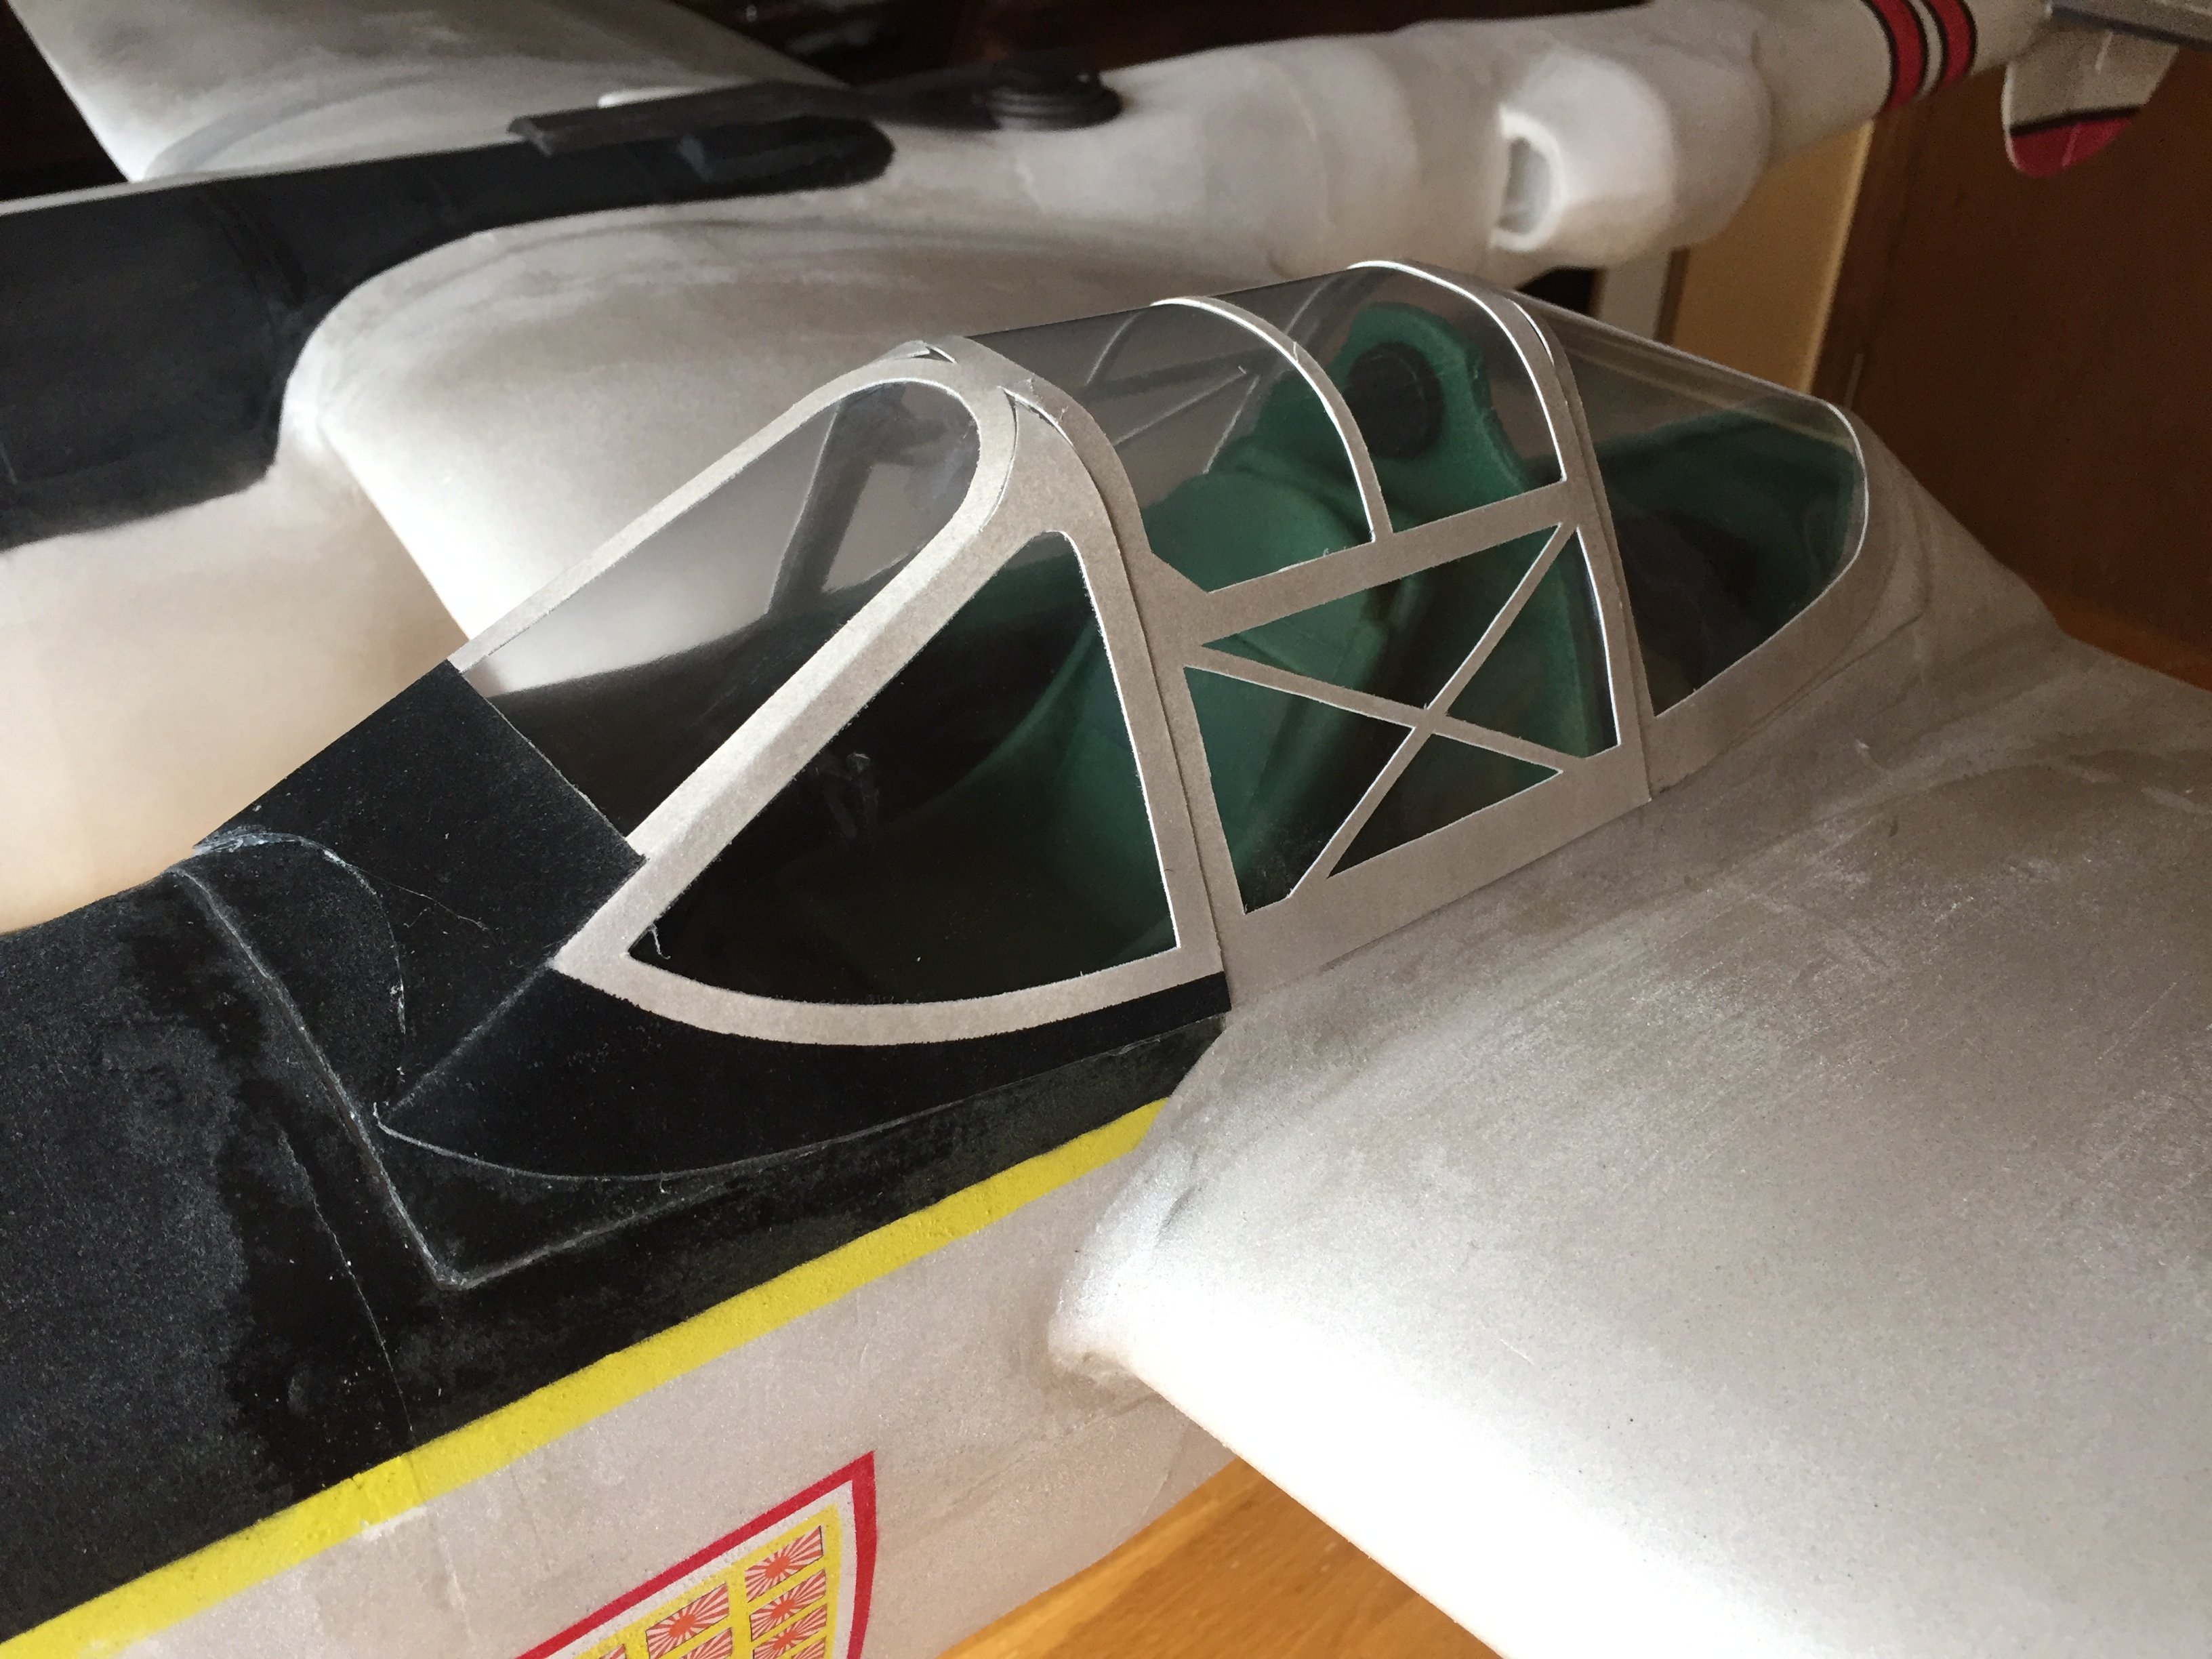
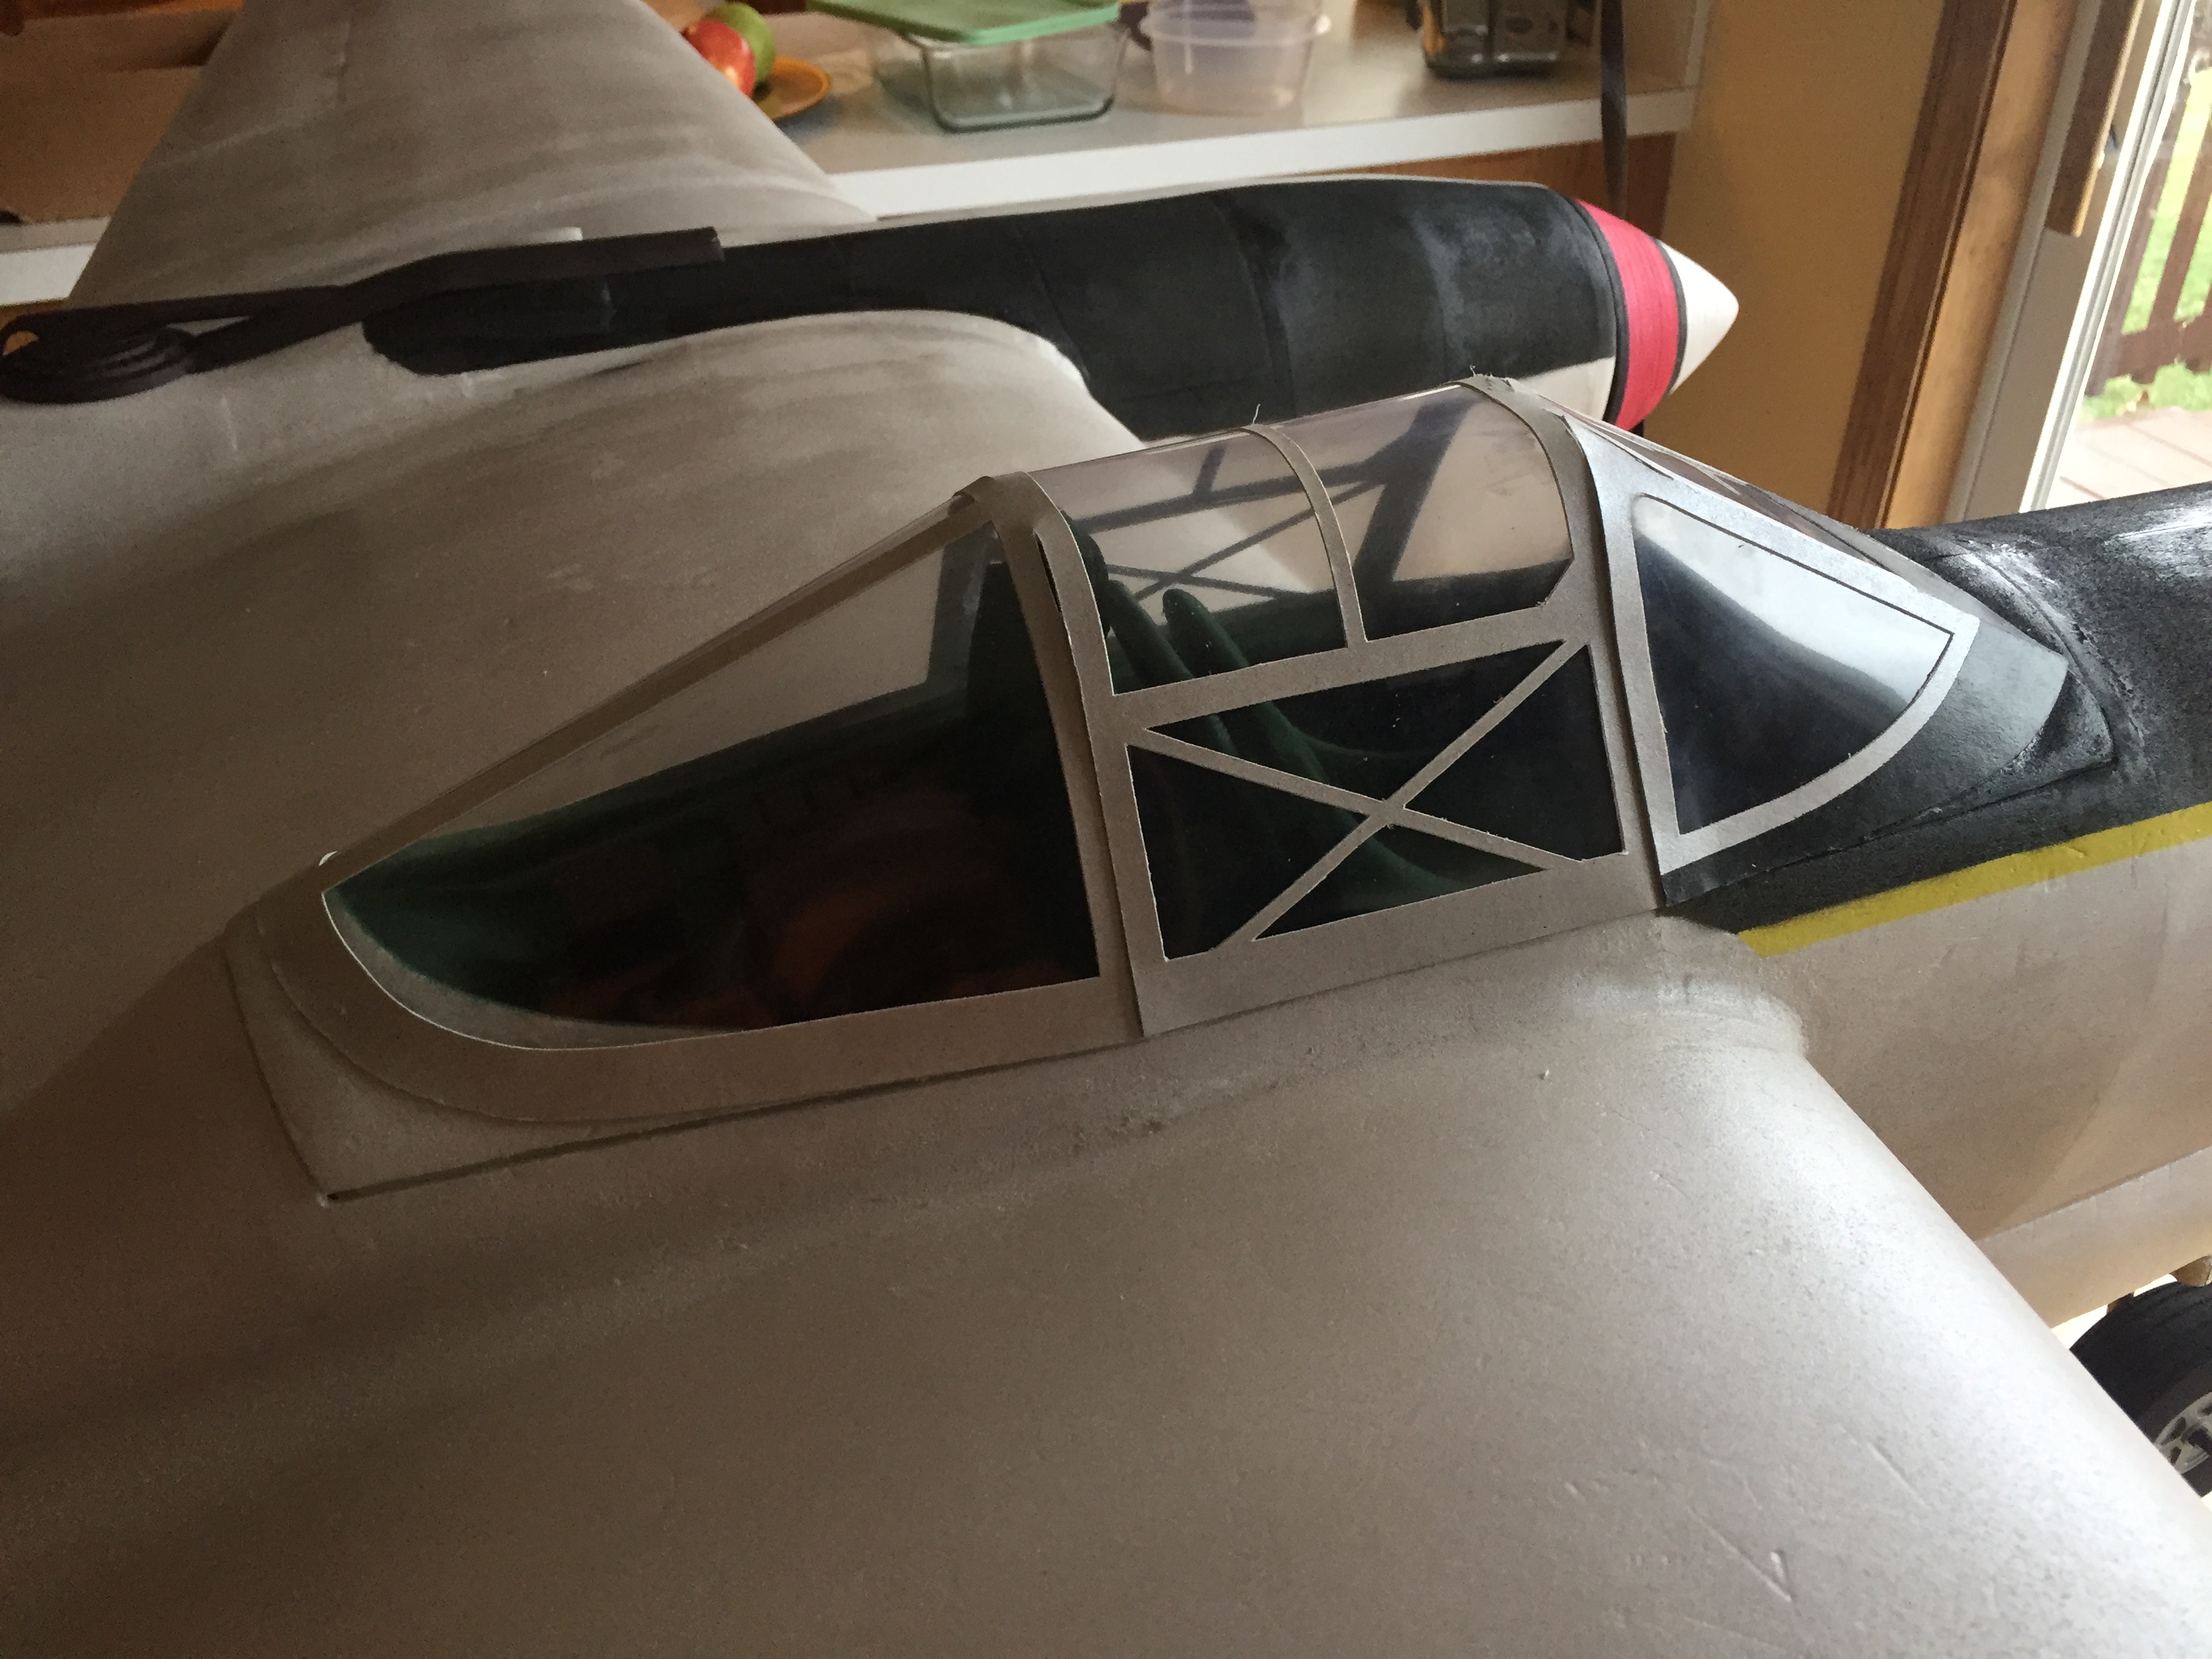

 Looks like with a 2.94m wingspan build you may need it!


