You are using an out of date browser. It may not display this or other websites correctly.
You should upgrade or use an alternative browser.
You should upgrade or use an alternative browser.
ShrubSmacker Release
- Thread starter Grifflyer
- Start date
Wildthing
Legendary member
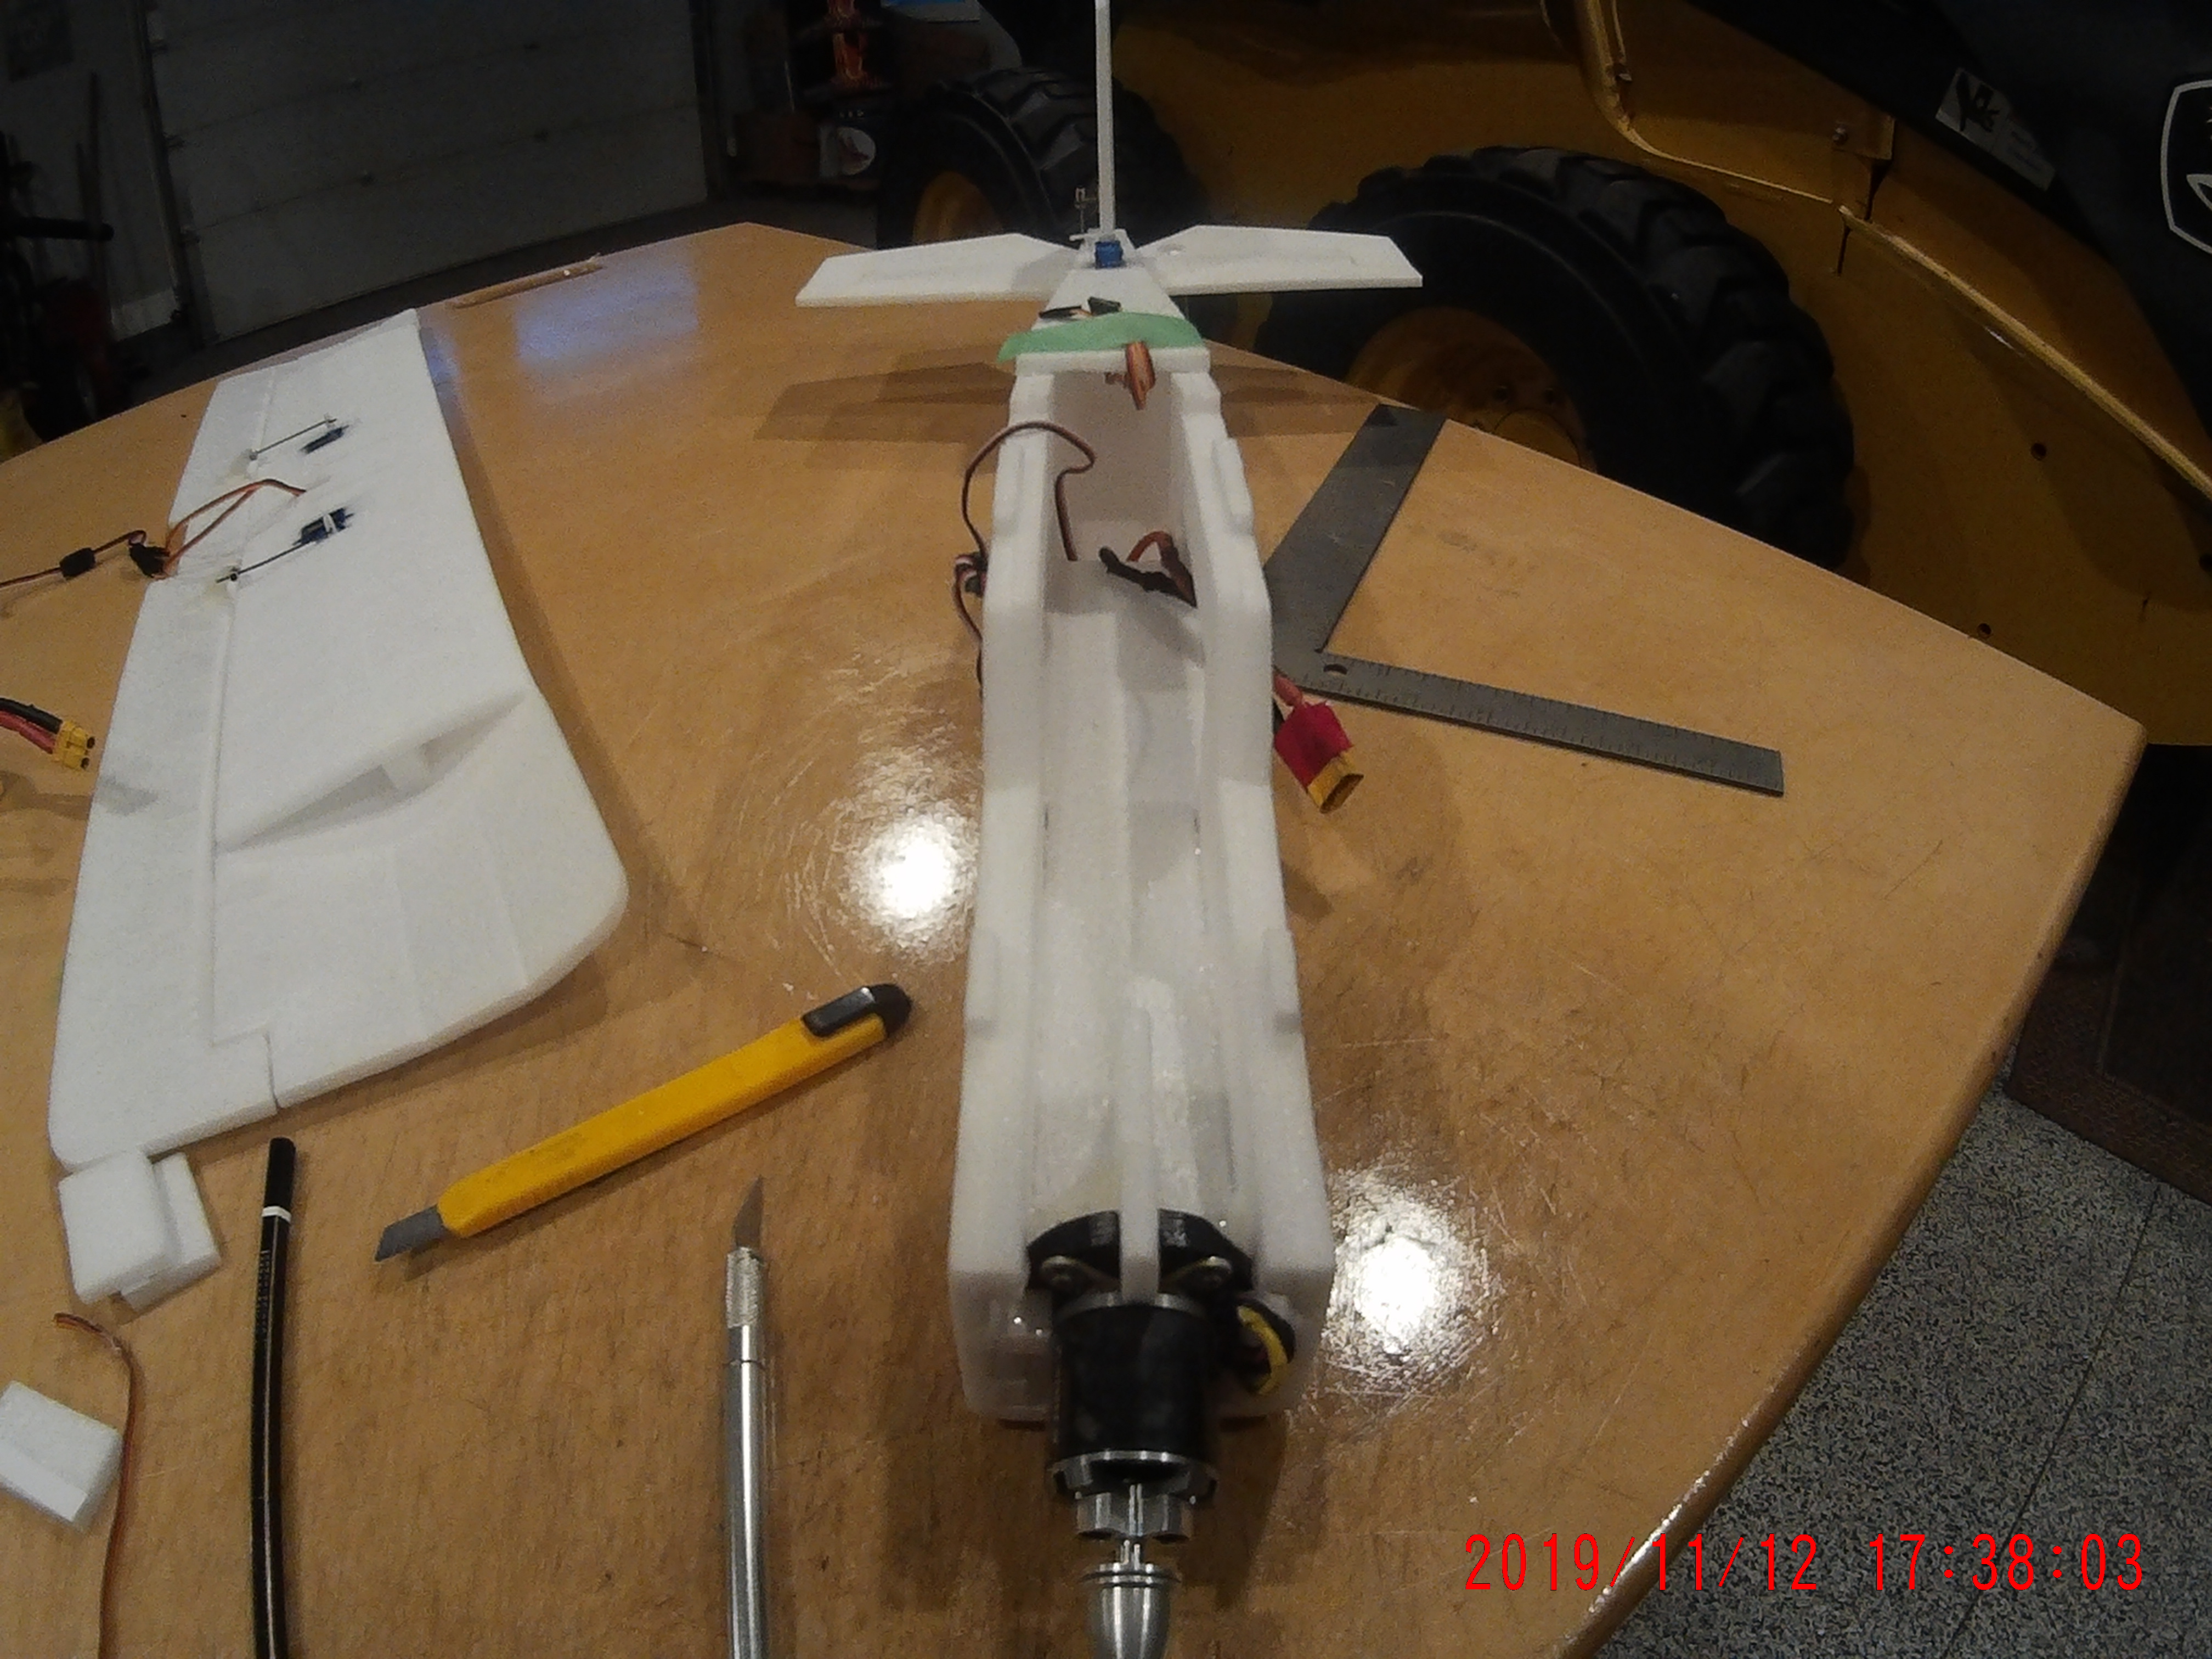
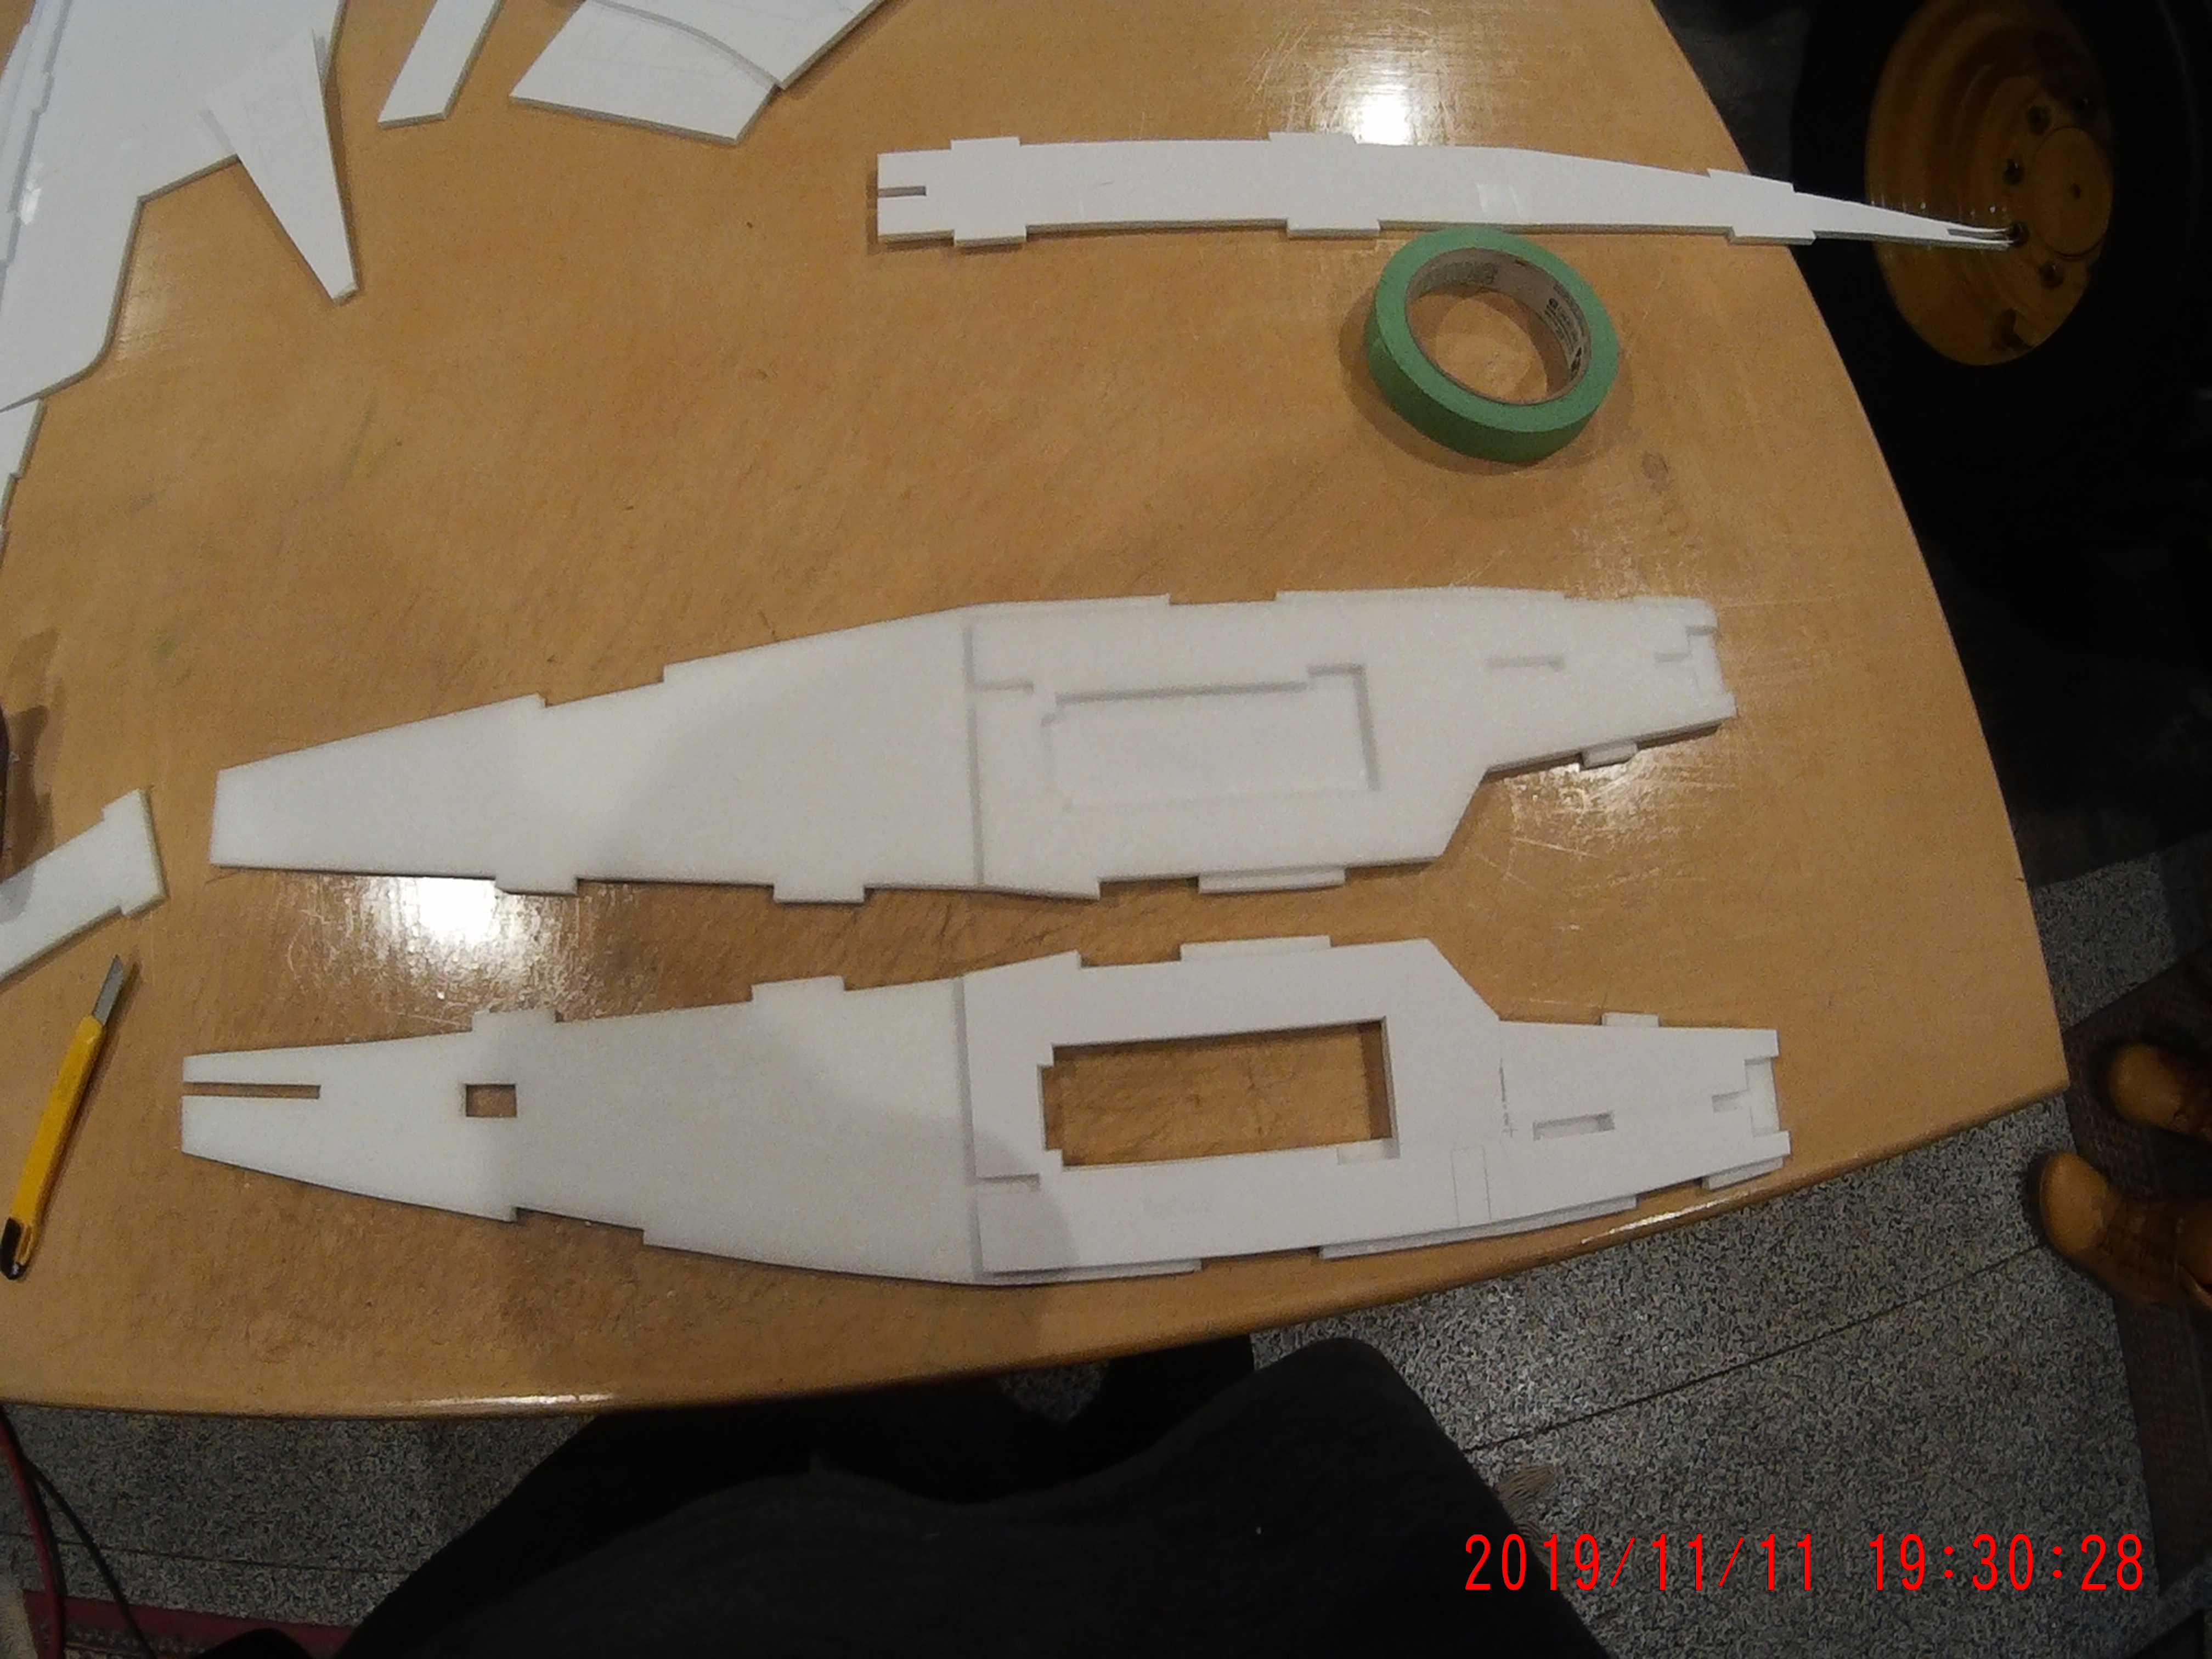
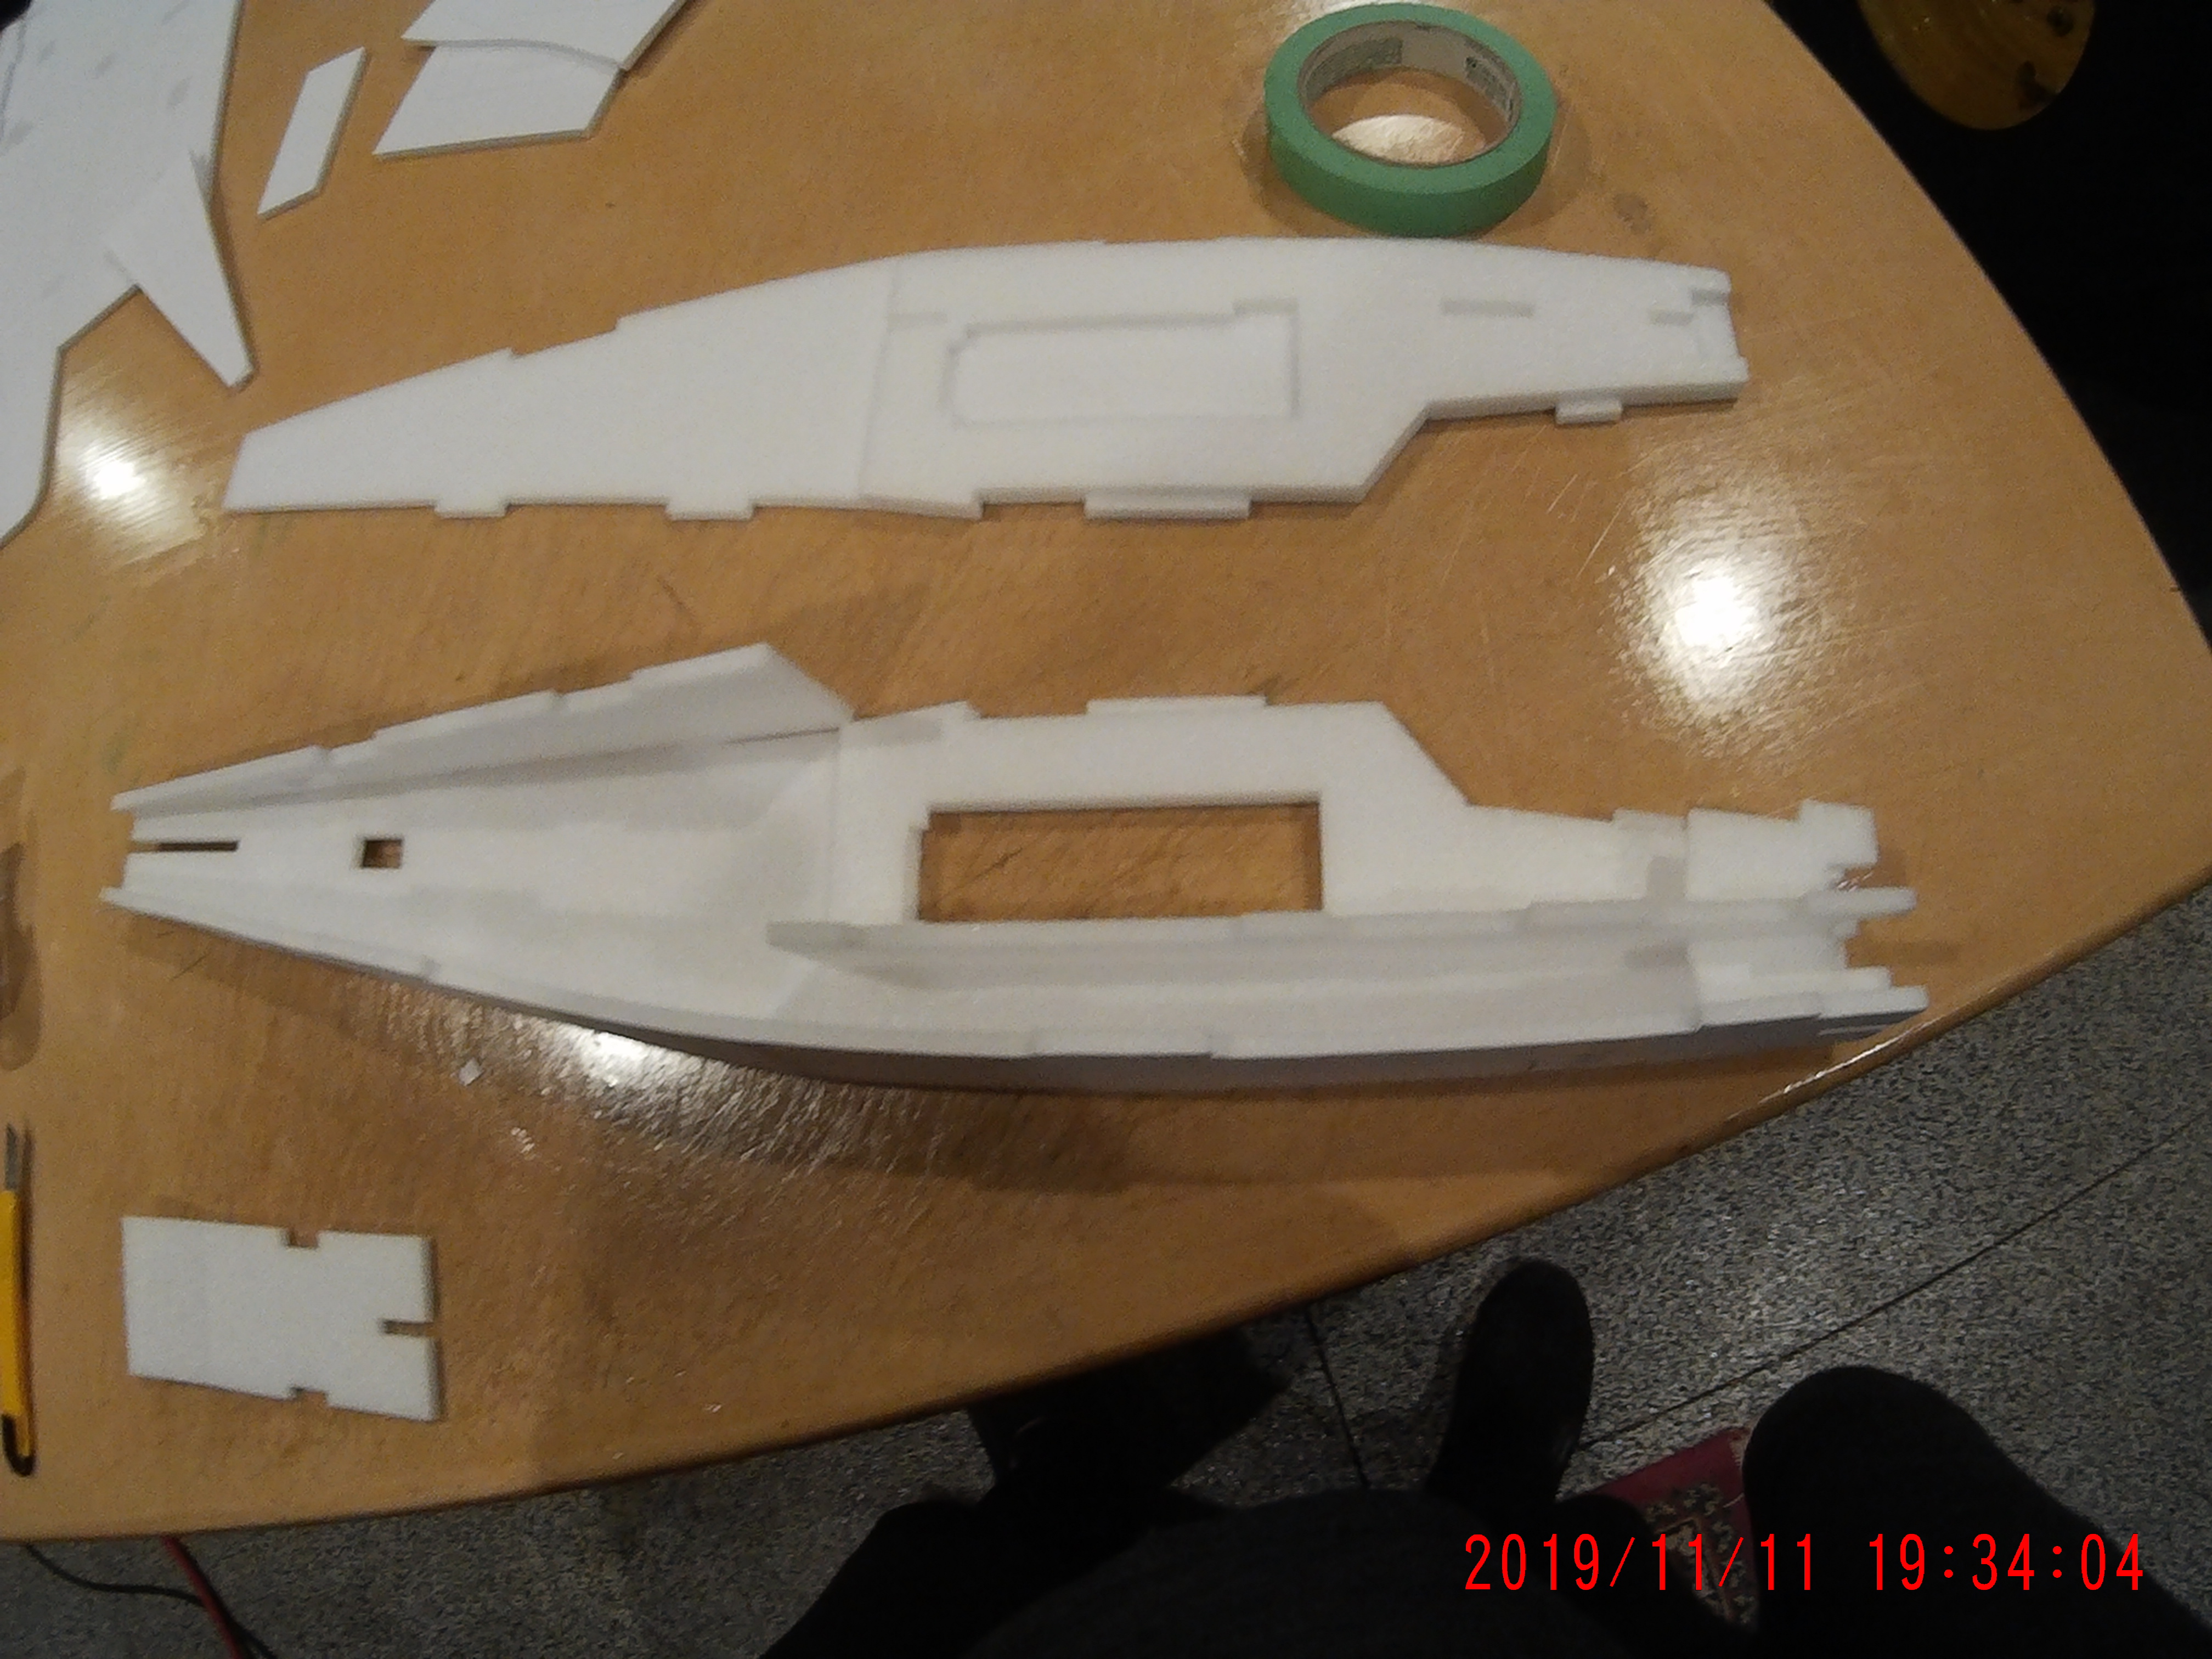
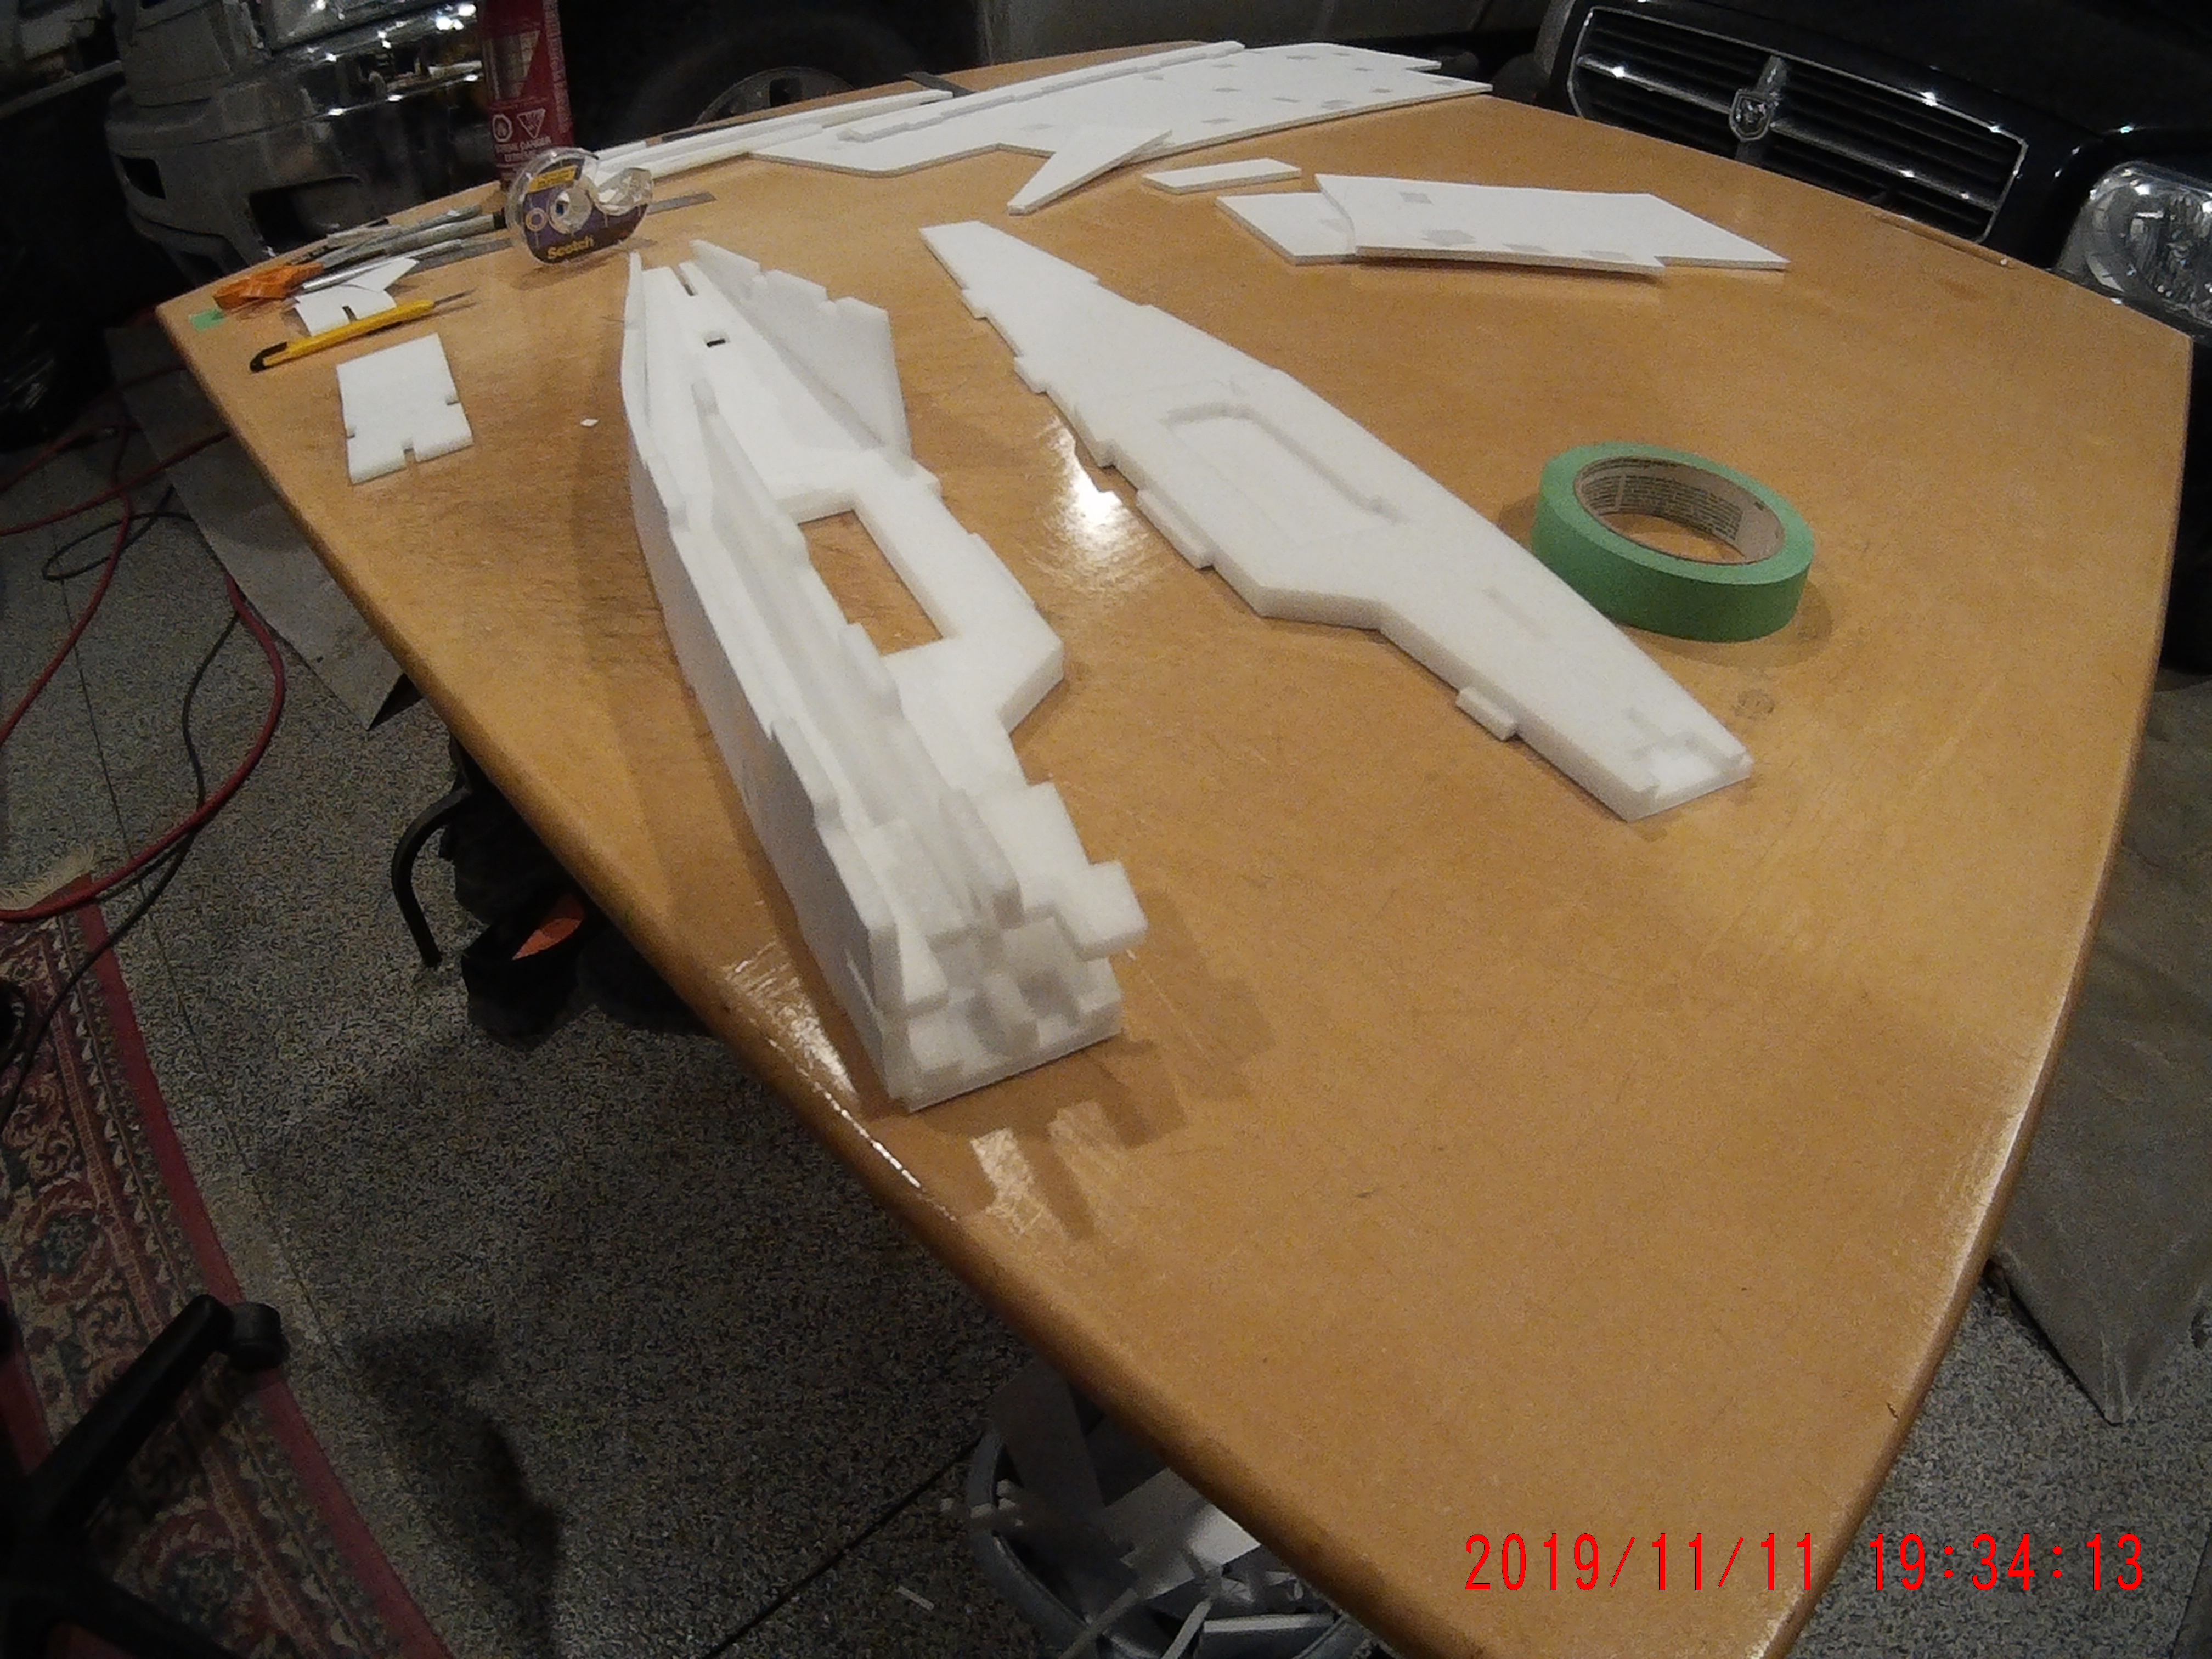
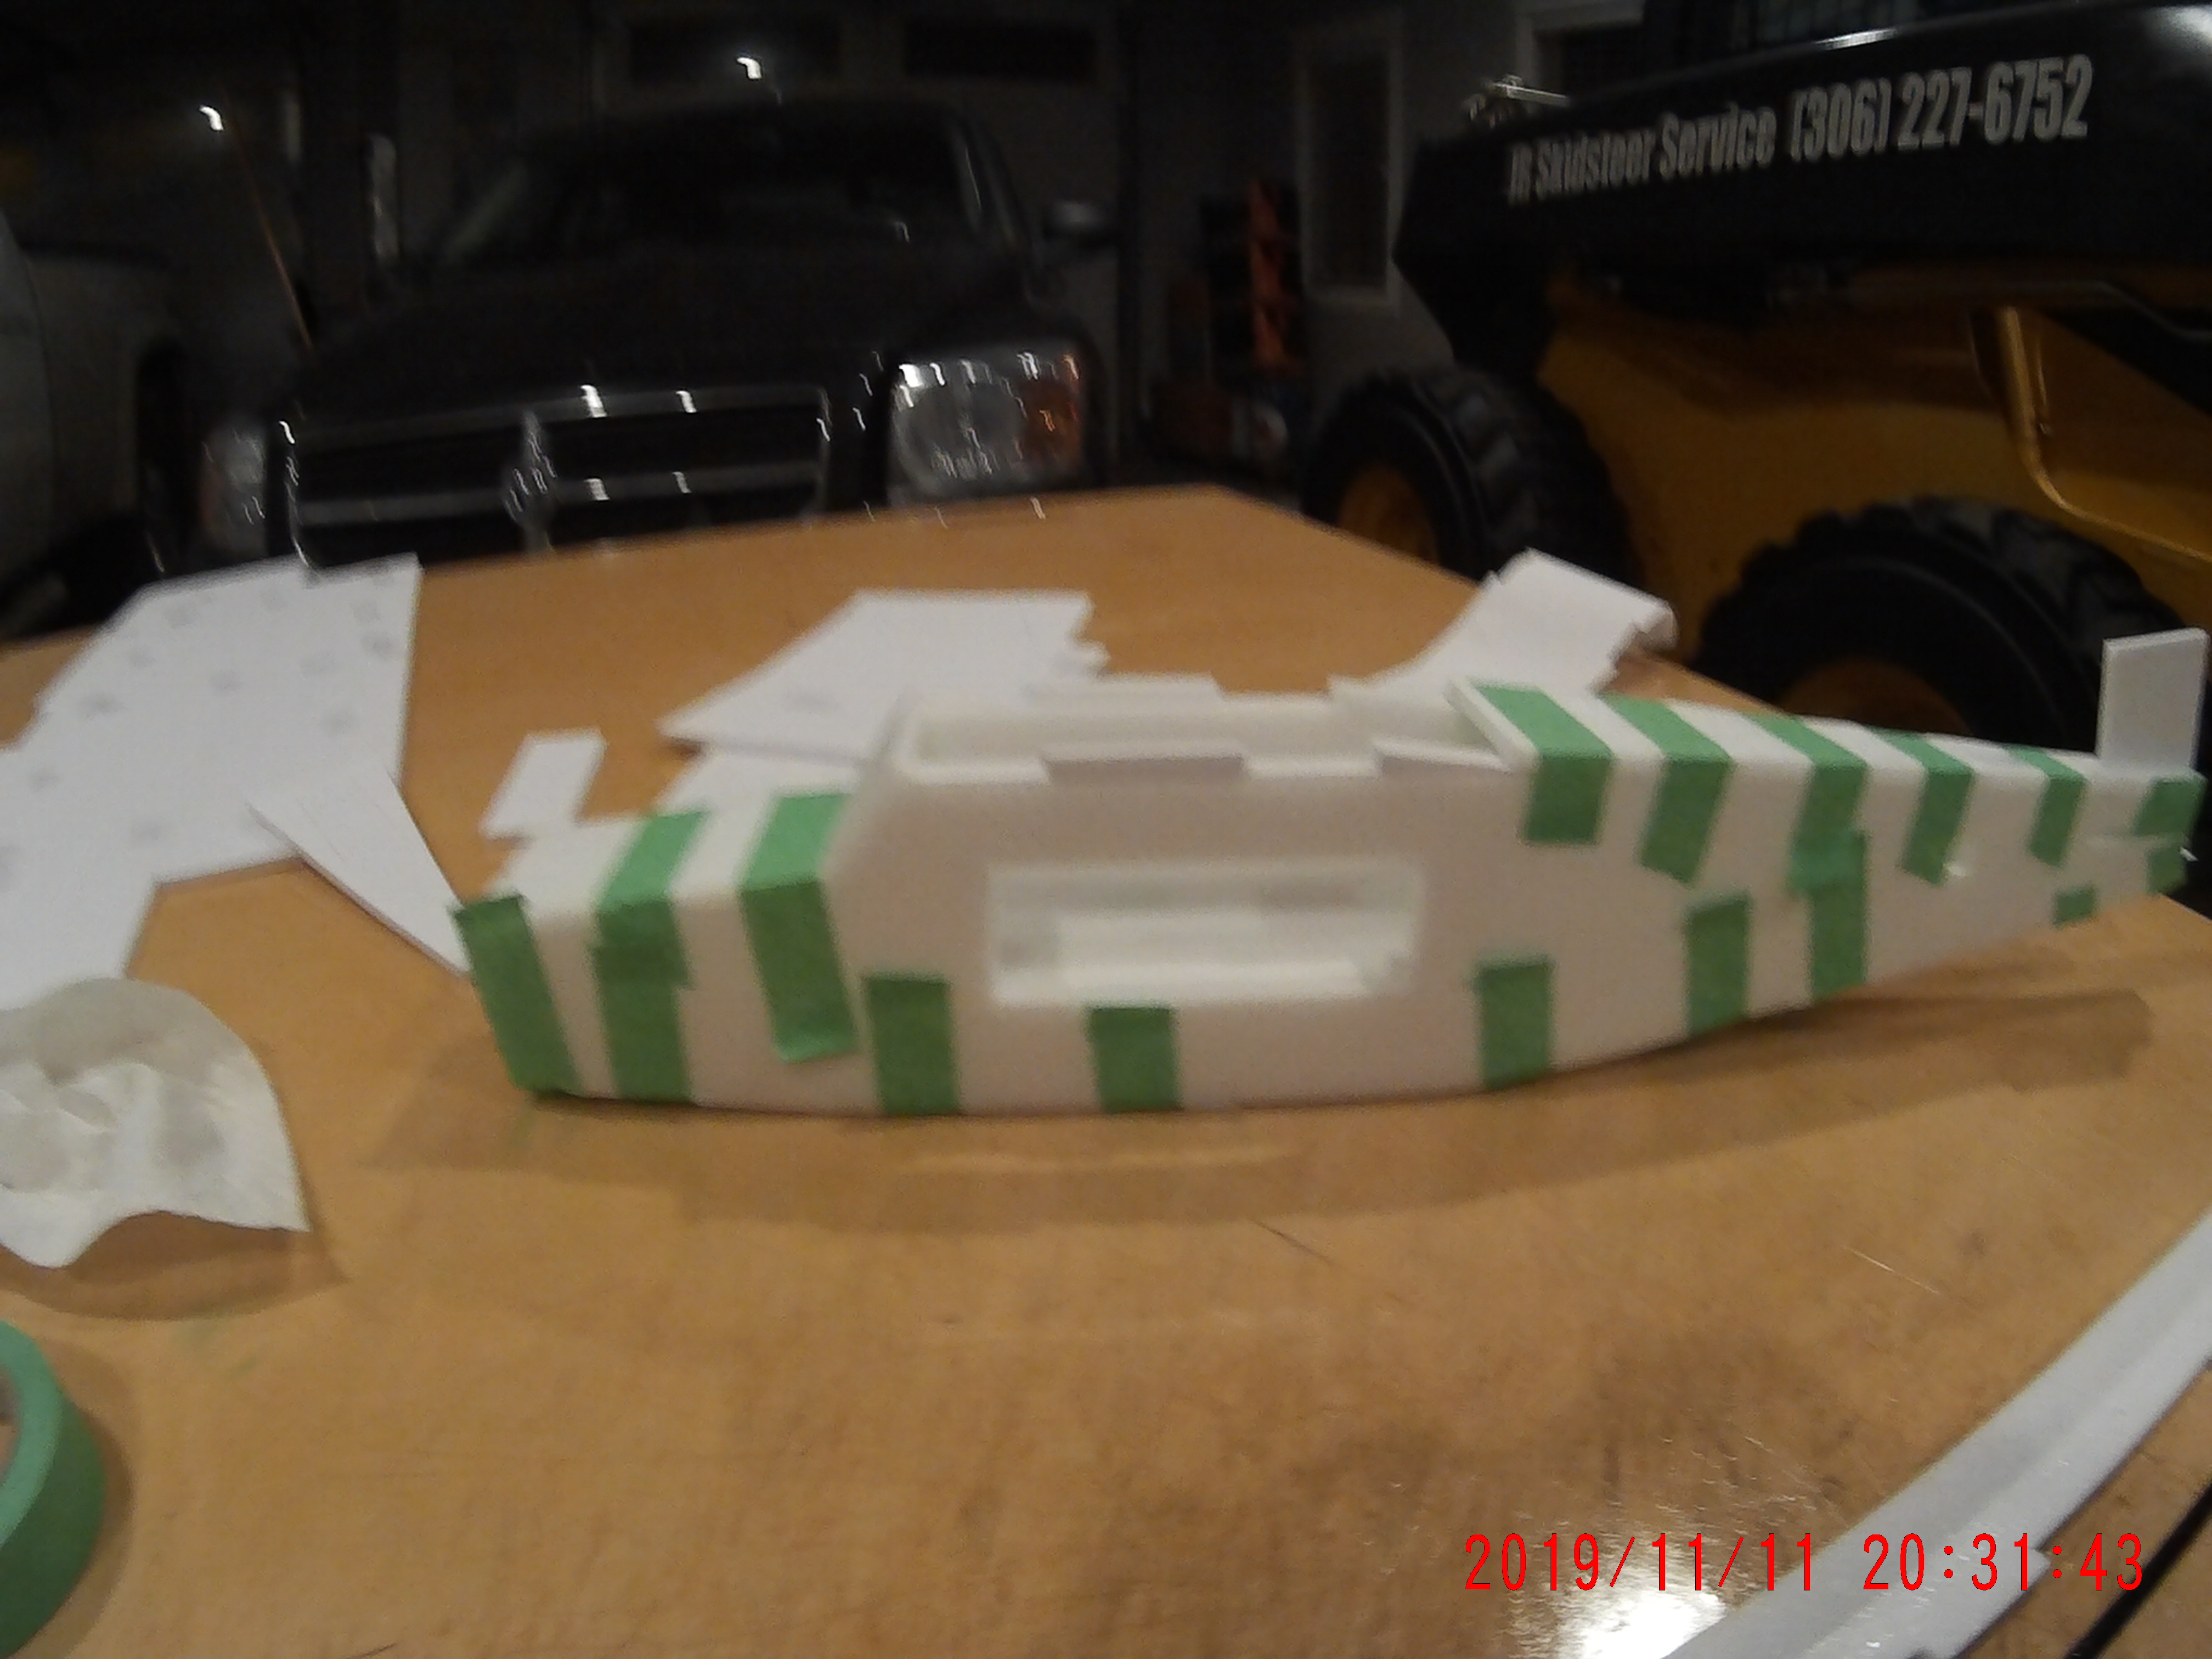
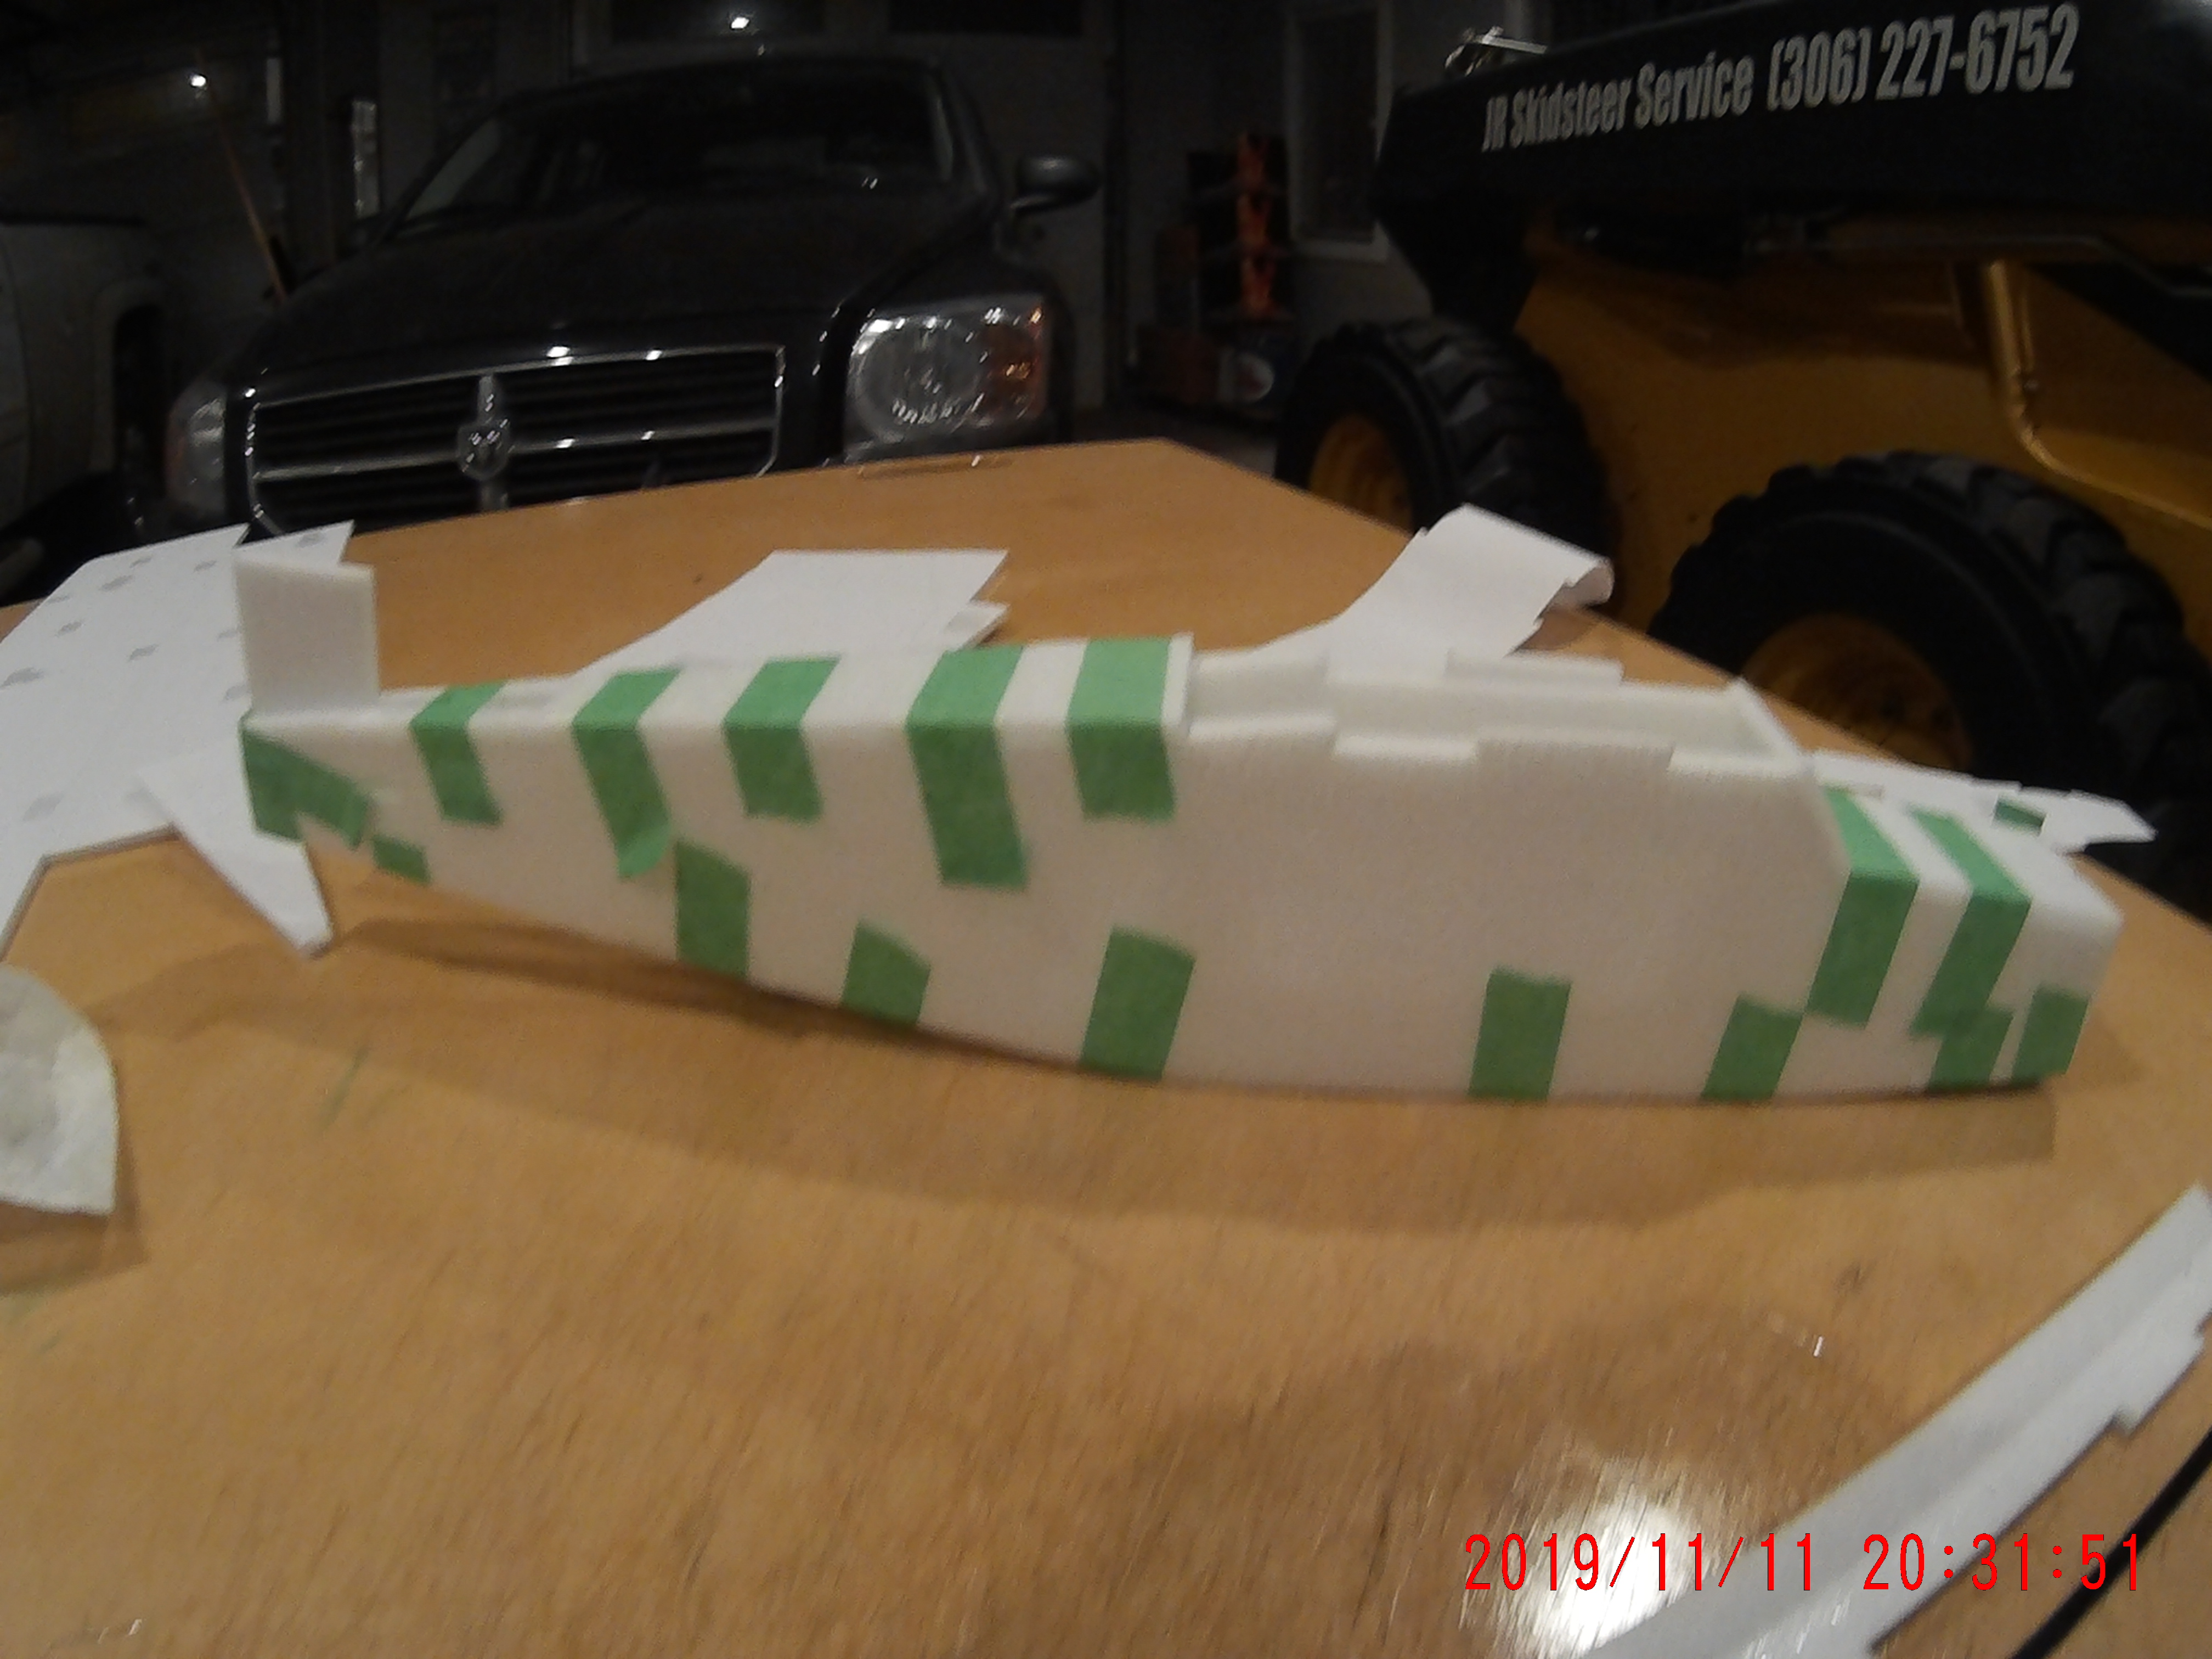
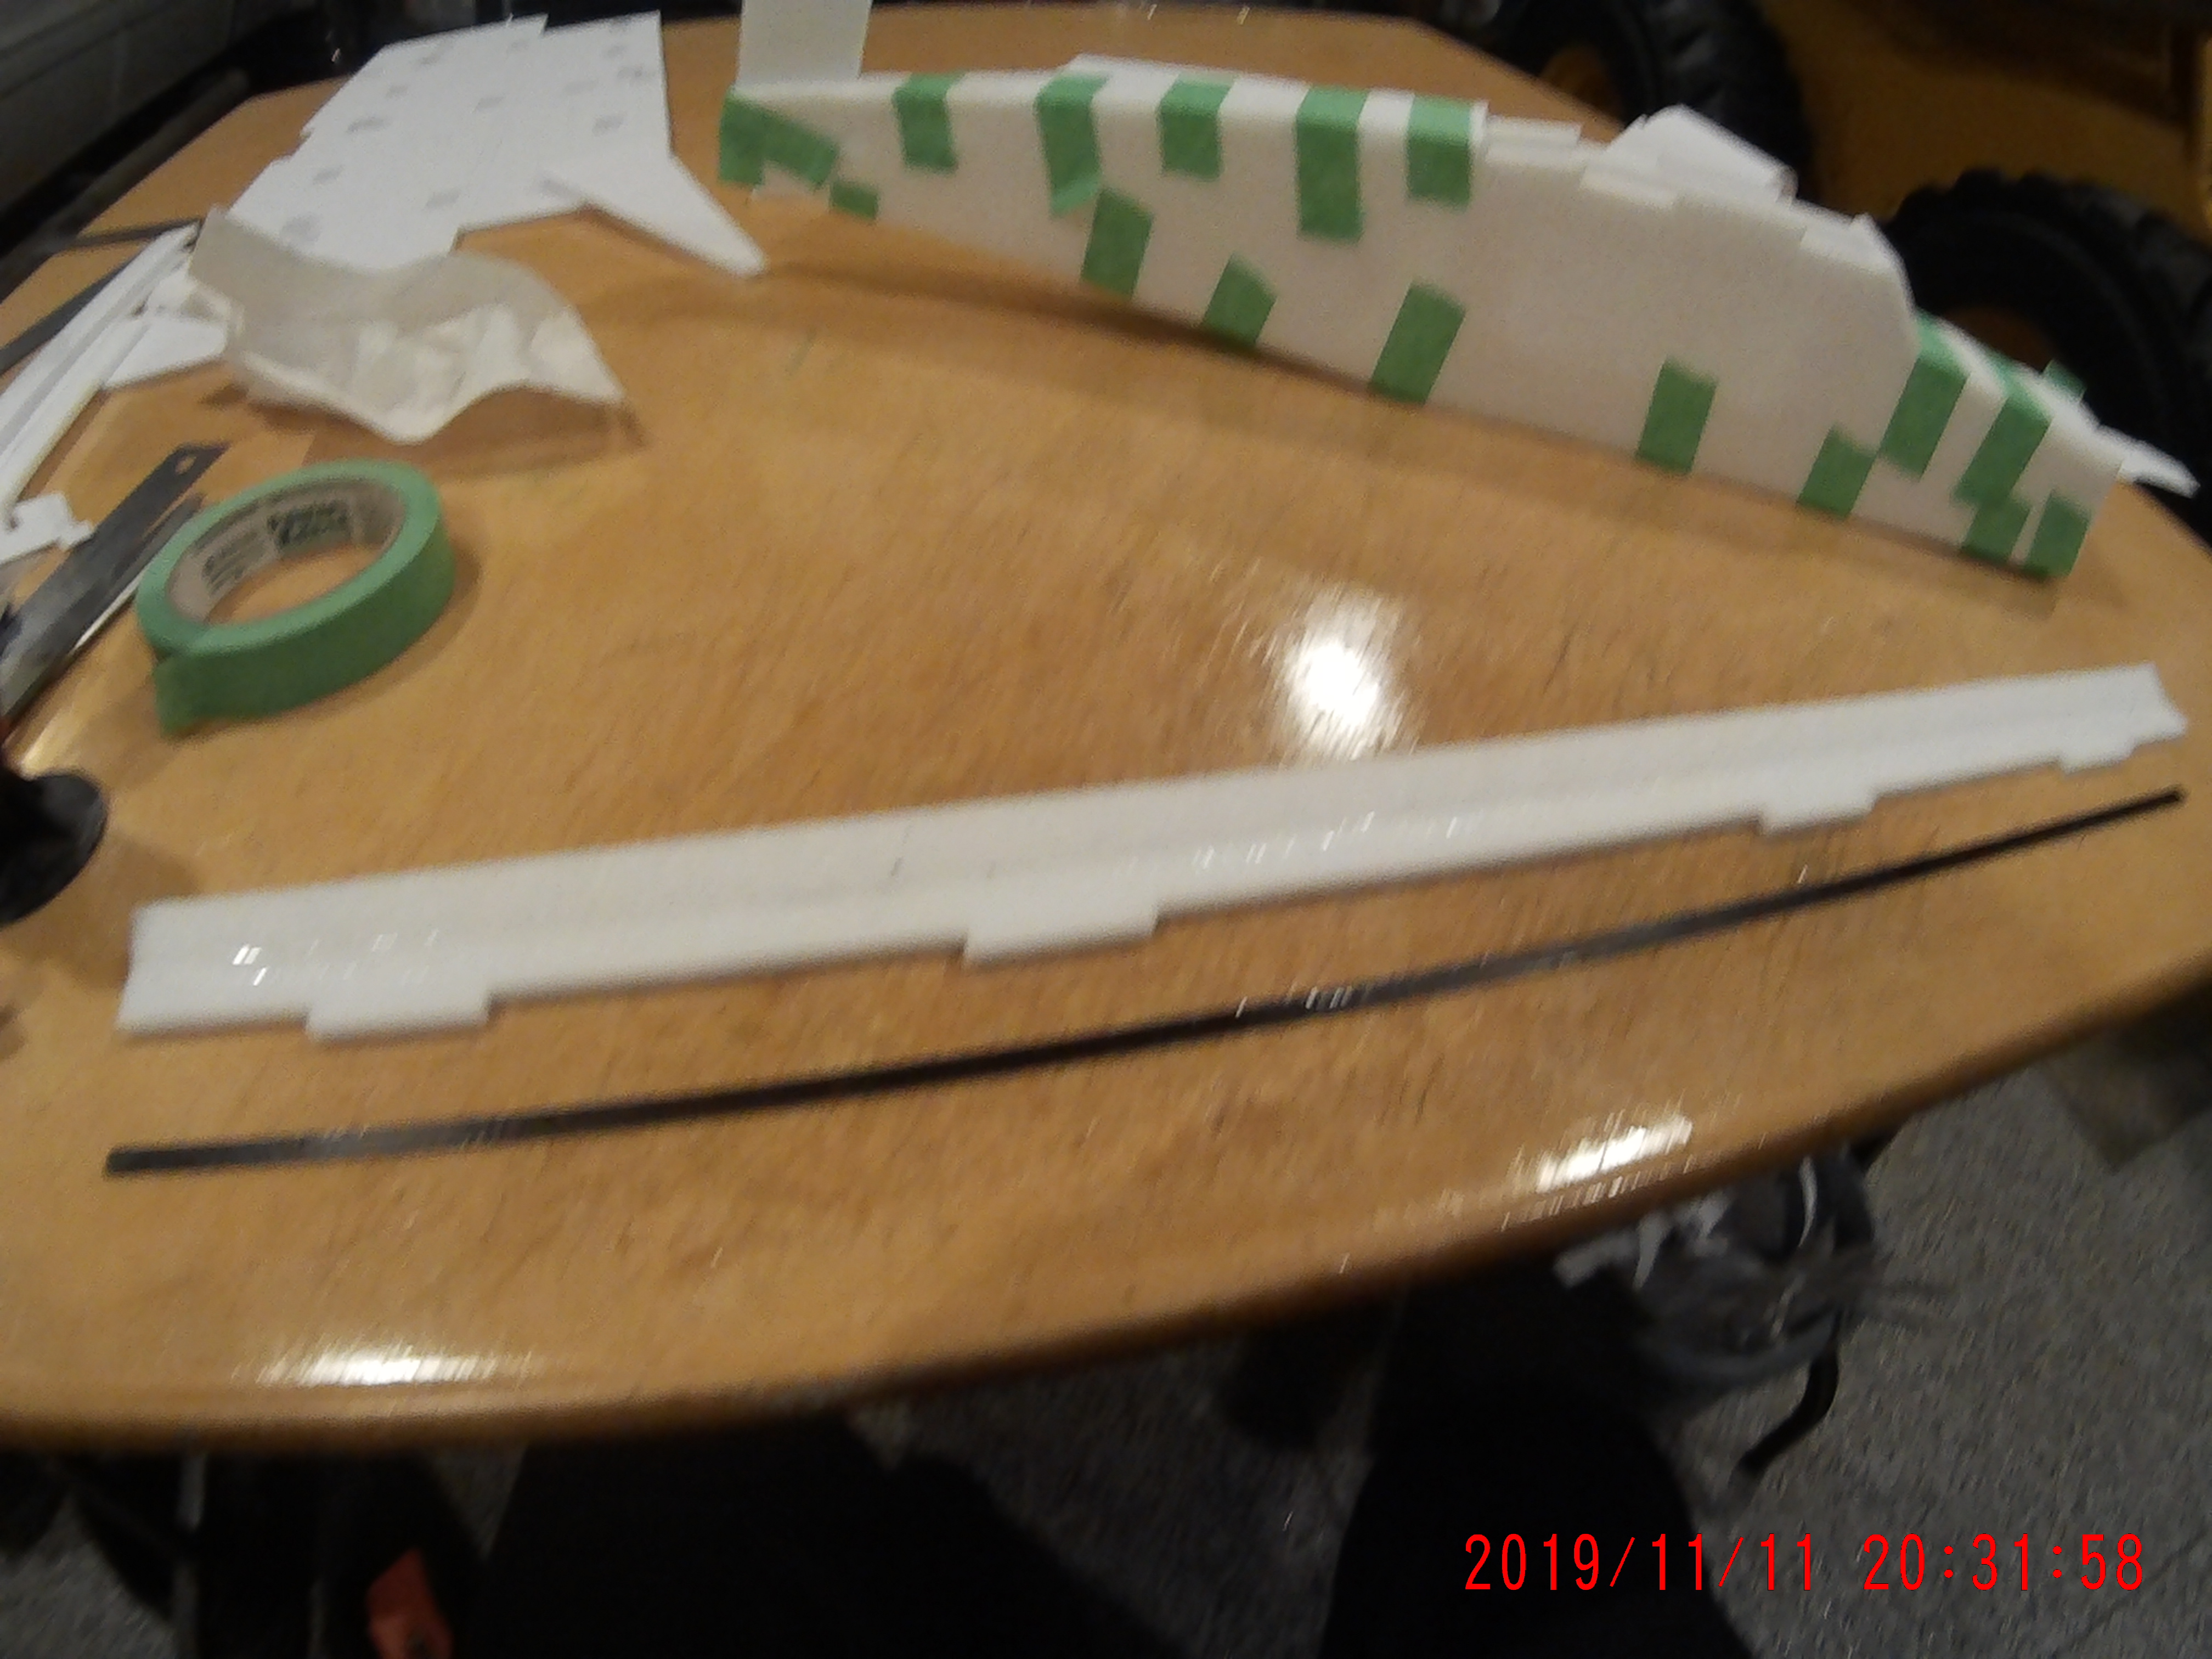
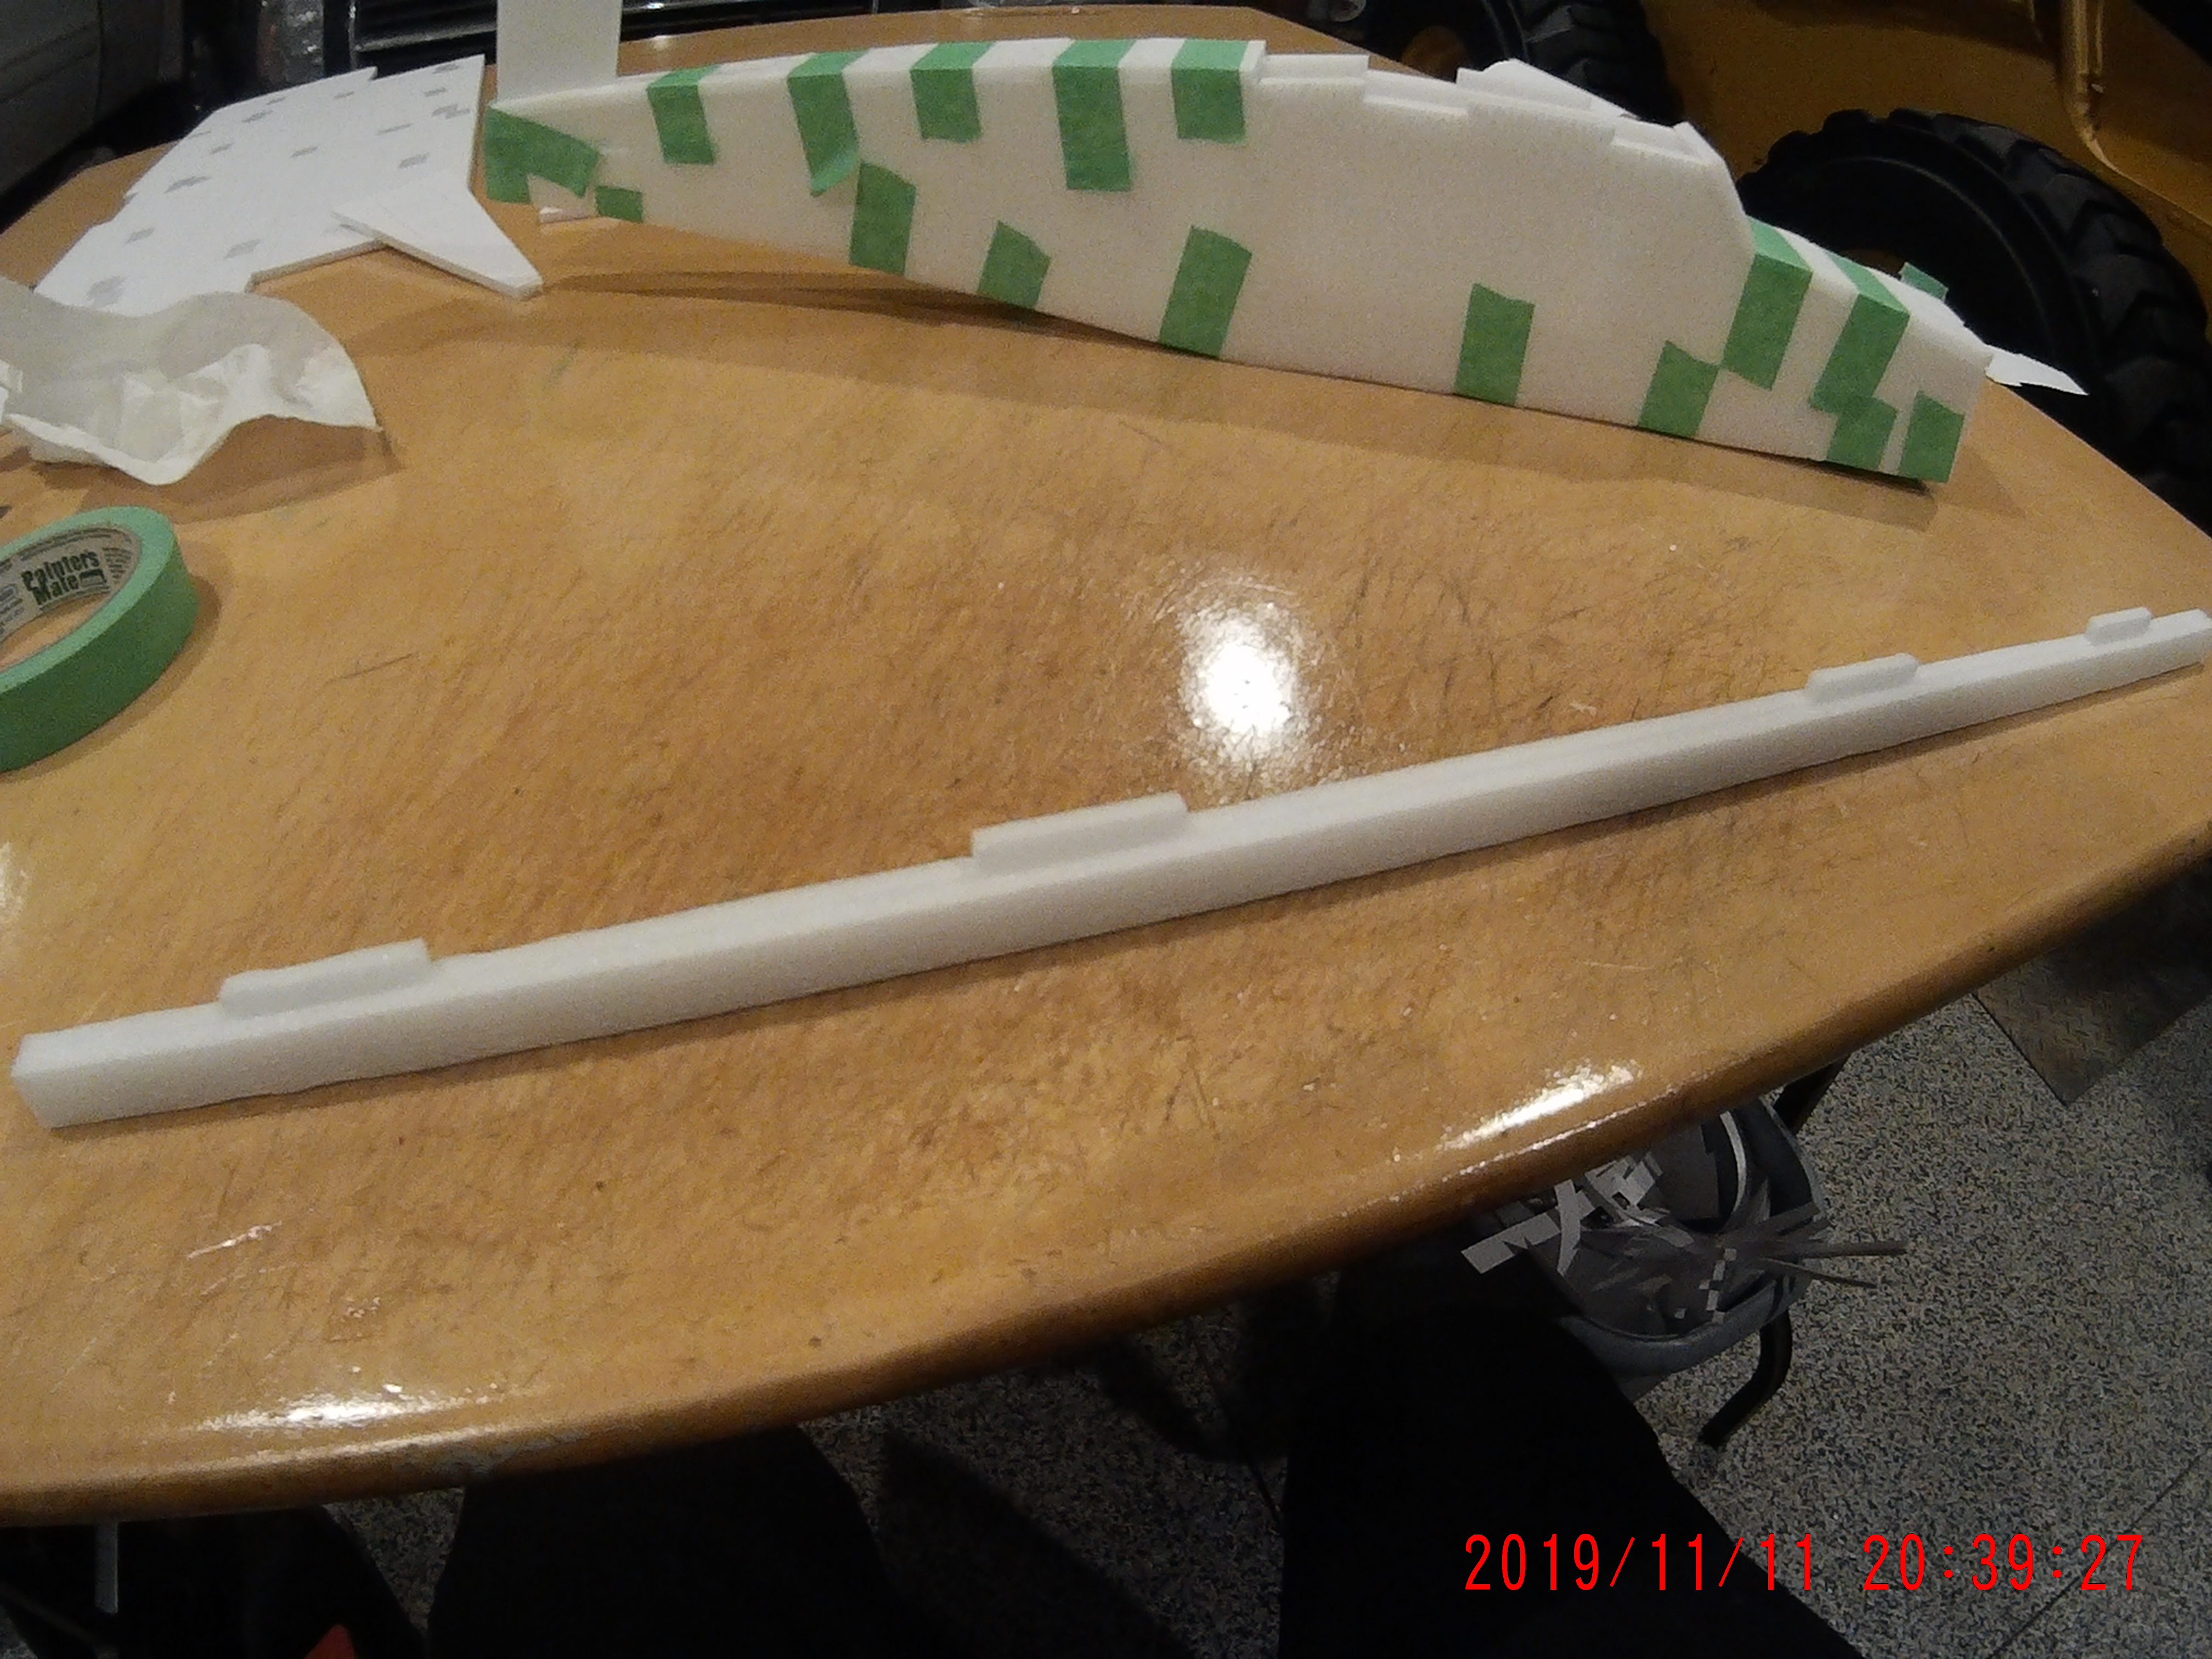
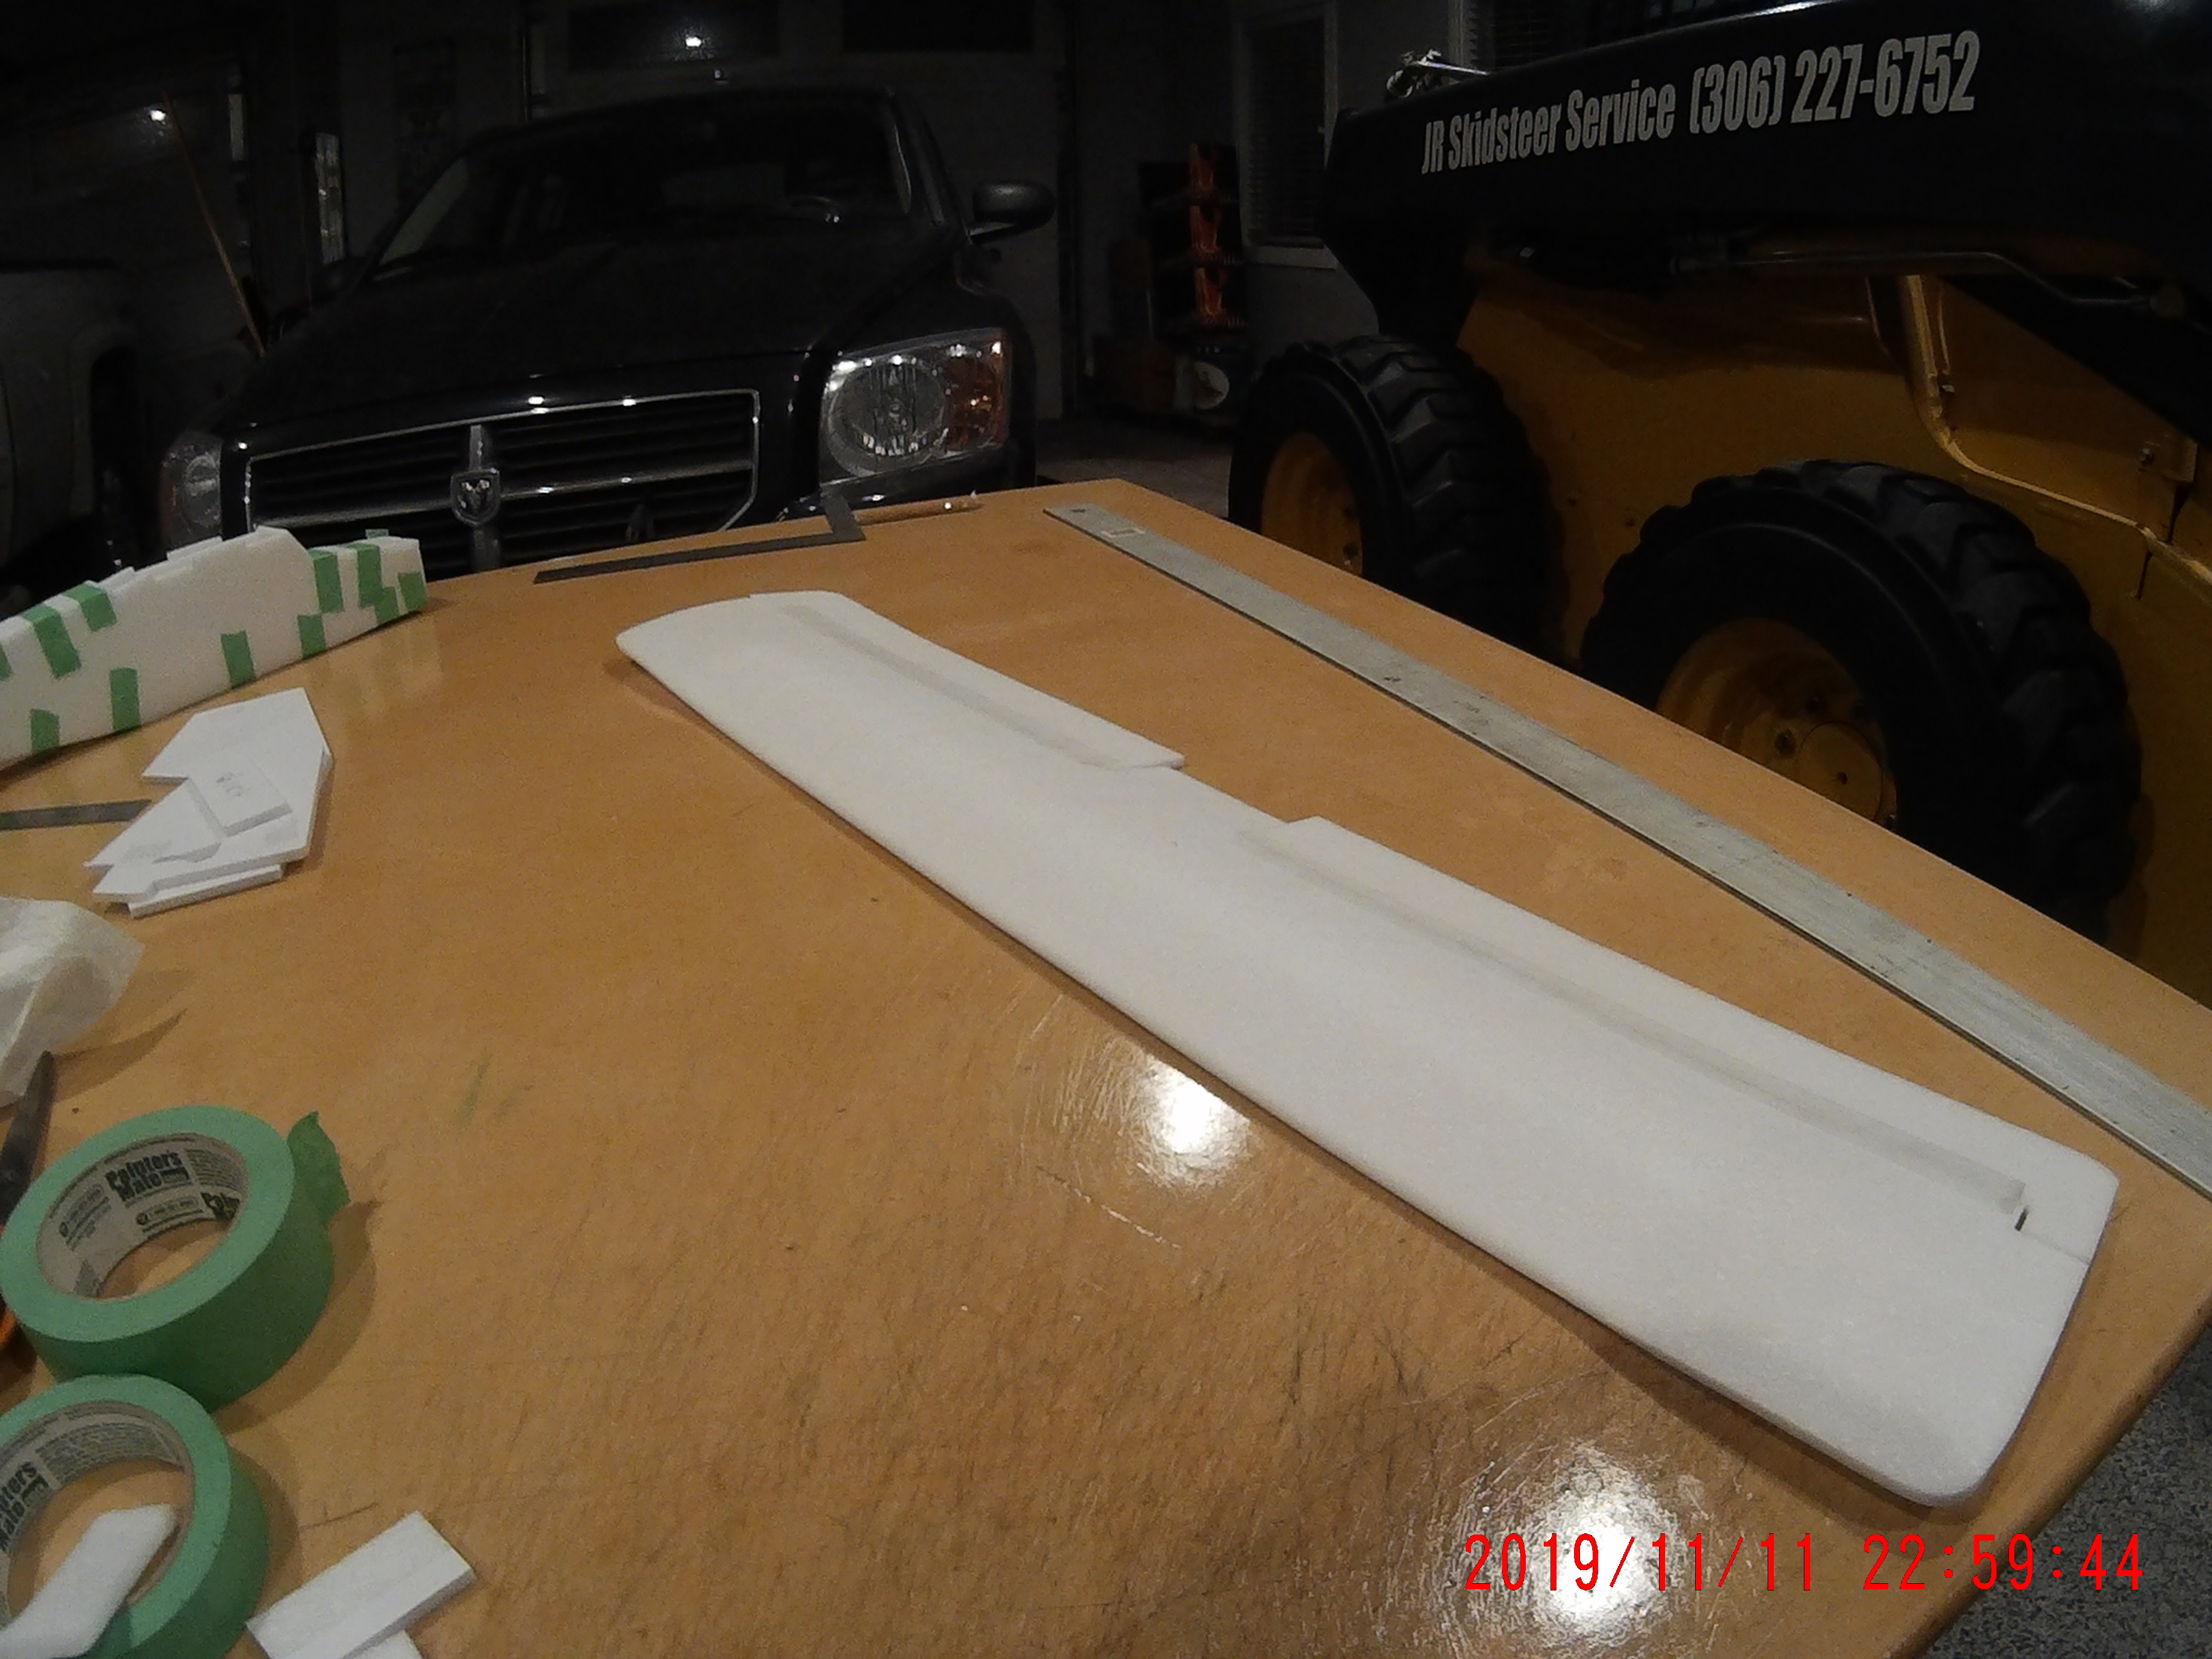
A little progress today, battery tray wasn't right and I had to waste time going and seeing how I screwed that up but once corrected fuse went together like a dream. Wing was pretty uneventful, for the spar I did add a 6mm cf strip to it. Wing is going to be fixed to the fuse so a side hatch on the one side panel is cut in. It will make for a bit of a hassle with my fat fingers but oh well. 



Grifflyer
WWII fanatic
Wow that's a big motor what size is it?Getting closer, servos, control horns, motor and esc are in. Esc is under the battery try. Next the wing and canopy can go on.
View attachment 147914 View attachment 147915
It’s the motor off his SAB KR84! 🤣🤣Wow that's a big motor what size is it?
Grifflyer
WWII fanatic
That's what it looks likeIt’s the motor off his SAB KR84! 🤣🤣
Wildthing
Legendary member
Wow that's a big motor what size is it?
Nope, the one on the SAB has more umpfff. This has the (I want to be a NTM) but not even close but it is the Propdrive V2 2836 2700kv motor.It’s the motor off his SAB KR84! 🤣🤣
Even at 120% she is tight in the fuse for my batteries and it doesn't fit a 2200 3S , width just barely and just a tad to thick to fit up front under the nose so I went to a larger motor to give me more nose weight and move the battery back a bit. I was able to then balance it with a 1800 3S which gave me a little more wiggle room. Under the battery tray is a 60A esc and it is sitting about mid wing area.
She should rock
Wildthing
Legendary member
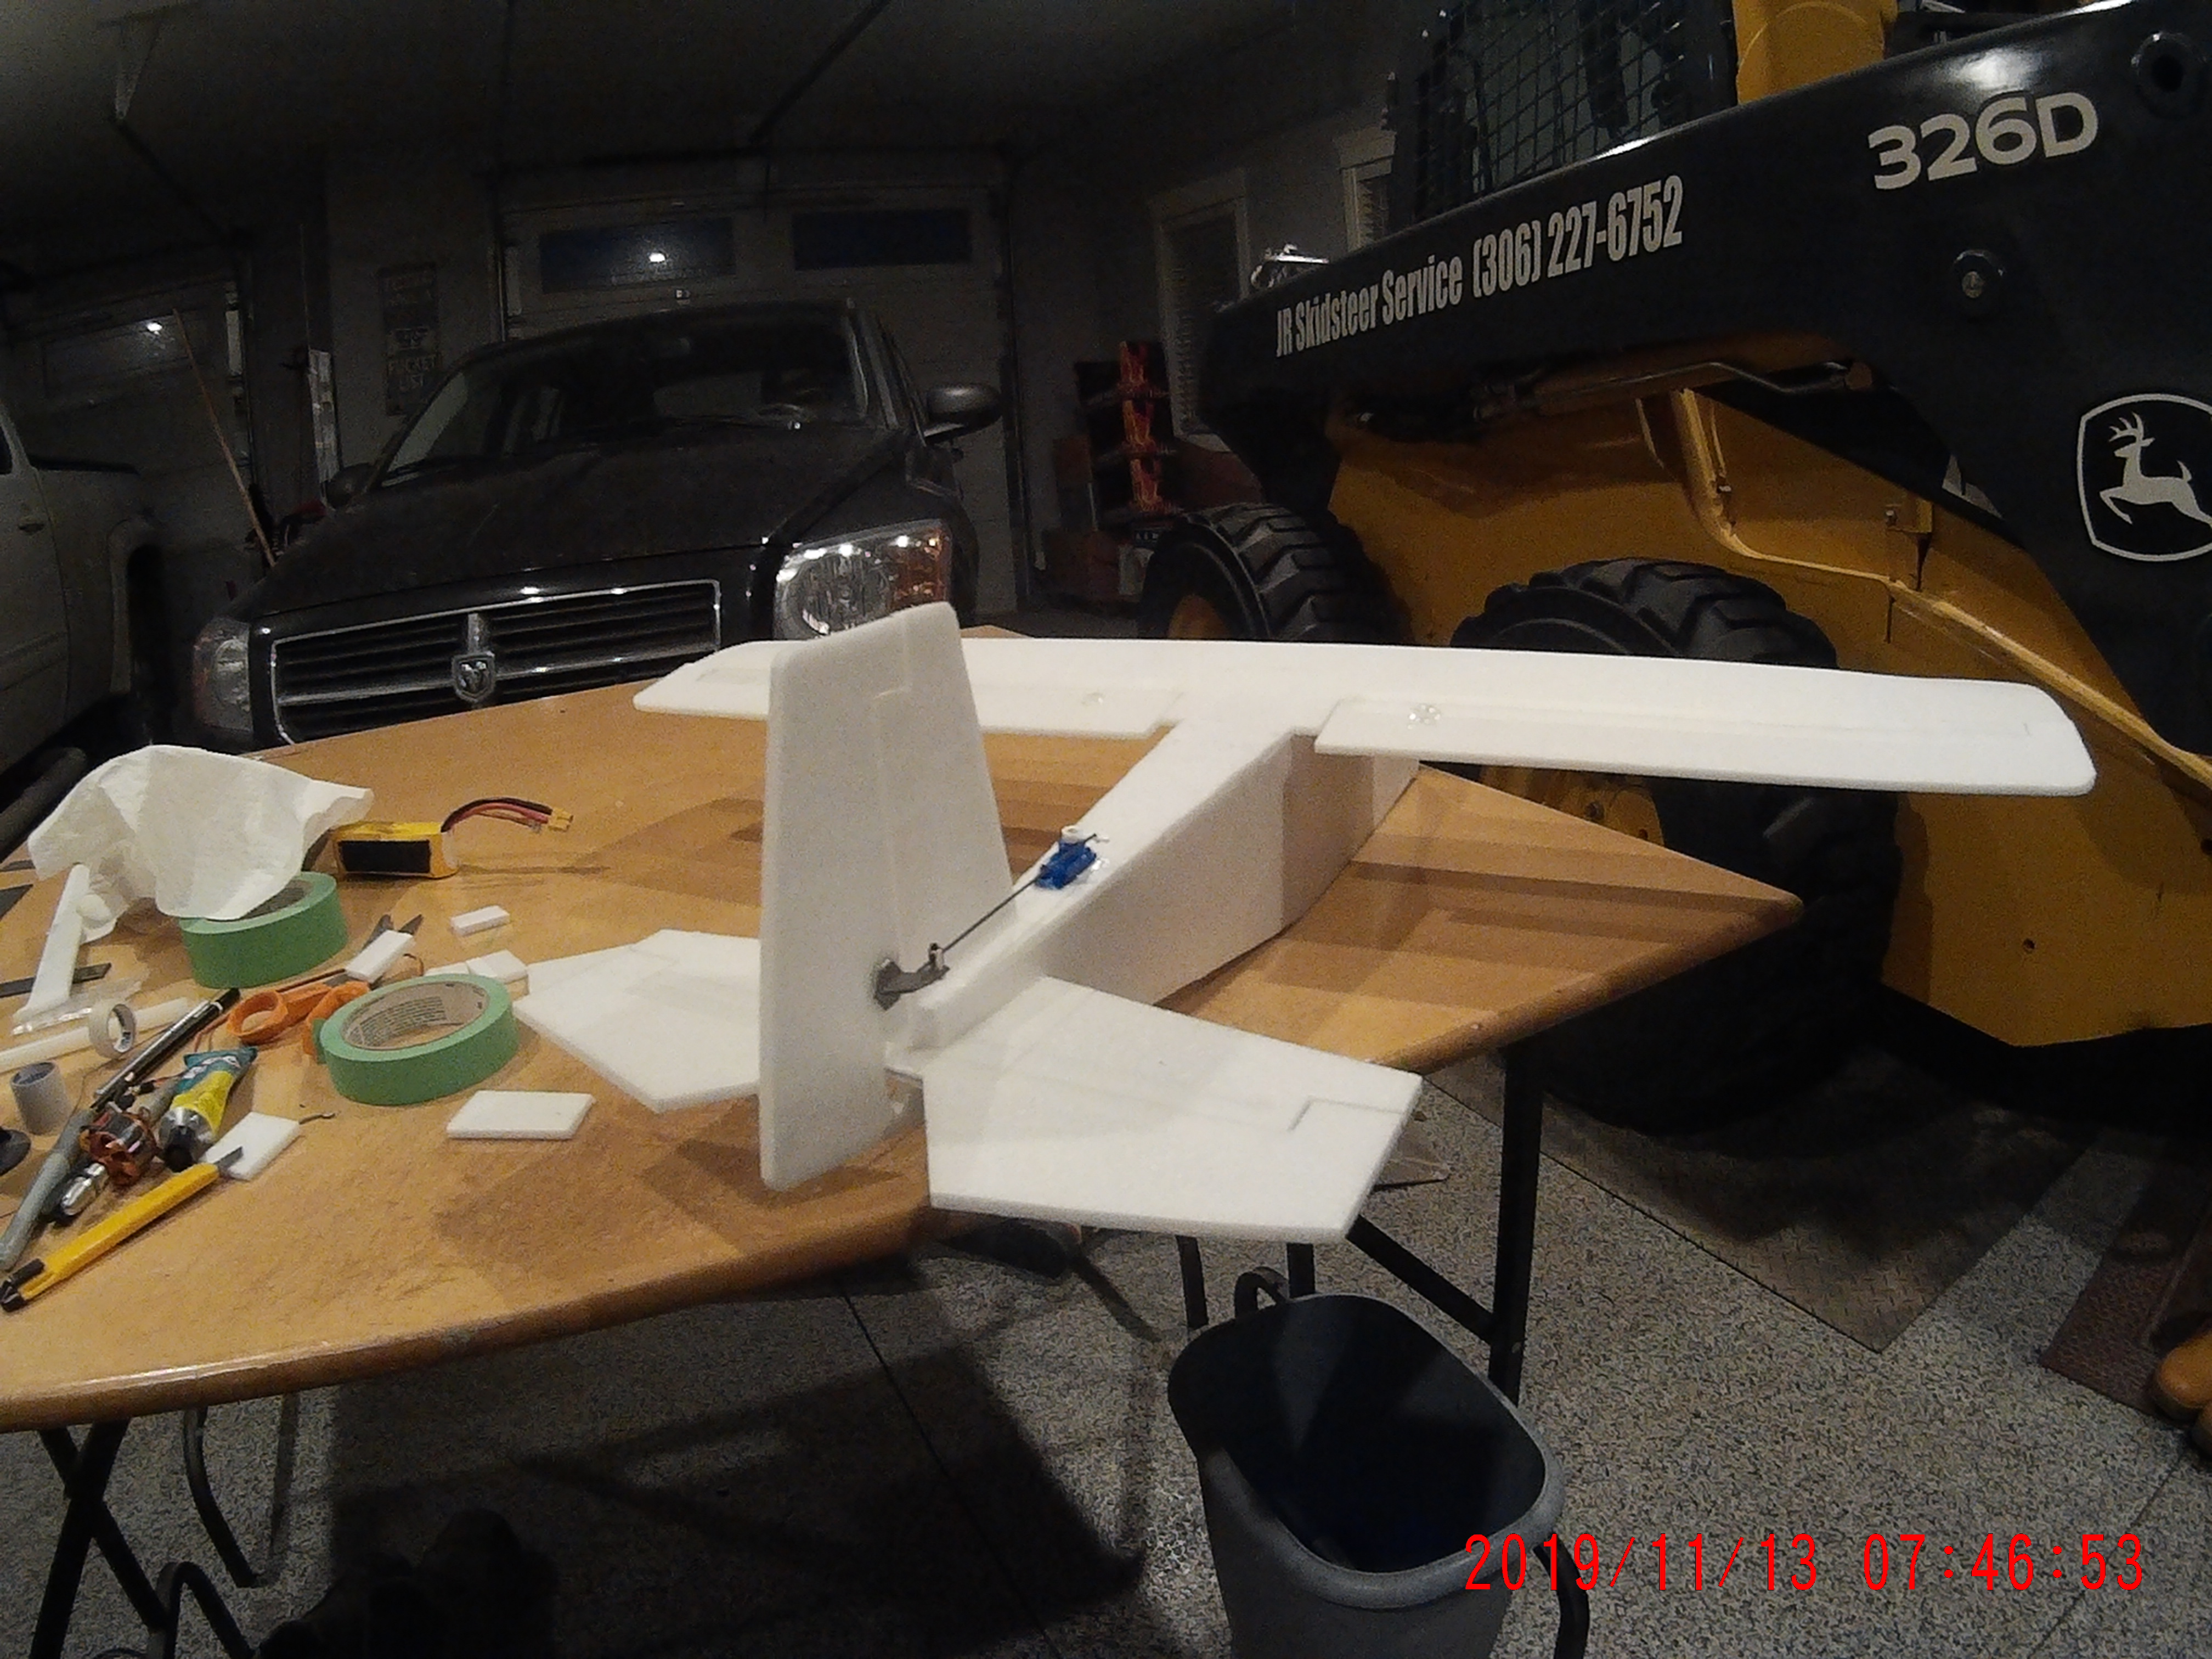
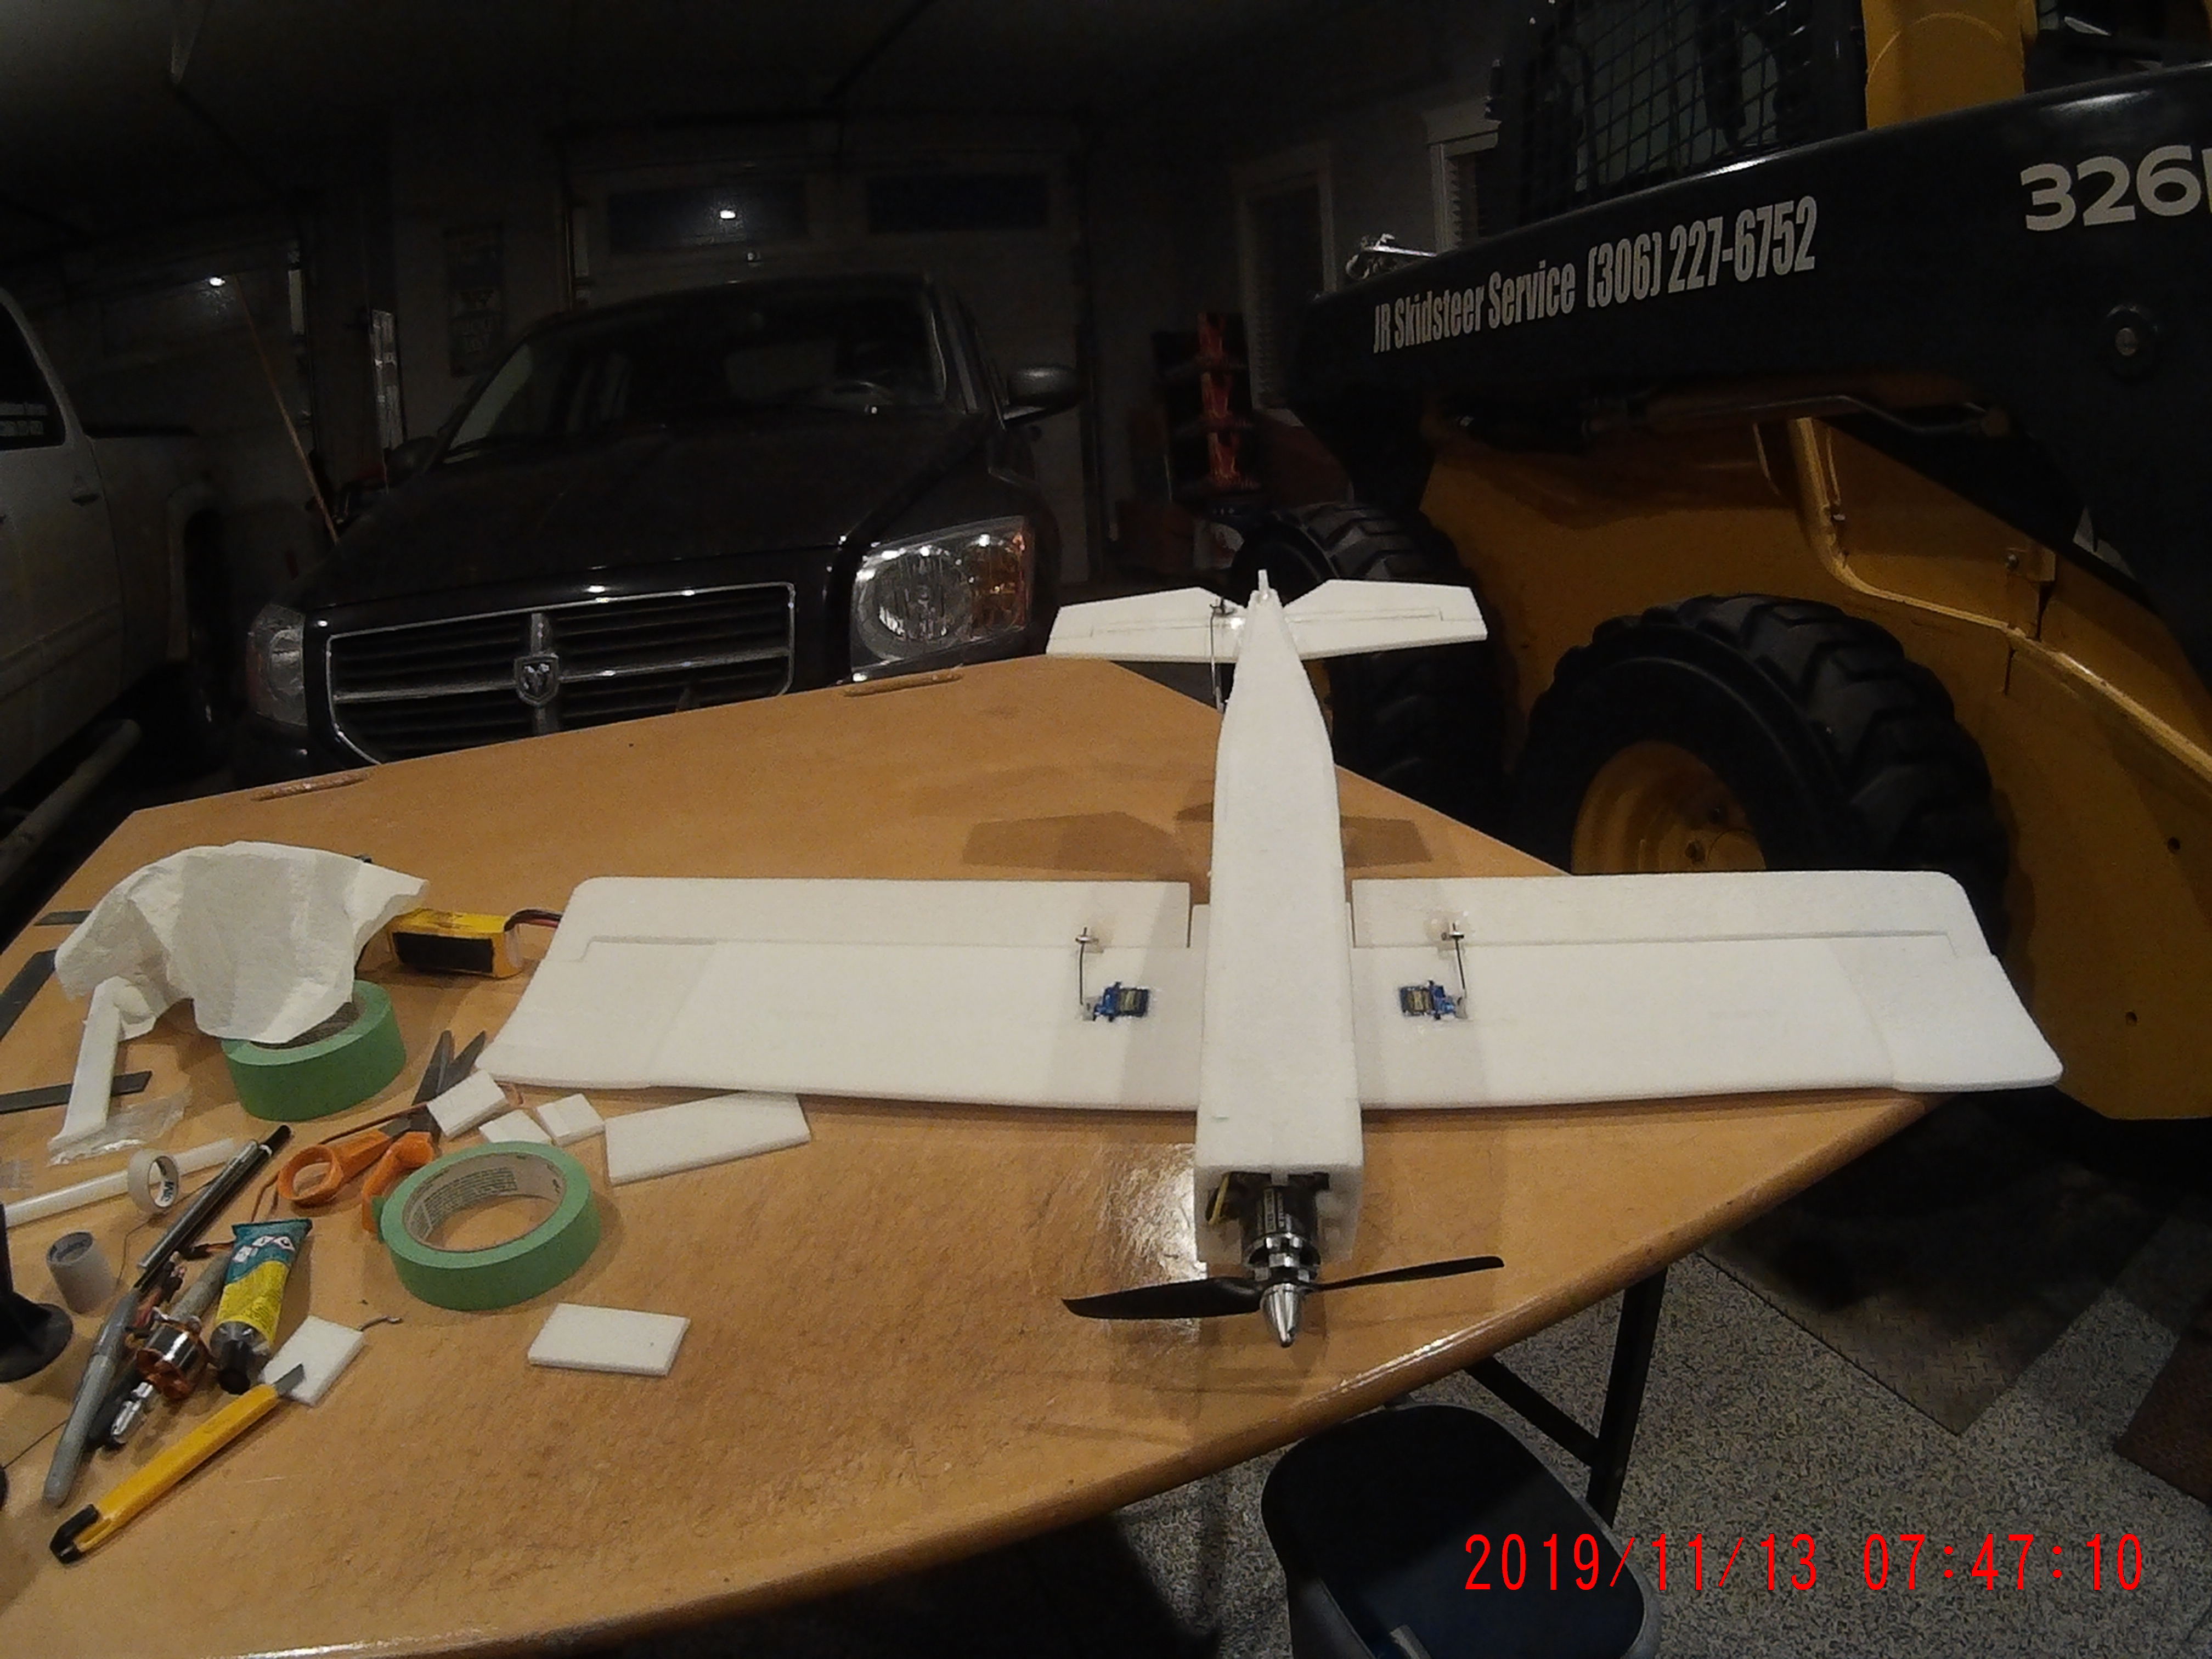
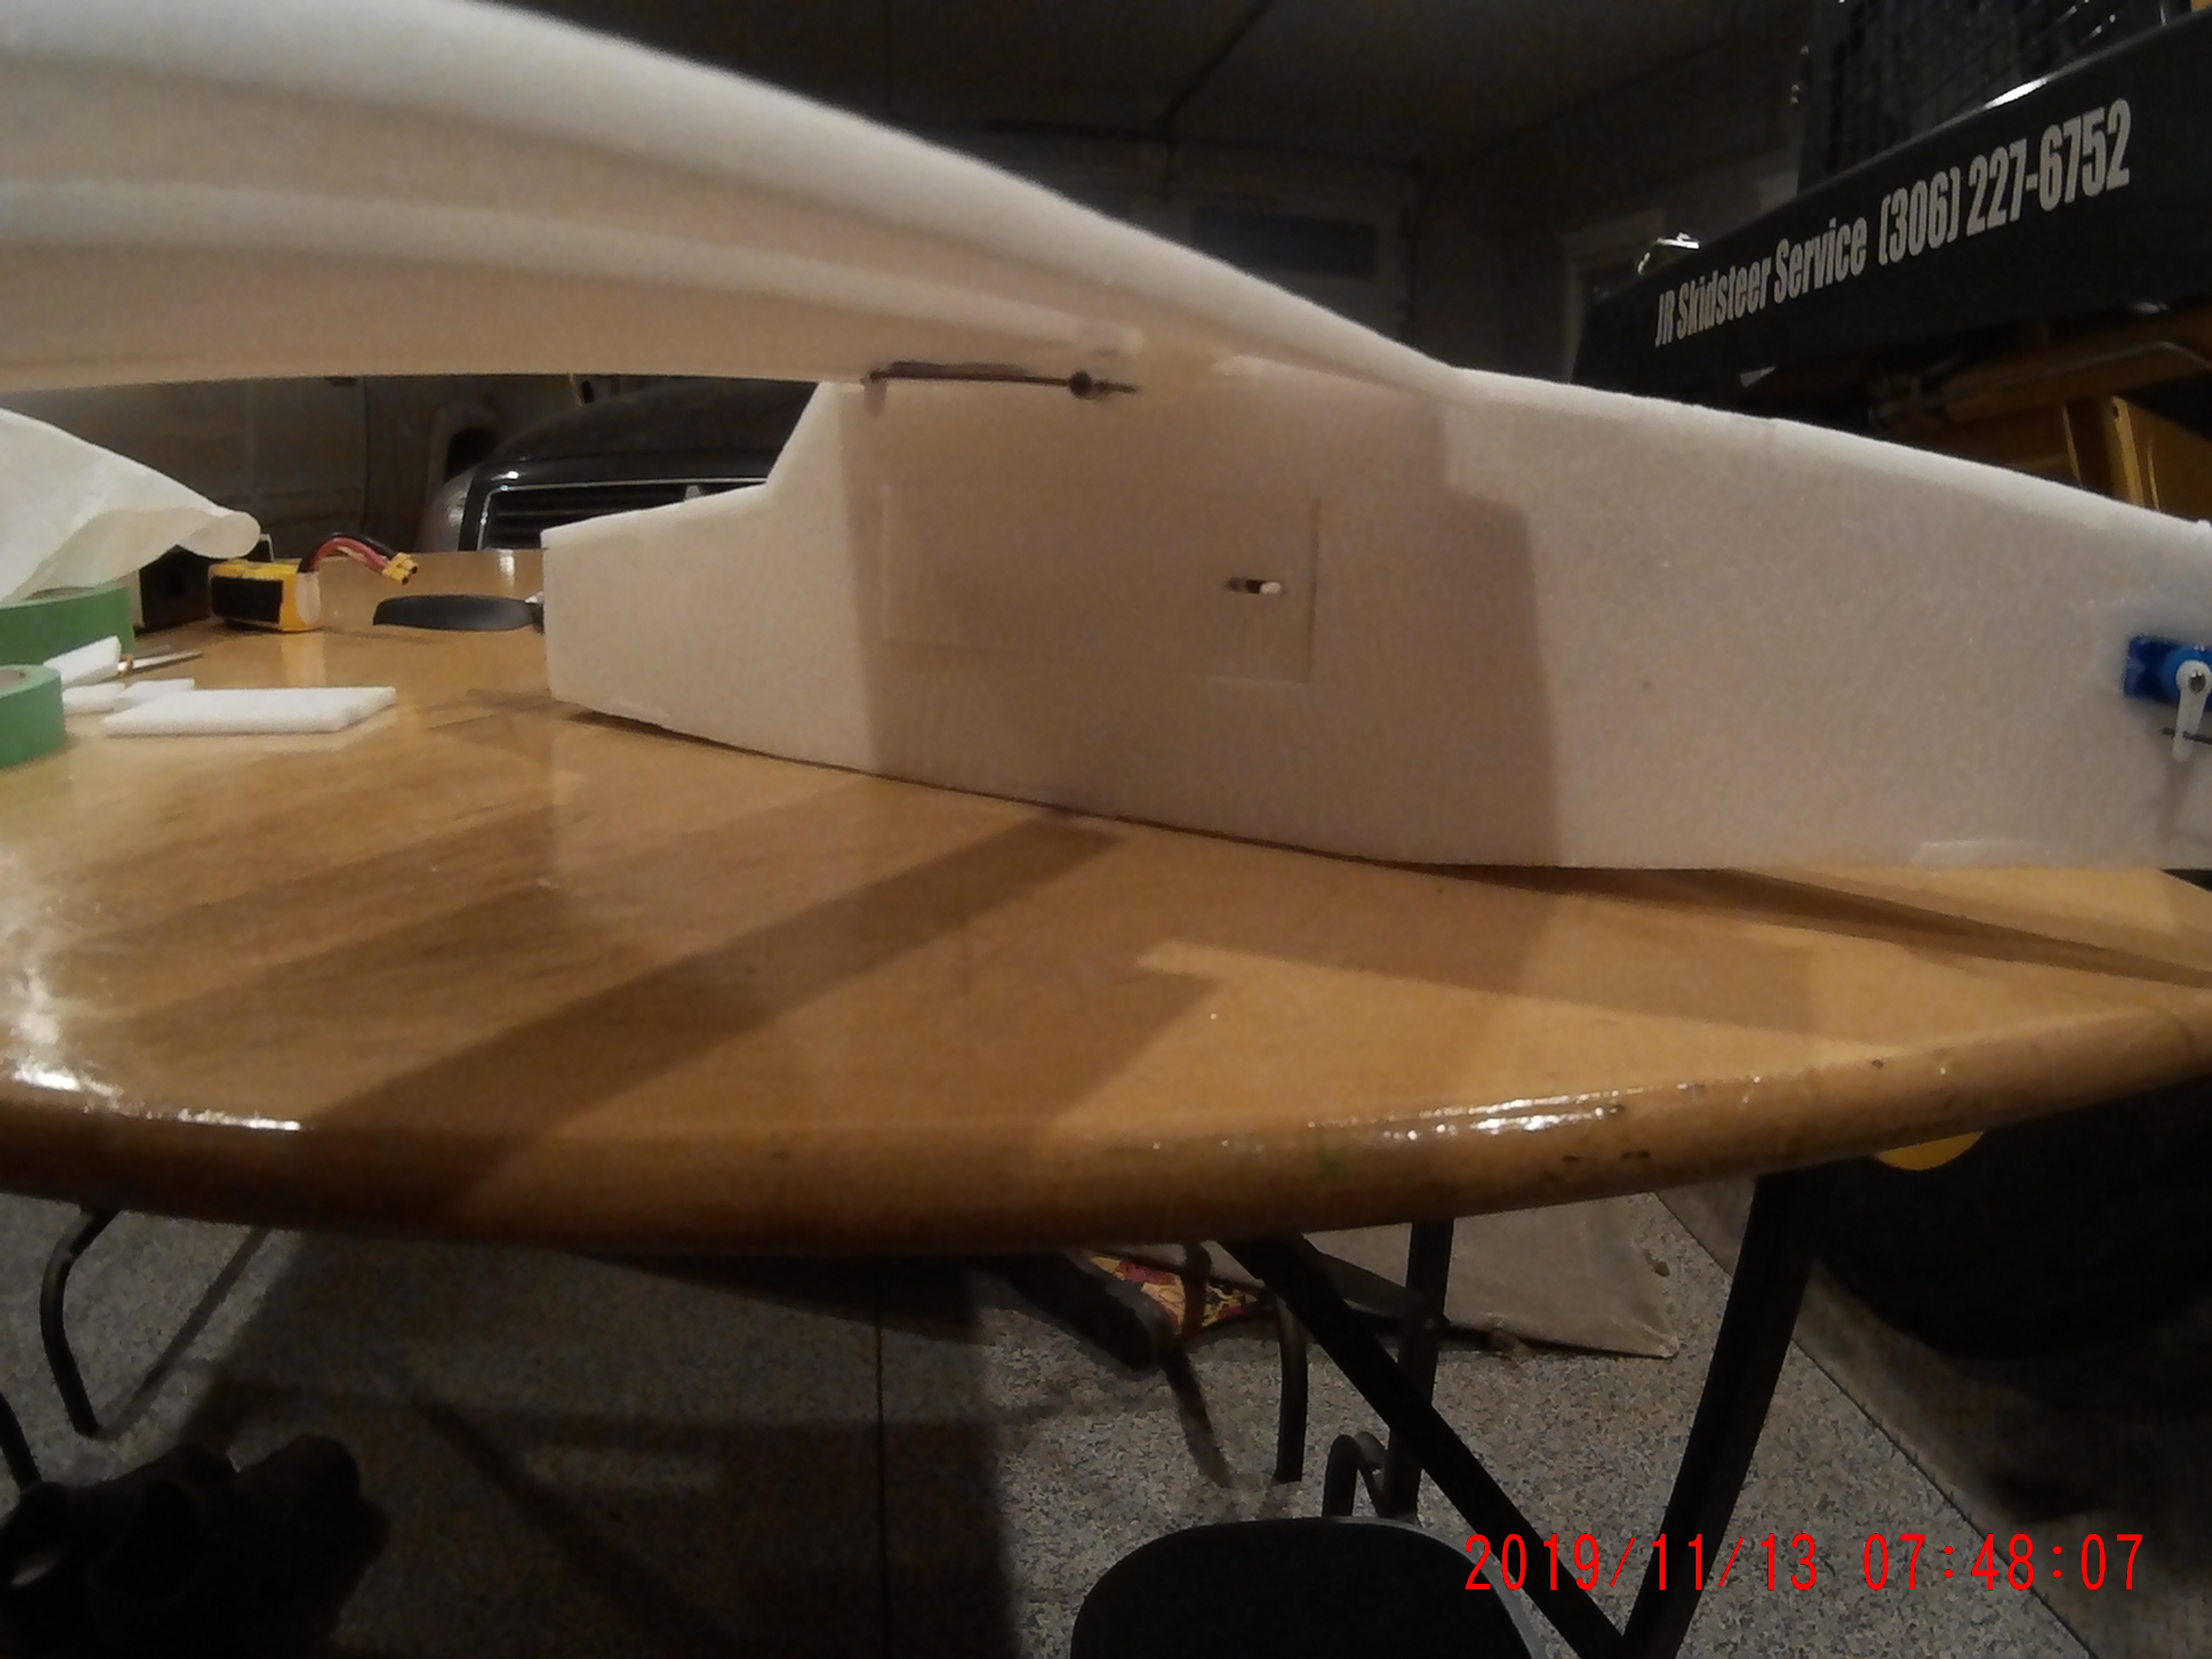
Locked and loaded ready for it's maiden, it is suppose to warm up here by the weekend and be above 0  .
.
Little side door works great and I can fit my 1800 3S battery in no problem, battery sits about 1/3 forward of the door for balance. I think with a lighter motor if the esc was near the front (under the battery tray) and a smaller battery right up front also it could balance out no problem. A person could then cut out a hatch in the canopy area for access instead of removing the wing.
Oh, it has really good vertical thrust , it should be fun even at 1/2 throttle


Grifflyer
WWII fanatic
Looks great!!Locked and loaded ready for it's maiden, it is suppose to warm up here by the weekend and be above 0.
Little side door works great and I can fit my 1800 3S battery in no problem, battery sits about 1/3 forward of the door for balance. I think with a lighter motor if the esc was near the front (under the battery tray) and a smaller battery right up front also it could balance out no problem. A person could then cut out a hatch in the canopy area for access instead of removing the wing.
Oh, it has really good vertical thrust , it should be fun even at 1/2 throttle
View attachment 147946 View attachment 147947 View attachment 147948 View attachment 147949 View attachment 147950
Wildthing
Legendary member
Thanks, hopefully we will get it out this weekend to test. I didn't put any landing gear on it yet, If it flies good I may do a set of skis for snow.Looks great!!
Wildthing
Legendary member
Going to update the plans with the couple little fixes and repost them.
@Grifflyer Question; what is the basic bolt pattern for the radial motors you guys use. I can make a 3D printed mount for it that will screw to my existing mount so changing motors won't be a hassle.
@Grifflyer Question; what is the basic bolt pattern for the radial motors you guys use. I can make a 3D printed mount for it that will screw to my existing mount so changing motors won't be a hassle.
Grifflyer
WWII fanatic
I'm using the same screw pattern as the FT Mini Firewall, you can copy it off of my Spitfire firewall.Going to update the plans with the couple little fixes and repost them.
@Grifflyer Question; what is the basic bolt pattern for the radial motors you guys use. I can make a 3D printed mount for it that will screw to my existing mount so changing motors won't be a hassle.
Attachments
Wildthing
Legendary member
Ok I think I got everything, now the plans are not colorful like all you guys do but if you have built one or two planes it is pretty simple to figure out 

Updated plans with the corrections so if you downloaded the first one write over it and save these ones.
The 3D printed motor mounts, The one is the main mount which gets glued in, look closely at it it is angled down 4 degrees and 2 to the right. Non-tapered side is the side you glue to. This mount fits the standard X mount. The other 3D printed mount is to adapt your radial motors to the main mount, it has the 16mm X 19mm bolt pattern which should fit most motors . This mount then gets screwed onto the first mount with motor attached already.
Attachments
Grifflyer
WWII fanatic
Nice, I just added them to the first postOk I think I got everything, now the plans are not colorful like all you guys do but if you have built one or two planes it is pretty simple to figure out
Updated plans with the corrections so if you downloaded the first one write over it and save these ones.
The 3D printed motor mounts, The one is the main mount which gets glued in, look closely at it it is angled down 4 degrees and 2 to the right. Non-tapered side is the side you glue to. This mount fits the standard X mount. The other 3D printed mount is to adapt your radial motors to the main mount, it has the 16mm X 19mm bolt pattern which should fit most motors . This mount then gets screwed onto the first mount with motor attached already.
BATTLEAXE
Legendary member
Great looking build, I am just getting caught up on it now, don't know how I missed it. I like the access door you added for the battery, great idea.
I like the commentary in the vid, let's me know what the plane is doing, being that you filmed mostly sky and the plane made the odd cameo appearance. Missed all the tricks and full throttle stuff. You gotta fire your camera man and hire one that can stay on the plane
 . You could train a dog to do that I am sure lol, doggy biscuits are cheap. I am kidding man, just busting on ya.
It is a great plane and I applaud @Grifflyer any chance I get for it. I miss mine now. The Bushwhacker will be a good replacement for it
I like the commentary in the vid, let's me know what the plane is doing, being that you filmed mostly sky and the plane made the odd cameo appearance. Missed all the tricks and full throttle stuff. You gotta fire your camera man and hire one that can stay on the plane
It is a great plane and I applaud @Grifflyer any chance I get for it. I miss mine now. The Bushwhacker will be a good replacement for it
Grifflyer
WWII fanatic
Shrubsmacker flies and flies great even in the wind. Just to bad it is cold and windy out to go up a few more times and get it all trimmed in and throws set but fingers get cold quick. Oh, camera ang slightly bumped up.
Congrats!! From what you said it sounds like it flew great!! Do you plan on painting it?
@BATTLEAXE Is your Shrubby still in the tree?
BATTLEAXE
Legendary member
Like a Xmas decoration, hey what timing, tis the seasonCongrats!! From what you said it sounds like it flew great!! Do you plan on painting it?
@BATTLEAXE Is your Shrubby still in the tree?
BATTLEAXE
Legendary member
@Grifflyer I just subbed to your YT channel

