You are using an out of date browser. It may not display this or other websites correctly.
You should upgrade or use an alternative browser.
You should upgrade or use an alternative browser.
Slope Soaring homage to 'thenated0g'
- Thread starter bracesport
- Start date
Piotrsko
Master member
Material thickness is about the same as the original kit balsa equivalent so if the tensile and compressive go up, previous comment about supporting tanks or other heavy objects applies.
I don't remember why they kept getting heavier /stronger back when. Perhaps since tall soft weeds were a rarity, there was more damages during landing, because nobody was gonna catch one.
I don't remember why they kept getting heavier /stronger back when. Perhaps since tall soft weeds were a rarity, there was more damages during landing, because nobody was gonna catch one.
bracesport
Legendary member
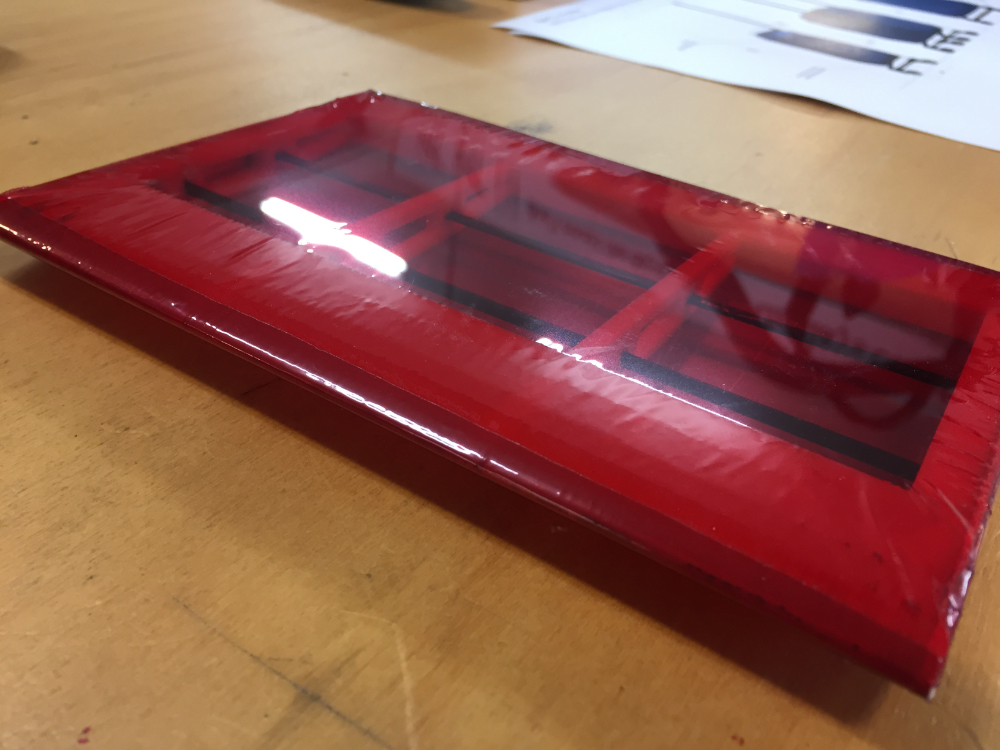
I had a quick second blast with the heat gun and easily removed most of the wrinkles - I am thinking I will still try some clear 'cover-seal' to compare against the 'Monocoat' but one way or another it should be doable! 
images reduced to 1000px


images reduced to 1000px


bracesport
Legendary member
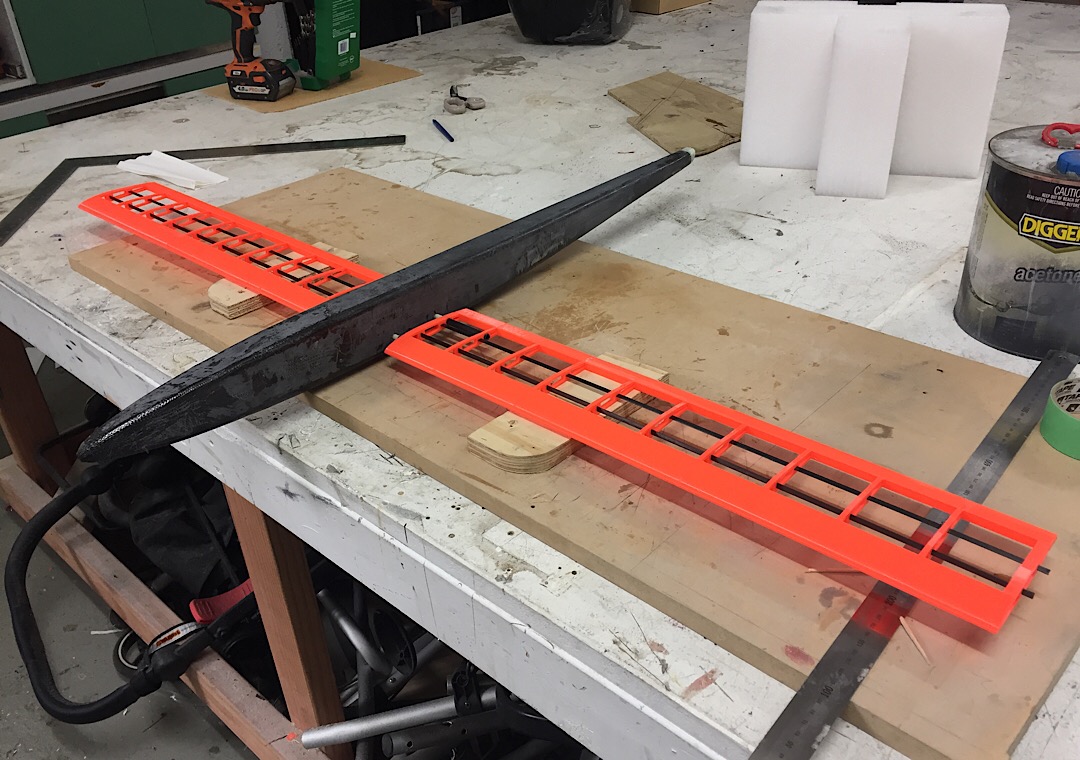
I need to think about glueing in the wing mounts - the wings have 7.4mm CF tubes with a 6.2 inner diameter and I managed to find some FG rod which is about 6.0mm neat - miraculously a match made in heaven - my plan is to drill the fuse @6.0mm and then drill through the CF skin 5mm deep @8mm diameter and then lightly glue the FG rods with the wings attached for alignment - then finish with more glue into the 8mm holes to plug-glue the rods with the CF skin
image reduced to 1000px

image reduced to 1000px

Last edited:
Piotrsko
Master member
You'll need some sort of load bearing doubler (maybe a pickle fork? [snicker]) Inside where you drill the through holes which ideally should be installed before drilling. Did you clean out the fuselage? Couple layers glass ought to be enough, about 40 mm dia. Washers. Lazy people like me make a wing profile and scab that on the outside. On a proper ridge flyer, they are set to 0 degrees incidence, relying on wing nose profile up swept symmetry and a wee bit up trim for flight. Your mh32 profile looks like you'll need a degree or two positive unless it is more flat bottomed than it looks
Covering job looks better, low temp film should work great.
Covering job looks better, low temp film should work great.
bracesport
Legendary member
@Piotrsko - thanks for the positive comments - my plan is for the second pour of epoxy to collar the FG rods onto the CF braided skin - I will undercut the foam to get a good key.
I have been following @thenated0g with his build and in my CAD the highlighted orange lines are parallel (also parallel with the tail feathers) - I am a novice as you know - the aerofoil section spec I downloaded was set up this way so I just transferred it and it seemed to fit nicely with thenated0g's 2D - wings are 1 deg dihedral respectively!
our 'inspired by' the Ridge Rats are longer in the nose and have a wing chord @150mm down from the original and chubby 225mm.
low res images posted


Last edited:
bracesport
Legendary member
@Piotrsko - given I want to drill and glue the wing tomorrow I will ping @thenated0g and see if he has any incidence in his wing!
bracesport
Legendary member
bracesport
Legendary member
For good or for bad the wing mounts are in - they are tack glued and then I will ad some epoxy with filler into the plug holes - so far so good I guess! 😀
The wing chamber is 1deg per side!
Images reduced to 1000px


The wing chamber is 1deg per side!
Images reduced to 1000px


Jackson T
Elite member
They look really cool! What is the wingspan?nothing too startling on the feathers but they feel like they should do the job - nice and stiff - a bit more trimming and edge sanding then hinges to add!
Last edited:
bracesport
Legendary member
@Jackson T - the wingspan is is just under 1300 with the wingtips fitted! 
bracesport
Legendary member
the second round of glue is in place - this time I pored the liquid epoxy into the holes, then added Microballons to thicken the epoxy and plug the holes both sides - a bit of sanding at it should be nice! 
In theory, the wings will be held together onto the mounting posts with rubber bands - at this stage I am undecided on the routing of the servo wires for the wings, but probably I will thread the wires through a tube and then refit the plastic connector to the wires - once the wing and tail feathers can be dry fitted, I can look into the CG requirements (probably I will need help from @thenated0g) for that!
images reduced to 1000px


Last edited:
bracesport
Legendary member
@buzzbomb - with a fair wind tomorrow, I plan to dry fit the feathers - the fuse needs a bit of filling and sanding before fitting them properly!
I do promise to get something in the air with spring here - I have a few birds lined up - this one is a special build as I have been enjoying and following @thenated0g ‘s threads! 😀
I do promise to get something in the air with spring here - I have a few birds lined up - this one is a special build as I have been enjoying and following @thenated0g ‘s threads! 😀
Last edited:
buzzbomb
I know nothing!
I do promise to get something in the air with spring here
Heard it before. Heard it before. Whatever, I'm bored with it.
laughing my a$$ off because that's funny!
I love ya' man. You've GOT to fly that Spit!
Piotrsko
Master member
Rule of thumb: place your thumb so that one edge is touching the high point of the wing, the other edge faces the leading edge. That's more or less your CG range, typically under the main spar. Actually there should be data posted on your profile page for the root profile. Varies a lot based on how much control surface is available, more surface longer CG spot.
bracesport
Legendary member
The glued wing mounts turned our really strong and the wing halves still fit well - the bottom of the wing aerofoil is parallel to the intended line of the feathers - actually, I quite impressed myself!
Today's job is to get the elevator hinges in and then dry-fit their position and review the CG (thanks for the input @Piotrsko) - Oh, and I need to go get some clear book cover film to try before committing to the Monocote.
I must remember to sort my wing servo mounts before covering!
Today's job is to get the elevator hinges in and then dry-fit their position and review the CG (thanks for the input @Piotrsko) - Oh, and I need to go get some clear book cover film to try before committing to the Monocote.
I must remember to sort my wing servo mounts before covering!

