Solved Thank you all for your help! Not mini Simple scout engine making it turn up and left, how fix?

Aslansmonkey

Well-known member
Sure, but it's harder to do with the direct to motor mounting than it is with the metal cross piece. That said, I've done it myself so it's definitely possible.

The idea is to use something to change the motor angle, whether that be washers or shims or modifying the power pod.
 
I believe I have it correct now, used hot glue and stuff do make it face correctly
 

Attachments

  • 376200C9-731D-48A5-9DA1-0F139D26BB5B.jpeg
    376200C9-731D-48A5-9DA1-0F139D26BB5B.jpeg
    1.4 MB · Views: 0
  • BFEF1F0D-7506-48F2-9EB9-BDA558C5E64C.jpeg
    BFEF1F0D-7506-48F2-9EB9-BDA558C5E64C.jpeg
    1.6 MB · Views: 0

MacClarkNC

New member
My experience with scratch built scouts is that when you position the power pod push up from the bottom towards the top, don't let it sit on the rails. Make it rest against the top in front and back. The firewall in the front will create a down angle due to this configuration, then push the skewers through
 
My experience with scratch built scouts is that when you position the power pod push up from the bottom towards the top, don't let it sit on the rails. Make it rest against the top in front and back. The firewall in the front will create a down angle due to this configuration, then push the skewers through
Do I need a downwards thrust angle? Need to know because today should be the first (working) flight Since my maiden failed
 

Foamforce

Well-known member
The Simple Scout does not need down thrust if it’s built according to the design. In the build video at 1:23:50 you can see that the power pod does rest along the bottom of the rails, as far back as it will go. I think MacClarkMC might be thinking of the Mini Scout, which is lined up like he suggested.

I would suggest a glide test before your re-maiden. Power it up, turn on your controller, and then throw it in an unpowered glide into something soft like your couch. It should glide straight and slightly nose down. If anything else happens, then make corrections before attempting to fly it. Take videos so we can diagnose. Good luck!
Glide test? How far apart should my plane be to my couch? Also now it’s going to the right when I drive it around, should I keep it like that?
 

Foamforce

Well-known member
Glide test? How far apart should my plane be to my couch? Also now it’s going to the right when I drive it around, should I keep it like that?

The further the better, but you ought to be able to see any major problems from just tossing it across the room. When you do it, the battery has to be in and (thanks to someone for pointing this out to me), it’s best that the airplane is plugged in and transmitter is on to make sure the servos are centered as they would be in flight.

Do you mean it’s going right when you drive it on the ground? That doesn’t mean much because you’re mostly just measuring the alignment of your landing gear there.

When I post videos, I upload them to YouTube and mark them as unlisted so that only people who see the link here are viewing it. Then you just click the share button, copy the link, and paste it in here. The forums here recognize the link and embed the video in the post.
Thank you for your help! I’ll try and send videos, soon
 

Aslansmonkey

Well-known member
The driving to the right on the ground is either a wheel alignment issue or the right wheel doesn't turn as freely. But it likely has very little to do with how the plane will perform in the air.

If you don't have room in your house to toss it at the couch, try throwing it at bushes or soft snow outside. This may be less that completely idea depending on what your target is. Where I fly there is generally a large area of tall grass and small shrubs I can toss planes into and if you know of such an area nearby that you can use, that may be better than your sofa.

The general idea of a glide test is to see if there are any issues with the airframe itself. Under power those issues will only be worse.

Did you trim your plane after your first attempt? If so, don't forget to zero out those trim settings as you've now altered the plane and will need to re-do any trimming.
I did trim the plane after the test, I belive all the controls are perfect, I’ll try and get a throwing test video soon so you guys could help diagnose
 

Merv

Site Moderator
Staff member
This is the correct placement for the prop with it going counter clockwise correct?
Hard to tell from the pic.
The numbers on the prop must be facing the direction of travel, if not you will only get about 40% of the expected trust.
 

mastermalpass

Elite member
I'm a bit late to the party here. As others have said; your build is fine. The mini scout is a stable design and pretty tolerant of an uneven construction. I handed mine to my Dad on its maiden flight, he lawn-darted it and snapped the wing. The rest of its flights were spent with one wing raised higher than the other and also slightly asymmetric flex and weight; it flew fine.

The mini Scout sports a significantly under-cambered wing. Under-camber has a lot of lift yield per mph-increase in airspeed. The faster air passes over it, the more lift that wing will generate, while the horizontal stabiliser remains relatively uniform. So, more lift at the front, the more the plane pitches up. Many real life planes work like this too.

236297


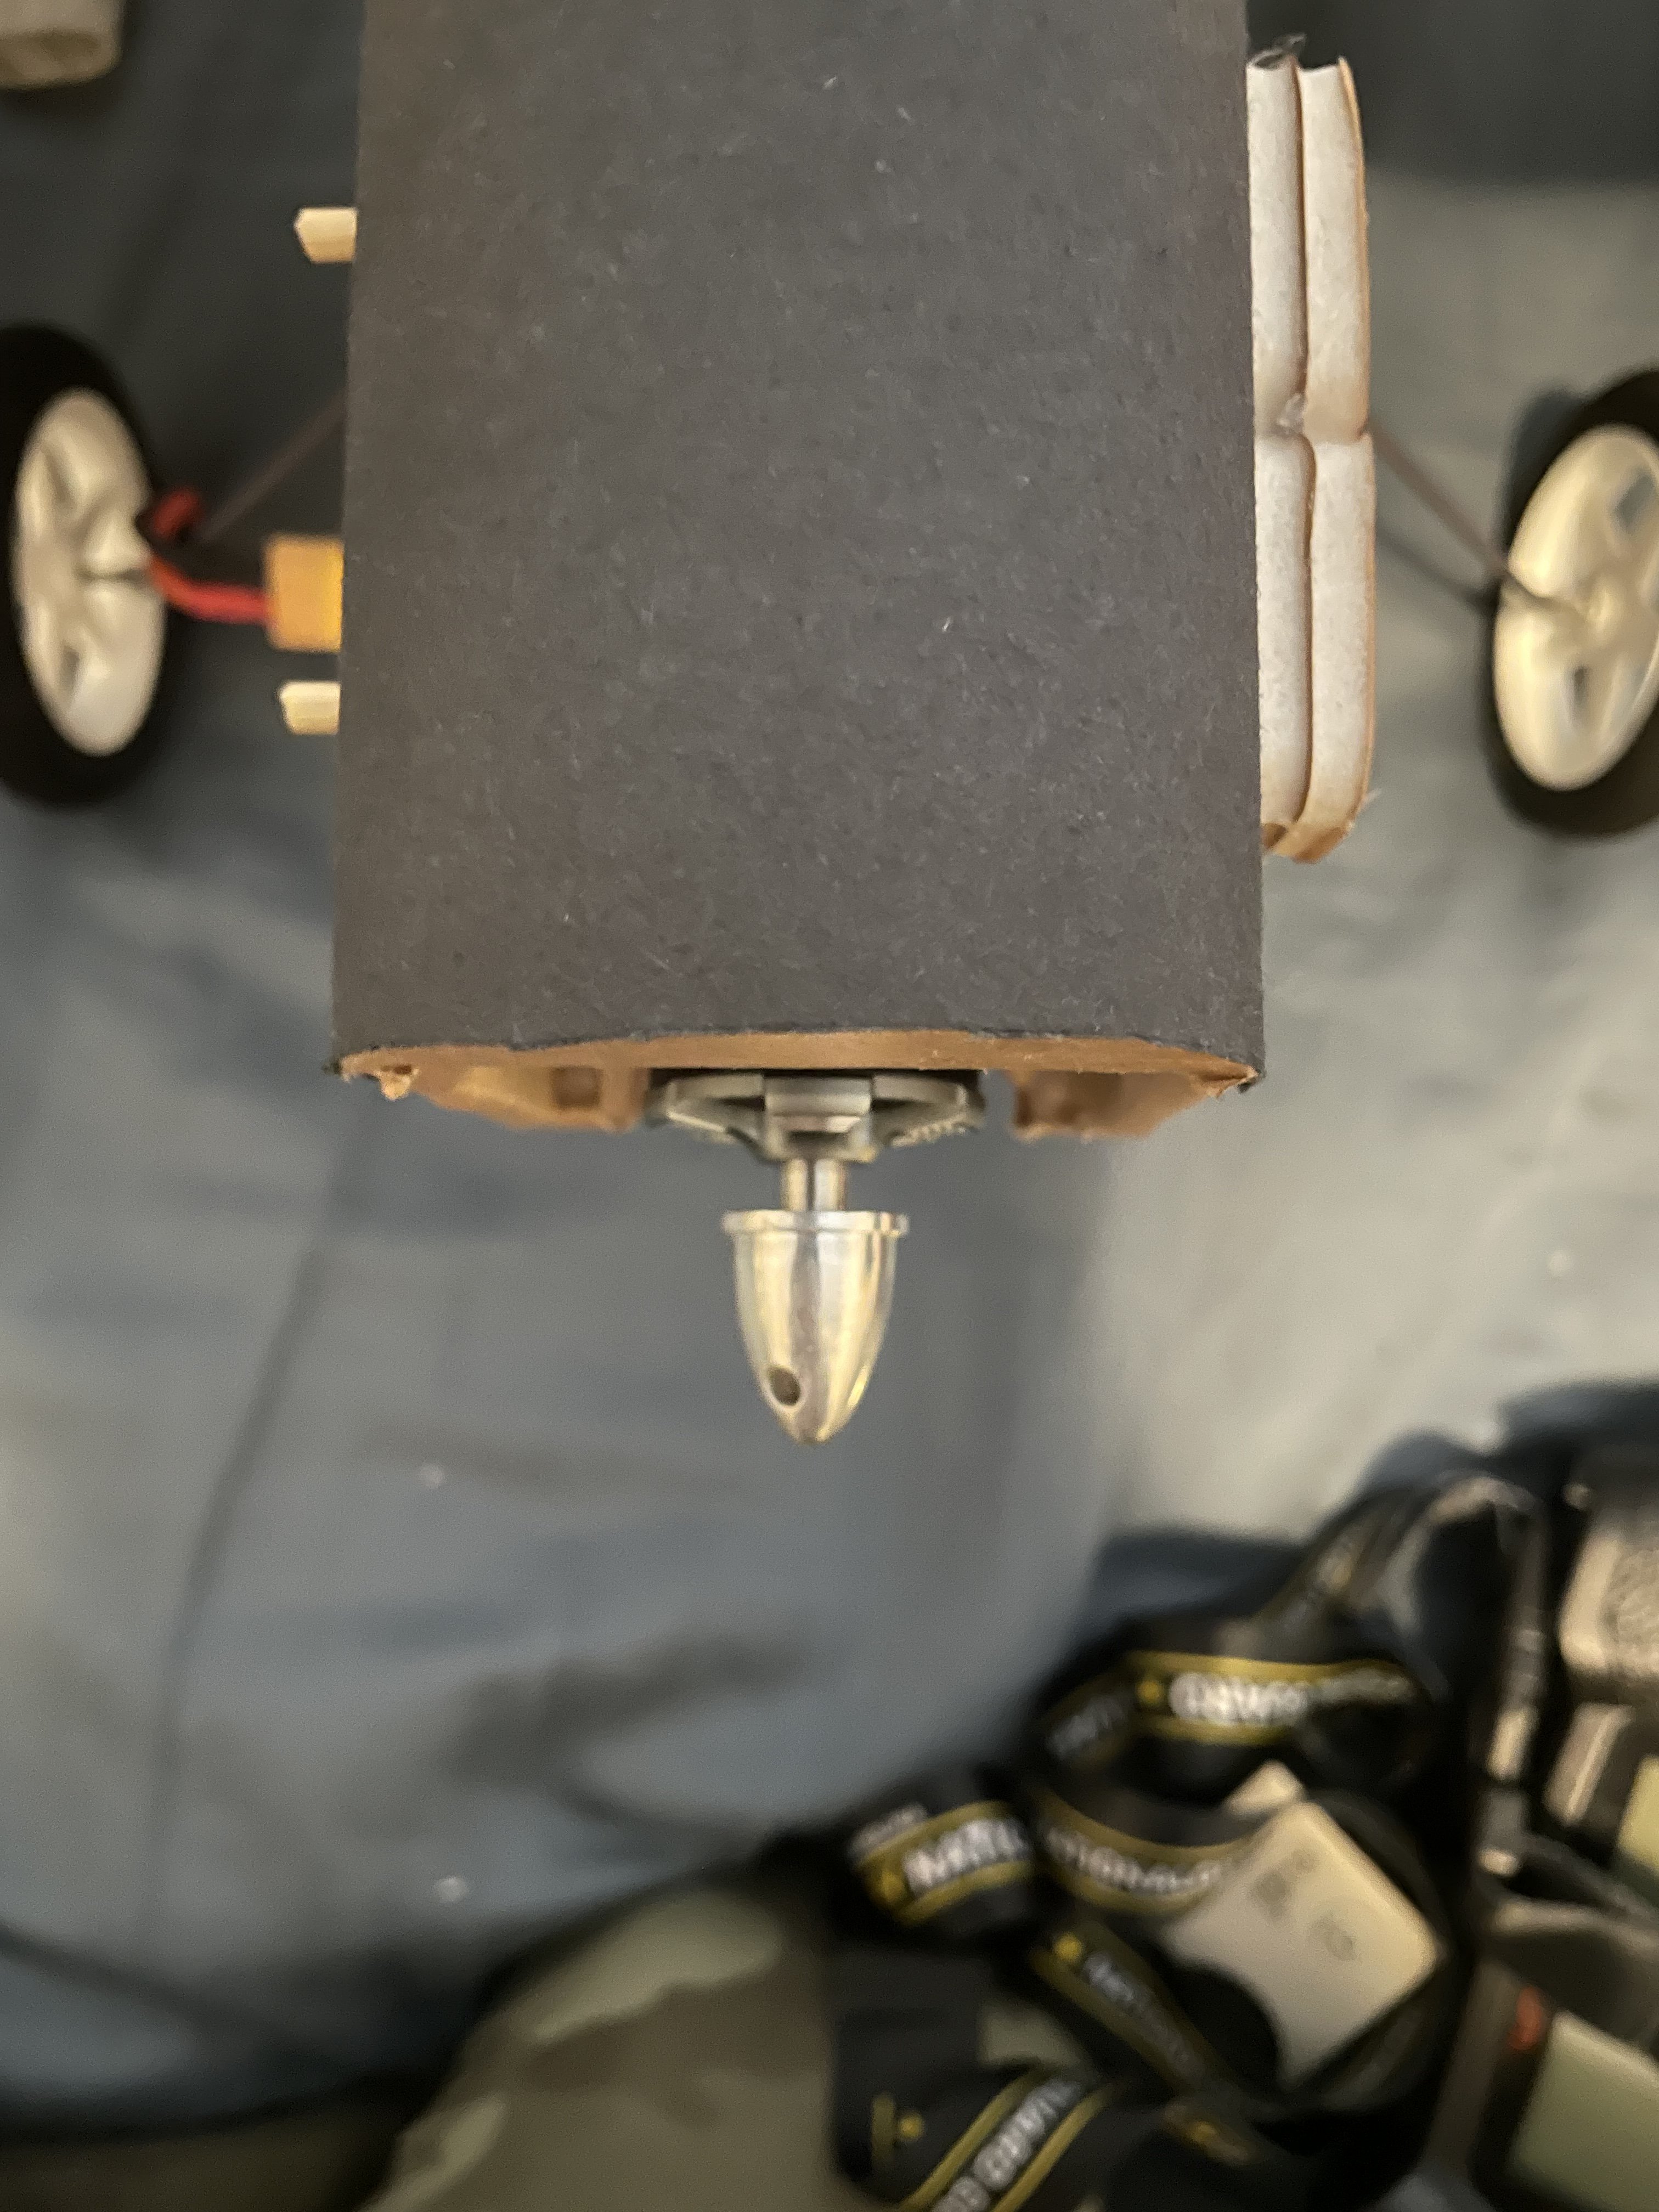
When you crank up the throttle, that prop is washing air over the wing - already generating lift before you've thrown it and it's naturally wanting to go up. This effect is weaker on the larger models (and so the simple Scout and Scout XL won't need 'down-thrust') but many of the mini-sized planes have the prop thrusting the nose down to counter-act the lift its generating. This is particularly noticeable on the Eachine Mini P-51:

236296


The other thing single-prop planes of all sizes have to contend with, is torque roll. As your prop spins one way, it makes the plane spin the other. Combine that with the pitch up and you have equivalent of a bank-and-yank; a standard turn maneuvre. Not ideal when just taking off. The simple solution to this is to angle the prop off to one specific side.

If your prop is spinning one way to make the plane roll to the left, you want the prop angled to the right. This will cause the plane to yaw to the right slightly, which will expose more of the left wing to oncoming air and less of the right wing, causing the left wing to generate more lift than the right wing which would roll the plane to right, balancing out the torque roll.

The handy thing about having the prop angled off is that the more lift or torque roll it generates, the more its thrust counters those effects, so the balance is generally consistent across the whole throttle band. Real planes counter their torque roll and lift with stick/pedal inputs and trim, but when you adjust the throttle/airspeed, you have to adjust your inputs or trim accordingly. Not the hardest job in the world when you're sat inside a plane as big as a bus, but when watching a mini model from the ground, it's much harder to respond in time.
 
IT FLEW IT FLEW!!! For about a second though since the wind blew my wing into the ground 🙄
<— video of the one second flight. I know what went wrong, I flew it on a day with heavy wind and since I decided to fly against the wind, when I went to turn it to me, the wind pushed against the wing and caused it to smash it into the ground. Dose anyone know if flite test sells there propellers in stores or should I get stronger propellers because the moment it touched the ground, one side of the prop disintegrated. If my prop wouldn’t have disintegrated when it crashed there would have been more Video, sorry to disappoint :(. Thank you so much for all your guy’s (and maybe lady’s) help along this journey.

Also i got so mad the prop broke I kicked the plane lol
 

mastermalpass

Elite member
IT FLEW IT FLEW!!! For about a second though since the wind blew my wing into the ground 🙄
<— video of the one second flight. I know what went wrong, I flew it on a day with heavy wind and since I decided to fly against the wind, when I went to turn it to me, the wind pushed against the wing and caused it to smash it into the ground. Dose anyone know if flite test sells there propellers in stores or should I get stronger propellers because the moment it touched the ground, one side of the prop disintegrated. If my prop wouldn’t have disintegrated when it crashed there would have been more Video, sorry to disappoint :(. Thank you so much for all your guy’s (and maybe lady’s) help along this journey.

Also i got so mad the prop broke I kicked the plane lol

Congrats on the controlled take off, that was looking good!

If there's one part you're gonna break more than any other, it's the prop. Best to stock up. I think Flite Test props are made of APC, it's about as tough as a prop can get and I've still broken a couple. So yeah, stock up on a few! 😂
 

Foamforce

Well-known member
That was 3.5 seconds, which is 350% better than claimed. Nice job. 😀

That takeoff looked really smooth! You rolled out nicely and got plenty of speed before pulling up, avoiding the most common mistake of pulling up too soon and stalling. Nice job!

Get a bunch of props and get a prop saver too. They don’t save the prop every time, but they probably save it half the time. Some people also say that turning on the ESC brake reduces broken props. I do that on all my planes now and I rarely break a prop any more, but that could just be because I’m getting better at flying. 🤷‍♂️

Always, awesome flight! Waiting for the new props will be a real exercise in patience!
 
How many props should I stock up? Less than 10? More than 10? 20?!? Also what is the best fpv kit for the least amount of money, I feel like it would help me take more risks with the plane, like flying it higher without the fear of losing it in the sky (ima paint the bottom of it French blue and it worries me)
 

Aslansmonkey

Well-known member
Try to keep 3 or four props on hand. As you build more planes this number does NOT need to increase, btw. Typically you can get them replaced quickly enough that you don't need a hoard of them. And if you break 3 props in one outing, you'll likely be frustrated enough to stop trying that trip anyway.

I paint my planes with contrast, typically a light color on the bottom and a darker color on top. Don't worry about losing it in a blue sky, there will be shadow under the plane. Contrast helps you know which end is up when it's far from you and your turning, though. If I do stripes and things, those go on the top as well.

The biggest expense for FPV is the goggles. Cameras can be bought for peanuts, basically, but you'll want a nice pair of goggles. One with a wide field of view. You're right that it will help you take more risks, though I think you will find you fly closer to the ground with them instead of higher up in the air. But take the time to get used to flying it normally first. You need to trust the plane a bit before moving to FPV. Definitely a step worth taking, though. I have two planes (A Flerken and a Bravo) dedicated to FPV, though I've had cameras on several other planes, including my scout.