The Second Part of my Journey - The Diary

mayan

Legendary member
Ok so I am pretty much done with the cutting and since that didn’t take long I also have the most of it built too :).

77619522-58B2-4168-A3C6-2B75EB3E9764.jpeg


Re-enforced the middle part with some 2.4mm wire I had laying around. It made it heavier but since I plan on using a c pack motor this shouldn’t be any issue :).
054939DF-4655-403D-A773-57485EBCD586.jpeg


E433F309-B191-4180-A217-E25605FA4B2A.jpeg

6841D2BA-0C74-4418-AE3D-277389871325.jpeg
 

Piotrsko

Master member
I would think hobby grade craft spray sticky would work easier and better, but I have this latex rug glue that is light and STRONG.

How difficult was the plan to cut out? Thinking I might wanna build one
 

Hai-Lee

Old and Bold RC PILOT
Ok so I am pretty much done with the cutting and since that didn’t take long I also have the most of it built too :).

View attachment 137829

Re-enforced the middle part with some 2.4mm wire I had laying around. It made it heavier but since I plan on using a c pack motor this shouldn’t be any issue :).
View attachment 137830

View attachment 137831
View attachment 137832
I can say one thing! You definitely do not muck around!

Make sure that the glue is properly dry before doing any more work. If you used PVA the edges of the glue will be dry in a few hours whilst the covered areas between the layers will take a fair bit longer to set.

Just about to start cutting mine!

Have fun!
 

basslord1124

Master member
@mayan ... I see you're already kicking butt on this thing. You're a mad scientist I tell you. Count me in... Not sure when I'll get started but it'll be soon. How many sheets of foamboard will I need? Gonna have to build up my stock again.
 

Hai-Lee

Old and Bold RC PILOT
Just my progress as I am waiting for the Minwax to harden off so I can start gluing the layers together, (maybe tomorrow).

All cut out and the appropriate paper layers removed
DSCF0031.JPG

A CF spar fitted into the underside of the centre layer
DSCF0032.JPG

The top of the top layer and the bottom of the bottom layer sealed with minwax.
DSCF0033.JPG

I do the minwax of these layers at this time because then I can use cheap packing tape to hold the pieces aligned and the tape will not rip the paper if removed carefully. Bare paper rips every time!

In addition I leave the elevon corners unrounded at this stage because I am forever banging them! I will round the corners, cut the LE bevels and seal all of the FB edges before painting!

Have fun!
 

Hai-Lee

Old and Bold RC PILOT
I would think hobby grade craft spray sticky would work easier and better, but I have this latex rug glue that is light and STRONG.

How difficult was the plan to cut out? Thinking I might wanna build one
If you can cut straight using either a straight edge, (steel rule), or freehand then this is the simplest apart from a few curves.

There are no folds or channels and only 6 bevels to cut and only the elevon hinges really require a degree of accuracy.

After you have the layers together and the bevels cut you give all of the exposed edges a sand which can help remove/hide any build errors and IF you have build errors they have to be HORRIFIC for the wing to be unable to fly! I have seen them fly with only one elevon functioning , with one winglet gone, and even massive pole dents in the wing LE.

Have fun!
 

mayan

Legendary member
I would think hobby grade craft spray sticky would work easier and better, but I have this latex rug glue that is light and STRONG.

How difficult was the plan to cut out? Thinking I might wanna build one
By far the fastest to title together, cut out and assemble. I did 90% of it starting from A plans paper printed out to what you saw in about 1.5 hours.
 
Last edited:

mayan

Legendary member
@mayan ... I see you're already kicking butt on this thing. You're a mad scientist I tell you. Count me in... Not sure when I'll get started but it'll be soon. How many sheets of foamboard will I need? Gonna have to build up my stock again.
I used one and a bit. However if I had planned it better I would have used one and some scraps in total you should you 1.5 sheets max!
 

Hai-Lee

Old and Bold RC PILOT
Current progress!

Minwax has dried off and now the gluing commences!

Bottom and centre layers aligned and glued. Tape used to hold the parts in position so I can weight it down whilst the glue dries.
DSCF0031.JPG

After glue is dry/set the tape is removed and the top piece is glued into position. Yet again the pieces are held in place using packing tape to secure their position whilst it is in the press or the whole wing is under a nice flat weight.
DSCF0032.JPG

The glue is now set and so the wing has had its bevels cut and the LE and TE edges sanded to give best finish including the curved elevon tips etc.
DSCF0033.JPG

Now the exposed edges of the foamboard are to be sealed and the upper layer of the centre layer which is exposed will be minwaxed in preparation for the painting to proceed.

The owner wants a Yellow, Orange and black colour scheme!

More later.

Have fun!
 

Hai-Lee

Old and Bold RC PILOT
@Hai-Lee say can I use 5g servos?
Yes you can!

The only things to worry about are that you might stall the servo if the wing is flown at very high speed and you try some full elevon maneuver but that it only a might!

Secondly IF you cartwheel it on landing causing the elevon to contact the ground hard you may strip the servo gears. So far I have not experienced such damage but the chance is there!

Have fun!
 

mayan

Legendary member
Yes you can!

The only things to worry about are that you might stall the servo if the wing is flown at very high speed and you try some full elevon maneuver but that it only a might!

Secondly IF you cartwheel it on landing causing the elevon to contact the ground hard you may strip the servo gears. So far I have not experienced such damage but the chance is there!

Have fun!
Thanks! I am starting to put on the electronics as I type :).
 

mayan

Legendary member
A few updates here. Before we start I owe you all some time stamps of hot shots on the video I posted a few days ago flying with @Eddo radush, here it is.

1:15-1:30
2:55-3:05
5:05-5:12
5:35-5:45
6:55-7:05

7:25-7:45 @Eddo radush look at your face. IMPORTANT: As funny as this might be if no one gets hurt it still is very dangerous.

9:45-9:52
13:00-13:10
13:55
16:30-17:00
17:50-17:52
19:25-20:15
22:10-22:45
22:44-25:52

26:10-28:02 Eddo flying his plane.

Me flying the Simple Storch. @Arcfyre check it out.
29:14-31:52
32:15-32:19
32:22-37:48

A few days ago the kids and me were watching a science show on TV and they taught us how to make boomerang out of poster board so the kids wanted to make their own.
IMG-2812.JPG

IMG-2811.JPG


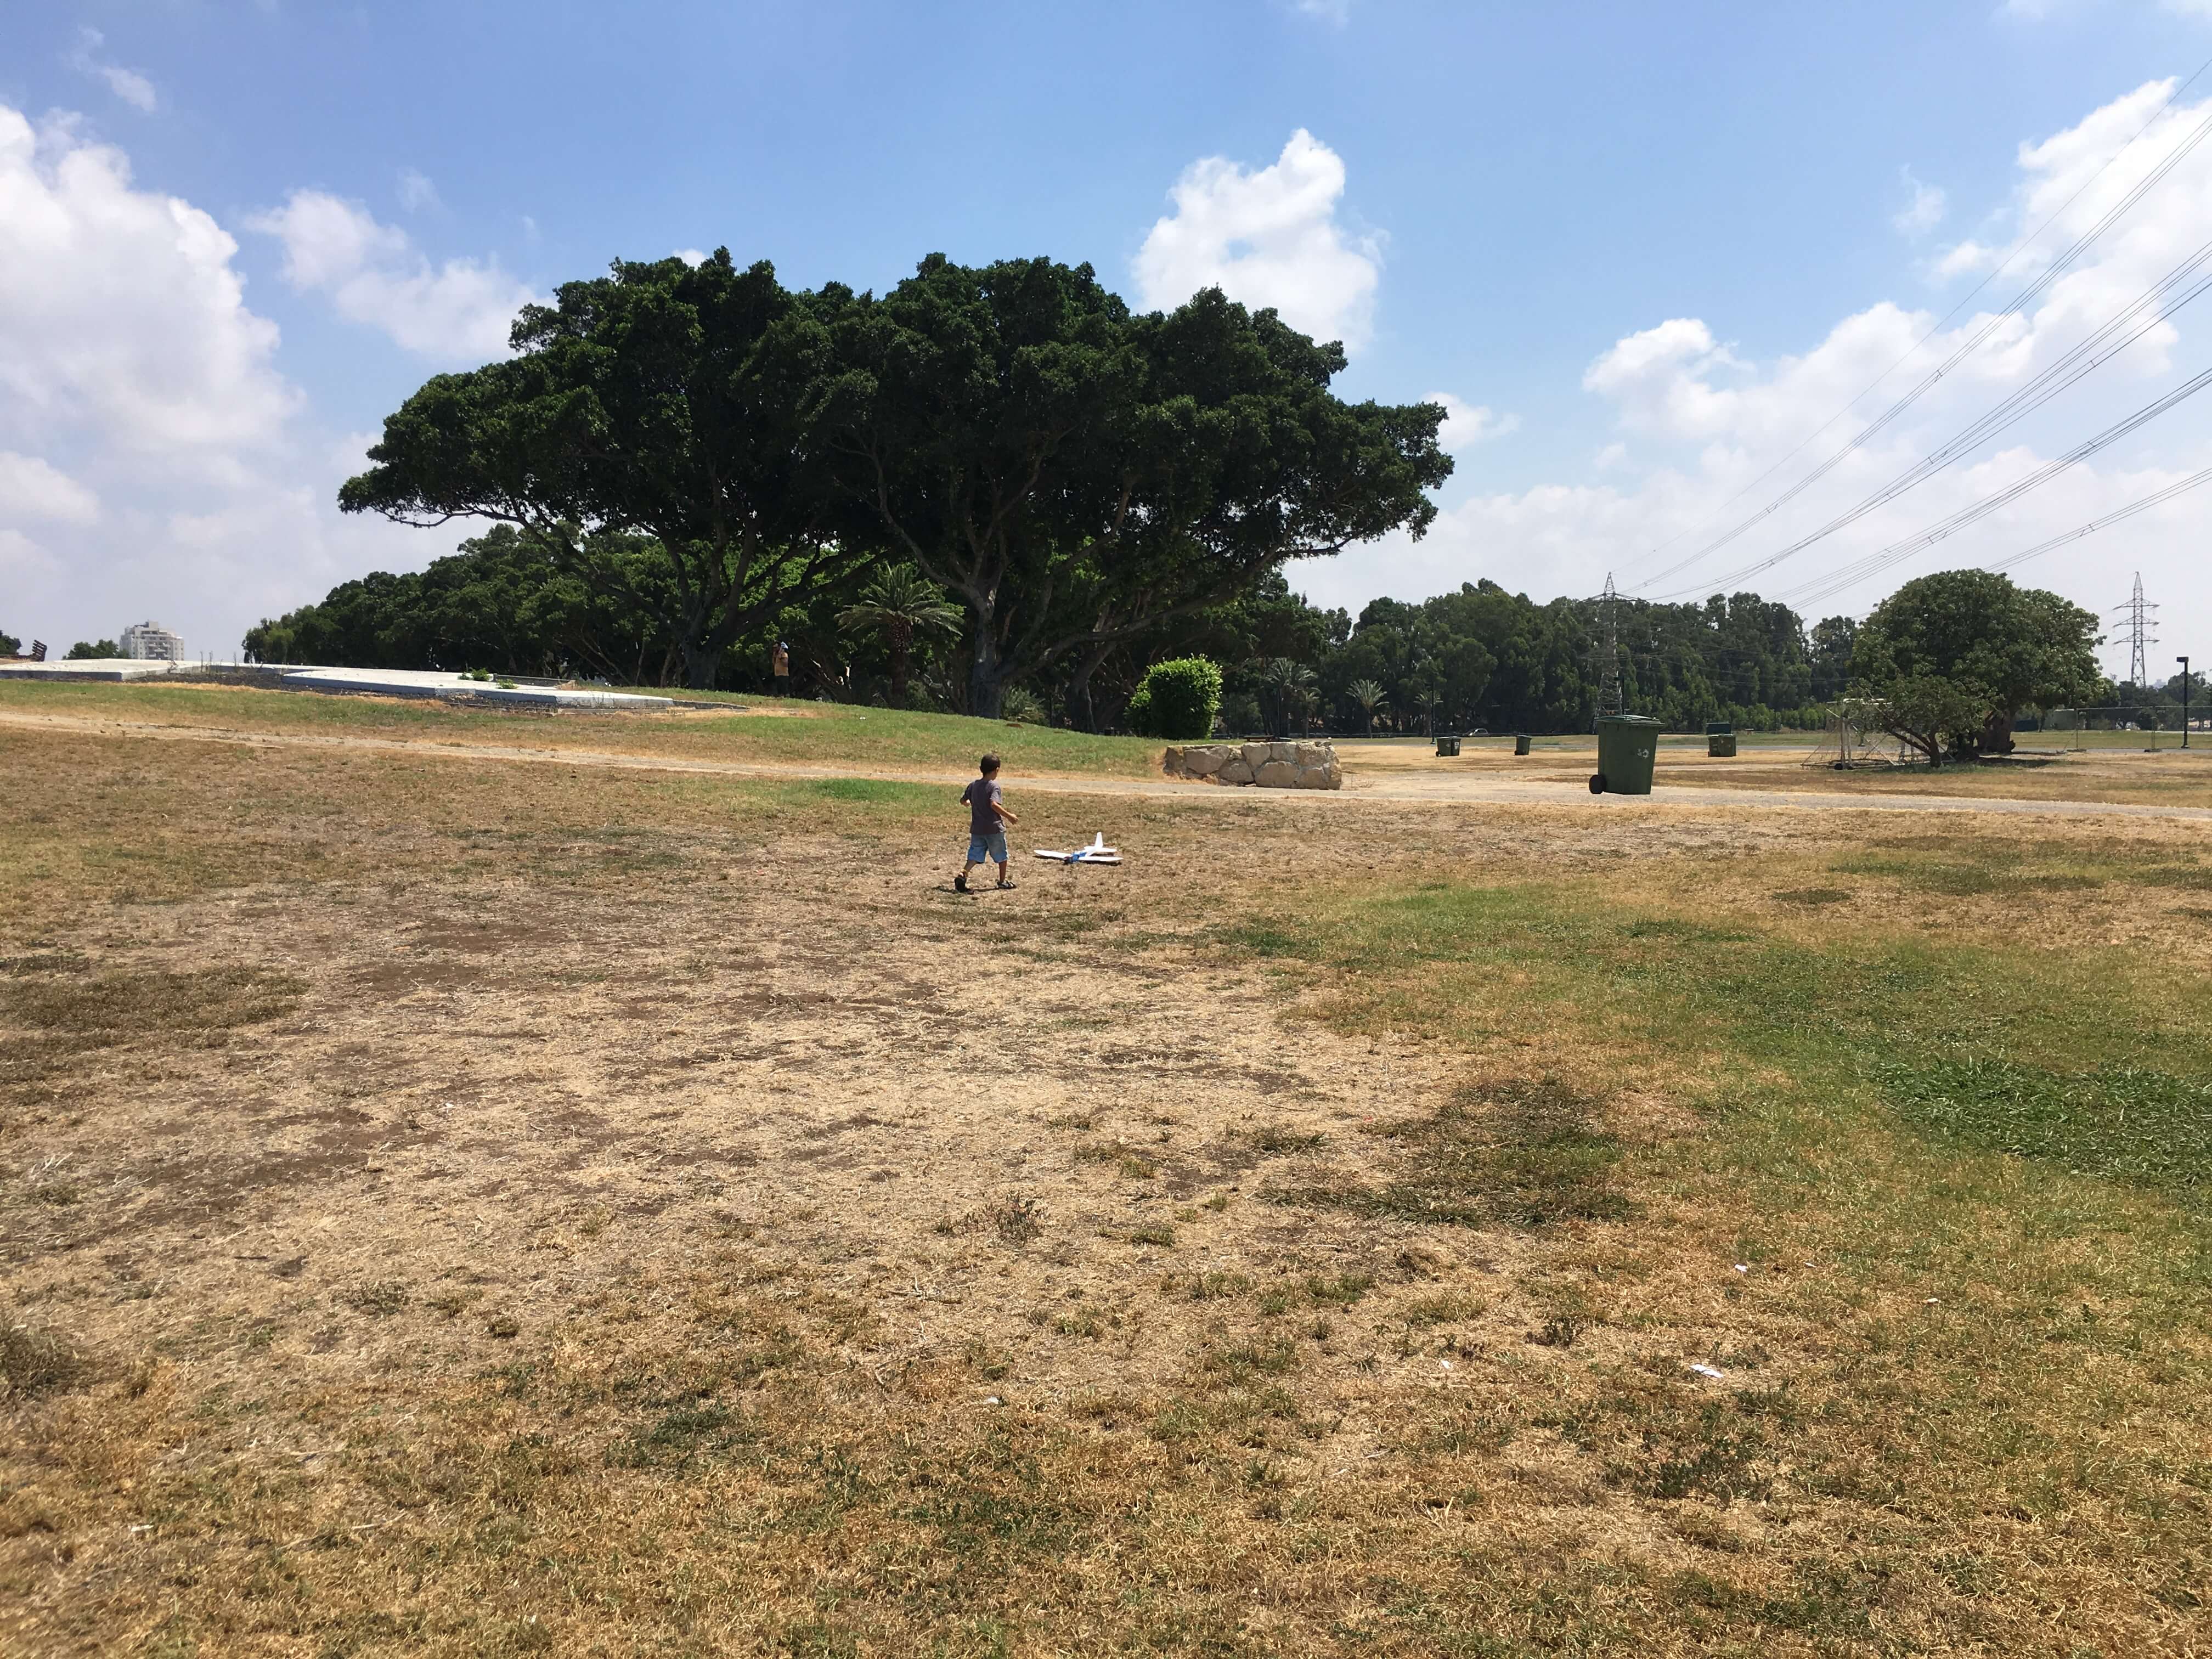
Then on Saturday I went to meet up with my dad who came back after serving two long years in India and my gramps. We went to Park HaYarkon, and had a breakfast picnic that I made at home and took with us. We spend about 3 hours there, I don't have pictures of the breakfast but I have this.

3d44cf8d-6177-4f71-a009-60b6f669e700.JPG

IMG-2846.JPG


Yes I let my son fly the SpiTTT, dialed in 60 prefect deflection rates with 30% expo and it handled prefect for him. This was the damage all repaired at the field :).
IMG-2883.JPG

IMG-2887.JPG

IMG-2889.JPG

IMG-2890.JPG

IMG-2891.JPG

IMG-2894.JPG

IMG-2893.JPG

IMG-2892.JPG


Then yesterday I had 2 hours free so we went to the field to fly some drones, and the TT. Let my son practice some, you can read more about that here: https://forum.flitetest.com/index.php?threads/teaching-my-children-to-fly-the-diary.58161/page-6.

You probably wondering where is the KFM Wing that I have been working on well here it is. Although its still missing some decals which I didn’t manage to get to last night might try to get some on tonight.

AF6014F7-99D1-4AAB-A89A-A597C6EF243F.jpeg


Motor: Turnigy Park 450 1200kv (equal to a FT C Pack). Turning CW
Prop: 6x4 CCW
ESC: Turnigy 40A
Balancing slightly nose down with a 3S 2200mah battery.

I decided to re-enforce the whole bottom with 5mm balasa wood on which the fire wall is also glued to using fast cure gorilla glue.
19392092-0414-4C05-94B0-3ED082E97933.jpeg


Point for future builds make sure to place battery parallel to prop, that way it can balance even with slightly smaller batteries or parallel connected batteries.
That’s it for now :), more later...
 

Hai-Lee

Old and Bold RC PILOT
With that motor I would suggest a 7 x 6 prop because it will only be turning around half the speed of a 2000Kv motor.

In addition where you have dug into the wing to fit the Velcro straps for the battery I would strongly recommend the pumping of glue into the holes so that they do not act like perforations and allow the wing to fold at those points!

Finally as you can see the motor is really hanging rearwards. If you trim the tongue of the FB to allow the motor mount to be fitted further forward it will balance easier on smaller batteries!

Have fun!
 

mayan

Legendary member
With that motor I would suggest a 7 x 6 prop because it will only be turning around half the speed of a 2000Kv motor.

In addition where you have dug into the wing to fit the Velcro straps for the battery I would strongly recommend the pumping of glue into the holes so that they do not act like perforations and allow the wing to fold at those points!

Finally as you can see the motor is really hanging rearwards. If you trim the tongue of the FB to allow the motor mount to be fitted further forward it will balance easier on smaller batteries!

Have fun!
Thanks for the tips I already cut it shorter as per the plans taking it apart to cut it some more would mean a lot of re-enforcements removal and a lot of work too. So I’ll test it as is for now, if it doesn’t fly well or at all I’ll build a new one planed a bit different. Would a 6x4 still might work?
 

Hai-Lee

Old and Bold RC PILOT
Thanks for the tips I already cut it shorter as per the plans taking it apart to cut it some more would mean a lot of re-enforcements removal and a lot of work too. So I’ll test it as is for now, if it doesn’t fly well or at all I’ll build a new one planed a bit different. Would a 6x4 still might work?
It will fly as long as you get the balance correct! Using a 6 x 4 you will only get half or the thrust than I do on my oldest version so it will fly but may be a little sluggish in loops or may not loop at all because you have to lever the battery into the air, (nose up), to loop and without much speed you may find the lift somewhat lacking!

My first version was powered by a 100 Watt motor 1400kV and driving a 6 x 4 and whilst it flew quite well it was a little lacking in the vertical maneuvers. Your current setup would be great as an introduction to wings and how they fly. Perhaps after you have mastered its handling you could do a "KV" or a prop upgrade and set the sky alight!

Have fun!
 

Hai-Lee

Old and Bold RC PILOT
Well I tried a 6x4 prop and it didn’t seem to create enough thrust and felt doggy so I hack a bit of foam for each side and pumped in a 8x6 prop and that my friends turned my KFM Wing into a rocket!
Yes you can but the noise it causes might be rather high! If the noise it generates is not important then I say go for it!

Should you decide on a different motor or prop in the future you can always splice in a bit of FB to fill in any unwanted holes or slots!

Have fun!