F106DeltaDart
Elite member
Awesome work Damo! The F-100 looks great in the air! Some Vietnam Camo paint would look add that final touch of awesome
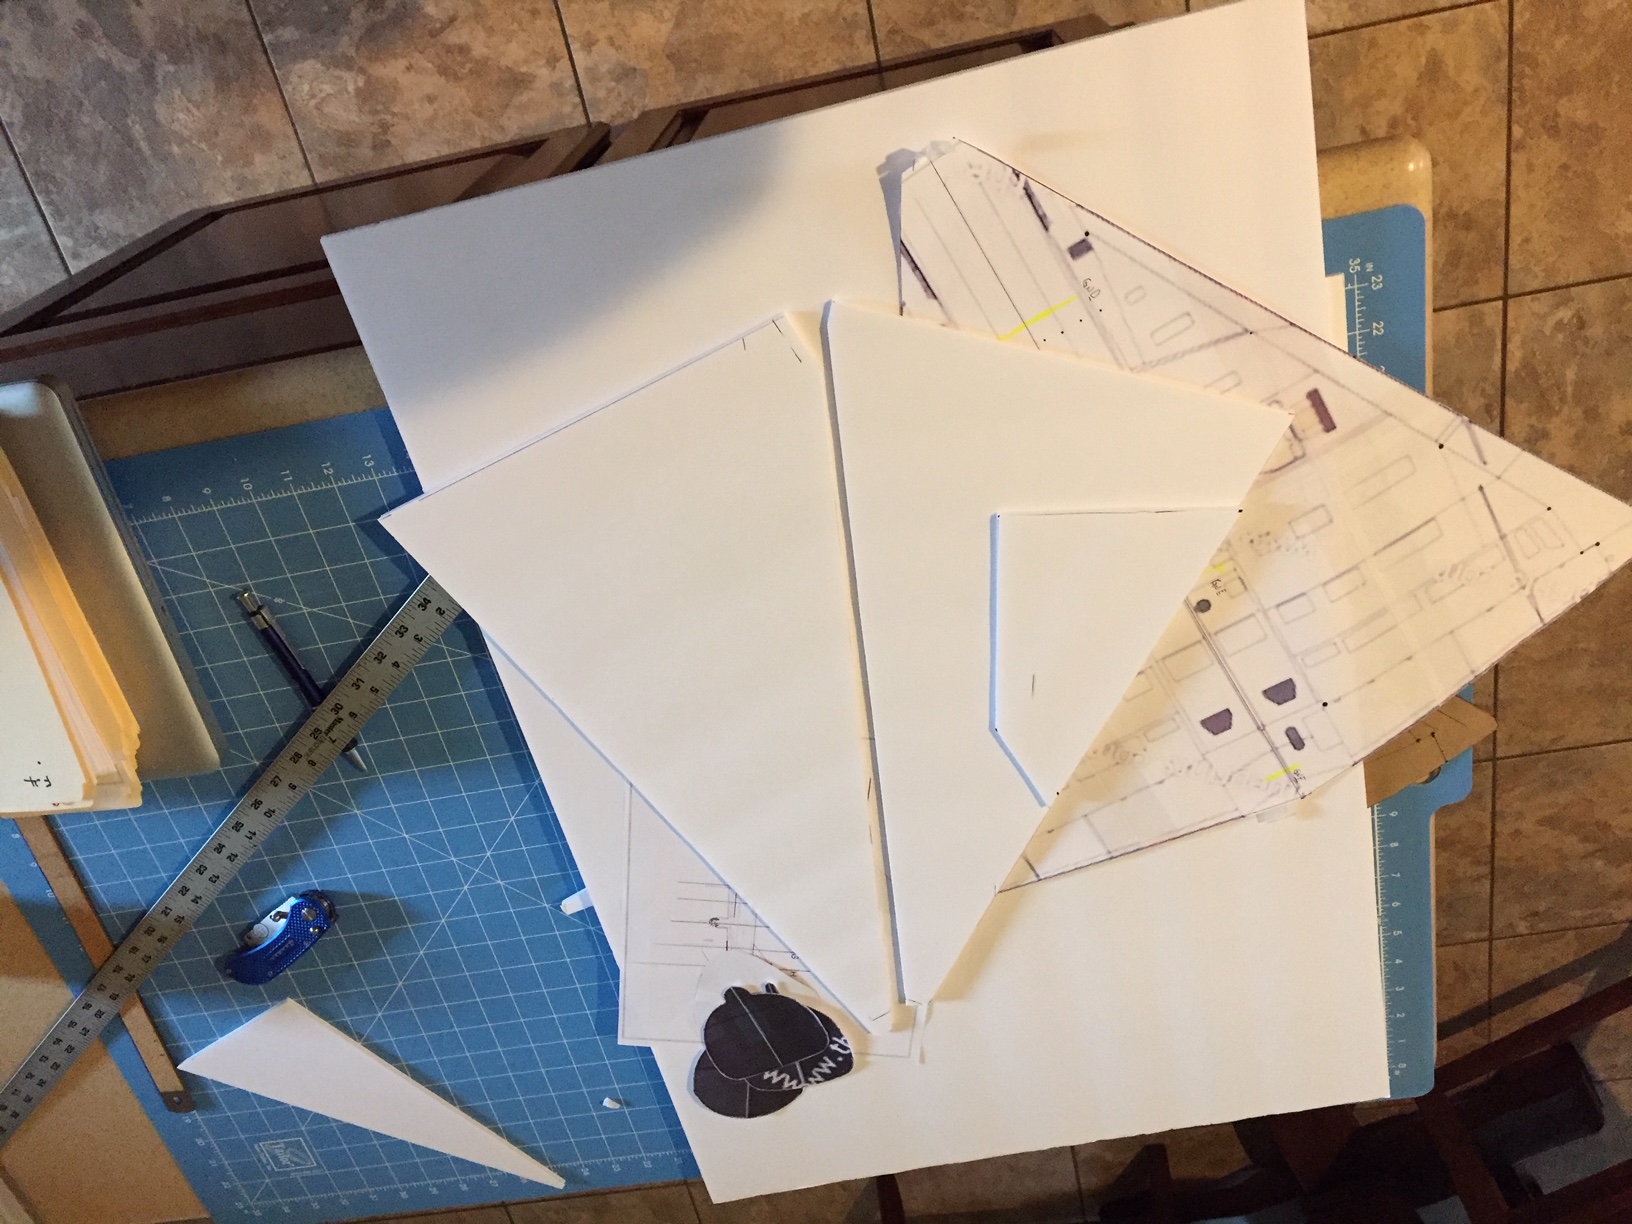
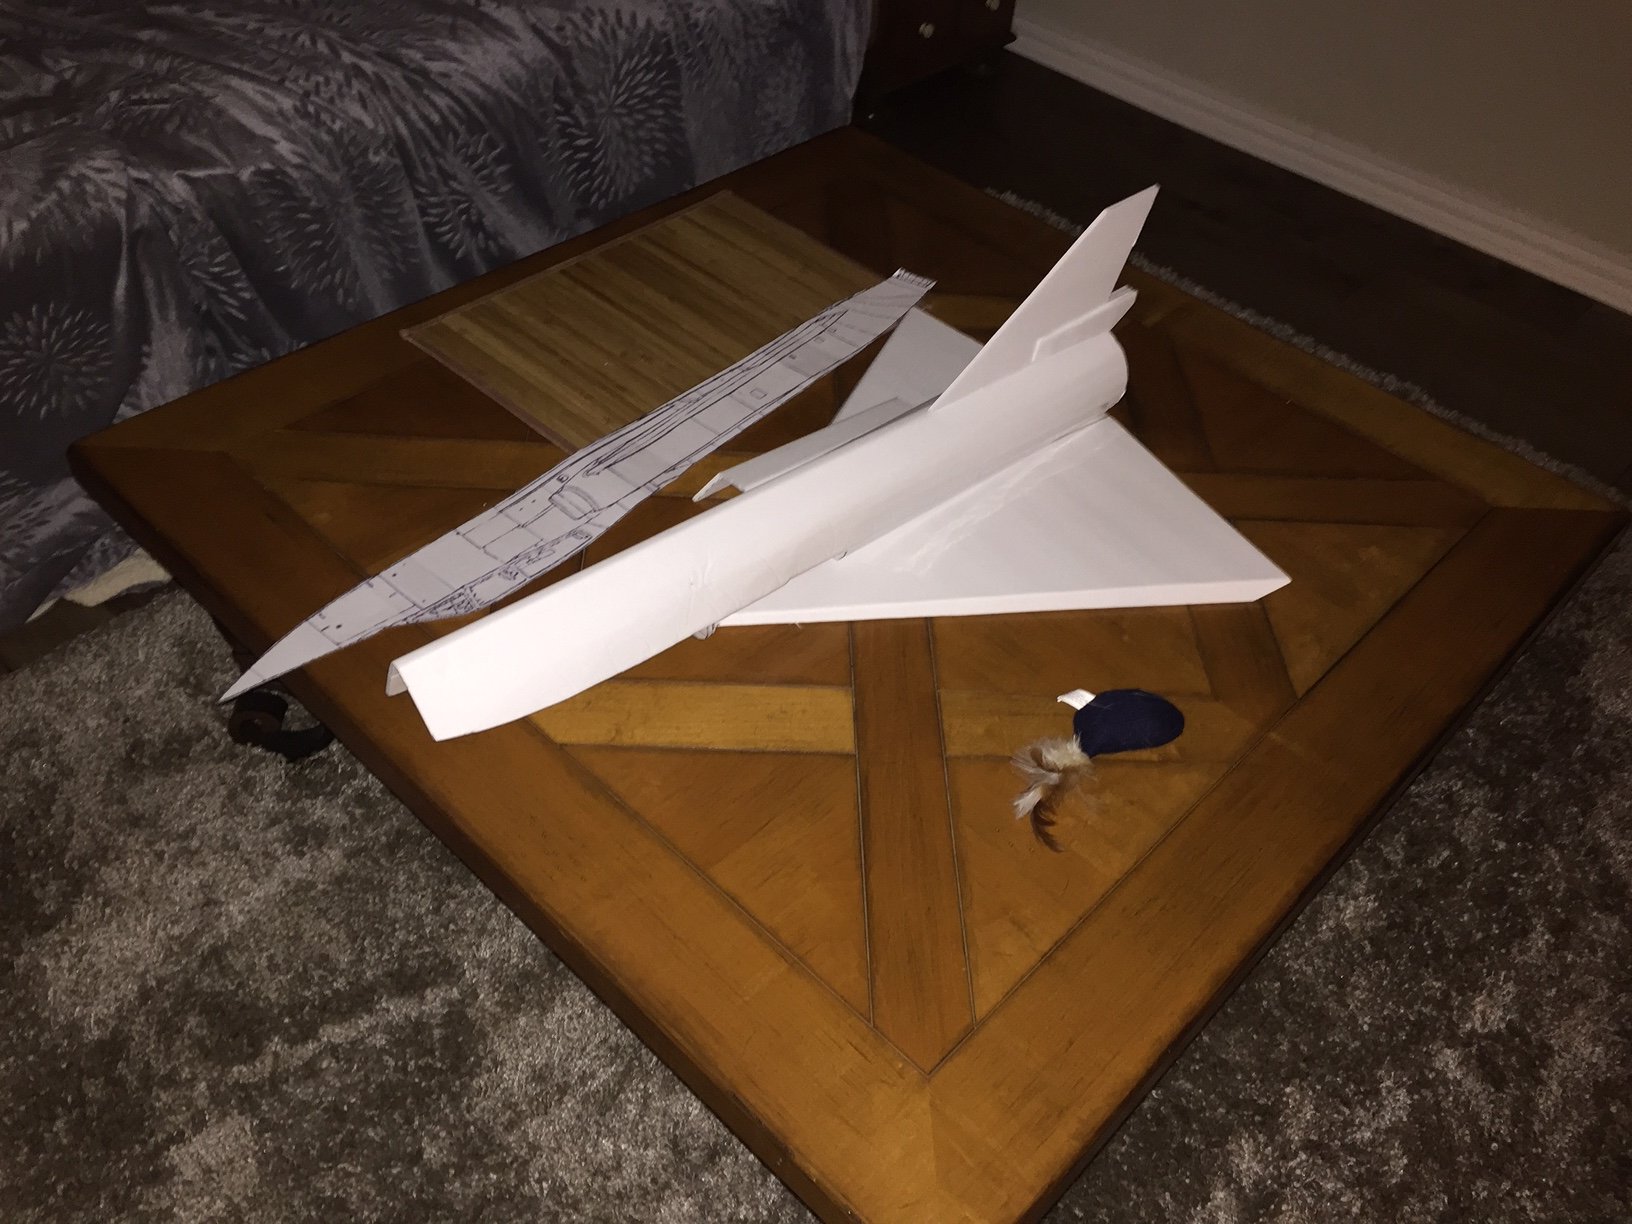
Will be looking forward to your 106 build!Great footageI will start mine right after you publish your plans. Since you use 12 sides to your fuselage I think the 90mm will need your plans. I will still make Sheriff's at 70MM. Thanks to all of you. It is helping me understand the bends creases needed for my F-106.