VISTA v2 - a slippery pitcheron

Wildthing

Legendary member
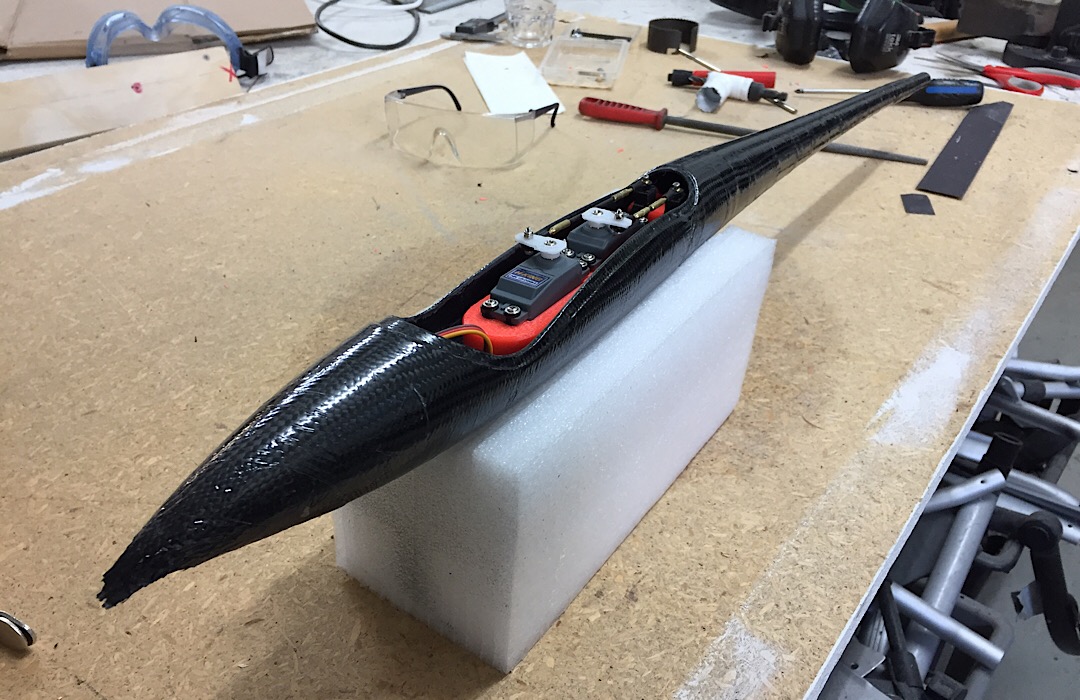
For the fuse I used a 50mm braided CF tube as the wrap - this allowed me to get around the thickest part of the fuse an almost to the end of the tail - the tail diameter was just a tad to small to the braided tube to reduce down to - I opted to add a smaller 15mm braided tube to finish the job - there is some overlap which will require a bit of sanding. :)

View attachment 174405 View attachment 174406

I think I should apply some of your technics to my combat planes, they just look bullet proof. :ROFLMAO::ROFLMAO::ROFLMAO::ROFLMAO::ROFLMAO::ROFLMAO:
 

bracesport

Legendary member
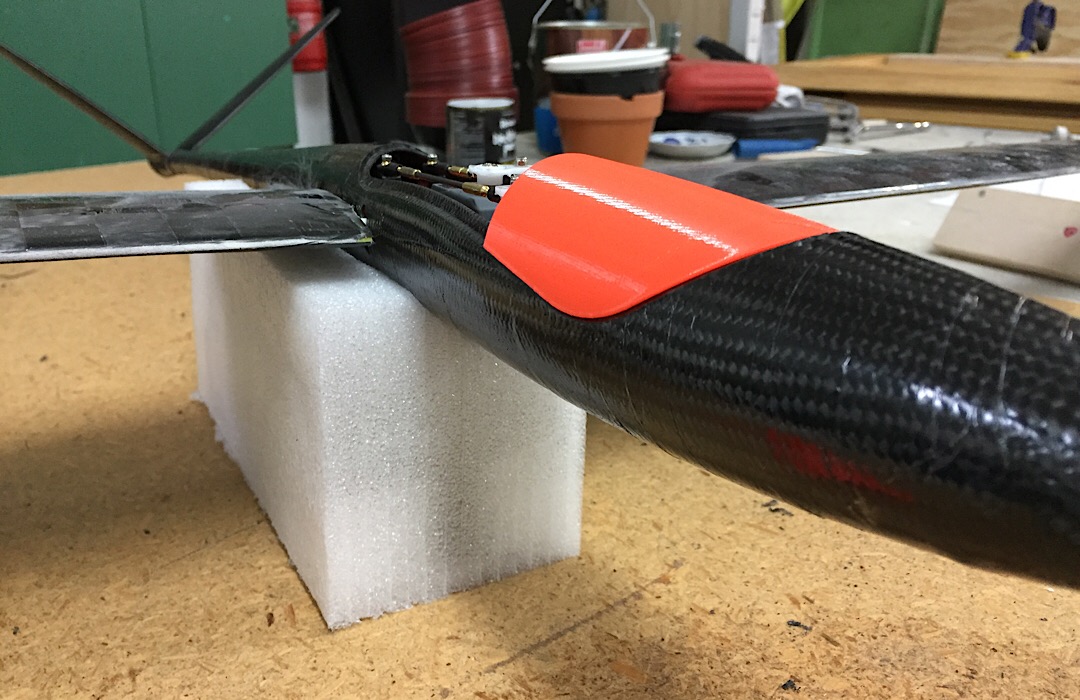
started cutting out the canopy hole - need to think about printing the canopy cover.

IMG_9695.JPG
 

bracesport

Legendary member
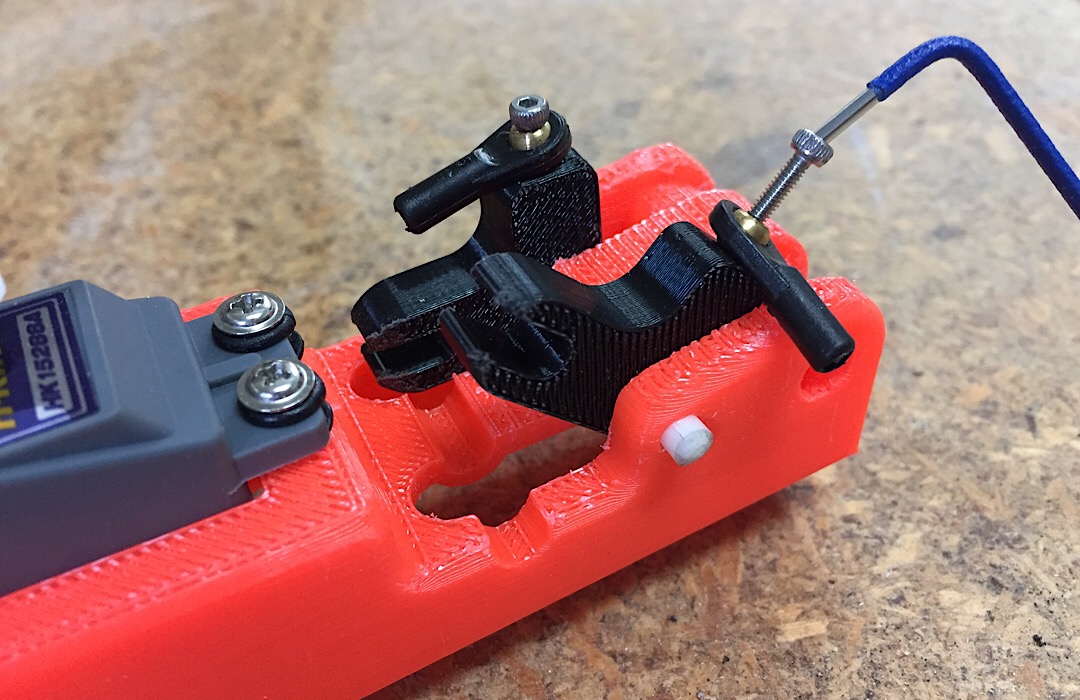
Time to dry fit the rotor assembly - the great thing about this design is the interior of the fuse is 3D printed, so the 3D printed rotor assembly mates perfectly with the fuse - If I did this again I would put a ridge into the bottom of the fuse to mate with a slot in the rotor assembly for a 100% alignment! :)

IMG_9694.JPG
IMG_9702.JPG
IMG_9707.JPG
IMG_9705.JPG
IMG_9706.JPG
 
Last edited:

bracesport

Legendary member
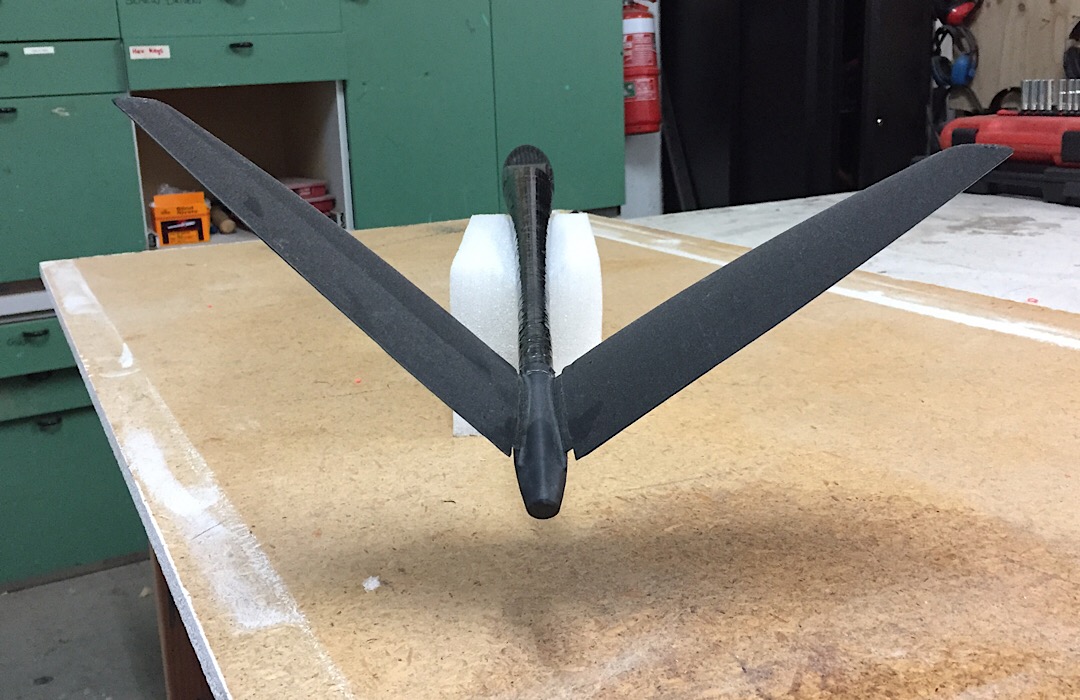
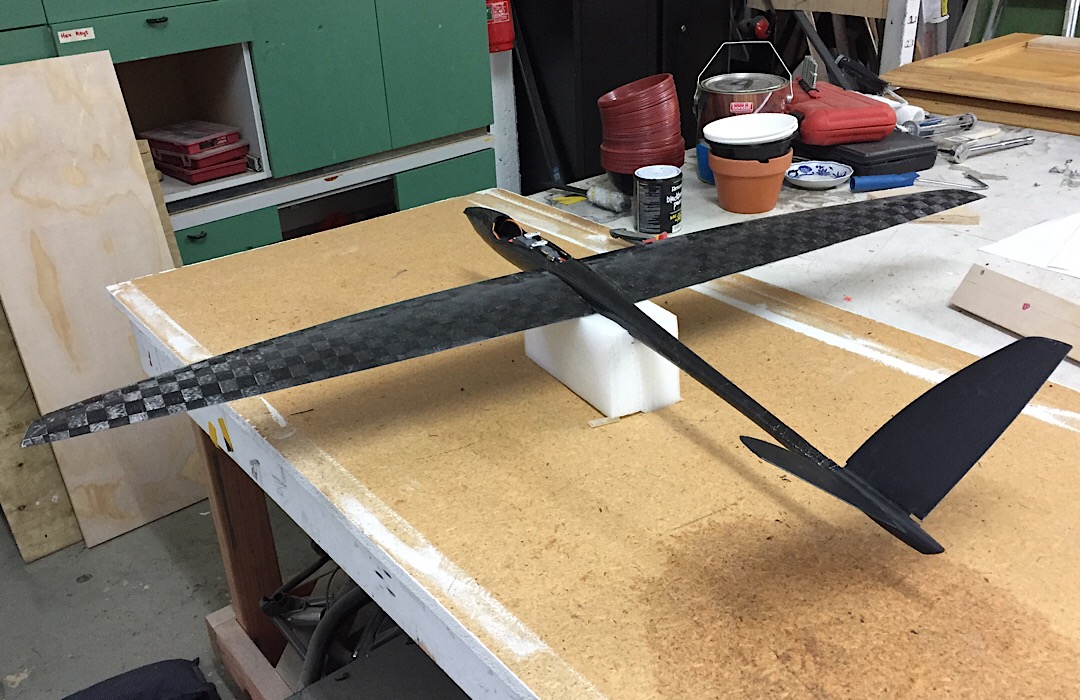
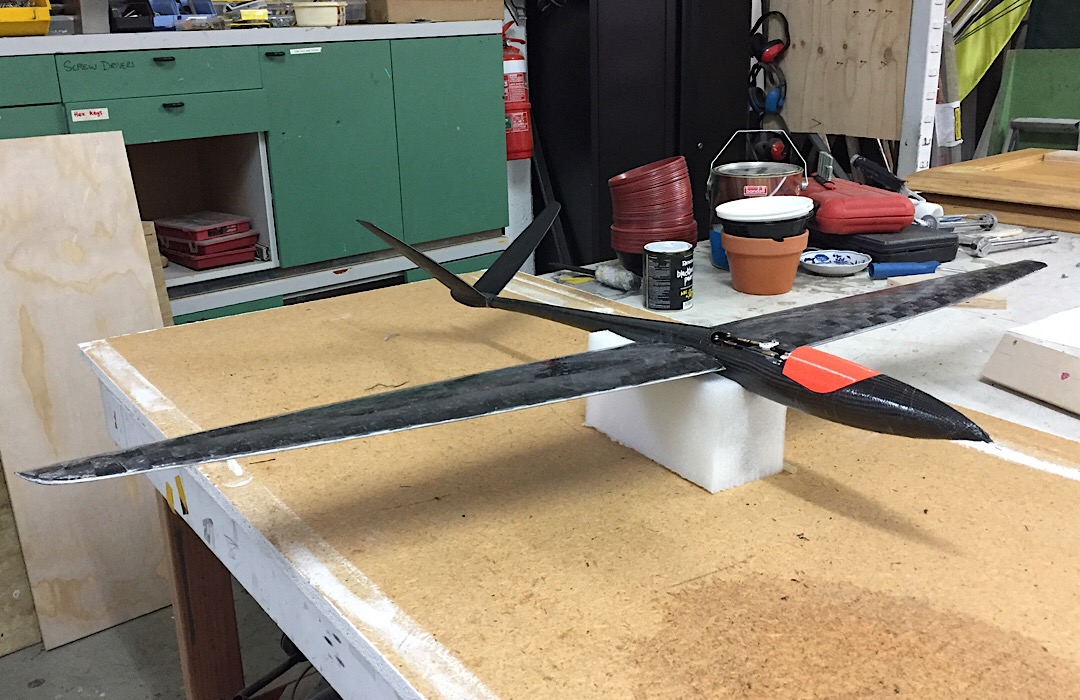
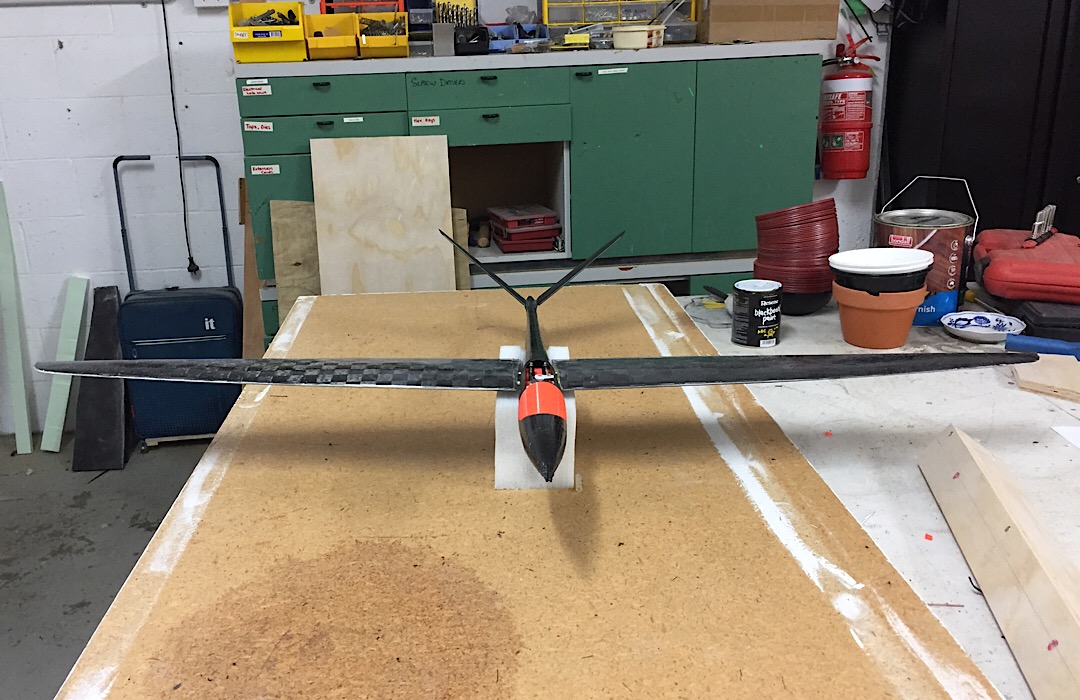
The wings turned out great (for a hand built job) - I dry fitted the rotor and wing rod with the slots all cut out and it looks good - working on the canopy as well (just a few tweaks to tidy the fit) - I think I will get it rigged up for a test flight before sanding and finishing.

Wings are 95g each! :)

IMG_9731.JPG
IMG_9733.JPG
IMG_9734.JPG
IMG_9732.JPG
IMG_9735.JPG
IMG_9736.JPG
IMG_9737.JPG
IMG_9738.JPG
 
Last edited:

bracesport

Legendary member
@jonoashton - high praise thank you, and yes, ahem, you should be the test pilot!

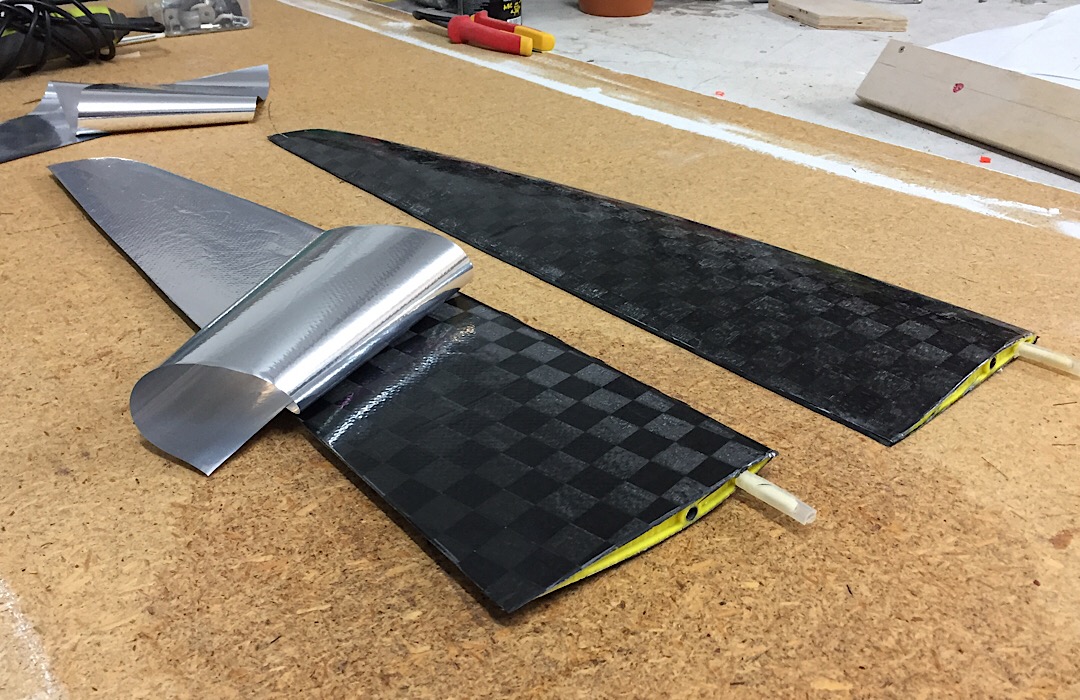
The vacuum is a dirty old food vac unit but I just used the vac line directly to the bag - with a one way valve you can blip the vac every once and a while - the bag is a foil/plastic laminate (thiner than mylar so the surface is not as good as mylar I imagine).

Everything needs a sand, but I thought maybe to test fly first (this is a surprise one to add to our early Aug catchup)! :)
 
Last edited:

Boberticus

Active member
Spectacular build.

Is the white strip on the front of the wings just exposed foam? is it easier to just leave that gap than to try and smooth out any wrinkle that would form there in the bagging skinning/process?

I'd assume that its covered in epoxy now and pretty strong compared to regular foam
 

bracesport

Legendary member
@Boberticus - the white strip at the front has a fibreglass strip around the LE - I probably should have left the leading edges of the CF a little longer to pull around further, but it looks worse than it is - the trailing edges are knife sharp!

The wings are light and stiff, especially given the internal sine wave spar (SWS). :)
 

The Hangar

Fly harder!
Mentor
The wings turned out great (for a hand built job) - I dry fitted the rotor and wing rod with the slots all cut out and it looks good - working on the canopy as well (just a few tweaks to tidy the fit) - I think I will get it rigged up for a test flight before sanding and finishing.

Wings are 95g each! :)

View attachment 174662 View attachment 174665 View attachment 174666 View attachment 174667 View attachment 174668 View attachment 174669 View attachment 174670 View attachment 174671
Wow, that looks so slick!!