Willy Nillies J3 Cub Build

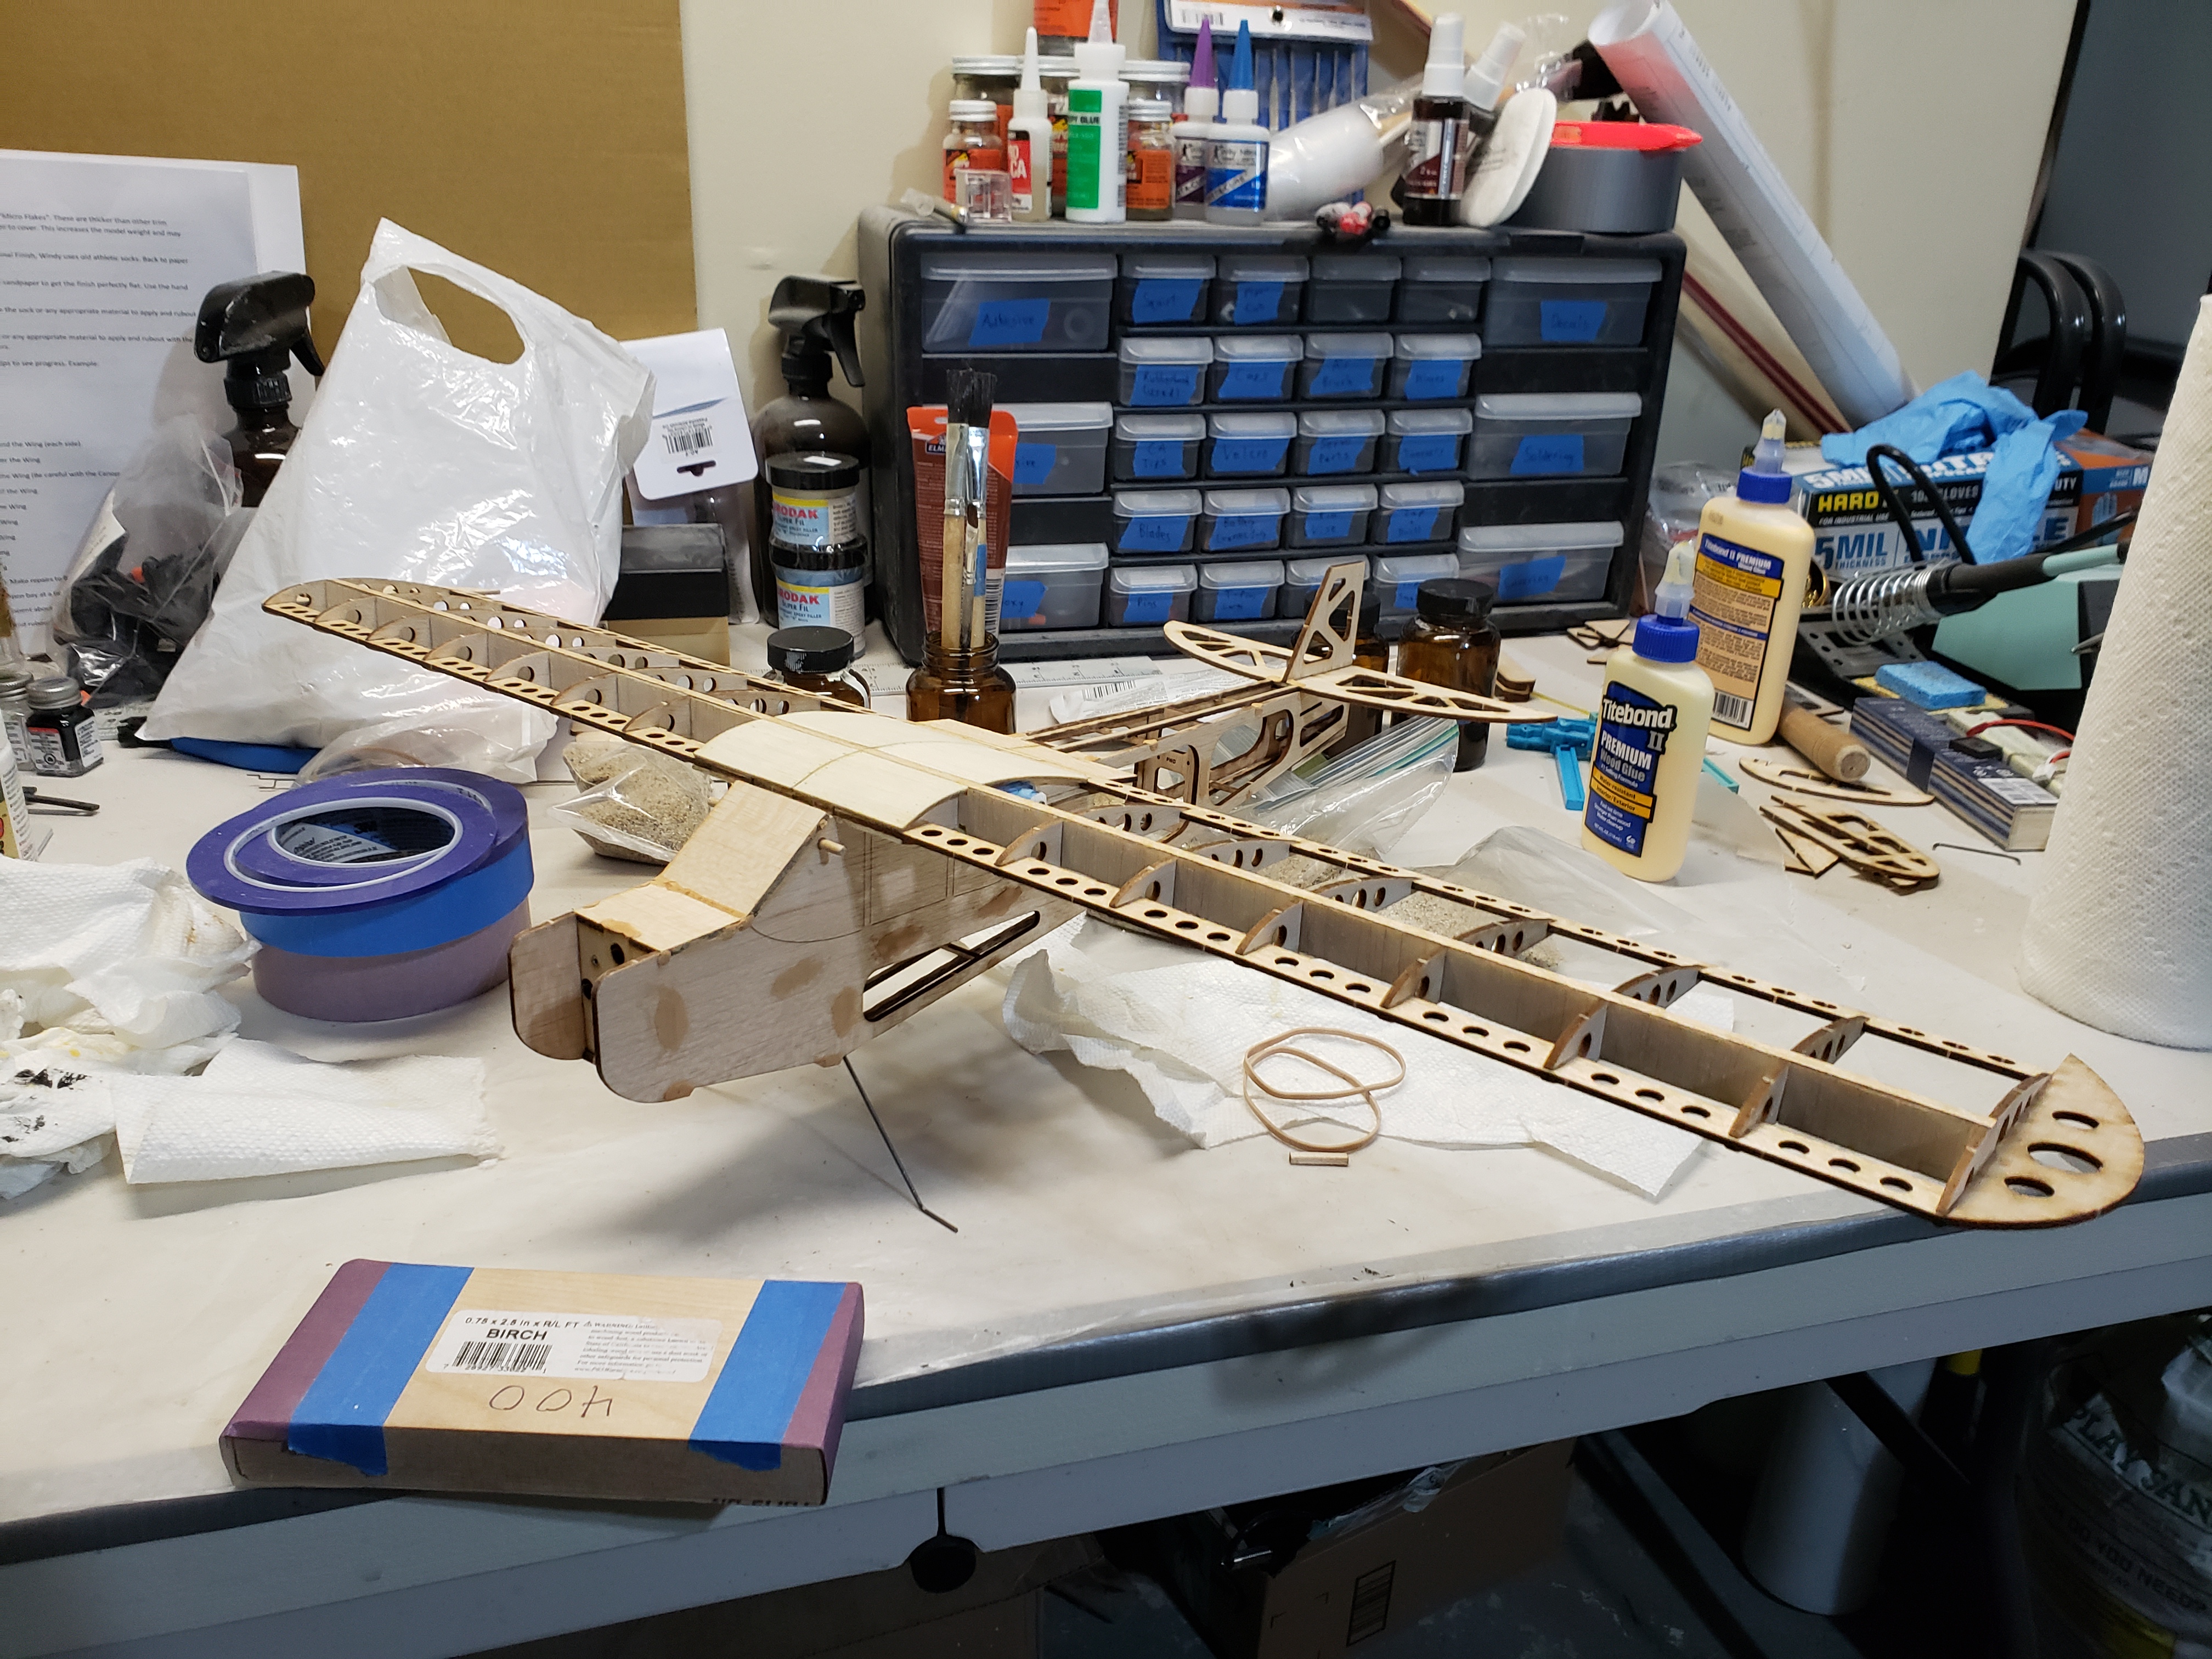
I've been waiting three months for a Piper Cub kit from Sig and since I had a week of downtime before I can finish my Eaglet 250, I went ahead and ordered a J3 Cub from Willy Nillies.

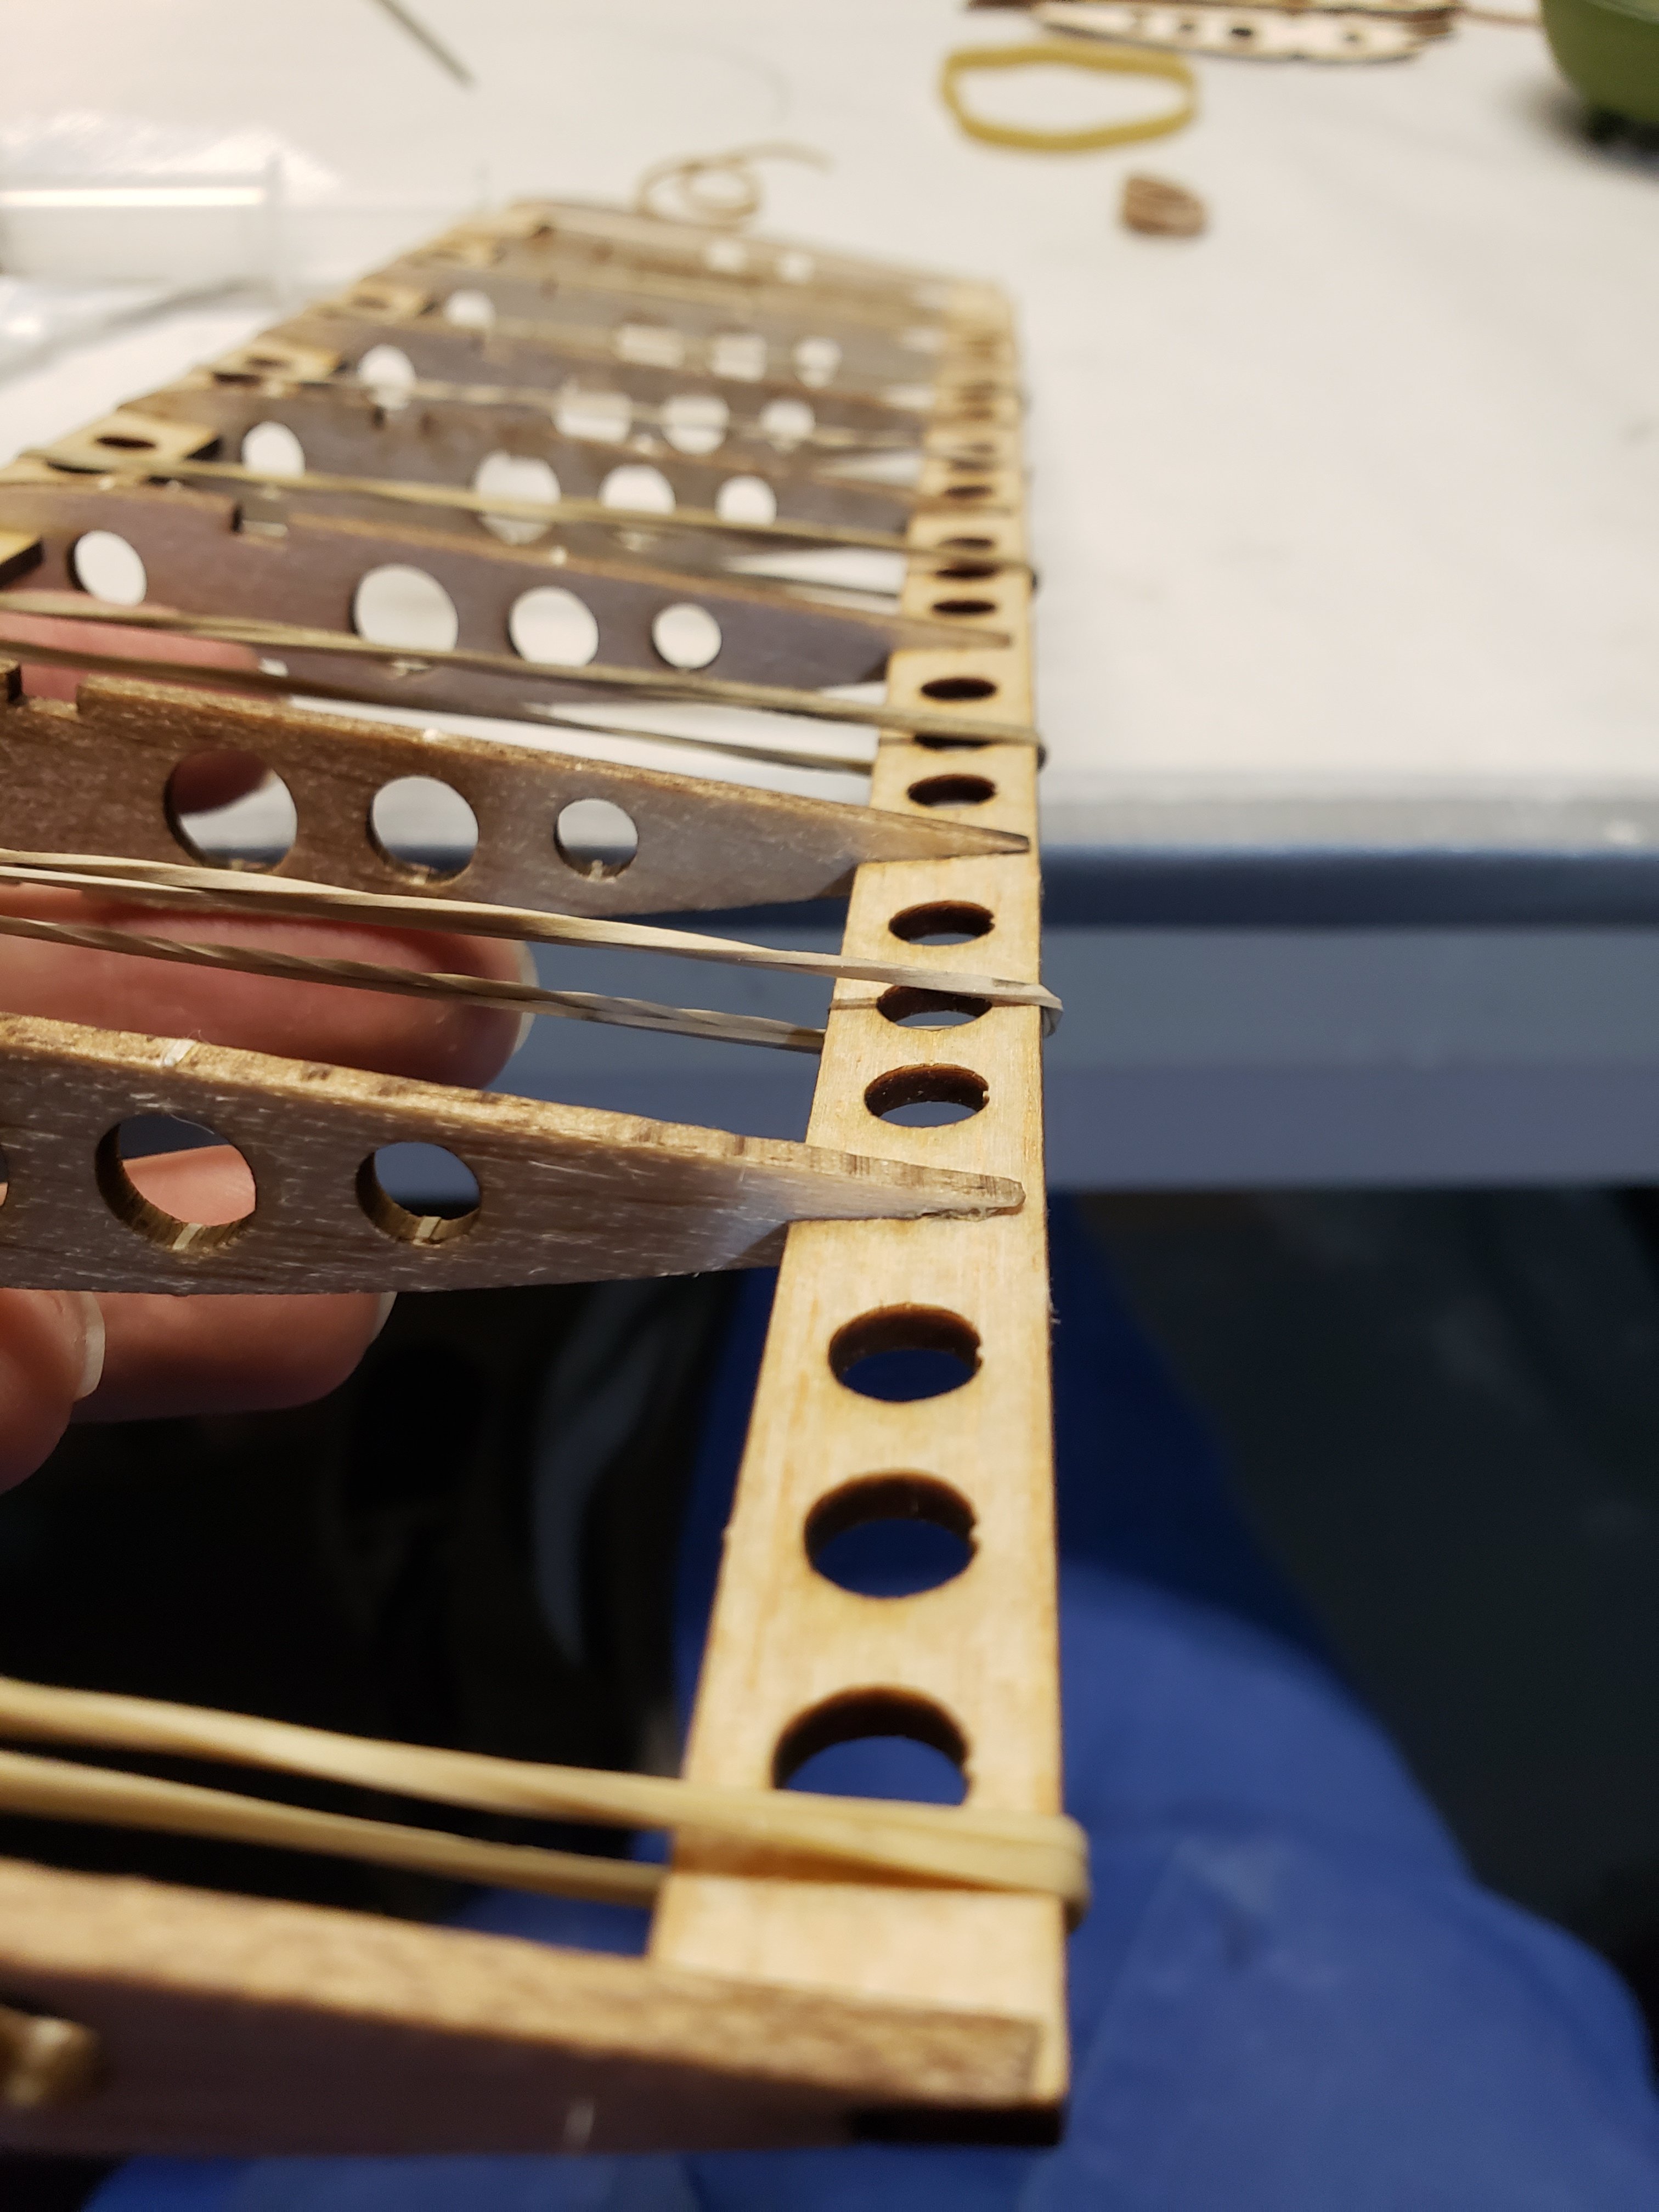
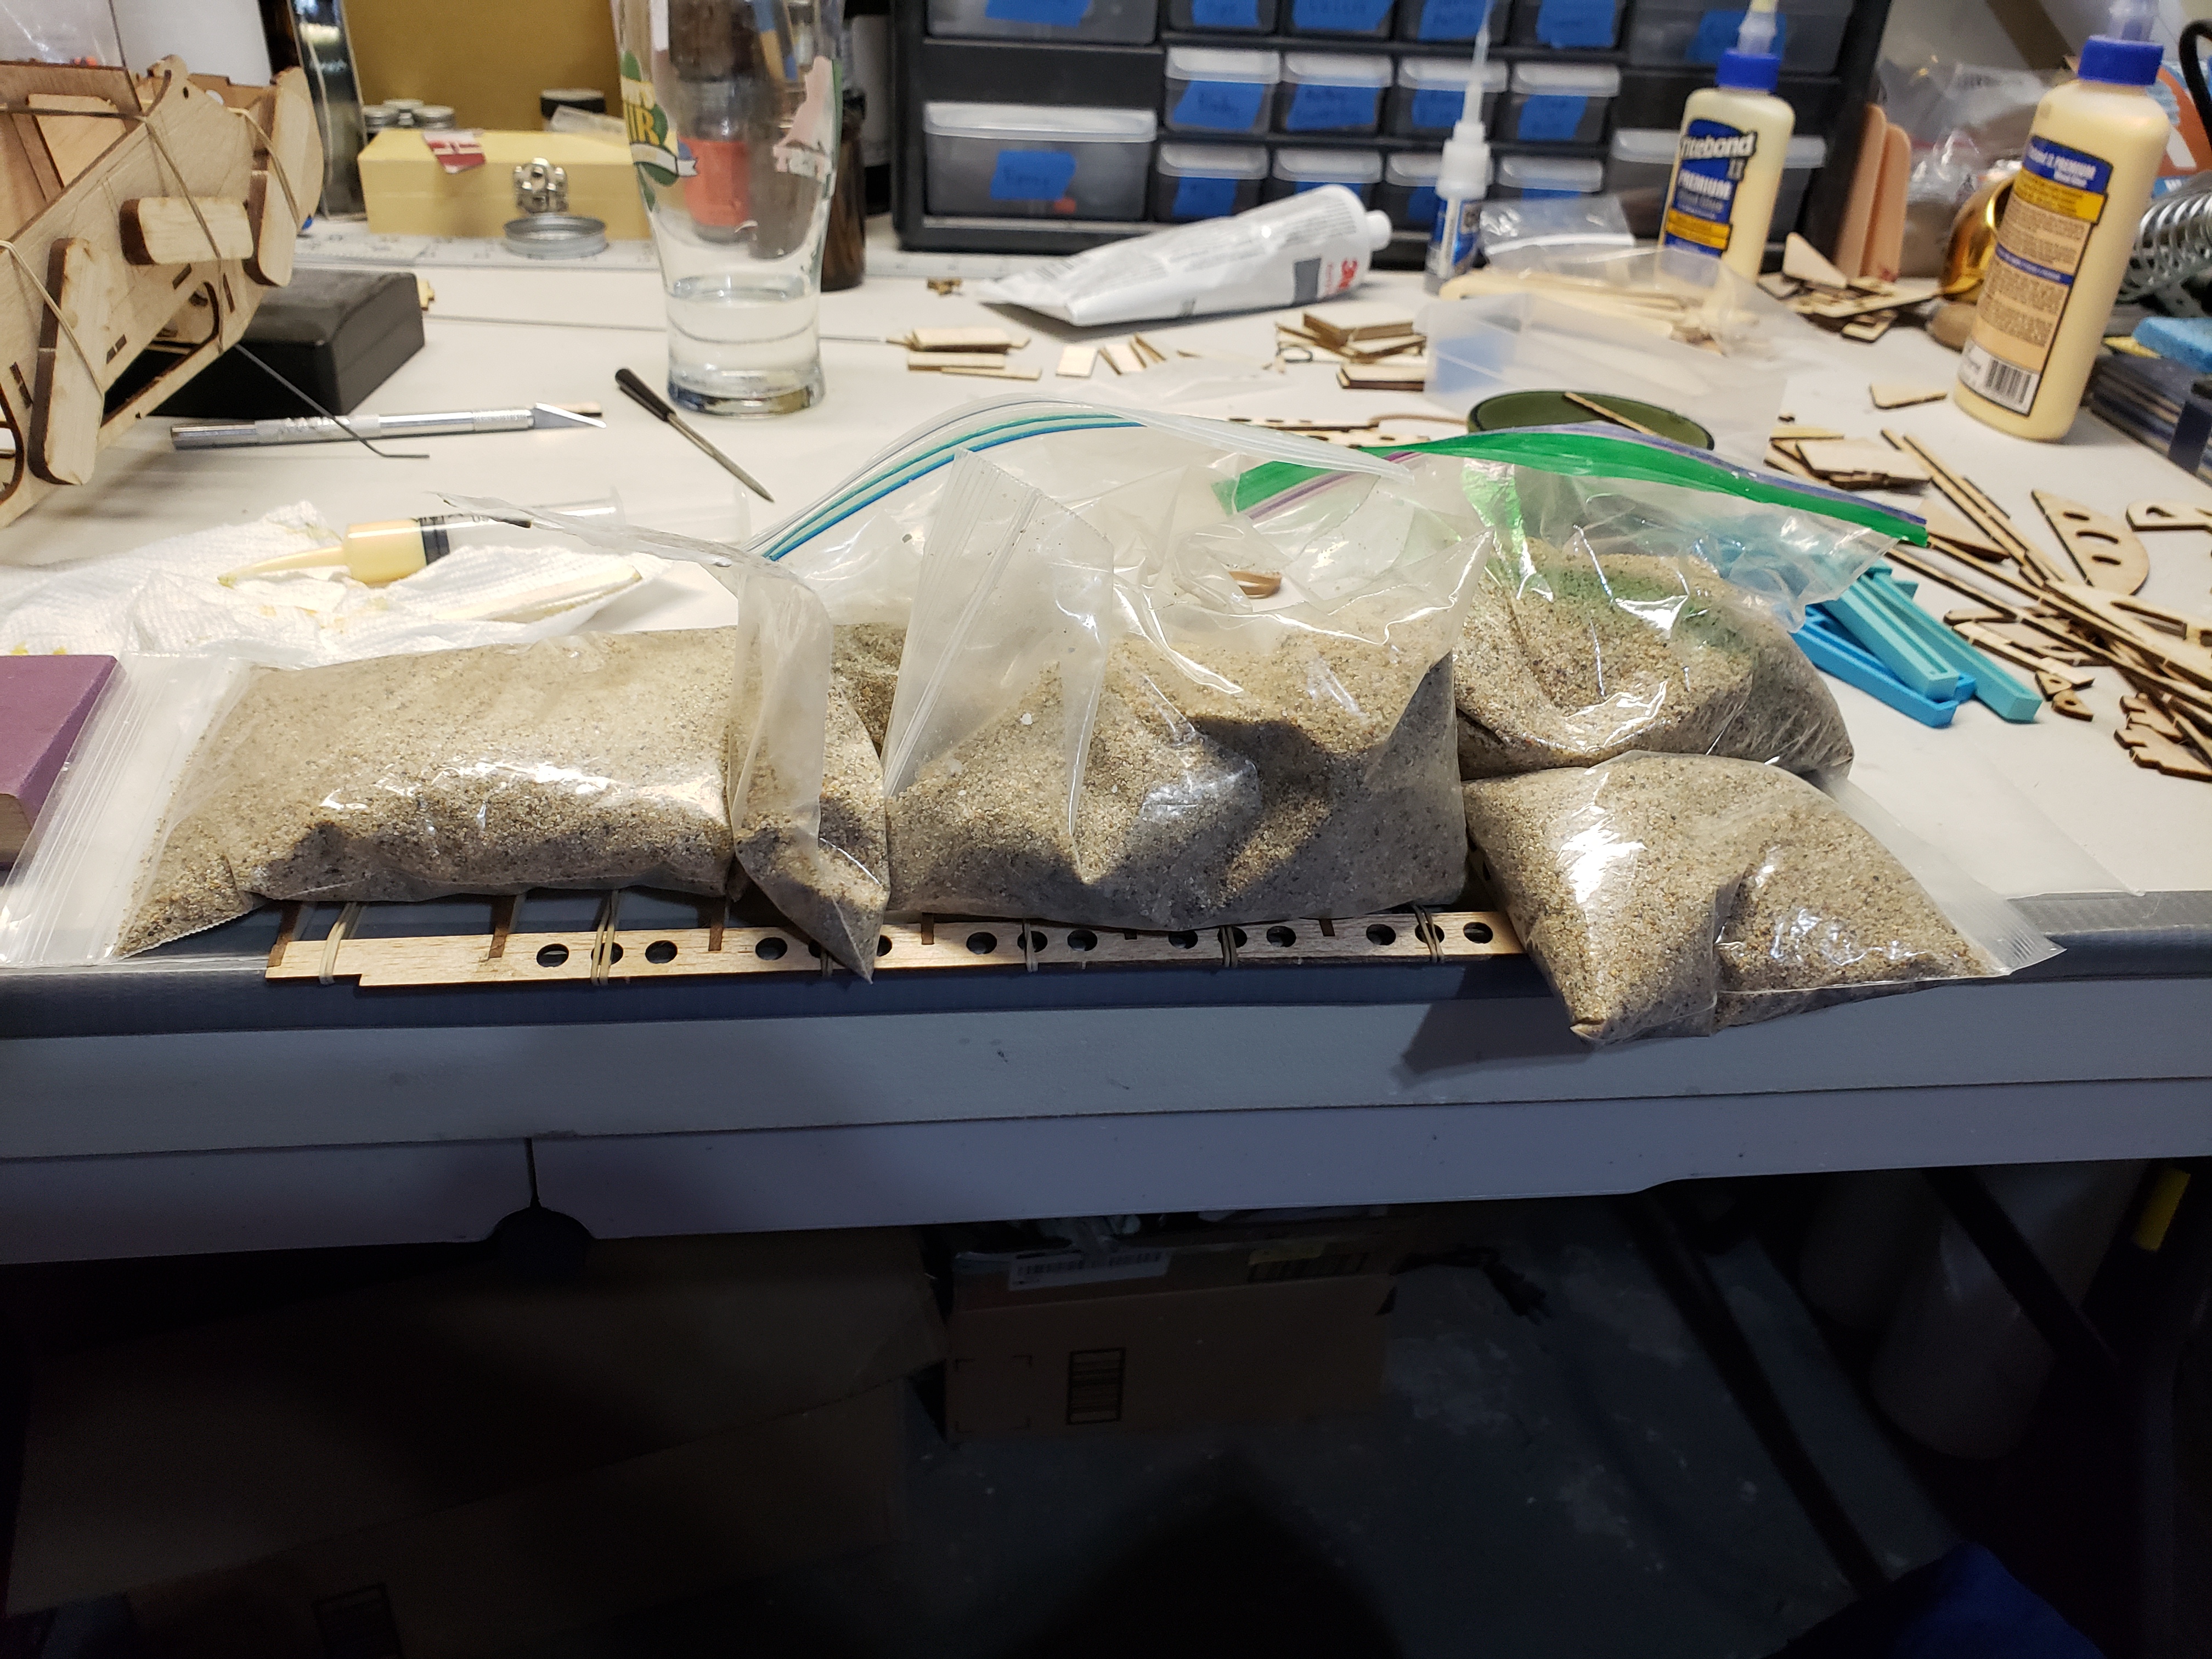
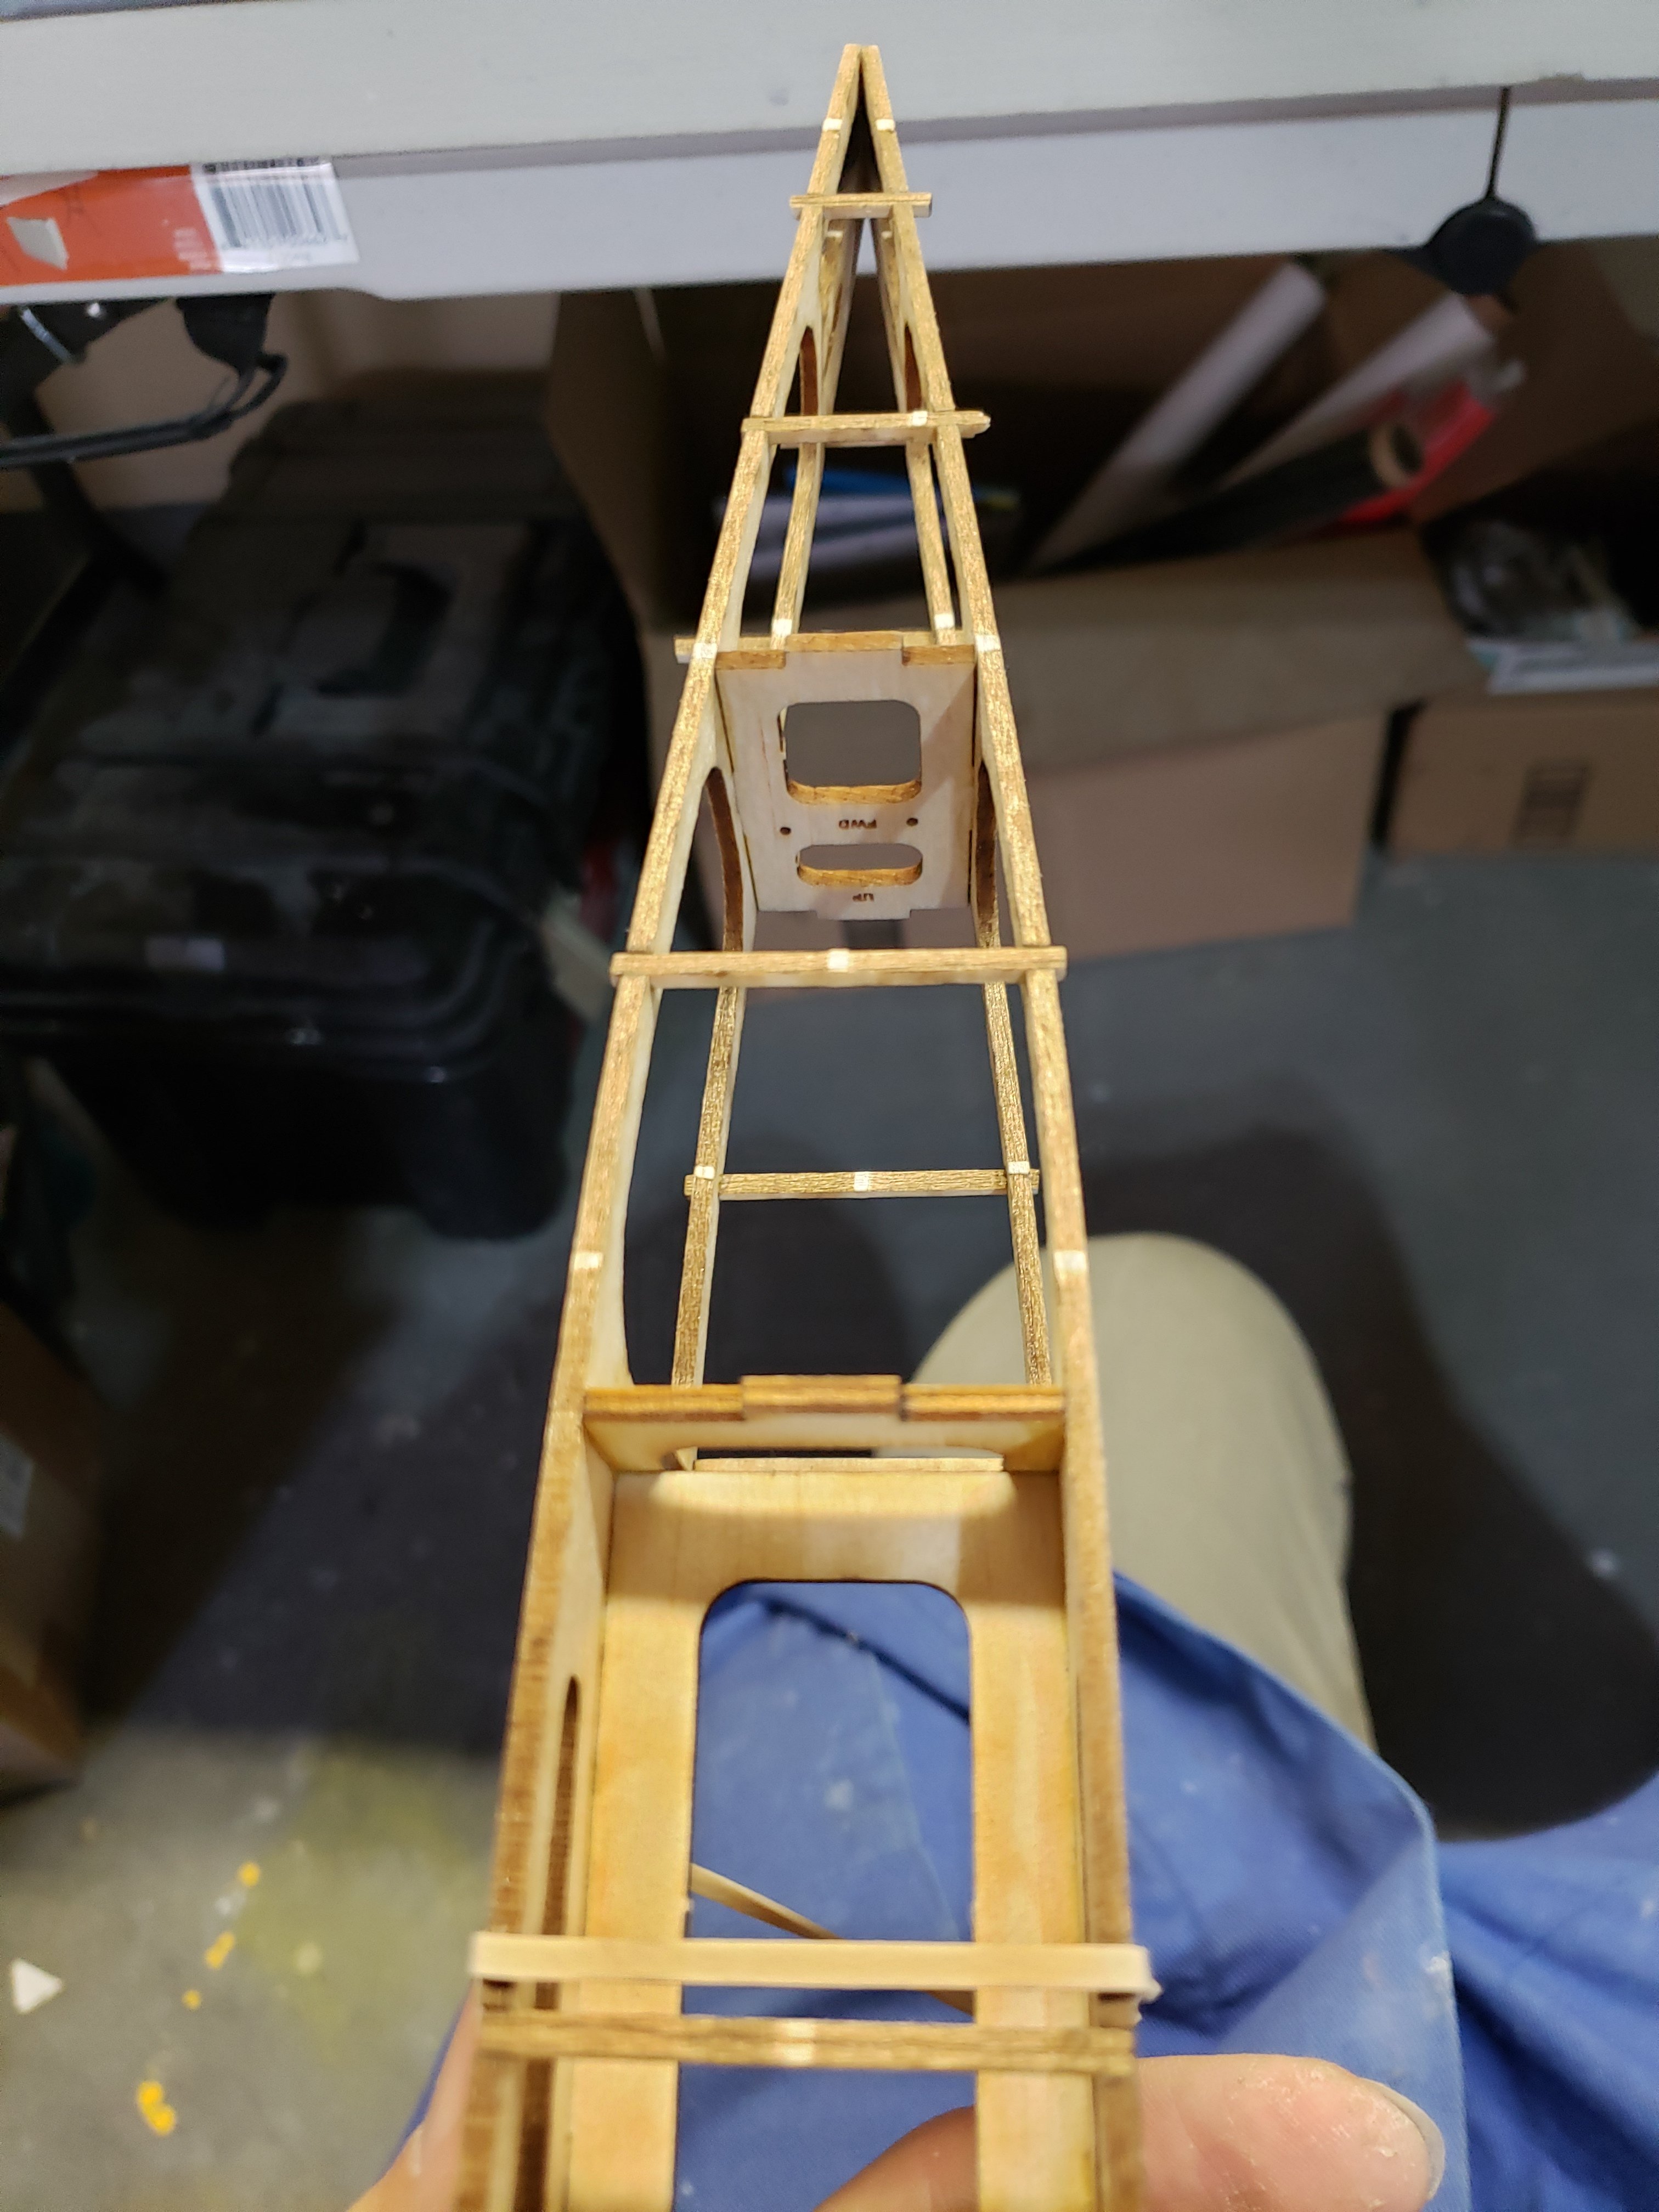
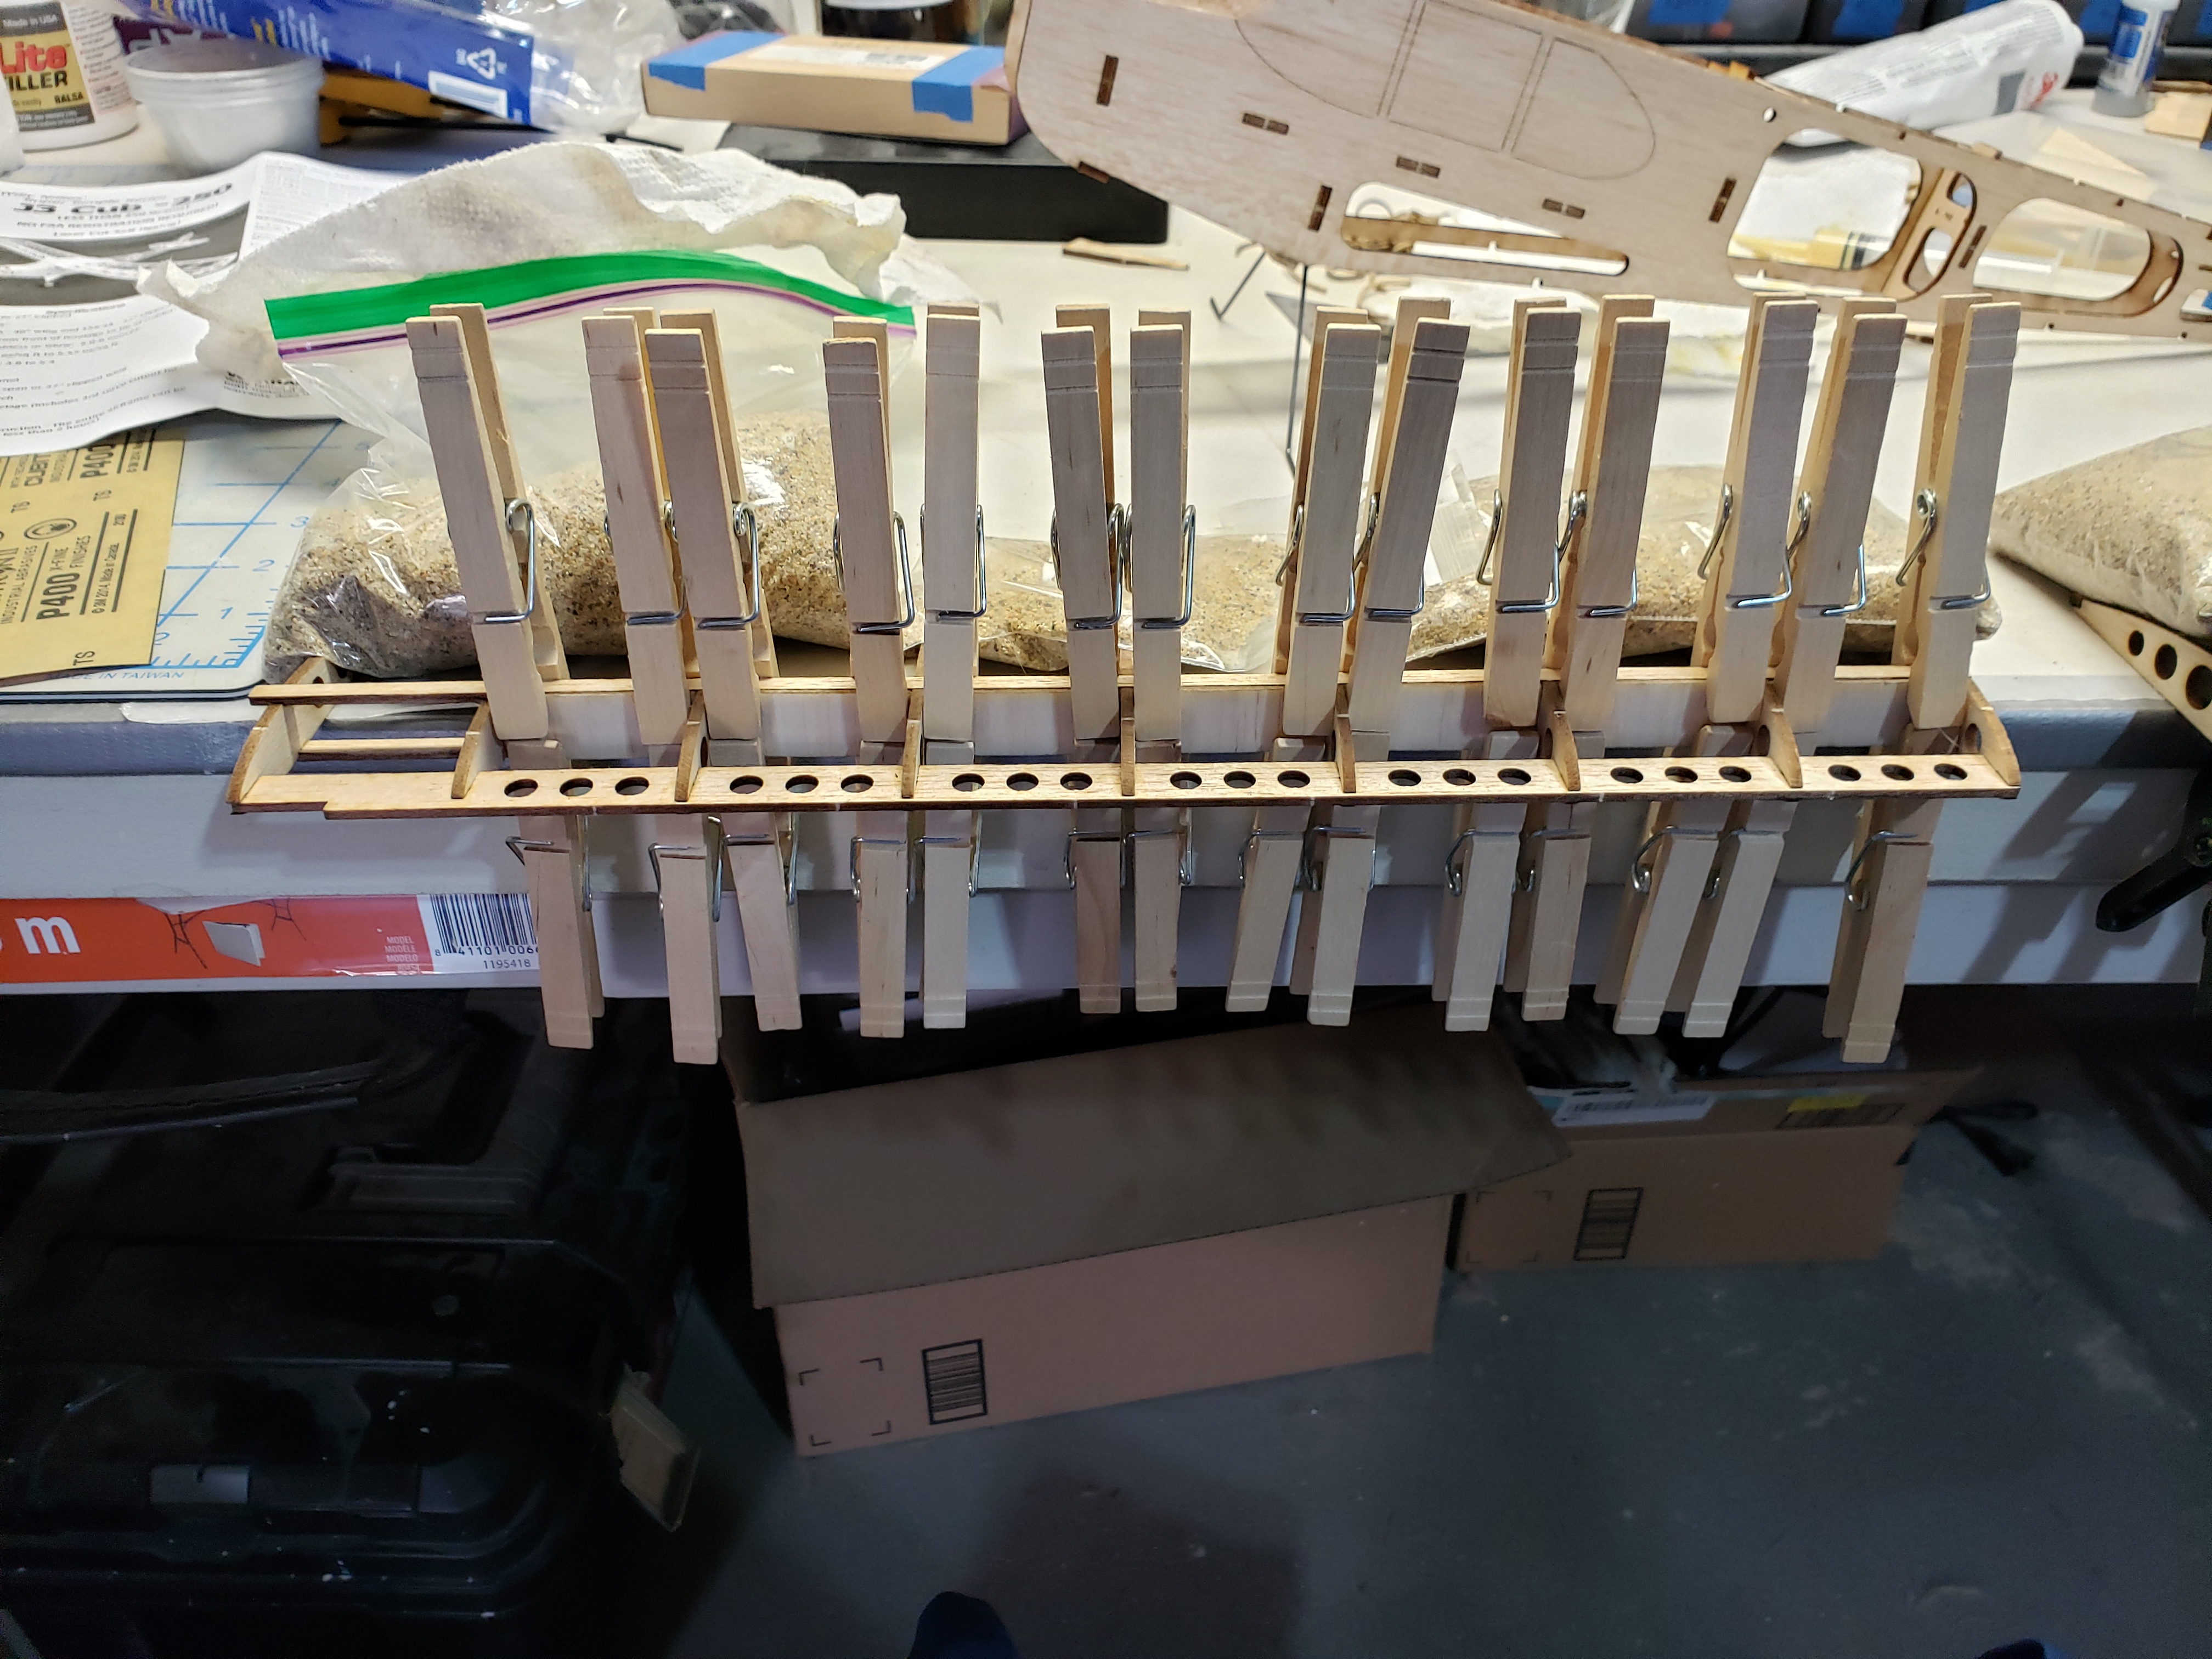
For the build, I prefer to use Titebond II which means I have to clamp and jig the parts for gluing.

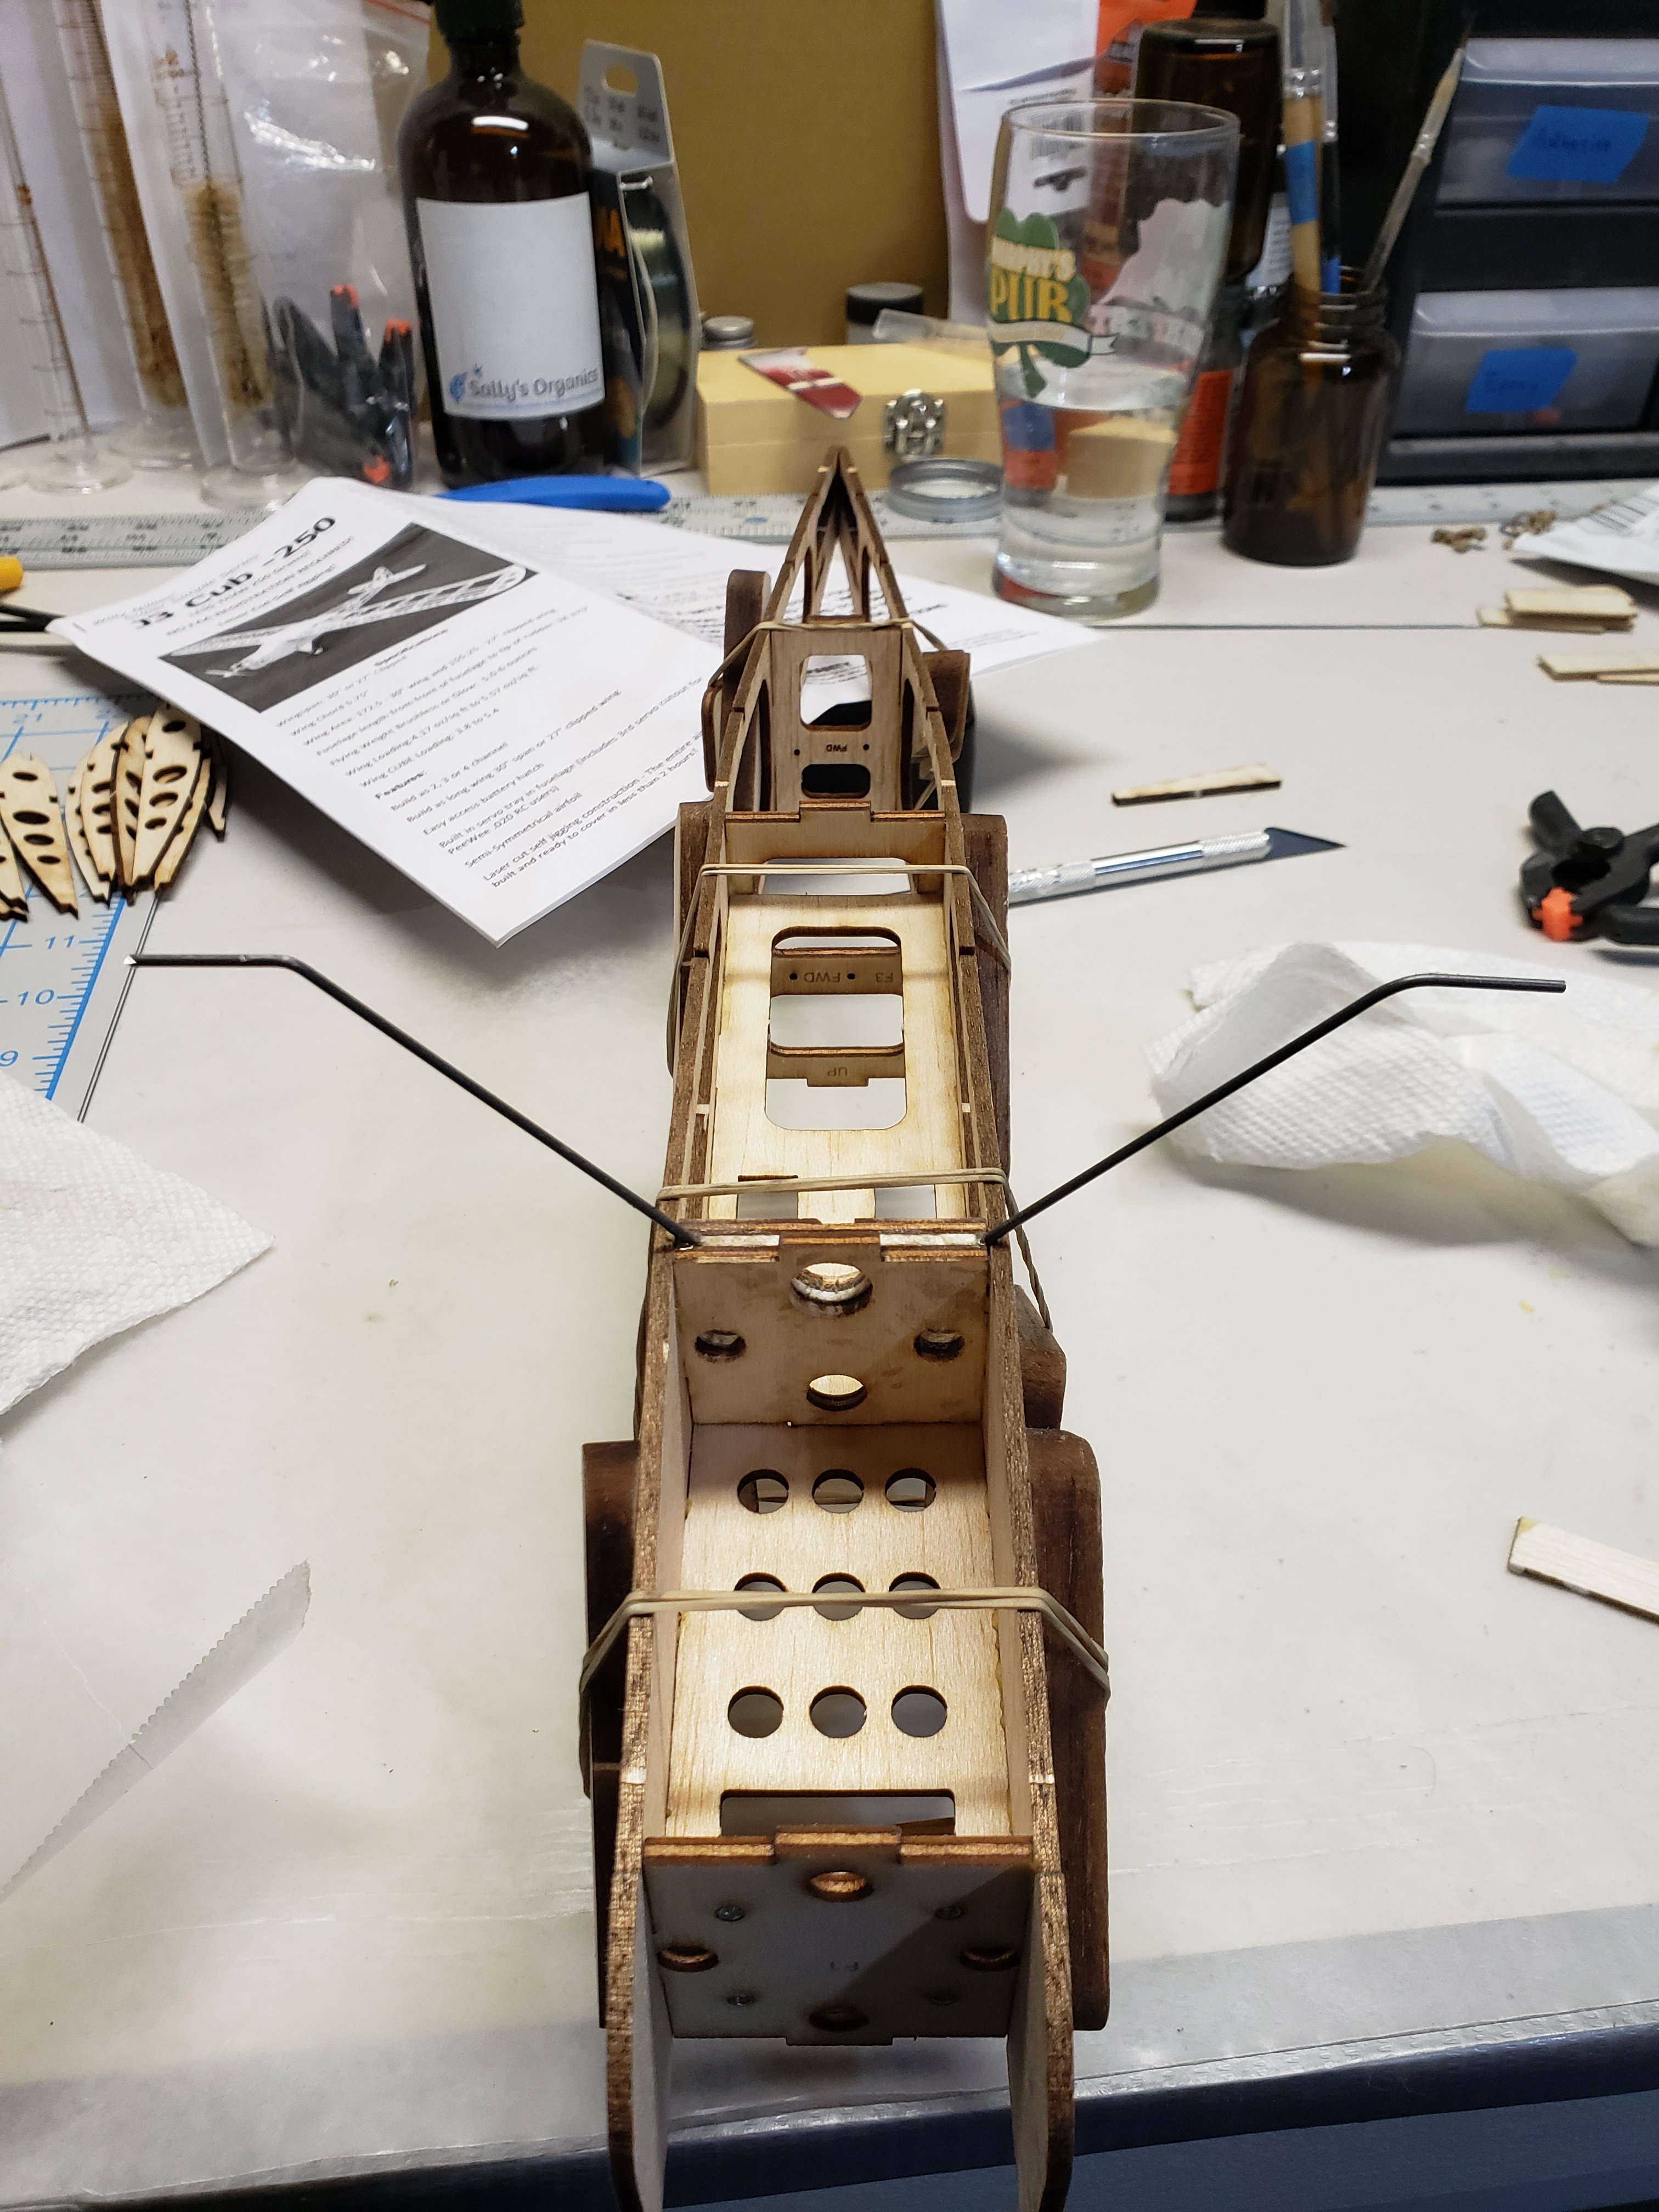
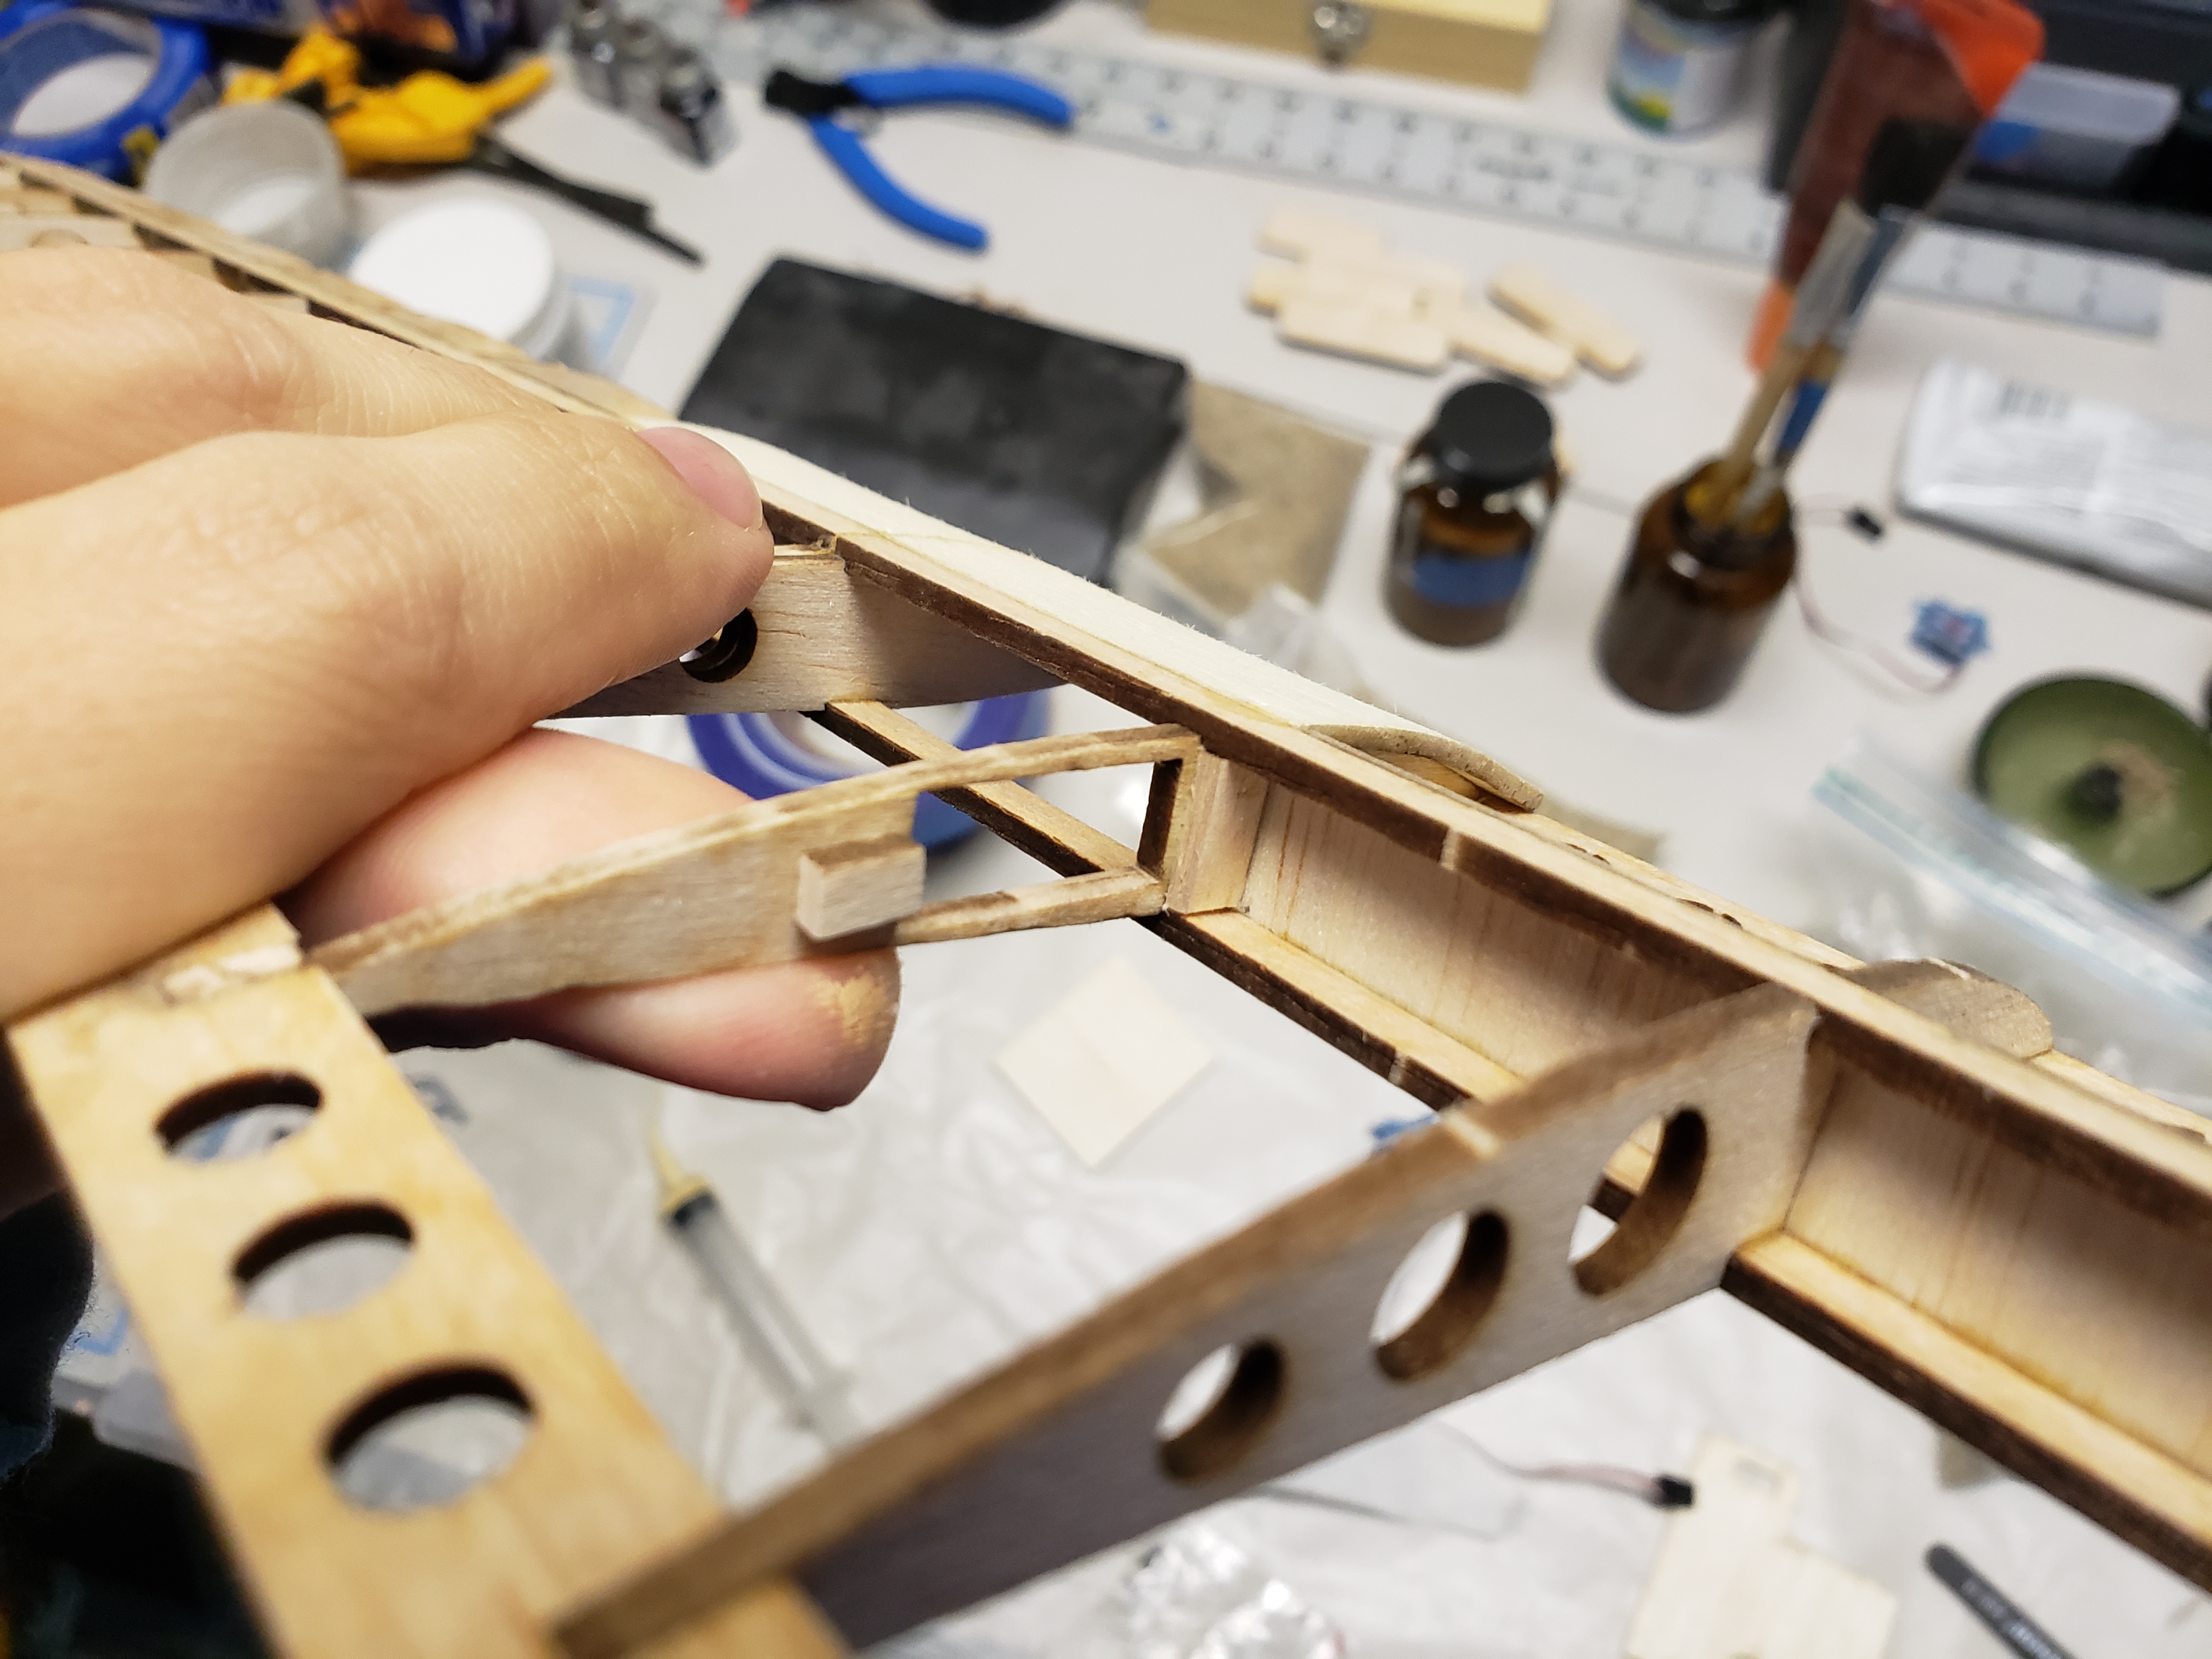
I noticed a few things that were improved with the subsequent Eaglet 250 kit. The first is that the Eaglet 250 has a balsa piece that is sandwiched by the two ply pieces for the main gear. The balsa piece helps fill the gap between the two ply but was not included in the Cub. So first step was to cut out one from scrap balsa, bend the music wire, and use epoxy to glue the four together.
 

Attachments

  • 20200321_163655.jpg
    20200321_163655.jpg
    1 MB · Views: 0
  • 20200321_164859.jpg
    20200321_164859.jpg
    2.5 MB · Views: 0
Last edited:
I installed the blind nuts on former one as it's easier to do before installation. I trial fitted the formers to the fuselage, applied glue, and the clamped them up using used rubberbands and scrap balsa (the scrap prevents the bands pressing dents into the model).

I used a scrap (I think it's scrap, can't see its use for now (EDIT: It's part of the battery hatch)) that matches the width of the forward formers to prop up the sides so the clamping won't break the balsa. The second former ishould be glued so that the main gear is to on the side toward the front of the plane (important, see below).
 

Attachments

  • 20200321_181230.jpg
    20200321_181230.jpg
    1.3 MB · Views: 0
  • 20200321_181244.jpg
    20200321_181244.jpg
    1.4 MB · Views: 0
  • 20200321_181315.jpg
    20200321_181315.jpg
    1.4 MB · Views: 0
  • 20200321_181256.jpg
    20200321_181256.jpg
    1.3 MB · Views: 0
Last edited:
While the fuselage sets, I moved to the wing. The trailing and leading edges have notched that are at the wing root. These are where the dihedral ply pieces go.

From the wing root, the first rib is the solid two hole rib followed by the servo rib. I did not remove the scrap balsa from the servo rib's cutout because it makes the rib too fragile when you try to force fit it into place. On the Eaglet, I removed the cutout and the rib collapsed when I was trying to push it into place. The rest of the ribs are the three hole variety.

The wing does not securely jig together like the fuselage. I found it best to glue the ribs into the leading edge, then do what I can to glue them to the trailing edge, and then use rubberbands to force the leading and trailing edges into place.

The trailing edge does not lie flat, but is angled. The three holes ribs have and edge that the trailing edge lies up against. The two hole ribs should lie flush with the trailing edge on the top side.

I glued in the top spar and then weighed it all down with sandbags so that the glue sets with the wing flat. I put the trailing edge off the bench so that the ribs will lie flush with the benchtop.
 

Attachments

  • 20200321_185104.jpg
    20200321_185104.jpg
    3.3 MB · Views: 0
  • 20200321_185113.jpg
    20200321_185113.jpg
    1.4 MB · Views: 0
  • 20200321_185045.jpg
    20200321_185045.jpg
    1.1 MB · Views: 0
  • 20200321_185056.jpg
    20200321_185056.jpg
    1.2 MB · Views: 0
  • 20200321_185454.jpg
    20200321_185454.jpg
    3.8 MB · Views: 0
Last edited:
Made my first mistake and I didn't check until after the glue set.

The landing gear goes on the side toward the plane's nose, not it's tail. I haven't actually found any photos of the battery hatch assembly but I puzzled it out.

So the hatch is constructed of four pieces. There are two small balsa pieces. One wraps around the nose tab of former 1 and the other wraps around the main gear at former 2. The hatch is a blank sheet with the tables former underneath. The tabless former is to wedge itself between former 1 and 2, forming a lip that fits underneath the nose wrapping piece to secure the hatch.

I can't turn former 2 around, but I cut two pieces of balsa sheet which I placed on the forward side of former 2. I sanded it down to a force fit with the tabless former.

In the meantime, I glued the bottom spar to the wing half and sandbagged it flat.
 

Attachments

  • 20200321_201827.jpg
    20200321_201827.jpg
    3.1 MB · Views: 0
  • 20200321_201823.jpg
    20200321_201823.jpg
    3.1 MB · Views: 0
  • 20200321_201813.jpg
    20200321_201813.jpg
    2.9 MB · Views: 0
  • 15848474356613672205934243421882.jpg
    15848474356613672205934243421882.jpg
    3 MB · Views: 0
  • 20200321_204530.jpg
    20200321_204530.jpg
    2.7 MB · Views: 0
  • 20200321_204547.jpg
    20200321_204547.jpg
    3.1 MB · Views: 0
Last edited:
Then to end the night, I glued the ribs and spars on the other wing half, added these doublers to the inside of the forward dowel holes on the fuselage, and assembled the dummy engines. I started applying sanding sealer to the dummy engines in anticipation of painting them.

That leaves the wingtips, wing sheers, wing sheeting, wing servos, the top fuselage sheets, the fuselage stringers, and the tail cap.
 

Attachments

  • 20200321_211709.jpg
    20200321_211709.jpg
    3.1 MB · Views: 0
  • 20200321_221120.jpg
    20200321_221120.jpg
    3.2 MB · Views: 0
Last edited:
Looking great so far! I've only built little guillows models so this will be a good learning experience for me.:D
I bought a Guillows kit as a kid, not really knowing what it was but, hey, it was an airplane kit under five bucks. My dad built them as a kid so he told me if I really wanted to build a kit like that he'd go ahead and get me a Goldberg trainer. He was right, those Guillows, especially the die cut ones, are tougher than most rc plane kits.

I did a quick look for Cub build threads but I was surprised that there was only the video montages. I figured someone would benefit from static photos. Would have saved me the trouble on that former two and battery hatch. The angling if the trailing edge on the wing is not clear either because the tails of the ribs don't really force the trailing edge to jig in a certain way.
 

BATTLEAXE

Legendary member
Made my first mistake and I didn't check until after the glue set.

The landing gear goes on the side toward the plane's nose, not it's tail. I haven't actually found any photos of the battery hatch assembly but I puzzled it out.

So the hatch is constructed of four pieces. There are two small balsa pieces. One wraps around the nose tab of former 1 and the other wraps around the main gear at former 2. The hatch is a blank sheet with the tables former underneath. The tabless former is to wedge itself between former 1 and 2, forming a lip that fits underneath the nose wrapping piece to secure the hatch.

I can't turn former 2 around, but I cut two pieces of balsa sheet which I placed on the forward side of former 2. I sanded it down to a force fit with the tabless former.

In the meantime, I glued the bottom spar to the wing half and sandbagged it flat.
This is looking really sharp, not your first balsa rodeo
 
Starting again this morning, I installed the stringer supports. There are two rectangular balsa pieces that act as supports. One goes on the top, aft of former three. It's placed horizontally so that it does not obstruct the dowel hole. The second is on the bottom, aft of former two. Since I mistakenly placed the main gear aft, I do not need this support. I just had to sand down the balsa and ply edges to conform with the slope of the body.

Next are seven stringer supports that run in the notches on the top and bottom edges of the fuselage. Note, there six stringer pieces for this. You need to cut one in half to use for the aft most two stringer supports.

While those were setting, I installed the two sheets that form the windscreen and top cowl sheeting, sanding the bottom edge of the windscreen to fit flush. I couldn't clamp the windscreen so I tacked it down with thin CA while the Titebond set.

Finally, I am attaching the stabilizers before covering. The horizontal stabilizer has a gap forwards that coincides with the top, aft most stringer support. The top stringer rests against the outer sides of the former tabs and comes to a rest in the corner of this gap as shown. It should be flush with the top of the stabilizer when resting on the edge of the fuselage. I used that to fix the forward position of the horizontal stabilizer.
 

Attachments

  • 20200322_105952.jpg
    20200322_105952.jpg
    1.4 MB · Views: 0
  • 20200322_105958.jpg
    20200322_105958.jpg
    1.3 MB · Views: 0
  • 20200322_115610.jpg
    20200322_115610.jpg
    1 MB · Views: 0
  • 20200322_115550.jpg
    20200322_115550.jpg
    1.1 MB · Views: 0
  • 20200322_121831.jpg
    20200322_121831.jpg
    1.5 MB · Views: 0
  • 20200322_123223.jpg
    20200322_123223.jpg
    1.3 MB · Views: 0
Last edited:
For the wing, I installed the wingtips using thin CA, matching the leading and trailing edges along the side. The wingtip extends past the trailing edge to cover the aileron.

The webbing was installed, again using sandbags to keep the wing flat. There are sixteen pieces of webbing, but you do not install them between the center and servo ribs as the webbing interferes with the fit of the sheeting. You may also want to exclude the webbing between the servo and its outer neighbor as you will need to sand down the sheeting a bit to fit otherwise.

Finally, I cut and sanded the spar flush and glued the center ribs together. I am doing a flat dihedral so I don't need to worry about sanding an angle into the ribs. I installed the ply dihedral supports, with the ply sheets running in the horizontal plane. I sandbagged it down onto two sanding blocks to give the rubberbands clamping the dihedral supports clearance.
 

Attachments

  • 20200322_113841.jpg
    20200322_113841.jpg
    3.4 MB · Views: 0
  • 20200322_110009.jpg
    20200322_110009.jpg
    3.3 MB · Views: 0
  • 20200322_113855.jpg
    20200322_113855.jpg
    1.5 MB · Views: 0
Installed the top and bottom stringers. The stringers are rectangular, the wider side is horizontal. At the horizontal stabilizer, I added a piece of leftover stringer support to fill the gap between the two stringers. With the vertical stabilizer installed, the vertical stabilizer is now flush and there no longer will be an ackward hole when covering.

On top of the aft ends of the bottom stringers goes the tail cap. The tail cap is sized to match on top of the stringers, not the fuselage sides.

That's it for the fuselage assembly. I'll have to figure out the wing assembly as I realized I don't have the servos. I need to install the wing servos before I finish the sheeting. I'll probably steal the two servos from my Eaglet 250 for now.
 

Attachments

  • 20200322_142423.jpg
    20200322_142423.jpg
    1.4 MB · Views: 0
  • 20200322_142436.jpg
    20200322_142436.jpg
    3.1 MB · Views: 0
  • 20200322_144126.jpg
    20200322_144126.jpg
    1.5 MB · Views: 0
  • 20200322_144556.jpg
    20200322_144556.jpg
    1.3 MB · Views: 0
  • 20200322_153502.jpg
    20200322_153502.jpg
    1.4 MB · Views: 0
Trial fitting the servos showed that I need a standoff for the servos that I got from Willy Nillies. I used scrap pieces of balsa and installed the aileron servos. My only real complaint in these kits is that the only way to replace the aileron servos is to cut out the covering. And even then you'll have a devil of a time removing and installing new ones. A servo tray would be much better though cramming one in there would be a feat.

For the sheeting, I wet the outer surface of the sheet with Windex to swell and curve the sheet. Previously, I would conform the sheeting with sandbags. Usually, this resulted in a few areas that did not glue down that I would have to tack with CA. This time I still used the wood glue, but used pins to hold the sheeting down. Did a good job of conforming the sheeting, but all the holes would mar any iron on covering. You can fill them up, but these lightweight coverings are more often than not translucent and the color of the balsa filler or even the laser burns show through. In the future I'll stick to sandbagging.

Finally, there are two small balsa sheets that go on the back of the trailing edge. I learned from my Eaglet, that the best thing to do is to install the wing on the fuselage, and let that jig the sheets in place. That way you get the right angle on the sheets to let the wing sit on the fuselage.

And, with the exception of the wheel strut covers and the wire connecting the two elevators, completes the basic assembly.

Now I'll need to fill in all the gaps and dents and sand down the plane to prep for covering. That'll probably take most of the week.

For light scratches and dents, I use Hobbico balsa filler. Good stuff for a scratch but it really has a hard time building up on itself for gaps or fillets. Instead, I use Elmer's Indoor wood filler. This is a bit easier for using on larger gaps or areas that need to be filled, like the tab cutouts along the fuselage side. The downside for both of these fillers is that they melt under dope. It's ok when you do the first brushstrokes with dope, but any follow up strokes will mar the filler as it has had time to soften. So this time for large buildups, like fillets, I'll use Super FIl epoxy. I am thinking of adding fillets on the stabilizers and the joint of the windscreen and top of the cowl.

And wouldn't you know it? I finally got a shipping notice for the Herr Piper Cub kit that I've been waiting so long for from Sig.
 

Attachments

  • 20200324_201510.jpg
    20200324_201510.jpg
    3 MB · Views: 0
  • 20200324_211431.jpg
    20200324_211431.jpg
    1.6 MB · Views: 0
  • 20200324_211418.jpg
    20200324_211418.jpg
    1.5 MB · Views: 0
  • 20200324_213333.jpg
    20200324_213333.jpg
    1.5 MB · Views: 0
  • 20200324_222338.jpg
    20200324_222338.jpg
    1.8 MB · Views: 0
  • 20200324_222949.jpg
    20200324_222949.jpg
    3.7 MB · Views: 0
Last edited:

Turbojoe

Elite member
I just noticed in your video I have that same Herr Cub kit. I bought it years ago partially (very poorly) built and fixed all the previous builders mistakes. Then I realized I had too many Cubs and decided to transform this one into a Piper Tri-Pacer by adding nose gear and moving the main gear rearward. It still sits with so many other projects partially done. Maybe someday.....

Joe