Yak-55 3D Dollar Tree foam board build

TooJung2Die

Master member
First a little back story. I thought flying a 3D airplane was way beyond my abilities. I'm a slow-fly and glider type of pilot. A couple of weeks ago one of the guys at the RC field has a EPP foamy profile 3D Extra. He's no 3D pilot either. He tells me I have to fly his new airplane. I think he's out of his mind. I'll destroy it. So I fly it anyway. :) I was amazed at how easy it was to fly. So slow and floaty. It wasn't twitchy at all. It felt slow and smooth. I was doing my short repertoire of stunts with ease. A tight loop looks like a backflip. It rolls like a drill. Flying two mistakes high is only 30 feet up. I gotta have one! :D

I searched for plans and find one of the most popular and most copied 3D out there is Leadfeather's Yak-55. Plans galore. 32" wingspan; downloaded it. For the first time ever I make templates from the plans. I know for sure I will be making more than one. The retail foamy I flew was made from 9mm EPP foam. I don't have any EPP but I have lots of Adams foam board from Dollar Tree. When you peel off the paper and glue two sheets together you have 10mm sheet foam. Close enough.

Here's the first shot at making a 3D airplane.

IMG_1473.JPG


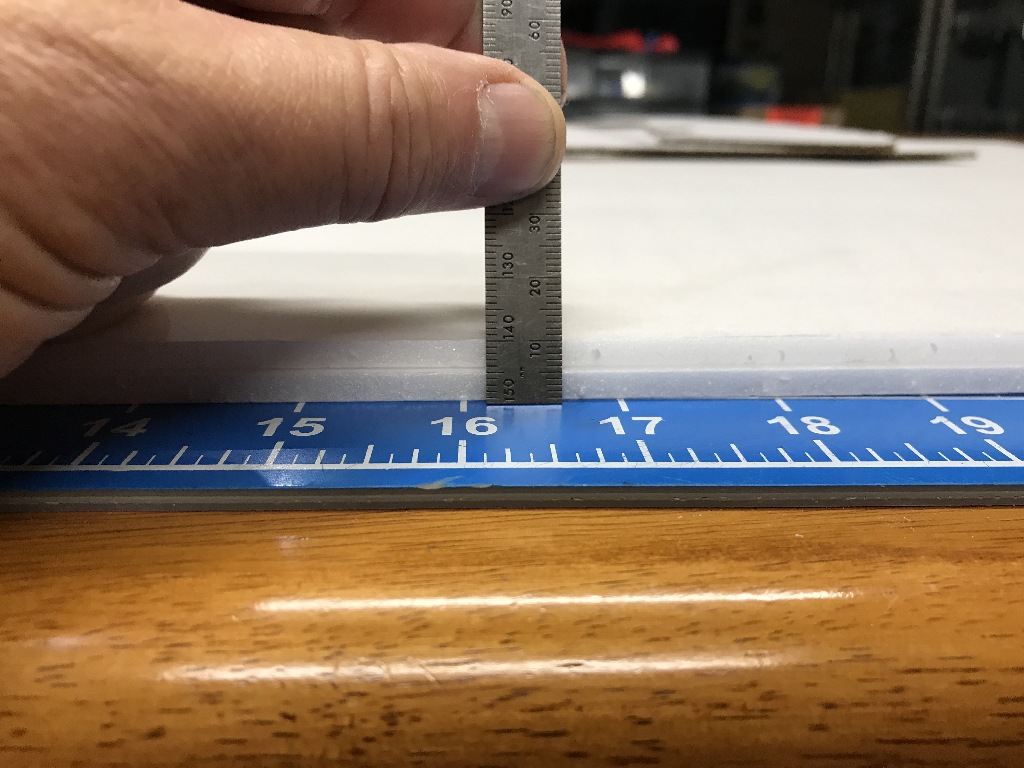
Two sheets of DTFB, no paper, glued together with spray adhesive.
IMG_1426.JPG


Templates arranged on one sheet of foam. The other half of the wing goes on a second sheet.

IMG_1417.JPG


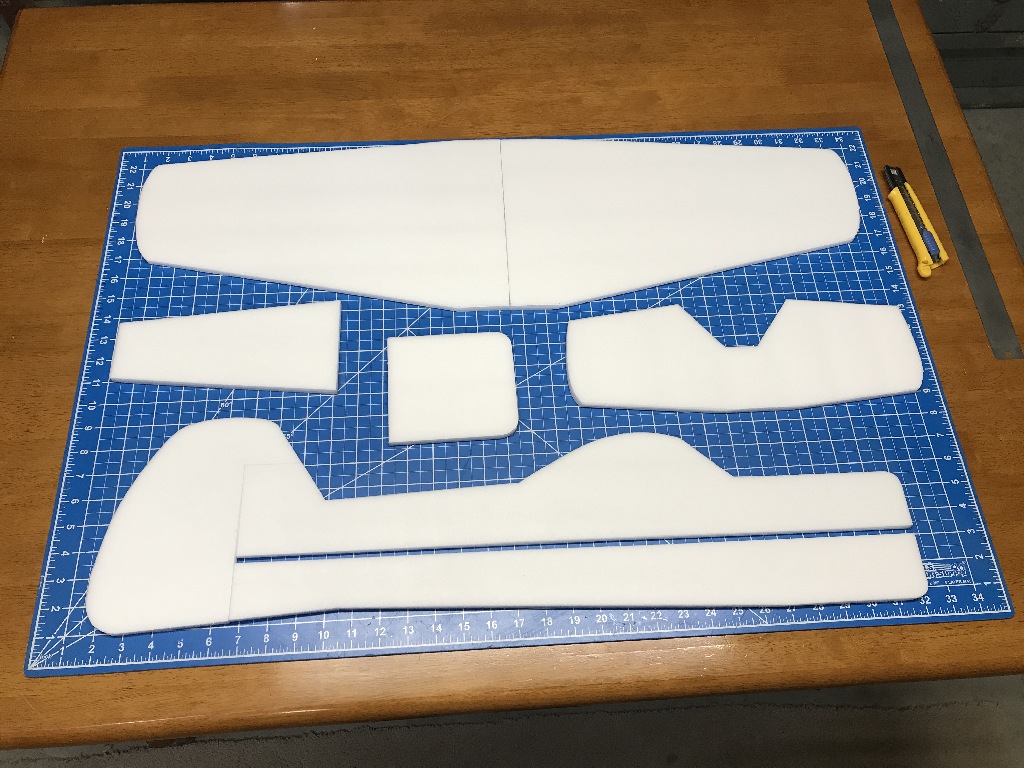
These are all the parts cut out. I don't think I've made an airplane with this few number of pieces. If you had a big enough sheet of foam it could be even less parts by combining the horizontal parts before cutting it out.
IMG_1428.JPG


It's late so I'll continue the build thread later. Stay tuned...
<edit> Plans and build instructions attached.
Jon
 

Attachments

  • EPPYak55_full_chg_d.pdf
    25.3 KB · Views: 0
  • Yak Build Guide 002.pdf
    2.2 MB · Views: 0
Last edited:

TooJung2Die

Master member
First step in assembly was gluing the wing halves together. "Light is Might" for 3D airplanes so I'm using Foam-Cure glue instead of hot glue for most of this build. The downside is it really slows down the build waiting for the glue to dry between steps. Hours to dry instead of seconds. :(

IMG_1475.JPG


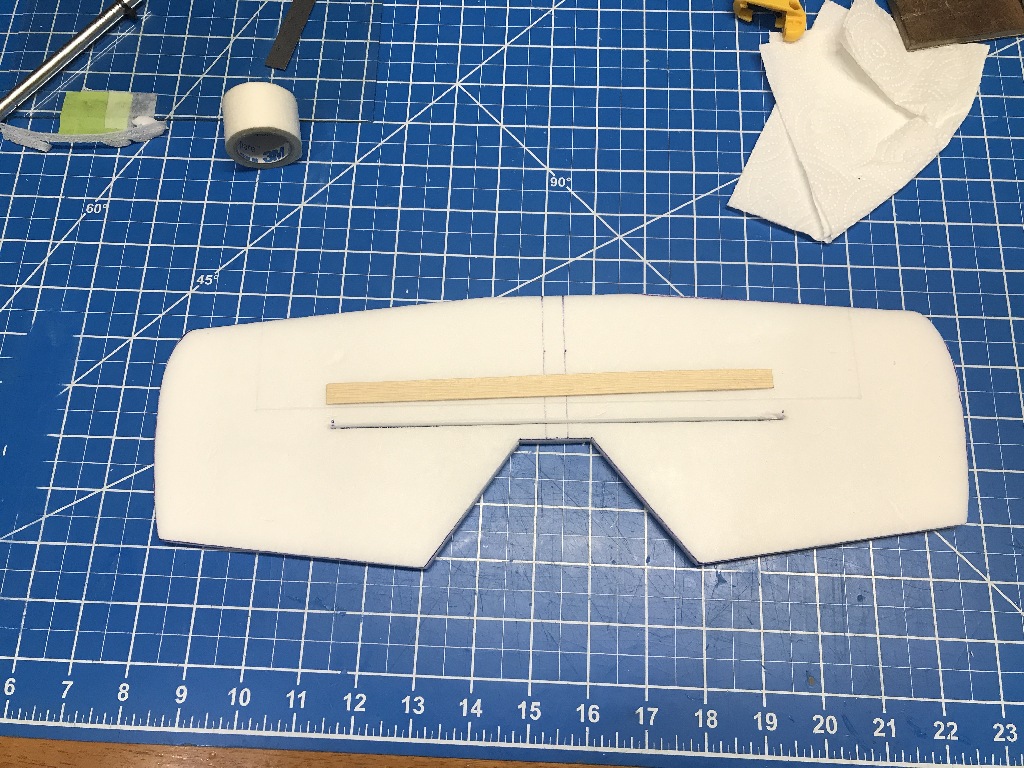
This airplane is a learning experience so I will stick to the building instructions as much as possible using materials I have on hand. The retail airplane I flew had a thin wood spar in the wing for strength. I made two 2mm x 10mm soft wood spars for the wing and elevator. A 2mm slot was cut and the spars glued in place.

IMG_1429.JPG


IMG_1431.JPG


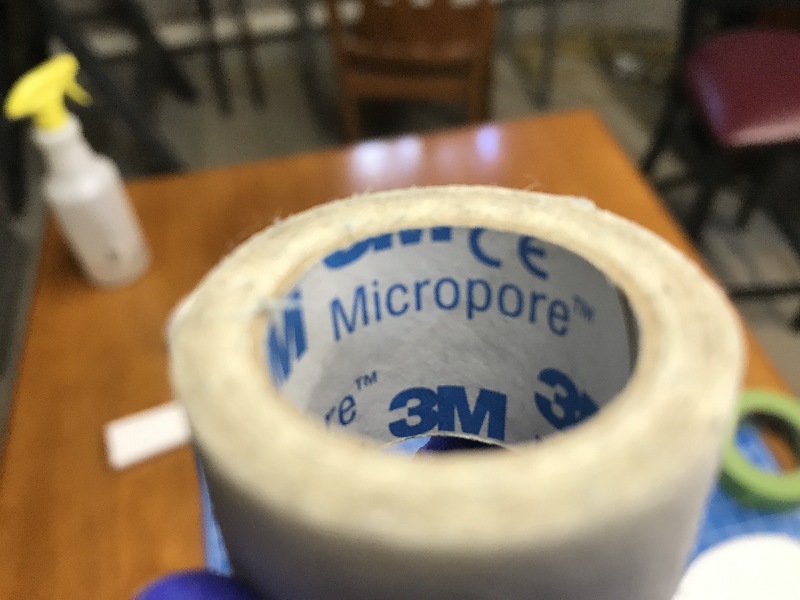
It's easier to put in all the control surface hinges before assembling the fuselage. Since the foam is thick and beveled hinges would be very noticeable I used woven tape hinges. 3M medical tape was used. It is a non-woven cloth with adhesive that sticks very well to foam. An extra piece of tape was placed over the tape hinges for more tape to foam sticky goodness.

IMG_1433.JPG


IMG_1432.JPG


Elevator is hinged, horizontal parts are glued together. The wing and elevator spars are glued in.

IMG_1434.JPG


Jon
 

TooJung2Die

Master member
From here it's a very simple assembly. Glue on the top fuselage making sure it is square along its length. It's a good idea to baby sit the glue until it sets up so it stays square.

IMG_1435.JPG


When the top is dry glue on the bottom. Cutting slots in a box to hold the fuselage will be a big help for the rest of the build.

IMG_1436.JPG


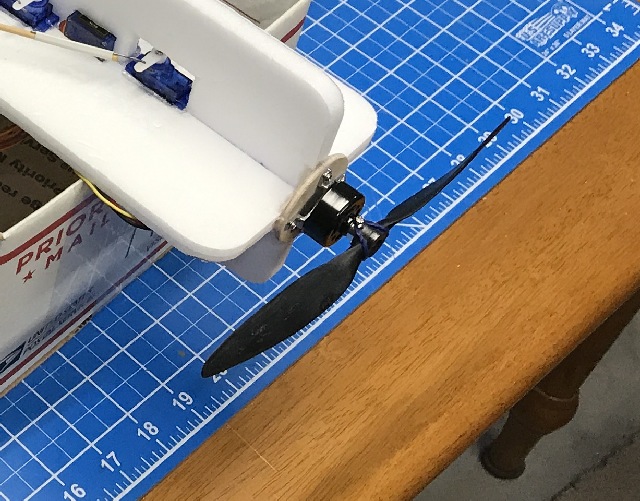
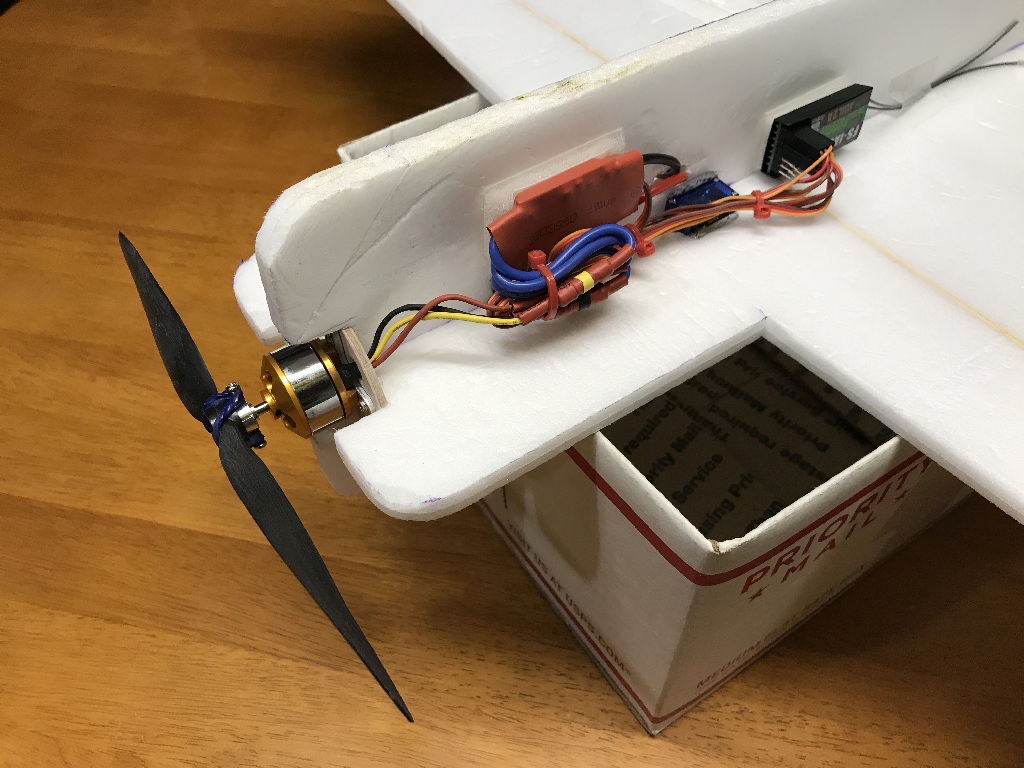
After the bottom fuselage glue is dry you can put the hinge on the bottom of the rudder. Next you glue the motor and firewall to the nose. I used a simple 2" disk of plywood for the firewall and hot glued it to the nose. No angle to the motor, it points straight ahead.

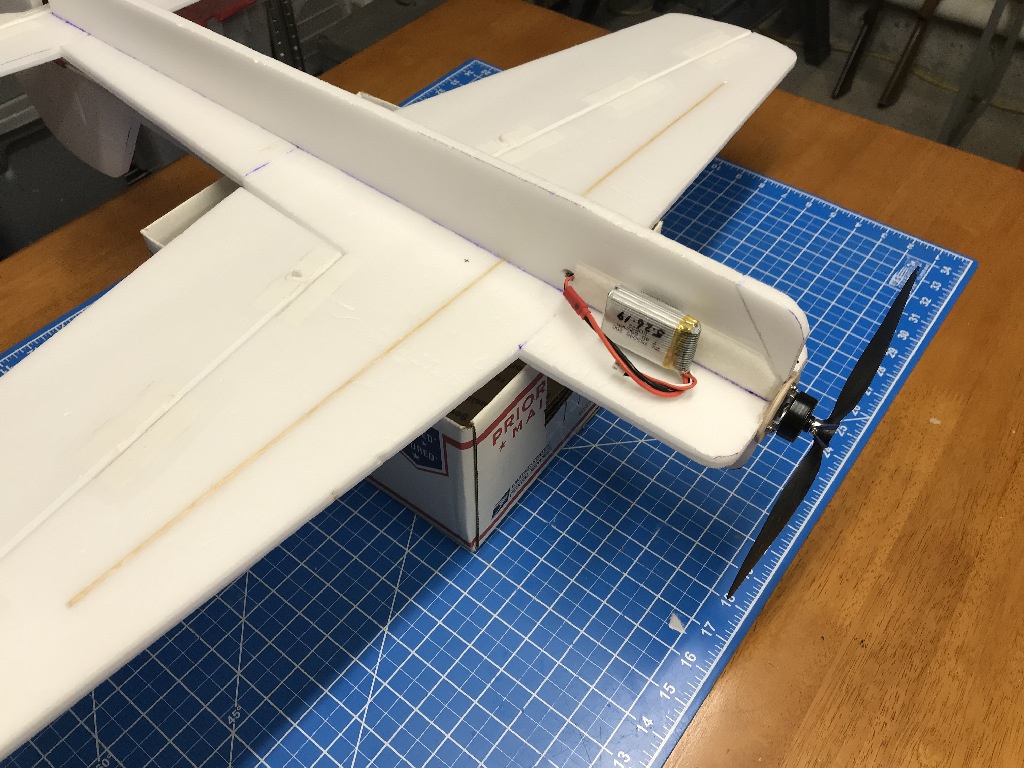
Now you should place all the rest of the electronics on top of the fuselage to see what has to go where to get the CG in the right spot. CG is clearly marked on the plan. You want the airplane to balance on the CG without the battery. That way the battery mounts right at the CG and doesn't affect the balance. You can change battery sizes without changing the CG.

This where I learned that dollar tree store foam board is heavier than EPP foam even with the paper off. Normally you expect the rudder and elevator servos to mount to the rear of the CG. Because the DT foam is denser all the electronics including the battery had to mount up close to the nose of the airplane. This is where everything had to go to get a good CG.

IMG_1443.JPG

IMG_1444.JPG

IMG_1445.JPG


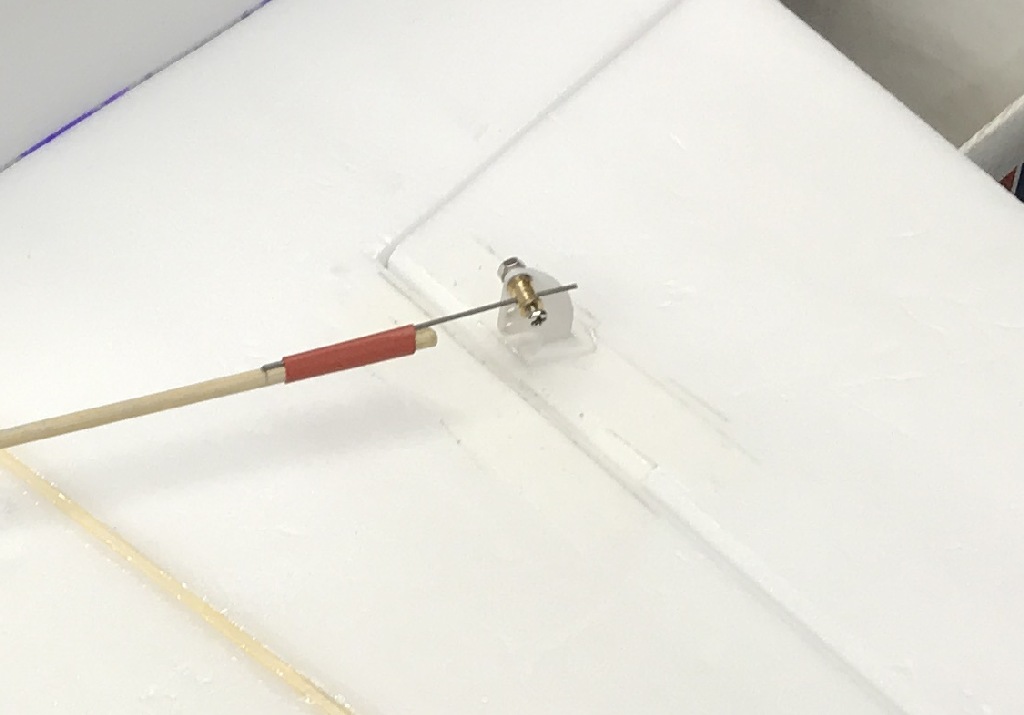
Since I didn't have any carbon fiber rod yet I used bamboo skewers for push rods. The tail control horns were cut from some scrap plastic. The aileron control horns are left over from another kit. I got a bag of the push rod adjusters from an online source a long time ago.

IMG_1440.JPG

IMG_1441.JPG

IMG_1438.JPG


That's it! Now she's ready for her maiden flight.
Jon
 
Last edited:

TooJung2Die

Master member
I feel like I want to do my spin on this one in some way!
Go for it. Hardly anyone builds by sticking to the plans. There are lots of ideas for how to make the control surface hinges. You won't have paper on the foam to rely on. People have tried making this from a single sheet of dollar tree foam board with the paper left on. The result is an airplane that flies but it will be too heavy to fly like a true 3D.

I have flown this airplane a couple of times. Both times it was windy so the flights were very short. It does not like wind. Because of the extra weight of the foam the suggested motor (2204-1400kv) isn't powerful enough to prop hang. The battery I'm using (850mAh 2S) is twice the size you want so I can achieve correct CG. I can put a bigger motor on it but then I'd need a bigger ESC and battery. More weight and the problem isn't solved.

It flies but not the way it is supposed to fly. My thoughts are focused on how can I make the next Yak-55 as light as possible but stiff enough for stunt flying and strong enough to survive the inevitable crashes.

It's a work in progress and there will be another Yak-55. I may have to bust out the wallet and get some real EPP foam board.
 
Last edited:

TooJung2Die

Master member
Too heavy is the main issue. The Yak needs to be under 7 ounces all up. This one weighs over 9 ounces. Adding to the problem is the no-name 2204/1400kv motor I used. I couldn't help it and ordered one just to see what you get for $4. I checked the amps on a 2S battery and a 8x6 prop. It peaked at 7 amps and quickly dropped to 6 amps full throttle. After flying this setup for about 4 minutes the motor was almost too hot to touch. That tells me it must be inefficient (junk). I swapped in much better motor, a Hextronic 2730/1500kv (aka Blue Wonder). It's about the same weight and it can swing a bigger prop with the same amp draw without heating up. I changed to a 8x4.3 prop for more pull and because it sounded like the 8x6 prop might be stalling.

No name 2204/1400kv vs 2730/1500kv:

IMG_1443 crop.jpg

IMG_1458 crop.jpg


We need to get some flying weather around here. I flew it for a few minutes in the wind and I think it flew a bit better but not slow and floaty like I want. It's back to the cutting board to make another Yak-55 airframe. The next Yak is going to be single layer foam. Flyboa made a Yak using a single layer Adams foam board with the paper removed. It flies the way you'd expect a 3D to fly.
Jon
 
Last edited:

TooJung2Die

Master member
would a 1000kv and an 8x6 work?
Will it fly? Yes.
Will it fly slow and hover at half throttle? I don't know. It will if it is light enough.

My goal is make an airplane that flies like the retail 3D. It should be able to prop hang then take off vertically. EPP foam is 1.3lbs per cu. ft. I got a couple of sheets of 6mm Model Plane Foam (MPF) from a RC club buddy. http://www.modelplanefoam.com/ MPF is 2lbs per cu. ft., so like Adams foam board it is denser and heavier. I'm going to build the next airplane using a single thickness of MPF.

Since I will have to use the light motor and ESC in the new Yak I decided to put a heavier more powerful 2208/1400kv motor and 25A ESC on this Yak. It now uses a 1000mAh 2S battery. The new all up weight is a porky 11.4 ounces. :( But it can take off vertically from my hand when tested with a 8x6 prop. No test flight yet but it should fly okay outdoors even if there's some wind. With all that motor and ESC up in the nose the battery mounts right on the airplane CG.

IMG_1483.JPG


Jon
 
Last edited:

TooJung2Die

Master member
It's getting dark early so I haven't had any chance to fly. I have built the next Yak using a sheet of 6mm MPF. I recently got a Harbor Freight Deluxe Airbrush and wanted to try it out. I watched some instructional videos and here is my first attempt at simple airbrush masking and stenciling.

IMG_1471.JPG

IMG_1472.JPG


I bought all the carbon fiber the LHS had which wasn't much. This airplane has 3mm tube spars in the wing and elevator. So far it is much lighter than the first version. I hope to get to fly this weekend and capture some video.
Jon
 
Last edited:
It's getting dark early so I haven't had any chance to fly. I have built the next Yak using a sheet of 6mm MPF. I recently got a Harbor Freight Deluxe Airbrush and wanted to try it out. I watched some instructional videos and here is my first attempt at simple airbrush masking and stenciling.

View attachment 145224
View attachment 145225

I bought all the carbon fiber the LHS had which wasn't much. This airplane has 3mm tube spars in the wing and elevator. So far it is much lighter than the first version. I hope to get to fly this weekend and capture some video.
Jon
Awesome paint work! Can you recommend any specific youtube videos?
 

Mr. Gandalf

Elite member
Nice work TooJung2Die!

I am planning on building a little 3D plane about this size, also using a Hextronic 2730 1500kv. What servos are you using? Have you tried using a 3s battery?
 

TooJung2Die

Master member
What servos are you using?
I'm using Tower Pro 9 gram servos. I wanted to use 5 gram servos for the tail but the balance required more nose weight.
Have you tried using a 3s battery?
Not yet. Unfortunately I have only flown it for a few very short flights due to weather and time constraints. It can't have flown for more than ten total minutes. I have a three day weekend ahead so fingers crossed I get time and good weather to fly.
 
Last edited:

TooJung2Die

Master member
I flew the DTFB Yak several times last weekend. It flies better than I thought it would. :cool: It wants to fly a little faster than I'd like but that's to be expected because of the weight. It's the first airplane I've built that'll do an outside loop as easily as an inside loop. "3D Stunts" consist of banging the sticks around wondering what will happen. :LOL: I found out by accident that if you stop the motor and give it full up elevator it'll stop dead in the air and float down like a parachute. That got me out of trouble more than once. I'm editing down almost 30 minutes of video to a watchable 2 minutes.

The belly flop landings are hard on the stiff foam. It got a couple of cracks so I sliced off the damage and glued on a piece of softer flexible foam sliced from a block of packing foam.

IMG_1507.JPG


The MPF Yak is finished. It's 6.5 ounces without a battery, 50% lighter than the DTFB Yak.

IMG_1505.JPG

IMG_1506.JPG


There was just enough CF rod to make the push rods. My wife said, "It's too pretty to fly, you'll wreck it". She's probably right about my piloting skill but I'll take that as a compliment. :p

Jon
 
Last edited:

TooJung2Die

Master member
I have a lot to learn about flying this type of airplane. Some of my best maneuvers are recovering from mistakes. :p Hope I got the video edited down to where it isn't too long or boring.


As heavy as it turned out it flies okay. Flying the retail 3D airplane first must've spoiled me. I'm hoping the MPF Yak flies more like the store-bought airplane.

Jon