Spitfire76's Build Log of Eclipson's Go 1 Wolf

Spitfire76

Well-known member
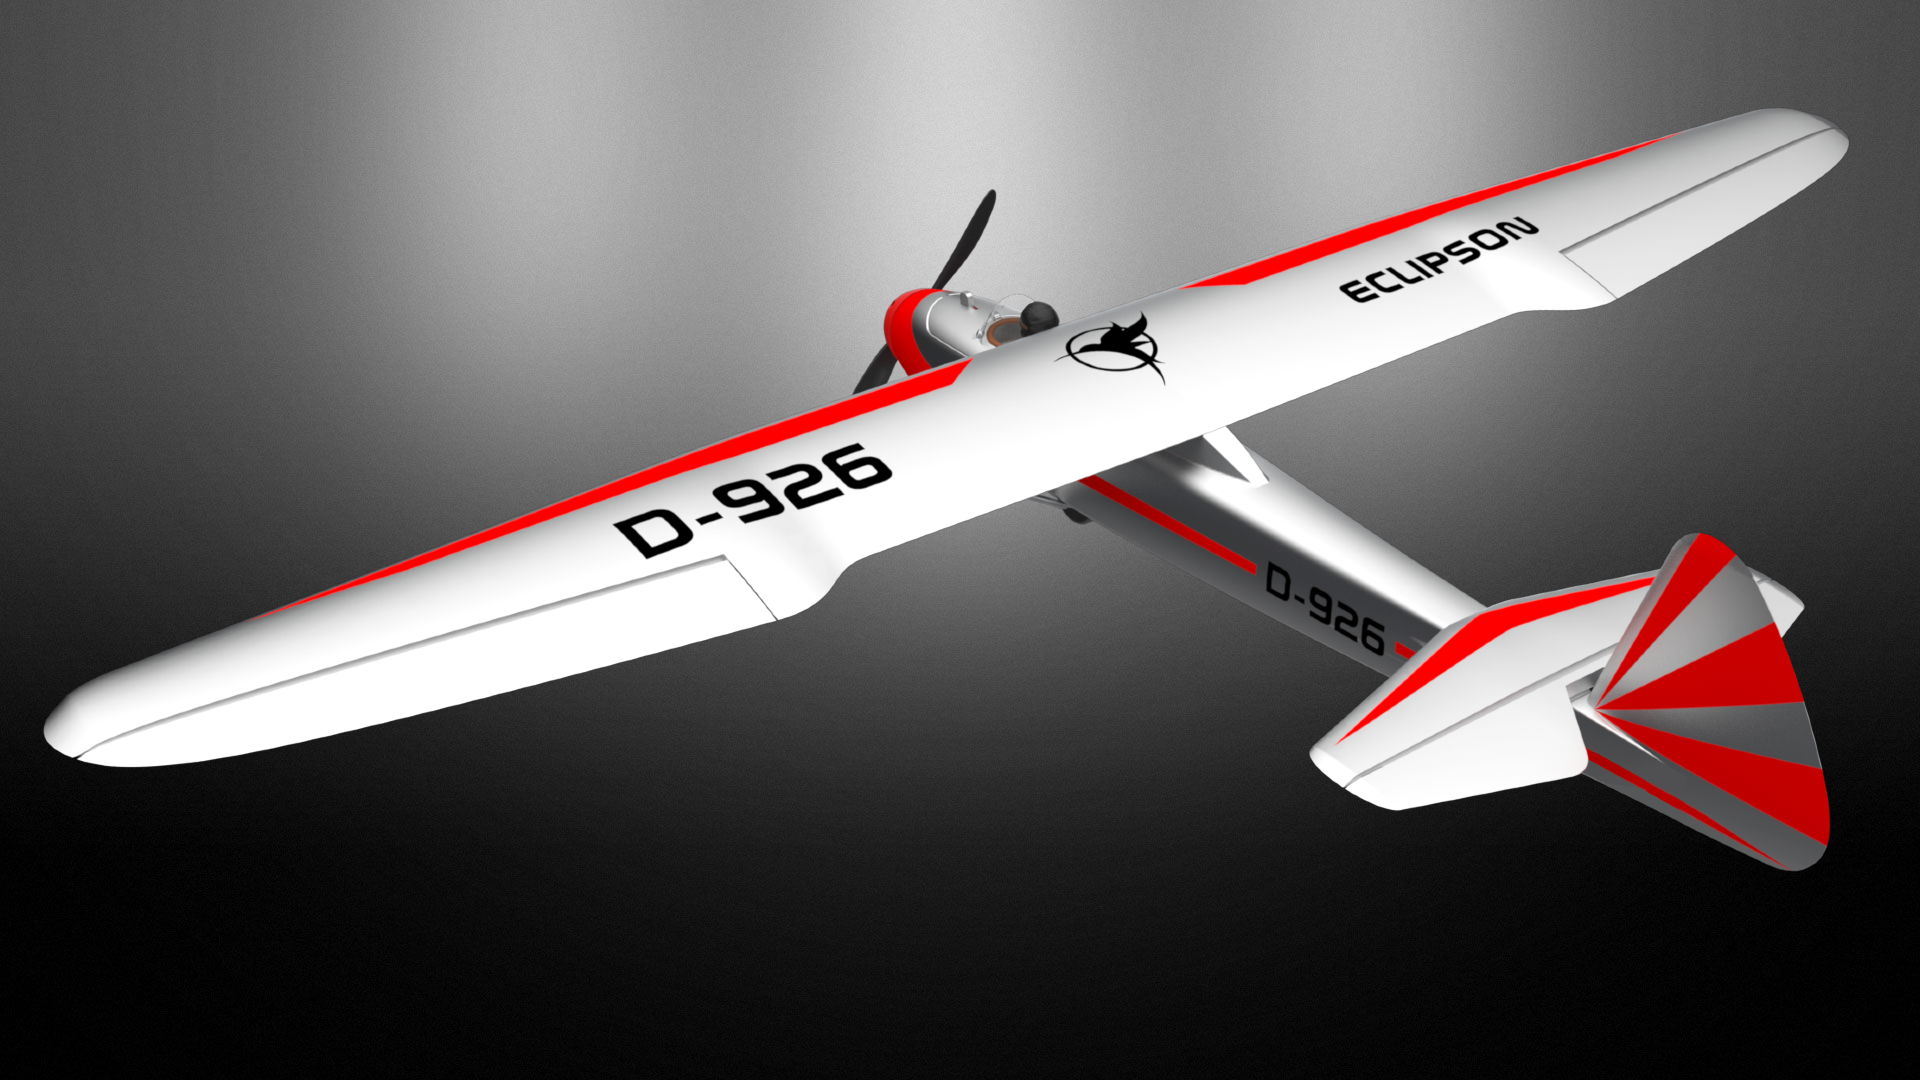
I have built and flown several Eclipson planes and had printed their Go 1 Wolf sometime ago but never go around to assembling it. This 3d printed plane is free to download from


and should be a good one for anyone just starting out with 3d printed planes.

I've also entered this build to the FTFC24: Buildruary Build-off Challenge along with several other 3d printed planes.


Fortunately the rules allow the parts to be printed prior to the beginning of the challenge (February 1) as printing 3d printed planes can take a really long time. This is what I am using for printing the parts:

Printer: Bambu Lab P1P
Slicer: Bambu Studio
Filaments:
  • ColorFabb LW-PLA
  • ColorFabb Verioshore LW-TPU (for the tire)
  • Bambu Lab PLA Matte White (for non LW parts)
  • Bambu Lab TPU 95A HF Black (for hinges)
 
Last edited:

Spitfire76

Well-known member
Here are most of the parts printed but will wait to February 1 to start the assembly

IMG_4612.JPEG
 

Spitfire76

Well-known member
It’s February 1st and so the official start to the build-ruary challenge.

Followed the build video but will not install subassemblies on or in fuselage until after its painted.
  • assembled fuse part 1 through 4 (1.2mm wire, upper 415mm, lower 380mm long
  • attached servo to fuselage mount and centered it
  • attached motor to mount with M3 x 6mm bolts
  • assembled landing gear (2mm wire) - need to add collects
  • made skid from 2mm wire (did install this part onto fuse)

IMG_4633.jpeg IMG_4635.jpeg IMG_4636.jpeg IMG_4637.jpeg IMG_4638.jpeg

  • cut 1 x 490mm and 2 x 370mm of 6mm CF tubing
  • assembled wing sections
  • assembled ailerons and added to the wing
  • assembled elevator.
IMG_4642.jpeg
 
Last edited:

qwijibo

Active member
I really like this plane. Simple build and easy to fly, so far I've been very happy with it. My only with is that I wish it had a removable wing, but that's a small complaint, still a great design.
 

Spitfire76

Well-known member
Build-ruary challenge day 2 of 29

Assembled battery cover with locking mechanism and decided to install servos in the wings since painting is only on top,

IMG_4643.jpeg IMG_4645.jpeg

Painted fuselage and glued on the graphics.

IMG_4646.jpeg IMG_4647.jpeg

Installed elevator servo, motor/mount, landing gear and front skid.

IMG_4648.jpeg IMG_4649.jpeg
 
Last edited:

Spitfire76

Well-known member
Build-ruary challenge day 4 of 29

IMG_4651.jpeg
Masking the wing, h-stab and rudder.

Completed painting although I do need to get better at it as there is a bit of bleeding dispite using a clear coat to seal blue tape edges.

IMG_4652.jpeg

  • Added 3dprinted decals to wing
  • Added hinges to horizontal stab
  • Installed elevator with TPU hinges
  • Glued horizontal stab to fuselage

IMG_4654.jpeg
 
Last edited:

Spitfire76

Well-known member
Build-ruary challenge day 5 of 29
Glued on the wings

AC4A5656-ED70-454D-924E-2AB28C0BB60F.jpg


Remaining tasks
  • Paint battery cover
  • Install wing struts
  • Paint pilot (have a friend who is good at that)
  • Find a suitable prop
  • Find battery position for CG balance
  • Install Velcro for battery
  • Install ESC, Aura 5 lite and RX.
  • Config Aura 5
  • Bind
  • Test
No sure if I will install the spinner as I believe 3d printed ones could unbalance the prop.
 
Last edited:

Spitfire76

Well-known member
Build-ruary challenge day 6 of 29
  • Installed wing struts.
One issue is with the Aura installation as there is not enough room under the battery cover so it will have to be placed further up in the fuselage but that will make it difficulty to access. One idea is to design a mount that is secure but removable. It could also house the ESC and RX making it a nice tidy installation. Alternatively I could try to maiden it without the Aura but with my piloting skills its a bit risky.
 
Last edited:

Spitfire76

Well-known member
Build-ruary challenge day 16 of 29

Wow 10 days since last update but I have been working on a mount for the Aura 5 lite that has taken longer than I thought.

The left part is to be glued into the fuselage and the right part attaches to it and secured with a m3 x 6 bolt.

IMG_4694.jpeg IMG_4695.jpeg IMG_4697.jpeg

Aura is now tucked away inside but easily removed if needed.
 
Last edited:

Spitfire76

Well-known member
Build-ruary challenge day 17 of 29

I made some slight changes to the top part of the mount moving the Aura mount to the center to leave room for a receiver. The RX that I am installing is a Radiomaster RP1 V2 ExpressLRS 2.4ghz Nano. My TX16s is running EdgeTX and equipped with a Radiomaster Ranger Micro.

IMG_4698.jpeg

Changes I made for ELRS to work with Aura
  • RX - configured to output s.bus as Aura does not support CRSF
  • Aura - flight mode channel changed from 5 to 6 as 5 only has 2 positions (arming)
  • TX - reversed channel 6
  • Ranger Micro - switch mode changed from wide to hybrid
Now I need to adjust the throws.

image.png
 
Last edited:

Spitfire76

Well-known member
Build-ruary challenge day 17 of 29

I can see how to setup differential ailerons in my TX16s but the Aura should handle rates and expo. Although the Aura uses separate output channels for the left and right aileron servos the input from the TX is coming over the s.bus using only 1 channel. I guess its like having an intelligent Y cable. I thought I could simply change the up/down deflection for the ailerons in this screen but for example if I set it to 10/70 and move the stick to the left there is a small deflection up for the left aileron and down for the right, moving the stick to the right there is a large deflection down for the left and up for the right.

image.png


I created a separate thread for this issue.


In the meantime I am using the mechanical method by offsetting the servo arms. If I use the center hole for the control rod its not exactly 20/8 but close enough.
 
Last edited:

Spitfire76

Well-known member
Build-ruary challenge day 20 of 29
Thanks to @Flying Monkey fab I am now able to set the ratio of up/down deflection in the Aura configuration. I had the view tab set to "quick adjust view" and it needed to be set to "Normal" or "Advance" to expose "output tuning" in the servo port configuration.

1708437620008.png
1708437657410.png


I changed the "Output Scale" to 100/40 for the left aileron and 40 /100 for the right.

Next step is to setup failsafe.
 
Last edited:

Spitfire76

Well-known member
Build-ruary challenge day 22 of 29 - only 1 week left!
I ran into another issue - I can't have level assist when a failsafe is detected. More details in this thread


Sent an email to Flex support.

On another note I did design a battery tray.

1708635147305.png
 
Last edited:

Spitfire76

Well-known member
Build-ruary challenge day 29 of 29 - Its almost over!

But I did manage to maiden this plane yesterday at my club field. I got in 2 flights but my second landing was a bit hard and it cracked the fuselage although looks like its at a join so easy to fix.


Damage report
IMG_4724.jpeg