Mr NCT
Site Moderator
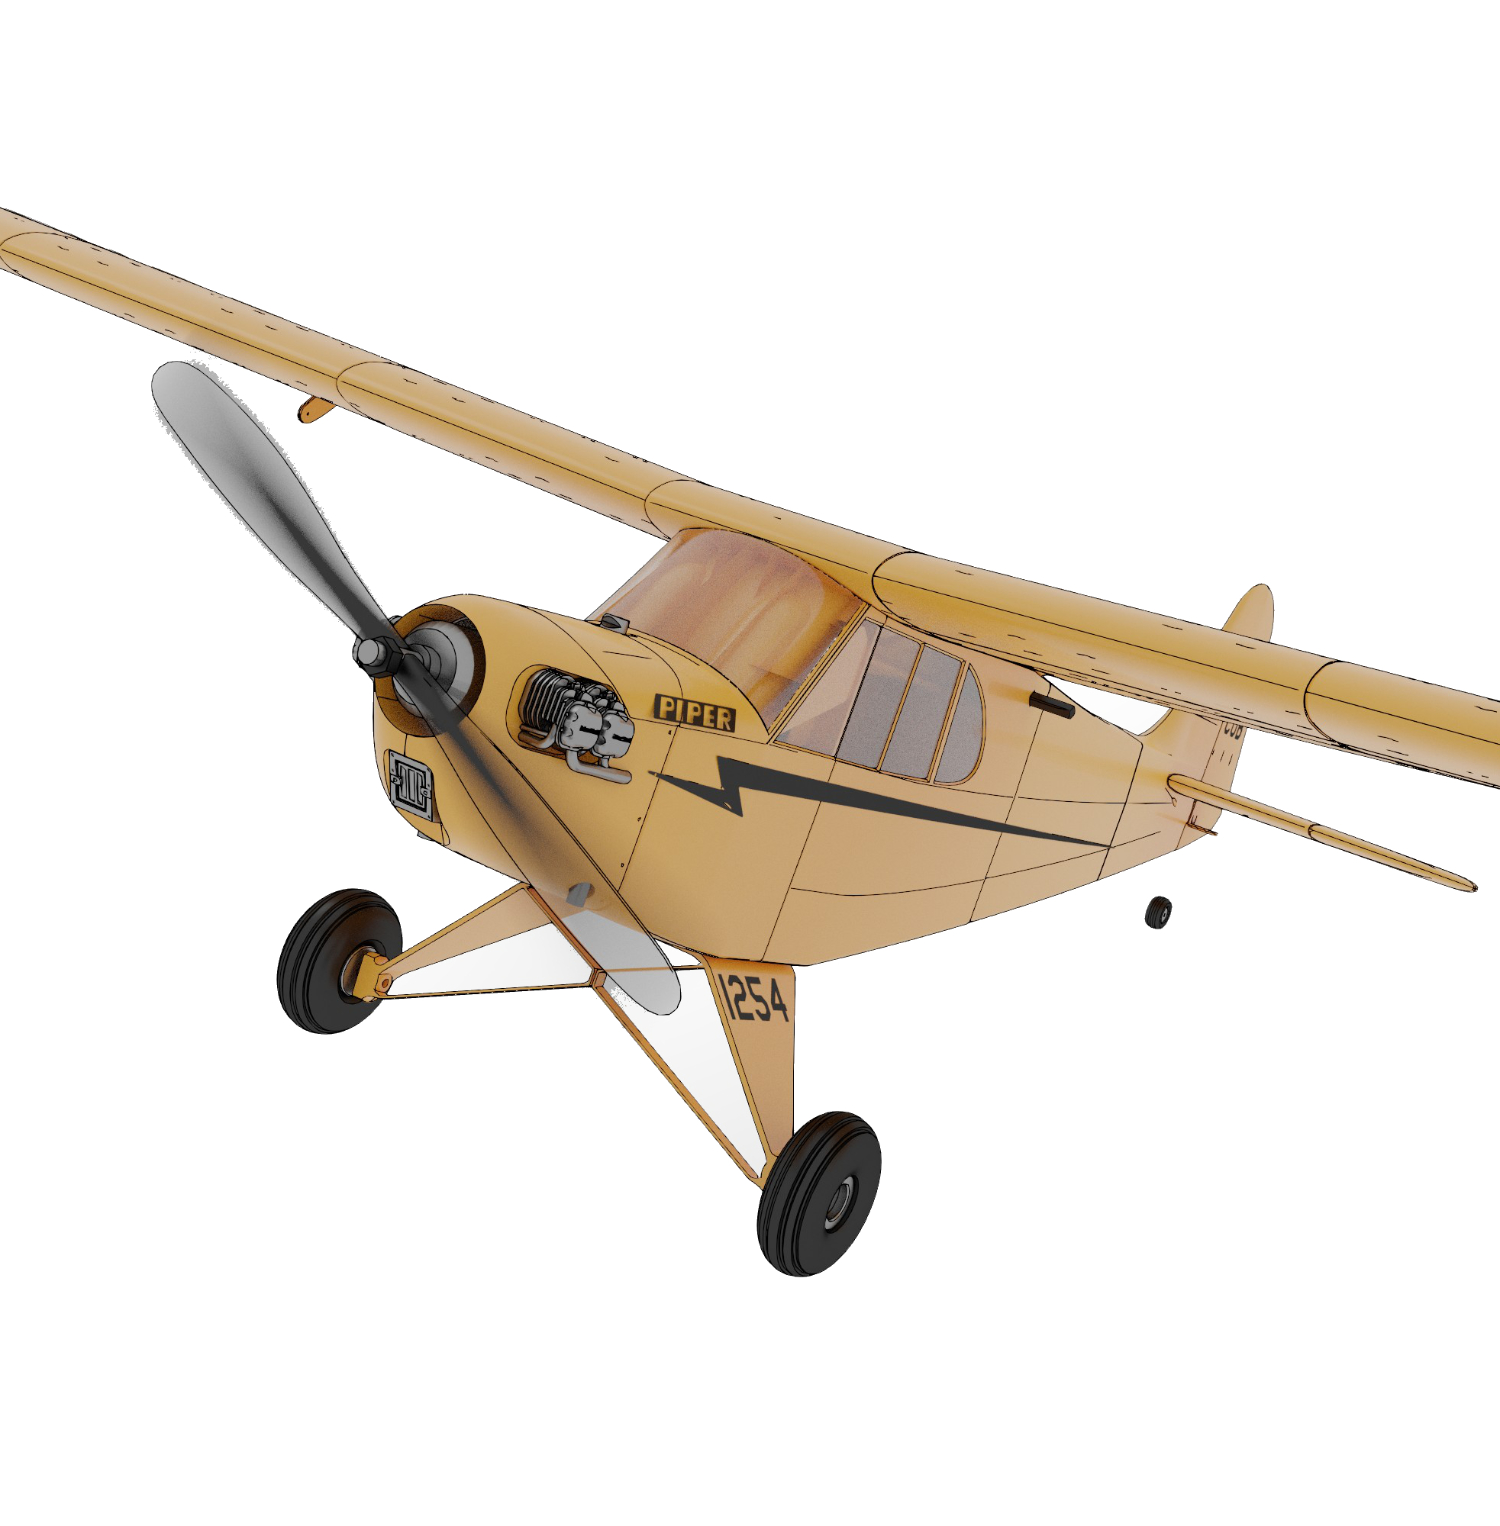
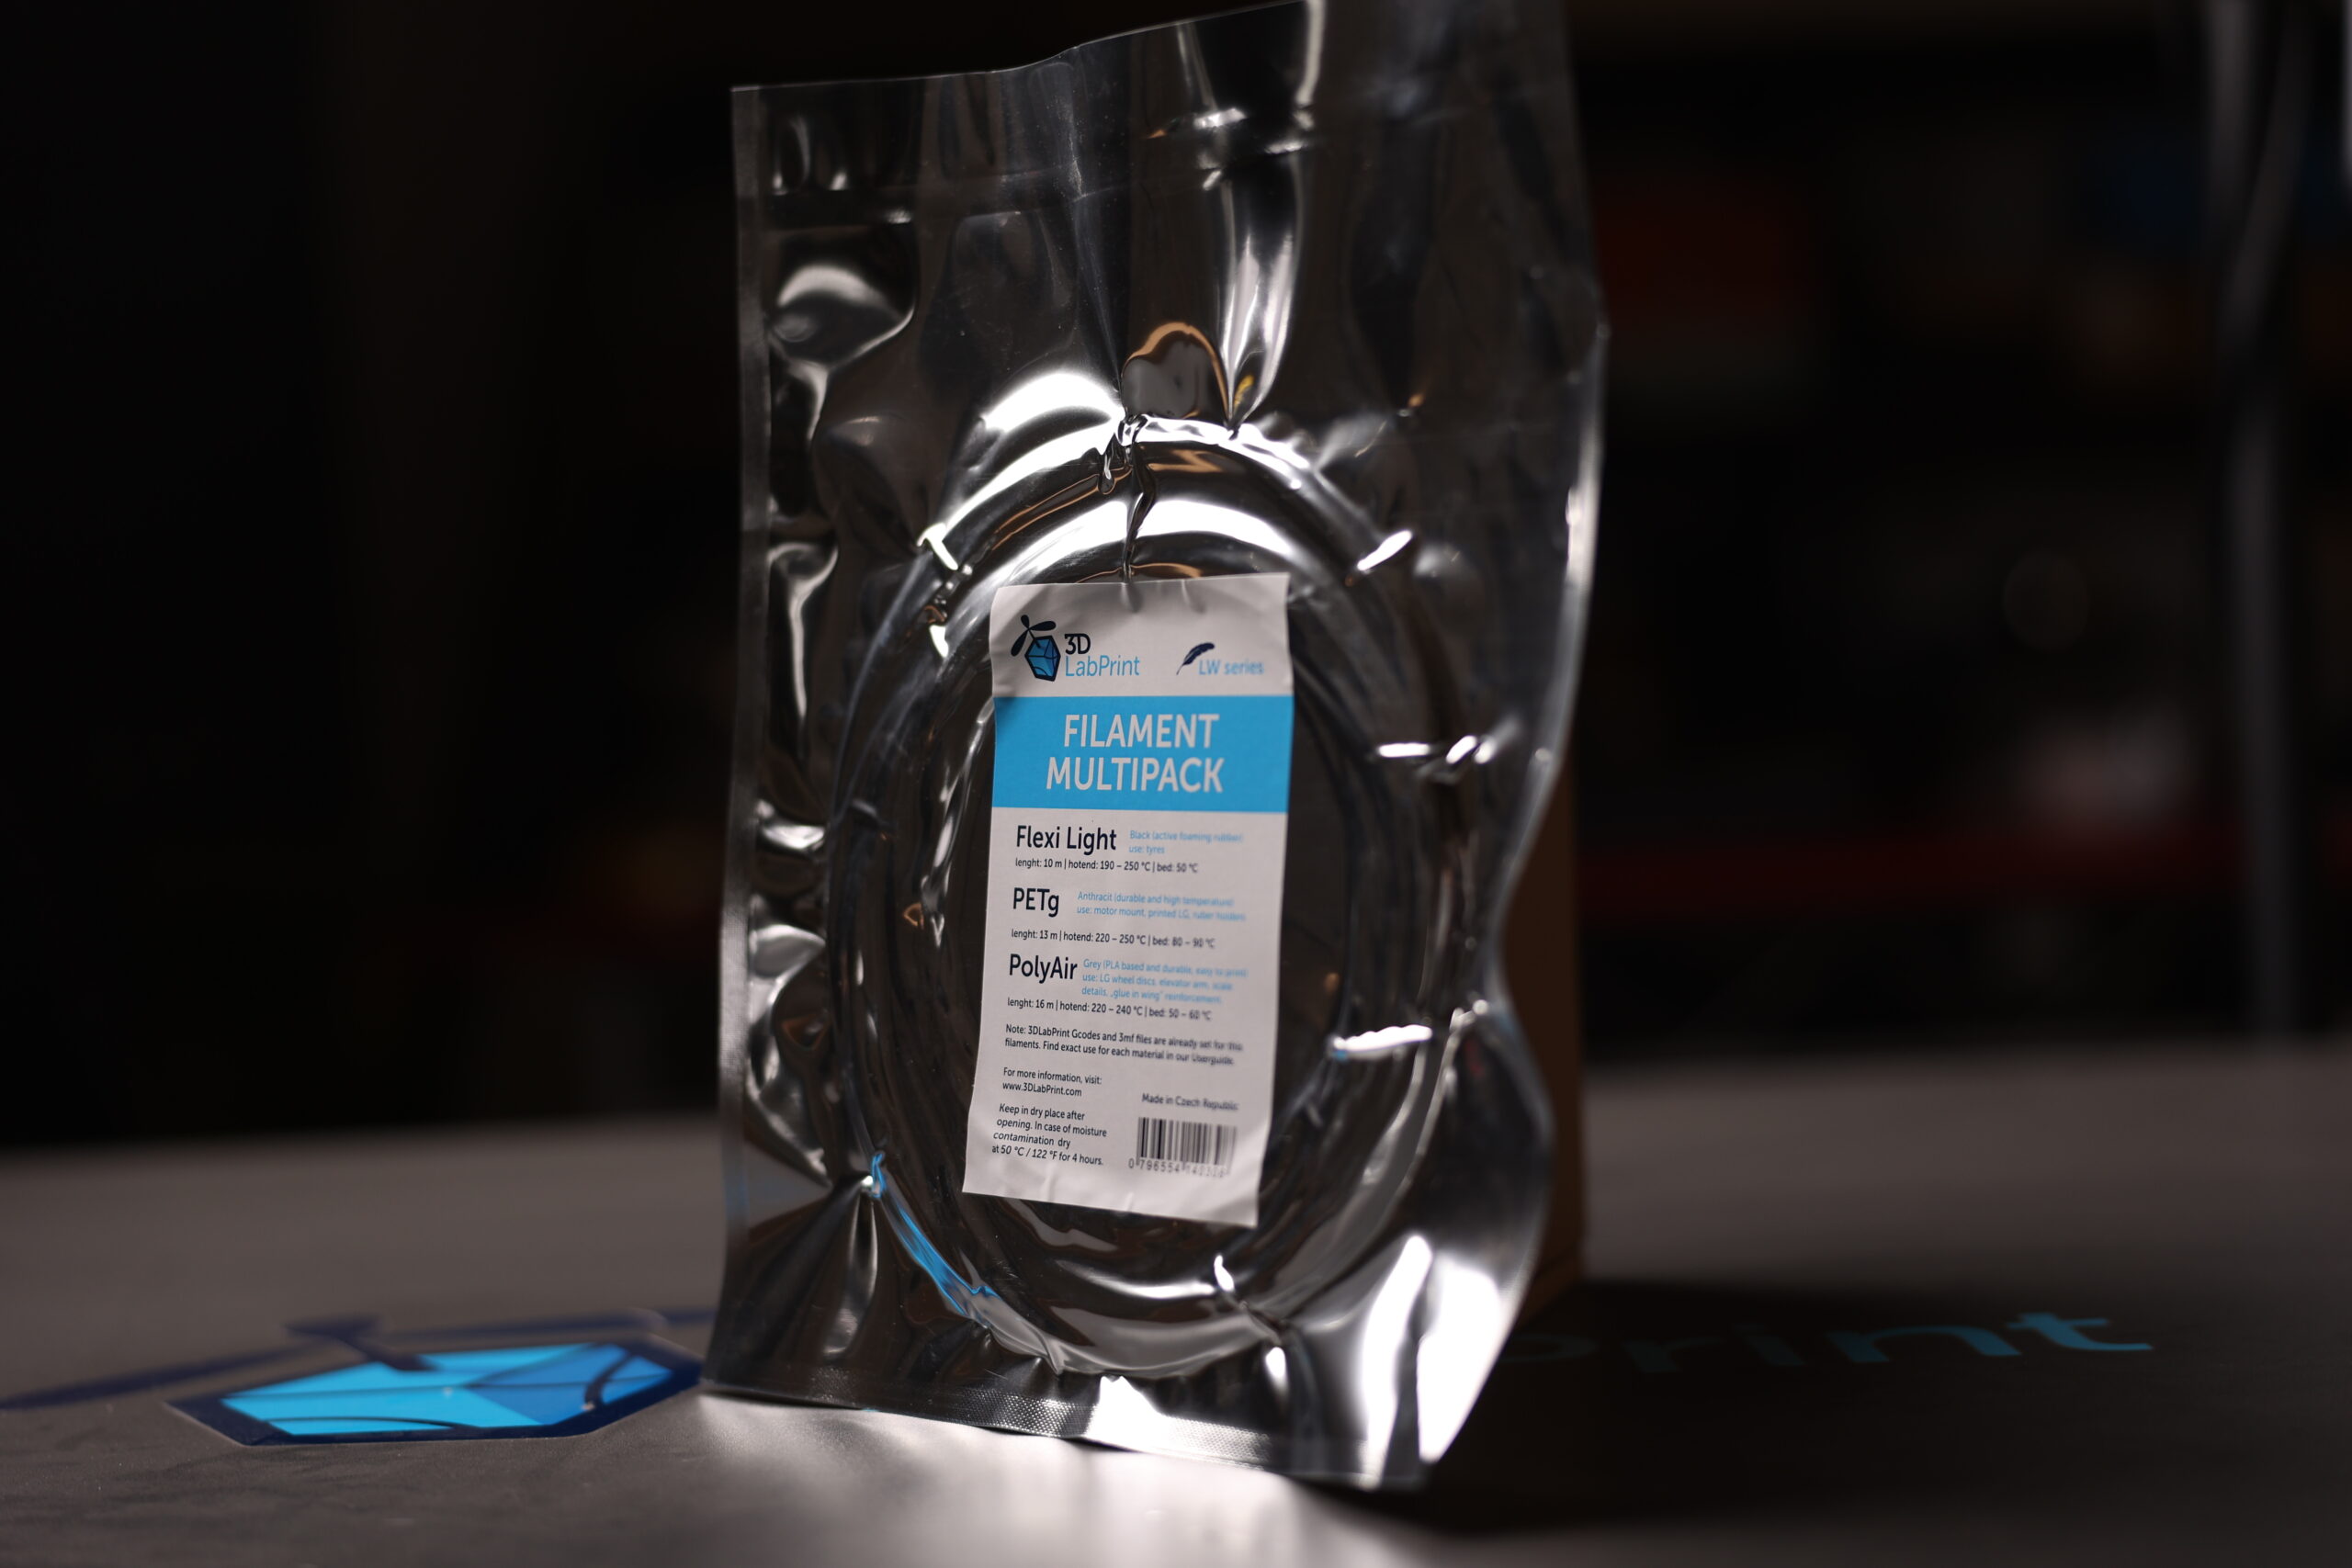
I'm taking the plunge into 3D printed planes with one that, hopefully, goes smoothly. I have a Prusa MK4 so I started with 3D Lab Print since they work closely with Prusa and bought their filament bundle that has all the LW-PLA, Flexi Light, PETg and PolyAir to complete the plane. I figured why buy whole spools of this stuff if I wasn't sure I'd like it or be able to land well enough to keep it from shattering.
So far I haven't had any problems printing with the LW-PLA using 3D Lab's 3mf files and Prusa Slicer. I have gotten a lot of internal stringing in the fuselage and wing pieces but it cleaned out pretty easy with a long skewer. I tried printing two of the smaller parts, elevator parts, at the same time but the stringing between the parts was pretty bad so for me it's less hassle to print one at a time - I'm not in a big hurry.
Some things I've learned:
- The smooth PEI print sheet holds the LW-PLA fine but allows sharp points to pull up. For sharp points like trailing edges it's a good idea to use some sort of bed adhesive. I'm using Bed Weld and it keeps the points from pulling up.
- For long skinny parts like aileron sections put the long axis in line with the bed movement. I had a couple fail at the top of the print because they were crosswise, in line with the X axis, and wobbled when the bed, Y axis, moved.
I'm almost done with the LW.