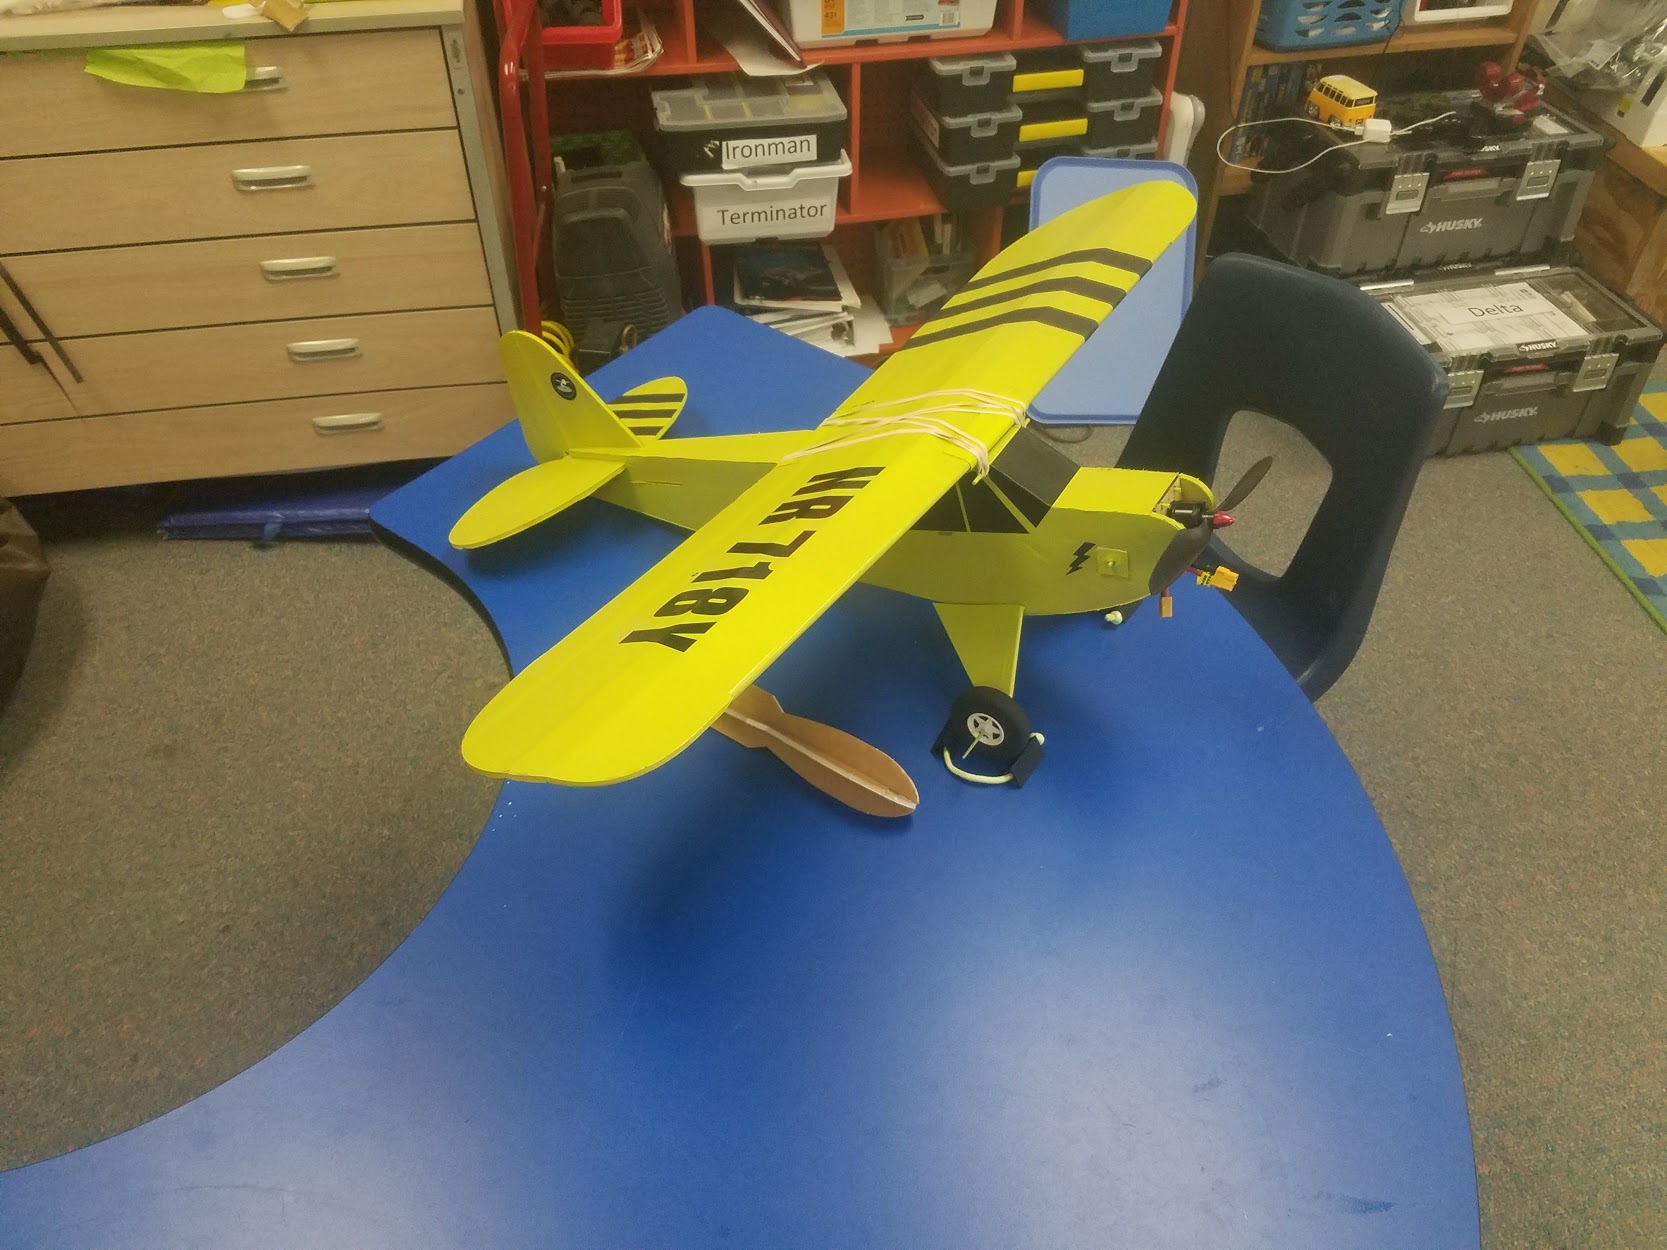
Top photo shows the receiver location. There's no real rule about location but I try to put it where I can reach it so if I remove the wing or powerpod I can pull the connectors with the receiver in my hand rather fixed to the fuselage. Bottom photo shows the battery location. Folks tend to add a battery strap in addition to the Velcro. I haven't had a problem with my second Cub build. As mentioned earlier, I cover the entire bottom of the power pod with Velcro as well as the entire side of the battery. I use a little hot glue under the self-adhesive Velcro on the powerpod because mine was coming off the waterproof foam board (I run a thin strip of glue under the Velcro, place it on the pod and use a piece of scrap FB to flatten it before the glue cools). I routed the ESC connector through the provided hole but on my SE5a build I waited until I had the plane finished and determined that I could route the ESC connector through the rear of the power pod and have less trouble with the location of all the wiring. Moving forward with builds, that's my plan. Build the plane and before paint, do a few experiments with wire routing and battery location before finishing the project. A few notes on the cub. My first motor was the old b-power pack motor and it was light so my battery was all the way forward. My second motor is the current motor and it's heavier. My landing gear and tires are also pretty heavy and move the CG forward so my battery pack is pretty far back (further than shown in this photo). You want to make sure your CG is correct or slightly nose heavy, especially for your maiden flight.
View attachment 108579
View attachment 108580