quorneng
Master member
I recently came across this foam RTF hand launch glider.
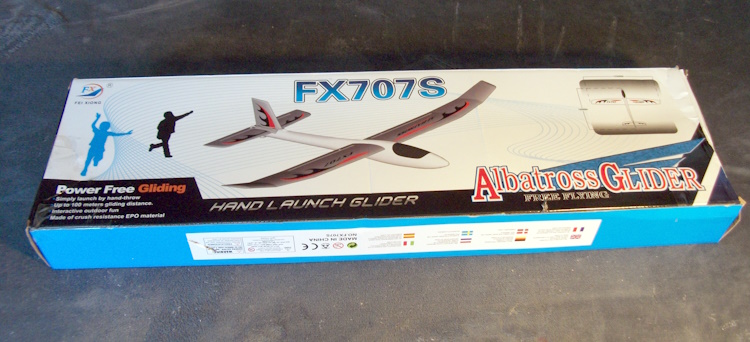
Just £20 delivered in the UK and at 1.2m span a bit bigger than a LIDL. Seemed an obvious candidate for a power conversion.
It proved to be very nicely moulded in EPO with a ready to fly weight of 280g. However with two big ball bearings in the nose for ballast removing them would save 83g for a start! Carbon tube reinforcement is provided in the box for both the wing and rear fuselage.
As designed the wing can be split into two for transport and the tail plane and fin are removable. All this requires quite a few bolts and a number of plastic fittings. I was happy to have a 'one piece' removable wing along with fixed tail feathers so most of the fittings and bolts could be dispensed with to save a few grams.
Although nicely moulded all the trailing edges were pretty thick at 3mm.
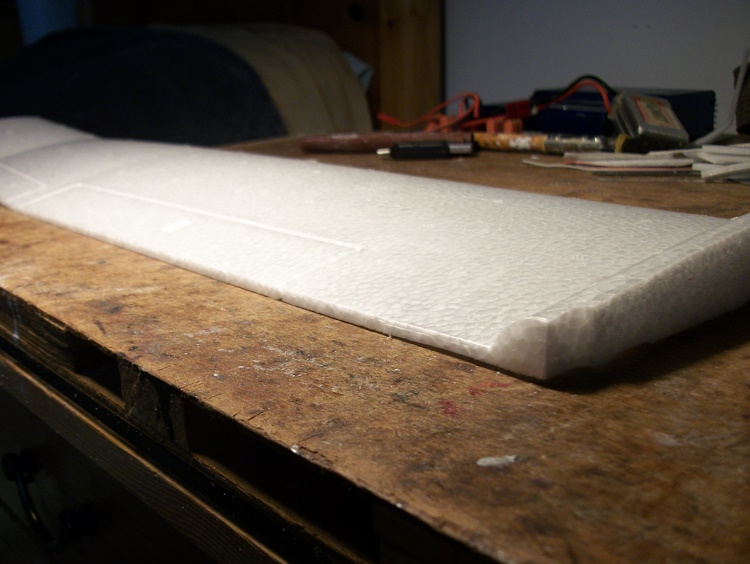
So, as I had done on my LIDL conversion, I added trailing edge 'extension' to give a fine 1mm edge.
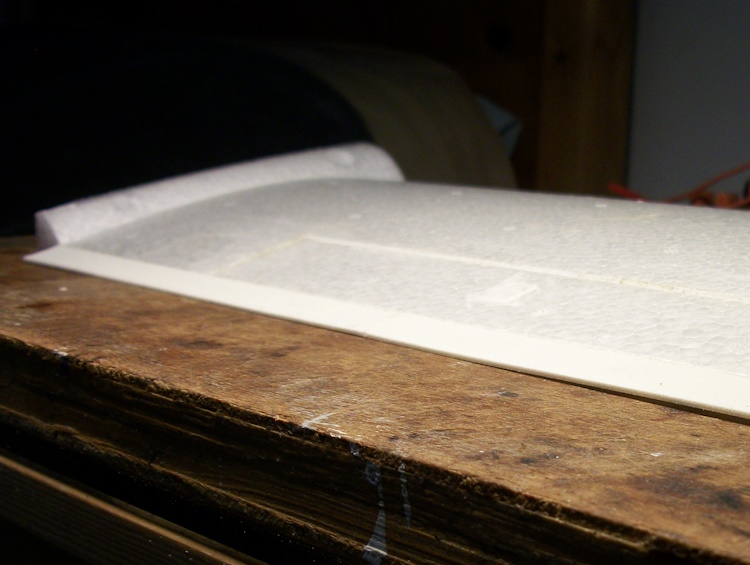
Rather than Depron as I had used before the extensions were printed in LW-PLA. A touch heavier but giving rather better 'ding' resistance.
The moulded wing had modest poly dihedral so as I intended this conversion to be more of a glider than a sports plane I put the ailerons on just the outboard sections of the wing.
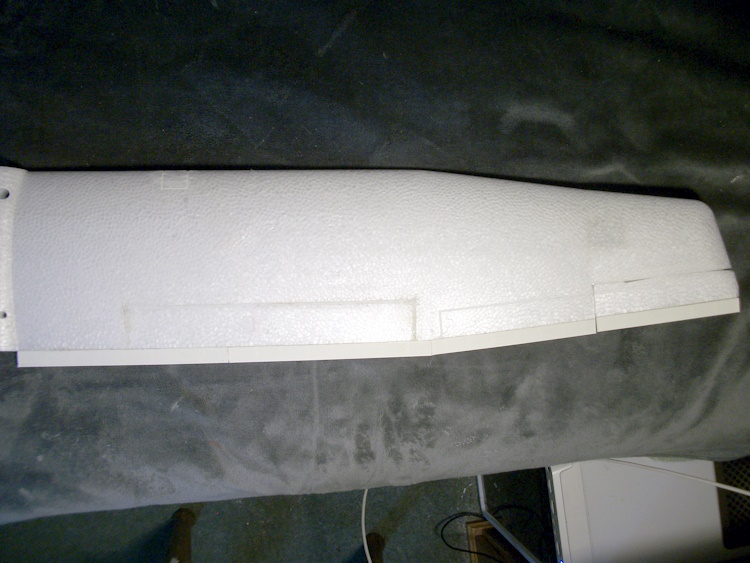
Although small by normal RC standards the extension does increase the area by 30%.
A micro 3.7g servo just fitted within the wing section. Fortuitously a slot was moulded all the way to the wing root to hold the servo wire.
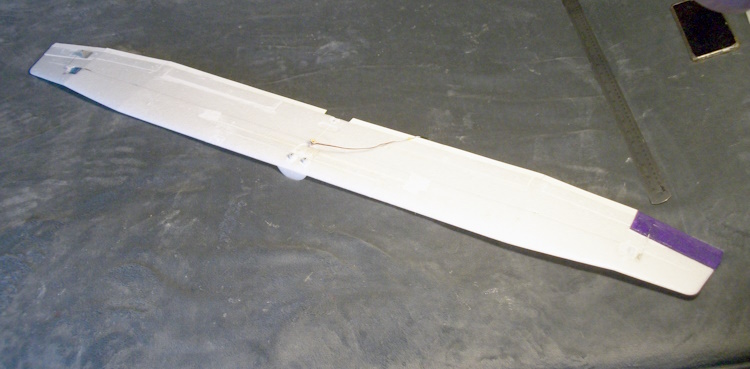
With all the other 'moulded in' features (flaps and wing mounted motors are indicated) carefully filled with Depron inserts the completed wing surface starts to match the quality of the original moulded surface.
The weight saved by adopting a one piece wing largely countered the weight of the aileron servos so the converted wing only adds 12g.
Next is the fuselage. This is where the majority of the weight saving is necessary to counter the weight of the battery and motor.
To be continued.

Just £20 delivered in the UK and at 1.2m span a bit bigger than a LIDL. Seemed an obvious candidate for a power conversion.
It proved to be very nicely moulded in EPO with a ready to fly weight of 280g. However with two big ball bearings in the nose for ballast removing them would save 83g for a start! Carbon tube reinforcement is provided in the box for both the wing and rear fuselage.
As designed the wing can be split into two for transport and the tail plane and fin are removable. All this requires quite a few bolts and a number of plastic fittings. I was happy to have a 'one piece' removable wing along with fixed tail feathers so most of the fittings and bolts could be dispensed with to save a few grams.
Although nicely moulded all the trailing edges were pretty thick at 3mm.

So, as I had done on my LIDL conversion, I added trailing edge 'extension' to give a fine 1mm edge.

Rather than Depron as I had used before the extensions were printed in LW-PLA. A touch heavier but giving rather better 'ding' resistance.
The moulded wing had modest poly dihedral so as I intended this conversion to be more of a glider than a sports plane I put the ailerons on just the outboard sections of the wing.

Although small by normal RC standards the extension does increase the area by 30%.
A micro 3.7g servo just fitted within the wing section. Fortuitously a slot was moulded all the way to the wing root to hold the servo wire.

With all the other 'moulded in' features (flaps and wing mounted motors are indicated) carefully filled with Depron inserts the completed wing surface starts to match the quality of the original moulded surface.
The weight saved by adopting a one piece wing largely countered the weight of the aileron servos so the converted wing only adds 12g.
Next is the fuselage. This is where the majority of the weight saving is necessary to counter the weight of the battery and motor.
To be continued.


