Transferring plans to foam

IanLeMasters

Junior Member
Total noob. And I hate to bring up a subject that's probably beaten to death. So your welcome to just post a link.

What's the easiest or best way to get my printed plans to the foam?

Scale is good. I printed them on card stock here at home.

Thanks so much.

Can't wait to get started.
 

CavRecon

Member
From one noob to another, please share! I am finding the process of printing, taping, cutting, glueing, cutting, tracing, cutting to be really tedious.

Yes, I know the quick answer is "speed build kits!" and have ordered a few of those. But knowing that the FT team is keen on getting folks into the hobby cheaply, I want to share with others who may not be able to afford.

Are there better/best practices to speed up the process?
 

kacknor

Build another!
From one noob to another, please share! I am finding the process of printing, taping, cutting, glueing, cutting, tracing, cutting to be really tedious.

Yes, I know the quick answer is "speed build kits!" and have ordered a few of those. But knowing that the FT team is keen on getting folks into the hobby cheaply, I want to share with others who may not be able to afford.

Are there better/best practices to speed up the process?

Heh Heh... That changes only with a speed build kit OR your own large format printer OR having somebody else print them up for you.

It's the truth of any decent outcome. The preparation is the most work and important. The GOOD tricks, IMO, are the ones that allow for re-use of the plans and avoidance of duplicate effort. Dollar Tree poster board and 3M Super 77 I like. If I want to make a second plane I can start with cutting foam, not printing plans. Helps a lot.

Not my idea, and I can't find the original posts so can't give credit. If somebody can I'd appreciate a link.

Basically the plans are printed, taped and cut (close to edges, not to edges) and then using 3M Super 77 are glued to the poster board. Then they are cut to the edge.

Each part is pined to foam, lines are traced around edges, pin holes to mark interior cut lines. Everything reusable after. Make a folder out of poster board to store the plans for later use.

Dollar Tree poster board is like .50 cents a sheet. Very cost effective.

JD
 

gregp

Member
I started by taping the plans to foam board in few places (you can cut the part out roughly or precisely). This is tedious process.
After reading a tip i tested gluing the paper part on poster board - this requires additional steps but works good.
For last build i used another tip i've seen in FT article - i printed on paper, joined and roughly cut out the parts. After that i used pins to attach the part in 2-3 points to the foamboard. Then i went with another pin and poke it in every corner where lines cross or join. Curves should be marked 1/2 to 1/3 inch apart.
After done poking just cut the part out by aligning the ruler between two marks and referencing the paper printout.
This brings great results and parts are easy to reuse.


Posterboard article
http://flitetest.com/articles/make-reusable-templates-from-plans

I can't find an article for pins unfortunately - will try later again.
 

dvx216

Member
One thing I found helpful is to set up your straight edge part with the foam board then with a small spring clamp clamp them down to your cutting board .This will keep every thing from shifting when you are cutting it.You can use a piece of a paint stick to keep from denting the foam if your clamp is to strong plus this will spread out the force of the clamp to hold every thing in place.
 

dvx216

Member
I also found its easier to cut small making corners is to cut them big and then with a sanding block sand them to shape .If you are making two pieces the same like wings clamp them together and shape them then they will be exactly the same.
 

IanLeMasters

Junior Member
From one noob to another, please share! I am finding the process of printing, taping, cutting, glueing, cutting, tracing, cutting to be really tedious.

Yes, I know the quick answer is "speed build kits!" and have ordered a few of those. But knowing that the FT team is keen on getting folks into the hobby cheaply, I want to share with others who may not be able to afford.

Are there better/best practices to speed up the process?


So. I decided to take the longer way. Print the tiles. Tape them together. Loose cut the pieces out. Then super77 them to foam board. Then cut them out precisely. Take care in this part as these are your master templates.
Then I traced the masters on to new foam and began the cutting all over again. This time on the real plane. Now I have a rigid set of masters for the plane. A little harder to store than poster board but you learn as you go. I made a tool to keep my finger from falling off while using bare razor blades. I have this stuff called quick steel. It's bought at the automotive stores near the counter. It's a putty that hardens. I rolled some of that up and squished it over a razor blade and then molded it to my fingers shape. Then I popped it off and let it harden. Now it holds my blade and keeps my finger tip alive. I'll post a pic.
 
From one noob to another, please share! I am finding the process of printing, taping, cutting, glueing, cutting, tracing, cutting to be really tedious.

Yes, I know the quick answer is "speed build kits!" and have ordered a few of those. But knowing that the FT team is keen on getting folks into the hobby cheaply, I want to share with others who may not be able to afford.

Are there better/best practices to speed up the process?

What I did:

1) Print out the tiled plans.
2) Look at the plans, see which pages need to go together and which can be separated. Tape together the pages that need to be joined (i.e. where a part overlaps the page boundaries).
3) Crudely cut the plans so that each part is separated; just run scissors between them. Quickly trim the excess.
4) Use clear packing tape to secure one part at a time to the foamboard, completely covering the part template with tape.
5) Razor around the outline of the part.

You should now have (a) the part, and (b) a reusable template of tape-coated paper. The internal score lines won't be on the foamboard, but those are easy to add with a pen and a ruler, using the template as a guide. Punch a pin through the template where required to mark internal lines.
 

Capt_Beavis

Posted a thousand or more times
I use bascially the same method as Wanderfound but I use Scotch type tape. I start on the inner most cuts and work my way out. Sometimes I have to add some tape for reinforcement as I am cutting. For curves, I make a very shallow guide cut first and then go back and make it deeper.

I have only rebuilt one plane so transferring to poster board doesn't make much sense for me.
 

Zero9r

New member
What I do is use pins. I place a pin at each intersection and start and finish of a line on the plans. for curves I just poke a ton of holes along the curve. After all the pins are placed I remove them and set the plan so I can view them. Then I take my fine tipped markers (corresponding to color of lines on plan), meter stick and start connecting the dots as per the original plans in front of me. It works really good. It keeps the foam board Clean with no glue marks left behind and no need to cut out each piece to glue down. This also leaves the plans intact and easy to fold up or roll up for storage and reuse.
 

LooseBruce

Senior Member
Cereal Boxes

Heh Heh... That changes only with a speed build kit OR your own large format printer OR having somebody else print them up for you.

It's the truth of any decent outcome. The preparation is the most work and important. The GOOD tricks, IMO, are the ones that allow for re-use of the plans and avoidance of duplicate effort. Dollar Tree poster board and 3M Super 77 I like. If I want to make a second plane I can start with cutting foam, not printing plans. Helps a lot.

Not my idea, and I can't find the original posts so can't give credit. If somebody can I'd appreciate a link.

Basically the plans are printed, taped and cut (close to edges, not to edges) and then using 3M Super 77 are glued to the poster board. Then they are cut to the edge.

Each part is pined to foam, lines are traced around edges, pin holes to mark interior cut lines. Everything reusable after. Make a folder out of poster board to store the plans for later use.

Dollar Tree poster board is like .50 cents a sheet. Very cost effective.

JD
I use saved cereal boxes instead of poster board. When I am done I fold up the templates to 8-1/2 x 11" ,put them in gallon ziplock bags and store them in a file cabinet. It is almost insurance. By having the templates available I
I crash less.:)
 

jderickt67

Junior Member
Total noob. And I hate to bring up a subject that's probably beaten to death. So your welcome to just post a link.

What's the easiest or best way to get my printed plans to the foam?

Scale is good. I printed them on card stock here at home.

Thanks so much.

Can't wait to get started.

Haven't had the opportunitiy to build anything yet but I use a method for carving artificial pumpkins. Krylon makes a product called Easy-Tack. It's an adhesive for stencils. I spray it on my pattern then press it onto my pumpkin then carve it with a Dremel. It doesn't leave a residue normally and it it does you can just rub it off. If you're printing tiles and placing them on the foamboard this would speed up the transfer process.
 

kacknor

Build another!
I use saved cereal boxes instead of poster board. When I am done I fold up the templates to 8-1/2 x 11" ,put them in gallon ziplock bags and store them in a file cabinet. It is almost insurance. By having the templates available I
I crash less.:)

Dang, I wish crashing less were that easy for me!! ;)

JD
 

bhursey

The Geeky Pilot
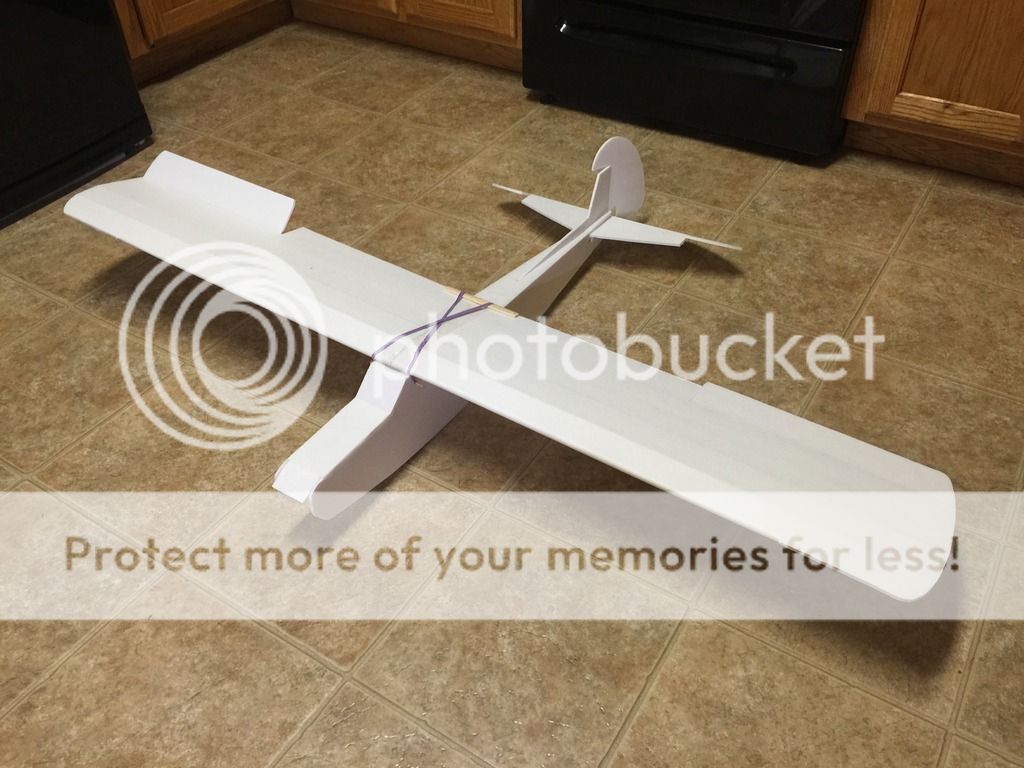
I did the templet method with the arrow. Its awsome but initional templet makeing is about 3 houers..
image.jpg

image.jpg
 
Last edited: