
This design of mine has been out for a while, but I just built another one using decals and thought an actual build thread would be a good idea.

Reccomended Electronics:
All Up Weight 70-80 grams depending on setup
13" Wingspan
6.4g HD1610 3400kv Motor
5030 Gemfan Prop - 5" Maximum Prop Size
6AMP Plush ESC
1.7g Servo x2 - Dual Elevon Setup - I also know that 3.7G servos will work.
Micro Receiver - If using larger servos, you can also use a standard size receiver.
Gift Card Firewall and Servo Horns
180-260mah 2s
6 Minute Flight Times with 260mah 2s
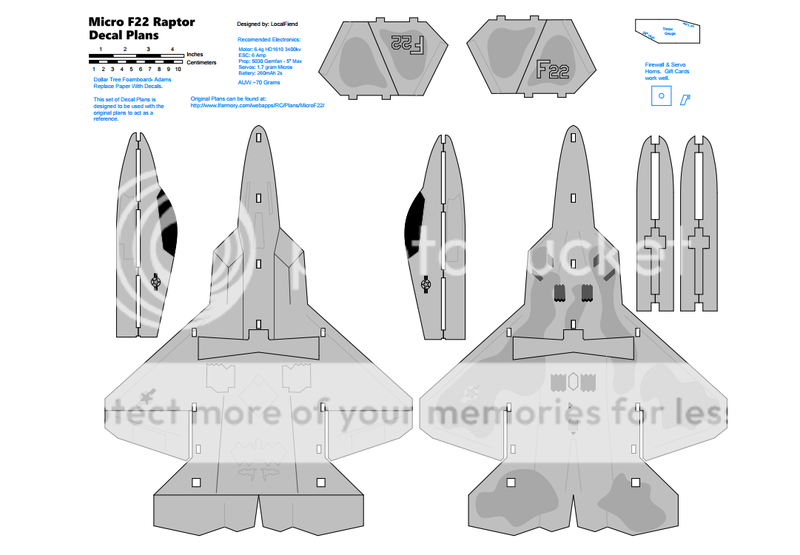
First off here's the Standard Plans:
Tiled 8.5x11 Plans
Full Plans
And here's the various Decal Versions used in this build thread:
Decal Plans Full
Decal Plans 18x24
Decal Plans 8.5x11 Tiled
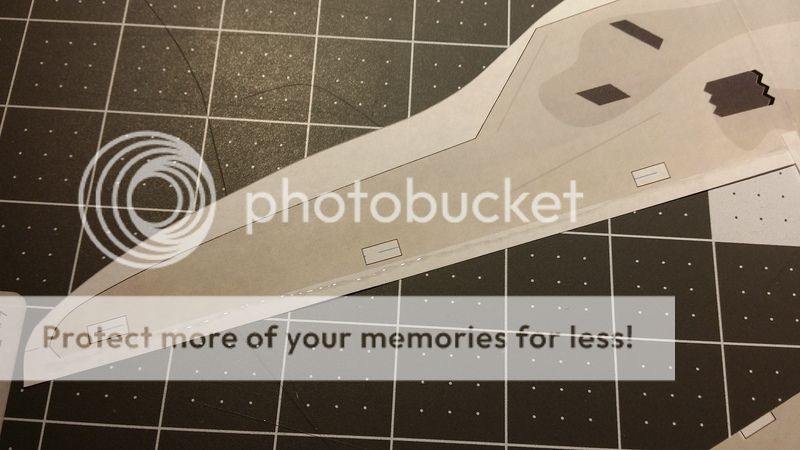
Print or have your Decal Plans printed by someone like Staples. Cut out all the main body pieces and join them together. In the past I've used scotch tape, but a thin bead of CA seems to work quite well for joining pieces too big to fit onto one sheet.
Once everything is joined, find a suitable section of foamboard.
Peel the paper off of the foam board. I just get a fingernail under a corner and it comes right off. If you're using adams foamboard this part is really easy.

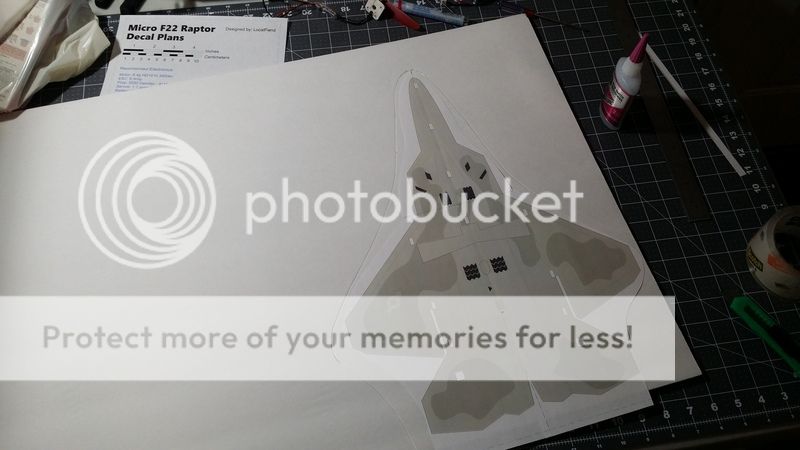
Using some sort of adhesive (I'm partial to 3M Super 77) glue the decal to one side of the foam. I like to start with the top side first, or whatever side will be seen the most. If you're using Super 77, spray the paper decal not the foam. The propellant in the can will eat foam if sprayed directly on it. After spraying, I give the glue about 30 seconds to tack up before I apply it to the foam.

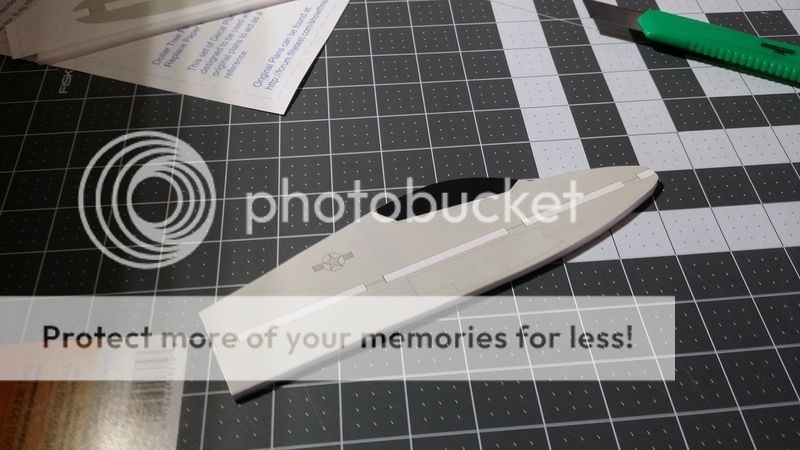
Cut out all the exterior lines on the foamboard. Then, if you haven't already done so, assemble the main body pieces for the bottom side. Cut out most of the exterior lines on the paper (leaving some space to grab onto makes lining things up easier). Once the foamboard and bottom paper pieces are cut out, carefully glue the bottom decal to the foamboard.

Once the main body piece has it's decals on both sides, you can go ahead and cut out all the internal lines. You can also make your 50% score cuts for control surfaces and 45 degree bevels. The Decal plans have all the lines you need, but if anything is confusing refer back to the standard plans. They follow standard flightest convention and colors.
Repeat the same process for the vertical fins. I like to leave them stuck together until after both sides are glued, then they can be separated.


Do the same for the Nose Section and the two bottom rails.
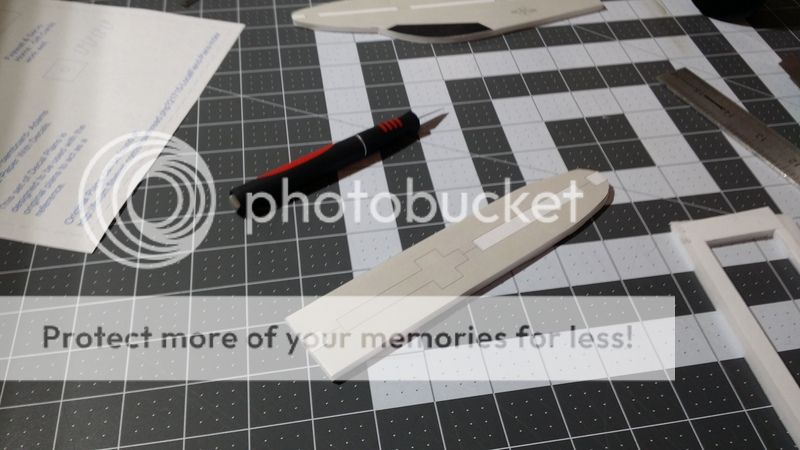

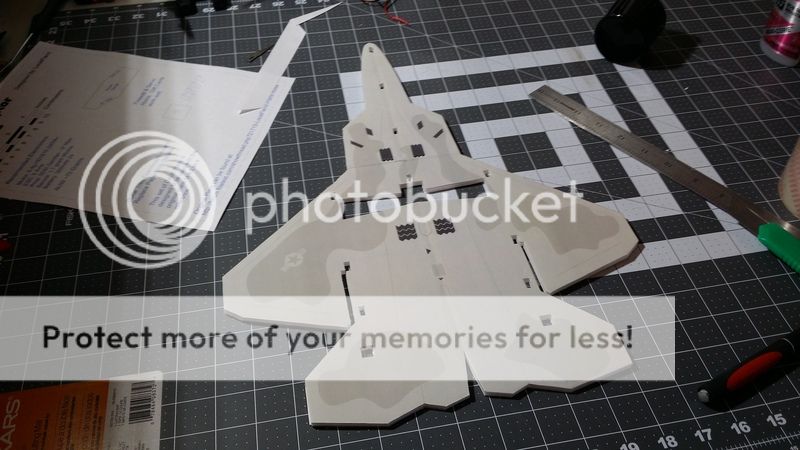
Go ahead and test fit things. If everything goes together easily now, it will be easier to glue together later. Weight for the Foamboard and Decals should be around 32 grams.
Test fit your motor. The plans have a firewall template. I've been building mine out of gift cards. If you motor is taller than mine, simply trim the nose and main body pieces to fit.
If you didn't already cut your control surface bevels do so now. I also like to use the hot glue hinge trick, it's useful even on micros.


Scuff up your servos. I'm using 3.7g servos for this build as it's all I had, but the 1.9g hobbyking servos also work very well.
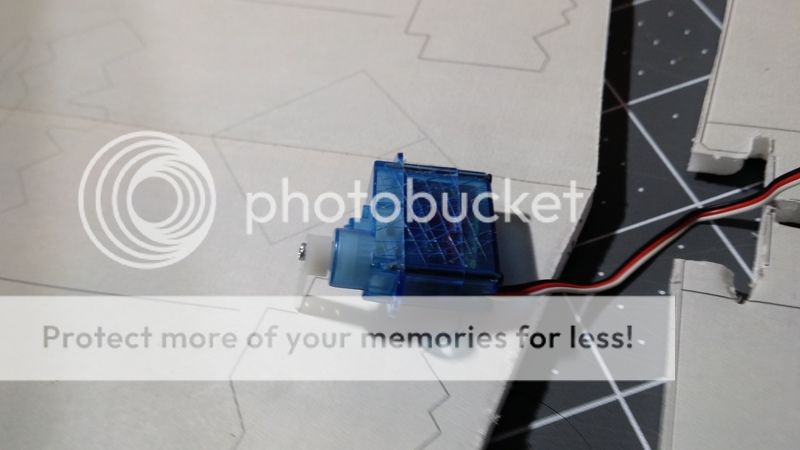
Glue them into place. The servos should be in front of the control surfaces. There is a marked spot on the rail, but feel free to move things around to suit your CG requirements and servo size.

Once the servos are in place I like to cut a slot to run the wires forward to the reciever.

Open up the slot with a BBQ Skewer and insert the wires. A bit of hot glue over the top keeps them in place. You don't want to chop a wire mid flight.")


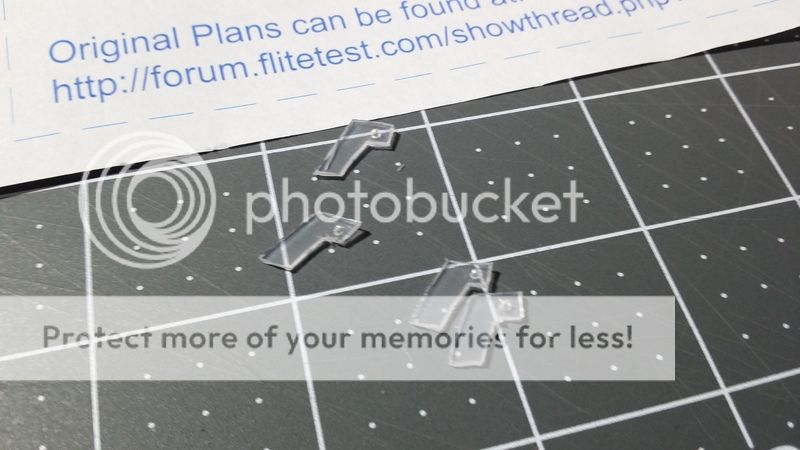
Cut out your servo horns. Once again gift cards work well, or just about any strong thin plastic. Here I'm using an old servo box.
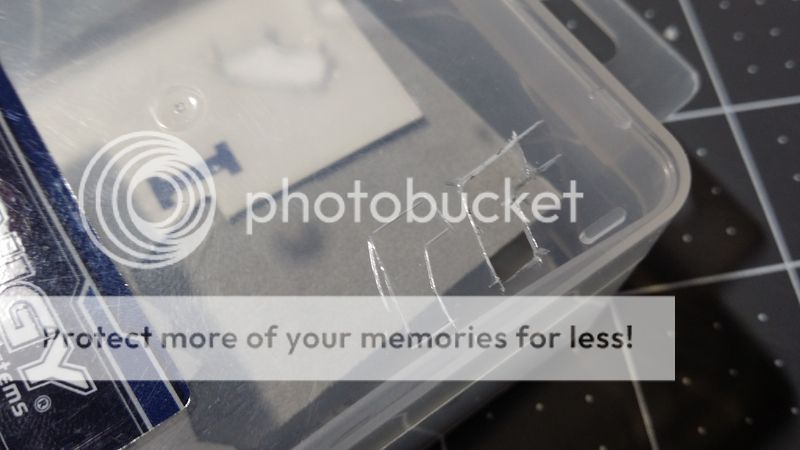
They don't need to be perfect. A needle or safety pin works great for adding holes.
The bottom servo hole has plenty of travel for this build. If your servo holes are close to this it should all work out. For control rod I'm using some small carbon fiber rod, even smaller metal wire, CA, and a bit of heat shrink to hold everything together. The servo end and rear elevon use a standard Z bend.
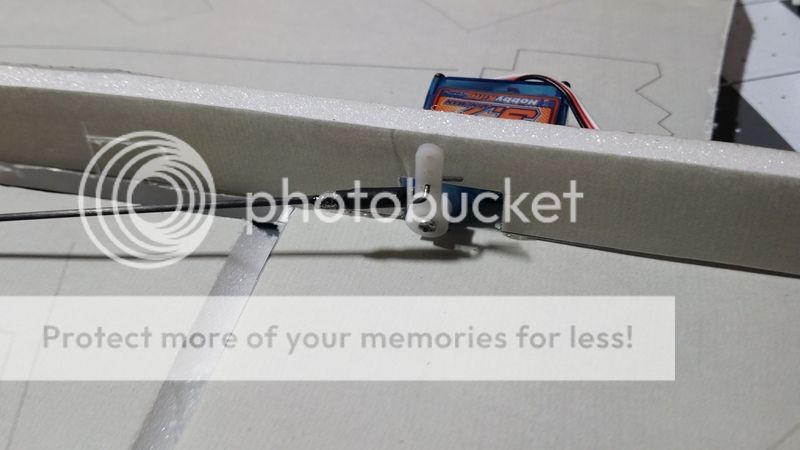
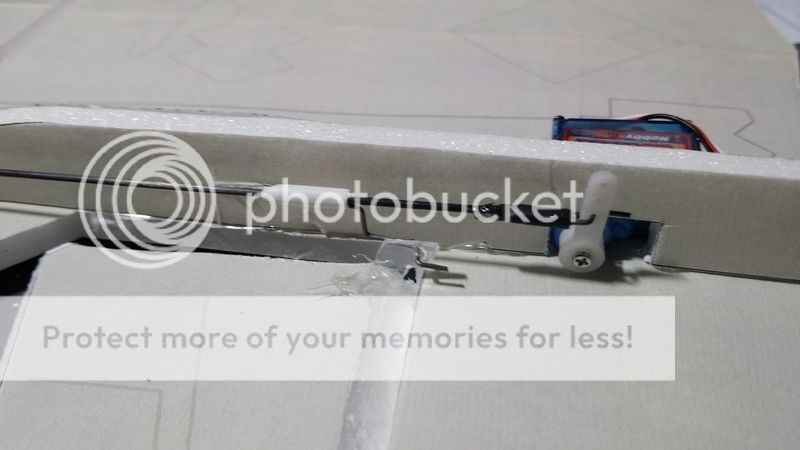
The front Elevons use a Z bend with a bit of drop in it. This helps line everything up. In the below picture you can also see a small piece of heat shrink. I like to heat one end of it so that it grabs the wire and holds things in place while you're getting things lined up.

Here's what the front elevon should look like before you glue and heat shrink it into place.
Here's the rear elevon setup:
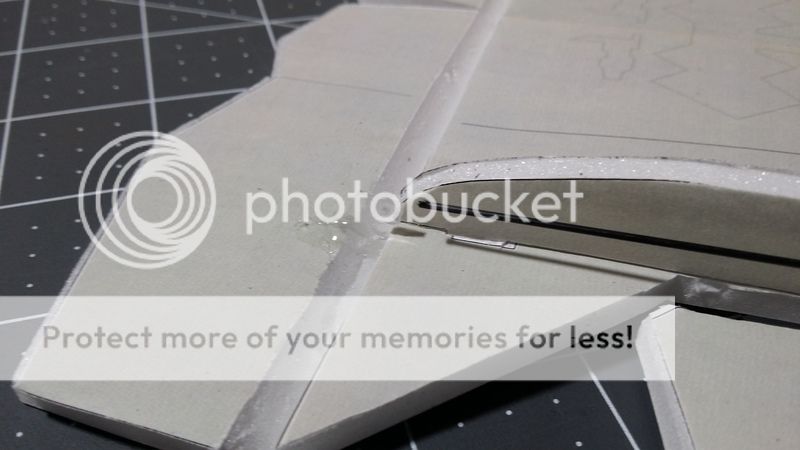
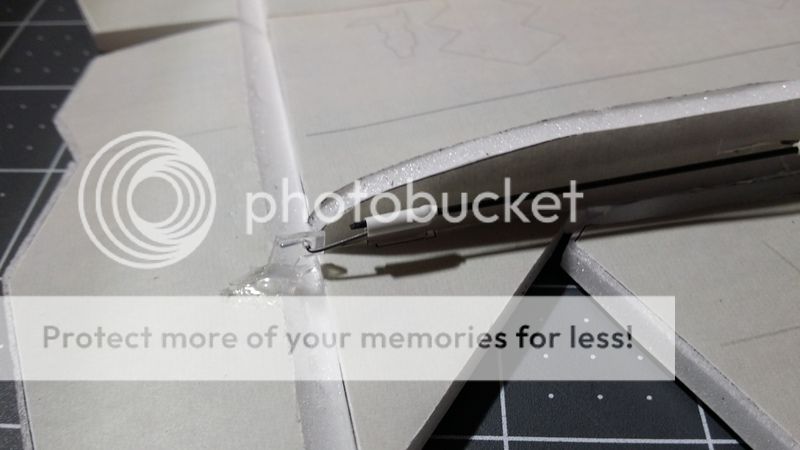
Once you have everything in place, slip some aluminum foil between the linkage and the plane. Make sure the front and rear control surfaces are flat. When everything is lined up and your servos are centered, squirt some CA into the heat shrink and then apply heat. This method makes for very strong linkages. I've completely destroyed several micro planes, but have never had any linkage parts fail.

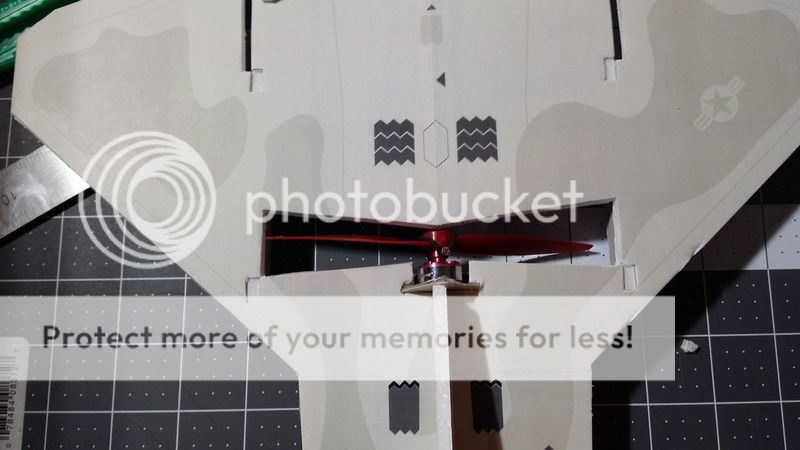
Here's the completed underside:
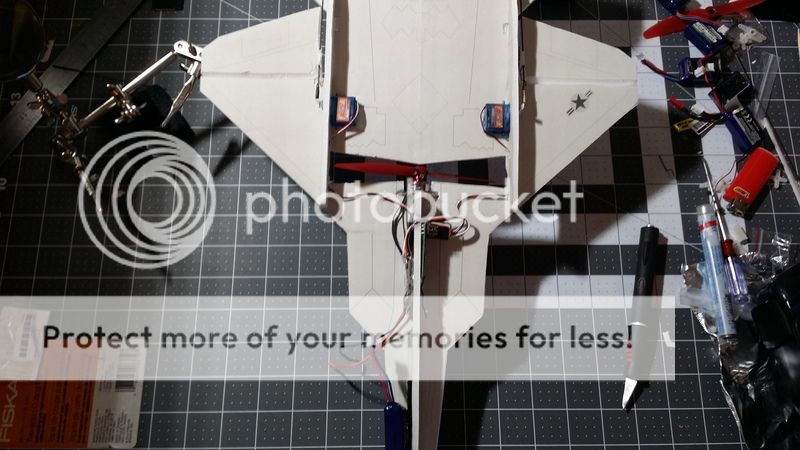
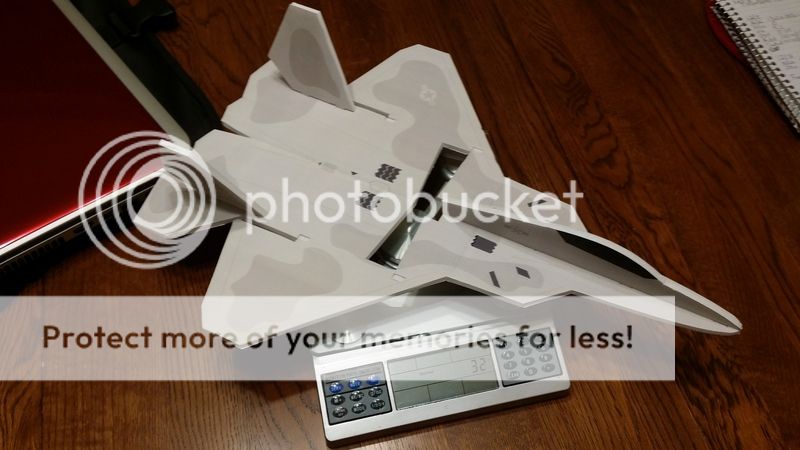
Once the underside and linkages are complete, glue in the top Nose piece and the vertical fins. I give the fins a bit of angle for looks. I don't think it actually matters too much what the angle is so long as both sides are equal.
All up weight including battery is 81 grams. Start with your CG right at the end of the bottom rails. If you want to make things more exciting the CG can be moved further back.

I'm going to be doing the maiden on this build tomorrow in a local gym, so I added some landing gear. I don't know how well this will work, but If it works out the way I'm hoping, I'll be able to do some silly things indoors.


Reccomended Electronics:
All Up Weight 70-80 grams depending on setup
13" Wingspan
6.4g HD1610 3400kv Motor
5030 Gemfan Prop - 5" Maximum Prop Size
6AMP Plush ESC
1.7g Servo x2 - Dual Elevon Setup - I also know that 3.7G servos will work.
Micro Receiver - If using larger servos, you can also use a standard size receiver.
Gift Card Firewall and Servo Horns
180-260mah 2s
6 Minute Flight Times with 260mah 2s
First off here's the Standard Plans:
Tiled 8.5x11 Plans
Full Plans
And here's the various Decal Versions used in this build thread:
Decal Plans Full
Decal Plans 18x24
Decal Plans 8.5x11 Tiled
Print or have your Decal Plans printed by someone like Staples. Cut out all the main body pieces and join them together. In the past I've used scotch tape, but a thin bead of CA seems to work quite well for joining pieces too big to fit onto one sheet.

Once everything is joined, find a suitable section of foamboard.

Peel the paper off of the foam board. I just get a fingernail under a corner and it comes right off. If you're using adams foamboard this part is really easy.

Using some sort of adhesive (I'm partial to 3M Super 77) glue the decal to one side of the foam. I like to start with the top side first, or whatever side will be seen the most. If you're using Super 77, spray the paper decal not the foam. The propellant in the can will eat foam if sprayed directly on it. After spraying, I give the glue about 30 seconds to tack up before I apply it to the foam.

Cut out all the exterior lines on the foamboard. Then, if you haven't already done so, assemble the main body pieces for the bottom side. Cut out most of the exterior lines on the paper (leaving some space to grab onto makes lining things up easier). Once the foamboard and bottom paper pieces are cut out, carefully glue the bottom decal to the foamboard.

Once the main body piece has it's decals on both sides, you can go ahead and cut out all the internal lines. You can also make your 50% score cuts for control surfaces and 45 degree bevels. The Decal plans have all the lines you need, but if anything is confusing refer back to the standard plans. They follow standard flightest convention and colors.

Repeat the same process for the vertical fins. I like to leave them stuck together until after both sides are glued, then they can be separated.


Do the same for the Nose Section and the two bottom rails.


Go ahead and test fit things. If everything goes together easily now, it will be easier to glue together later. Weight for the Foamboard and Decals should be around 32 grams.

Test fit your motor. The plans have a firewall template. I've been building mine out of gift cards. If you motor is taller than mine, simply trim the nose and main body pieces to fit.

If you didn't already cut your control surface bevels do so now. I also like to use the hot glue hinge trick, it's useful even on micros.


Scuff up your servos. I'm using 3.7g servos for this build as it's all I had, but the 1.9g hobbyking servos also work very well.

Glue them into place. The servos should be in front of the control surfaces. There is a marked spot on the rail, but feel free to move things around to suit your CG requirements and servo size.

Once the servos are in place I like to cut a slot to run the wires forward to the reciever.

Open up the slot with a BBQ Skewer and insert the wires. A bit of hot glue over the top keeps them in place. You don't want to chop a wire mid flight.


Cut out your servo horns. Once again gift cards work well, or just about any strong thin plastic. Here I'm using an old servo box.

They don't need to be perfect. A needle or safety pin works great for adding holes.

The bottom servo hole has plenty of travel for this build. If your servo holes are close to this it should all work out. For control rod I'm using some small carbon fiber rod, even smaller metal wire, CA, and a bit of heat shrink to hold everything together. The servo end and rear elevon use a standard Z bend.

The front Elevons use a Z bend with a bit of drop in it. This helps line everything up. In the below picture you can also see a small piece of heat shrink. I like to heat one end of it so that it grabs the wire and holds things in place while you're getting things lined up.

Here's what the front elevon should look like before you glue and heat shrink it into place.

Here's the rear elevon setup:


Once you have everything in place, slip some aluminum foil between the linkage and the plane. Make sure the front and rear control surfaces are flat. When everything is lined up and your servos are centered, squirt some CA into the heat shrink and then apply heat. This method makes for very strong linkages. I've completely destroyed several micro planes, but have never had any linkage parts fail.

Here's the completed underside:

Once the underside and linkages are complete, glue in the top Nose piece and the vertical fins. I give the fins a bit of angle for looks. I don't think it actually matters too much what the angle is so long as both sides are equal.
All up weight including battery is 81 grams. Start with your CG right at the end of the bottom rails. If you want to make things more exciting the CG can be moved further back.

I'm going to be doing the maiden on this build tomorrow in a local gym, so I added some landing gear. I don't know how well this will work, but If it works out the way I'm hoping, I'll be able to do some silly things indoors.
