Easy to Build - Swappable DTF Floats & Ski's

localfiend

I like 3D printers...
Mentor
Easy to Build - Swappable DTF Floats & Skis

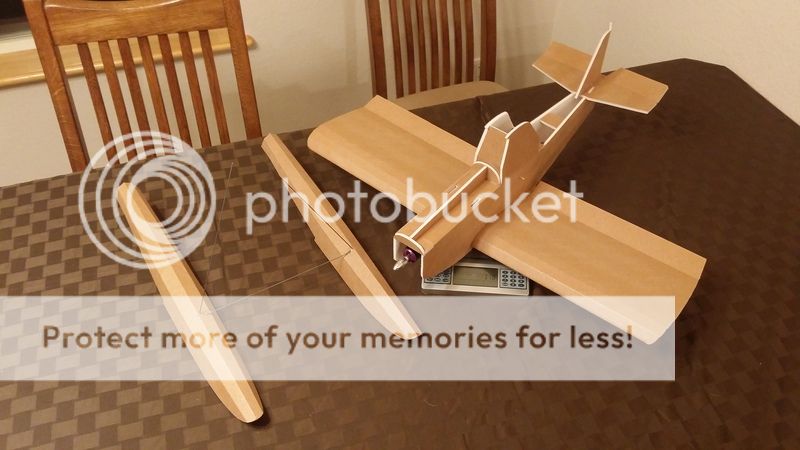
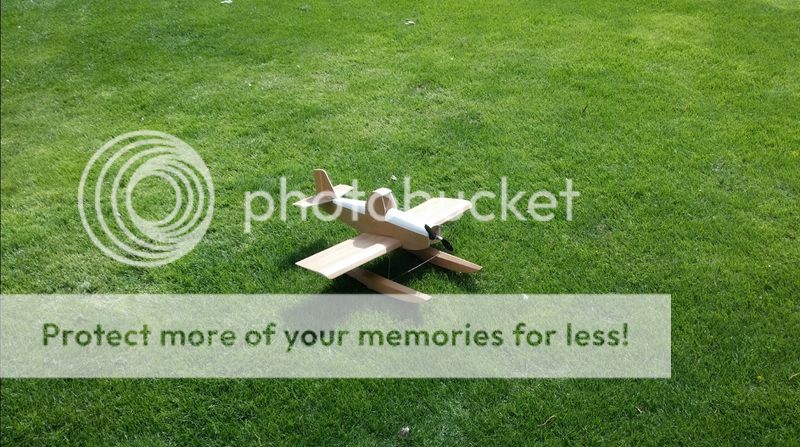
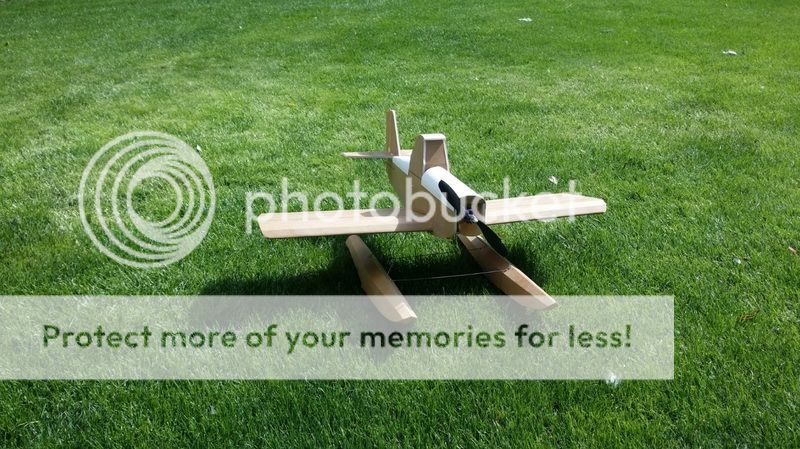
Due to all the snow we've been having in my area I was forced to come up with some ski's if I wanted to fly my 42" Zero Swappable design. After using some crummy ski's that only worked half the time, and discovering that there were actual wartime Zeros with floats, I went all out and built a scale set for my plane.


They're simply Dollar Tree foam, packing tape, and hot glue. Waterproof and incredibly strong with the simple internal supports. Light weight too.

While doing the design work I though it would be cool to adapt the design and come up with some swappable floats and ski's that could be used for the various FT planes out there. I know that planes like the Storch and the Bushwacker would be excellent candidates for floats.

Just about any of the larger planes could benefit from ski's, and planes like the Spitfire, Mustang, Sportster, or even the Cruiser and Guinea Pig could also be a lot of fun on Floats.


*******************************************************

So here's the Beta Plans as they stand now:

Scale Triple Floats for 42" Zero Beta v.4 - Tiled

These are suitable for my 42" Zero design or any other warbird or equivalent sized plane you'd like to stick tri floats on.


Swappable Ski's - 7.7" Version - Tiled

Suitable for just about any FT Plane that takes the standard size power pod. Think they would even work fine for the smaller swappable stuff like the FT Flyer etc...


21" Dual Swappable Floats for ~30" Wingspan Planes - Full - Tiled

These should work great on the smaller swappable series planes like the Baby Blender, Duster, or Bloody Wonder/Baron.

27" Dual Swappable Floats for the Bushwacker - Tiled - Full

Increased the step, and went a bit shorter, and made the rear section one piece instead of two. Mostly just to see what would happen. Turns out these work great and I'll probably replace the 29" version with these.


29" Dual Swappable Floats for > 40" Wingspan Planes - Full - Tiled

Suitable for any FT plane with a greater than 40" Wingspan. Should be excellent for planes like the Storch, Bushwacker, or Spitfire.
 
Last edited:

localfiend

I like 3D printers...
Mentor
These build instructions were made using plans for the 21" long floats designed for ~30" wingspan planes. Different sizes may have some slight variations (more formers), but should overall be the same.

First step, cut out all your parts. I reccomend using the new water resistant foam, but this can also be done with standard DTF. If you are going to use standard DTF, coat the outside of the foam with a layer of packing tape. Or better yet, remove all the paper from a sheet of DTF and coat one whole side with packing tape. No paper to get soggy, and you save a bunch of weight.

Tape can be added after you've finished a build, but it's easier by far if you add the tape before you start folding stuff.

Grab the main top section and remove paper as shown in the plans. You can also poke holes now for your landing gear wires. I messed up here and did the 3 wire setup. The landing gear wire locations and angles may be different if you're trying to copy a scale plane, but I've added markers to the plans for a generic two wire setup.


Fold back one edge of the top section:


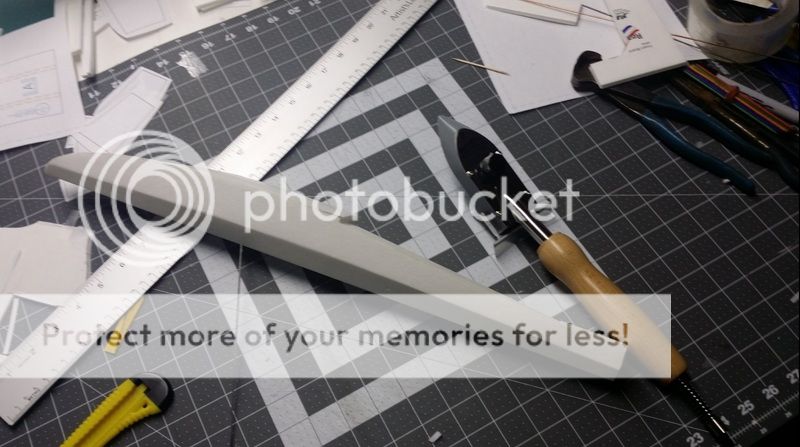
You're going to want to make a slight bevel cut the entire length of the float. Here's an approximate depth. It doesn't have to be perfect, there is a former to help make sure you get the right angles. Cut the bevel to both outer edges.


When you're done with the outer edges, you're going to want to bevel the center score cut as well. This one is a double bevel, and as such I try and take off even less than the previous.

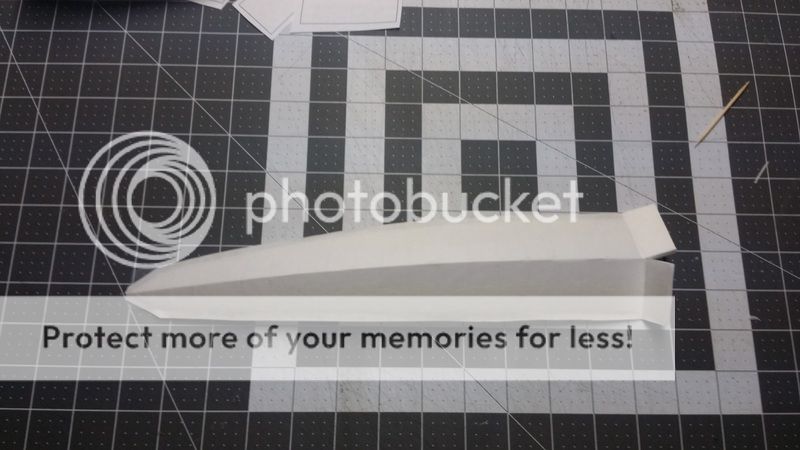
Here's what it should look like when done:


Now grab your bottom plates. Remove paper and foam as called for in the plans. Ignore the tab on the back of the plate. I was unsure of length when I took these pictures. The length is correct on the plans so you won't see the tab. You can also see that I've beveled the inner edge of the plate. Do both plates.


One the plates are finished, begin taping them together like so. The important thing here is that the foam lines up. It looks like I'm off in the picture, but that was just the result of a knife slip. I cut off too much paper.


Keep adding pieces of tape:


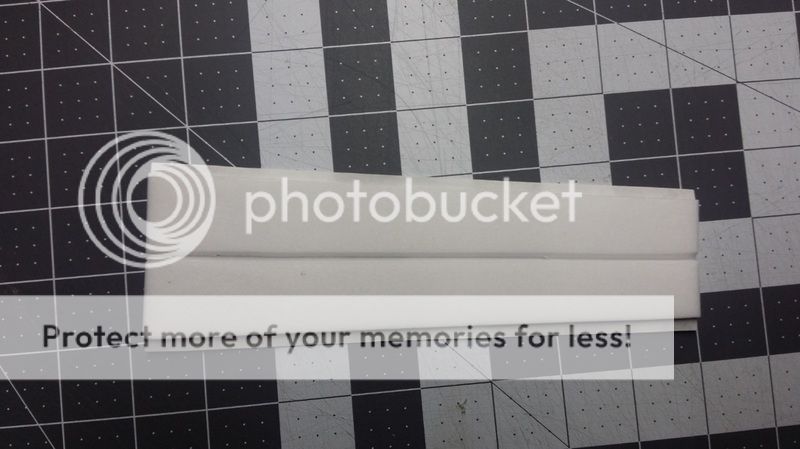
Here's what it should look like when done. When the tape is all on, you can run a bead of glue down that center seem and smear it in. You want it to be well sealed. Unfortuneately, I forgot to take a picture of the glue, but it's pretty straight forward what you want to do. It needs to be water tight.


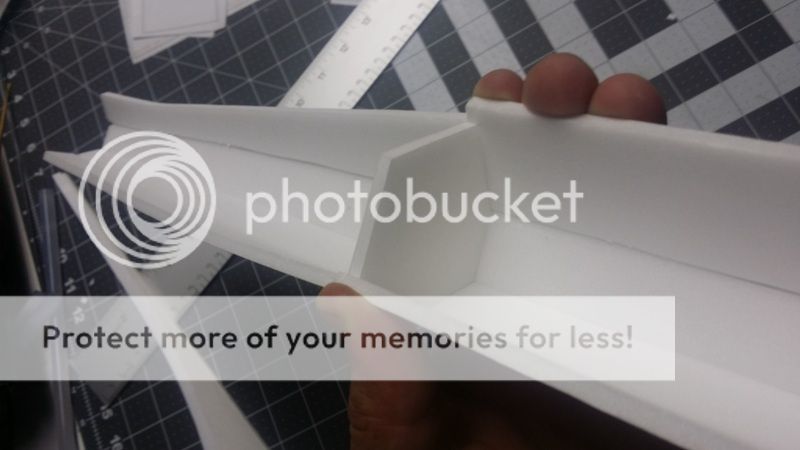
Test bend the top section around the center former. If you didn't bevel things enough you'll find out now. It's very simple to go back and remove a little more material. Once things fit you can glue the former in place. Here's what it should look like before adding glue:


Here's how I've decided to add my landing gear wires. Cut a Popsicle stick in half, add a bead of glue, then wrap with some tape for extra security.


Poke your wire through the hole and glue the stick in place:


For added security you can glue a piece of scrap foam over the top of the Popsicle stick.


Once you're satisfied with the front landing gear wire, go ahead and glue in the bottom plate section. I like to leave the last 1.5 inches or so unglued as it makes things easier to do in stages.


When the glue is dry, go ahead and finish off the bottom plate. As usual for DTF and hot glue, the table is your friend.


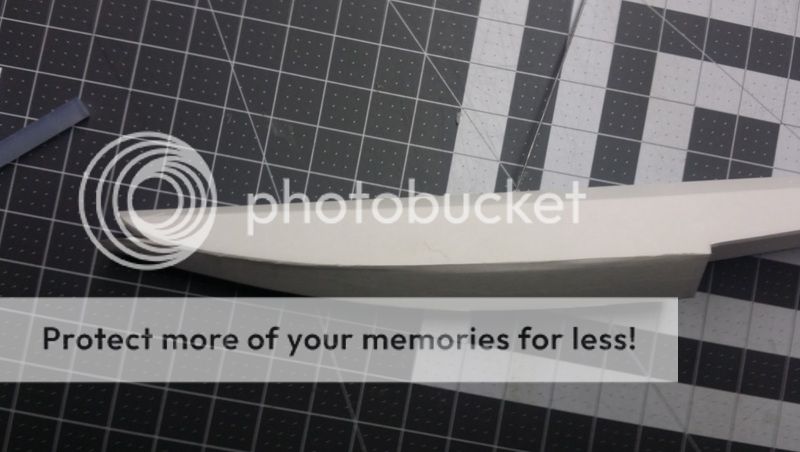
After a rough trim of the overhanging edges it's starting to look like a float:


Next install your rear wire. This is just a mockup, as I don't plan to use this float and was in a hurry. I'm waiting for my case of water resistant foam to get here.


Now grab the long rear bottom plate. Bevel the center the same way you did the center on everything else, and remove paper.


Test fit and then glue. If you want to make things easier, you can add glue to the center bevel, then hold it in place on the float until it dries at the correct angle. Then you can glue the piece down.


Rinse and repeat for the very last bottom plate section:


Now you just need to glue in the endcap. If you kept everything straight, the cap should go right in. If stuff is off a bit, no big deal, just trim the cap to fit.


Now that everything is done you can go ahead and trim all the excess paper off the overhanging edges. Also take the time to seal all the edges in case you missed a bit of glue. You can go back over things with the tip of your glue gun if anything wasn't glued down perfectly. I've recently purchased a cheapo monokote iron, and it's excellent for sealing edges.


If you didn't press something down hard enough, or got something mis-aligned, the iron is excellent for shifting and sealing. With very little work you can get a near perfect seam everywhere:


Float should end up pretty light, even with some hefty wires. The 21" version comes in around 33 grams per float If you decide to build this without paper, and use only packing tape, you'll probably save 6 grams or so.


Last edited:

localfiend

I like 3D printers...
Mentor
Looks awesome. Any opportunities to test it out on water yet?

I have not tried it on water other than driving it around quickly. Been too cold for swimming so I figured I better not risk it. :eek:


I've expanded this concept and am currently working on a PBY Catalina:

http://forum.flitetest.com/showthre...ot-Mini-quot-PBY-5A-Catalina-WWII-Flying-Boat

When the PBY is done I think I'll be making a full day of water flying. I need to build one of the double float sets above and pick a FT plane to put them on. Just got to decide which. The Storch or Bushwacker are the obvious choices.

However there were several variations of Spitfire's with floats.


Got a case of water resistant FT foam coming in next week, so I'll be set for whatever.
 

localfiend

I like 3D printers...
Mentor
I have updated the first post and have added 21" floats for planes with ~30" wingspans. These floats have been build tested, and I finally updated the second post to add the build instructions.
 

Rasterize

Maker of skins and decals for foam board RC planes
Moderator
Mentor
...I need to build one of the double float sets above and pick a FT plane to put them on. Just got to decide which.

Easy question. Put them on a FT Duster to make Dusty from the second movie, "Planes Fire and Rescue". You know somebody is going to do it. You should be the first.

Dusty.jpg
 
Last edited:

SP0NZ

FT CAD Gremlin
Staff member
Admin
Moderator
Mentor
I've said it before and I'll say it again, and again, and again. You are doing some amazing work my friend. Keep it up.
 

localfiend

I like 3D printers...
Mentor
Easy question. Put them on a FT Duster to make Dusty from the second movie, "Planes Fire and Rescue". You know somebody is going to do it. You should be the first.

View attachment 66389

I'm probably about due for another Duster. I think the Duster was my third plane. If I remember right, it bobbed about a bit, which could be challenging for water landings. Of course, I was still having basic orientation issues at the time, so it may be way more manageable now that my piloting skills have moved past beginner.

I think I'll take a look at the plans and see if they can't be tweaked a bit. I think it would behave better if I could drop a bunch of weight from the plane.

I've said it before and I'll say it again, and again, and again. You are doing some amazing work my friend. Keep it up.

Thanks. Got to waste time somehow. Planes are a great way to do it. :D
 

localfiend

I like 3D printers...
Mentor
Great job! Any chance of you posting Full size plans (Untiled)

Yup, I'll try and get untiled versions out this evening. I also plan to release these in the other sizes, won't take much work now that I have it figured out.

Anyone have opinions on what sizes I should make these for? Won't be too much trouble to have a bunch of different sizes if the 2 sizes fits all approach isn't your thing.

Wonder if these would work at mighty mini sizes? I'd imagine my Gloster Gladiator could haul a set around with no wing loading issues.
 

localfiend

I like 3D printers...
Mentor
Updated the first post with a link to the Full Untiled version of the 21" floats. Haven't gotten around to making the other sizes yet. We'll see how busy I am tonight.

There's really not much to these. Only a few pieces of foam to cut out per float.

 
Last edited:

localfiend

I like 3D printers...
Mentor
Added plans to the first post that have the updated design for FT's larger planes. 29" Floats in Tiled and Full formats.

Should work great for the bigger stuff like the Storch and Bushwacker. Would also work for the Spitfire, Mustang, Racer etc...

These plans haven't been built by me, but nothing changed, and stuff should just work. You might consider adding some scrap foam to the internals for a bit of reinforcement. If you're curious what that would look like, take a look at my 42" Zero Floats build.
 

flyingsquirrelRC

Senior Member
didn't they already do the ft duster with floats in the fire and rescue episode? you know, he always flipped and they gave him the deal with it glasses :)

edit: realized they used hobbyzone cub floats.
 

SP0NZ

FT CAD Gremlin
Staff member
Admin
Moderator
Mentor
didn't they already do the ft duster with floats in the fire and rescue episode? you know, he always flipped and they gave him the deal with it glasses :)

edit: realized they used hobbyzone cub floats.

Yes, but those were manufactured floats from a different plane. They didn't scratch build them from the same foam core that we build our planes with. LF has developed floats of various sizes that not only looks great, but are easy to build with foam core. :applause:
 

localfiend

I like 3D printers...
Mentor
Yeah, I knew they out floats on a Duster once. Rasterize requested it, and I figured that Dusty would be a nice challenge. It's not your typical water plane. I haven't tested taking off from water with this float design yet and a Duster is a fast build. I know the floats work great on snow, and I've taxied the Zero around on the water.

I also just put the bottoms of the floats on, and discovered that the water proof foam isn't quite as forgiving as standard DTF. It doesn't squish quite as well, and the fit is off a bit. I'm redrawing lines for the bottom plates right now, and will probably put out an updated version of the plans when I get it to work better today.


Looking at the small rudder on dusty, I'm thinking a water rudder will be needed, especially if there's a breeze. I'm thinkof of trying out something like this cause it's really simple.

360-360-E8F1D93D552AE67E5CB5C7C2C24B99A8.jpg

Anybody have a preference between tail mounted, and float mounted water rudders?
 

localfiend

I like 3D printers...
Mentor
Just updated the first post with the altered plans for the 21" floats. Fits much better when using waterproof foam now, and should work just as well with the standard stuff. My fitment before was right on the edge of needing to be tweaked, just took the slightly stiffer board to get me to do it.
 

localfiend

I like 3D printers...
Mentor


Bit heavier than I planned, with a 1300mAh 3s I'll be 528 grams and have a WCL of 8.8. That's a great number for just flying around, but may be a little fast for my poor water landing skills. The duster likes to bob and weave a bit even without floats.

It's too windy right now to test. Hopefully I'll get a chance to fly it tomorrow.
 

Pig007

Junior Member
I used your 42" design on my Storch. I used regular DTFB. I removed the outside paper and replaced it with Kraft paper and polycrylic . They worked great. One think to keep an eye on is if you have the smallest of holes anywhere they will start to fill up with water and bad things happen... I just bought a Tundra so that has been fulfilling my water take off and landing needs.