
FT Article
http://flitetest.com/articles/nna-10
DETAILS
Hi friends.
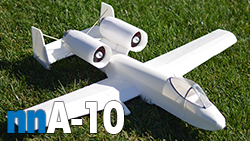
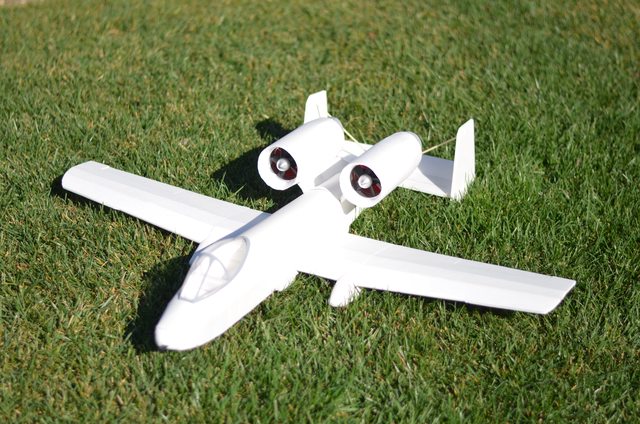
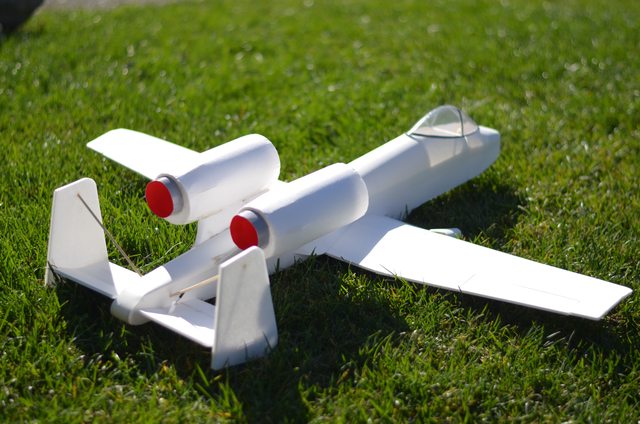
The nnA-10 is kind of a special build for me. Out of all the builds I've done so far it will be the most challenging to design, the most challenging to build. I'll be using twin 850w 4000kv EDFs, that's right, 1700w of power! As awesome is all this sounds so far, I mean, it does sound awesome, right? As awesome as it's going to be, that's not what makes this design special.
This will be the first nnBuild that is dedicated to someone, and I'm just gonna come right out and say it, Jaxx, Thank you. Jaxx is the reason the nnA-10 will be awesome. He has funded the electronics needed to make this bird fly and I am truly grateful for his generosity. This bird is dedicated to you my friend, and I will be naming my build 'The Jaxx'.
This will be my 5th development log. If you like this design then perhaps you’ll like some of my others as well.
|
|
|

|
|
|
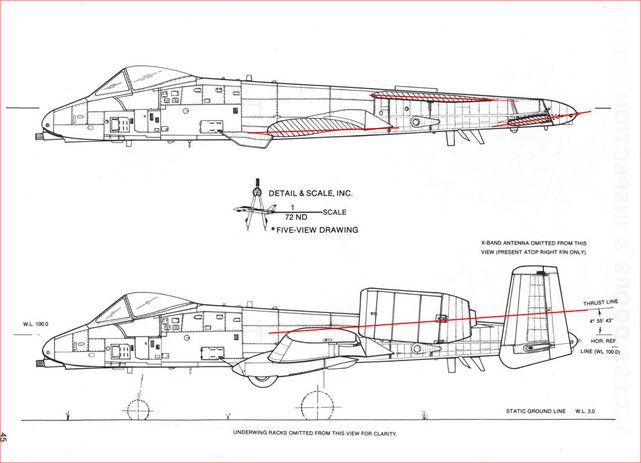
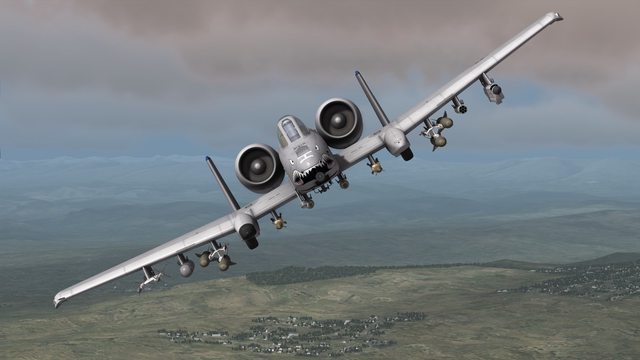
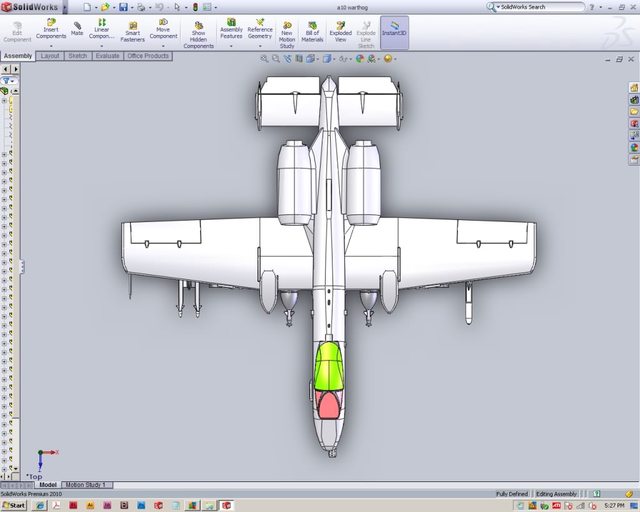
Locating a good 3 view to start with for the A-10 has proven to be quite a bit more challenging than I had initially thought. There isn't an image that has all the data I need so I'll be using a mash up from a few different sources. Some of them are hand drawn plans, others are from a balsa build, I'll even be using some CAD screenshots and real images of an A-10 to get all the data I need. Here are a few of the images I'll be using:
Even though I plan to pack 1700w of power into this thing the design will also support the use of a more modest twin EDF set up. A very reasonable price to performance option would be the Dynam 64mm combo from HobbyPartz. This will be a great option for anyone who wants to build a nnA-10 on 3S and isn't ready to go 100mph. The Dynam combo is a very similar setup to what is in this RTF A-10. So either way you can't go wrong.
Let me know what you guys think.
SPECS
WINGSPAN | 40in |
FUSE | 36.2 |
CHANNELS | 3-4 |
WEIGHT | Airframe - 550g With BASIC electronics 1050g With SPEED electronics 1400g |
ELECTRONICS | BASIC - 3S MOTORS - Dual Dynam 64mm alloy 4400kv 5 blade EDF ESCS - Dual 40a Dynam (comes in combo linked above) BATTERY - Zippy 3000mah 40c 3S SERVOS - 3-4 9g SPEED - 4S MOTORS - Dual HobbyKing 64mm alloy 4000kv 5 blade EDF | 850w on 4S ESCS - Dual 70a Dynam BATTERY - Zippy 4000mah 40c 4S SERVOS - 3-4 12g metal gear |
BUILD DIFFICULTY | Beginner – You’ve never flown a plane before, let alone done a scratch build Novice – You’ve flown a plane but have no experience with scratch building Intermediate – You’ve flown and built a few FT style planes before Advanced – You’ve mastered the standard FT build style and are looking for a new challenge Expert – You’ve mastered all build techniques and aren't afraid to improvise or tackle tedious builds The nnA-10 is an advanced to expert build. |
PILOT SKILL | Advanced |
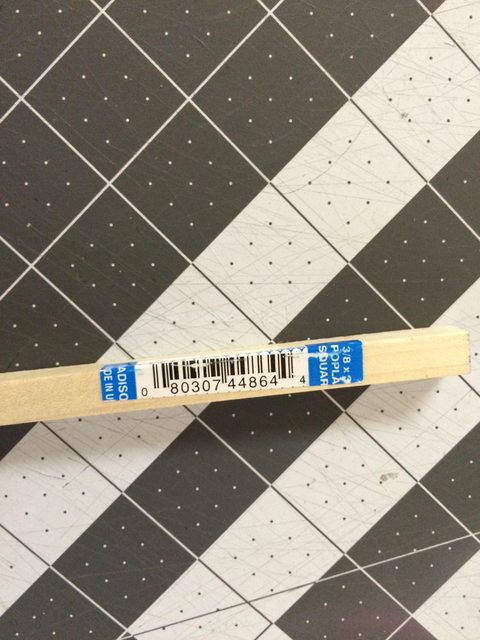
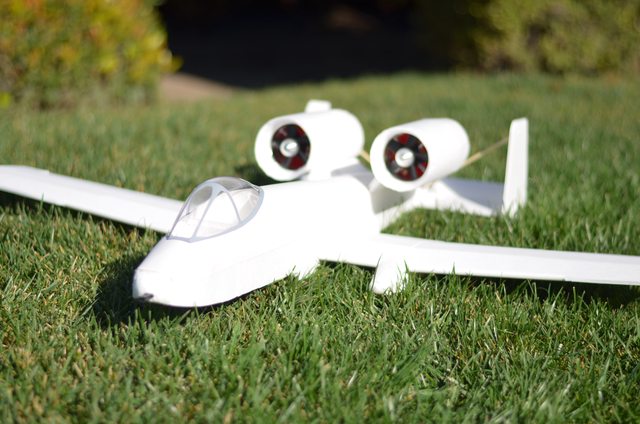
MATERIALS | 8 BBQ skewer 4 sheets DTFB 2 craft sticks 1 2 liter bottle 1 sheet poster board 1 flat aluminum 1/16" x 1/2" x 27.5'' 1 3/8" x 3' poplar square dowel (speed h/vstab) Optional - Motion RC canopy |
FAQ
Where can I get the aluminum you use in your build?
I buy mine at Lowes but you can find it online.
Do I need to put an aluminum spar in my wing?
I did not test the wing without an aluminum spar so I recommend you use one.
I have build questions, what’s the best way to contact you?
You can contact me directly at me@nerdnic.com or on the FT forums. This thread is a good place to start.
I noticed the nnA-10 has fixed landing gear, do I have to install this?
No. The wheels and even the landing pod itself can be left out of the build if you wish.
What if I wanted retracts, would this be possible?
Yes, the build could easily be modified to use retracts.
Is it hard to get proper GC?
It can be if your battery is not big enough. You’ll need at least a 3000mah battery to get proper balance.
Will there be a video showing the SPEED version flying?
Yes. I am working to complete the SPEED build now.
I am a beginner and love the A-10, is this a good plane for me?
No. The nnA-10 will require an expert builder and an intermediate pilot to ensure success.
I don’t want to use EDFs, they are loud, power hungry and expensive, can I use an outrunner instead?
While the nnA-10 doesn’t have plans to accommodate a pusher set up, it’s certainly capable. So go wild!
FliteTest should have you own their show and fly your planes!
Yes. I agree
")
If I can’t decide between the BASIC and SPEED build, how do I know which is right for me?
If you’re not sure, build the BASIC version and then the SPEED after you have mastered the build and flight.
PLANS
nnA-10 plans
BUILD LOG
October 11th 2014
Feels good to finally say this, but the beta 1 build is finally ready to be cut and built. The plans have pushed me hard and I've never had such a challenge designing a plane before. I've spent over 20 hours on the plans alone (normal plane takes about 3-4 for first draft) and there are already a lot of tweaks and additions that still need to be made. I will be starting off with the standard wing build to get any kinks out and then add all my changes to the plans for the speed wing build.
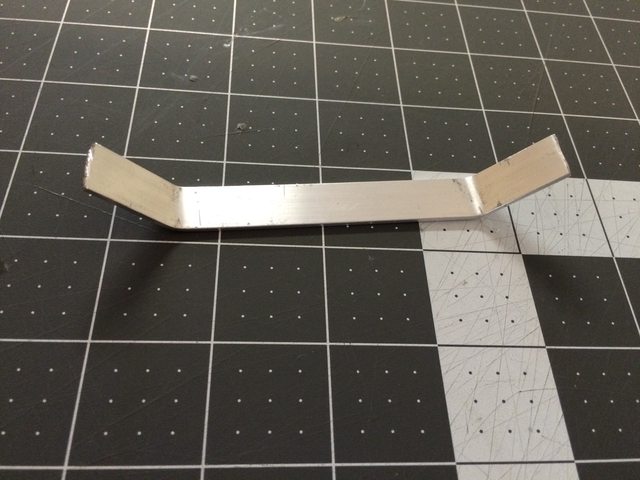
STEP 01
Cut spars. The aluminum is 58cm long and cut halfway through 14cm from each end to create the dihedral.
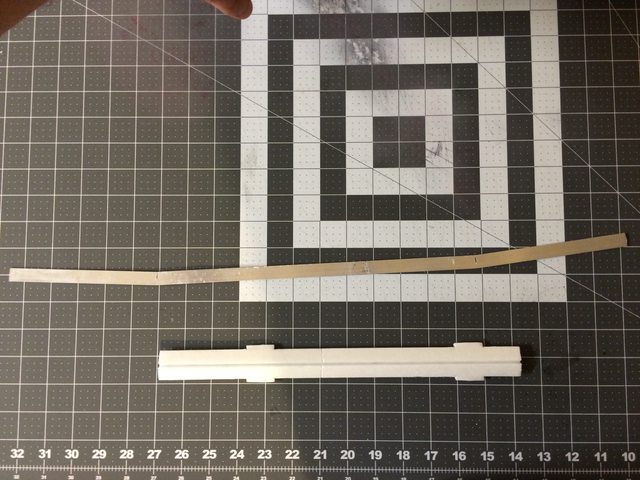
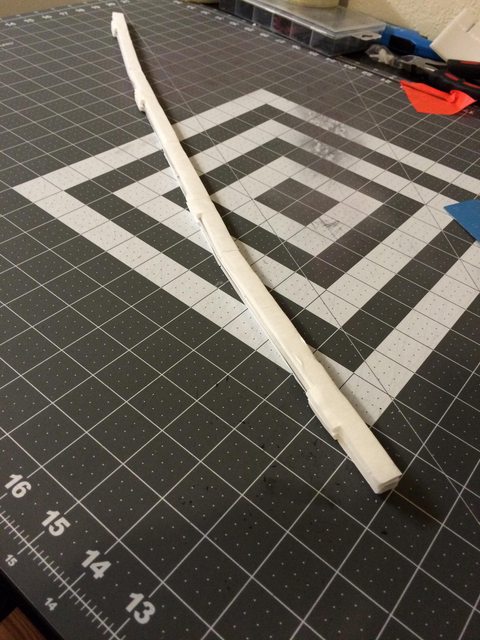
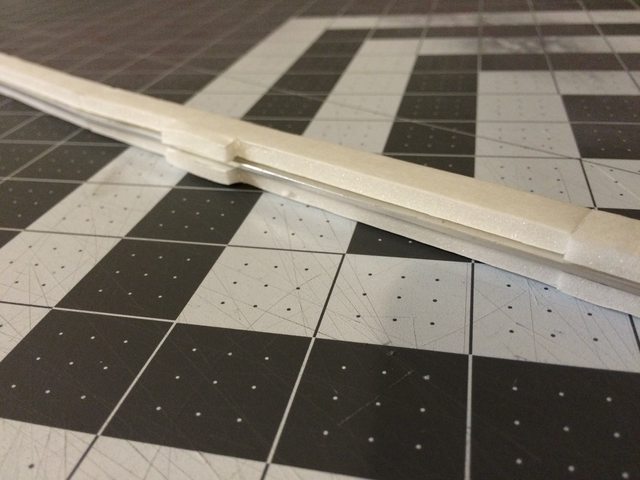
STEP 02
Glue foam spars onto aluminum.
STEP 03
Cut wings, bevel, score, and crease.
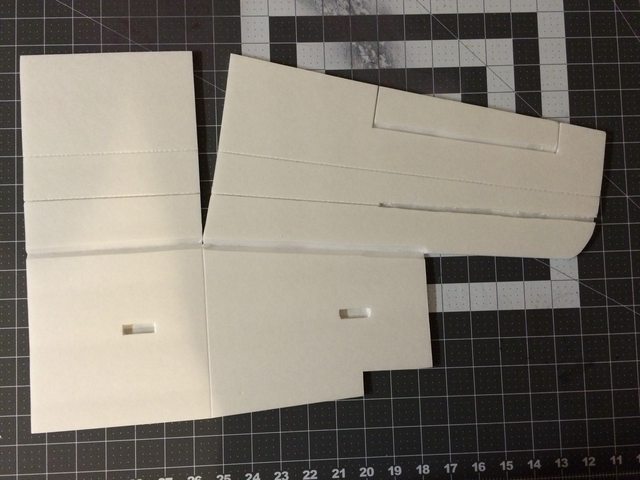
STEP 04
Enlarge leading wingtip score cut. Do this on both wings.
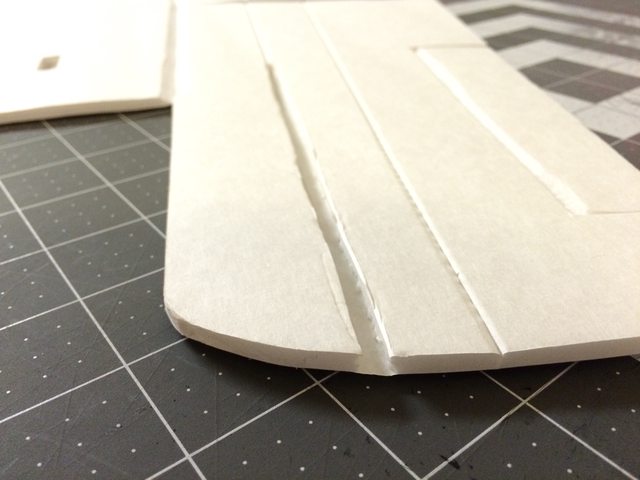
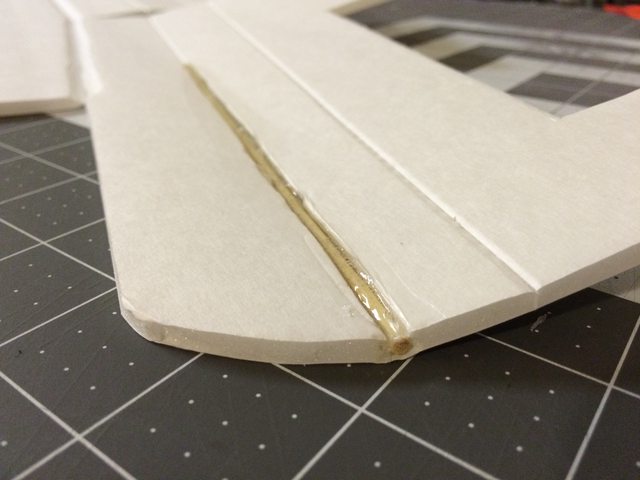
STEP 05
Glue BBQ spar in place, start by filling the cavity with glue, then lay spar in, then add more glue over the top. Set alum/foam spar in place (no glue yet) just to fold the wing over to get the right shape. While the glue is still hot, fold wing over so the proper shape can be captured. Repeat on other wing half.
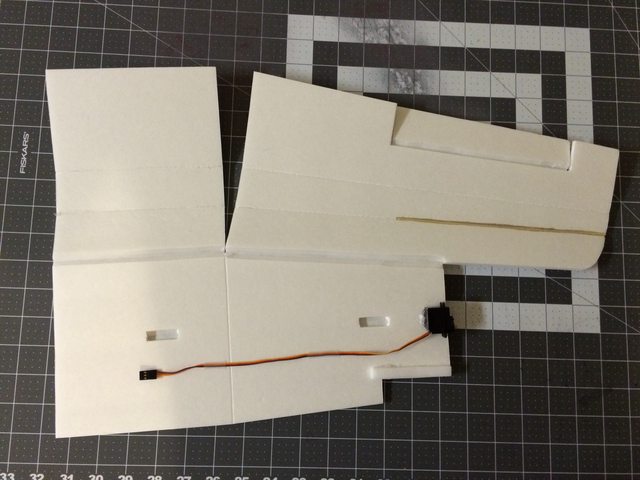
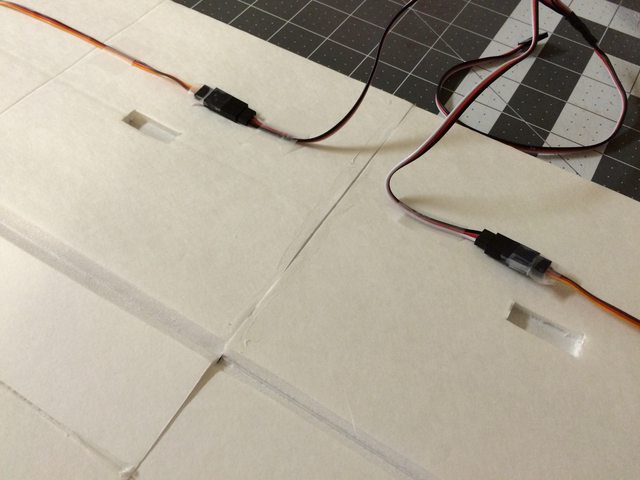
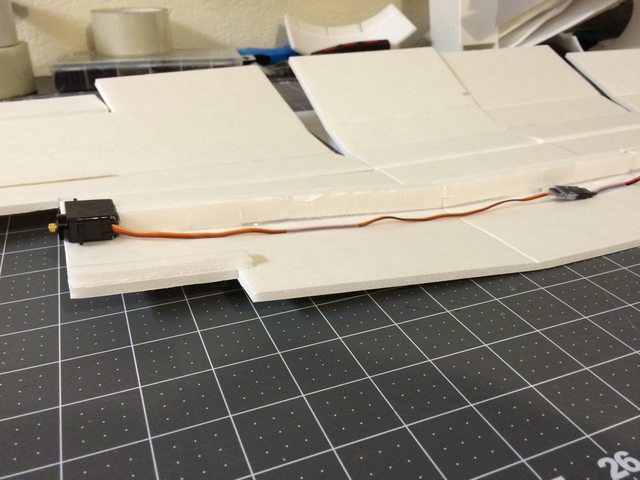
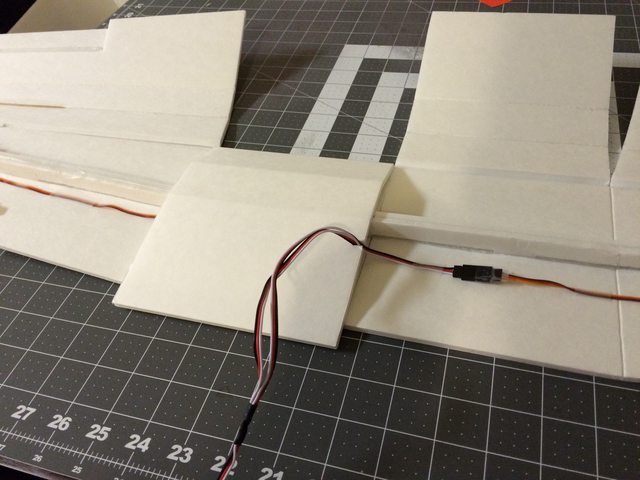
STEP 06
Glue servo and trailing edge spacer in place. Standard 9g servos will center perfectly with the spar, make sure to do a test fold to make sure the servo fits right under the flat part of the airfoil.
STEP 07
Glue bottom wing halves together. Before placing any glue make sure to fold both wings over and line up the leading edges, take note of how the bottom of the wing needs to line up based on the test fold. With perfect cuts and bevels everything should be square. If your cuts are a little off then the leading edge is more important to be true, you can trim the trailing edge if needed.
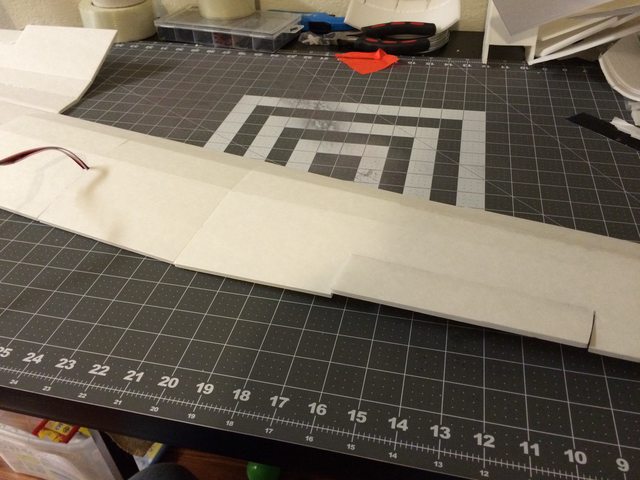
STEP 08
Glue spar down. Mash the foam tabs together and dry fit everything to make sure everything lines up. Only glue the flat middle section, leave the dihedral of both wing tips unglued in this step.
STEP 09
Glue down dihedral portion of spar to wing bottom. Lay glue down and then press the spar into place. If pressed down into place properly the rest of the wing should be elevated. The spar creates/holds the dihedral angle and must be consistent on both wings. Repeat on other wing half.
STEP 10
Glue down middle section of wing. Lay a bead in your leading edge, then spar, then trailing edge. Fold over the wing tip at the same time to make sure everything is aligned properly. Repeat on other wing half.
STEP 11
Glue down wing tip. Lay a bead in your leading edge, then spar, then trailing edge, spacer, and then servo. Use same press and hold technique used in STEP 09. Repeat on other half.
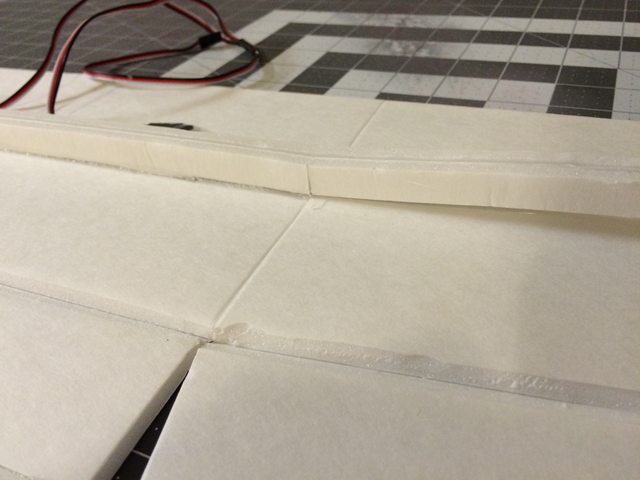
STEP 12
Hot glue hinge. Make sure to add extra glue on the spacer and bottom trailing edge, this section should be laminated with glue to prevent foam/paper de-lamination. Do this on the entirety of the trailing edge seam as well.
STEP 13
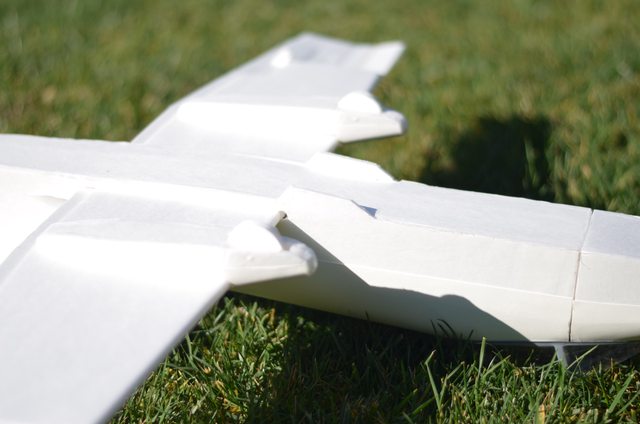
Step back and enjoy your completed nnA-10 standard wing, she's beautiful.
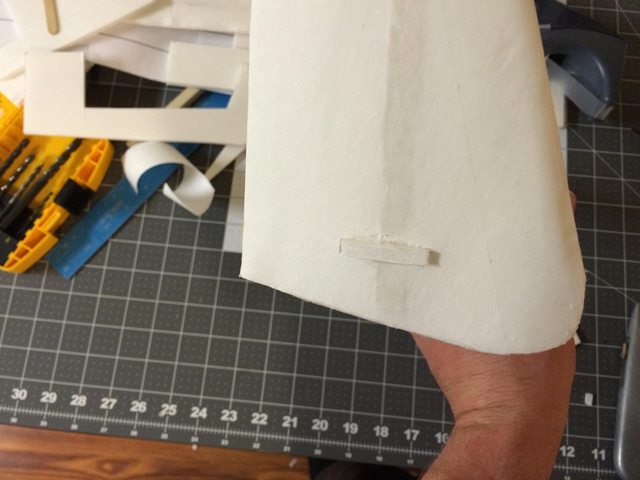
October 12 2014
Now that the standard wing is done it's time to move onto the fuselage. This goes without saying but the following photos are very rough, this is a beta build and I'm still in the discovery phase on some of the details. With that in mind, let me know if you might have any ideas or thoughts about my design choices so far. Any input is welcome.
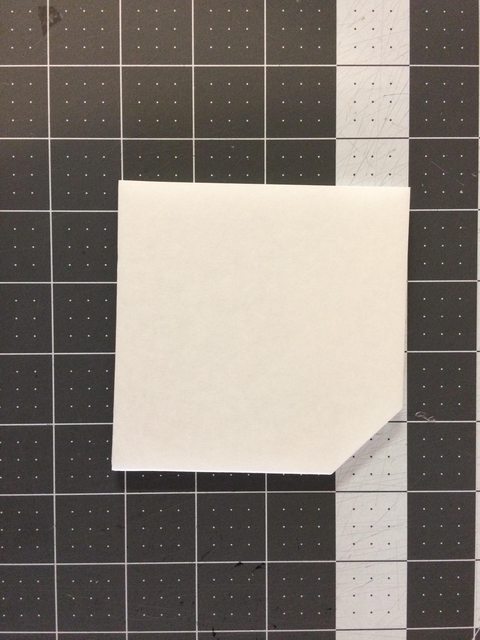
STEP 01
Cut aluminum brace, fuselage, fuselage belly, and 45 degree guide.

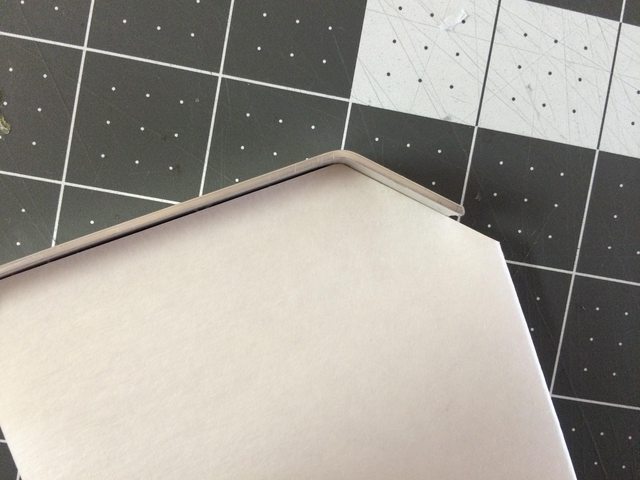
STEP 02
Bend aluminum brace. Use the 45 degree guide to ensure the proper angle is achieved.
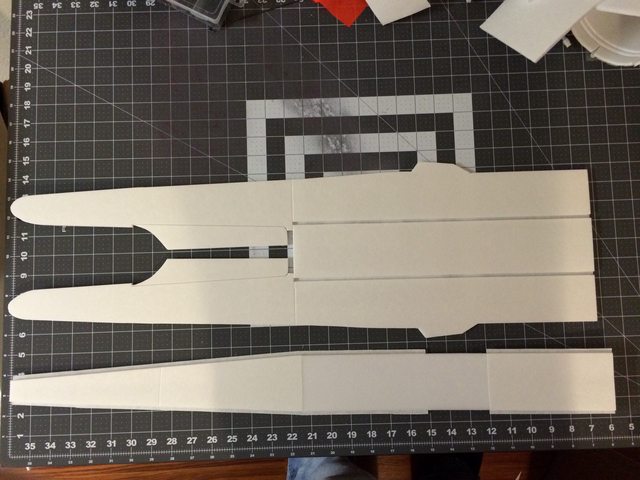
STEP 03
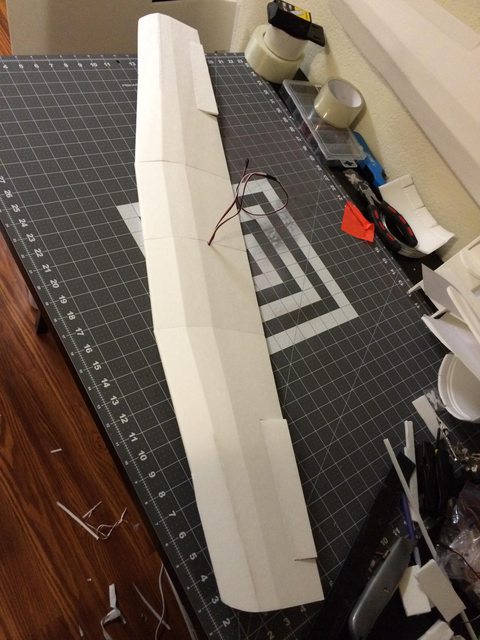
Glue fuselage sidewalls.
[

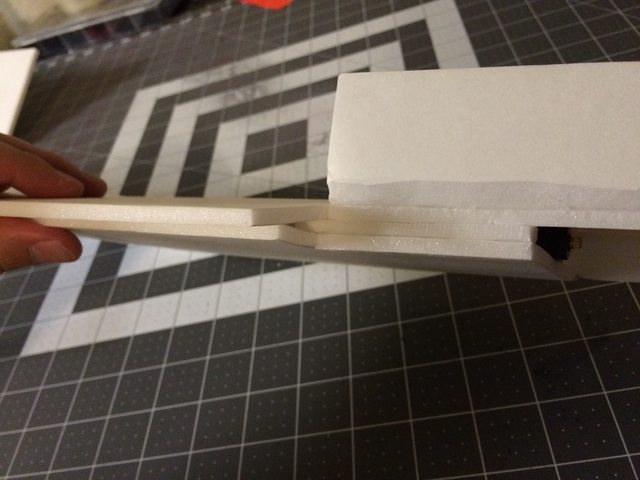
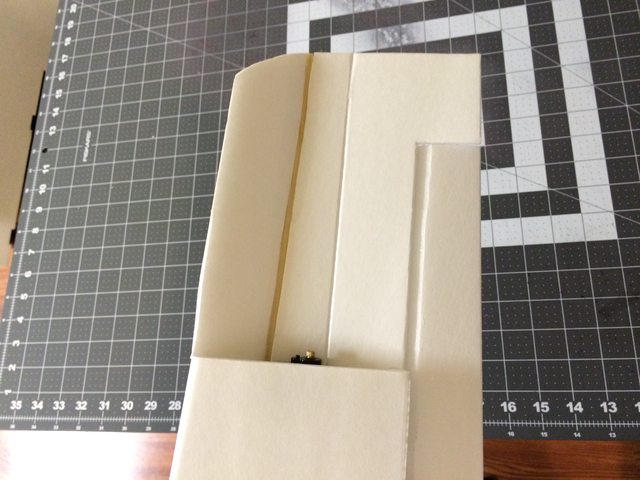
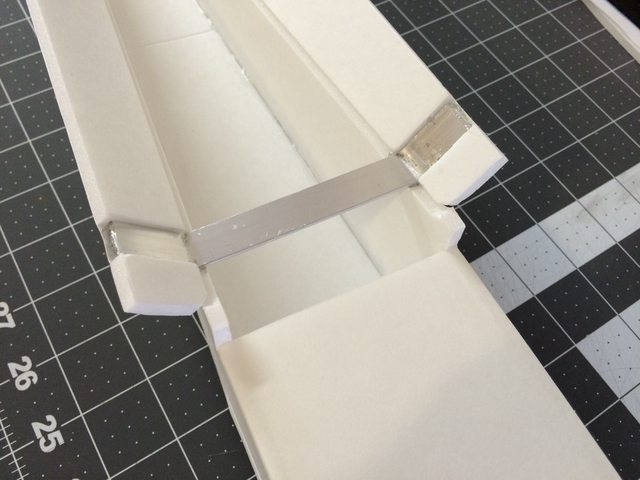
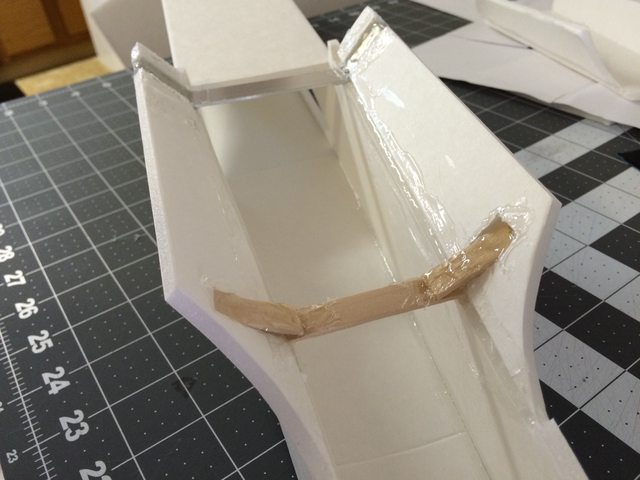
STEP 04
Glue brace in place. Lay glue on the fuselage ridge and a small amount on the paper where the brace will sit. The aluminum will cool the glue very fast so act quick, keep everything true as this first layer of glue drys.
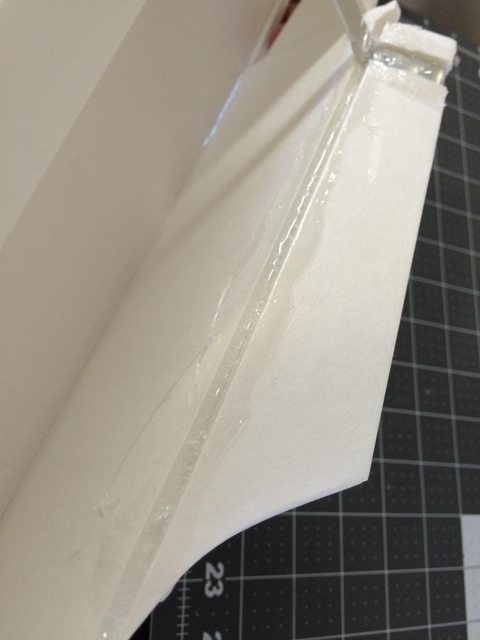
STEP 05
Fill the rest of the gap with glue, lots and lots of glue. Spread it around to get maximum service area coverage.
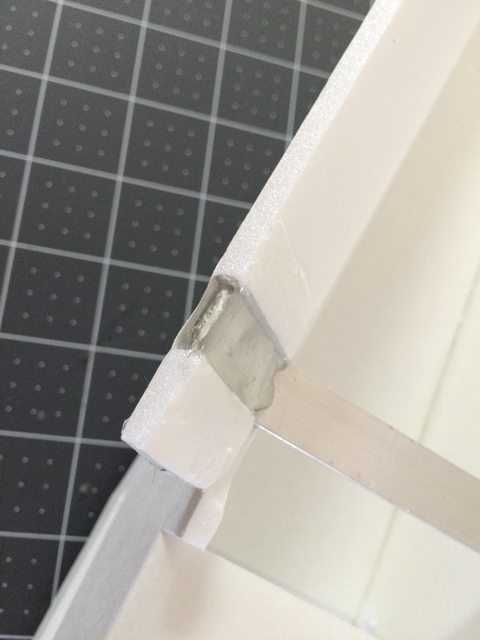
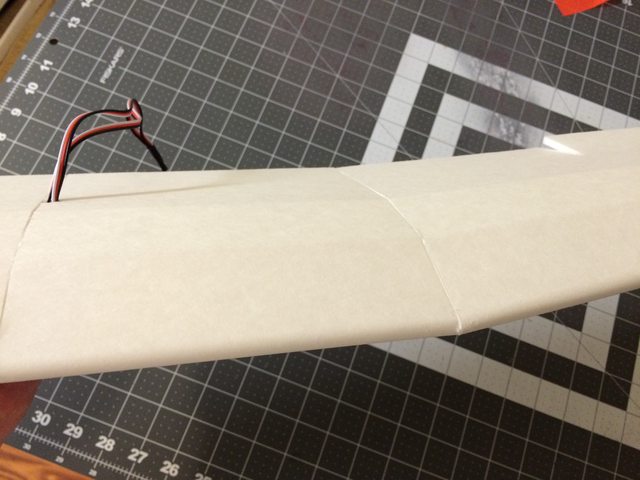
STEP 06
Fill the exposed gap with glue.
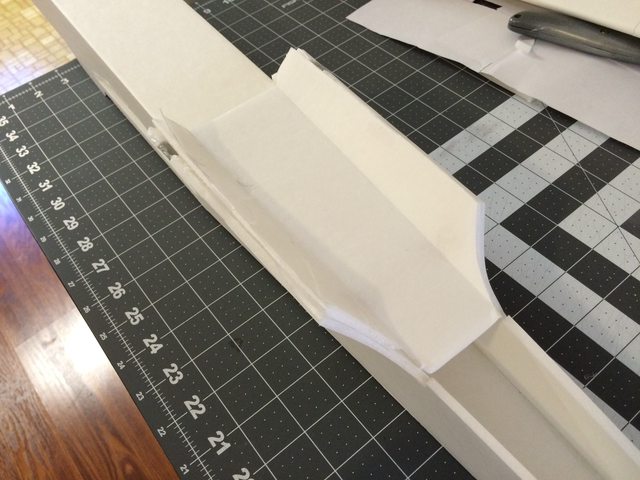
STEP 07
Add second brace. I am testing out using popsicle sticks in place of aluminum, I'm not yet sure if it is a good replacement.
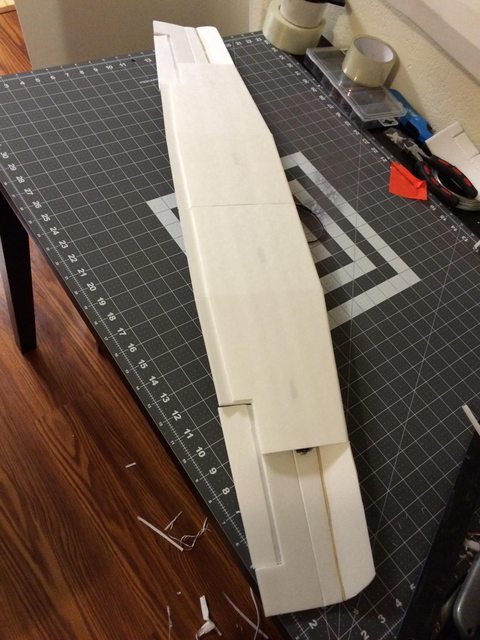
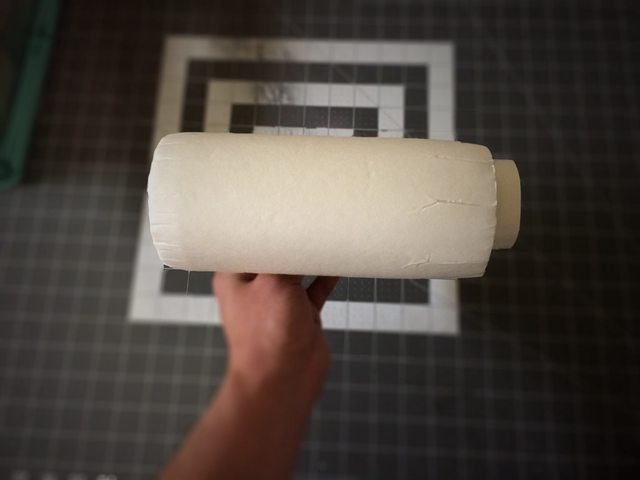
STEP 08
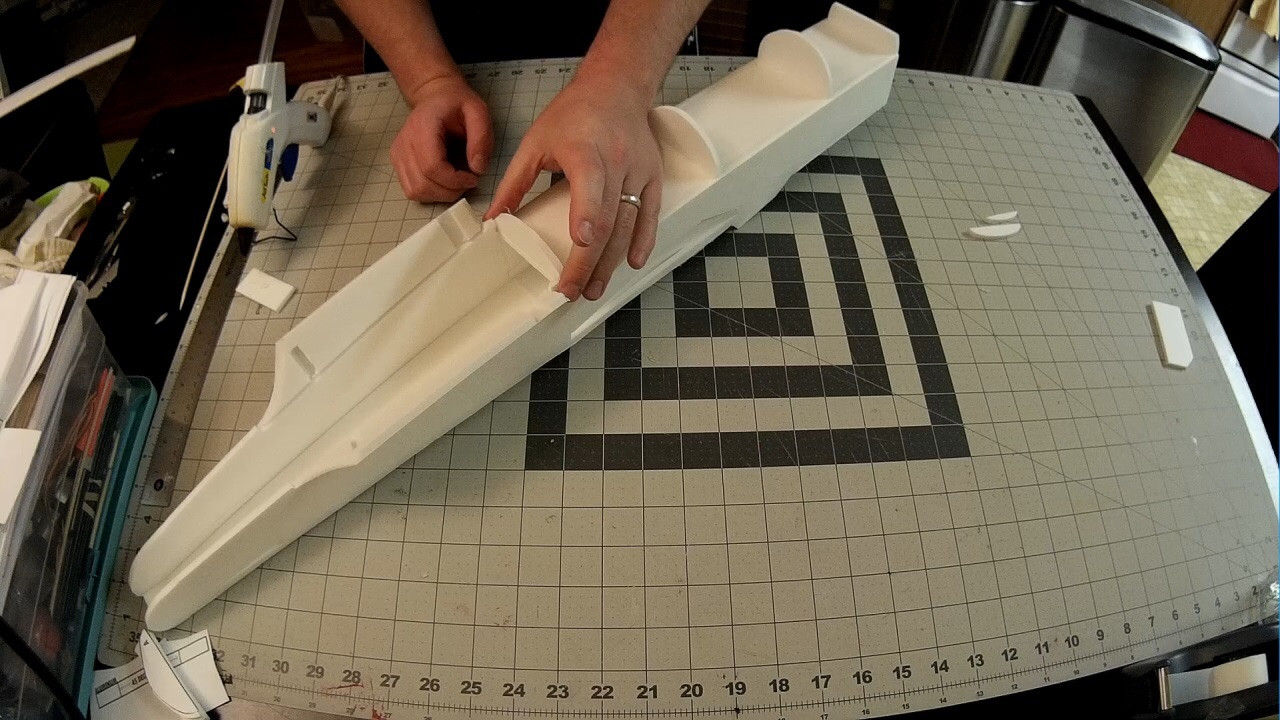
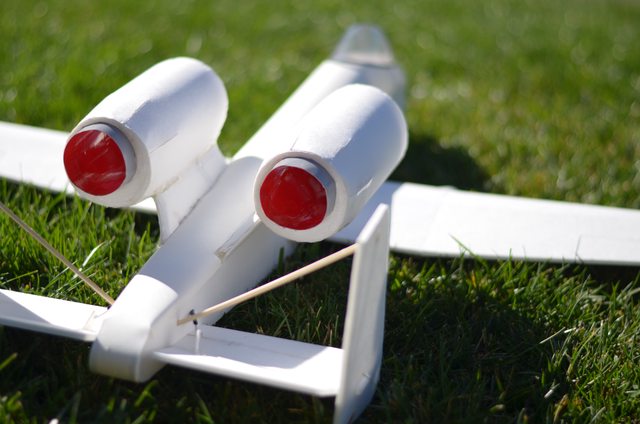
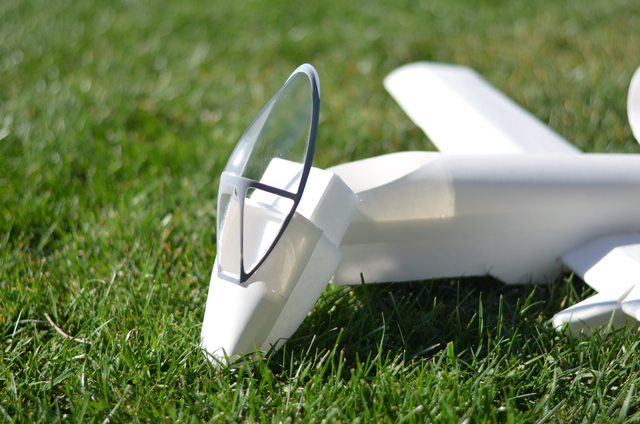
Glue top plate on. For now I just tapped it into place for the photo, I still have some design changes to make before I glue this piece in. The EDFs will actually be attached to this piece and it will all glue in place at once.

So far the strength is very good. The aluminum is perfect and offers no flex, I'm very pleased at how everything is turning out so far.
October 16th 2014
I have been playing around a lot with the tail feathers. After many hours of testing, design tweaking, and brain storming I have come up with 2 great options for building the tail feathers. Keeping in step with my original plan of releasing a standard wing and a speed wing, the tail feathers match with whatever you choose.
Speed tail feathers
Featuring no exposed supports, true top and bottom airfoil and will be amazingly strong. Awesome, I know, right?
Standard tail feathers
Featuring exposed supports and the standard flat h-stab and v-stab style.
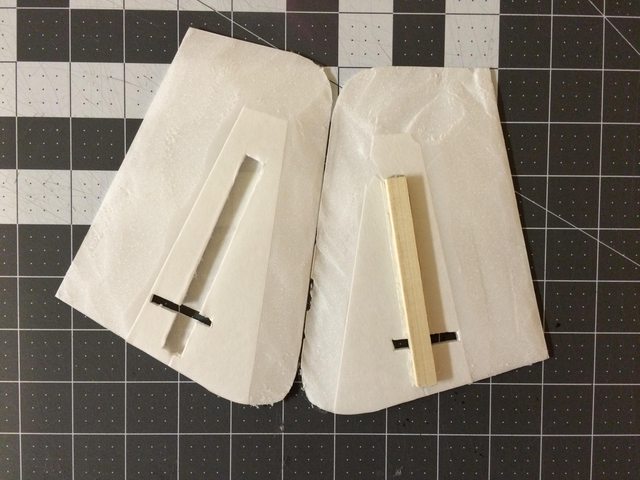
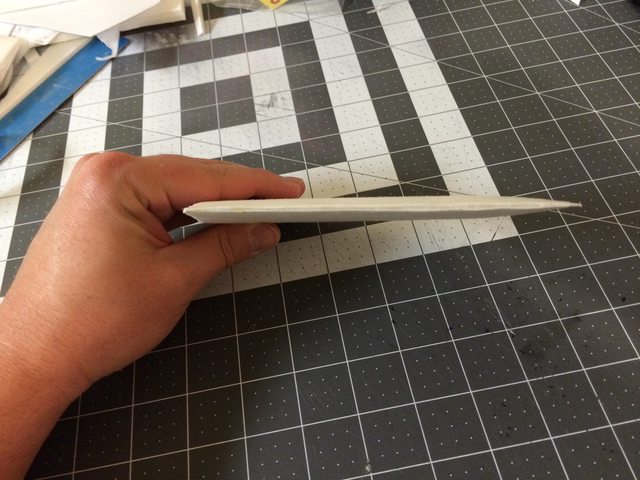
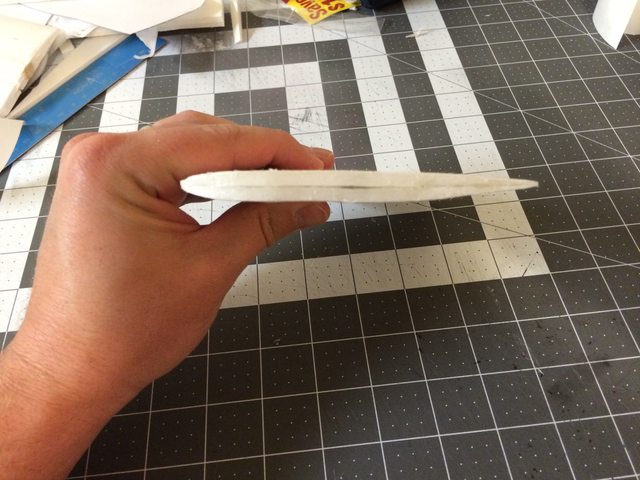
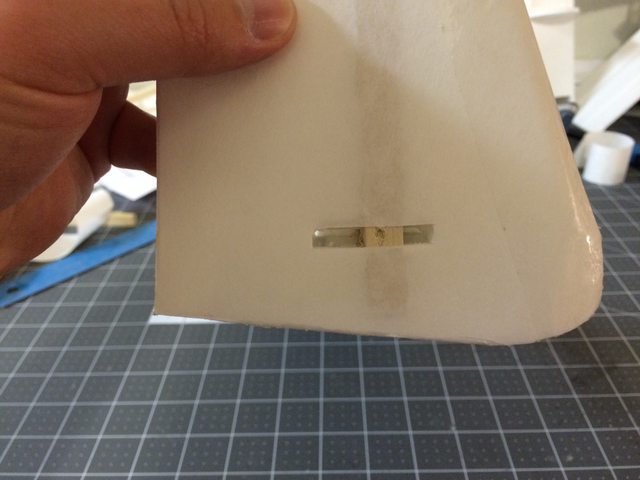
Speed h-stab
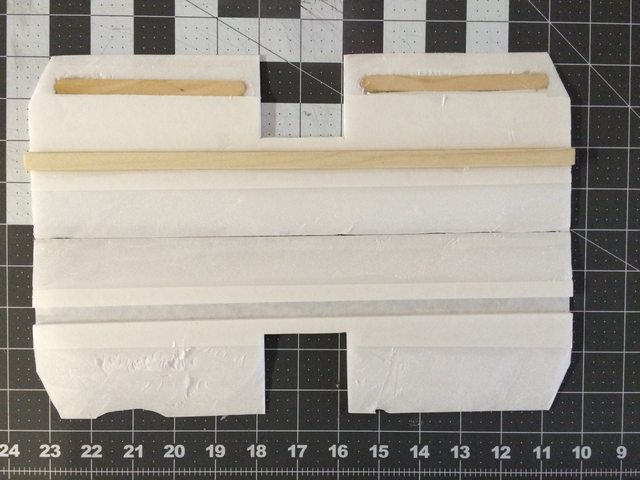
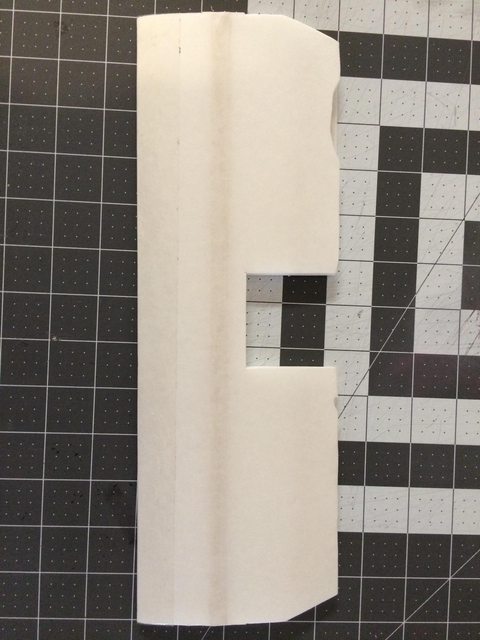
STEP 01
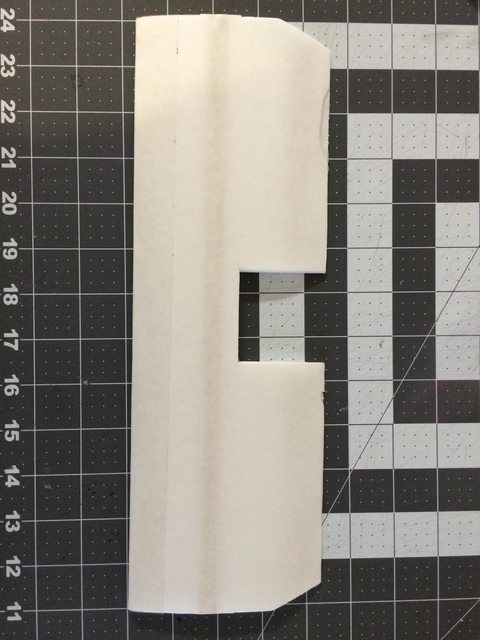
Cut dowel spar and cut/bevel foam. The bottom of the h-stab has less bevel than the top.
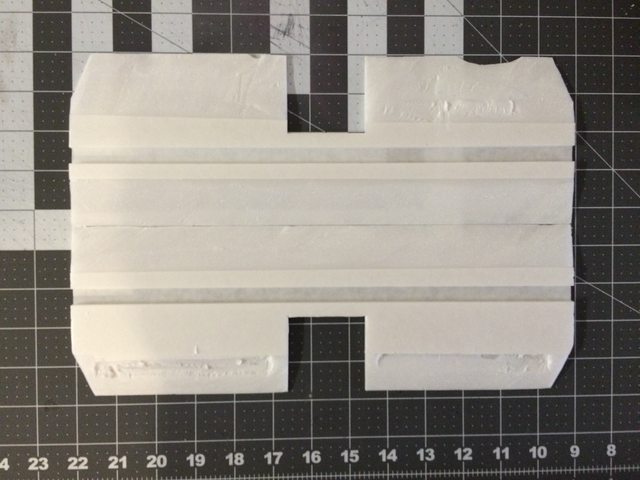
STEP 02
Glue in popsicle sticks. Press them in deep and use enough glue to fill the gap. Remove excess glue so everything stays flush.
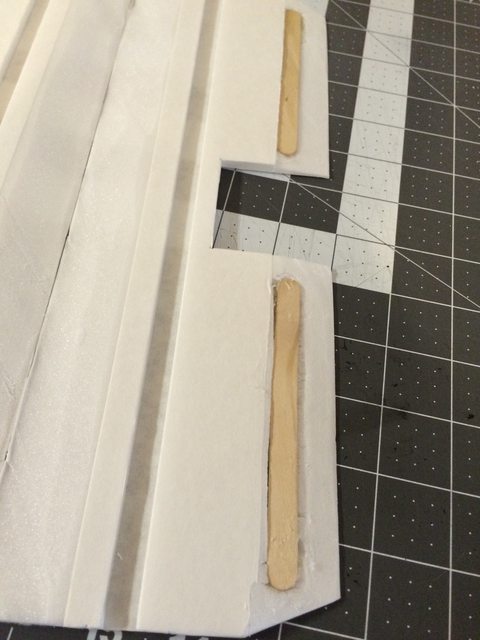
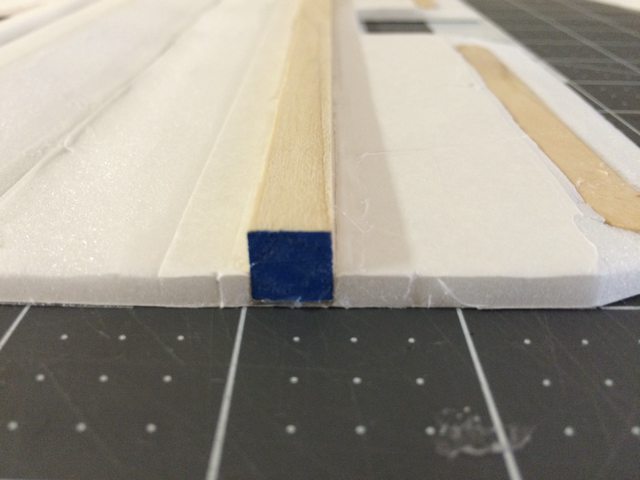
STEP 03
Dry fit the dowel spar then glue it in place. Lay a bed of glue in the cavity and put a little glue on the sidewalls of the cavity. Press the dowel in hard, glue should ooze out. The spar needs to sit all the way in the cavity, keep the foam flat on the bottom as your drive the dowel in. Remove all excess glue that comes out.
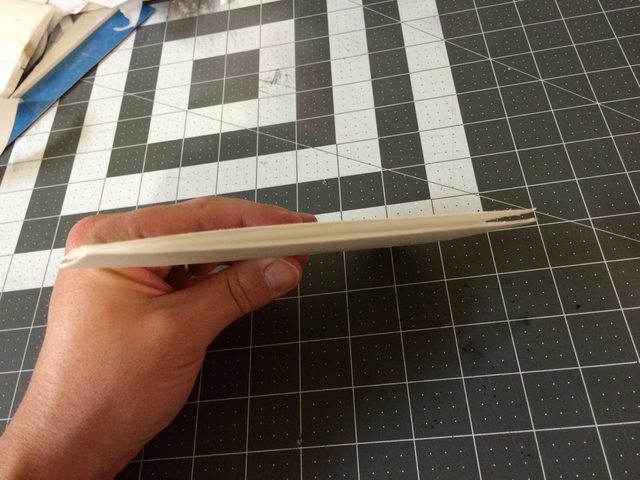
STEP 04
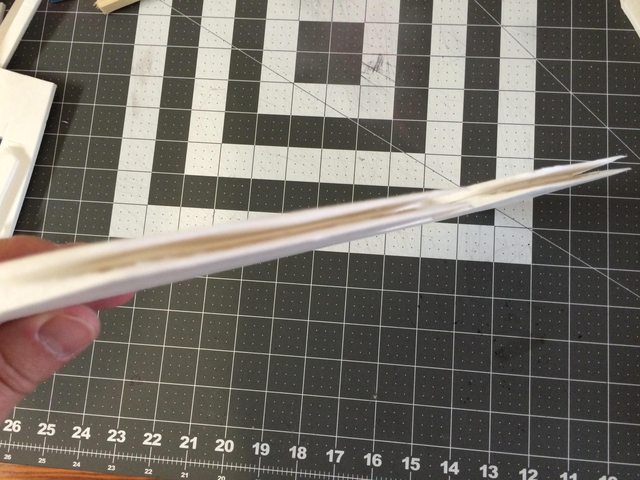
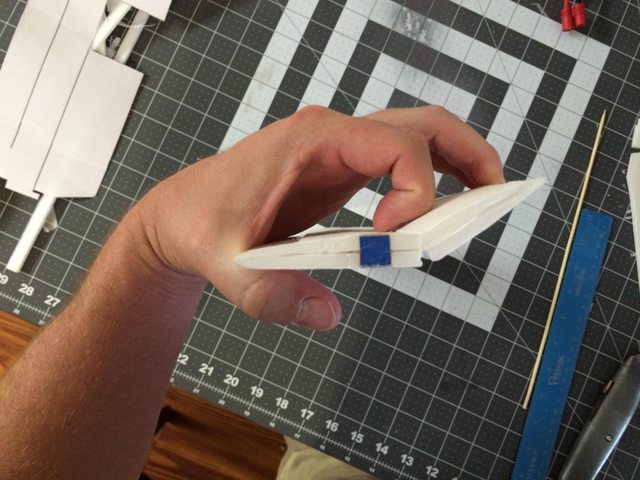
Fold top of h-stab over and glue. Lay a lot of glue on the leading edge beveled area. Add a bead of glue on both sides of the spar and inside the top cavity. Glue half of each elevator down also, but leave the trailing edge unglued. Hold the h-tab on its bottom and focus on keeping the top of the airfoil flat, squeeze out any extra glue from the spar cavity. The spar is only as thick as two sheets of foam so there is no extra room for error.
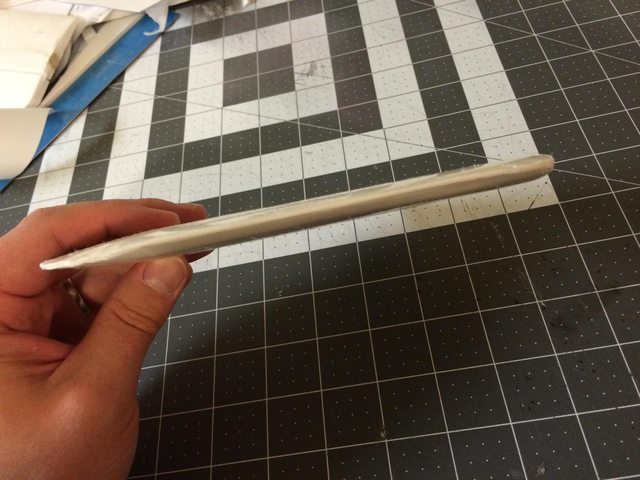
STEP 05
Glue trailing edge. Fill the gap with a lot of glue and then lay the h-stab bottom down. Work the glue from the spar to the trailing edge, squeezing out all extra glue. Keep the h-stab bottom down the entire time and work on a clean finish, cleaning away all glue that oozes out. As the glue drys it will pull the bottom trailing edge up slightly to complete the right airfoil taper.
STEP 06
Score cut the elevator hinge line on top and bottom.
STEP 07
Run a BBQ skewer to loosen the gap. This will allow for some deflection.
STEP 08
Cut a small bevel on the elevator surface on top and bottom and add a glue hinge. Lay a thin bead of glue and then use a scrap piece of foam to clean excess glue out.

STEP 09
Drill holes. I used a 7/64 bit and went in about an inch.
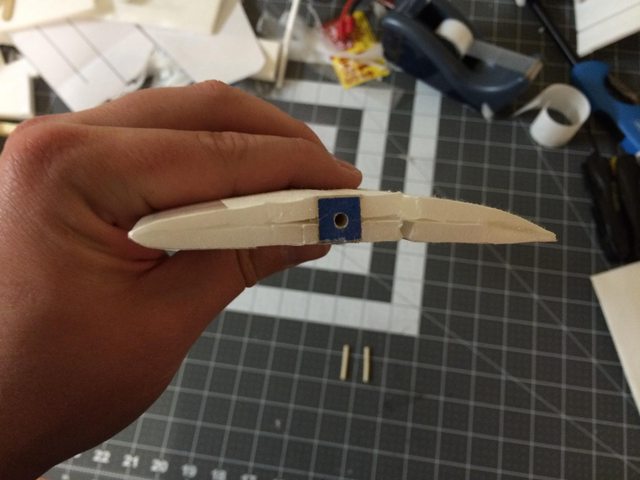
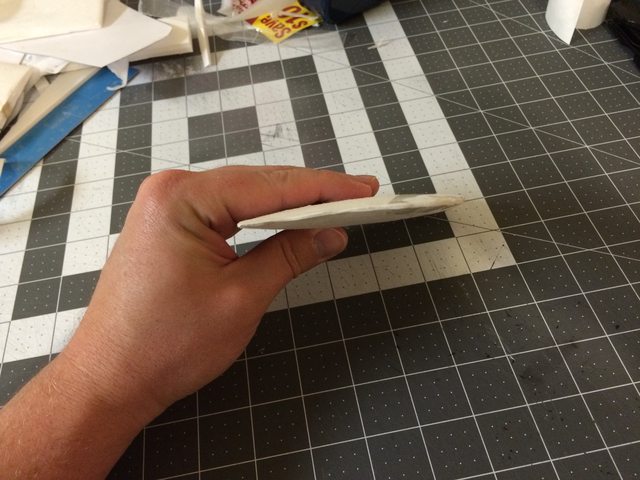
STEP 10
Enjoy your completed h-stab. It's as strong as a rock and has a perfect airfoil taper.
October 17th 2014
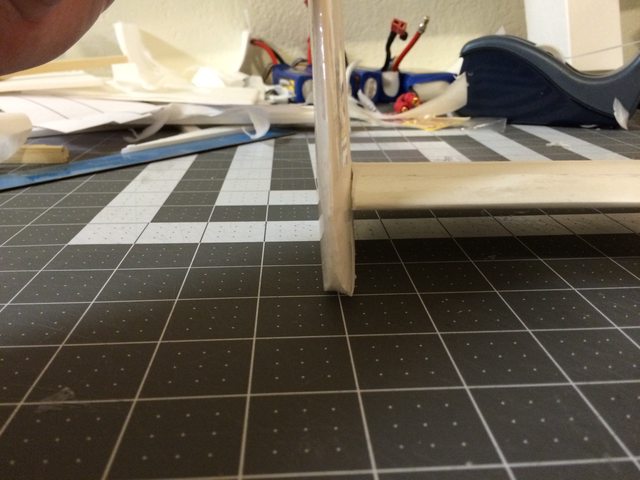
Speed v-stab
STEP 01
Cut and bevel foam and cut dowel spar. Both sides of foam are symmetrical. The bottom of the v-stab is left 'flat' on purpose. A skid will be added later to prevent damage during landings.
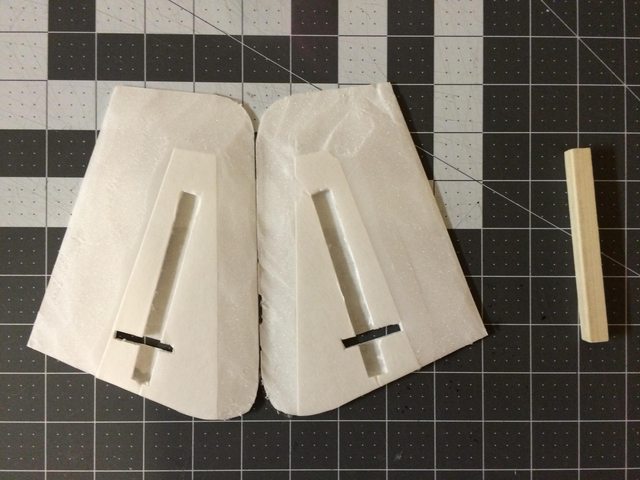
STEP 02
Glue spar on one side.
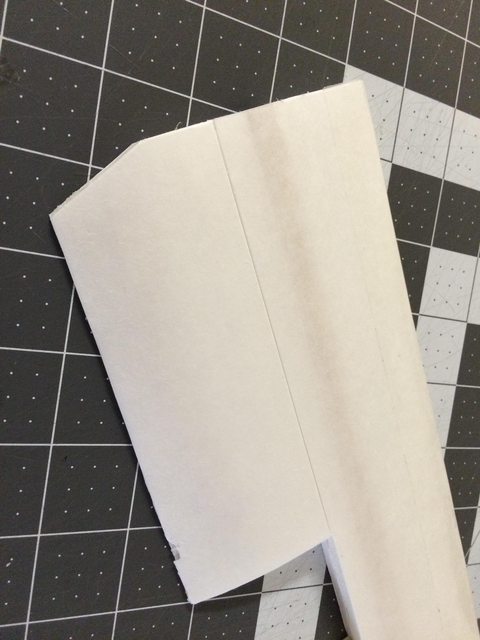
STEP 03
Glue and fold over top section. Add glue to all the non beveled areas and the leading edge. Make sure the spar area on both sides of the foam are fully coated with glue. Press hard and work all excess glue toward the edges.

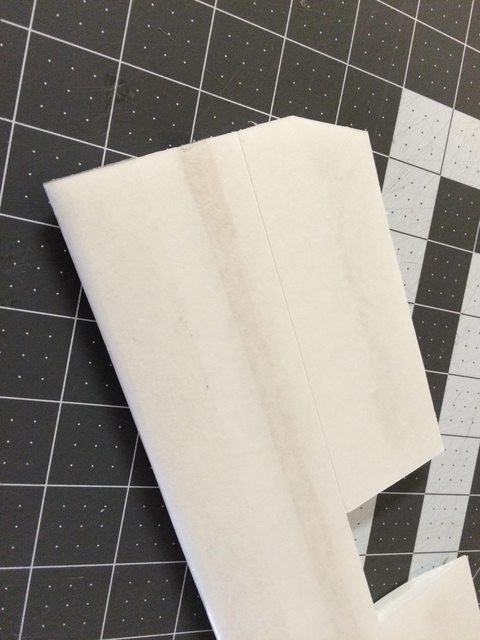
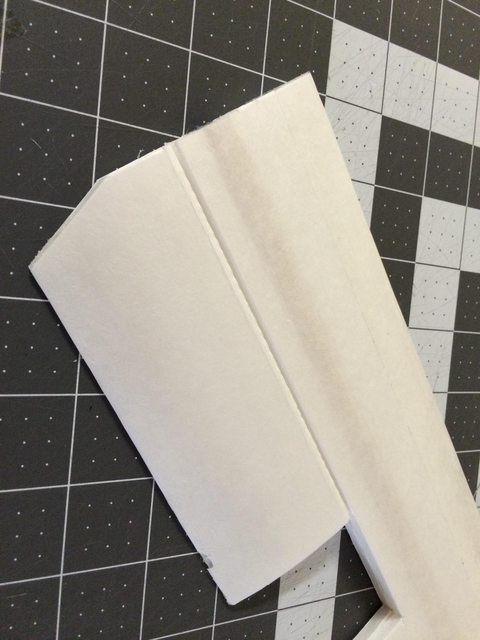
STEP 04
Glue trailing edges. Unlike the h-stab, the v-stab airfoil needs to be as symmetrical as possible. Work all glue to the edges and then hold the v-stab in both hands while holding pressure starting at the spar and sliding your fingers toward the trailing edge. Work quickly, you only have about 30 seconds to get everything in place for the glue to set. As you run your fingers to the edges glue will squeeze out, quickly wipe this off with your fingers and continue to work the foam. The end result will look very clean and crisp.
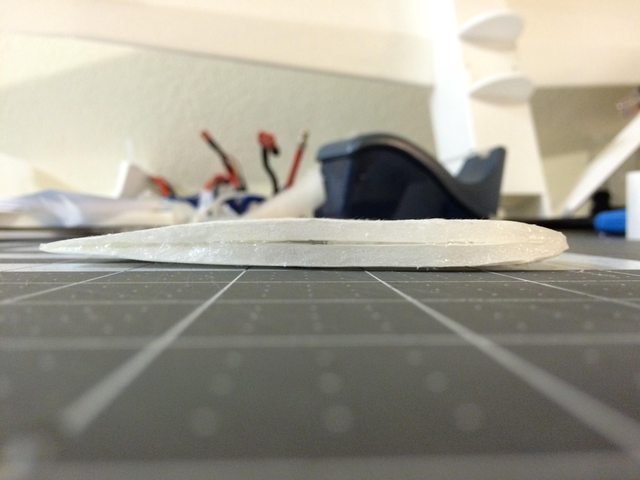
Leading edge
Top
Trailing
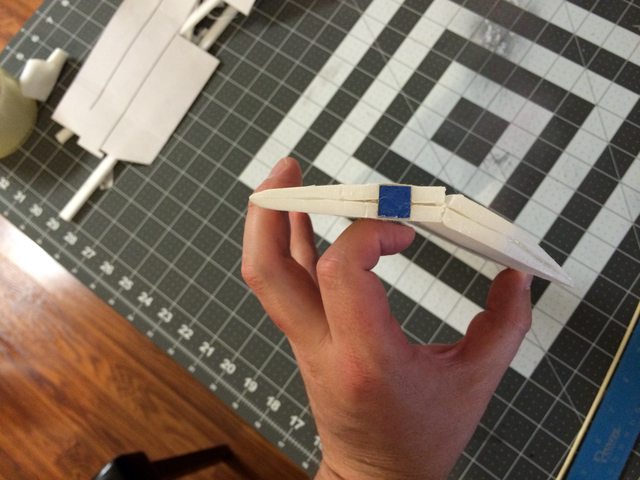
Airfoil
STEP 05
Drill hole. Using a 7/64 bit my BBQ skewers fit snuggly.
STEP 06
Cut BBQ skewers. For added strength, use wood screws instead of BBQ dowels.

STEP 07
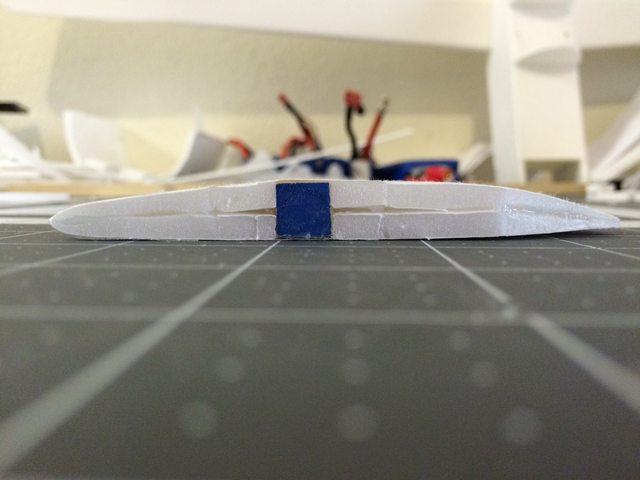
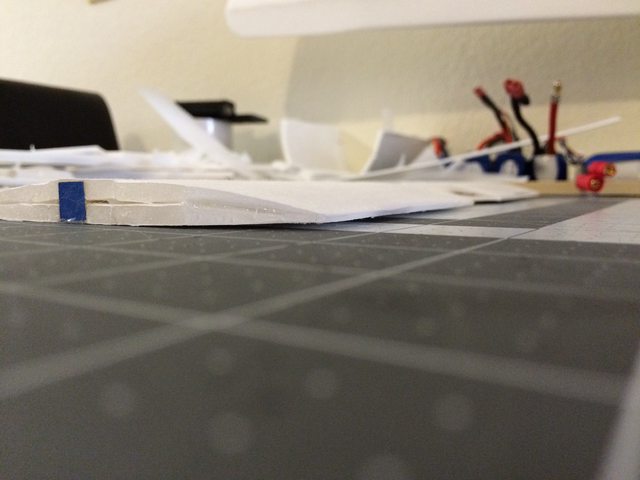
Glue v-stab onto h-stab. Add a small drop of glue in your h-stab hole and then push the BBQ dowel in as far as it will go. Lay a healthy amount of glue on the h-stab surface from the dowel to the leading edge and toward the trailing edge, stopping before the elevator surface. Add a drop of glue on the protruding dowel and slide the v-stab on.
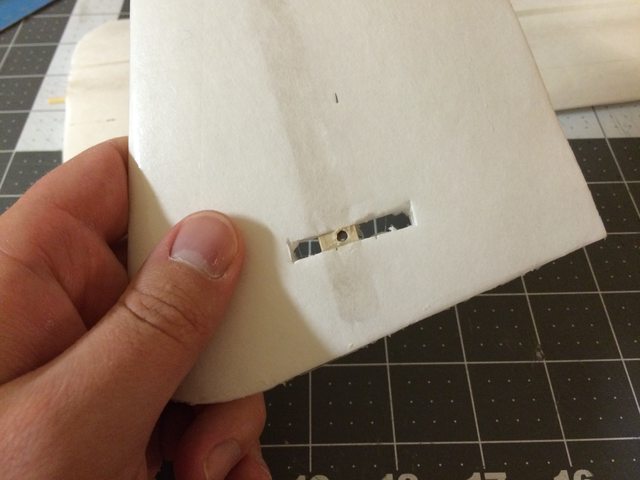
ALIGNMENT
Focus on firm even pressure, favoring complete contact toward the leading edge. The v-stab cut out offers a small window into the h-stabs two layers of foam. Peak through this window and use the seam between the h-stab foam as a guide. The seam should position right in the middle of the v-stab cut out.
Once the pieces are lined up grab your 90 degree guide and square everything up. The whole time keep firm pressure so the joint between the h-stab and v-stab is as tight as possible.
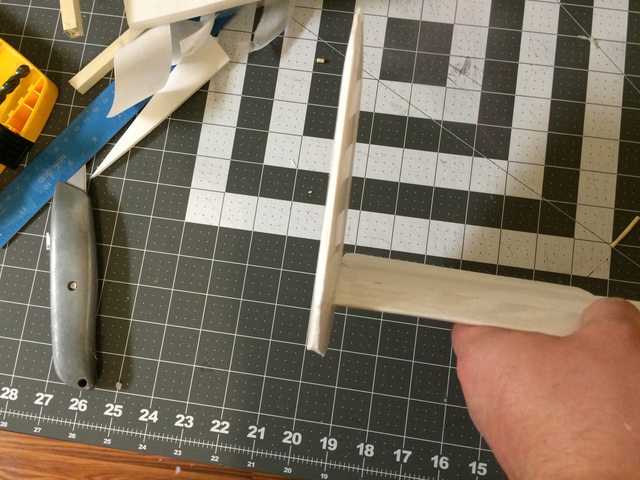
The joint is very strong!
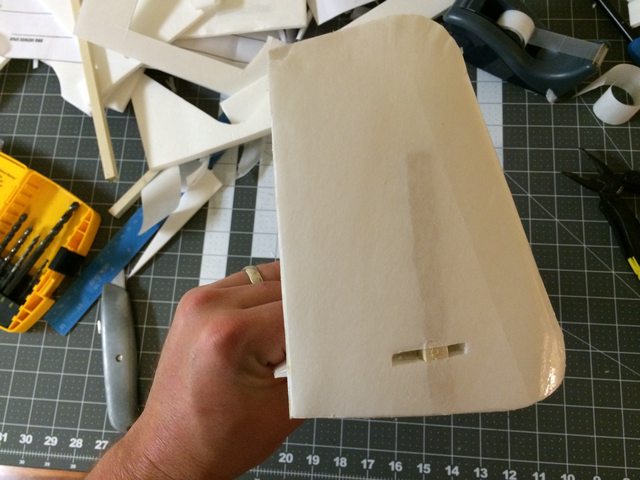
STEP 08
Add foam cap. Final touch clean everything up and capture the scale look of the A-10 v-stab.
STEP 09
Repeat steps 01-08 on second v-stab.
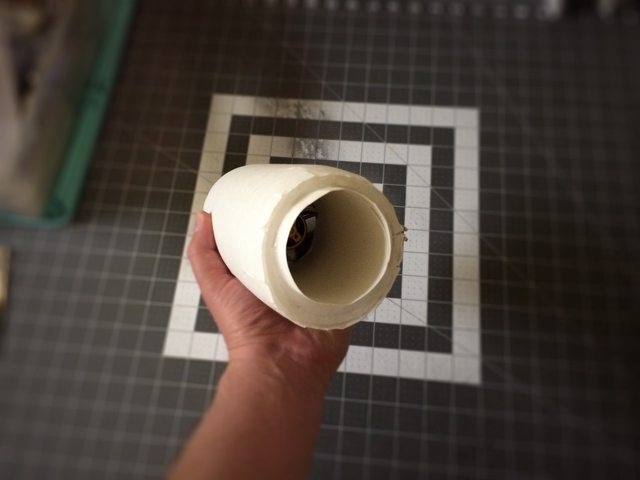
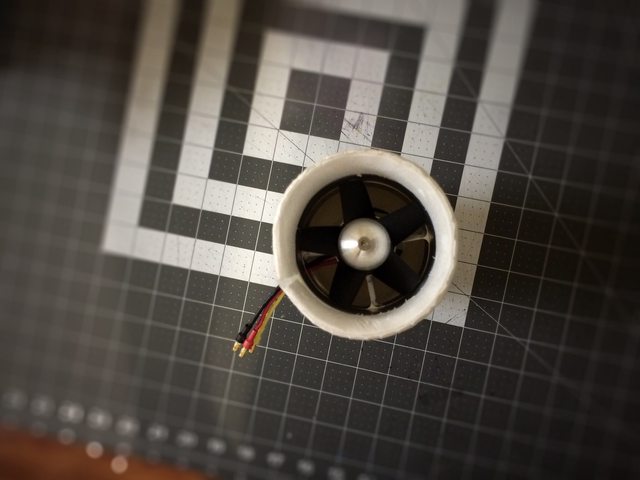
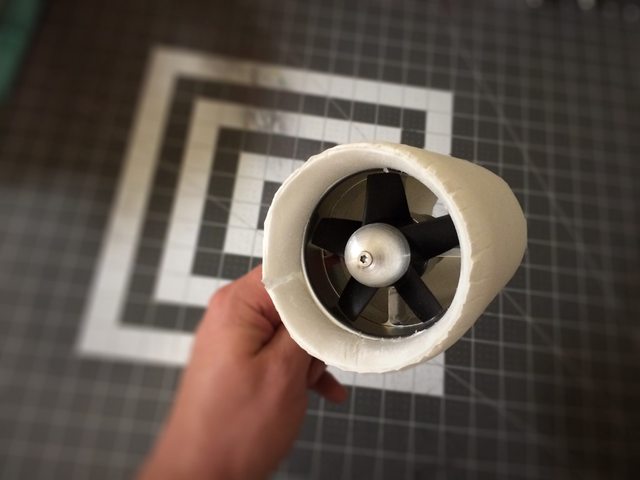
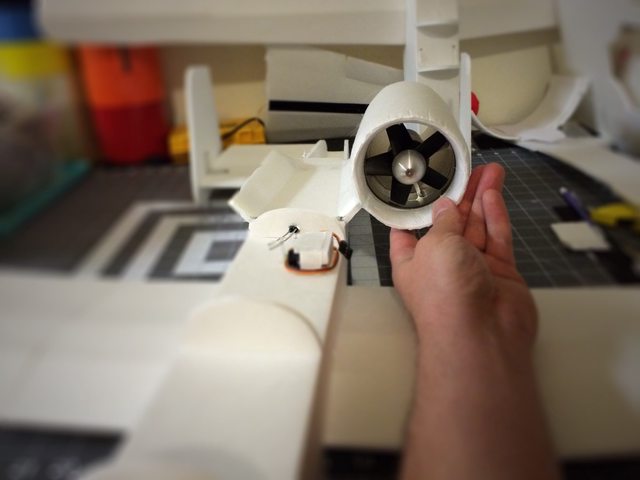
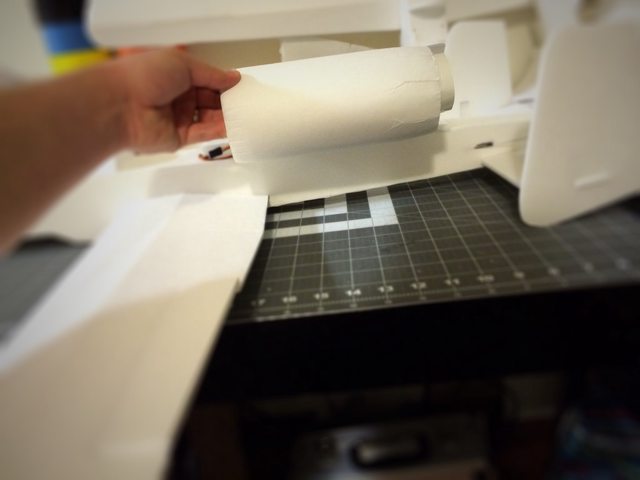
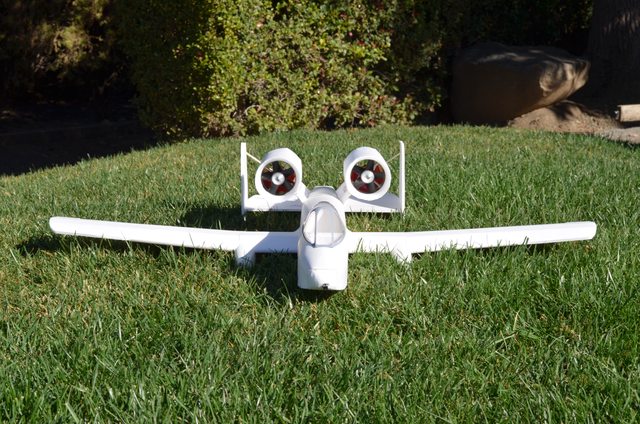
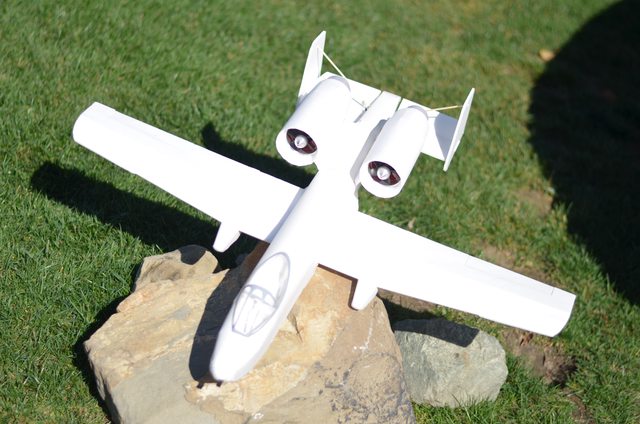
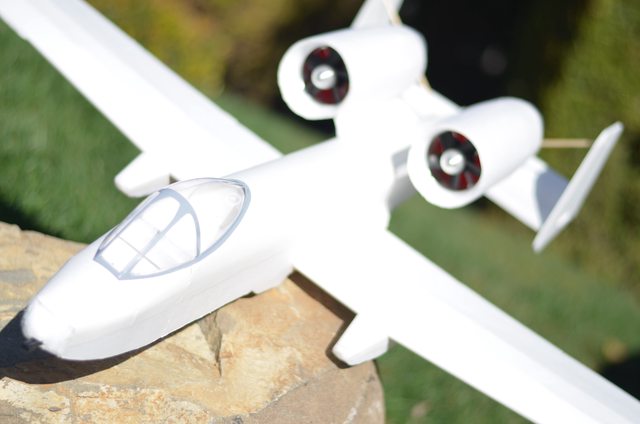
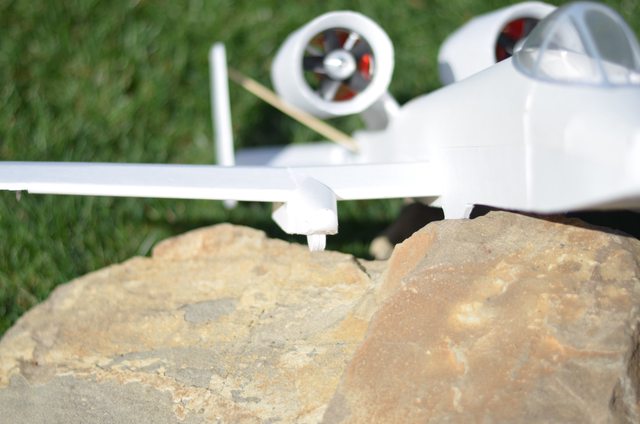
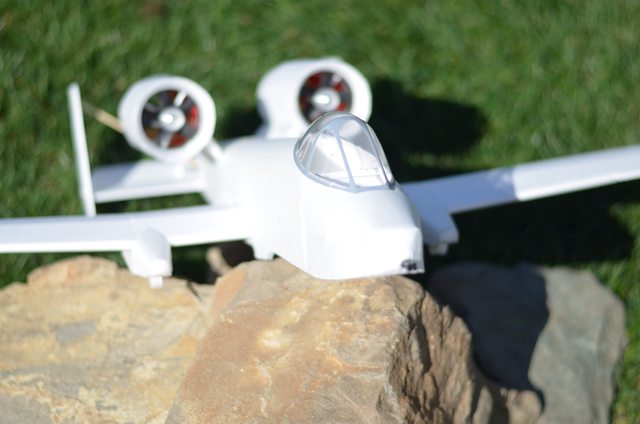
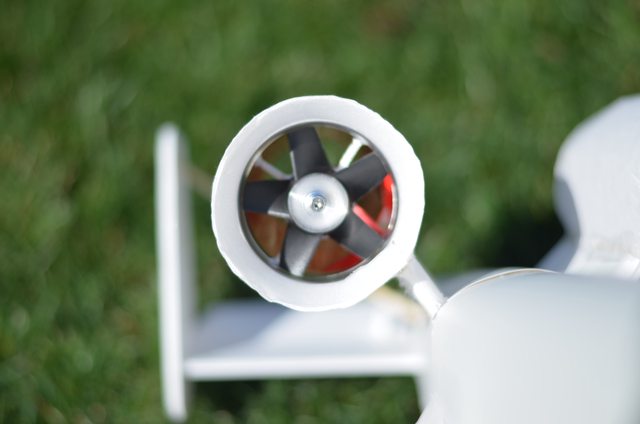
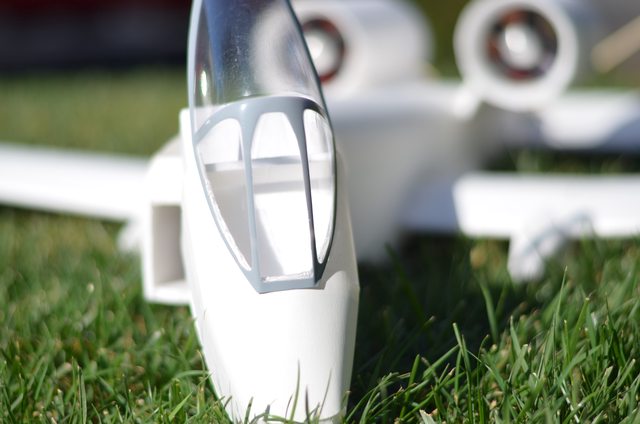
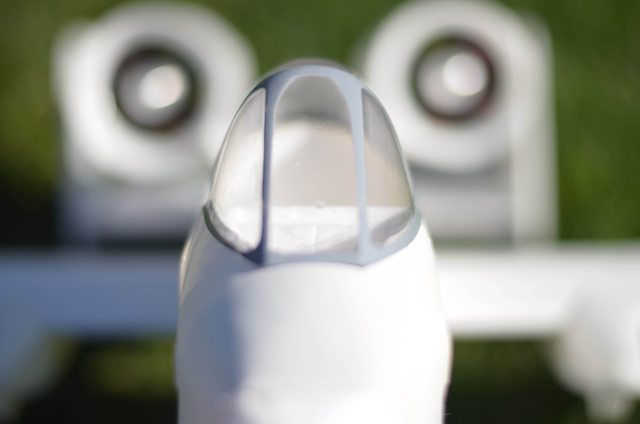
Quick peak at the motor pods!
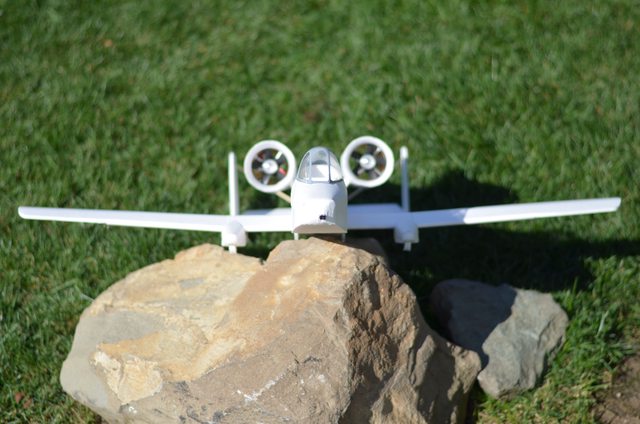
Update - nnA-10 Glide Test!
My alpha build has completed its usefulness. I decided the last thing to do with it would be an unloaded glide test. This was done with the motors removed, and pennies in the nose for balance. She manages over 60 feet and has a perfect level flight!
I'm really excited about getting this thing in the air!
I started working on the build video tonight.
I hope to have it completed at the same time the plans release! This will be the first build video I have created so it might be a little rough. I do not have a camera man or much space so my fixed angle faux pro will be all I can offer for now:
I will be doing a voice over commentary to explain each detail through the build.
February 16th 2015 - Basic nnA-10
Speed nnA-10 coming soon!
REVIEW
STALLS
The nnA-10 is pretty stable but as you drop speed she will start to stall out. The stall is gradual but with any EDF you can’t recover very fast so it’s best to keep your speed brisk.
WIND
Wind performance is great, the weight helps here.
LAUNCHING/LANDING
Don’t be afraid of full throttle on launch. Make sure your throws are 45%-50% on your elevator.
ACROBATICS
This is not an acrobatic plane. The nnA-10 will roll and do inverted fine but it’s not designed for 3D or heavy sport flying.
GLIDE SLOPE
If you watched the maiden video you’ll notice the glide slope on the A-10 is pretty bad. She will drop fast when you drop throttle, be ready.
SLOW SPEED PERFORMANCE
It’s best to stay above 1/4th throttle, for the weight of this bird the slow speed performance isn’t bad, but if she drops it will be hard to recover.
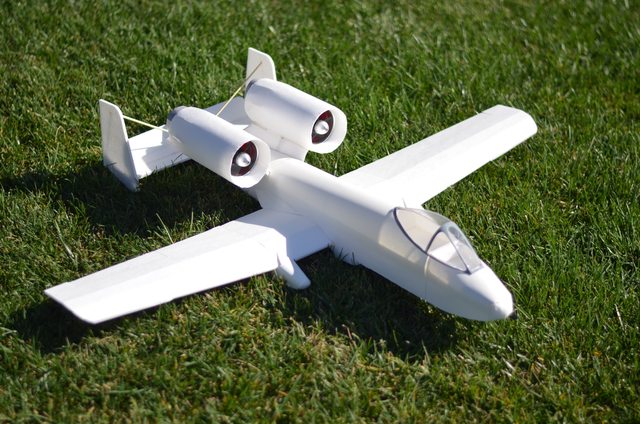
LOOK AND FEEL
The look of the nnA-10 is undeniably one of the best DTFB planes. There is something to be said for how smoothly it presents itself across the sky. With noble stability it sticks lines and tracks perfectly – you’ll be the talk of your flying field when you’re flying an nnA-10. Despite the AUW weight there is a sense of nimbleness that surprised me. She’s not floating but is responsive and precise.
FINAL COMMENTS
The nnA-10 is a very relaxing plane to fly. I like to think of it as an advanced lazy weekend flyer. With stylish looks and enough pep to satisfy you’ll enjoy every moment with your nnA-10.
Thanks for checking out my design! If you enjoyed it please consider donating a few bucks so I can buy more supplies to make more great planes.
Also, coming soon is the nnP-38, so be on the look out for that!

Attachments

Last edited:
