Foam Electro Streak

FlyingTyger

Elite member
The Great Planes Electro Streak was a plane that always caught my eye when I would page through the Tower Hobbies catalog as a kid. Electrics were something I never really explored until the advent of lipo batteries and brushless motors. At that point the Electro Streak kit was gone or at least off of my radar. When The RC Plane Lab Podcast announced that they were going to host an Electro Streak group build, I thought it would be the perfect time to satisfy my childhood desire to have one. It would also be a very convenient opportunity to do a foam build alongside several balsa builds and see how the two techniques compare.

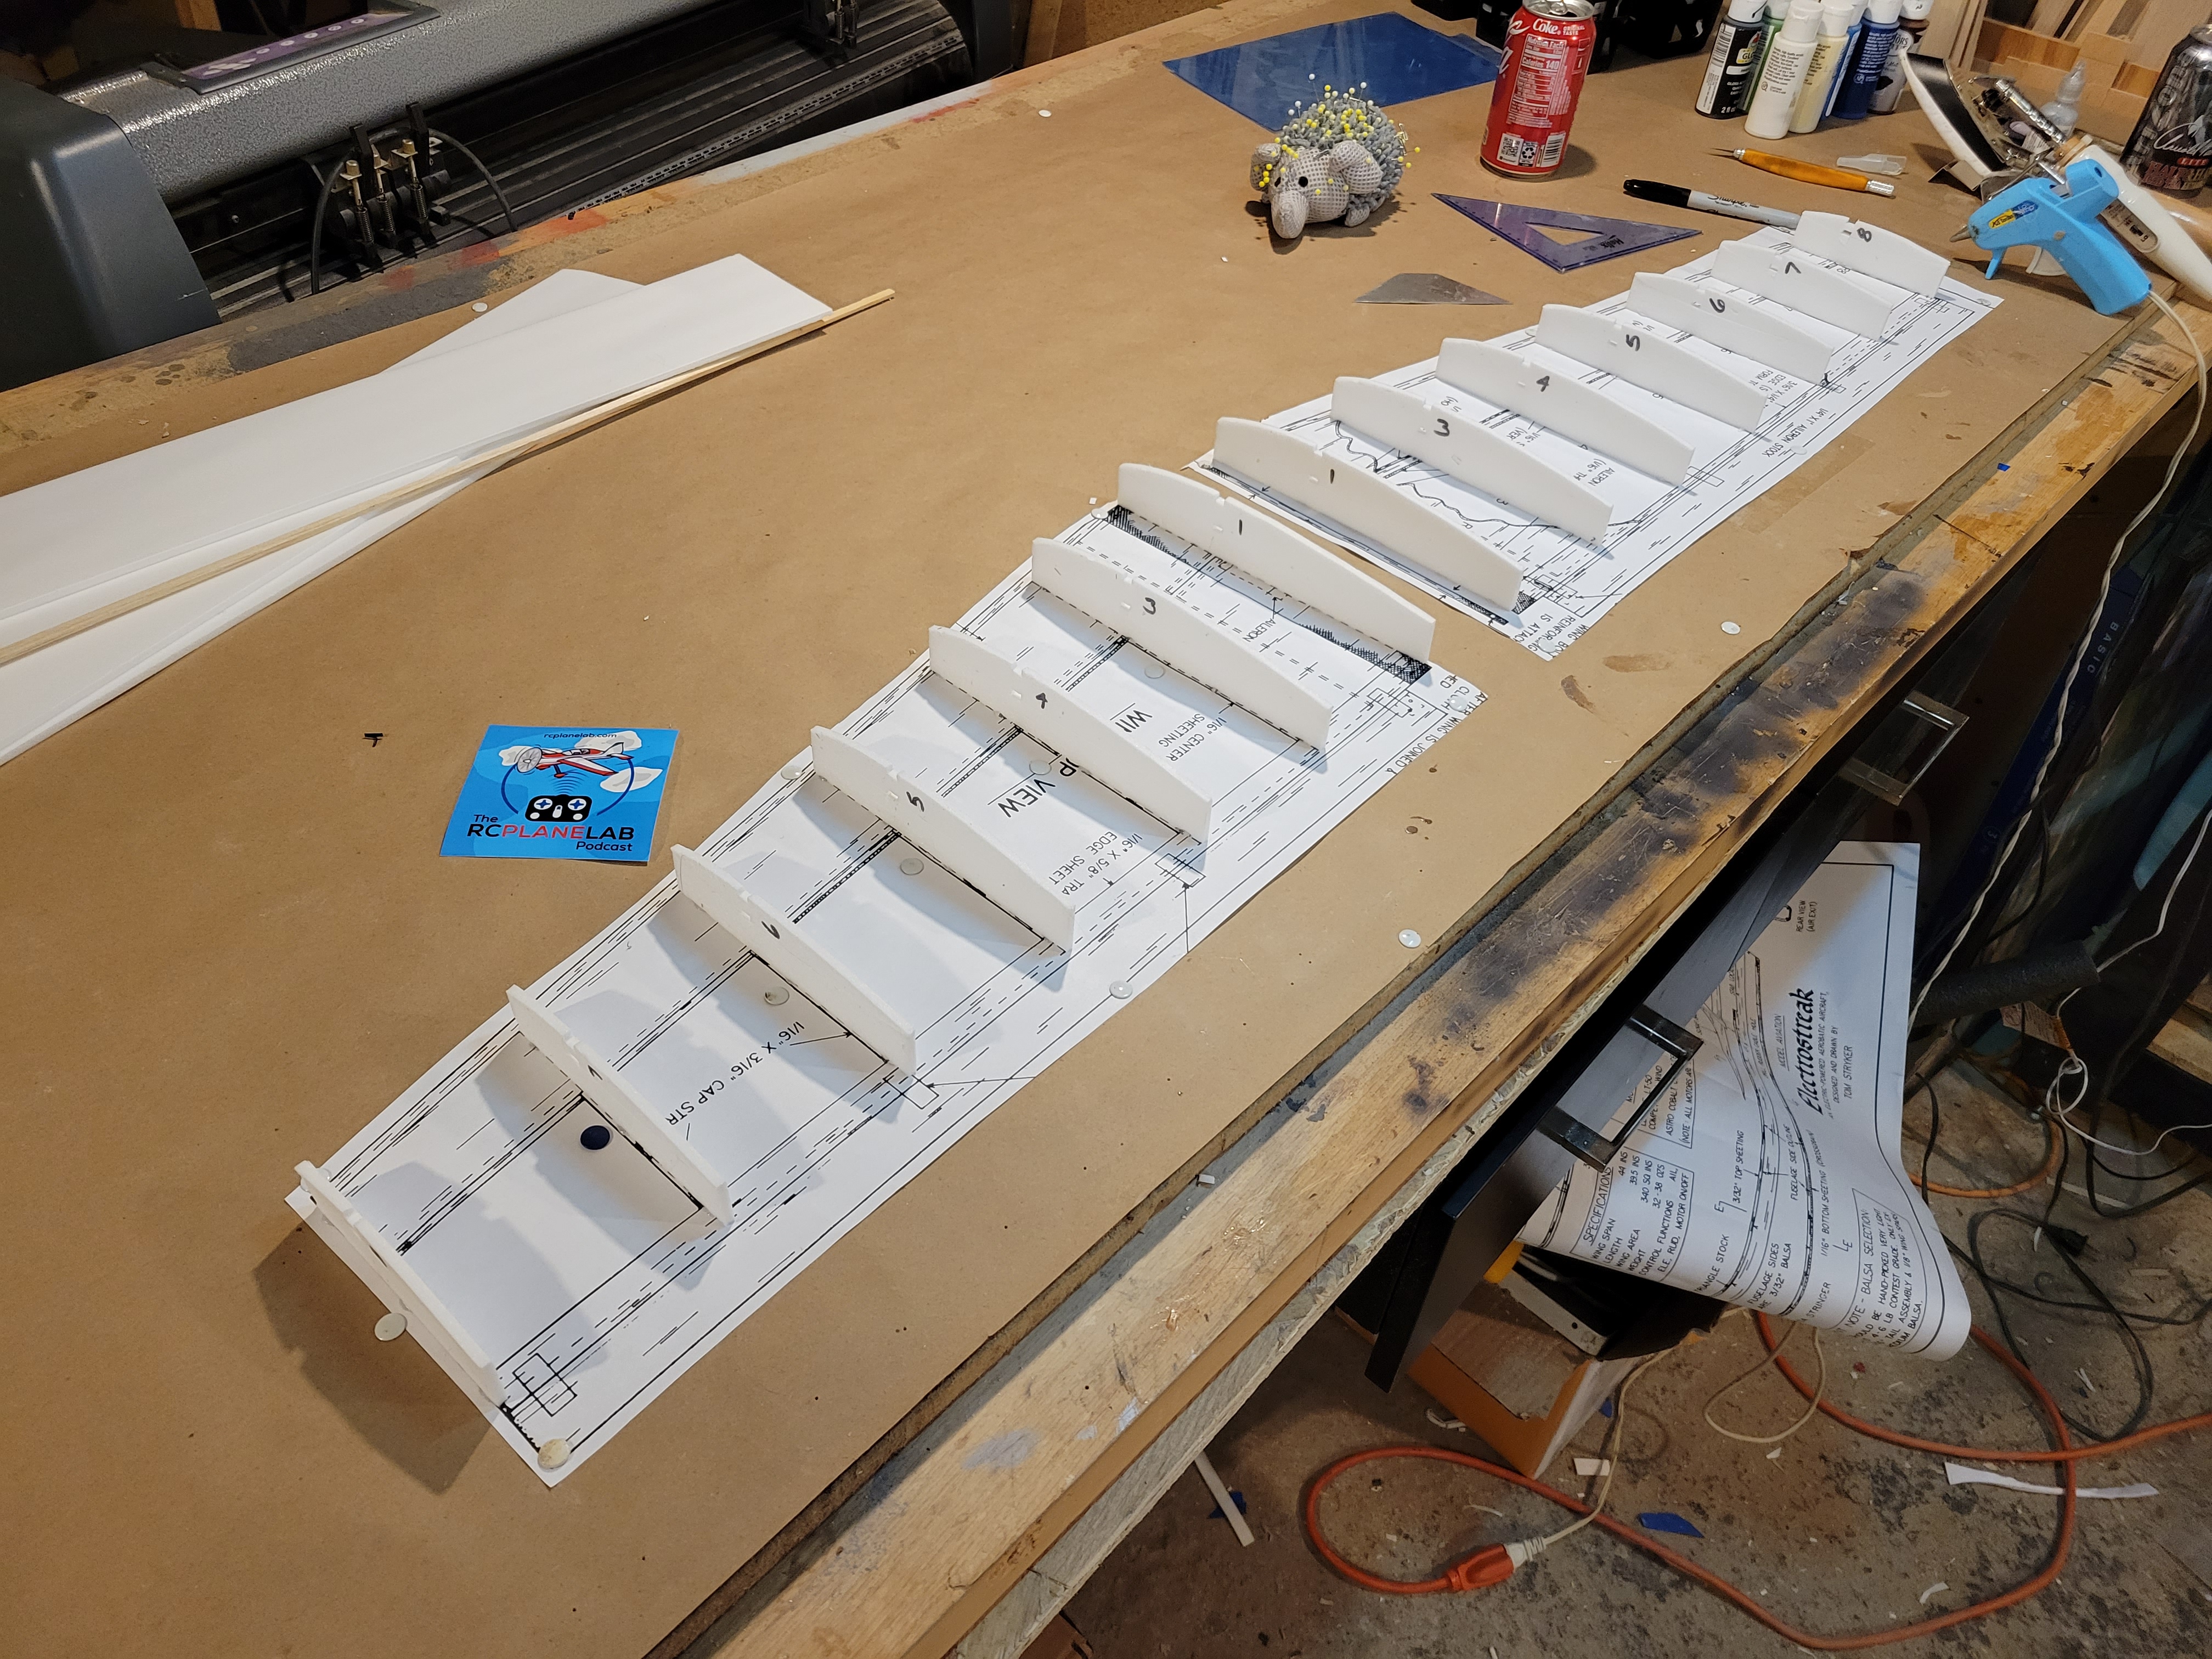
I started by cutting the wing ribs from DTFB (paper removed). I left a section of foam attached to the bottom of each rib and trimmed them to be a consistent distance from the wing's centerline. This way they were able to be spot glued to my bench and everything would be aligned.
20230216_213156.jpg


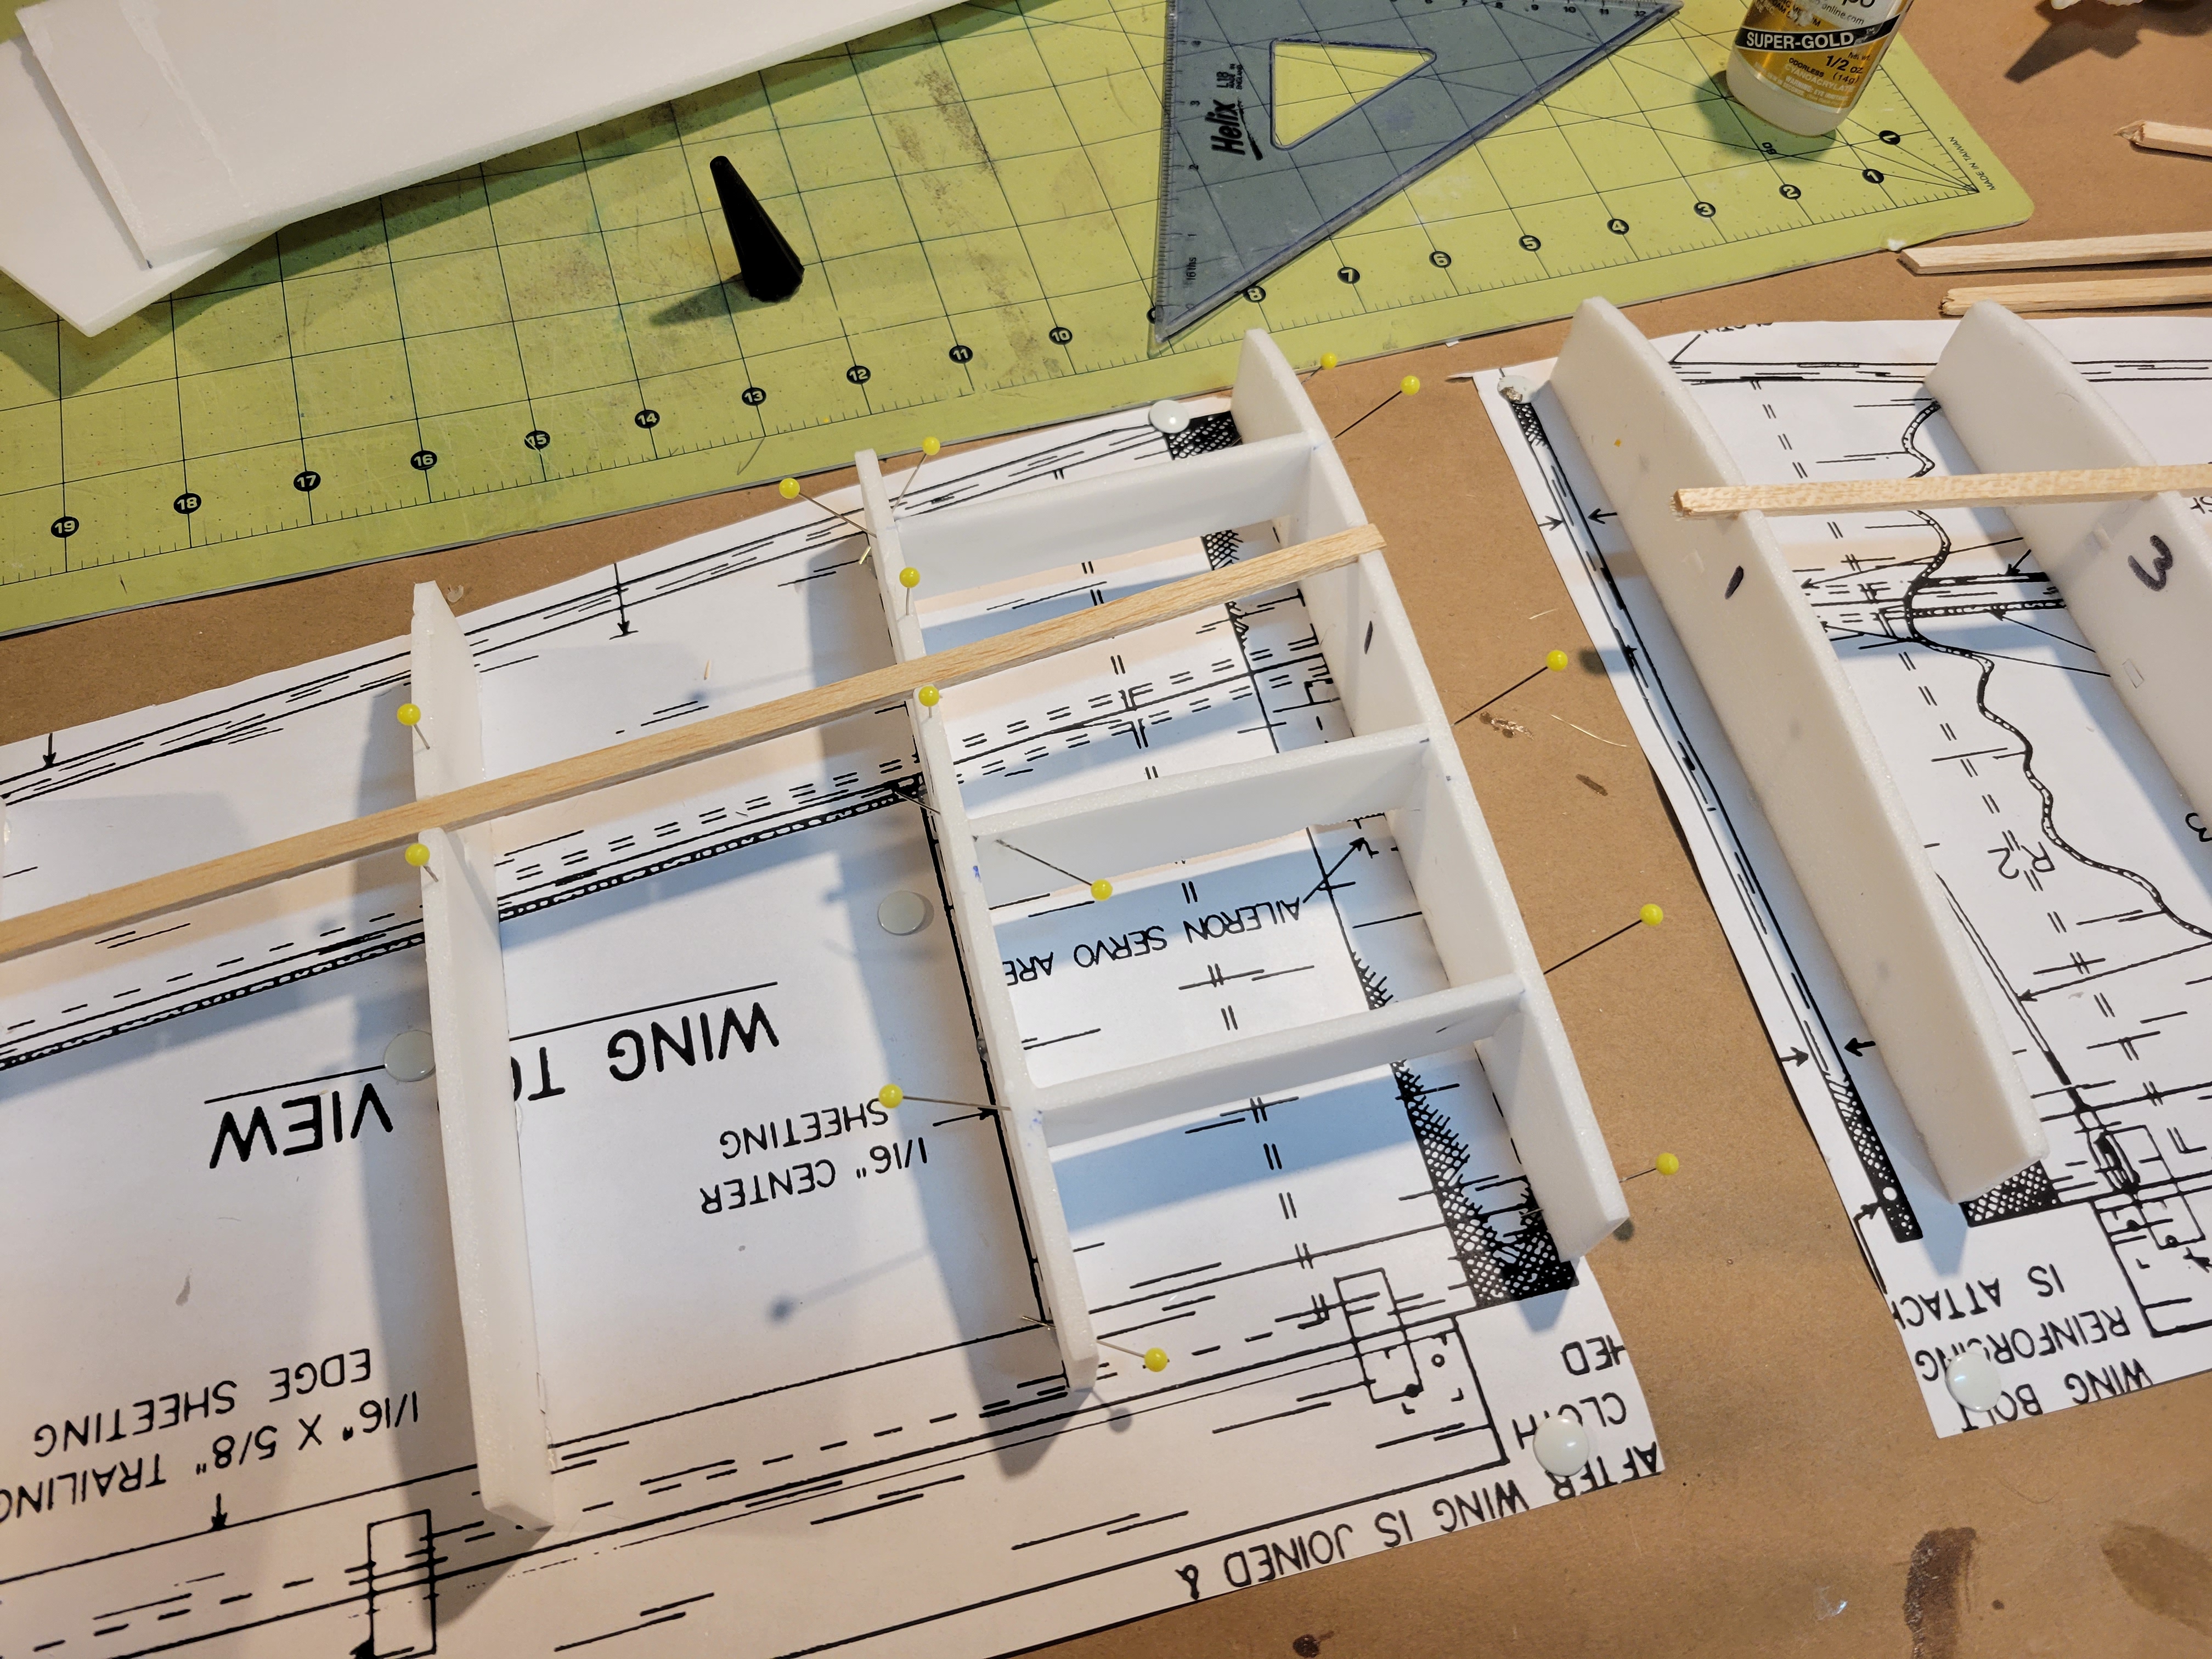
I noticed that the R2 rib did not line up with the fuse sides which would limit the twisting strength of the wing connection. I opted to leave the R2 ribs out and added perpendicular webs between R1 & R3 that will then bear on the fuse sides in the saddle.
20230217_225658.jpg


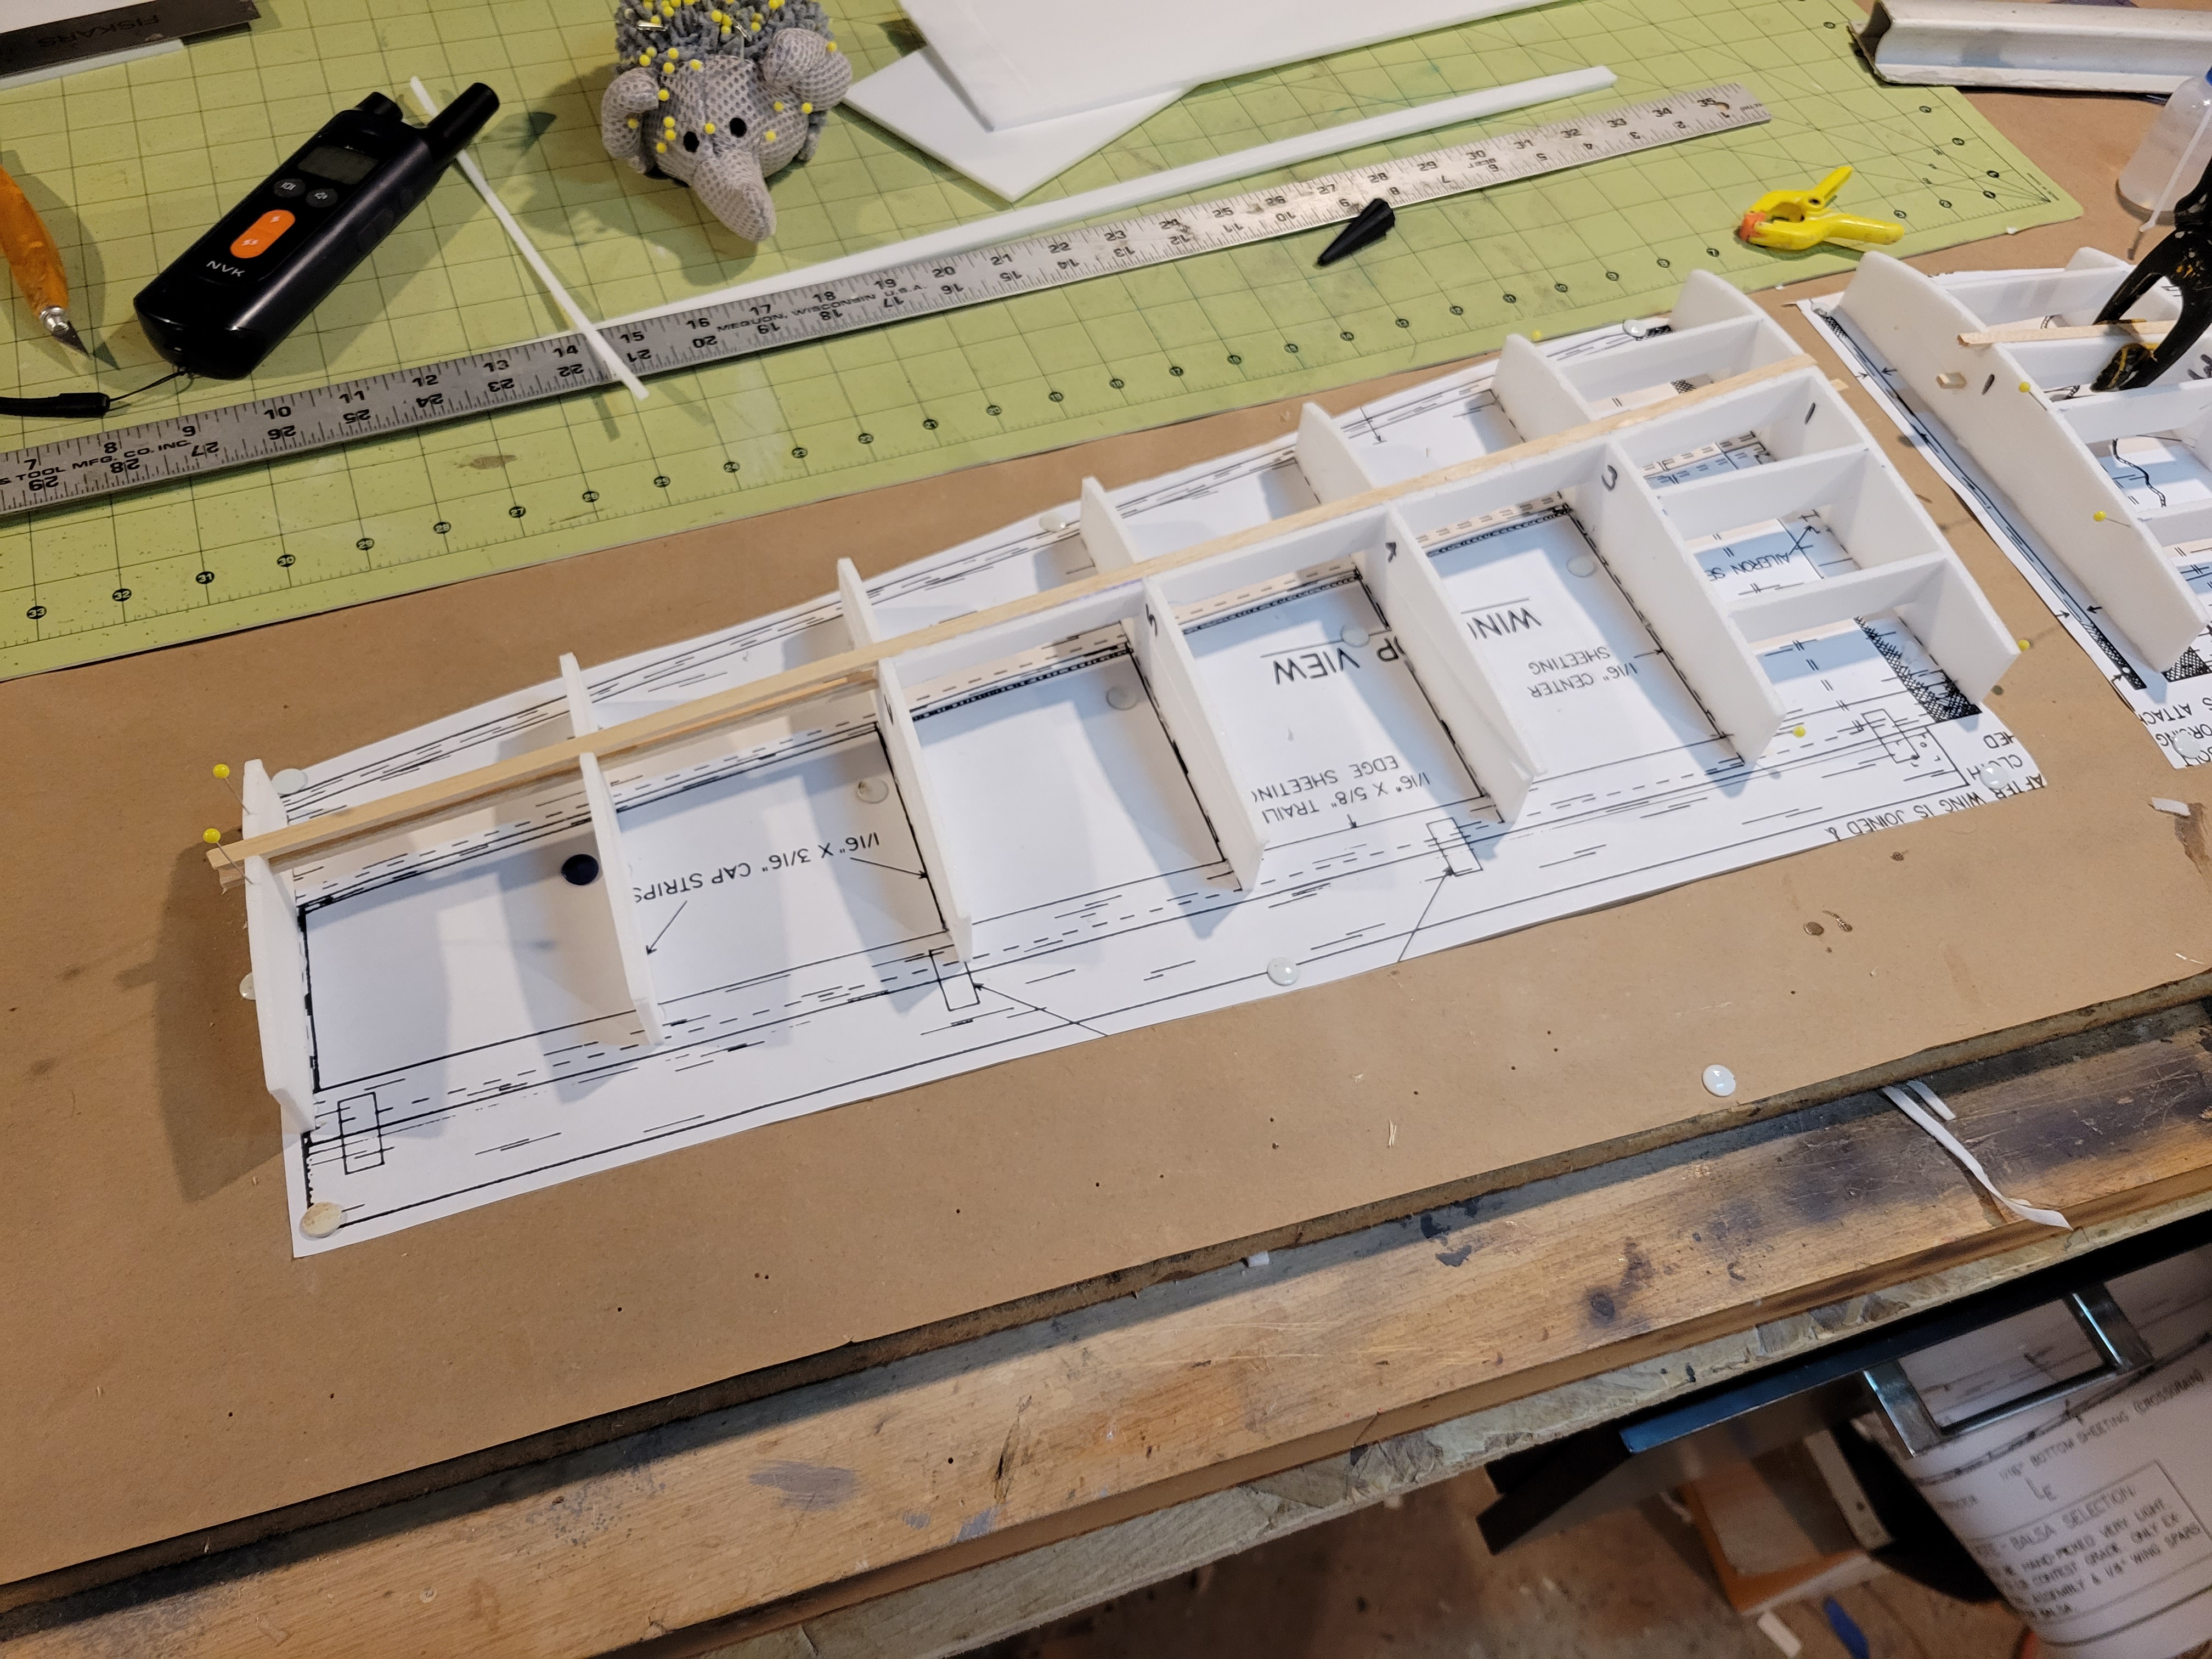
1/8" x 1/4" balsa spars were added along with foam shear webs.
20230218_000114.jpg


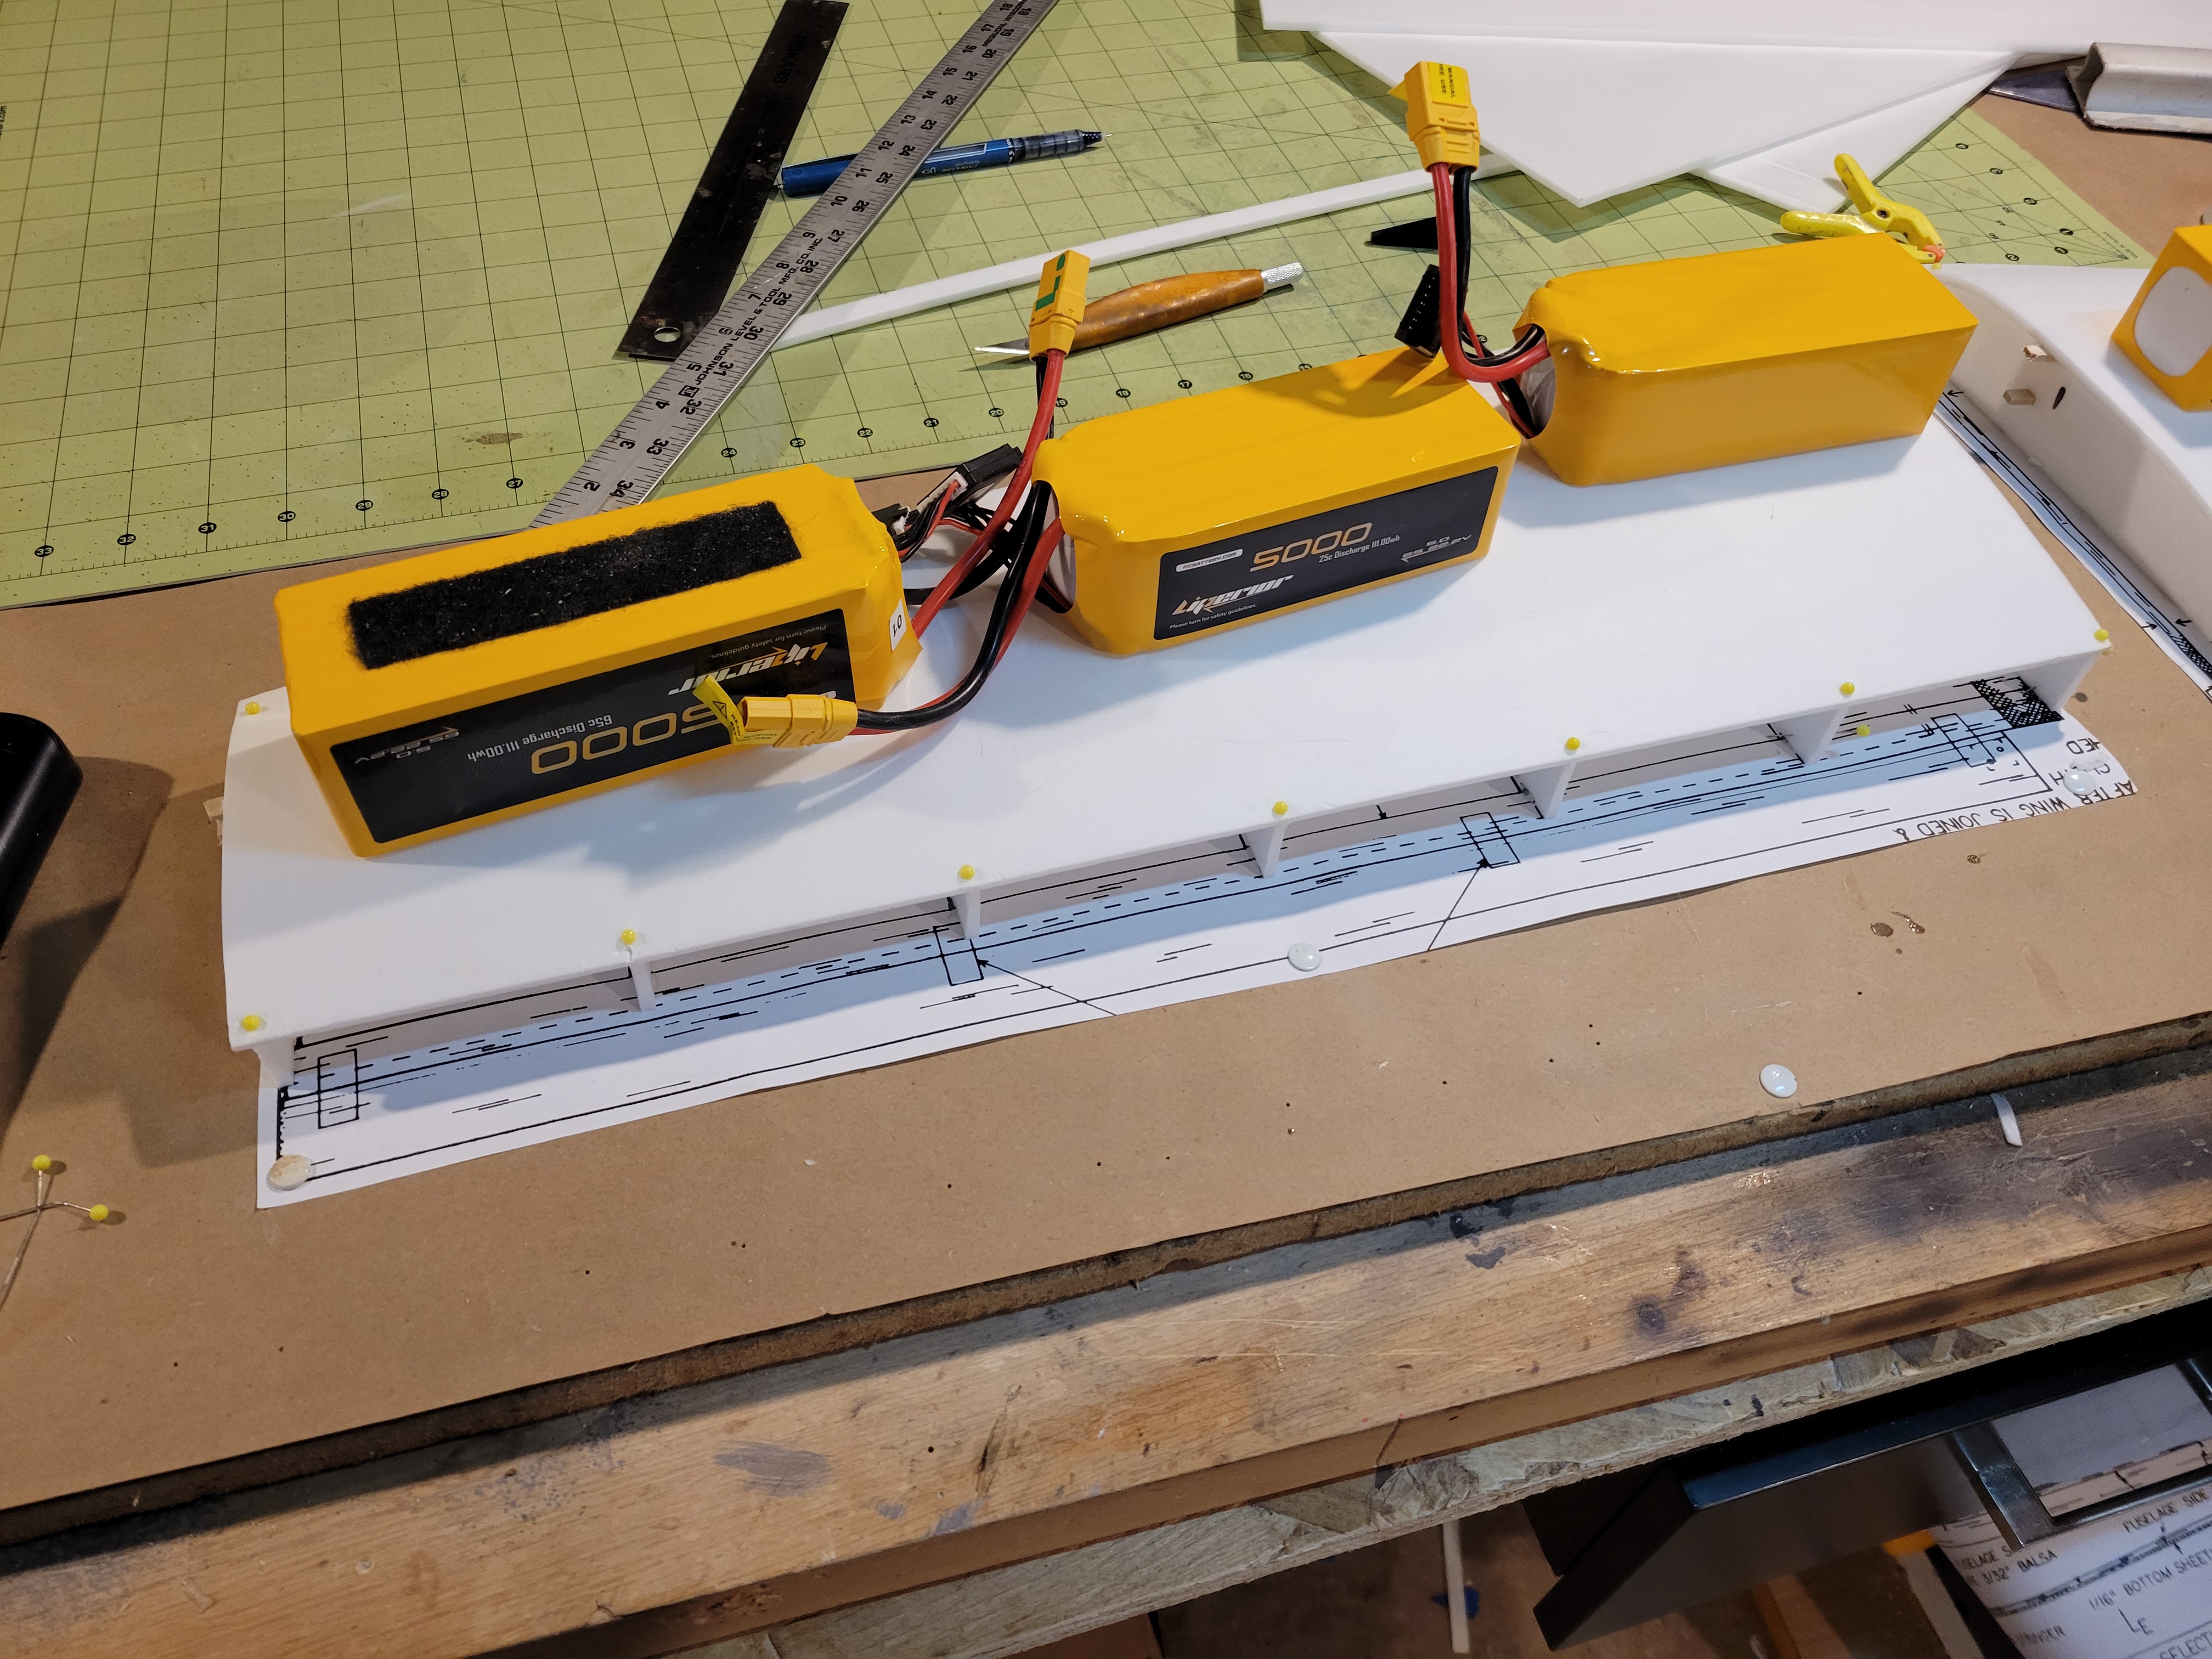
With the internal framework complete, I glued down the top wing skins.
20230218_002616.jpg


Once dry, I will be able to break the ribs free from that bottom spacer and work on the bottom.
 

FlyingTyger

Elite member
How do you plan to do the fuselage? It has some complex curves which don’t translate easily to foam board.

Same as the balsa version. I cut some foam triangle stock from 1/2" XPS. I will glue that into the corners using DTFB for the sides, top, and bottom. Then sand it to the proper cross-section.
 

FlyingTyger

Elite member
With the top skins dry, I carefully separated the panels from the rib jigs and flipped them over. I had to add the servo mounts before I could skin the bottoms. The servo mount plates were cut from 1/32" ply and balsa mount blocks added. A layer of foam will be added to the bottom of these later on.

20230218_224856.jpg


1/4" x 3/8" balsa mounting rails were added to the rib bay.

20230218_233225.jpg


With the servo mounts in, I was able to add the bottom skins. These were laid on the rib jigs then the panel pressed down into them and weighted.

20230218_234513.jpg


The skinned panels weigh 3.1 oz (total) at this point. These will still get balsa LE, TE, and tip caps.

20230219_131347.jpg
 

danskis

Master member
Well thought out build as usual. I'learned a lot from your build articles. I was wondering how you cut your foam triangular stock. Would you take a picture of your setup?
 

FlyingTyger

Elite member
Well thought out build as usual. I'learned a lot from your build articles. I was wondering how you cut your foam triangular stock. Would you take a picture of your setup?

Here's my high tech setup. In this case, the dimensions of the triangles is not critical, they are just a filler, so this was good enough.

20230226_133151.jpg
 

danskis

Master member
Thanks it looks pretty hi-tech to me. I'm having a hard time making the leap from foam board and a razor knife to power tools. That pic helped a lot to get my head going in that direction.
 

danskis

Master member
@FlyingTyger - I'm in the middle of a 2 meter balsa glider build right now but I'm thinking of using the wing build technique you outlined here for my next project. I'd like to know more about the stand-offs on the bottom of the ribs. I saw on RC Plane Lab that the stand-offs are on the plans. I was wondering how you attached the stand-offs to the rib or how you cut the bottom of the rib once you flipped it over. Please keep posting pics if you have time.
 

FlyingTyger

Elite member
@FlyingTyger - I'm in the middle of a 2 meter balsa glider build right now but I'm thinking of using the wing build technique you outlined here for my next project. I'd like to know more about the stand-offs on the bottom of the ribs. I saw on RC Plane Lab that the stand-offs are on the plans. I was wondering how you attached the stand-offs to the rib or how you cut the bottom of the rib once you flipped it over. Please keep posting pics if you have time.

On wood ribs I have normally seen a single small stand-off, typically near the trailing edge, that can be easily cut off once you remove the assembled panel from the bench. In this case, the spar still sits directly on the benchtop. I'm not sure if this is how Ron did the balsa short kits, but it is what I would've expected.
Here is an example of such a rib.
Balsa Rib.png


I did the foam ribs a little different since they will flex if they don't have continuous support. I drew a line 1" down from each rib centerline and made my bottom cut there. Then I cut the bottom shape of the rib leaving 2-3 spots about a 1/8" wide intact so that the rib and jig would stay together. These spots are weak enough that with a little flexing they would break and you can remove the assembled panel from the jig. This way you can return the assembly to the jigs to apply the skins and such.
Here is a picture that will hopefully explain it better than my words. The pink lines are where I cut.

E-STREAK JIGS.png
 

FlyingTyger

Elite member
While I have been waiting for glue to dry on the wings, I started assembling the fuselage. The fit around the motor will be very tight. I made the front former and spinner slightly larger, but I plan to shave much of the foam down to get as close to the original size as possible. As a result, the foam will not have much strength so I laminated some 1/32" ply to the insides at the nose. The sides were glued to formers F-2, 3, and 4. I also added a second layer of foam at the wing saddle to stiffen that area up. Once I got everything squared up, I glued it to the bottom skin.

20230220_213034.jpg
 

danskis

Master member
Great explanation - thanks. Yep the balsa glider I'm building now has a lot of under camber at the back of the airfoil and has those exact same tabs you pictured.

I've been using 1/16 balsa on the noses of my most recent planes in the exact same area shown in your pic of the plywood. I've found in stick well with the paper removed from the DTFB and adds a huge amount of strength - plus its sandable.
 
Last edited:

MrClean

Well-known member
Are you going to mock up that nose, get a 24 ouncer soda bottle and heat shrink you a nose cowl for that?
 

FlyingTyger

Elite member
Are you going to mock up that nose, get a 24 ouncer soda bottle and heat shrink you a nose cowl for that?

I had thought very seriously about doing that, but decided to do a carved nose on this one instead. I have another project coming soon that I plan to use that technique on. The motor is an even tighter install on that one o_O