Steve Fox
Active member
A place for people to discuss the FT Cub, Modifications and for new builders to ask questions and advice, i have built enough of these and flown hundreds of hours with them that i know what works and what does not and happy to answer beginner questions and help others skip the experimentation i have done to get mine flying like they do 
I want to start by saying that i am cool with people going off topic, conversations drift and as someone whos been moaned at about doing it on here myself i dont have a problem with it in this thread, i wont complain that its being hijacked
The Cub has a good raw air frame and can be a very good plane if ALL FT specs are thrown out the windo.
It can fly very well and benefits from being heavier than the all up weight of 489g that official specs give, that is far too lightweight for anything but absolute zero wind!
As someone who has built loads of these and flown them almost every day for the last 3 years i have tried all manor of things and this is the specs i recommend:
Servos -12g metal gear!
Motors - i use both 2212 1400kv and 2830 1300kv
Props - I run 9x5
Much bigger battery's! - the smallest i run is a 2700mah 3s and the largest is a 4200mah 3s!,
The Cub loves an all up weight of 890g with a 2700mah 3s but will fly on a 4200mah 3s and an all up weight of 1.1kg!
Here is a complete list of my own Cub's specs and links to each item:
MG90s Metal gear servos, ESSENTIAL!!!!
https://www.banggood.com/custlink/3mKDok2HJA
Racerstar 2212 1400kv motor
https://www.banggood.com/custlink/G3DmE4HsKb
9x5 Prop
https://www.banggood.com/custlink/vDKKd0HsRq
30A esc
https://www.banggood.com/custlink/mmKKY6FAvT
Batterys i fly the cub on:
2700mah 3s
https://www.banggood.com/custlink/KGmvR4HnR3
4000mah 3s
https://www.banggood.com/custlink/3vKKFFm2zz
4200mah 3s
https://www.banggood.com/custlink/vDvKyQ1hRE
Eachine 5258 800mw vtx
https://www.banggood.com/custlink/vvDGDLMQWW
Flysky FS-iA6B receiver
https://www.banggood.com/custlink/mGvvEe5QWv
Cheap micro fpv cams x2
600tvl (forward)
https://www.banggood.com/custlink/DK3KYePbdg
1200tvl (downfacing)
https://www.banggood.com/custlink/DvGGR4PAEN
Cam switcher
https://www.banggood.com/custlink/K3mDhOJfuG
Stand alone voltage osd i use, works well but under reads by 0.6v and so im showing 9.4v when im really 10v but like a fast or slow clock, you know what it really means and i may just have a bad one, others may well read bang on:
https://www.banggood.com/custlink/DGDKL22Zj6
future builds with no FC will be using this OSD, it can be flashed with a standalone version of MWOSD and be used for a voltage display and you can configure it ro diplay how and where you want, it can also act as a stand alone gps decoder and display speed and distance without an fc with MWOSD firmware flashed! :
https://www.banggood.com/custlink/3KDvYA7m1i
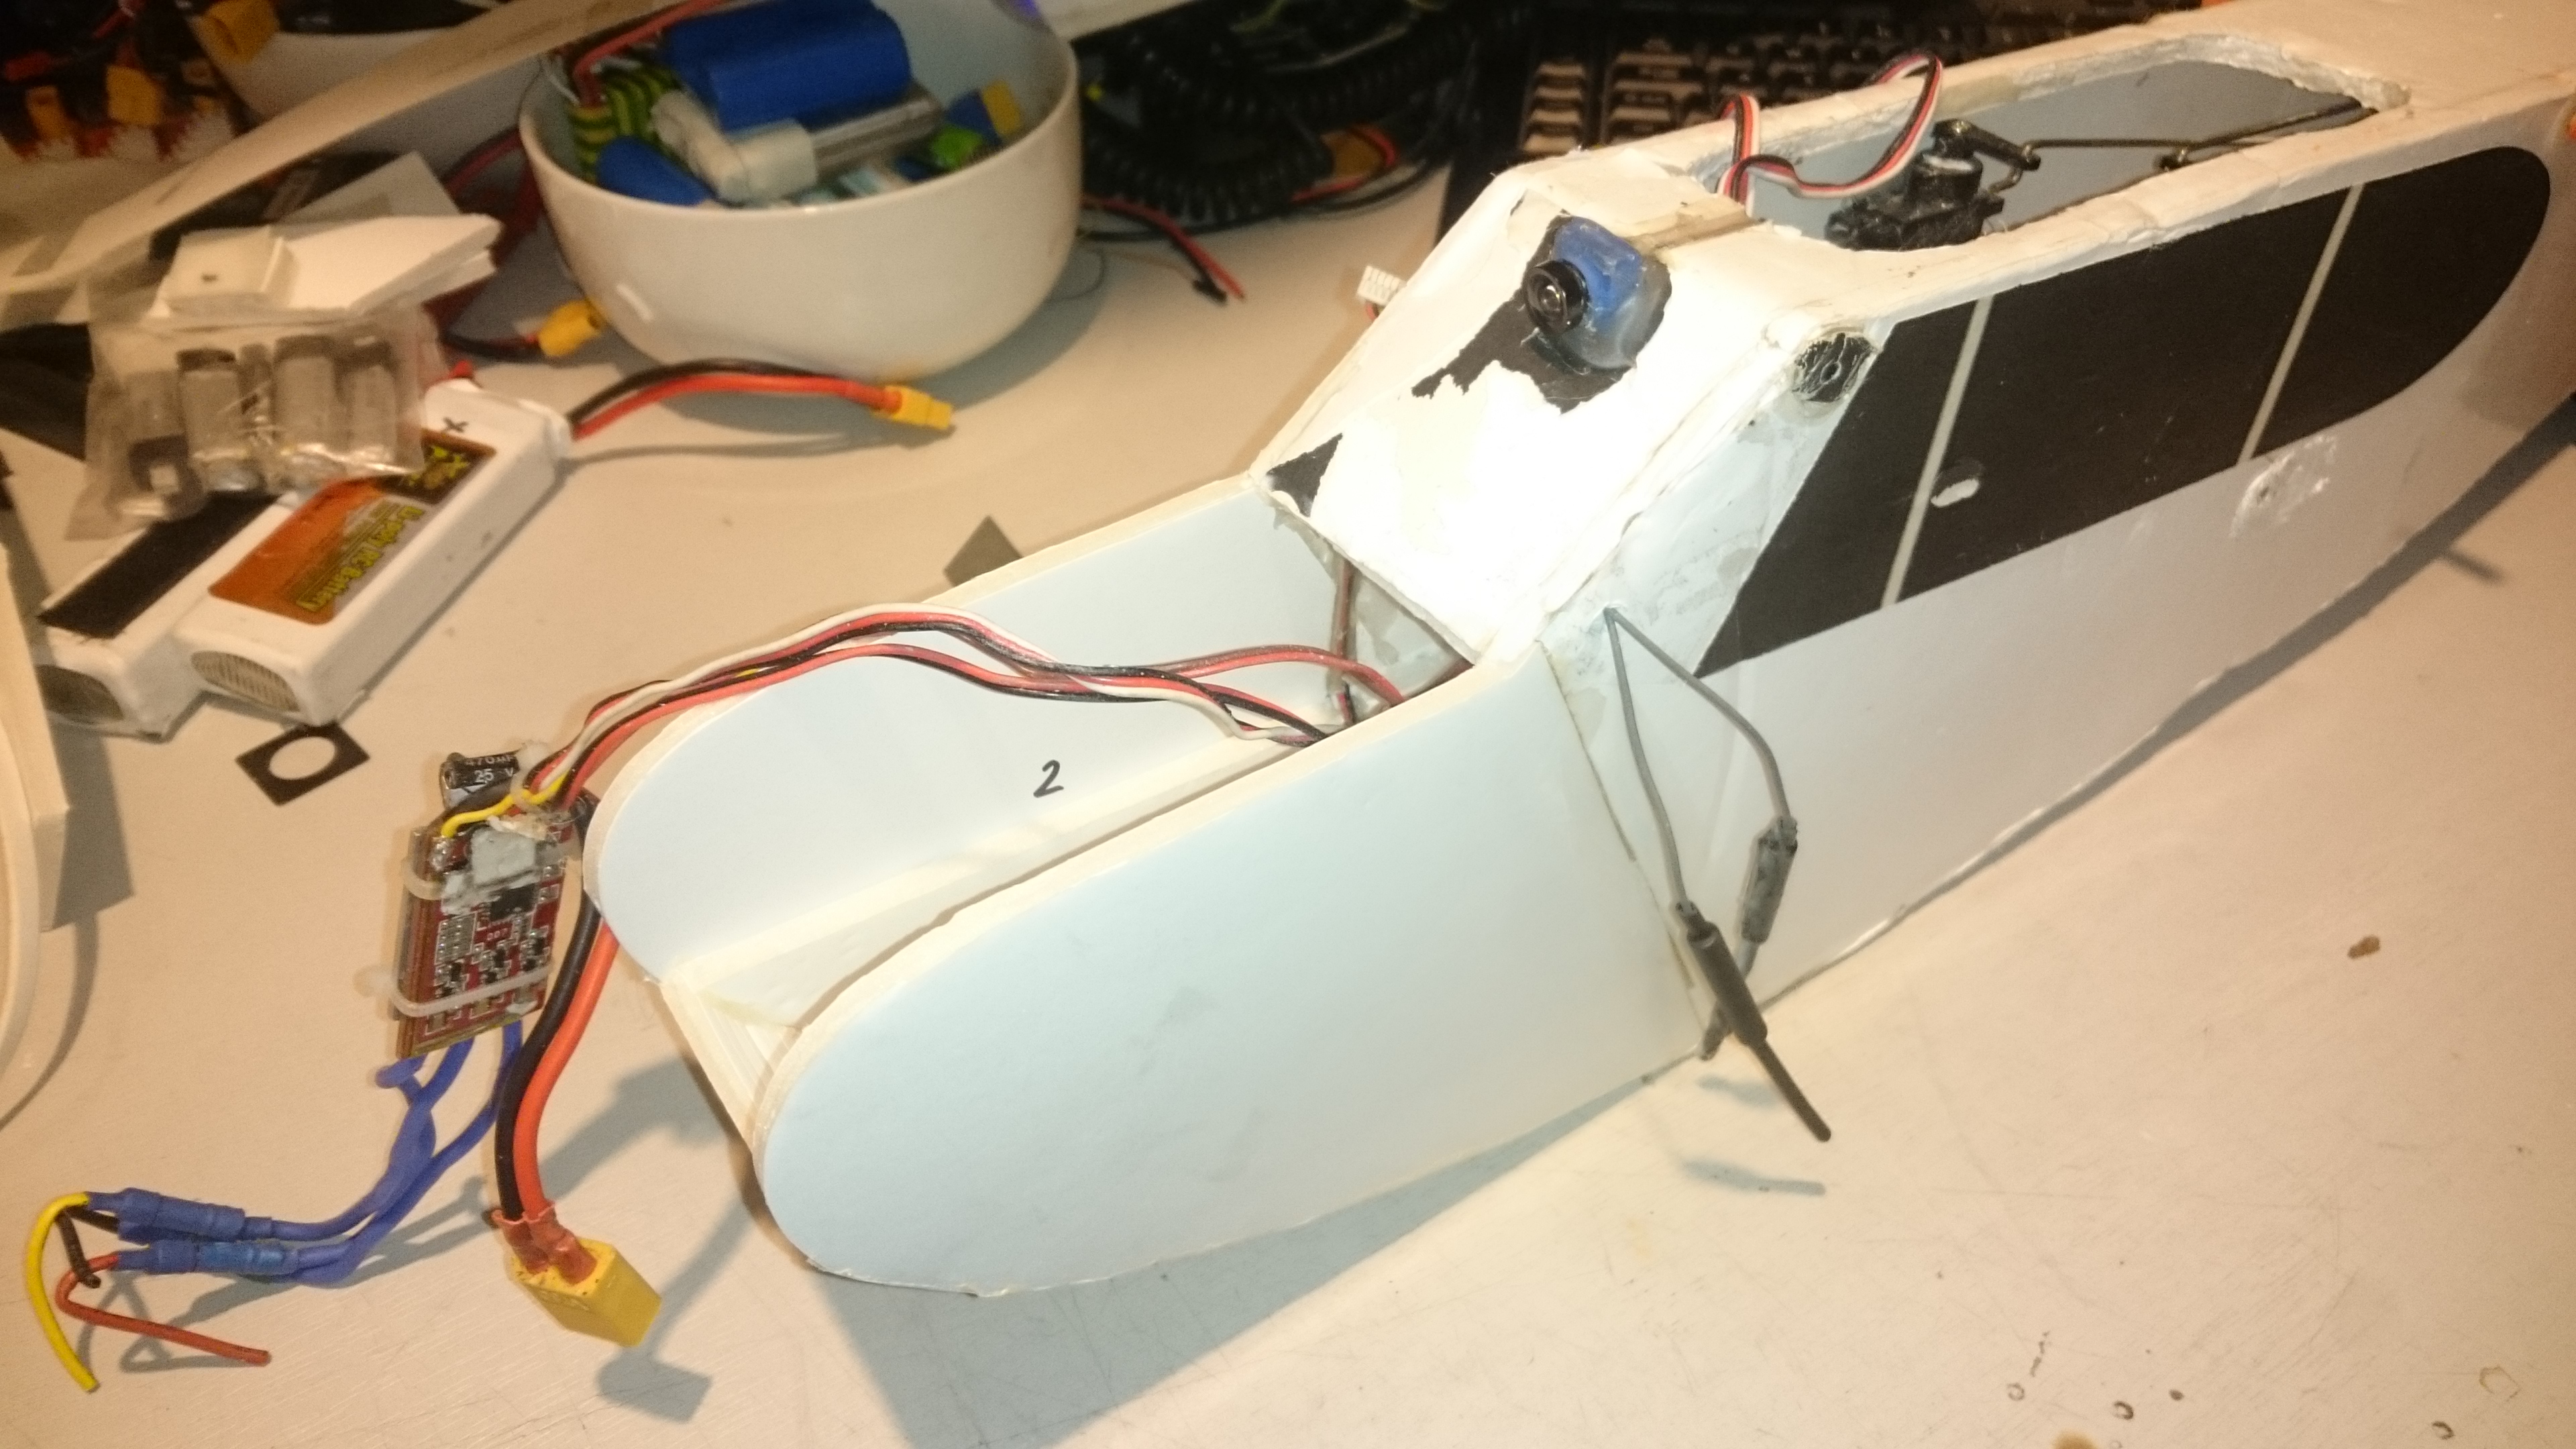
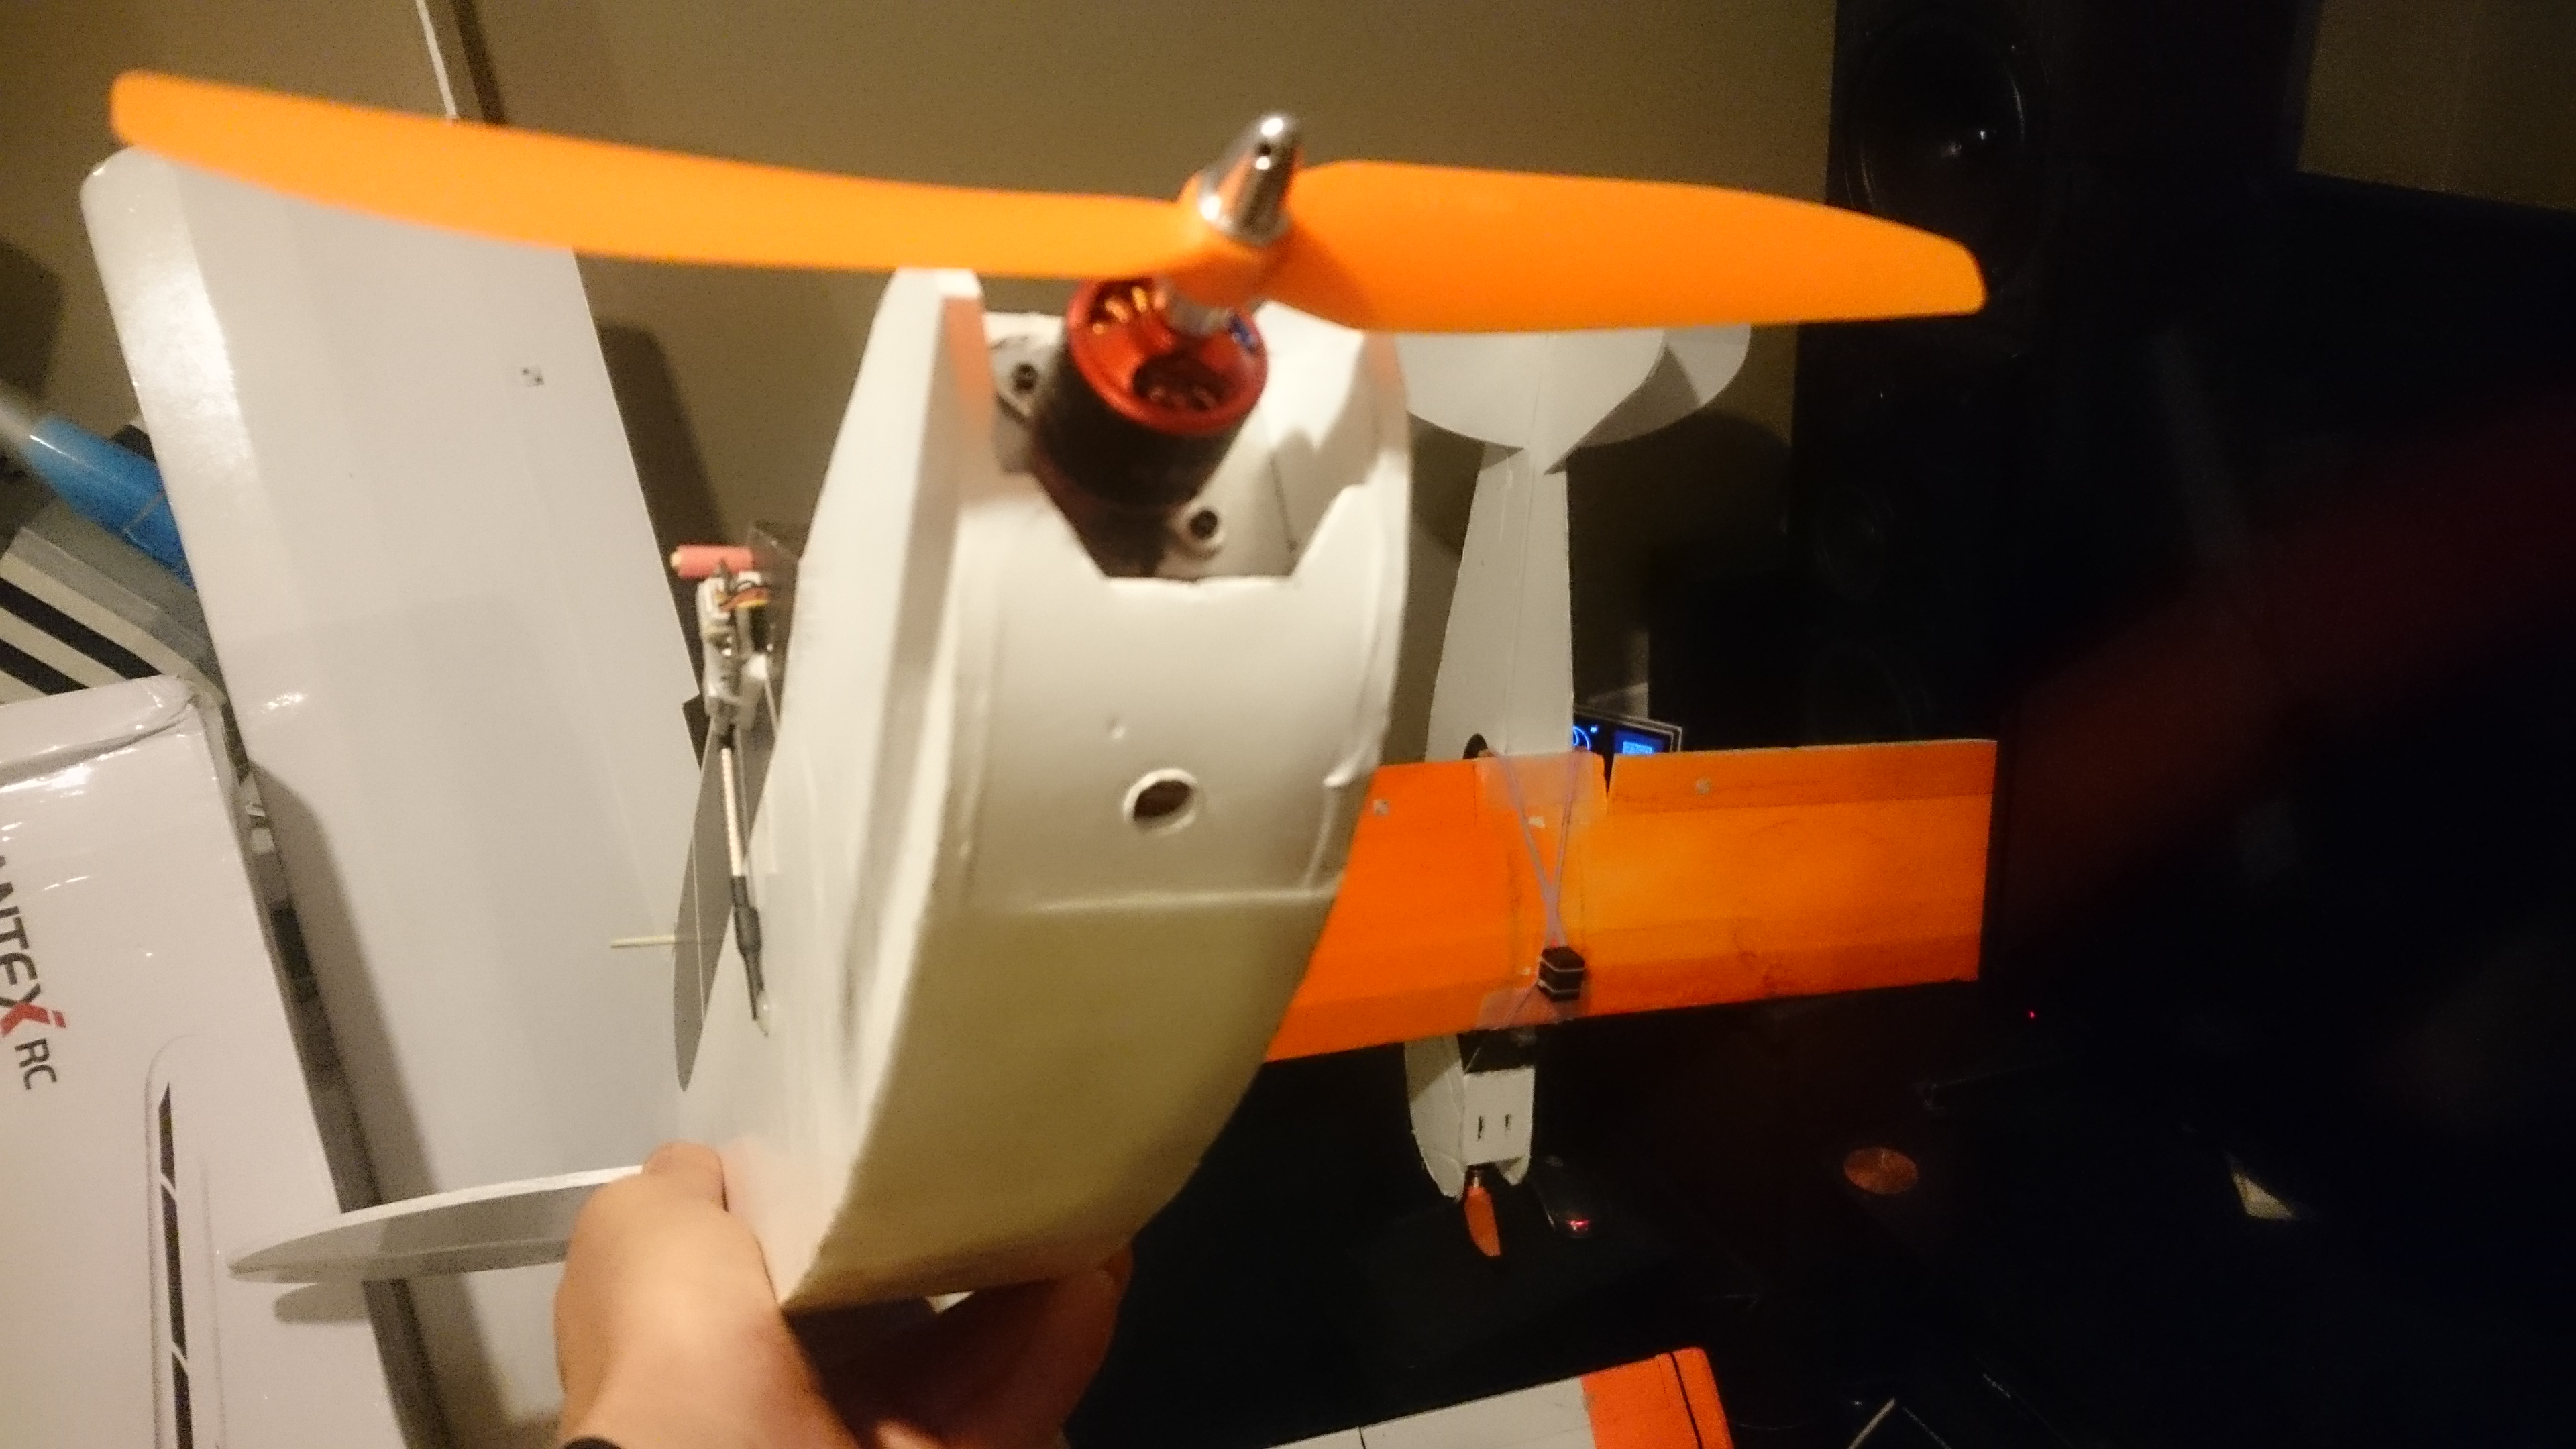
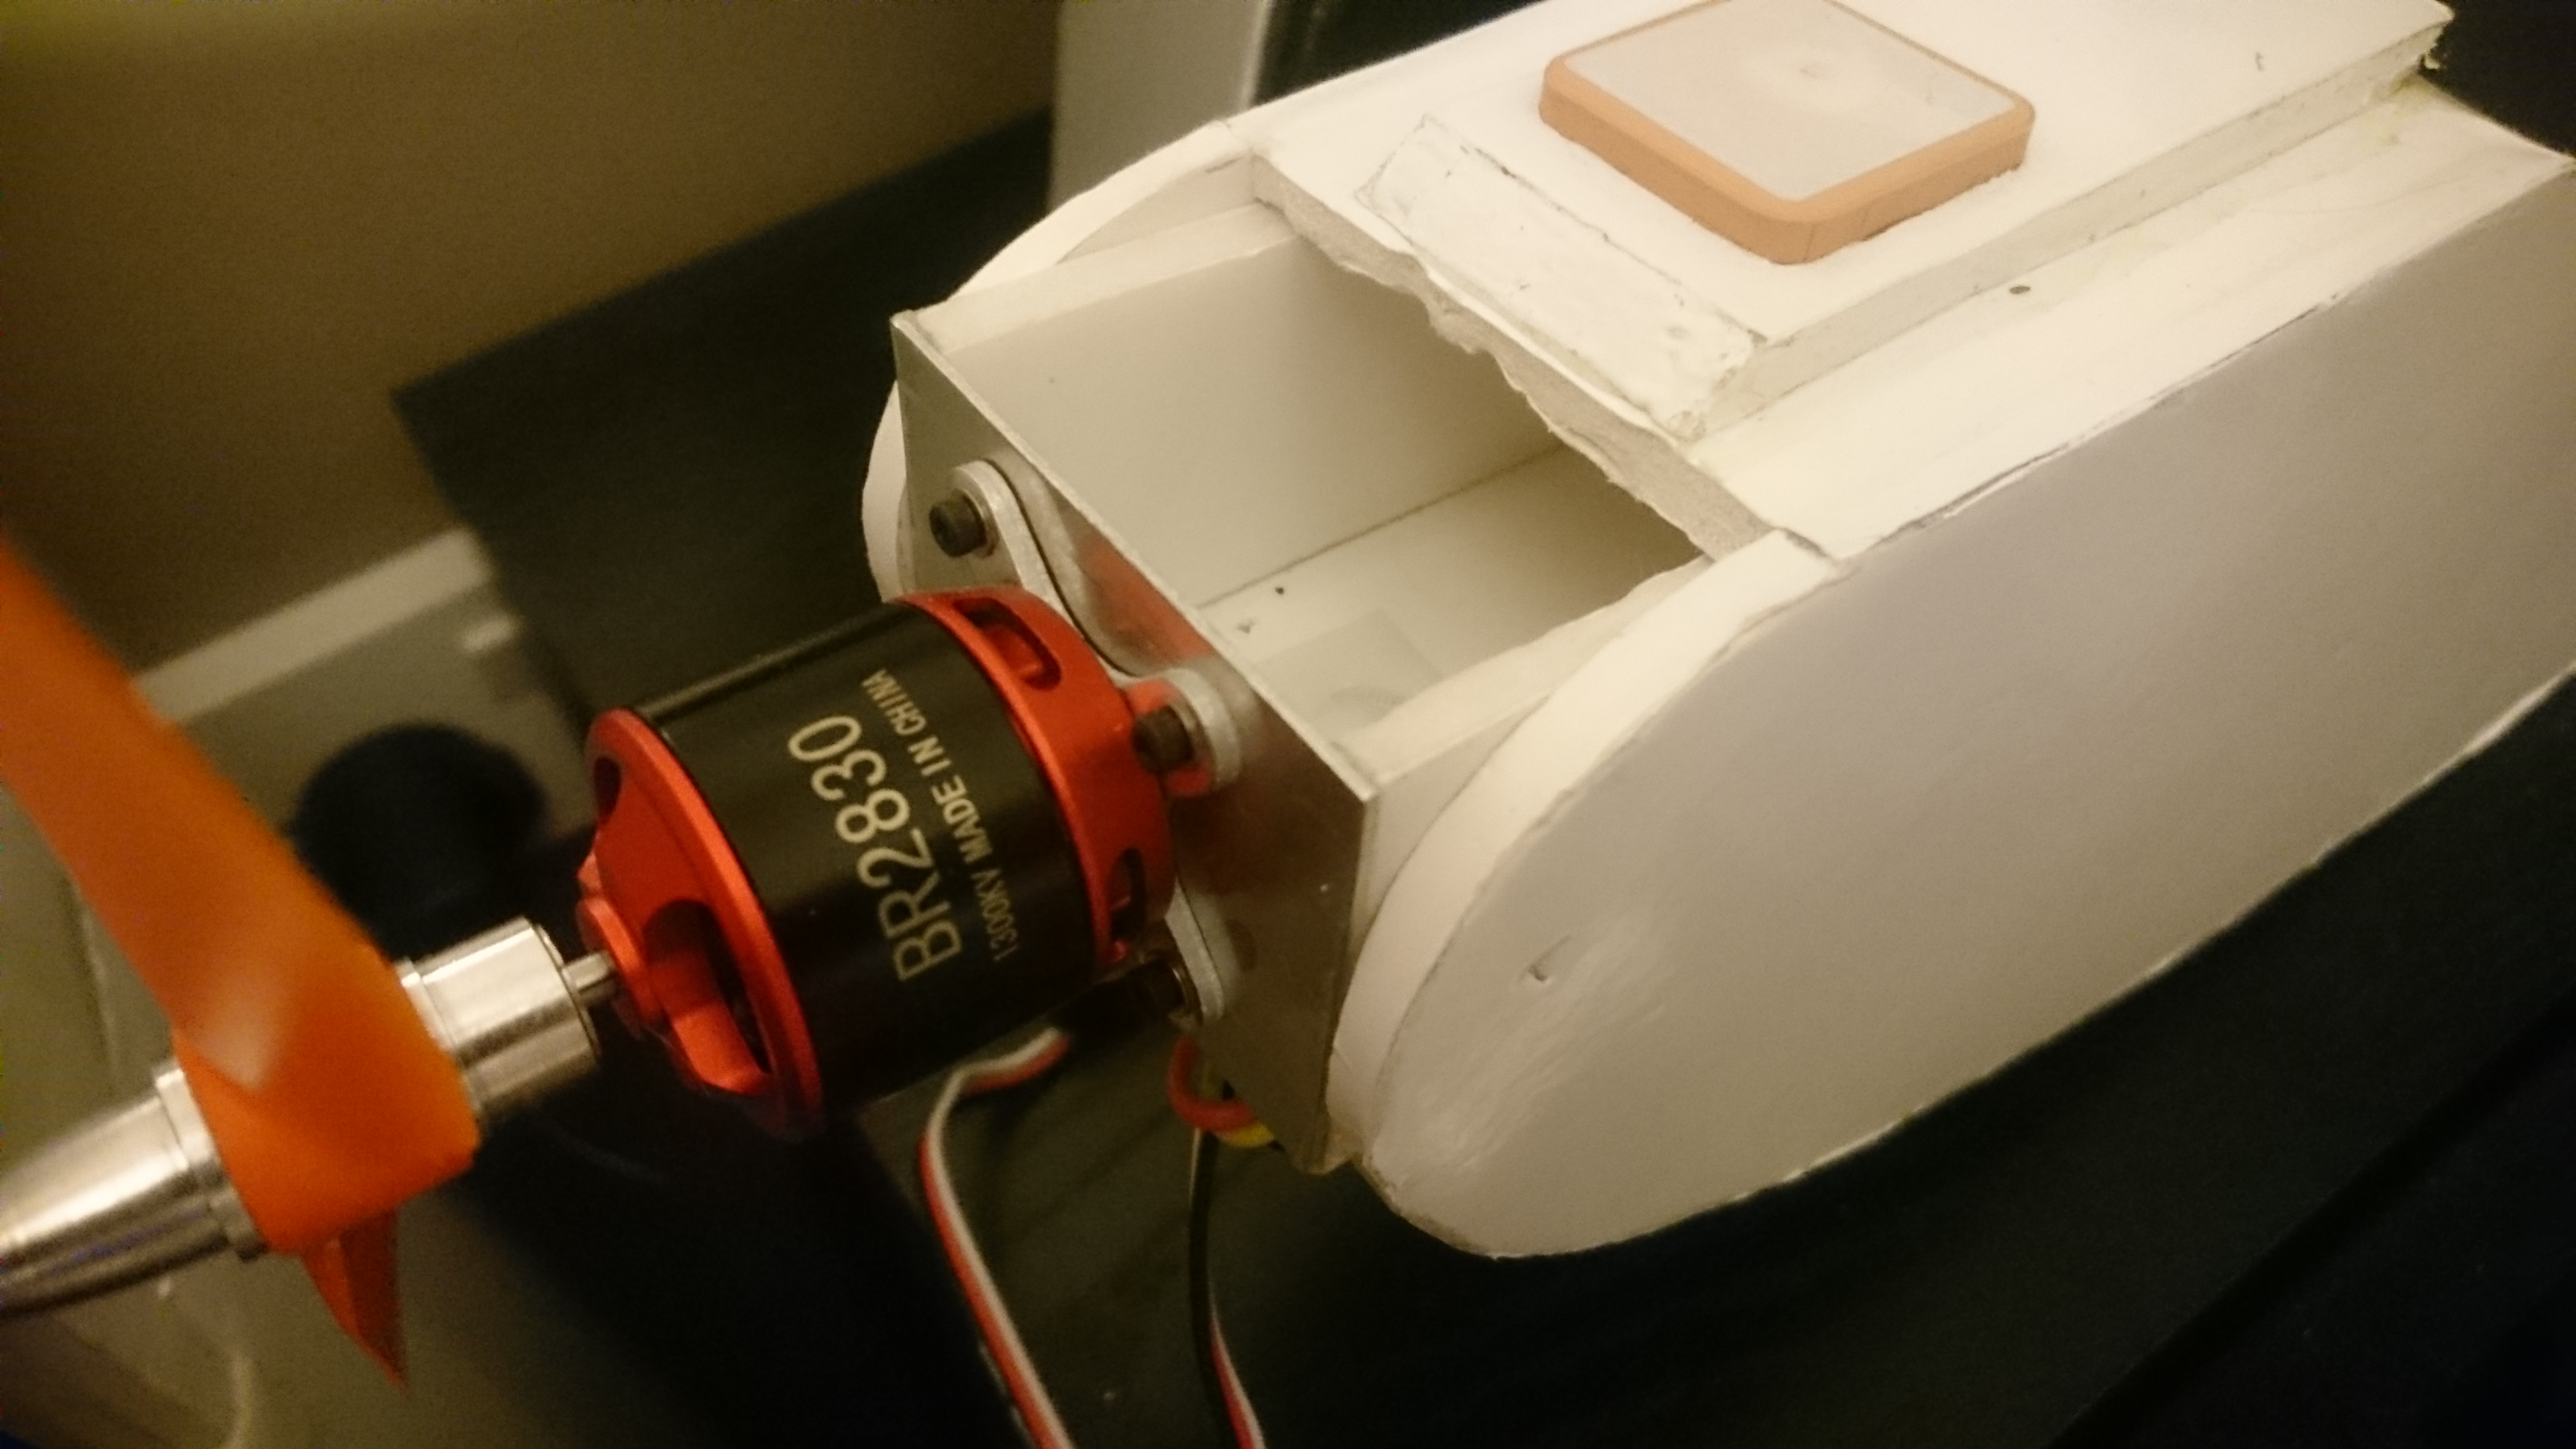
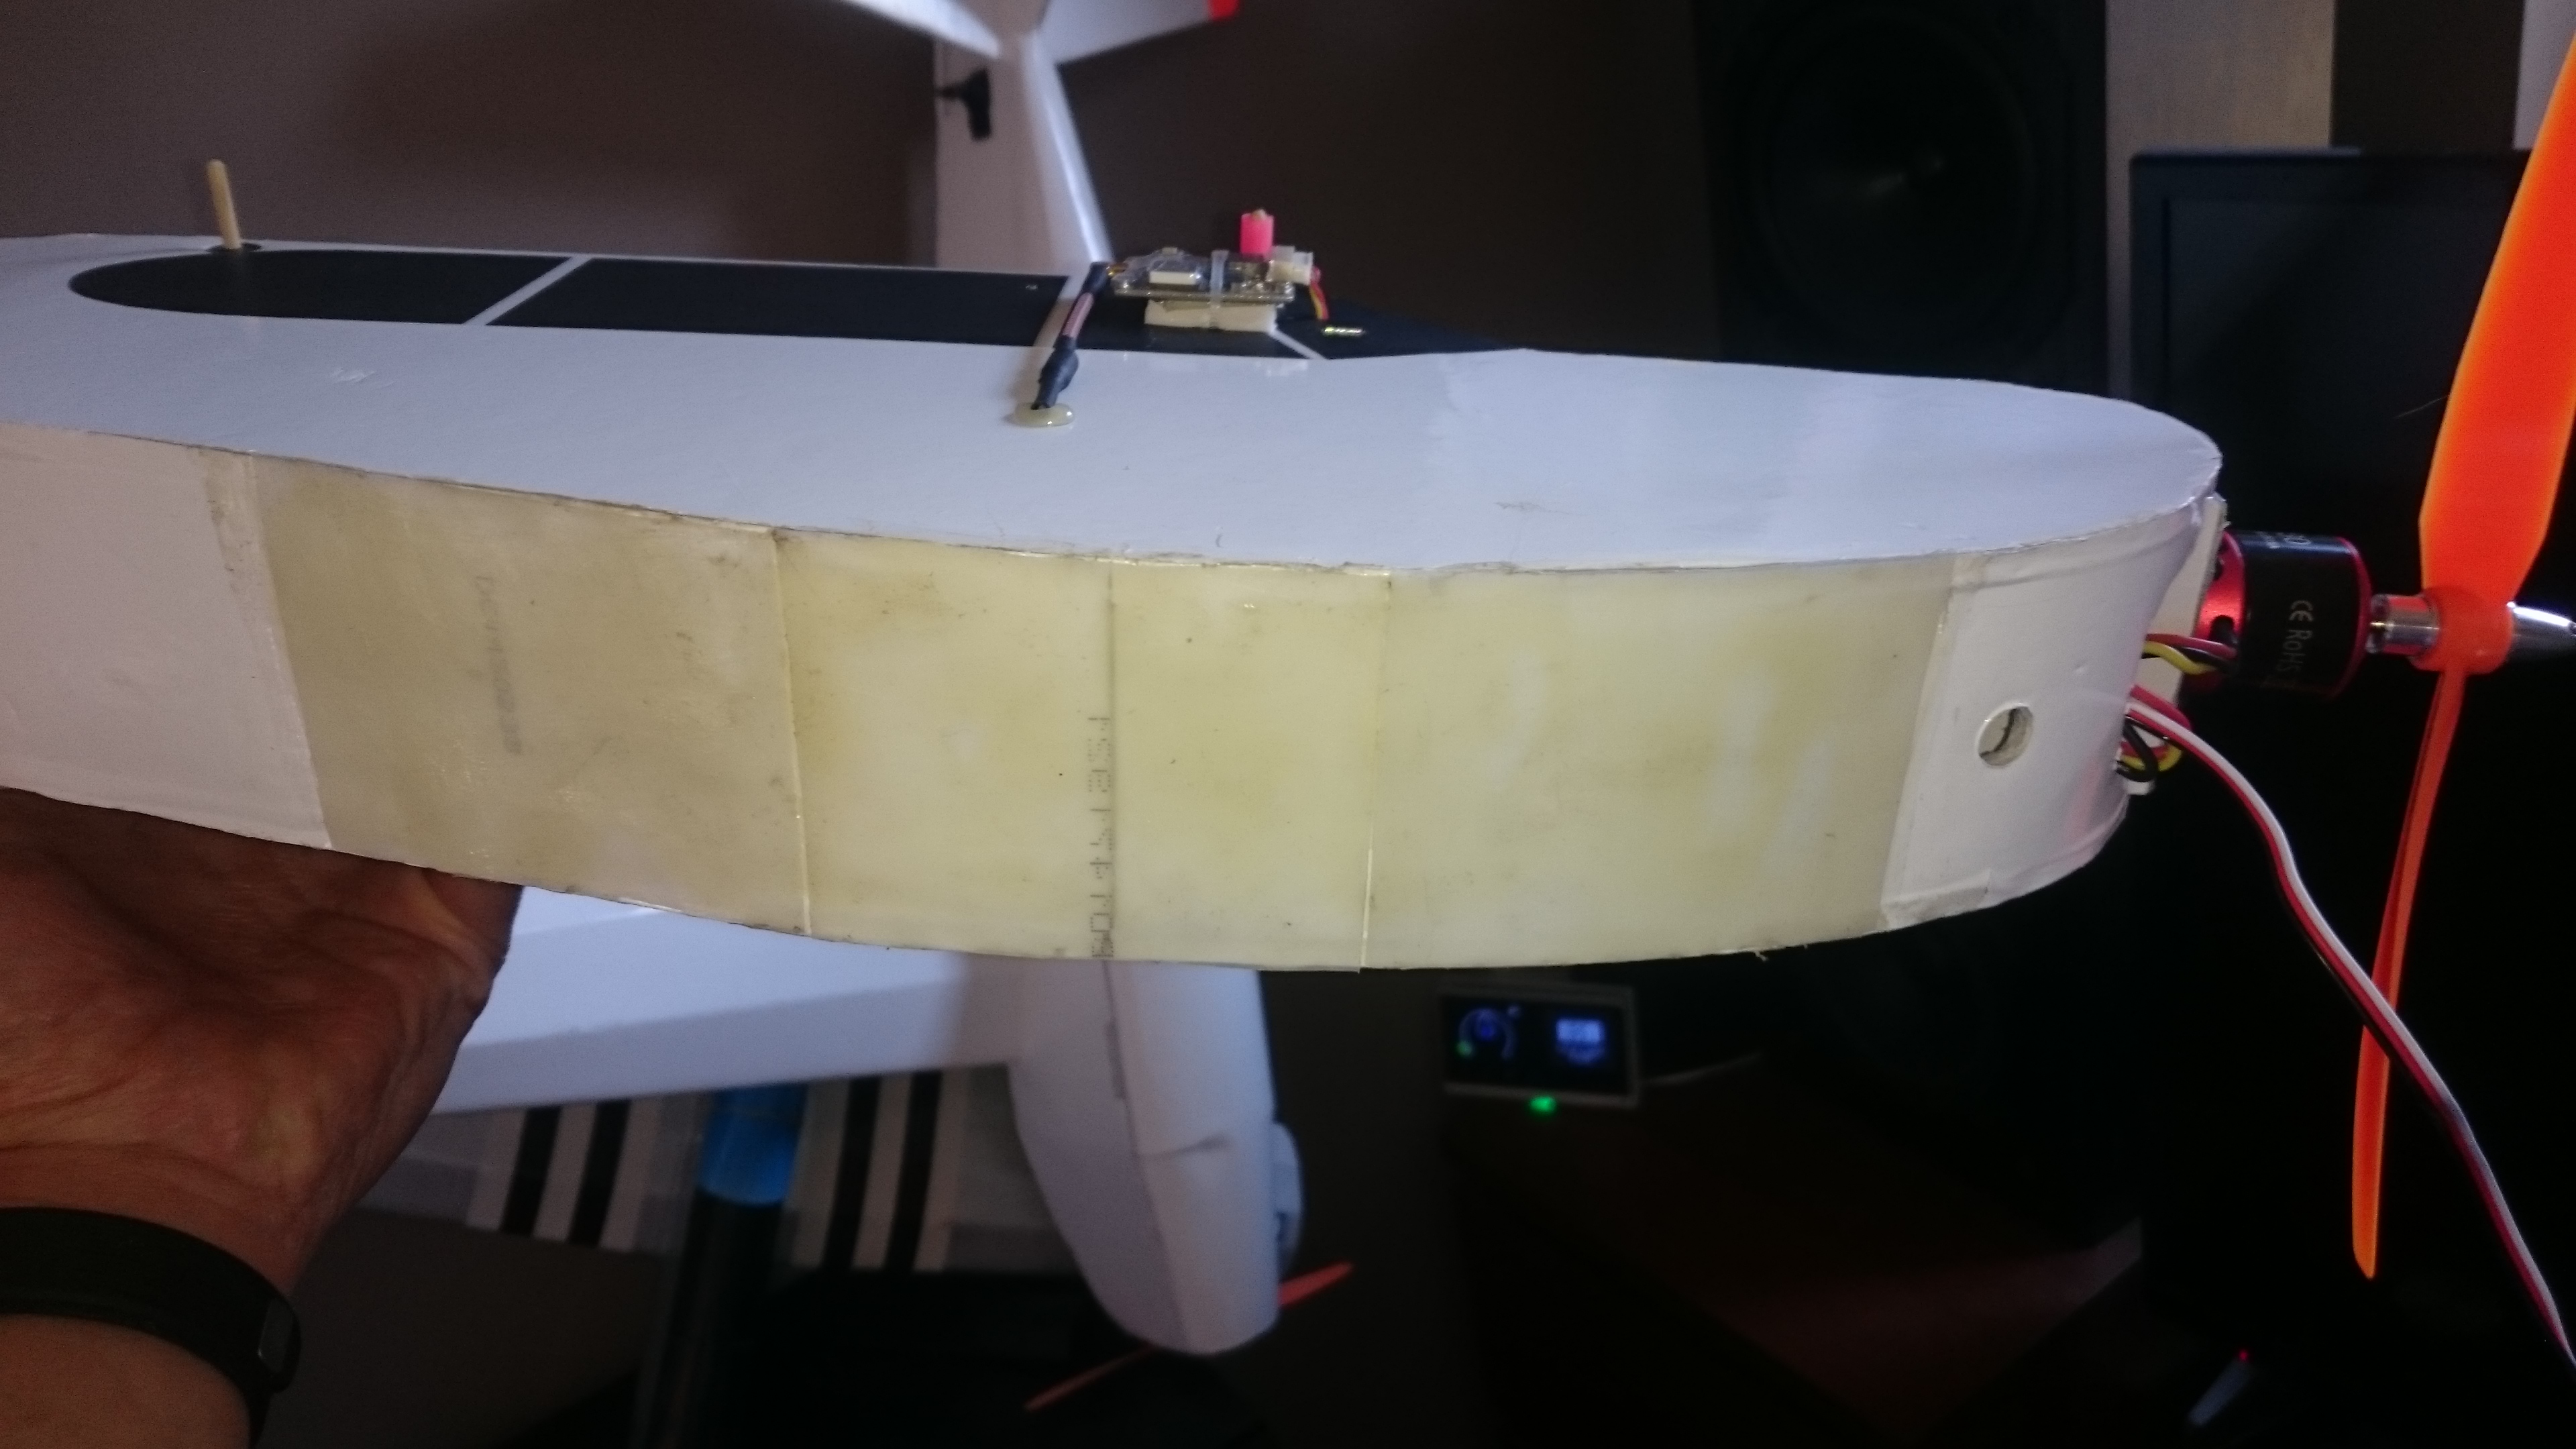
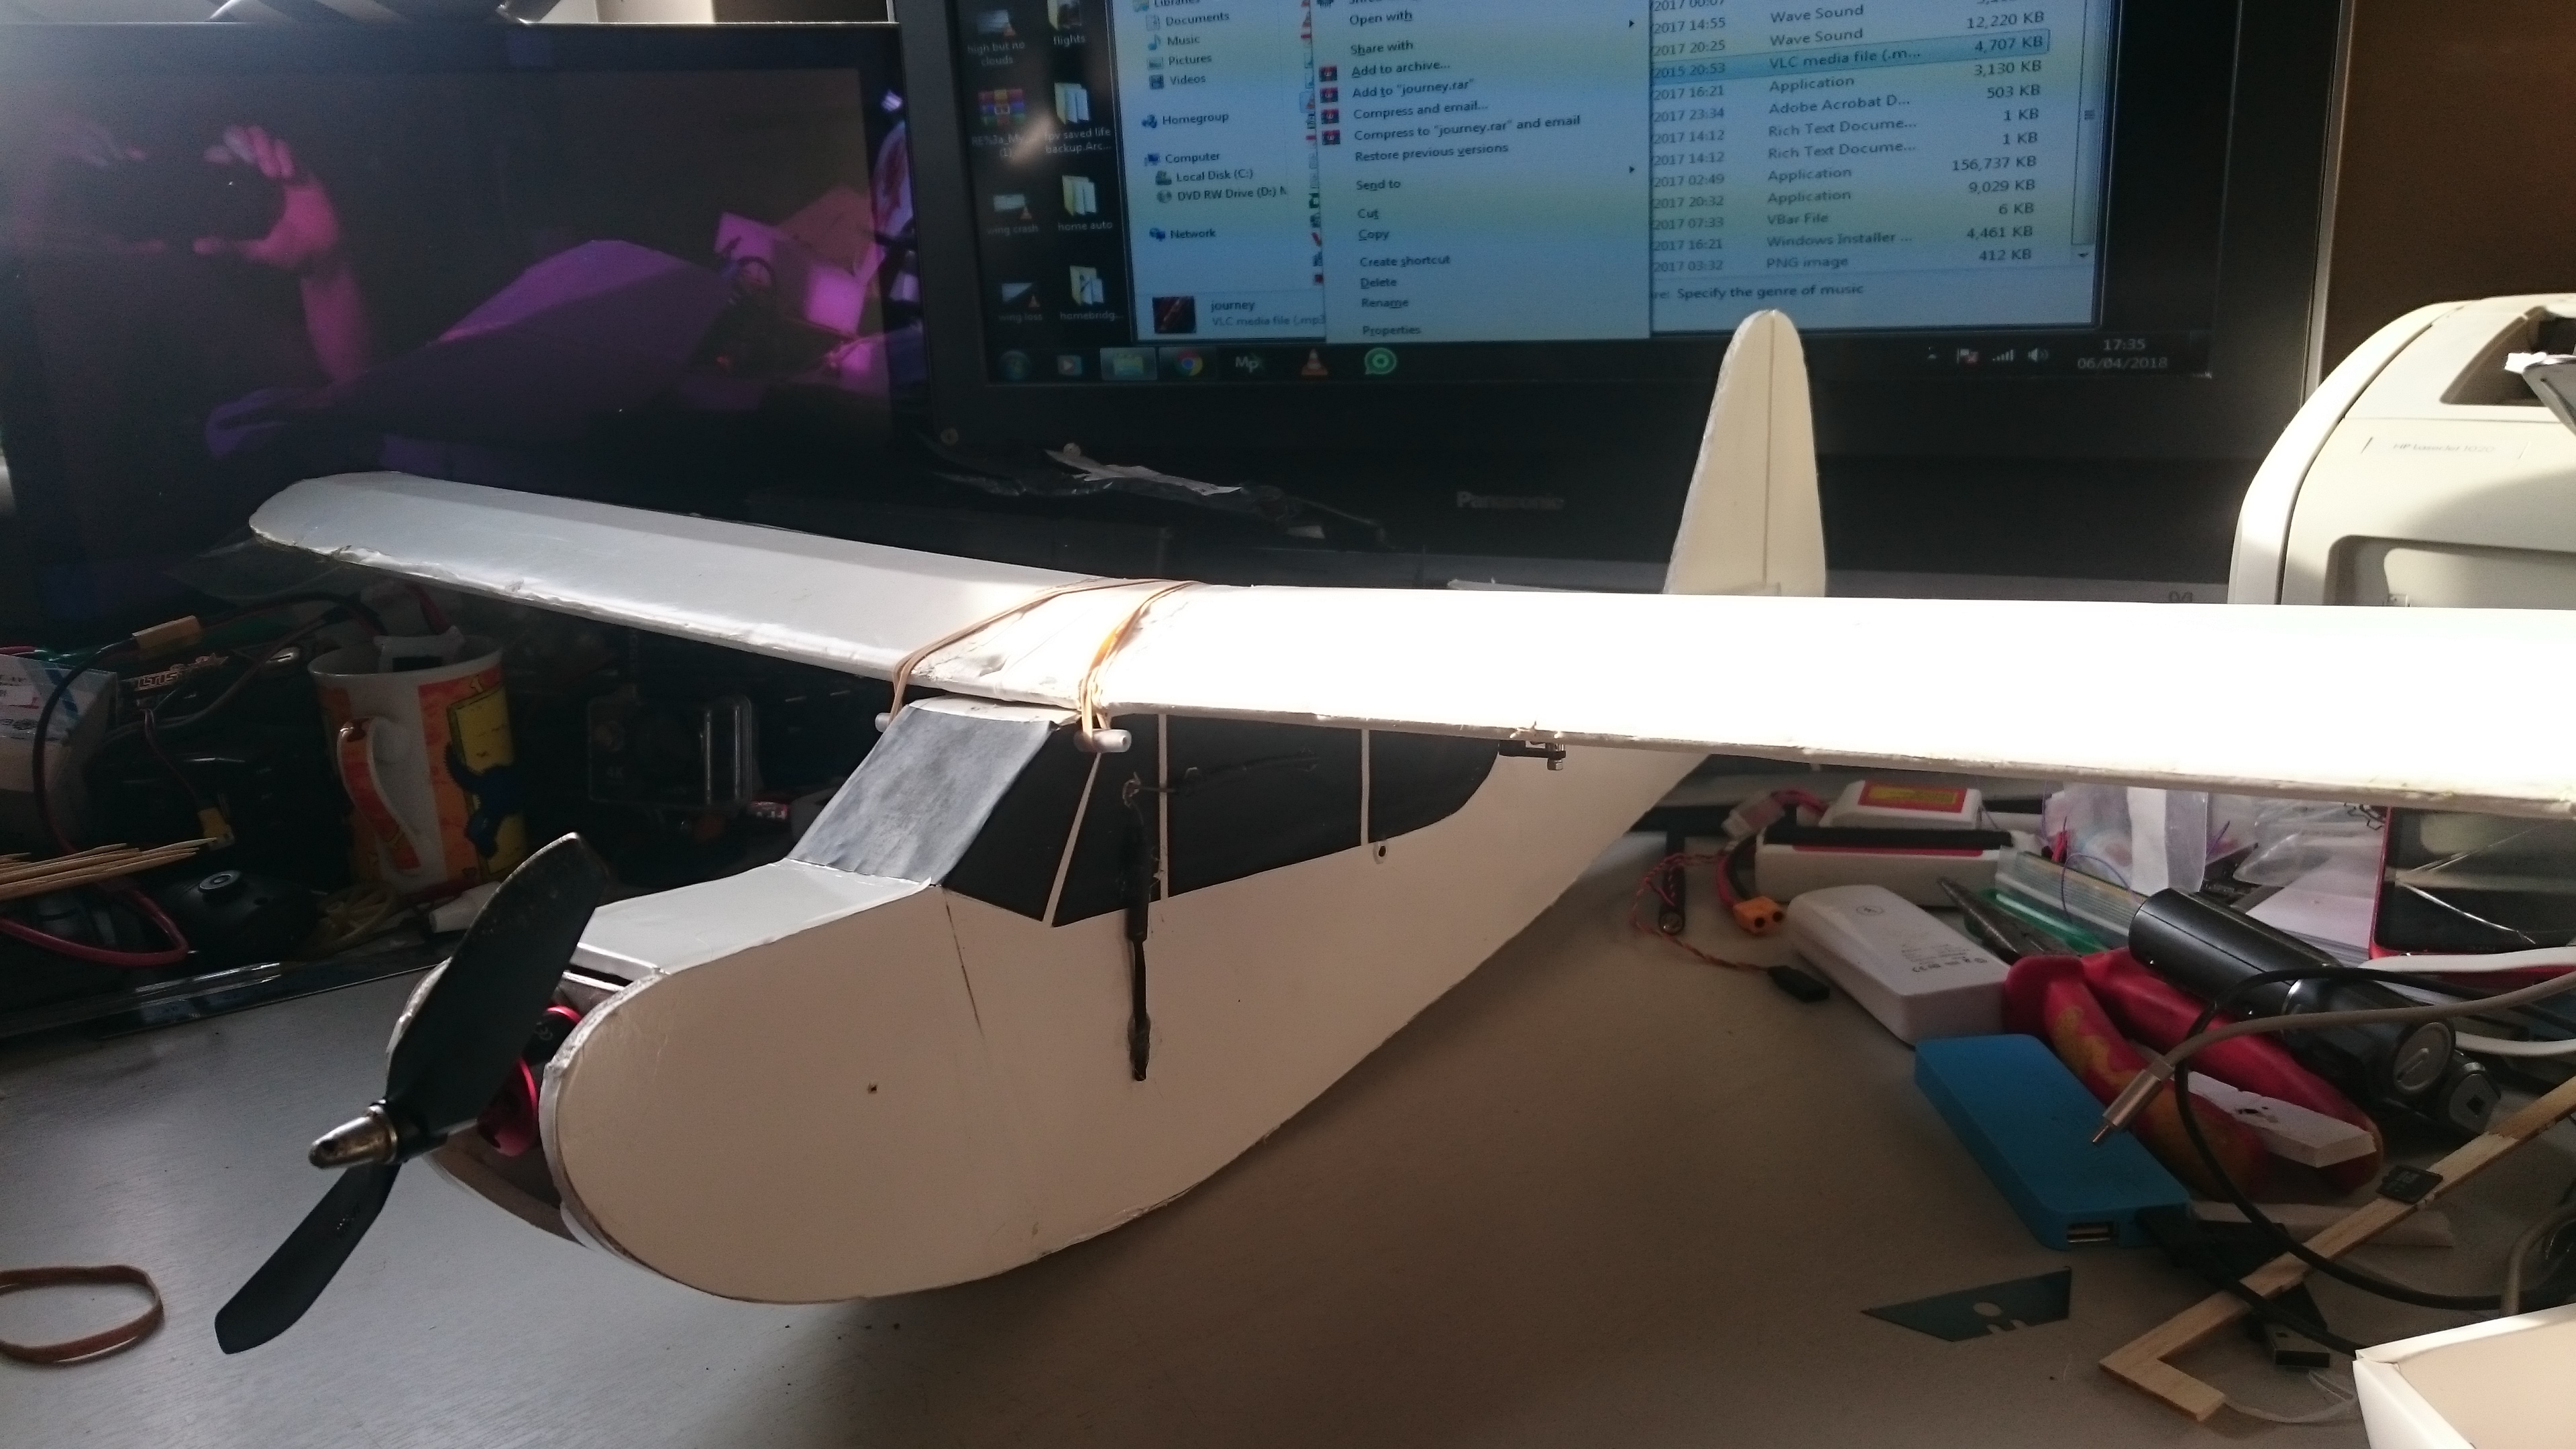
Forget putting your battery under the power pod, strap your esc under there and put your battery IN the pod!
build the under nose piece to come right up to the front for better aerodynamics and have a \_/ shape cut into it to clear the esc when sliding the pod in and out as well as giving enough airflow to it.
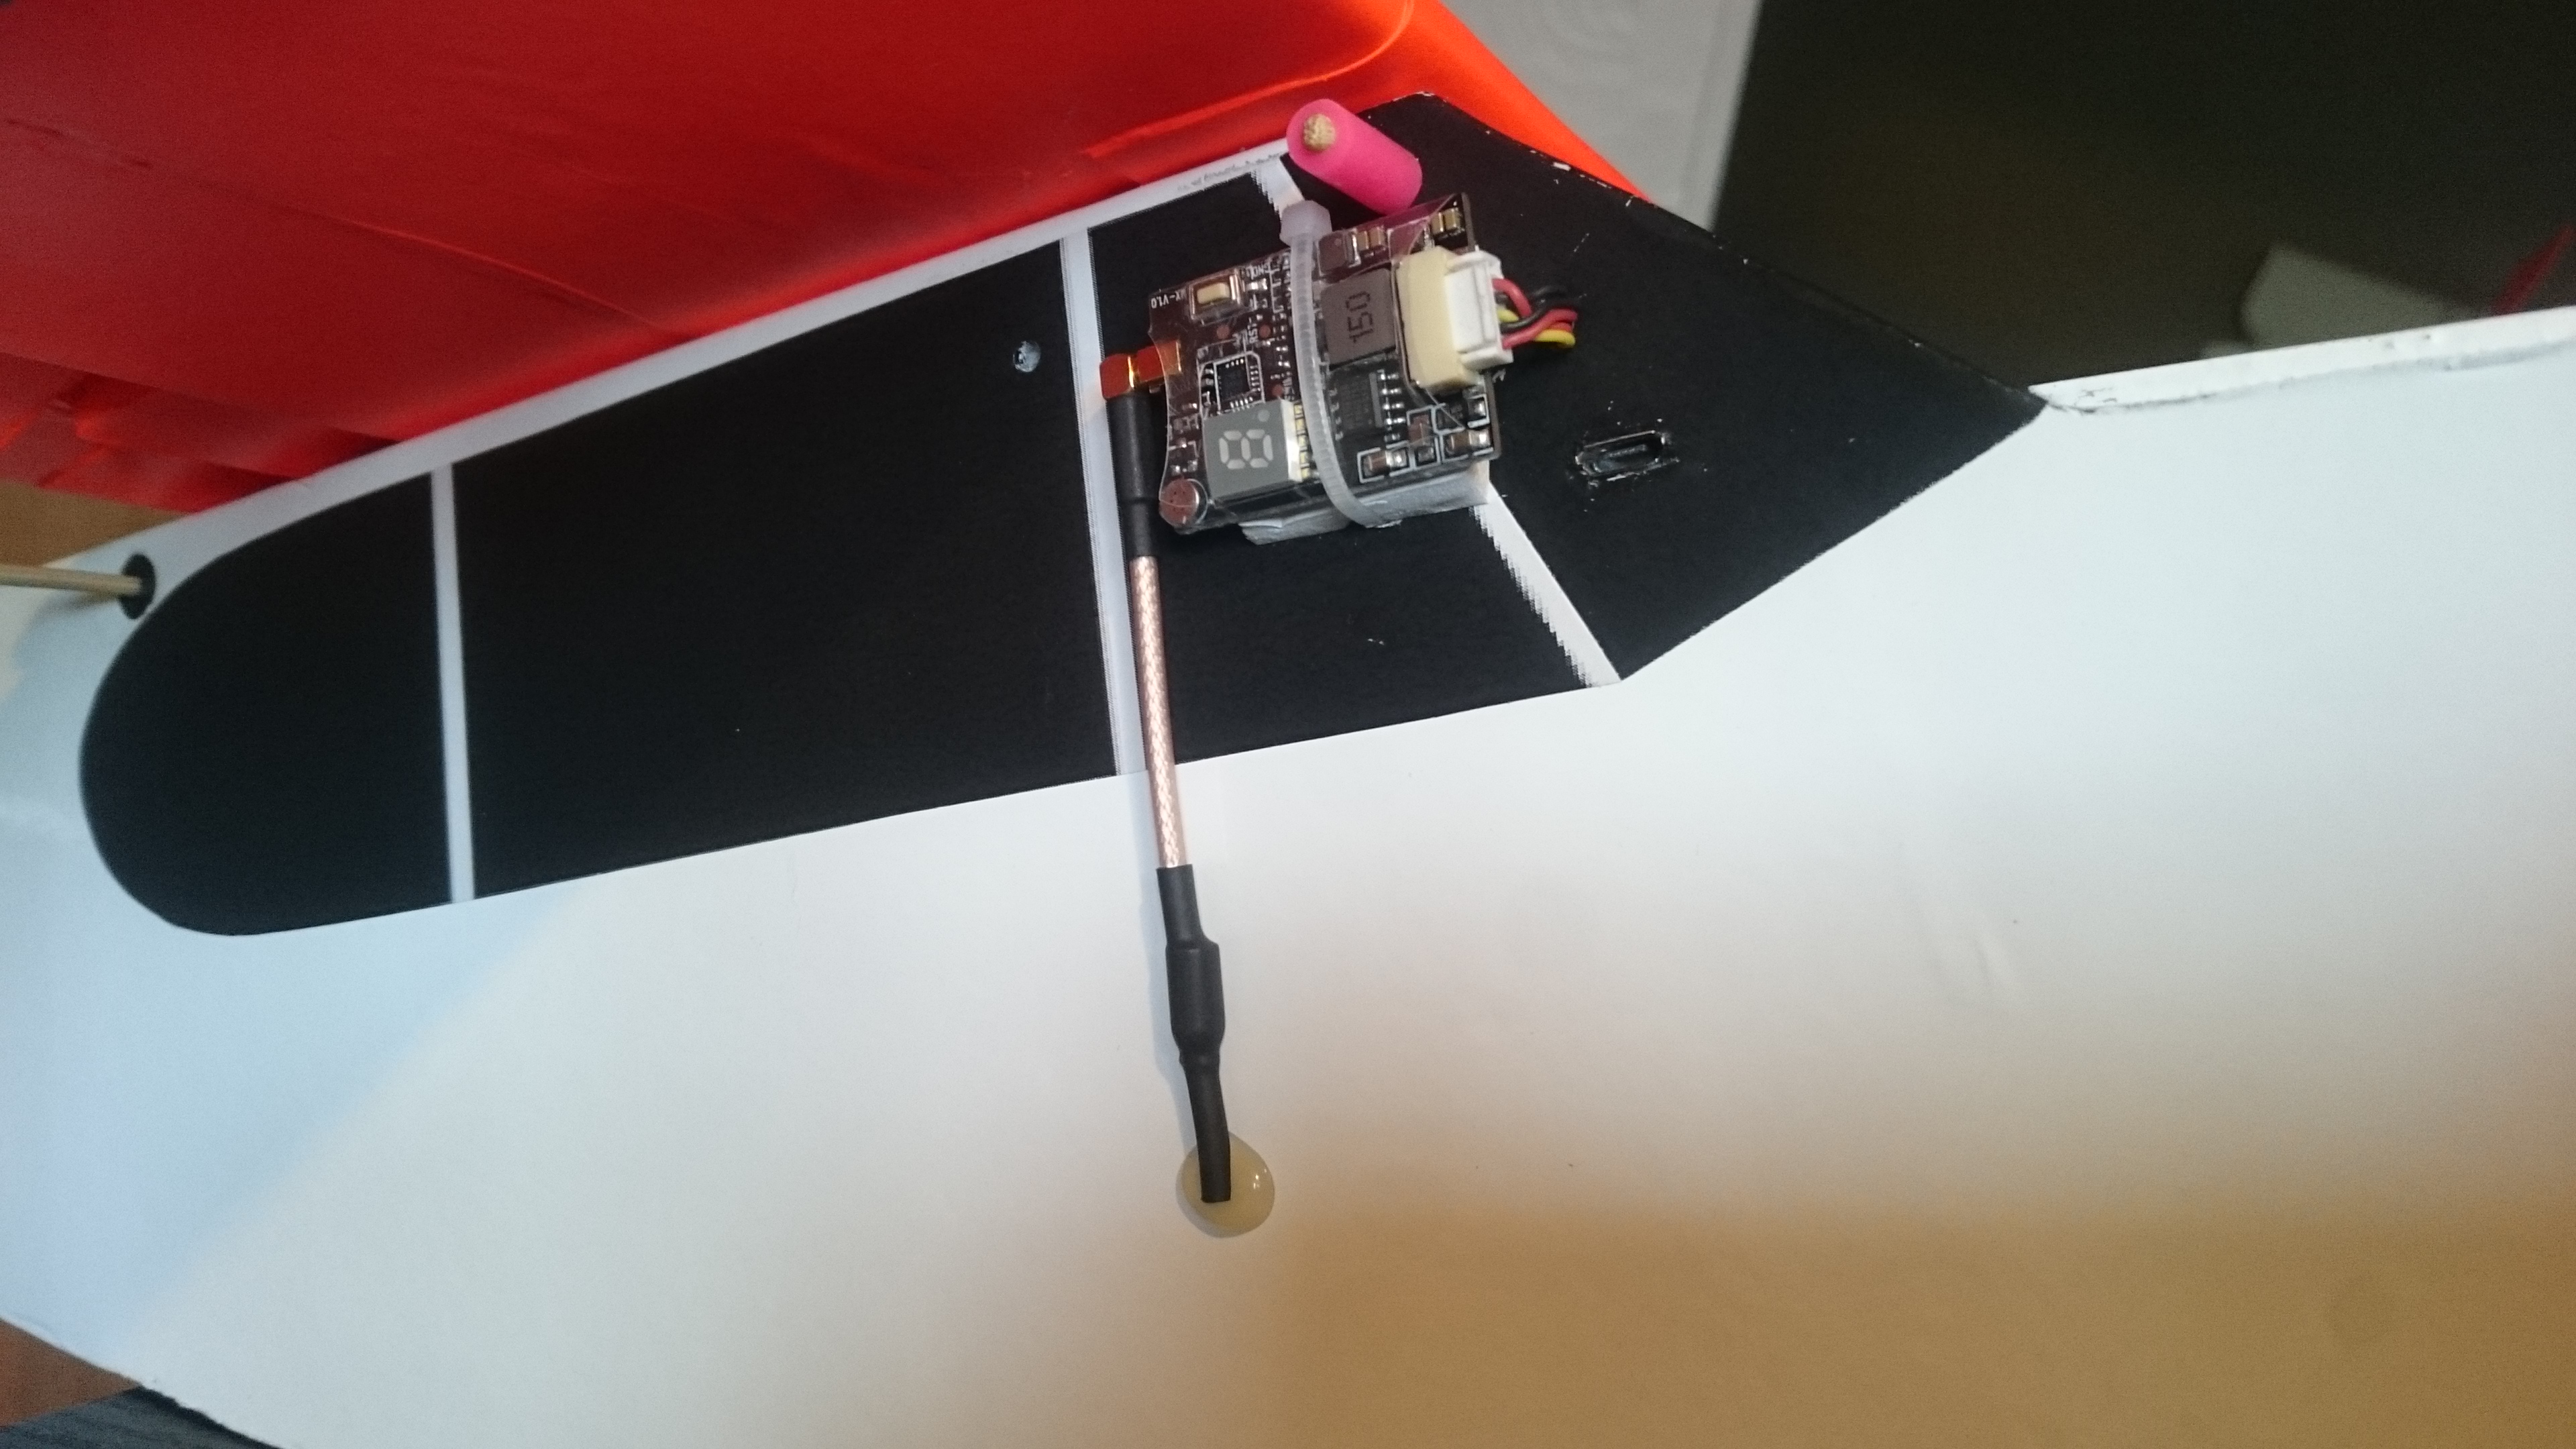
put a shelf behind the windscreen for your rx and any other electronics you have (i run a voltage osd and a cam switcher in there too) and run your vtx on the side of the fuse under the wing.
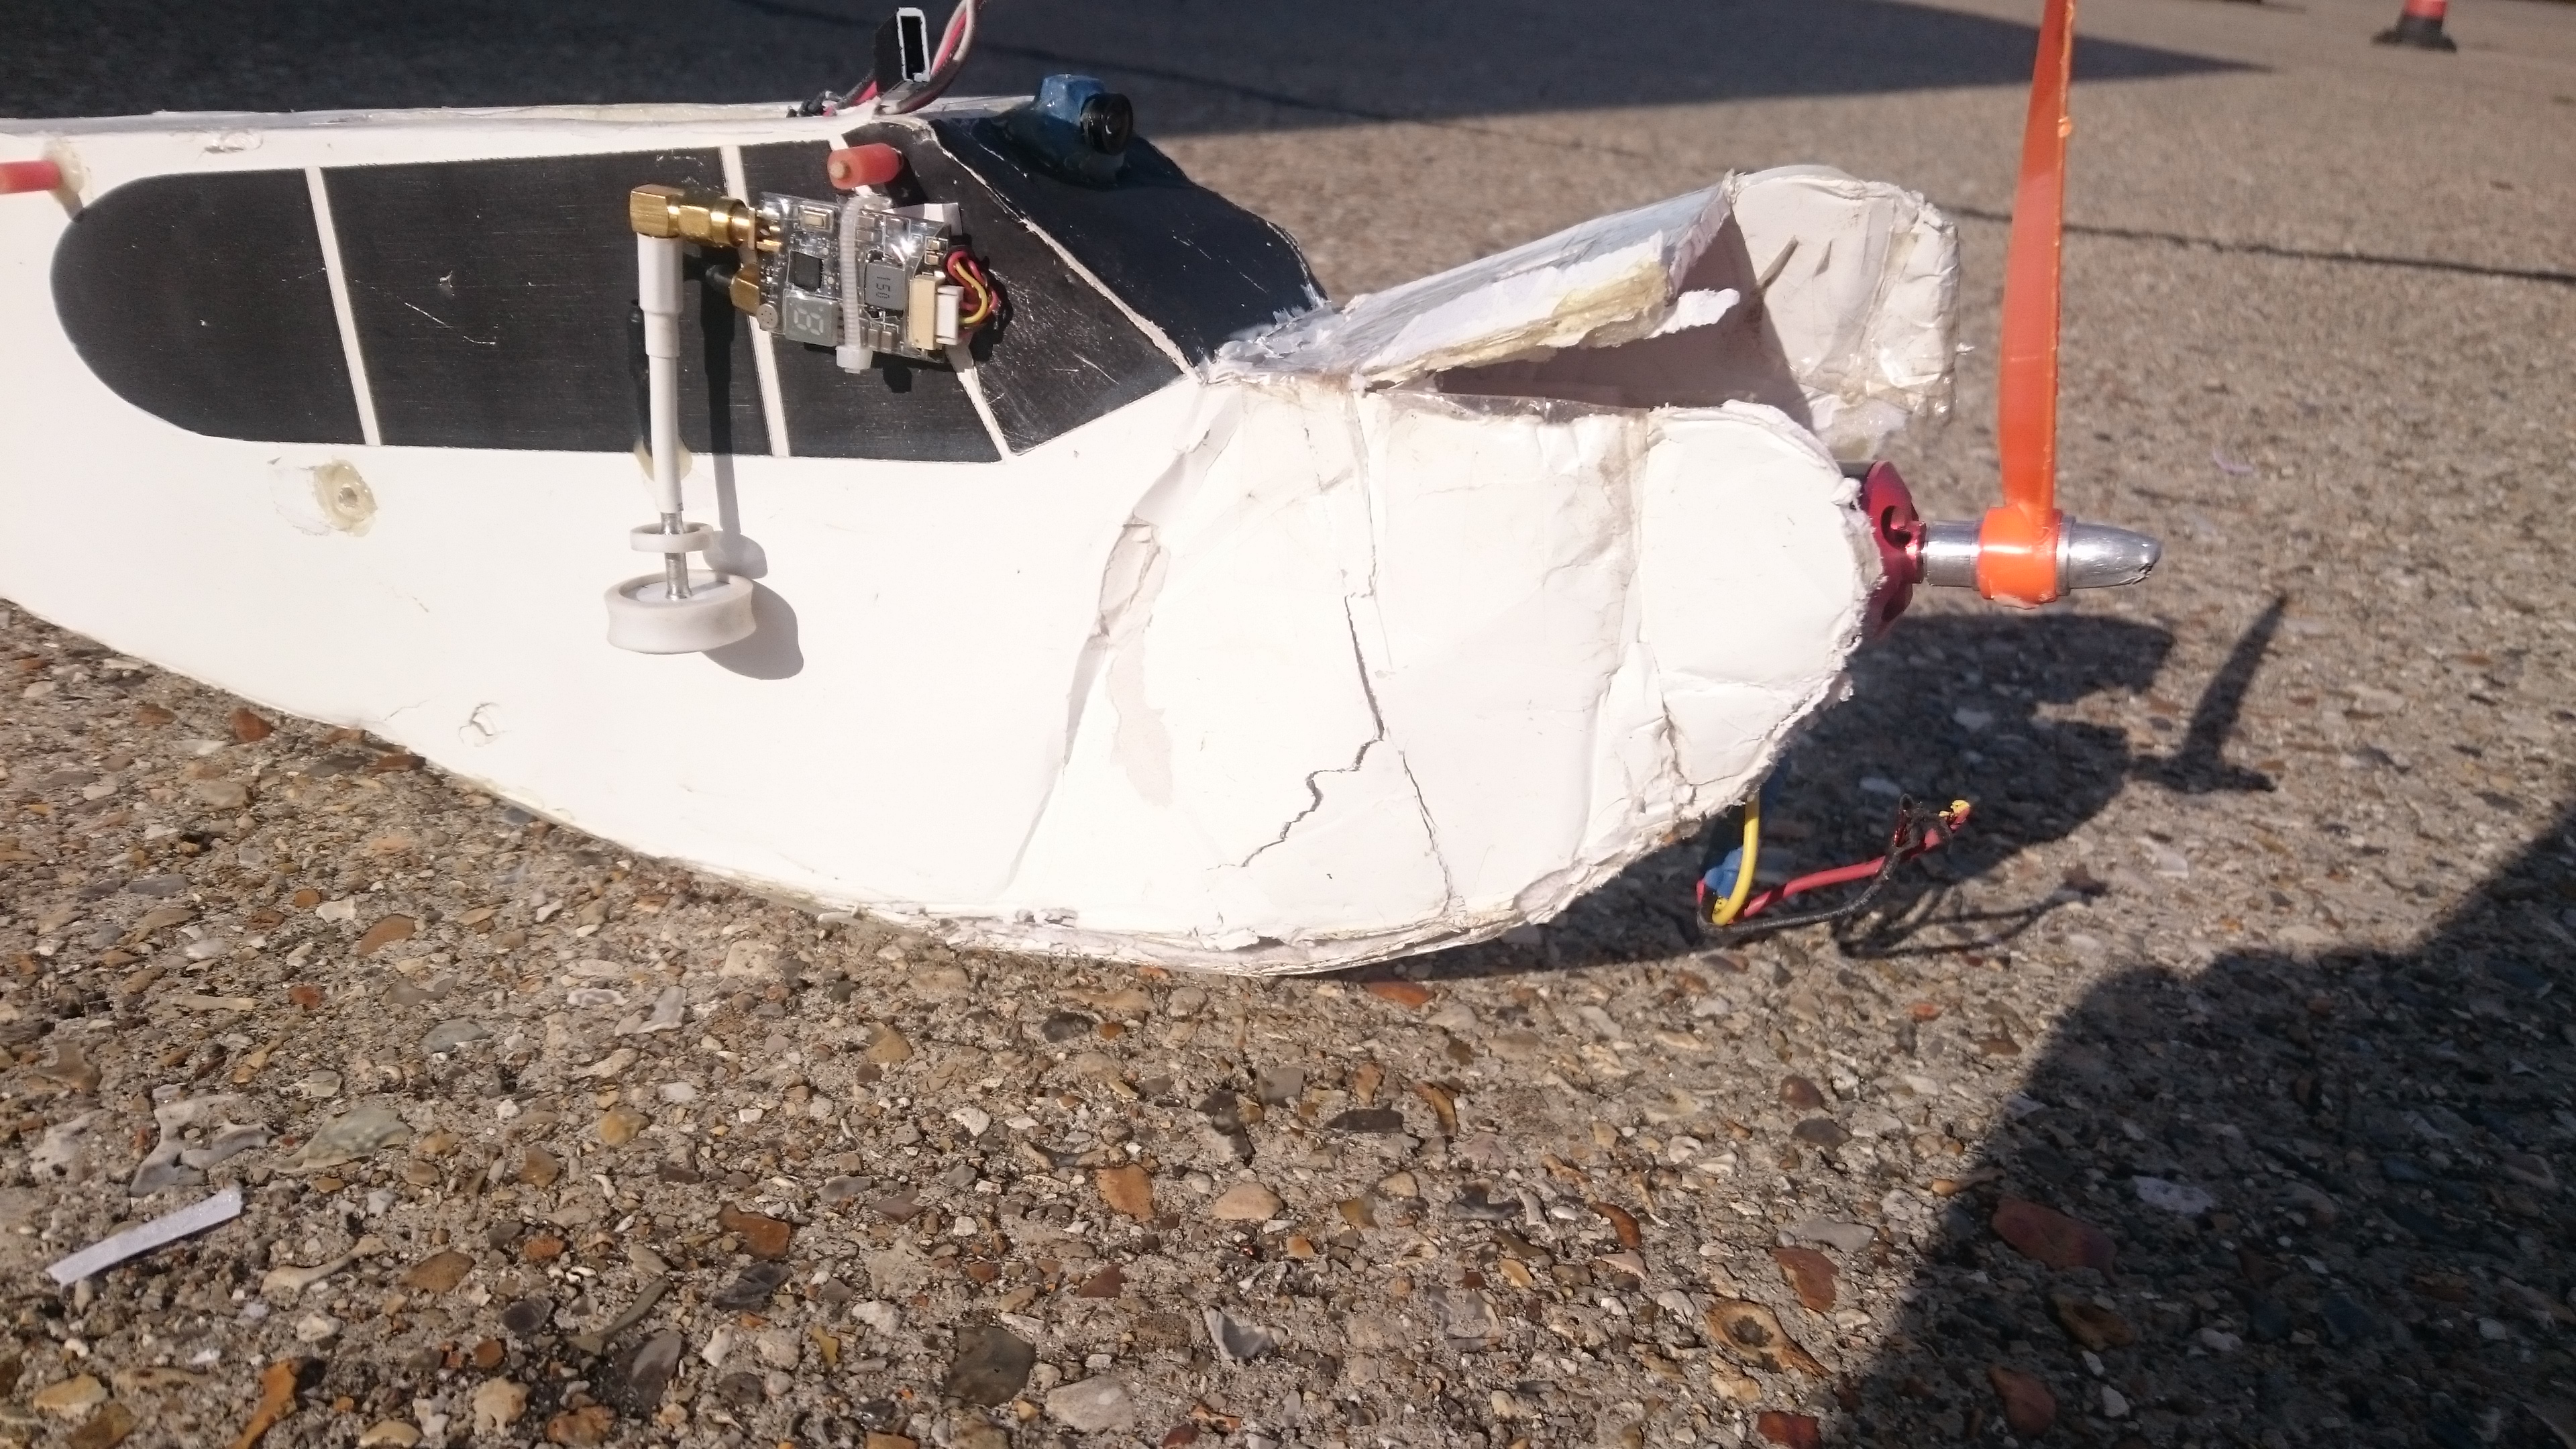
Milk jug plastic on the leading and trailing edges of the wing where the rubber bands pass over will stop them cutting into the foam, the same milk jug plastic bonded to the belly will make your belly landing cub last forever!
I use prop spacers where the wing pegs pass though the foam, they are glued in and prevent the foam from being ripped apart over time or in a crash!
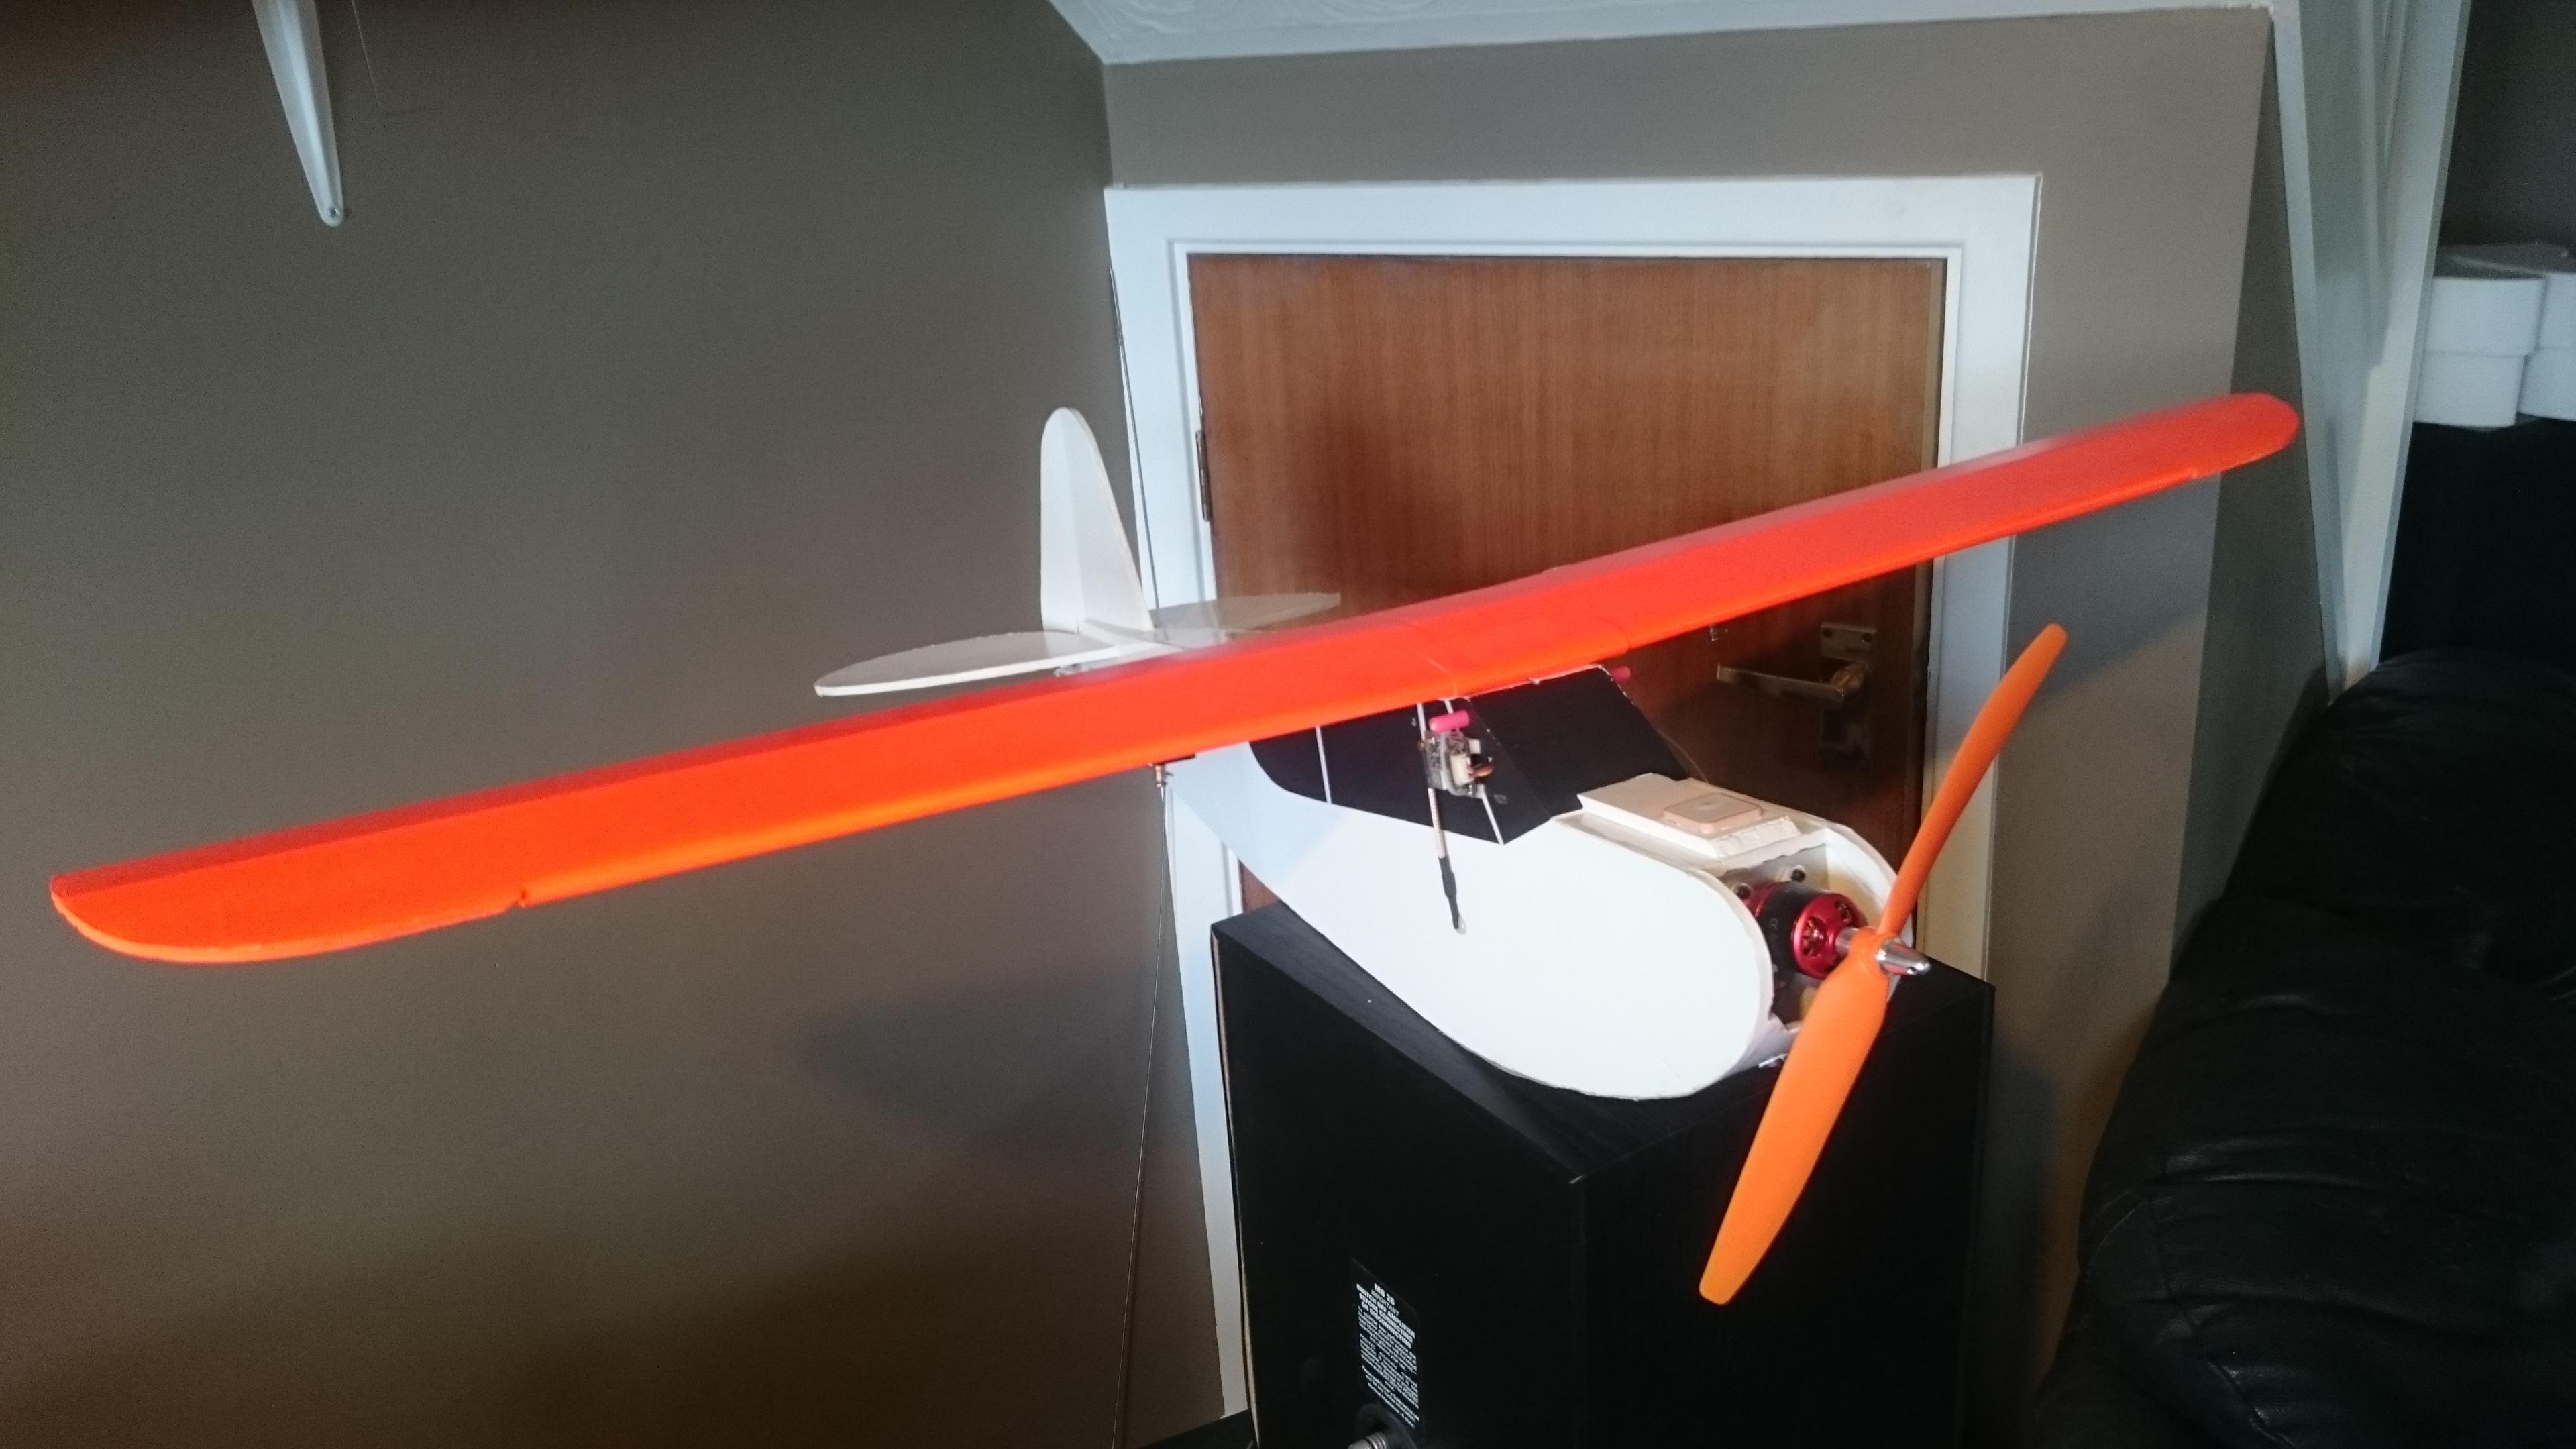
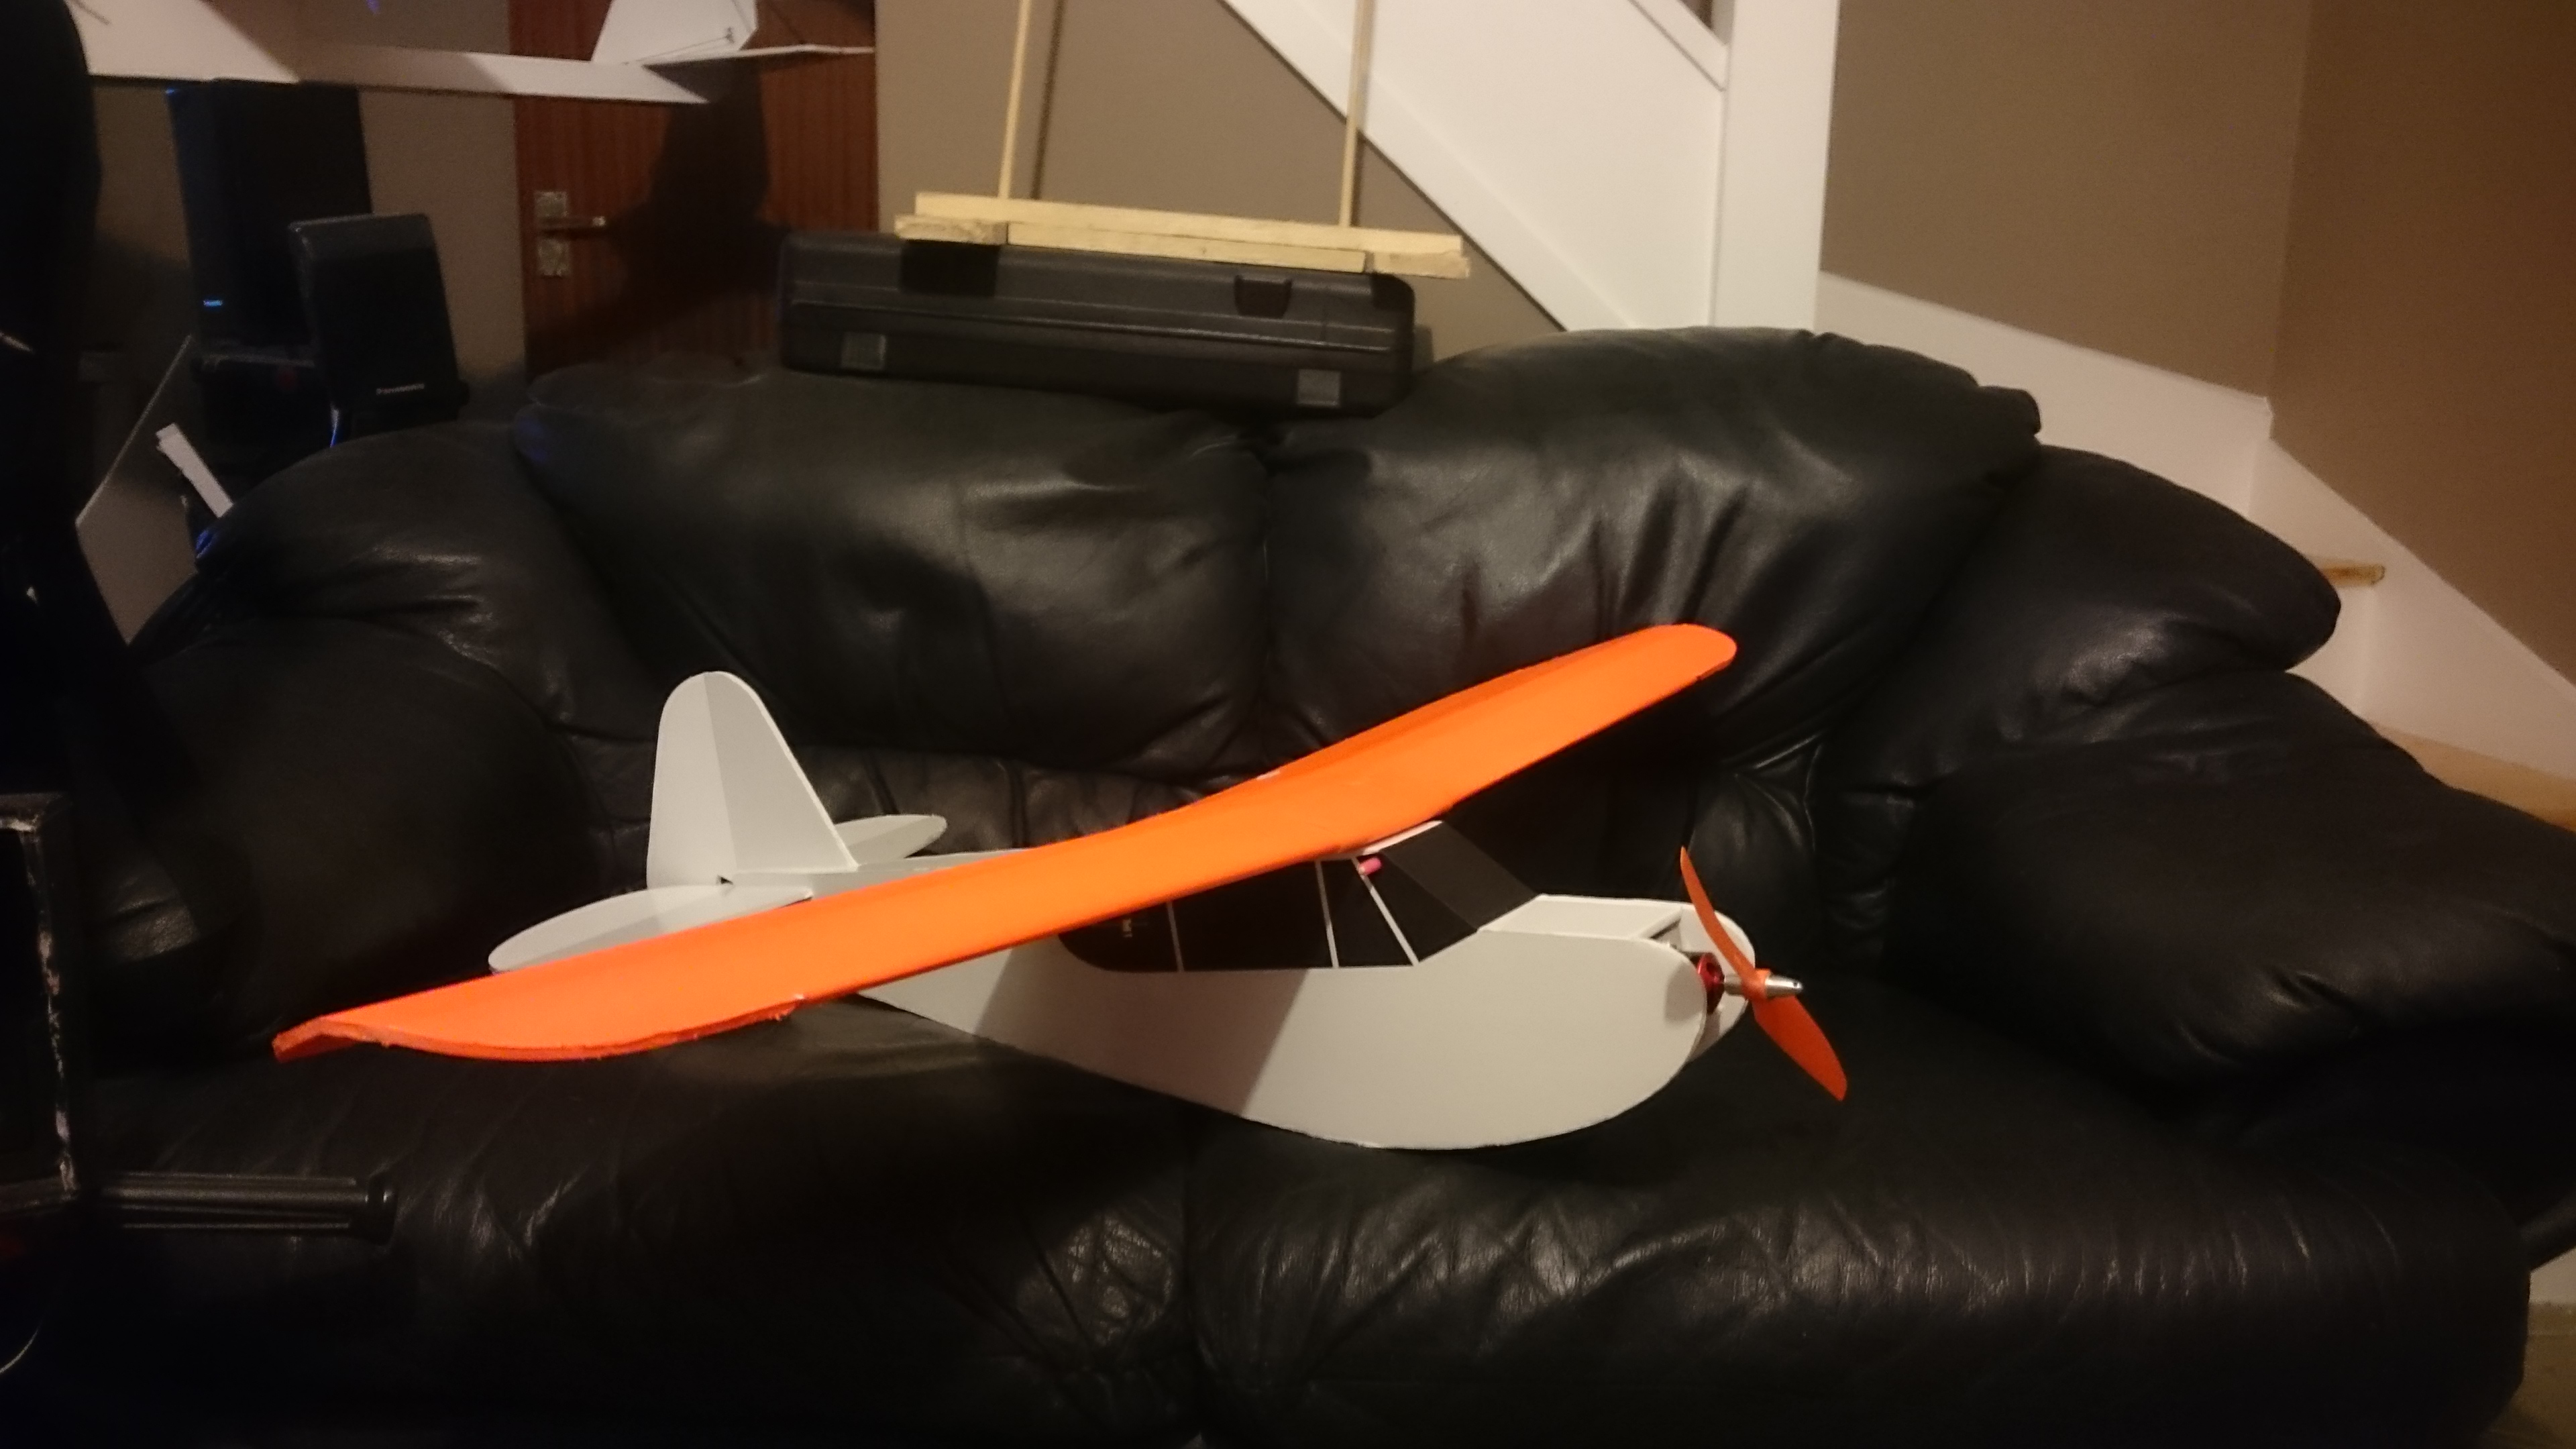
I also add a carbon fibre rod into the wing, in a crash the wing can split where the dihedral slits are made during construction, with a carbon rod in the wing it will NEVER break n matter how hard you crash!
I build the wing as normal and set the dihedral and then cut a slice into the underside of the wing, enlarge it enough for the rod then fill with hot glue and force the rod in and then i go over the top with more hot glue and scrape smooth.
Its hard to see in the photo because the wing is florescent orange but if you lok at the pic of the underside of the wing closely you can see the line where the rod has been put in.
The Cub can be so much more than the docile Trainer it is pitched as, its small enough to be agile but large enough to be stable and mine regularly fly's long distance and cloud surfs!
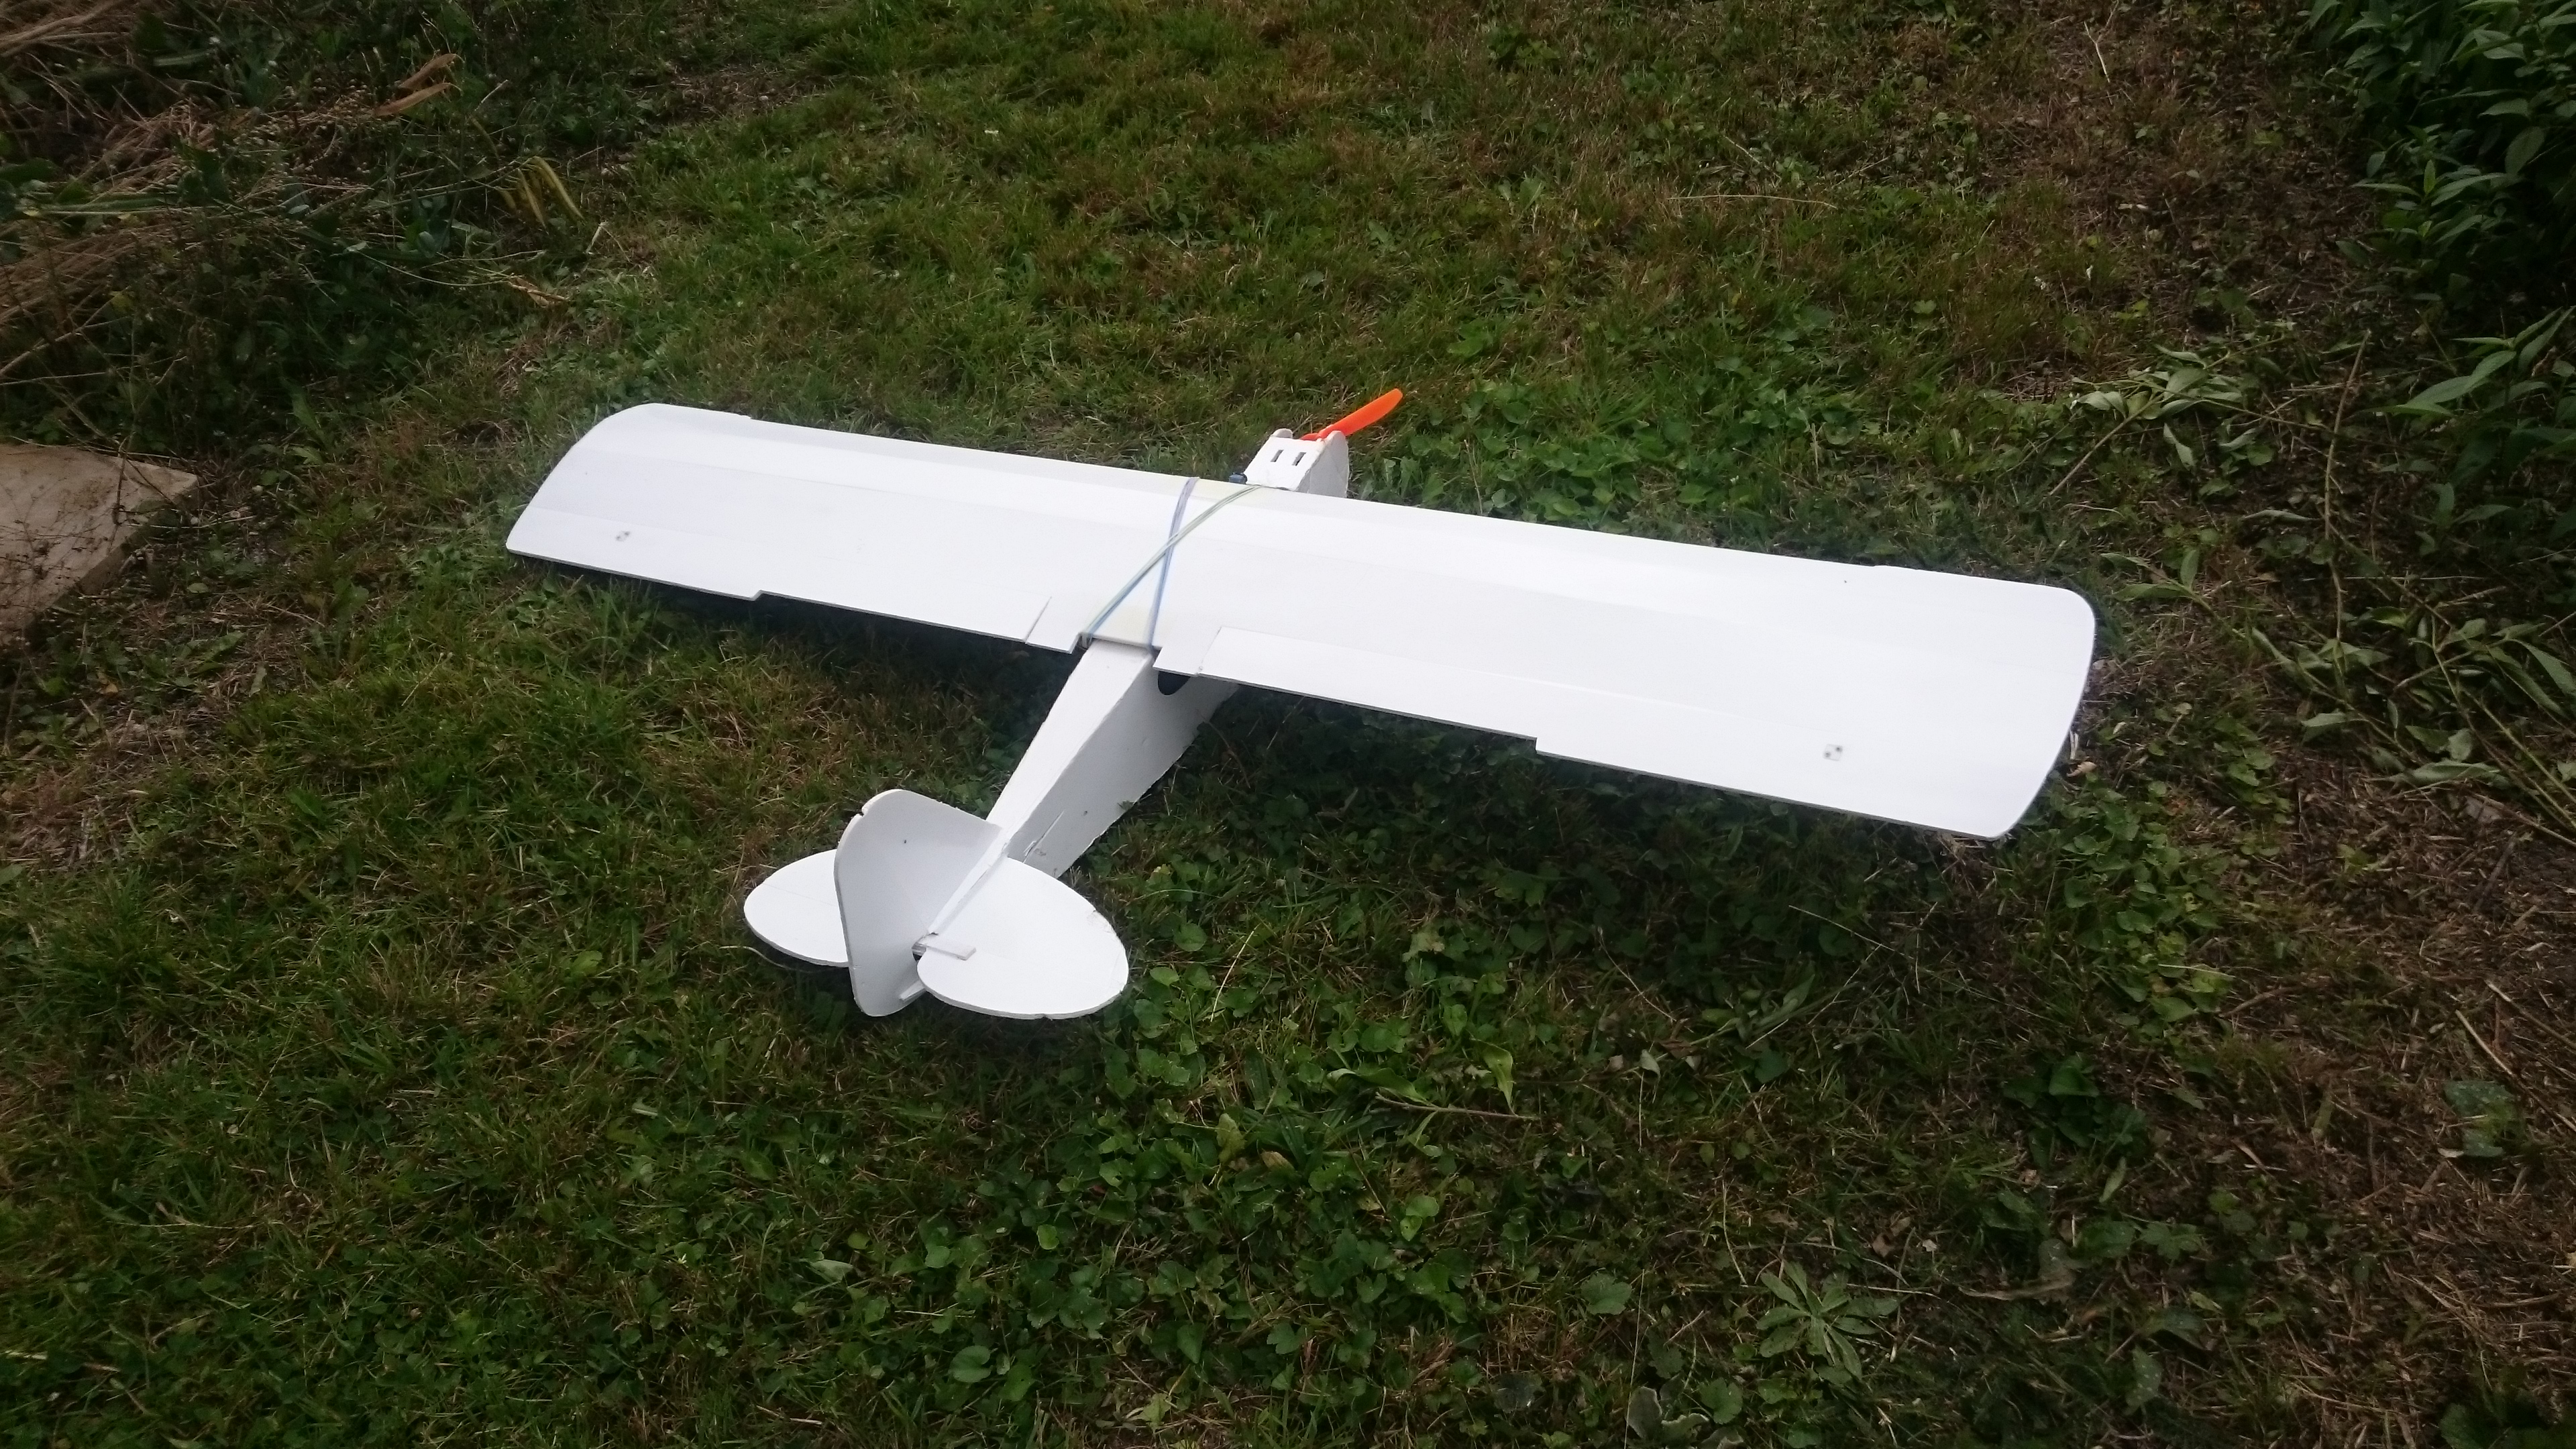
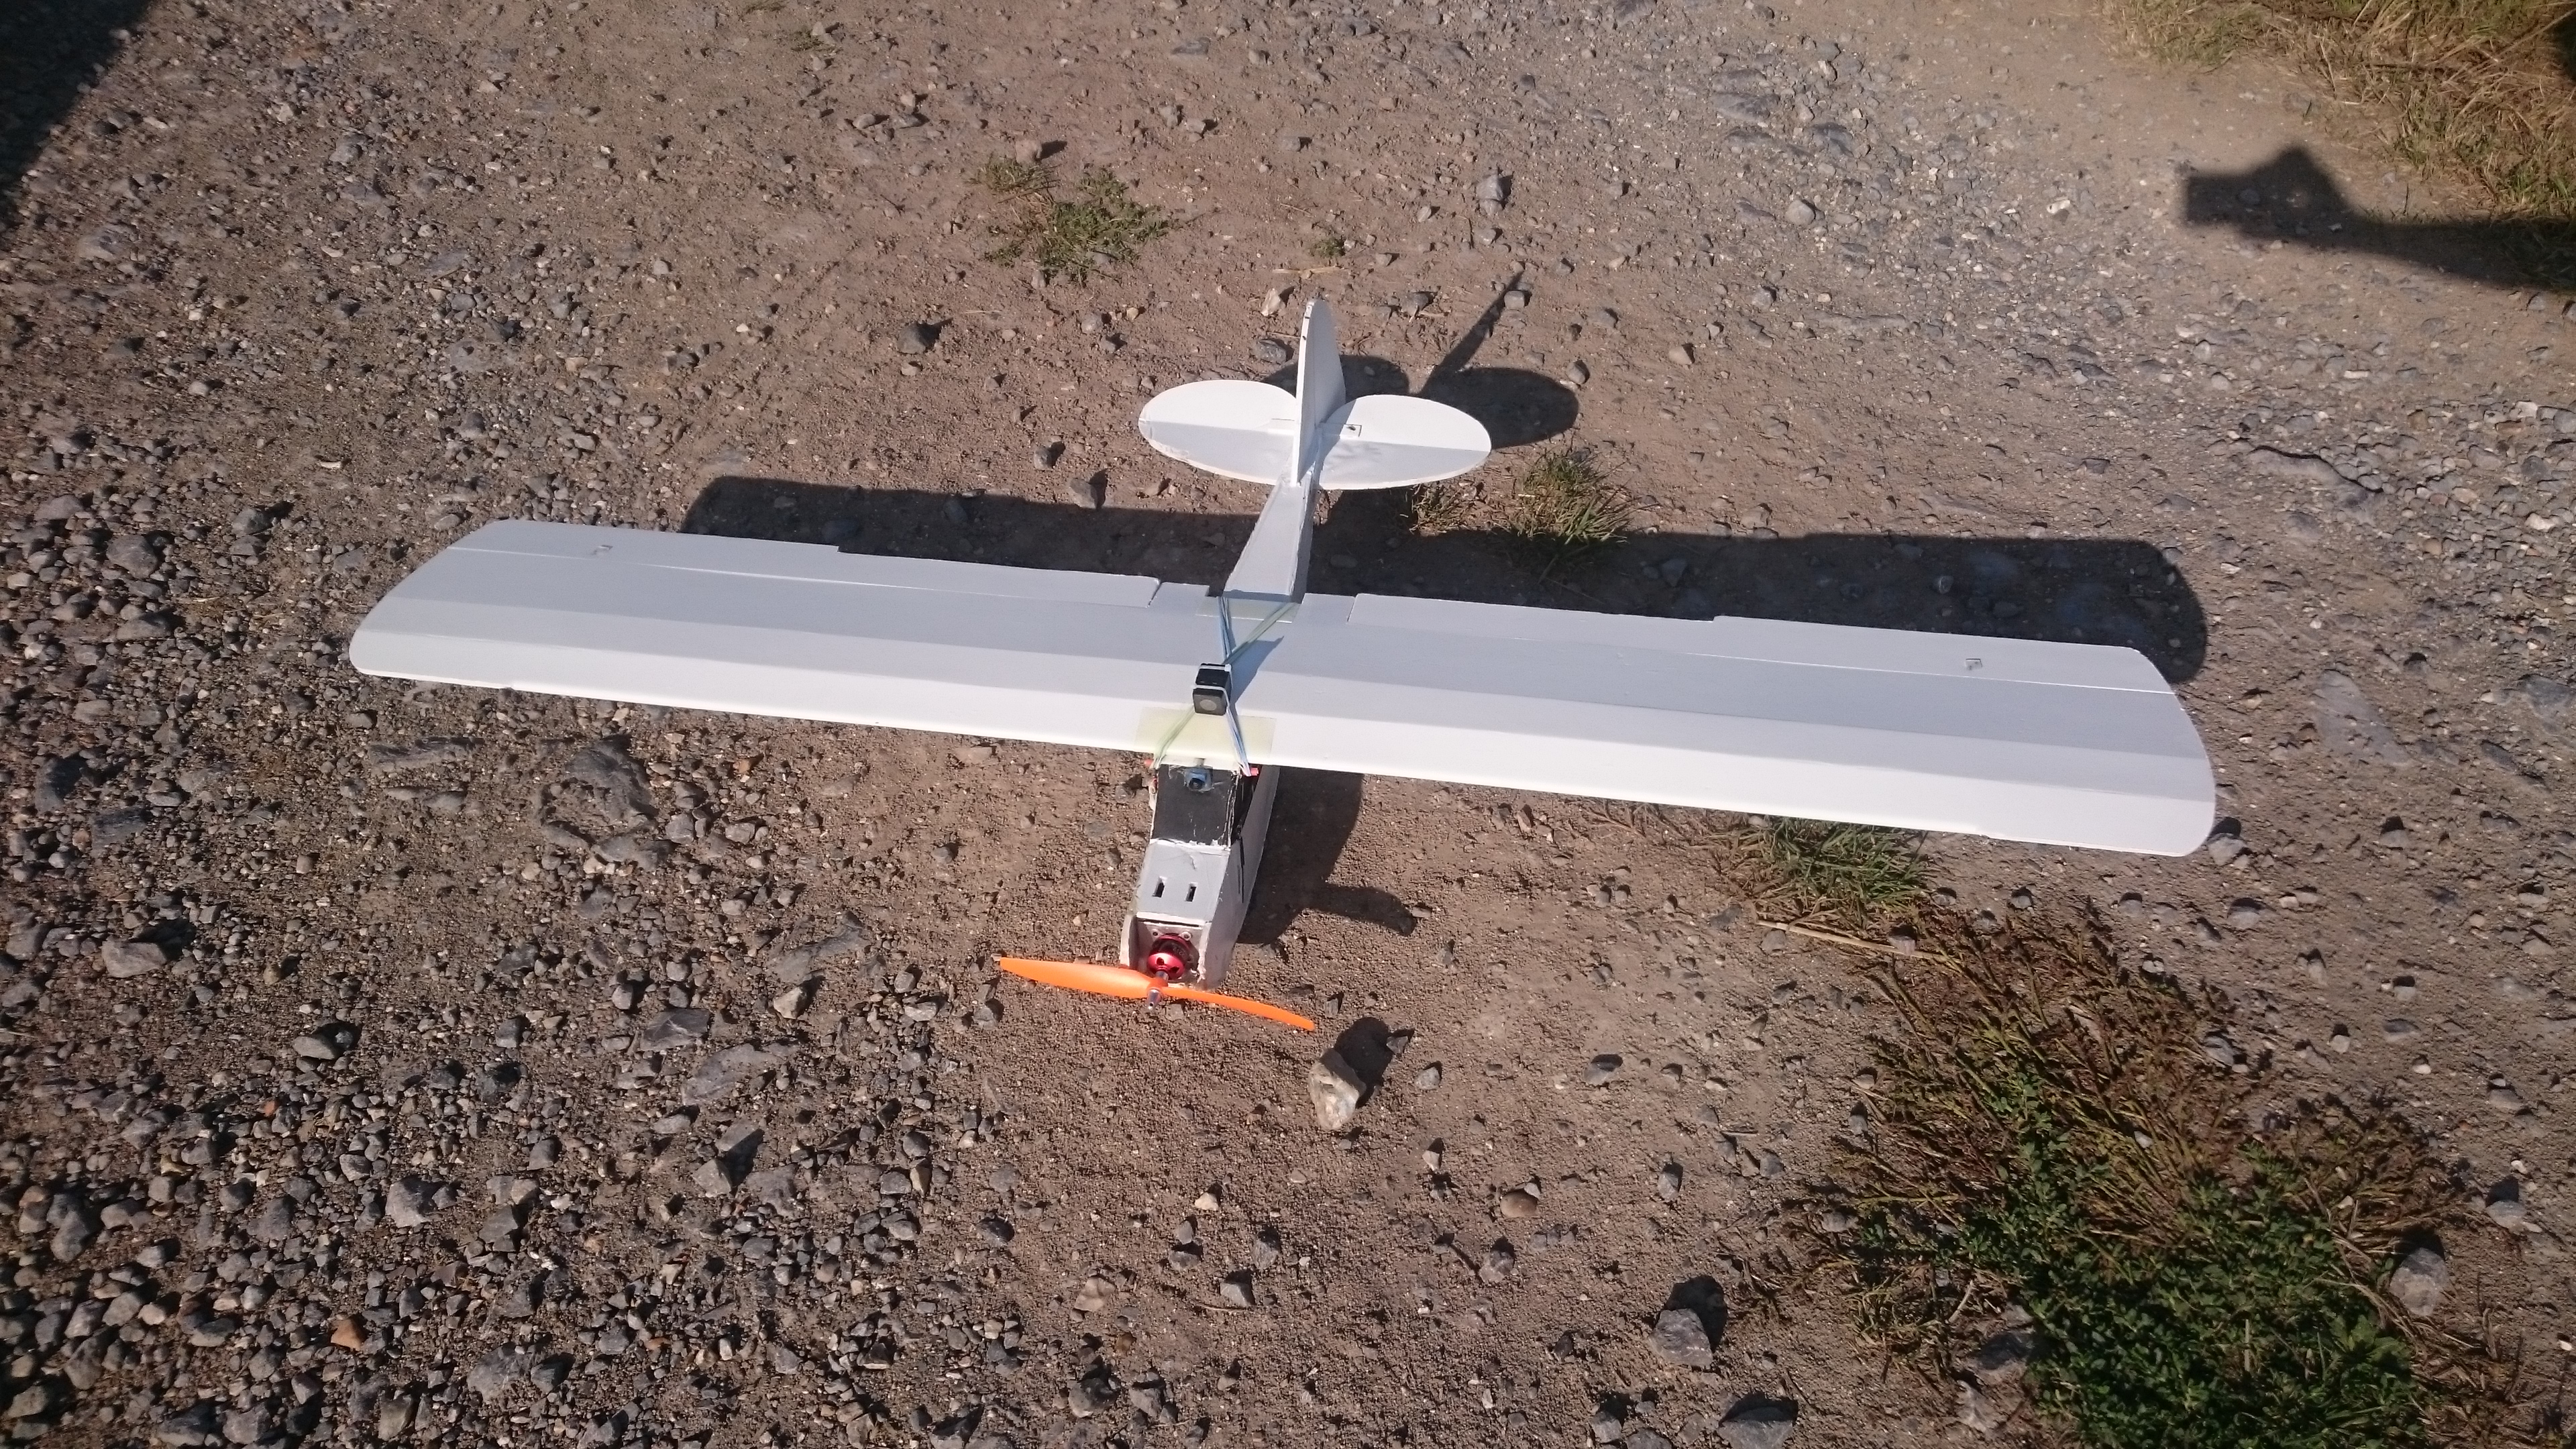
The most recent thing i have tried is running a 57.5" Storch wing on the cub and it has been a huge success, ive flown two days on that wing and although its been in stupid high winds, it shows a lot of potential for massively extending flight times and range and it flys very well too, landing speeds are way down from having so much lift!
The cub also looks huge once it has that wing on it
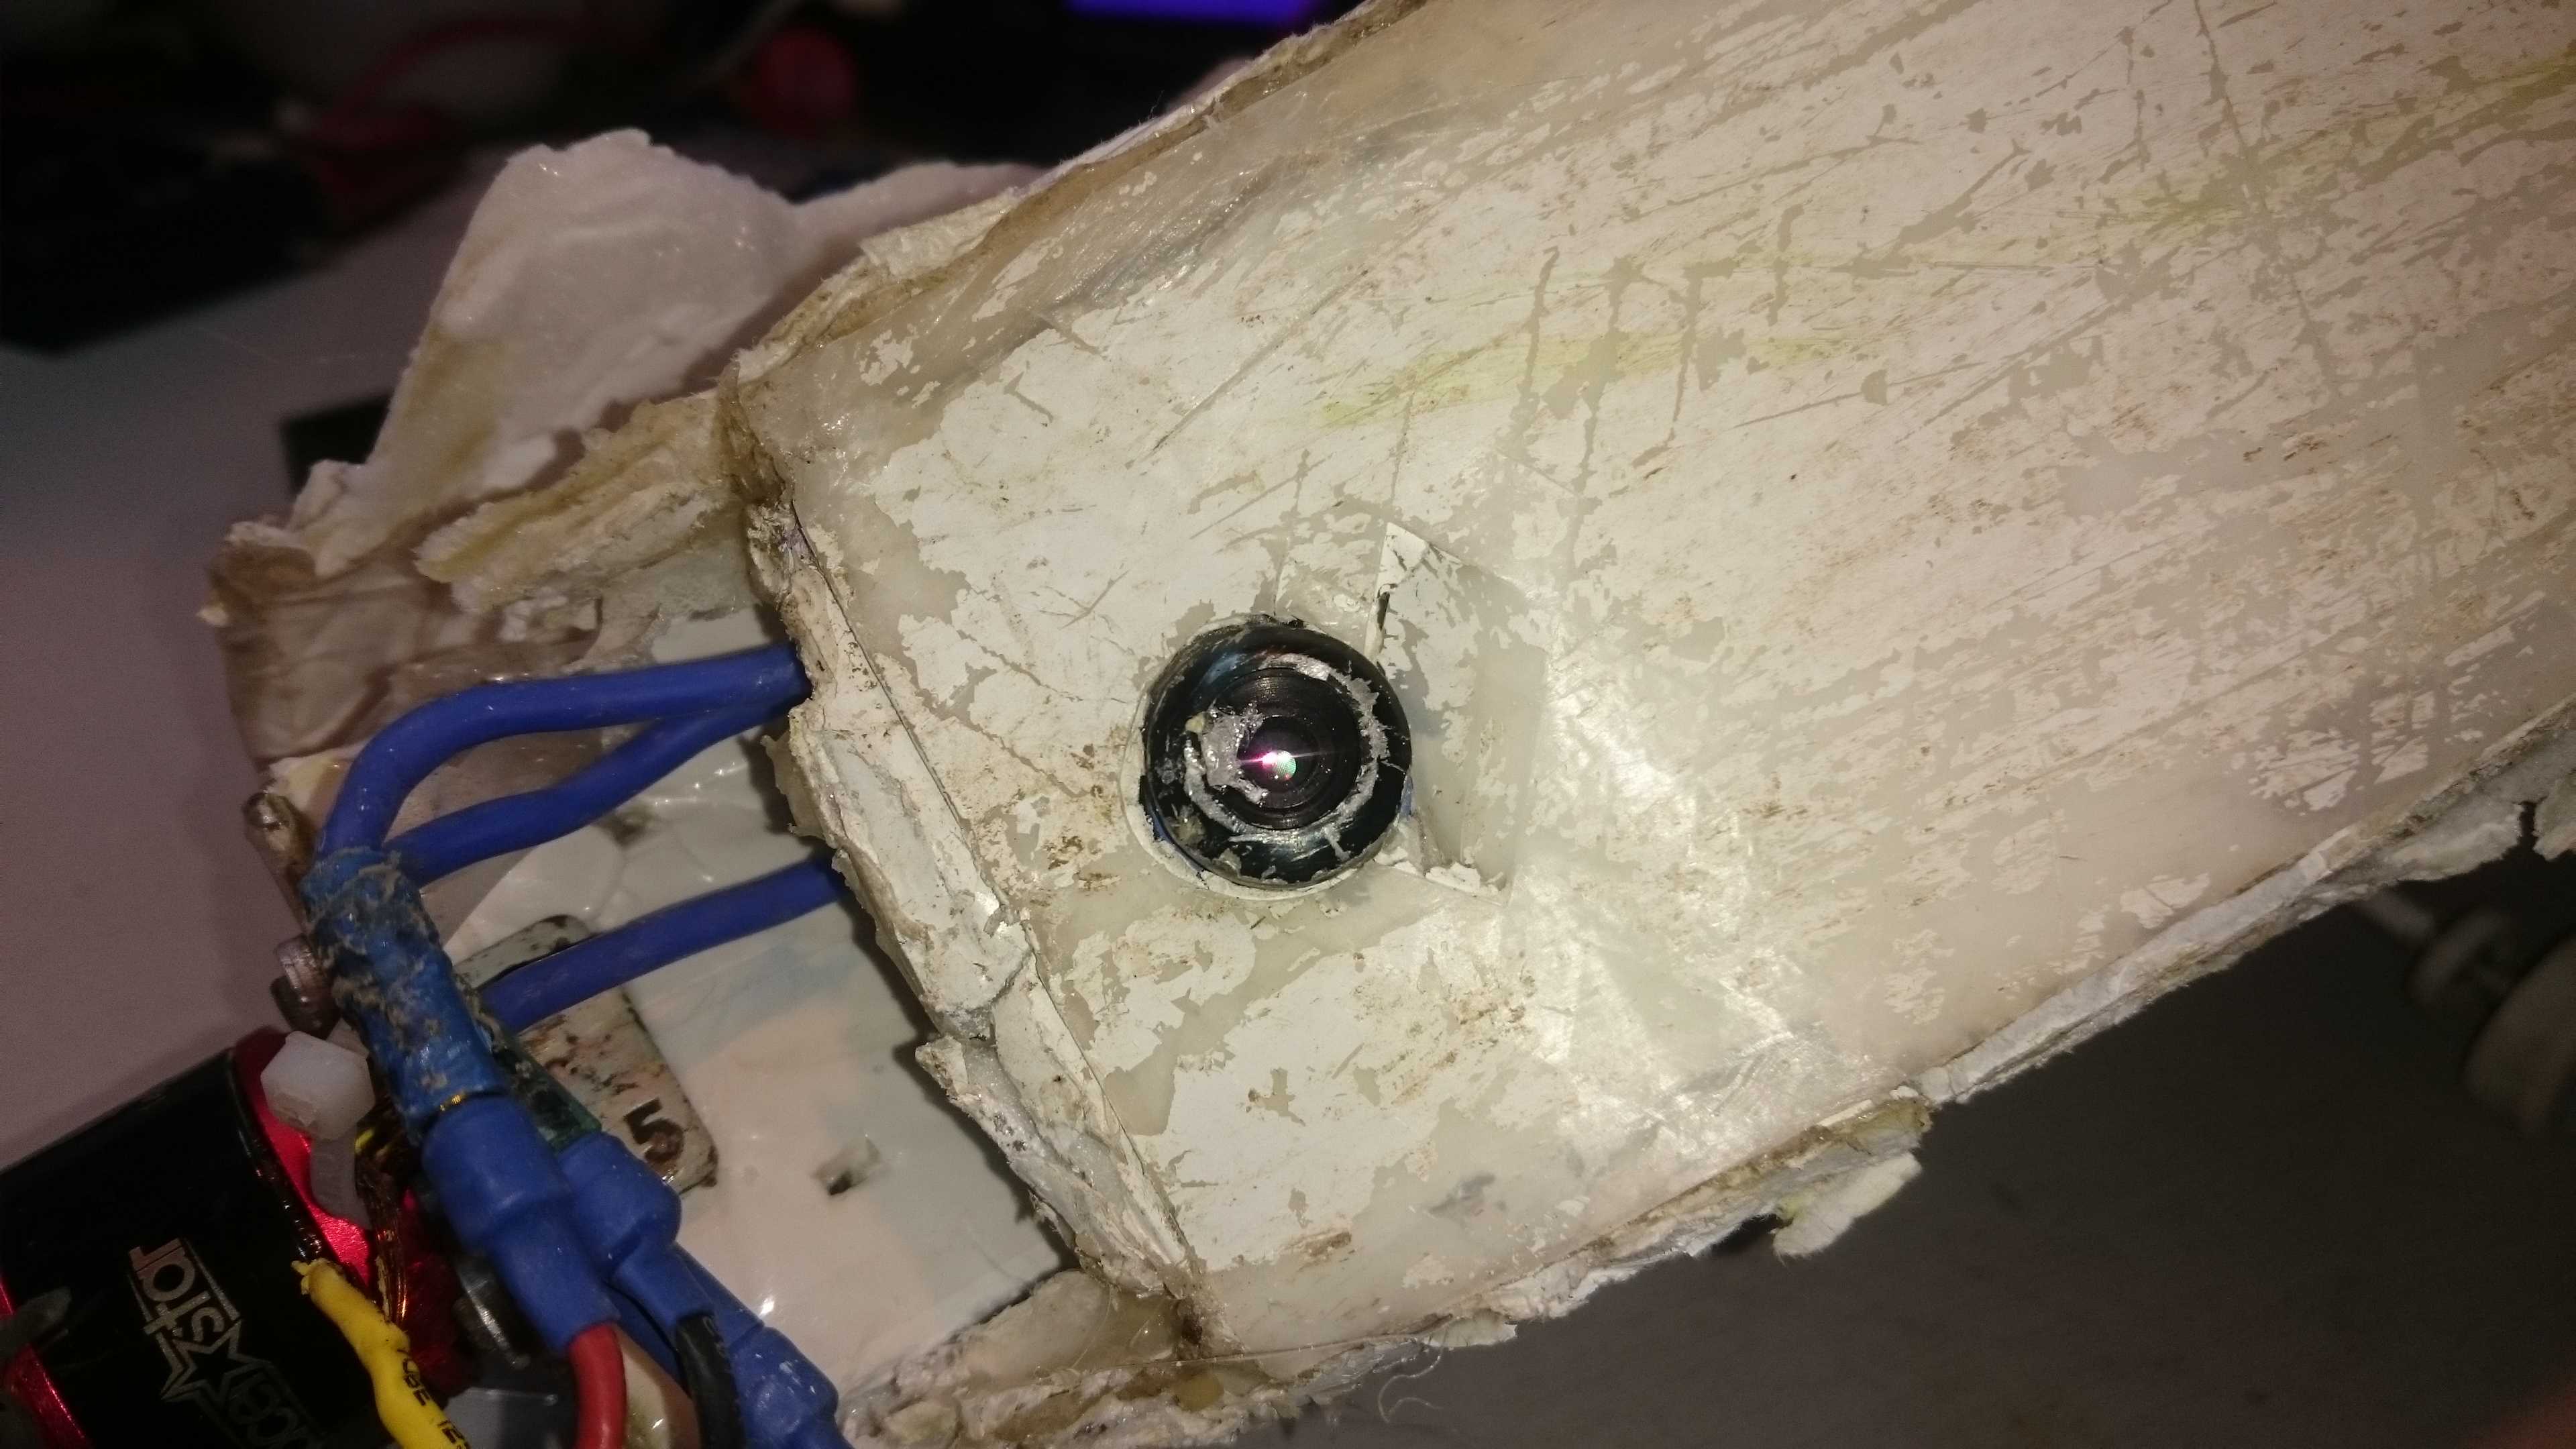
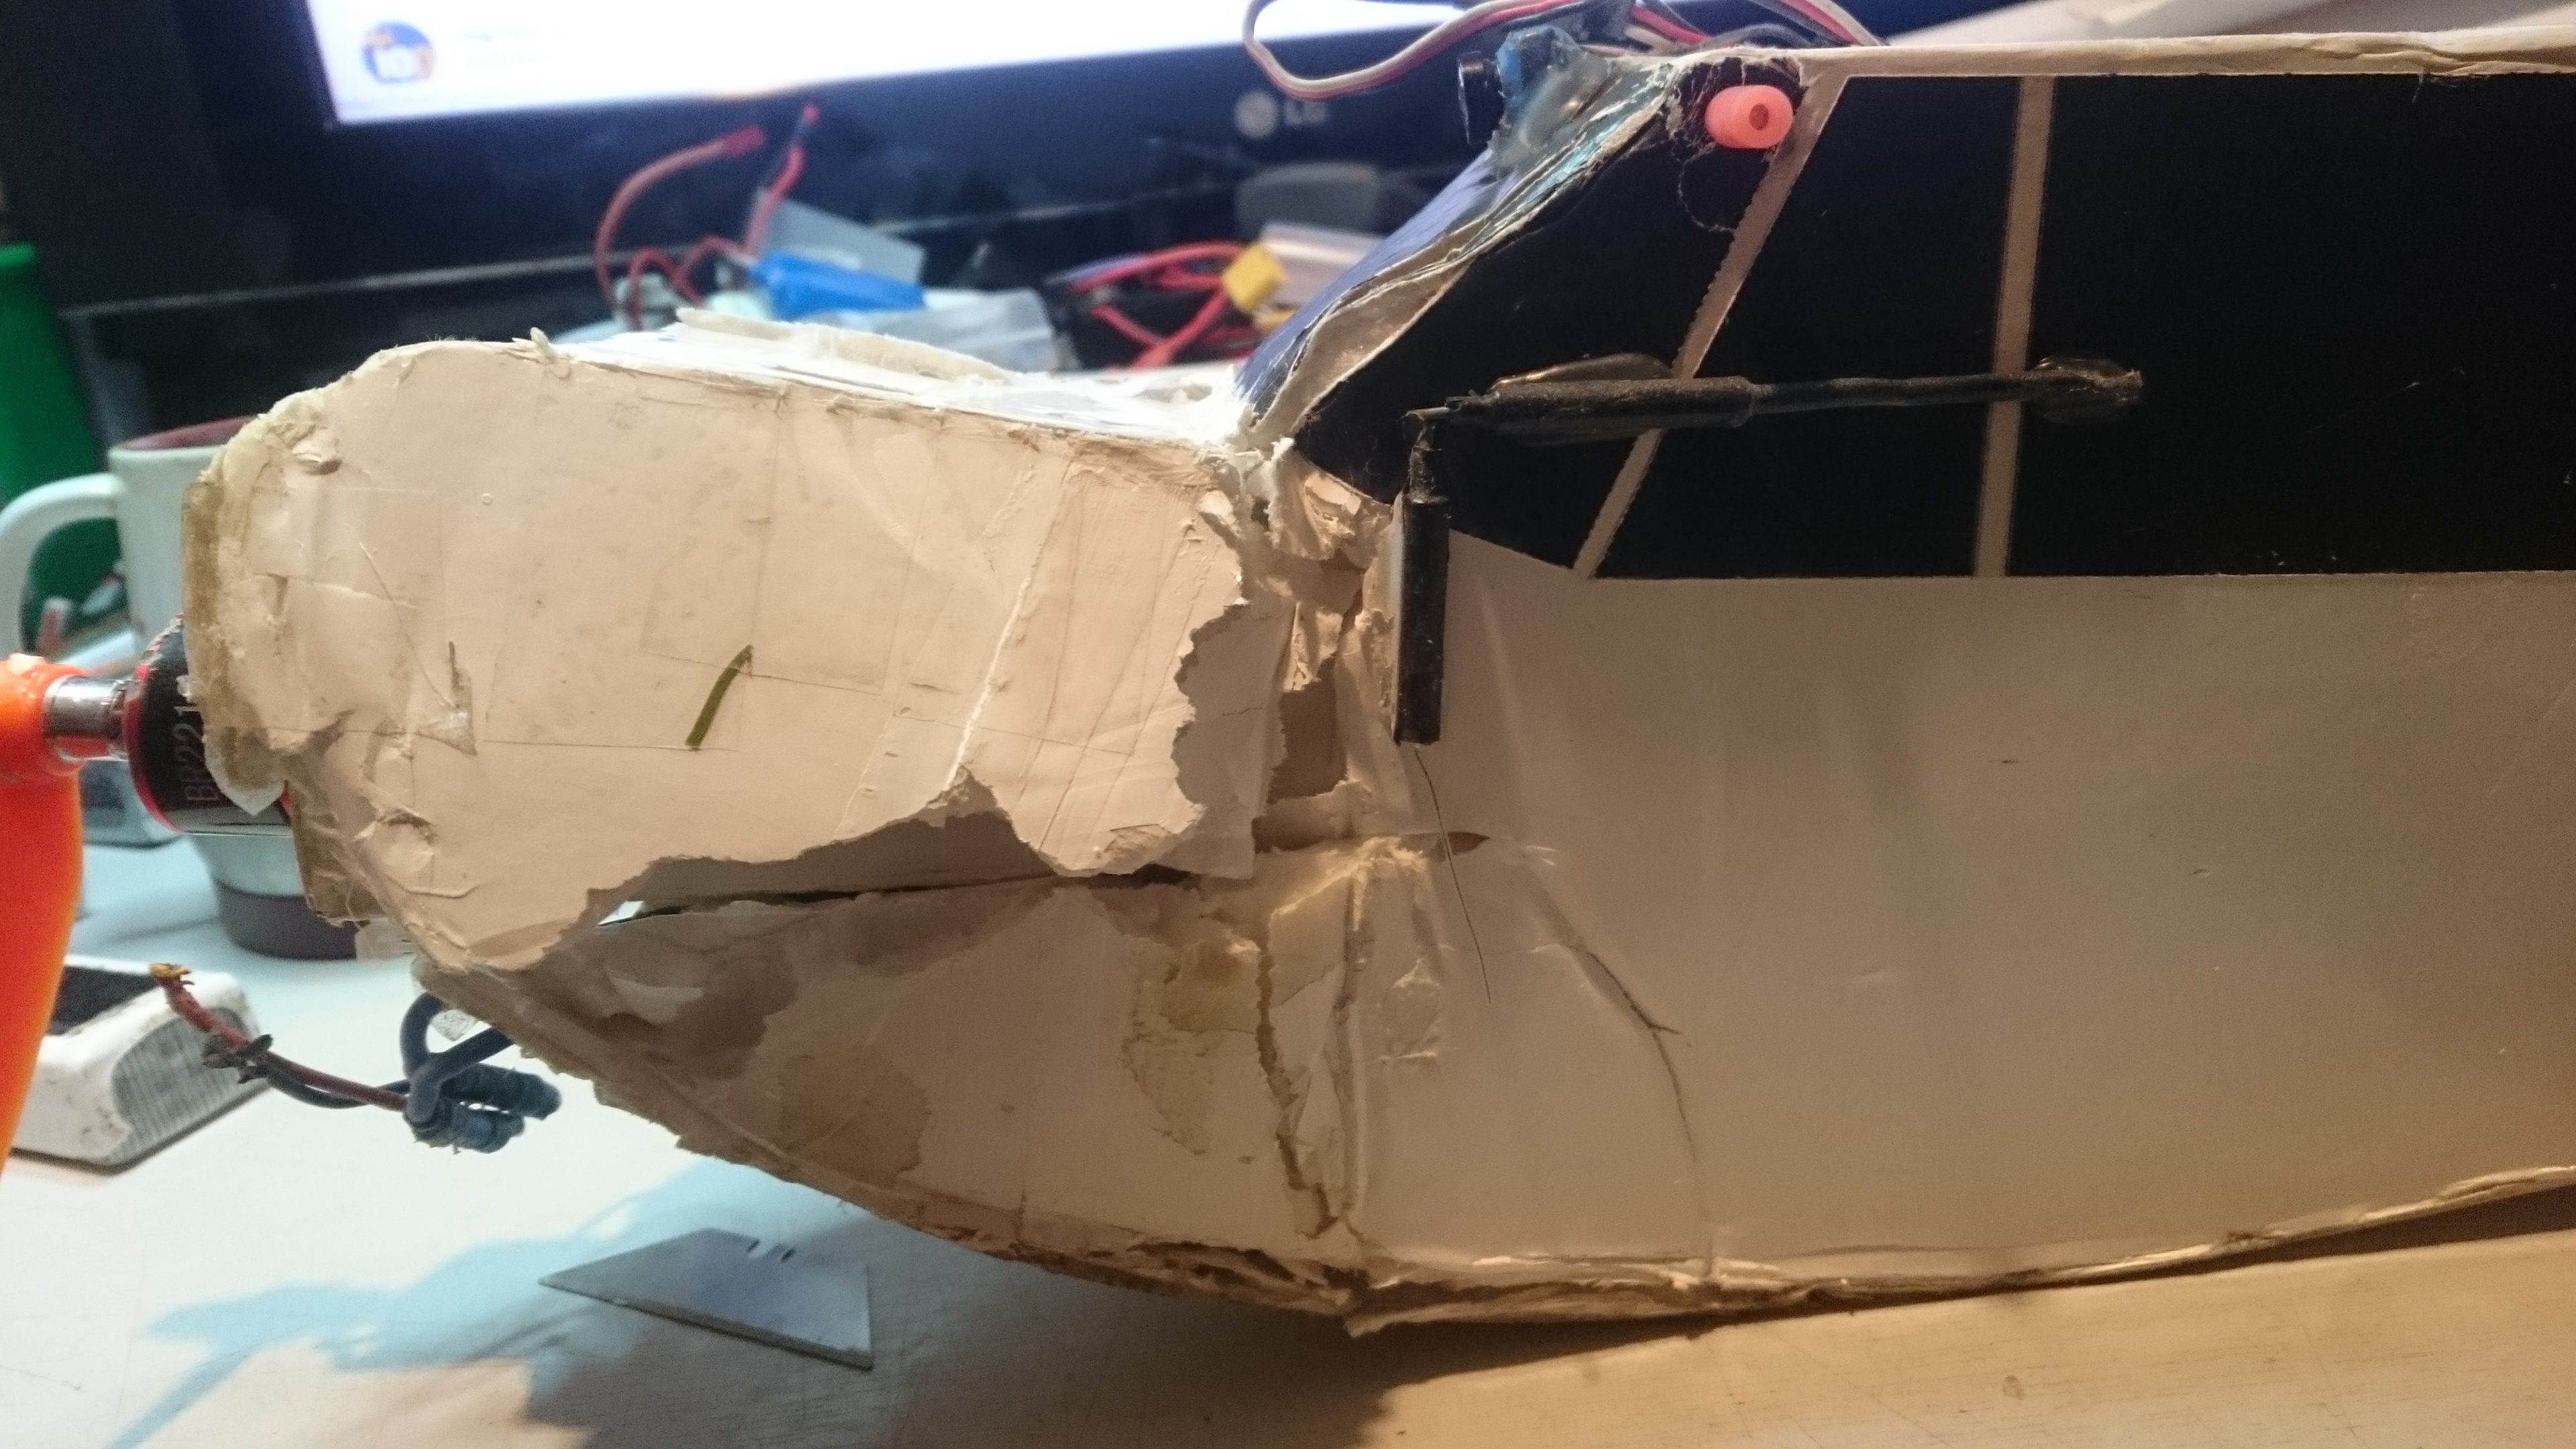
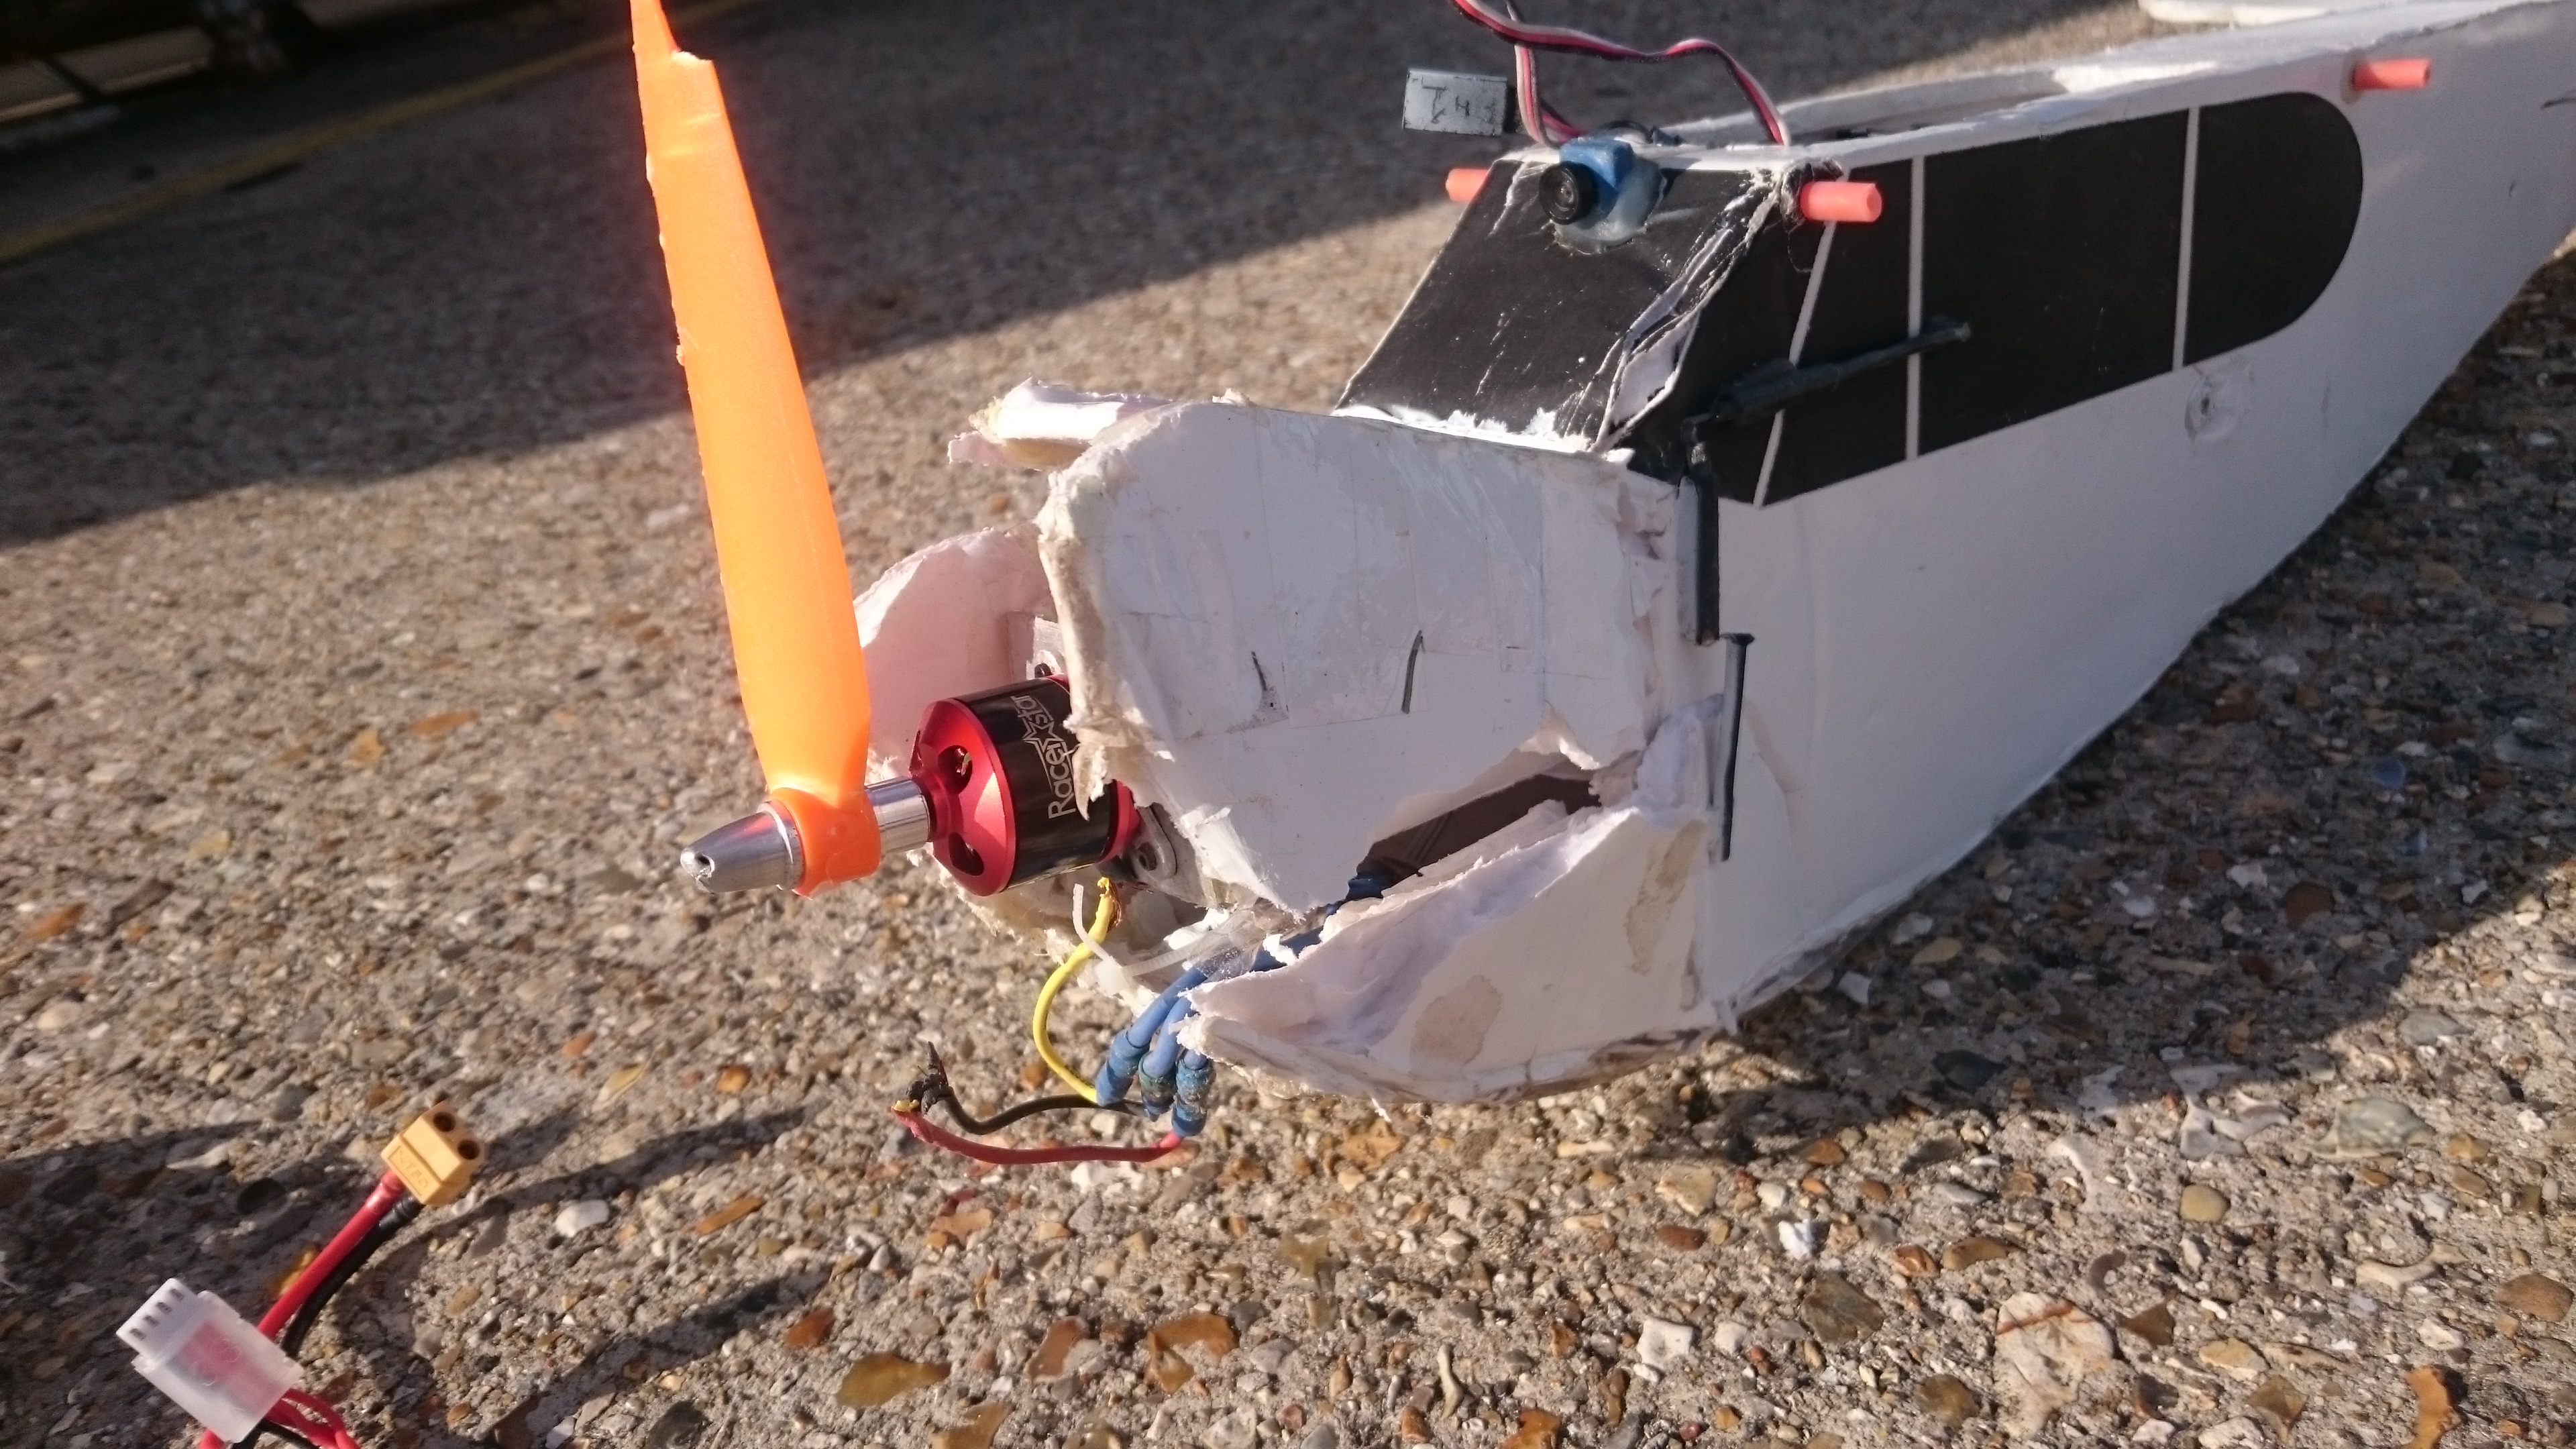
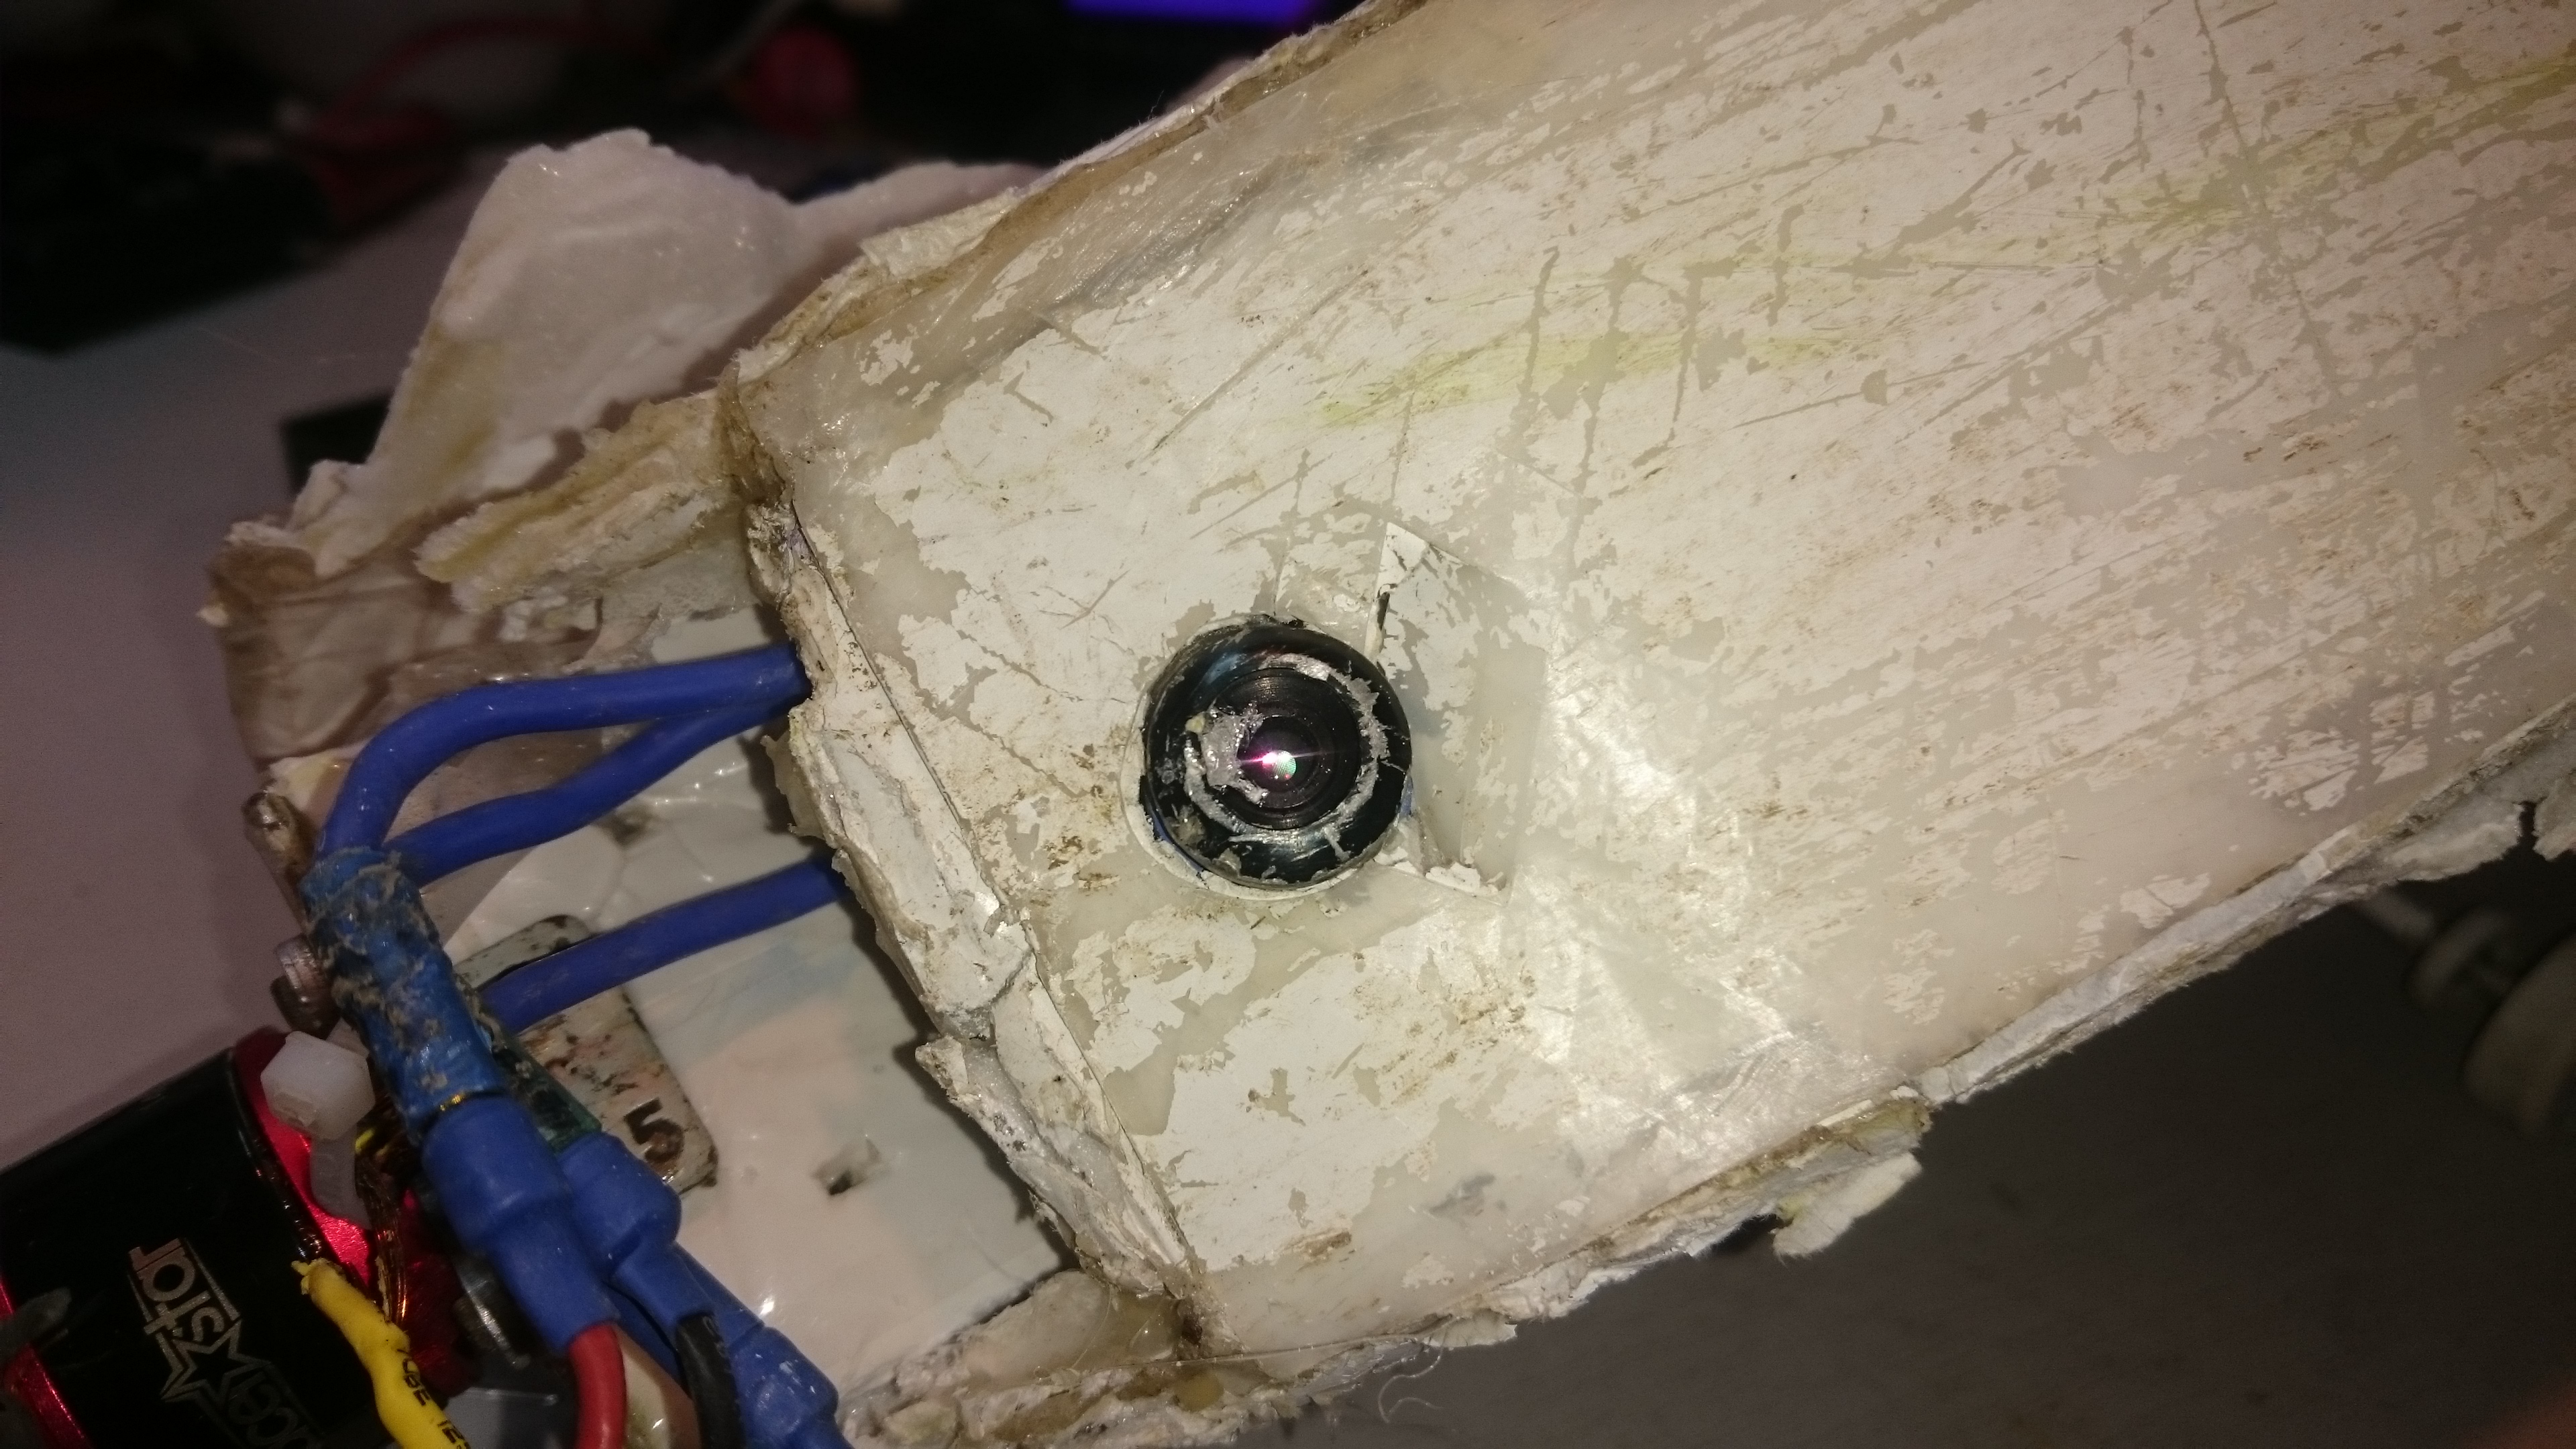
below are some pics of my cubs, some to show individual things ive done to mine including the Storch winged one


Last edited:


