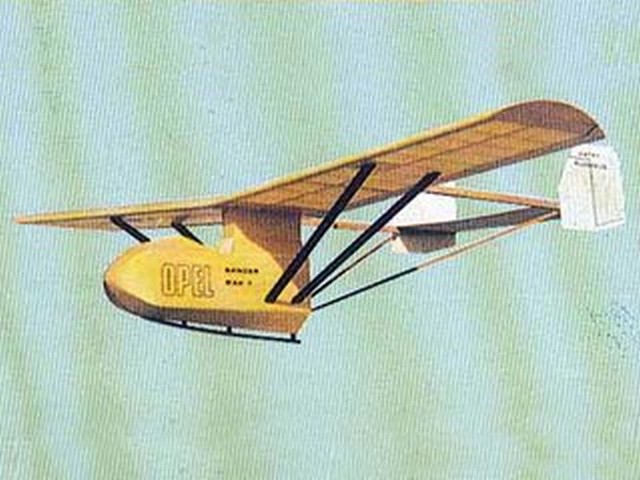
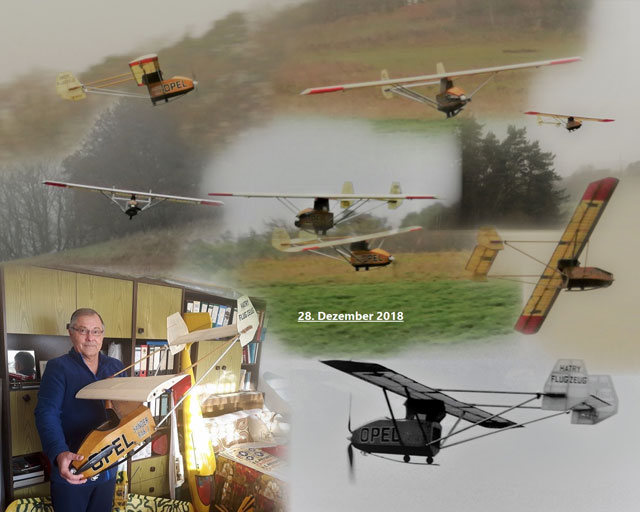
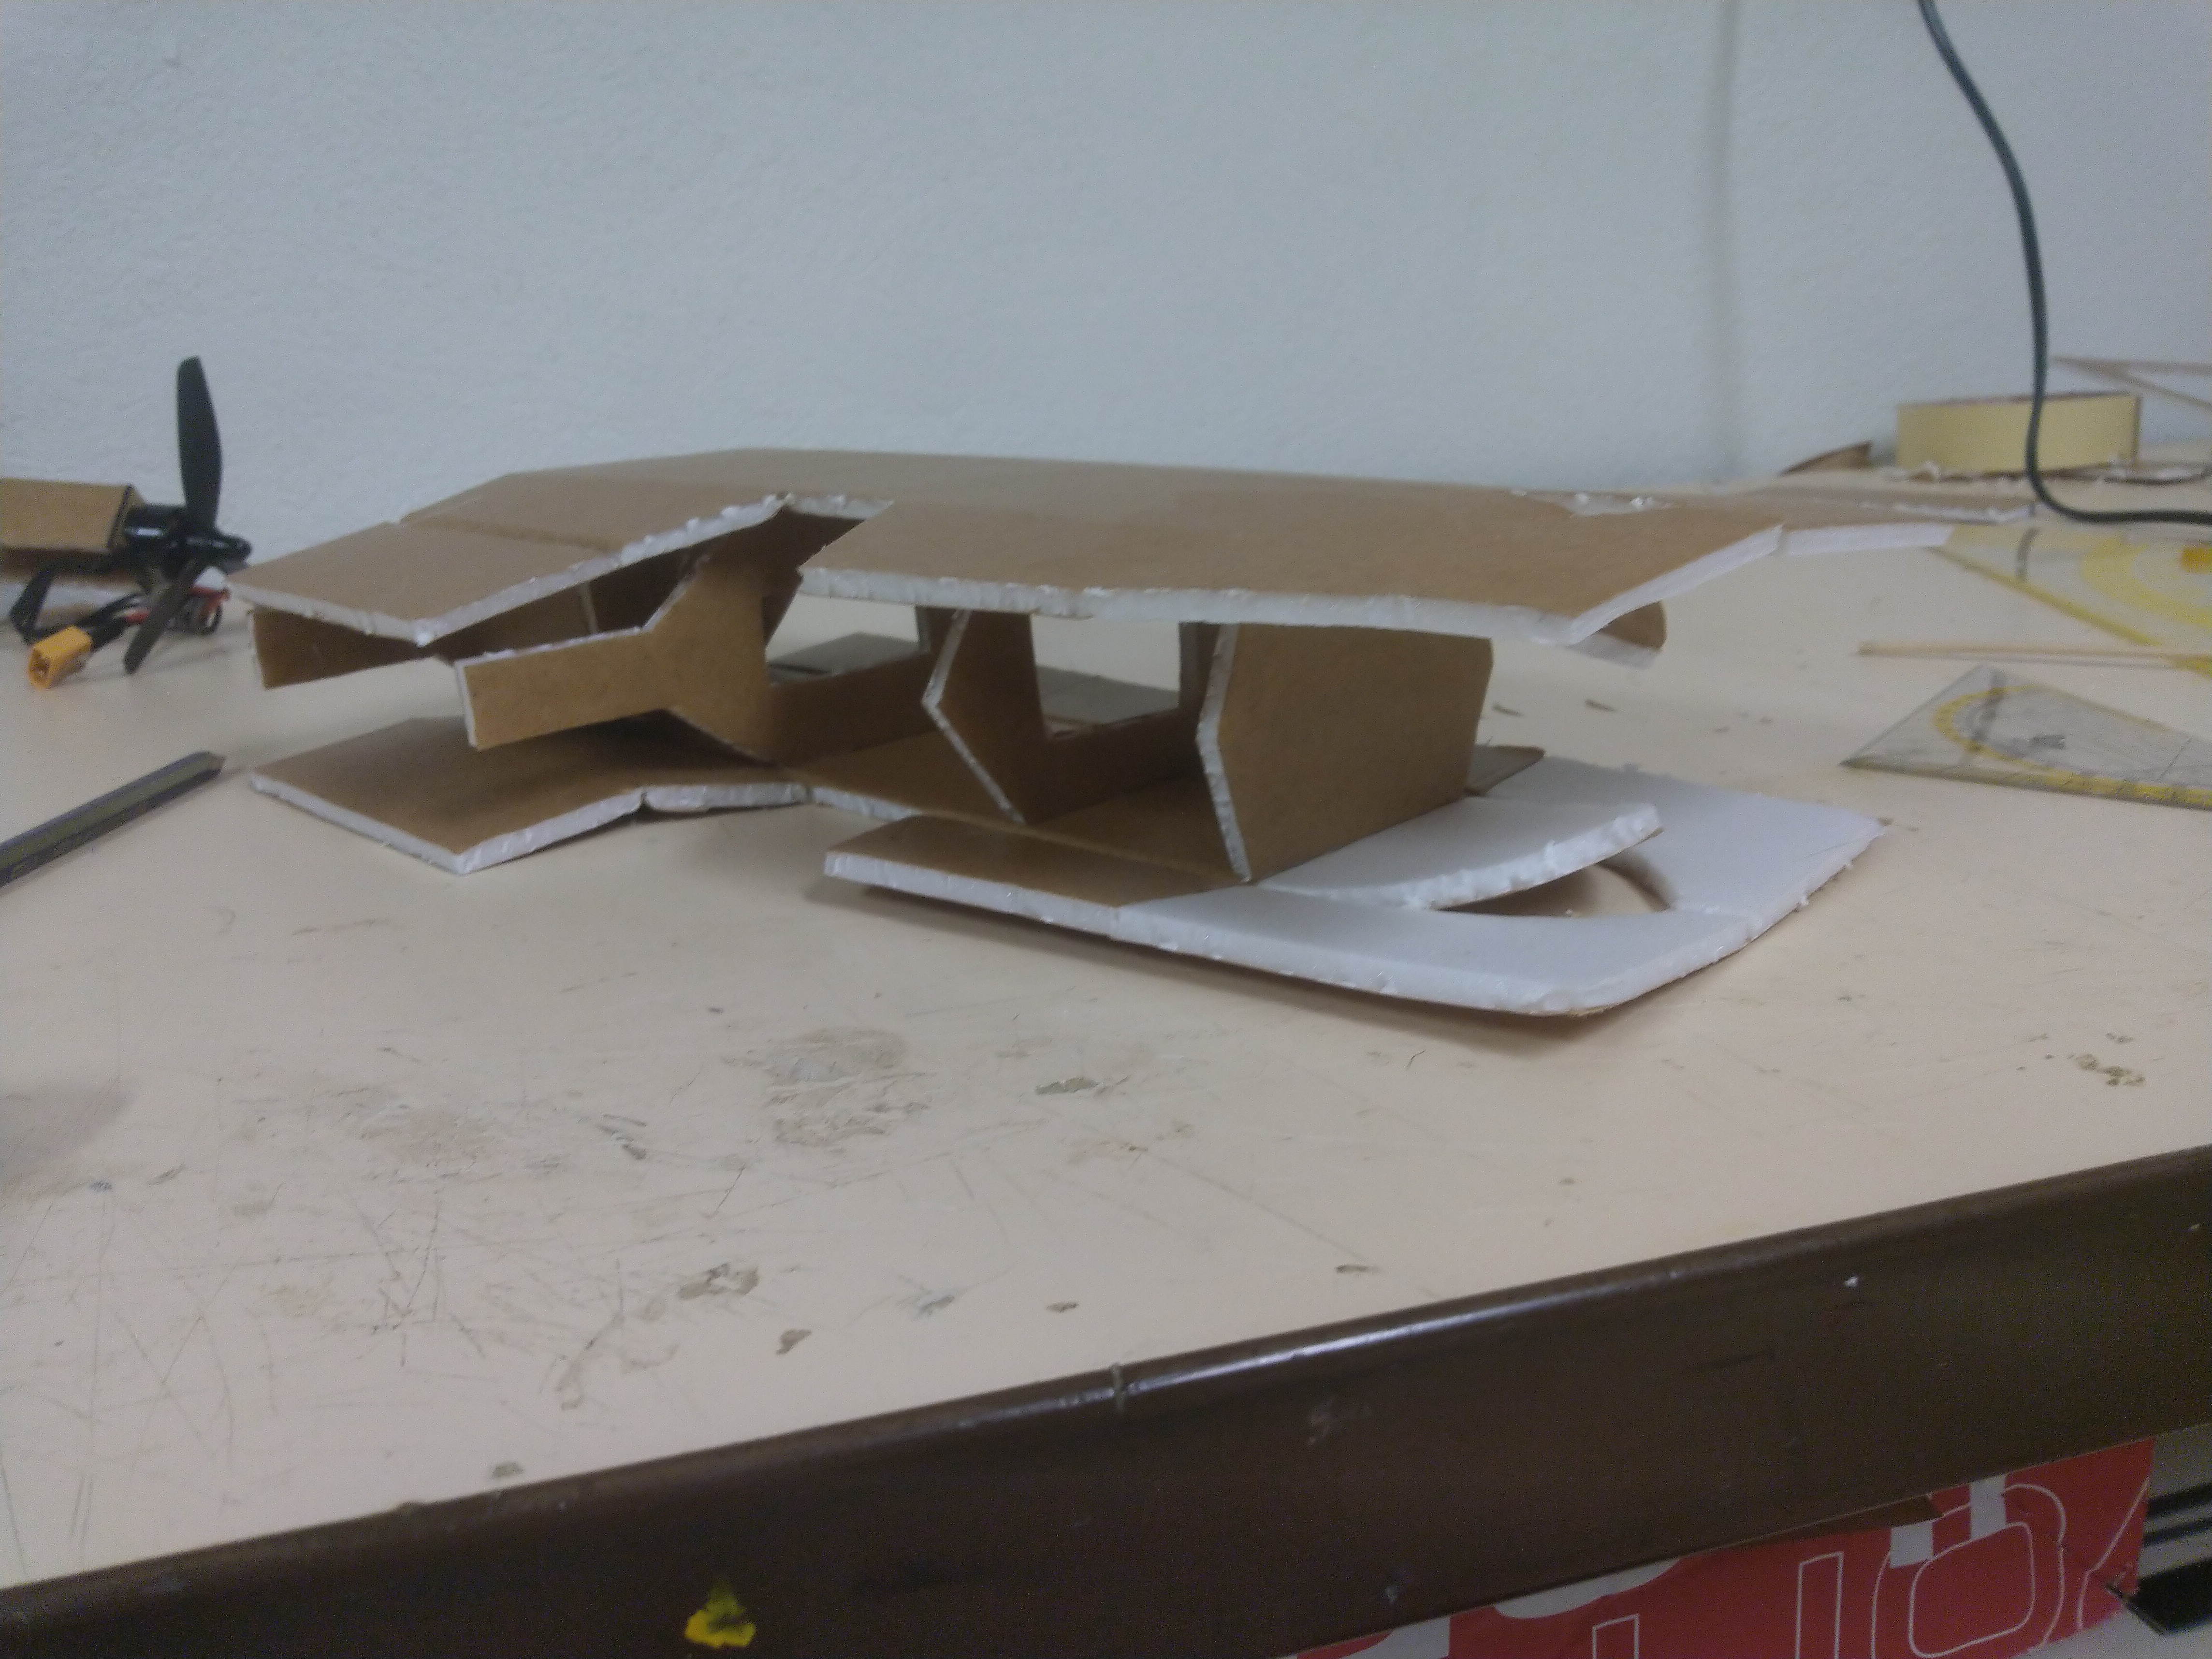
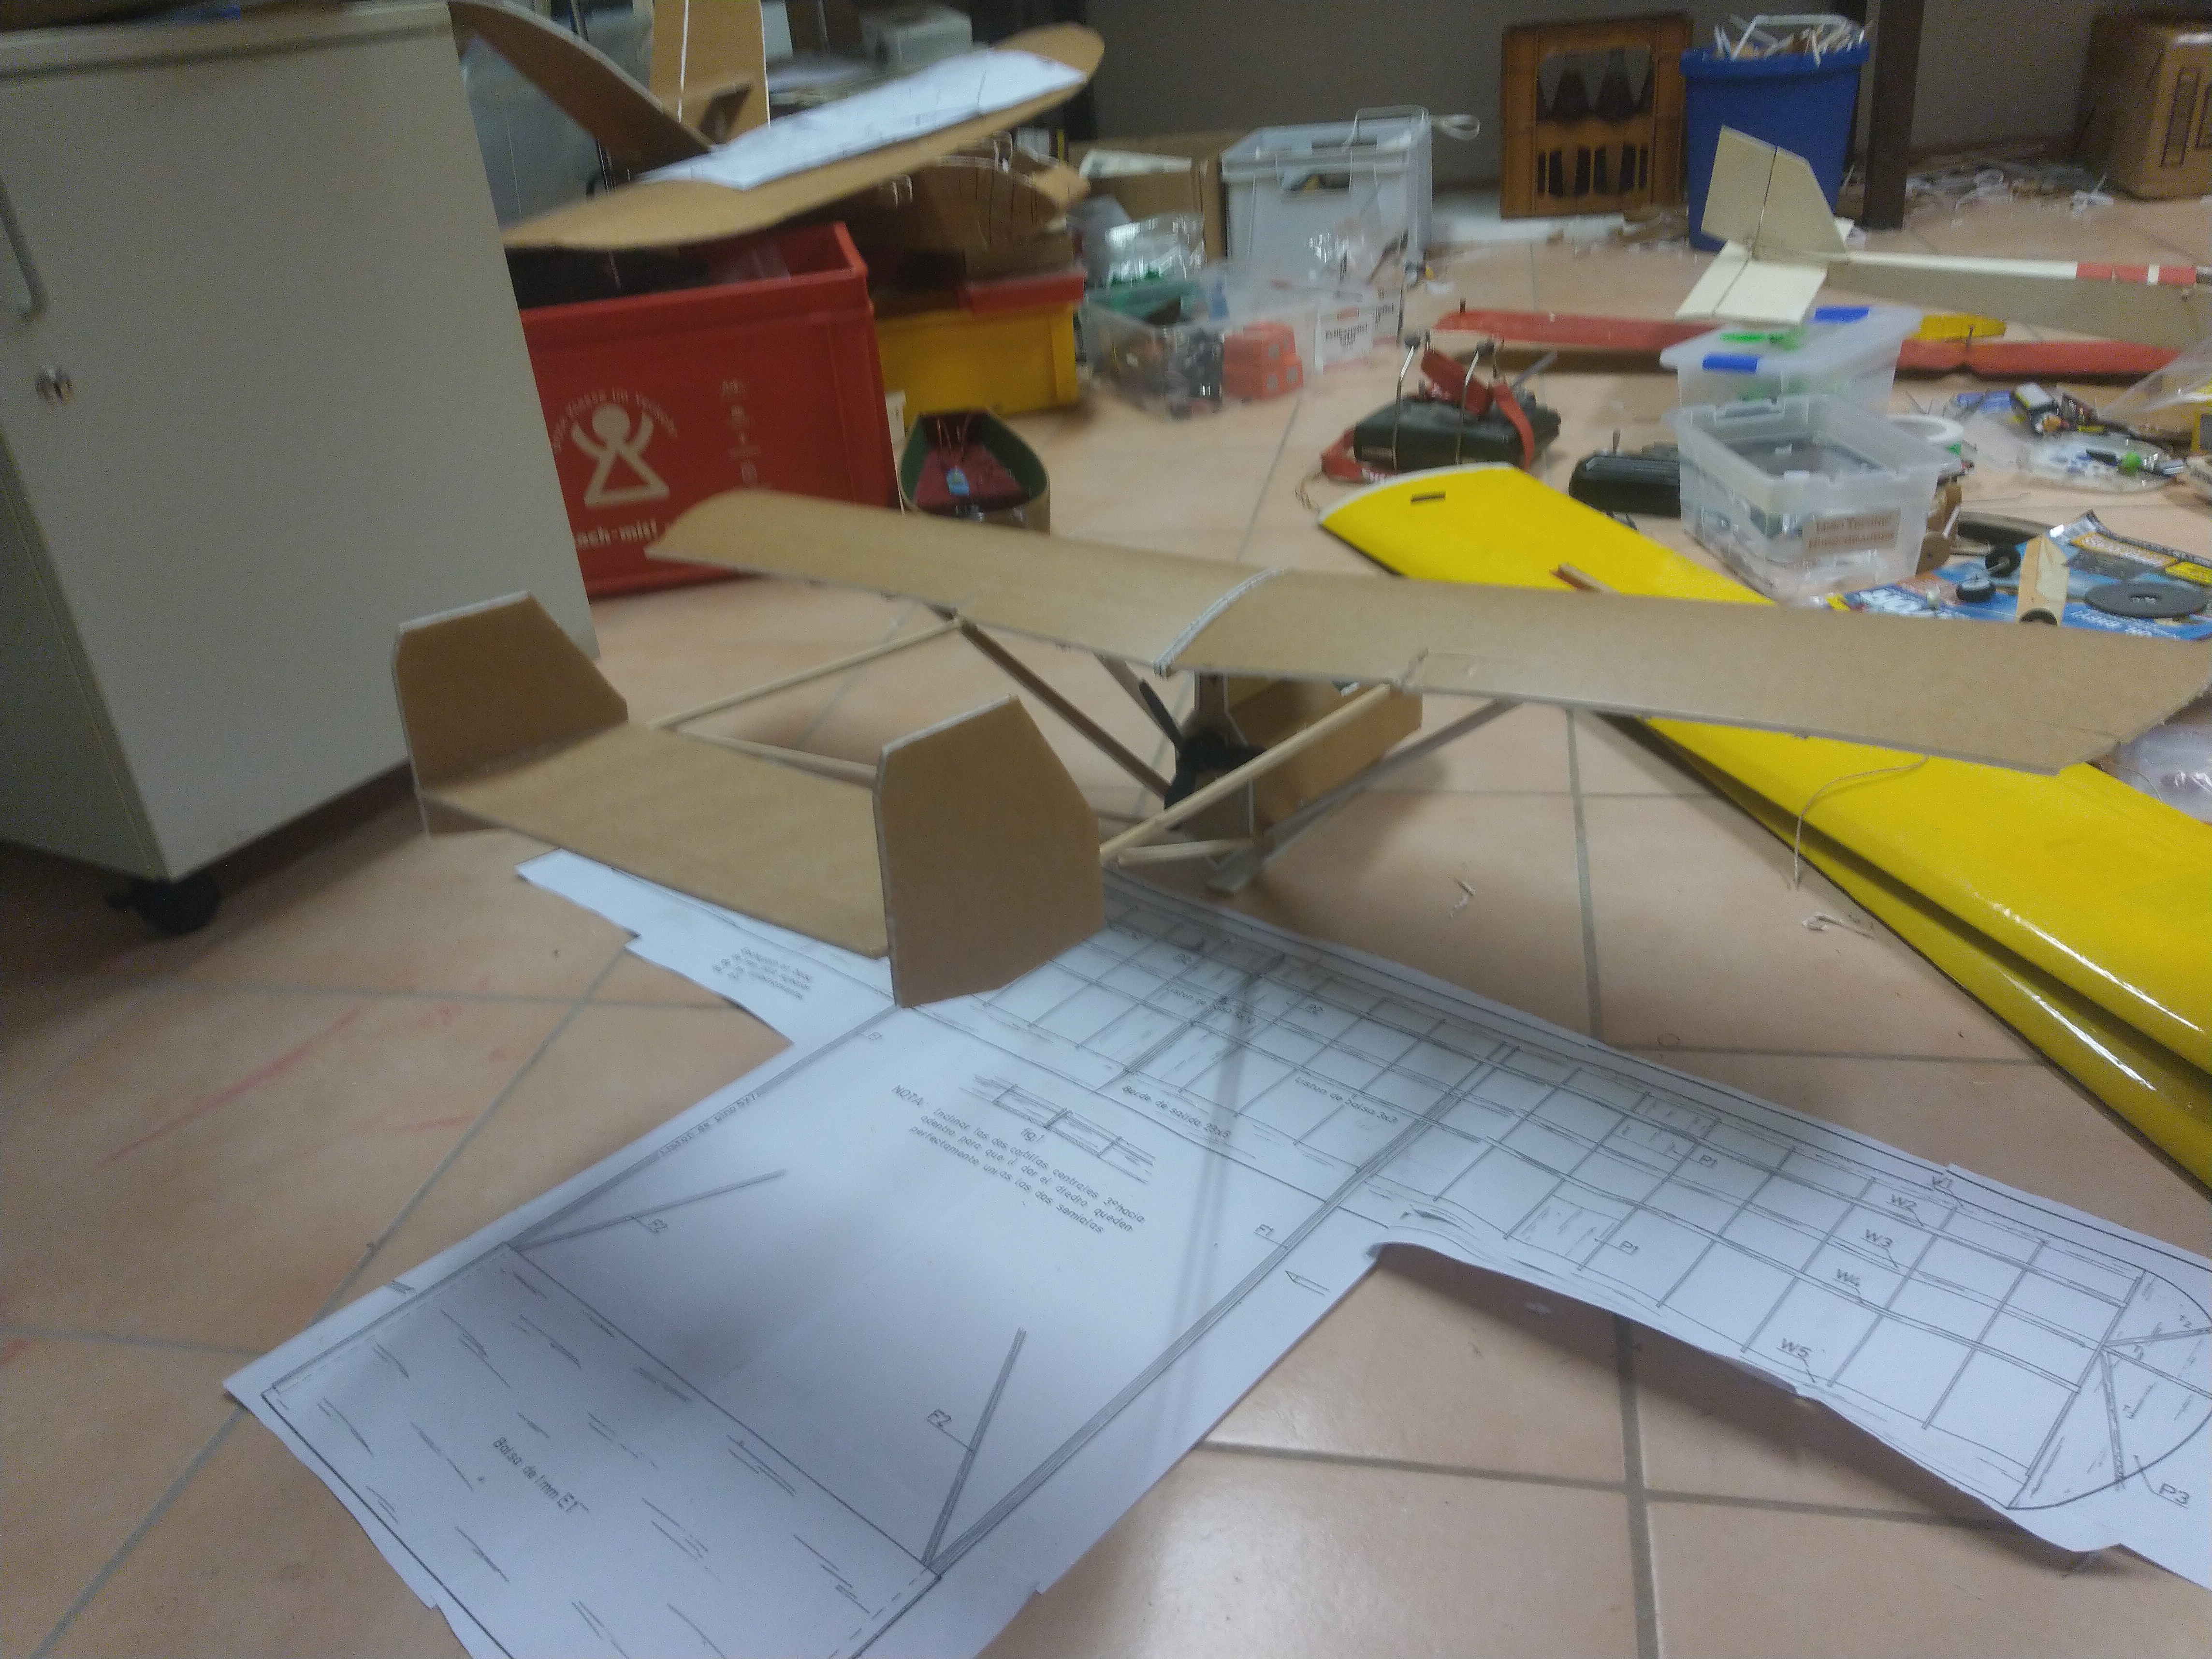
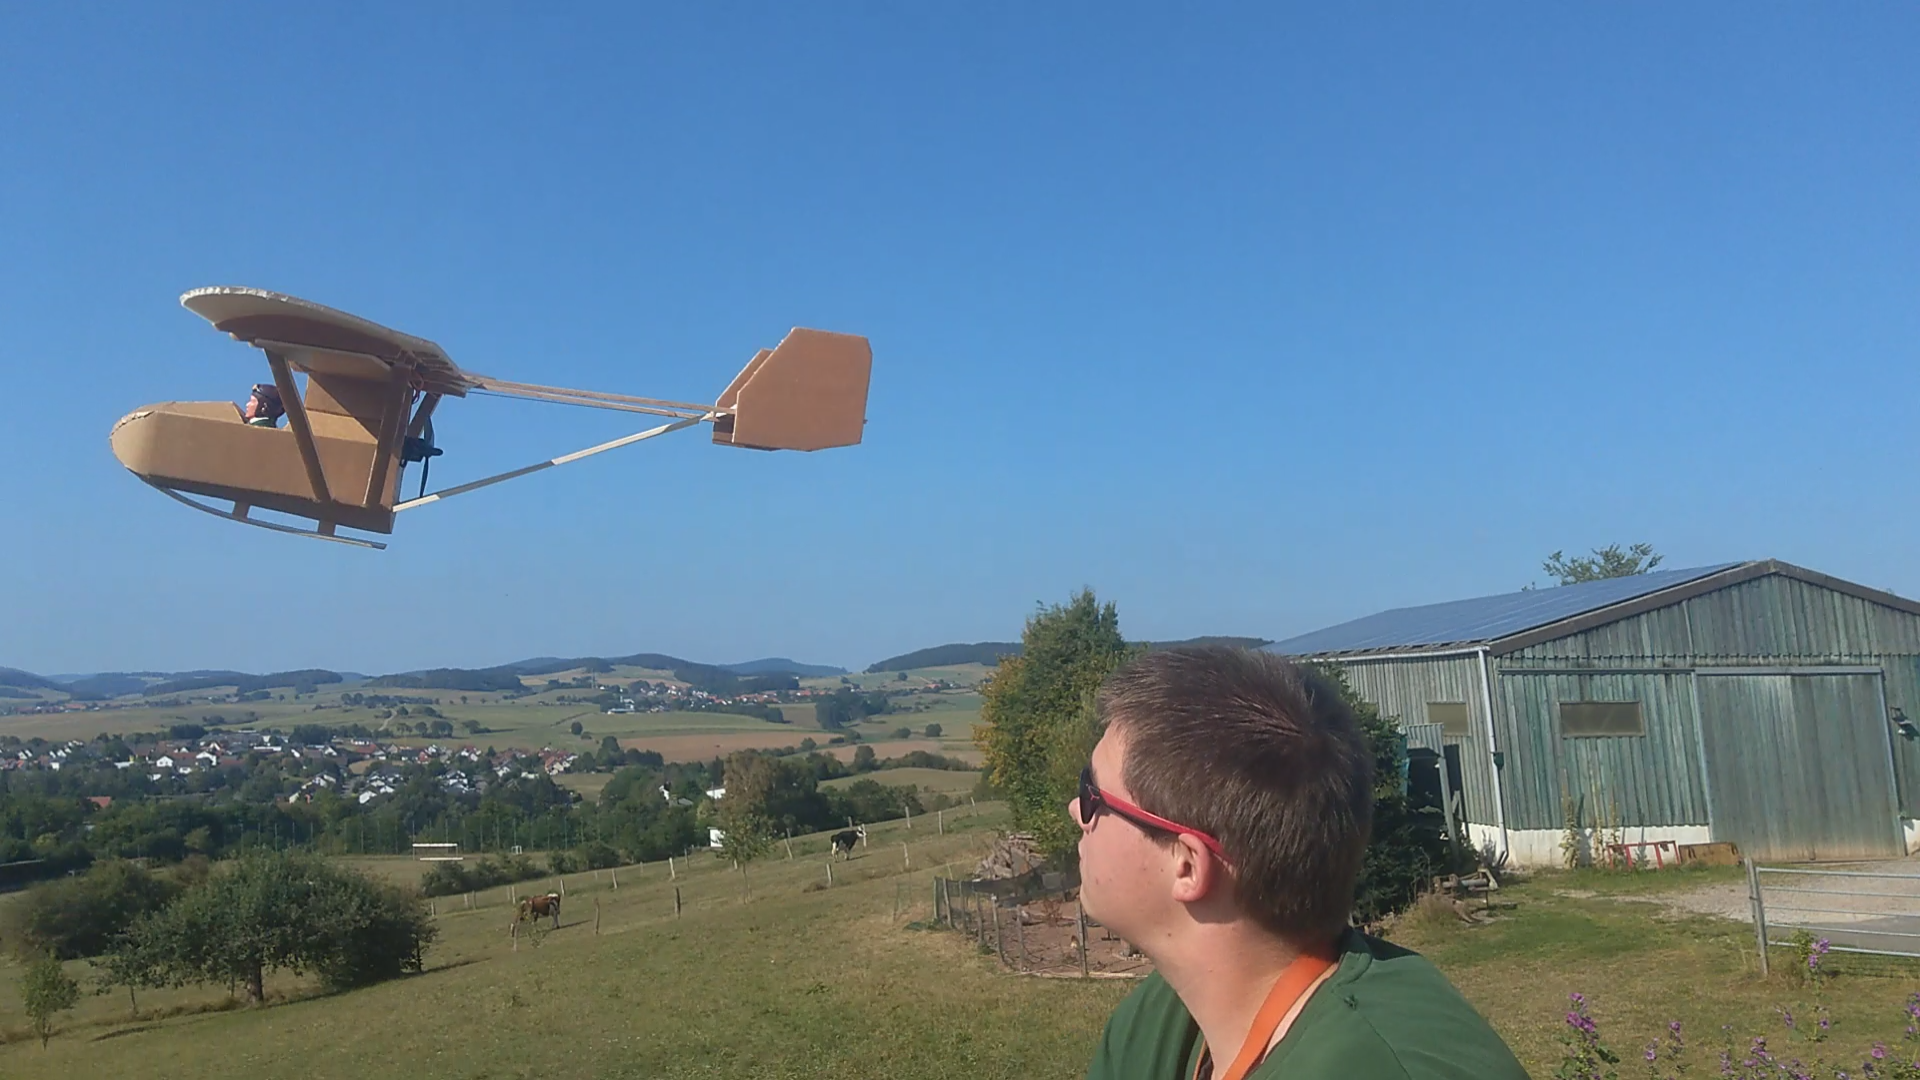
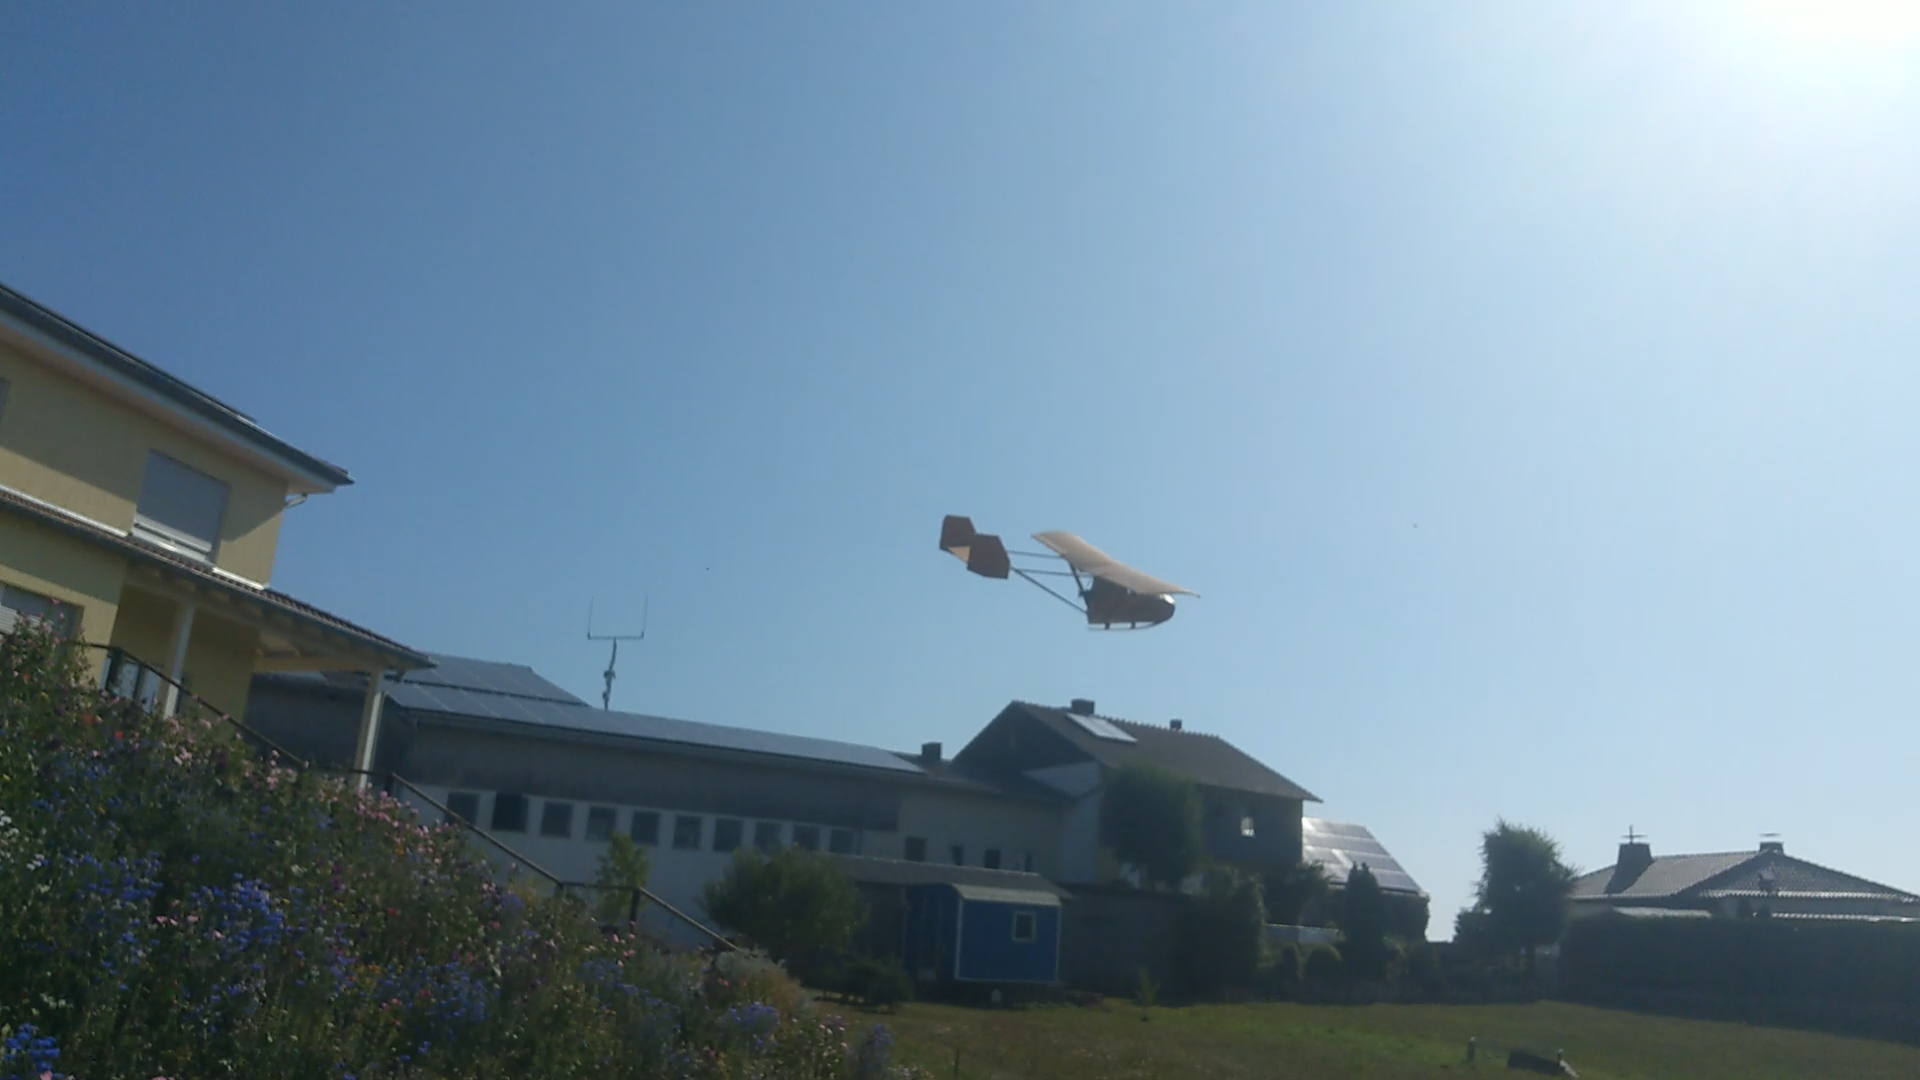
Done!
Here is the rest on how to build it.
Just like allways, check your 90degree angles, whipe off the glue with a piece of foam and if something doesnt fit, trim it to the right size or do a bevel cut.
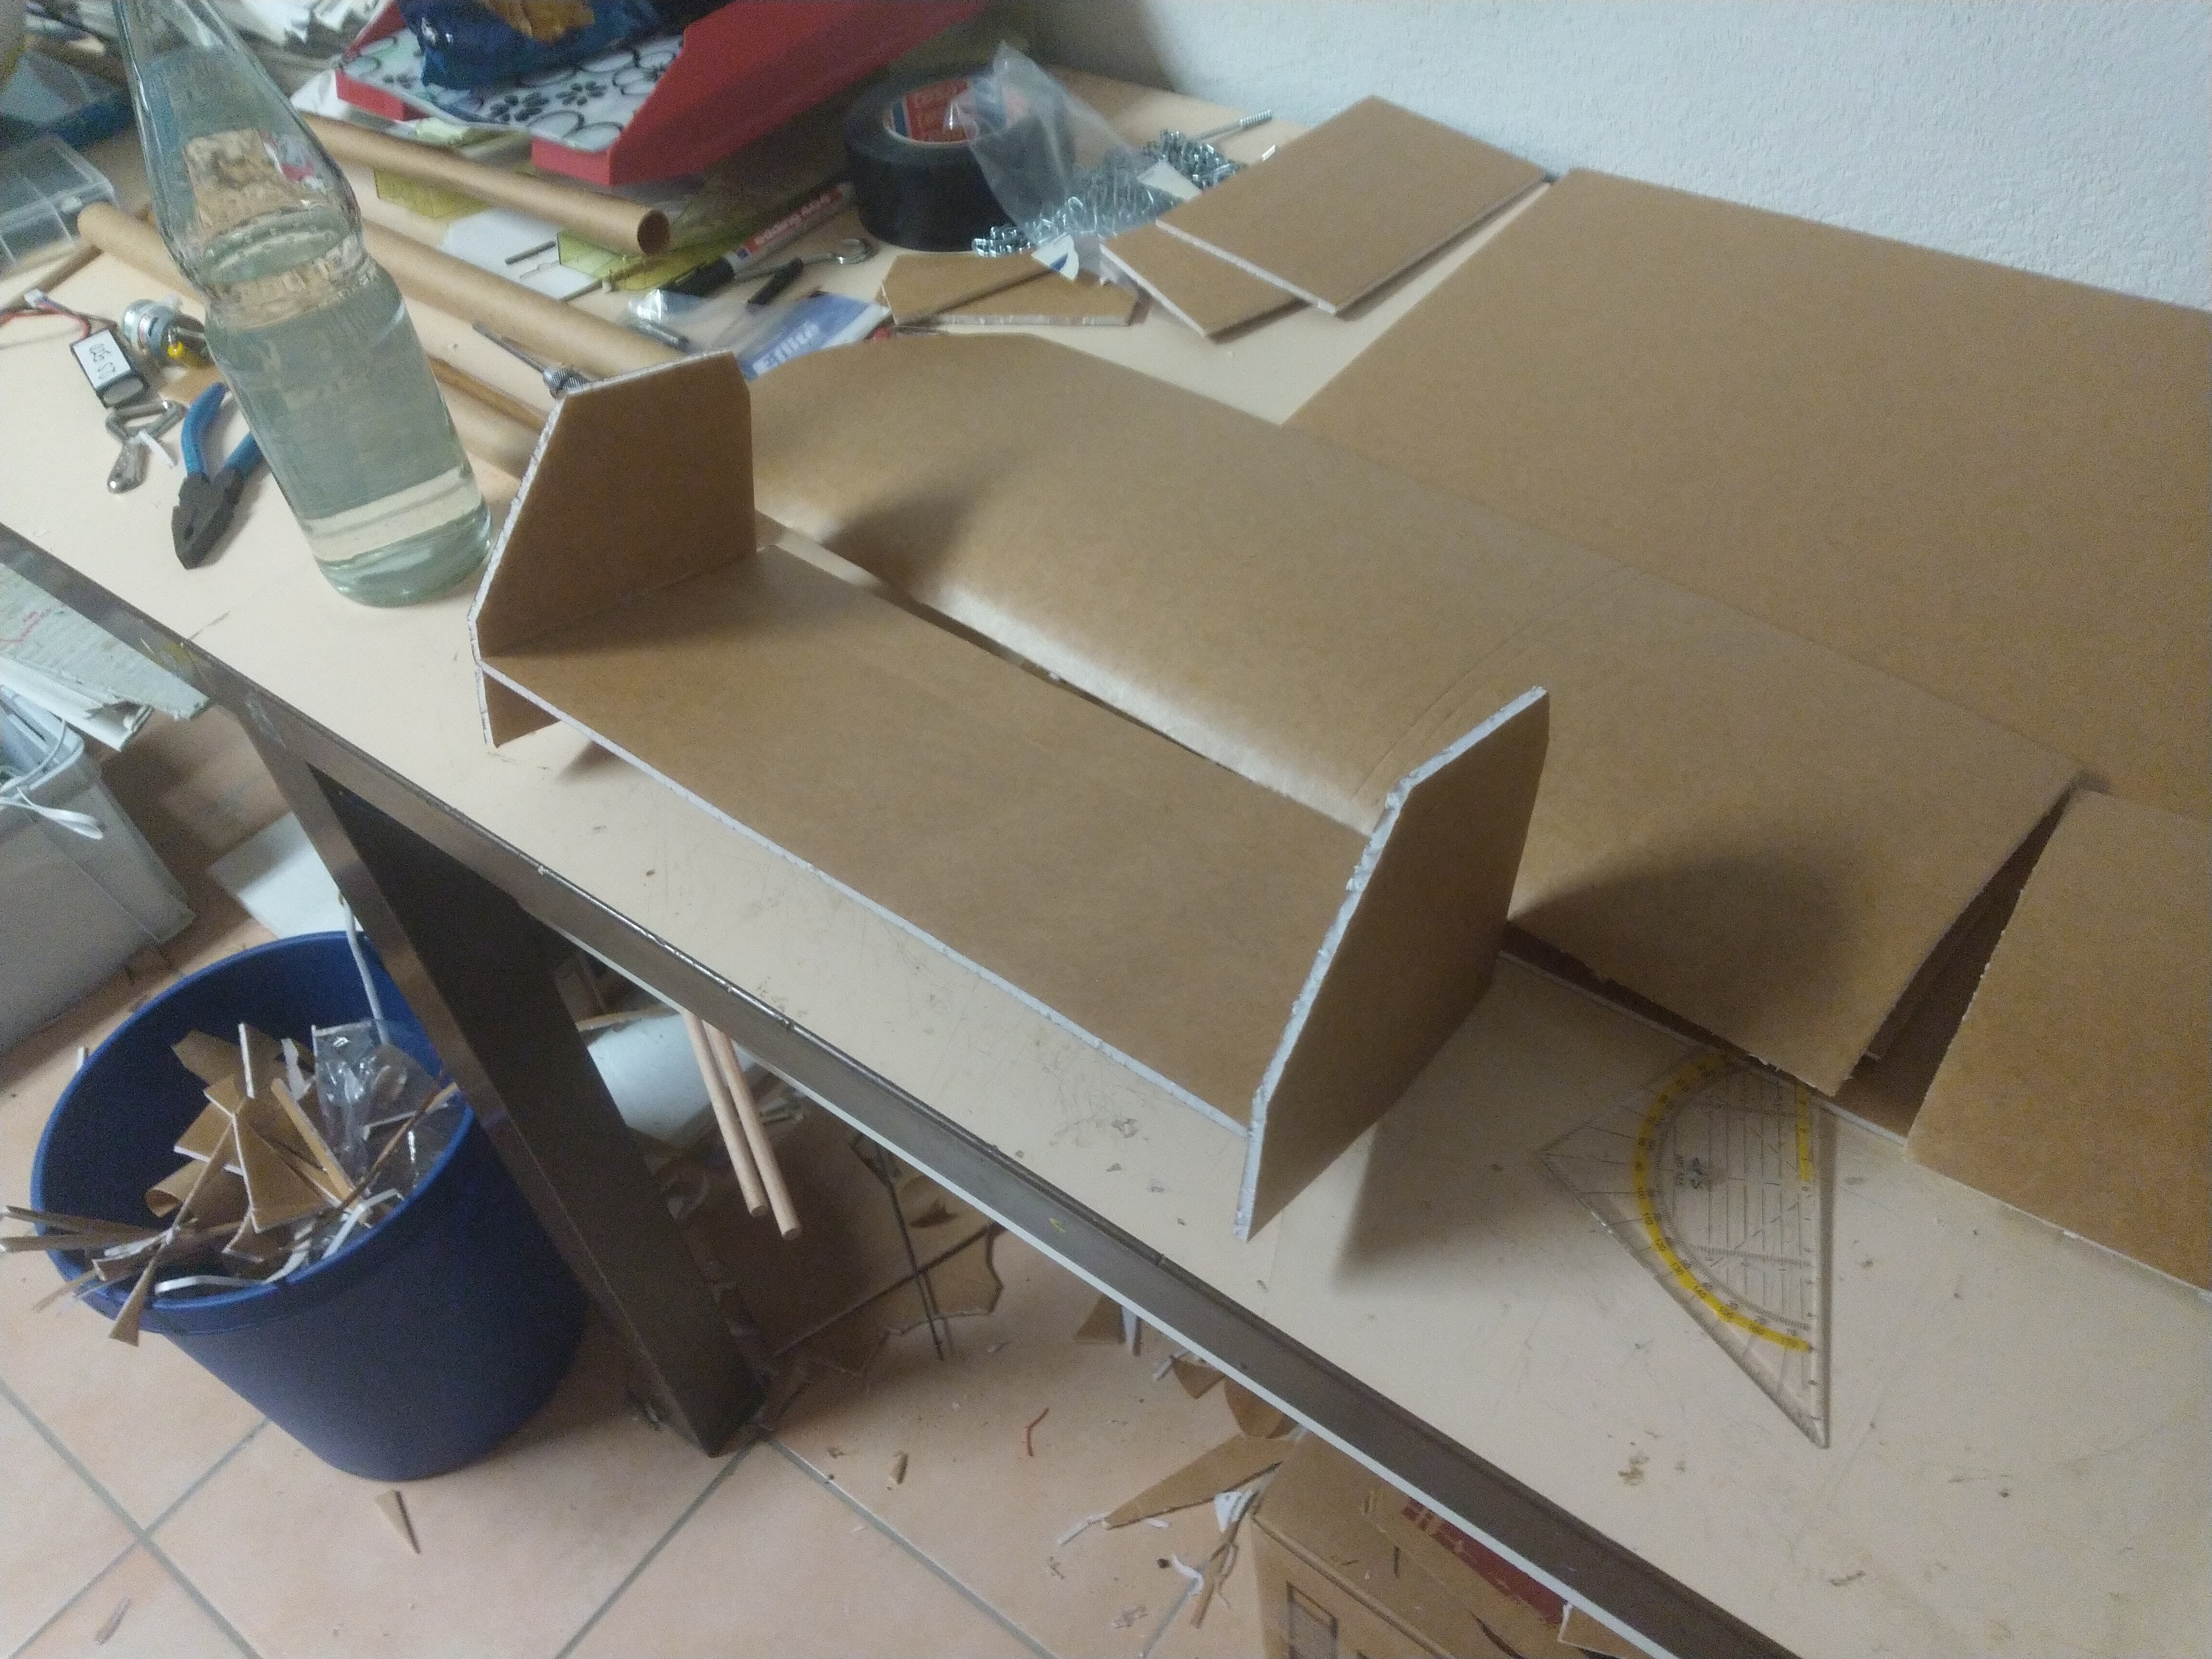
For the stabelizer, just glue the sideplates on and add your control surface. Nothing fancy here, just standard FT techniques.
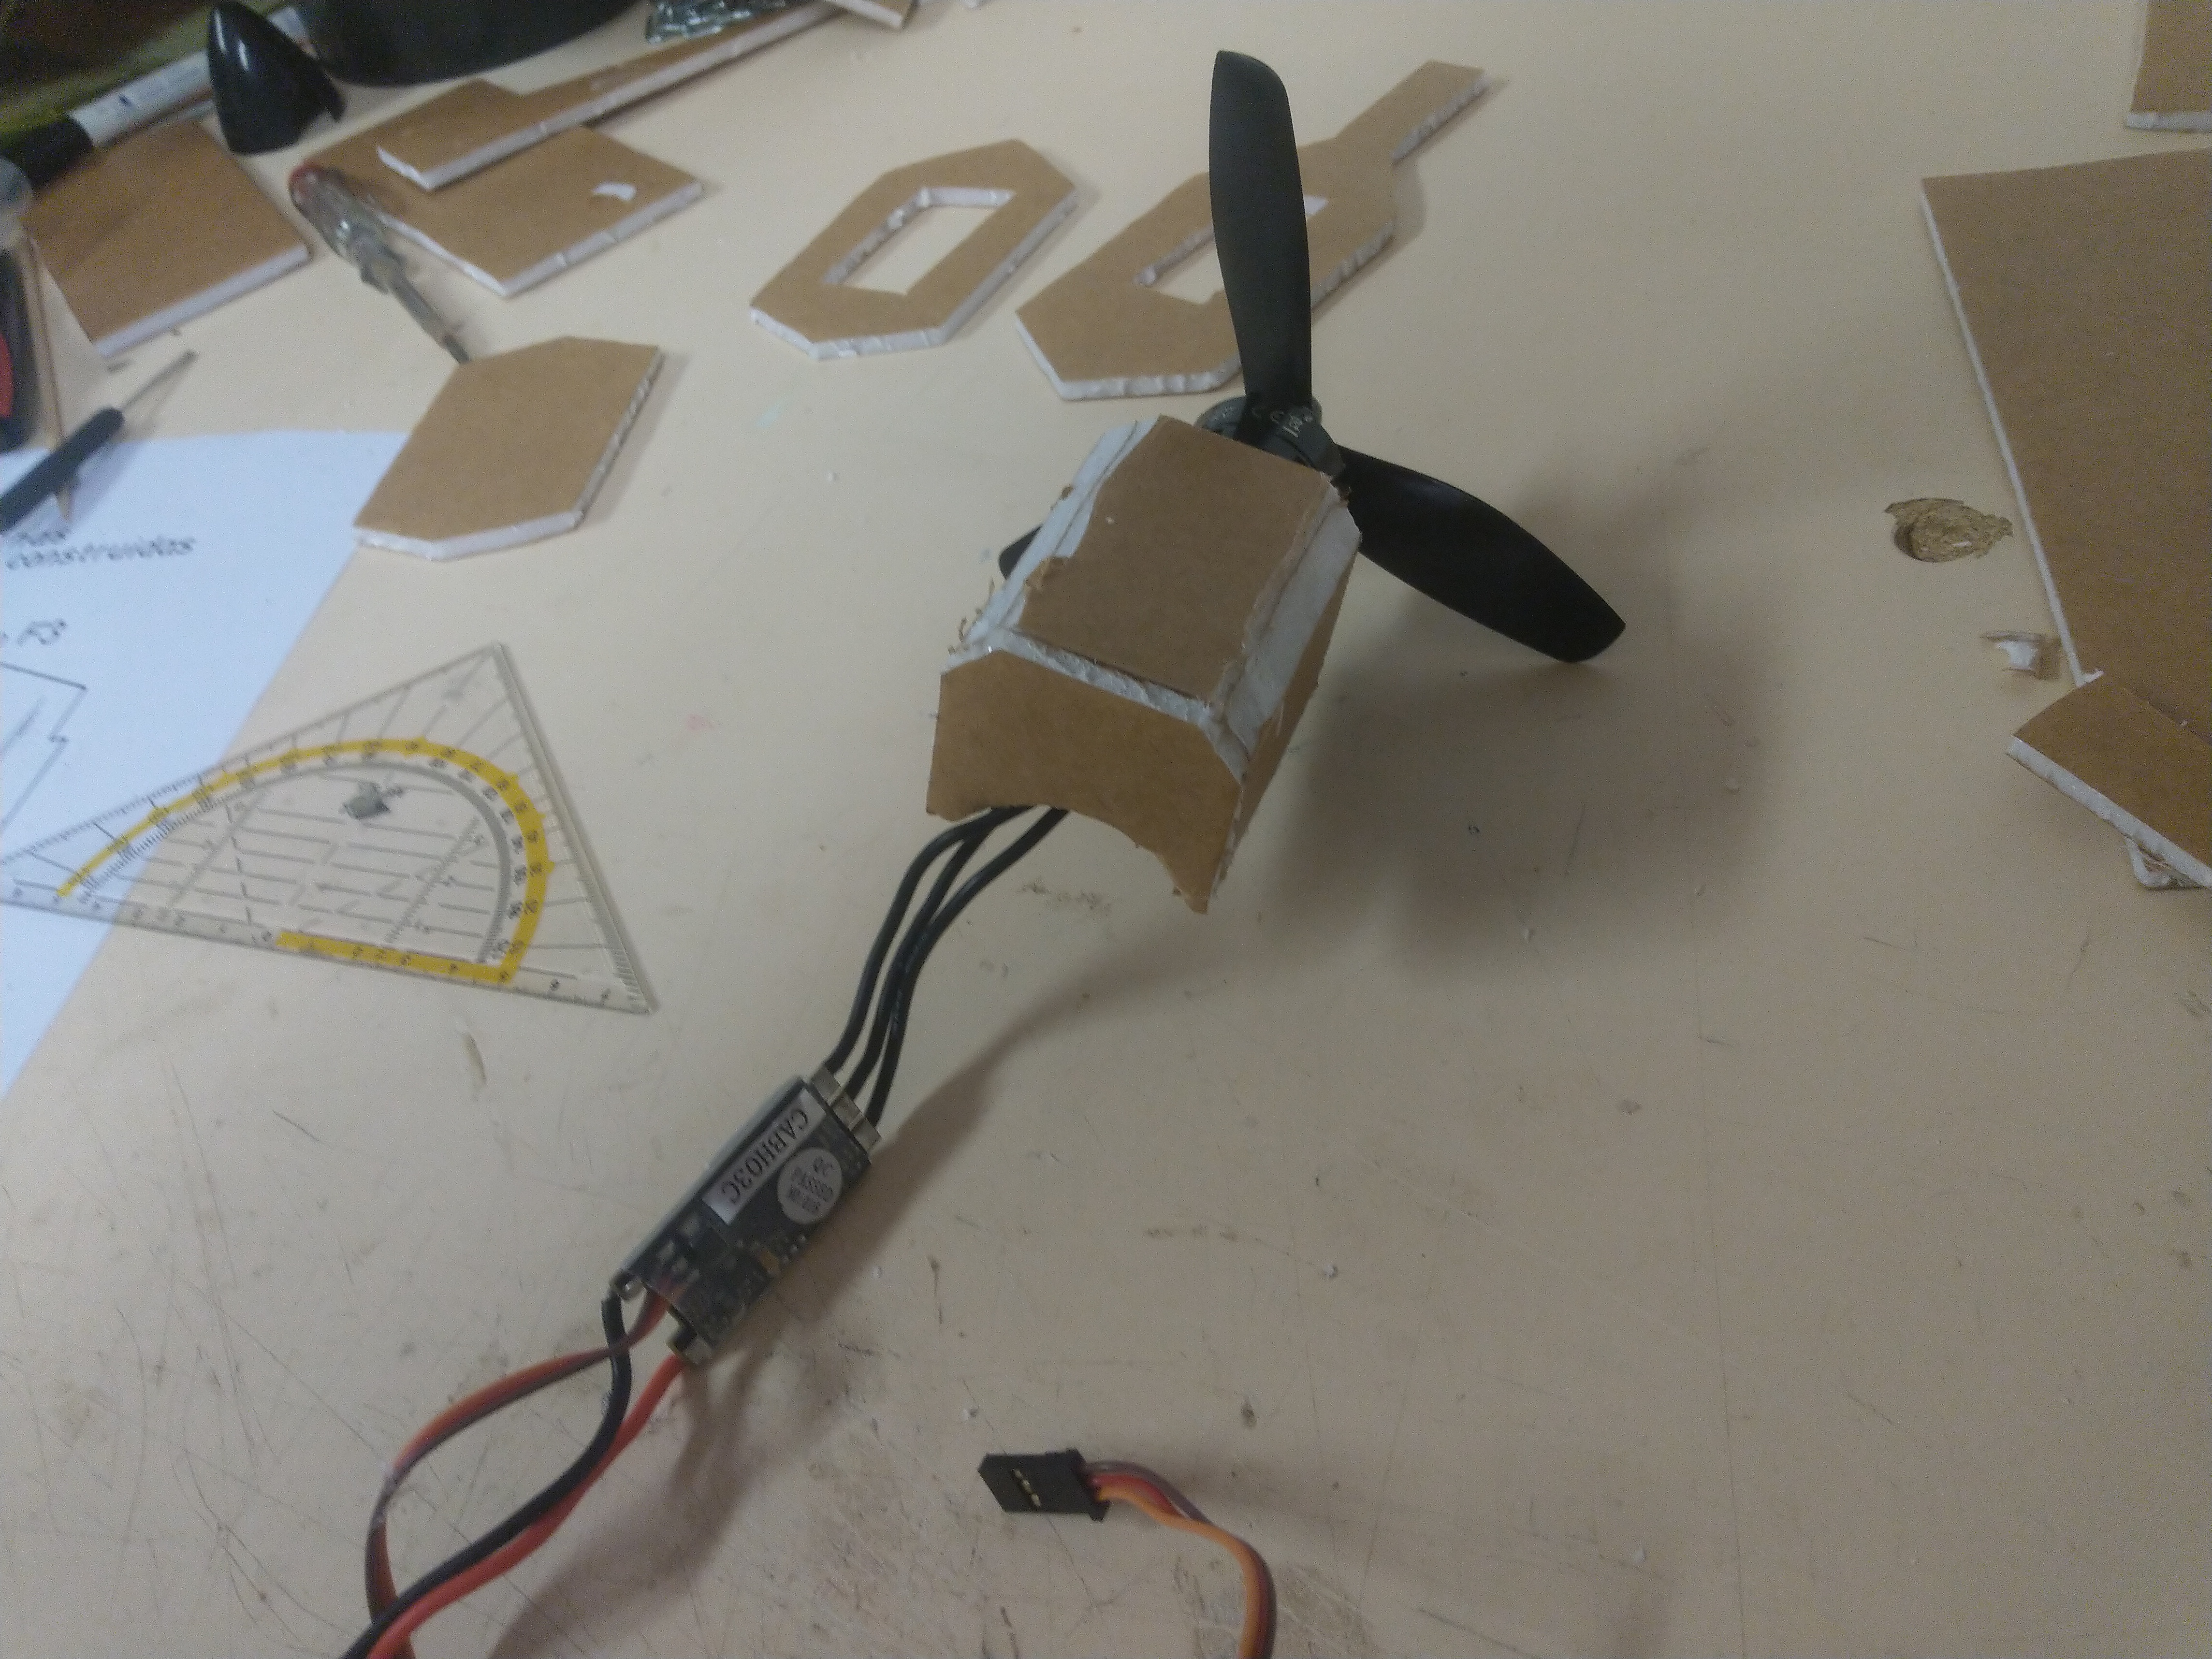
This is the powerpod tray
Just glue it together and add the back plate. There are holes for your cables to exit.
Then bevel the top corners, otherwise it wont fit. Its designed to hold the mighty mini powerpod. Dont glue the pod to the tray, otherwise you cant remove it!
Now lets start to build the fuselage.
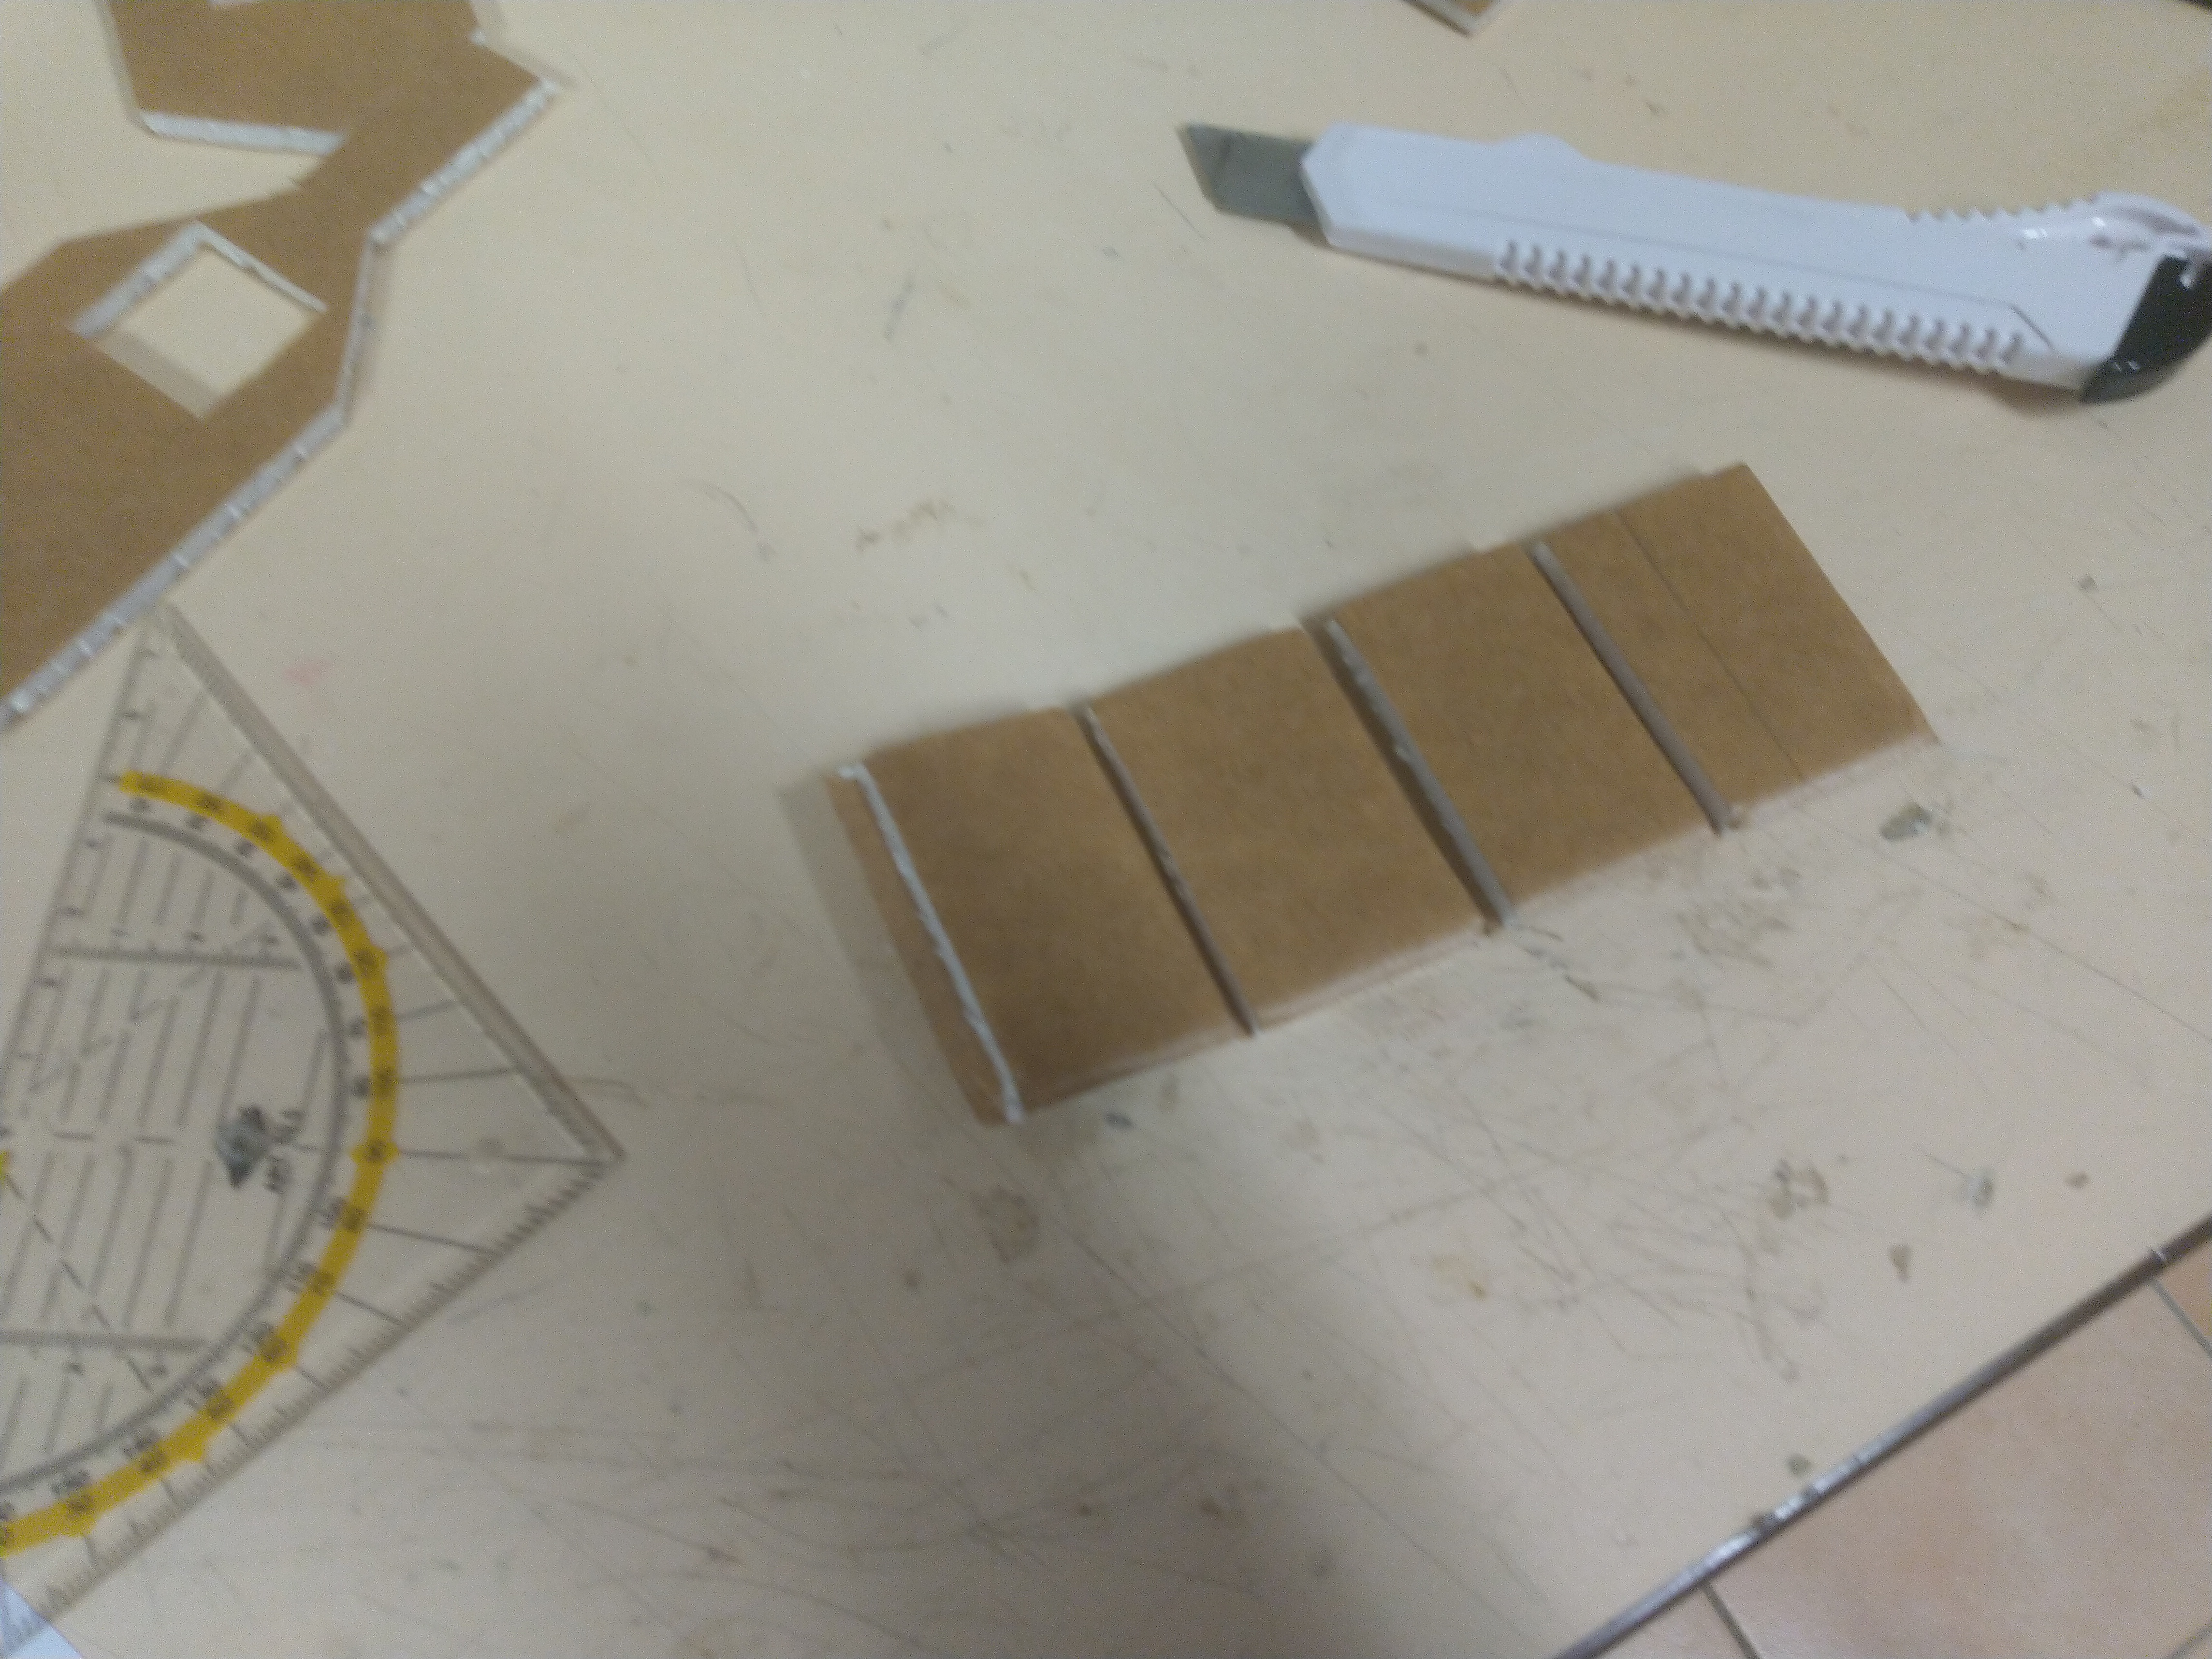
Make cuts and open them up to bend the part.
The top crease must be on the other side to get a negative bend. This is how it should look now.
Now apply glue to one side of each former and glue them in place.
Then glue on the other side.
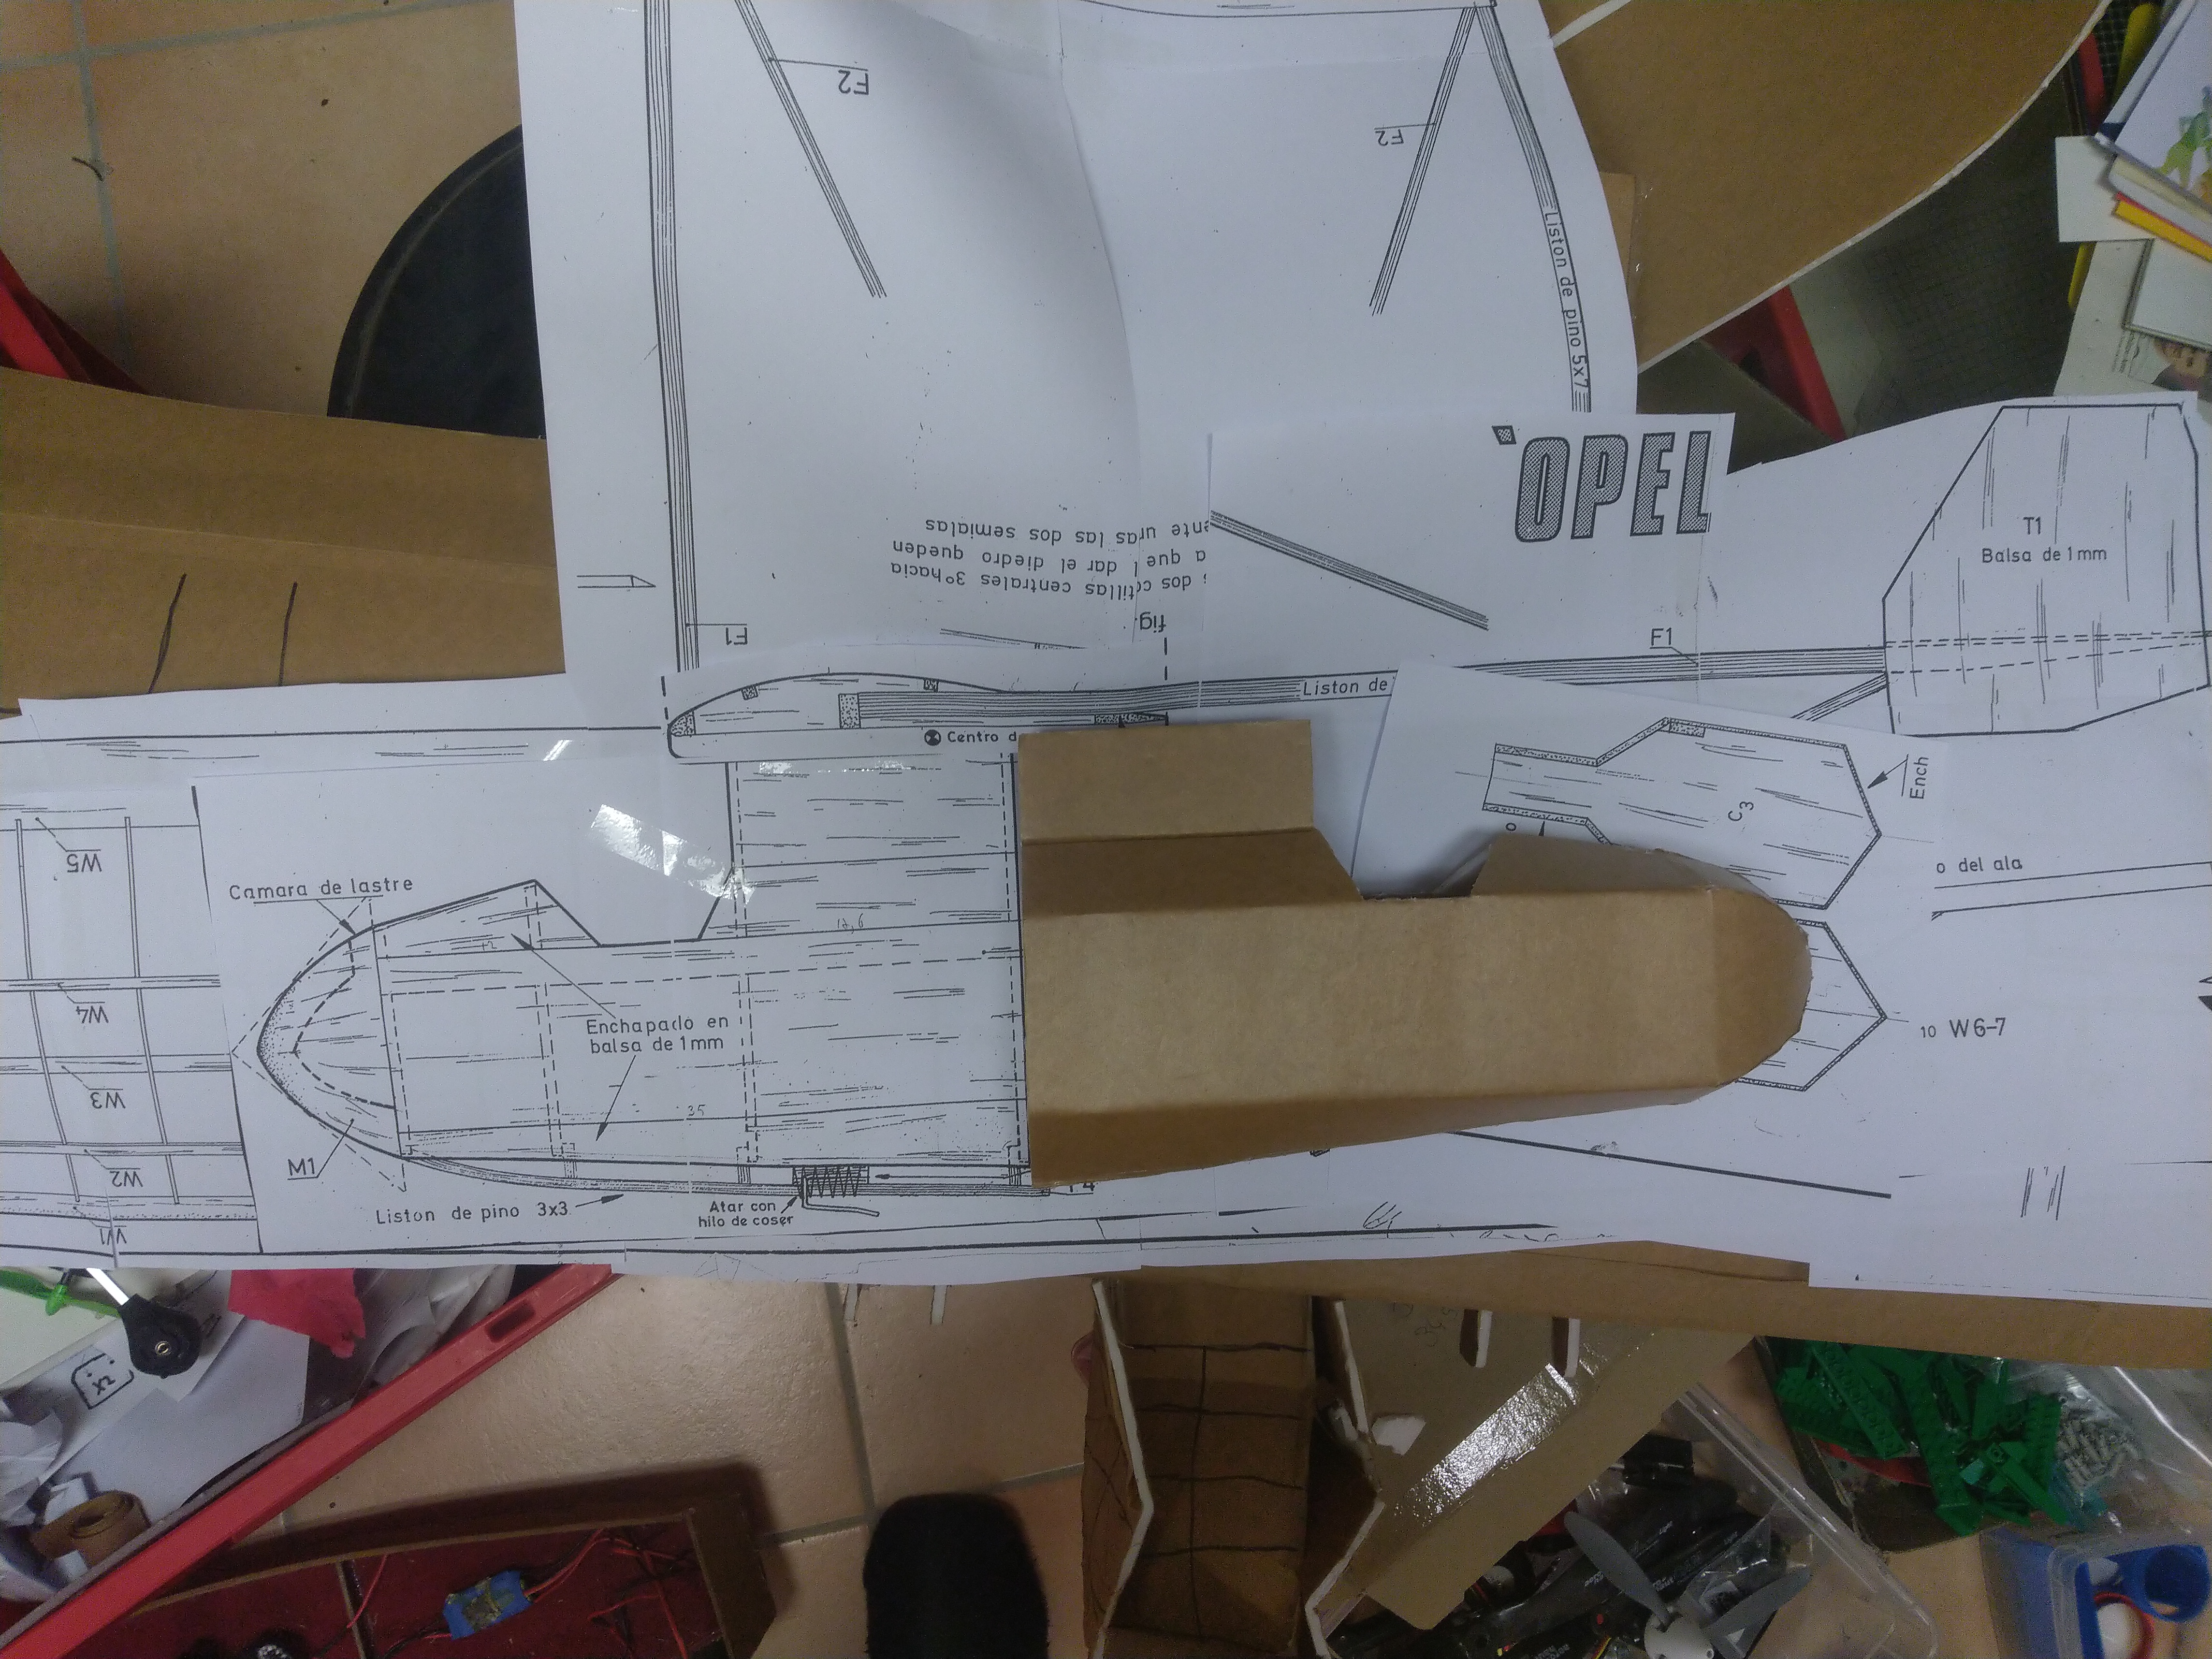
Now its time to glue the rest down. Take your time and remove some paper to make it fit better. Trim the front part to fit your particular build.
And here is the finished fuselage!
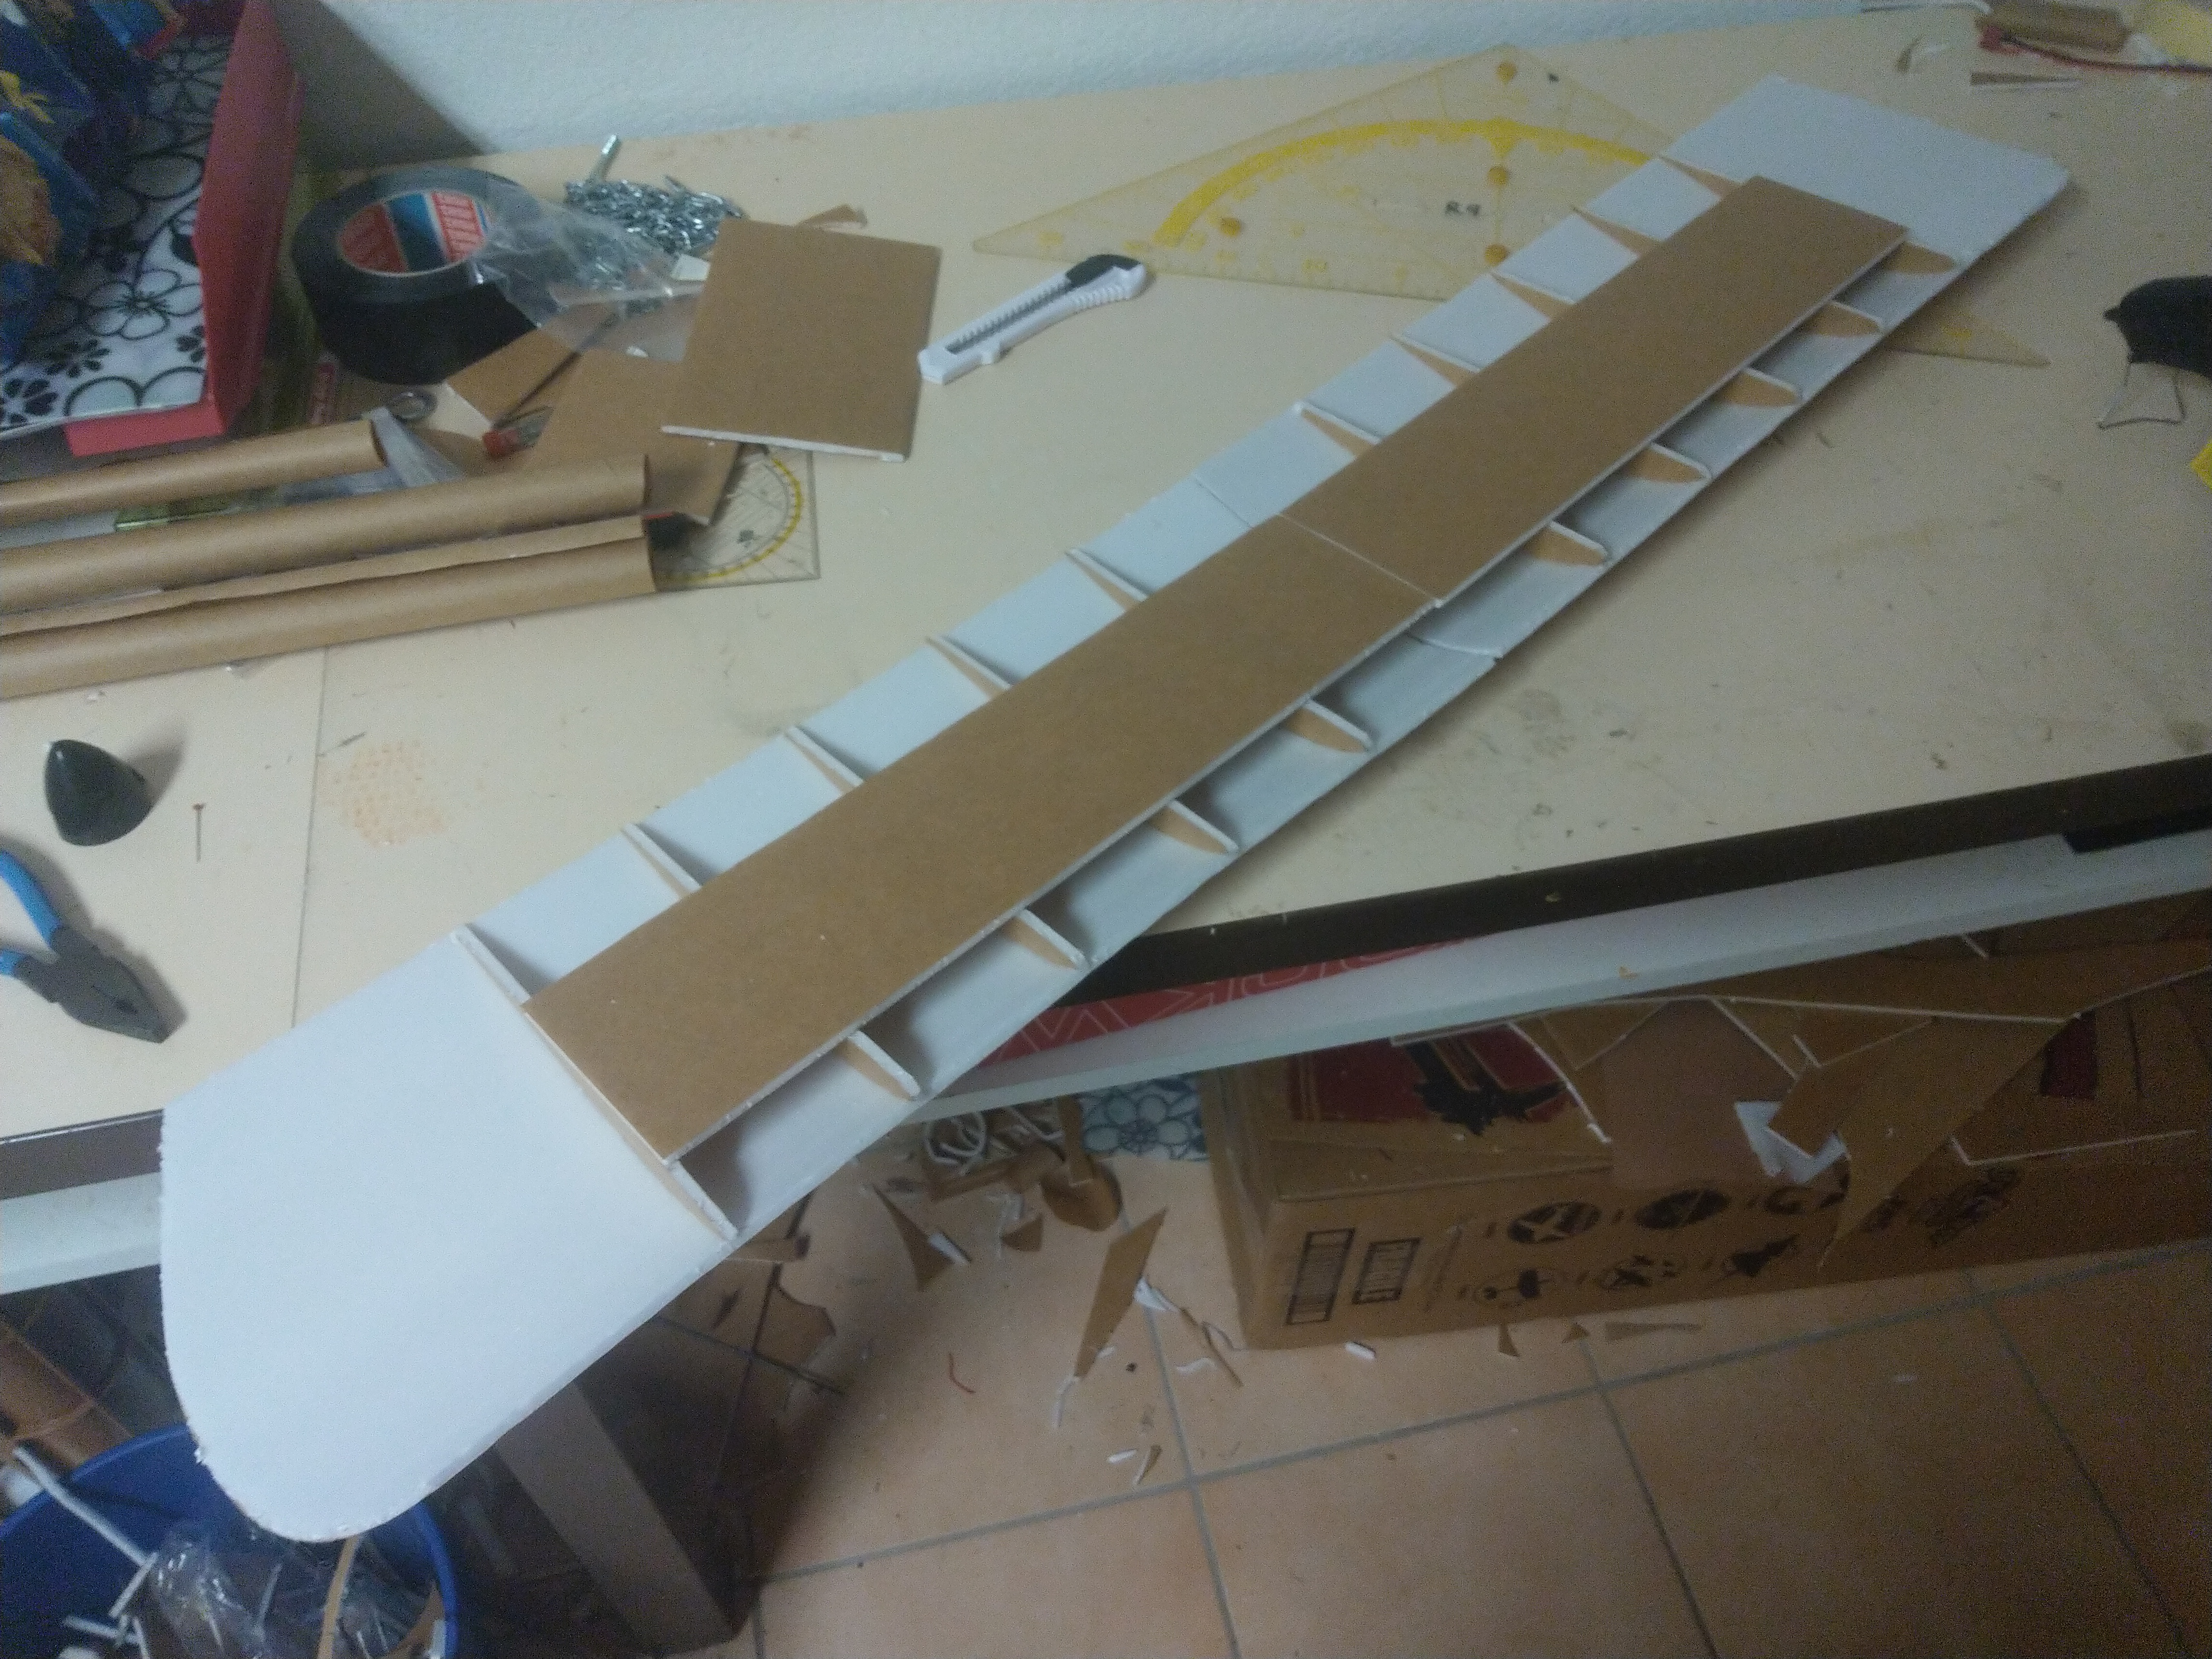
Now glue on the two center parts for your wing and join it together.
Then glue it on to the center pod.
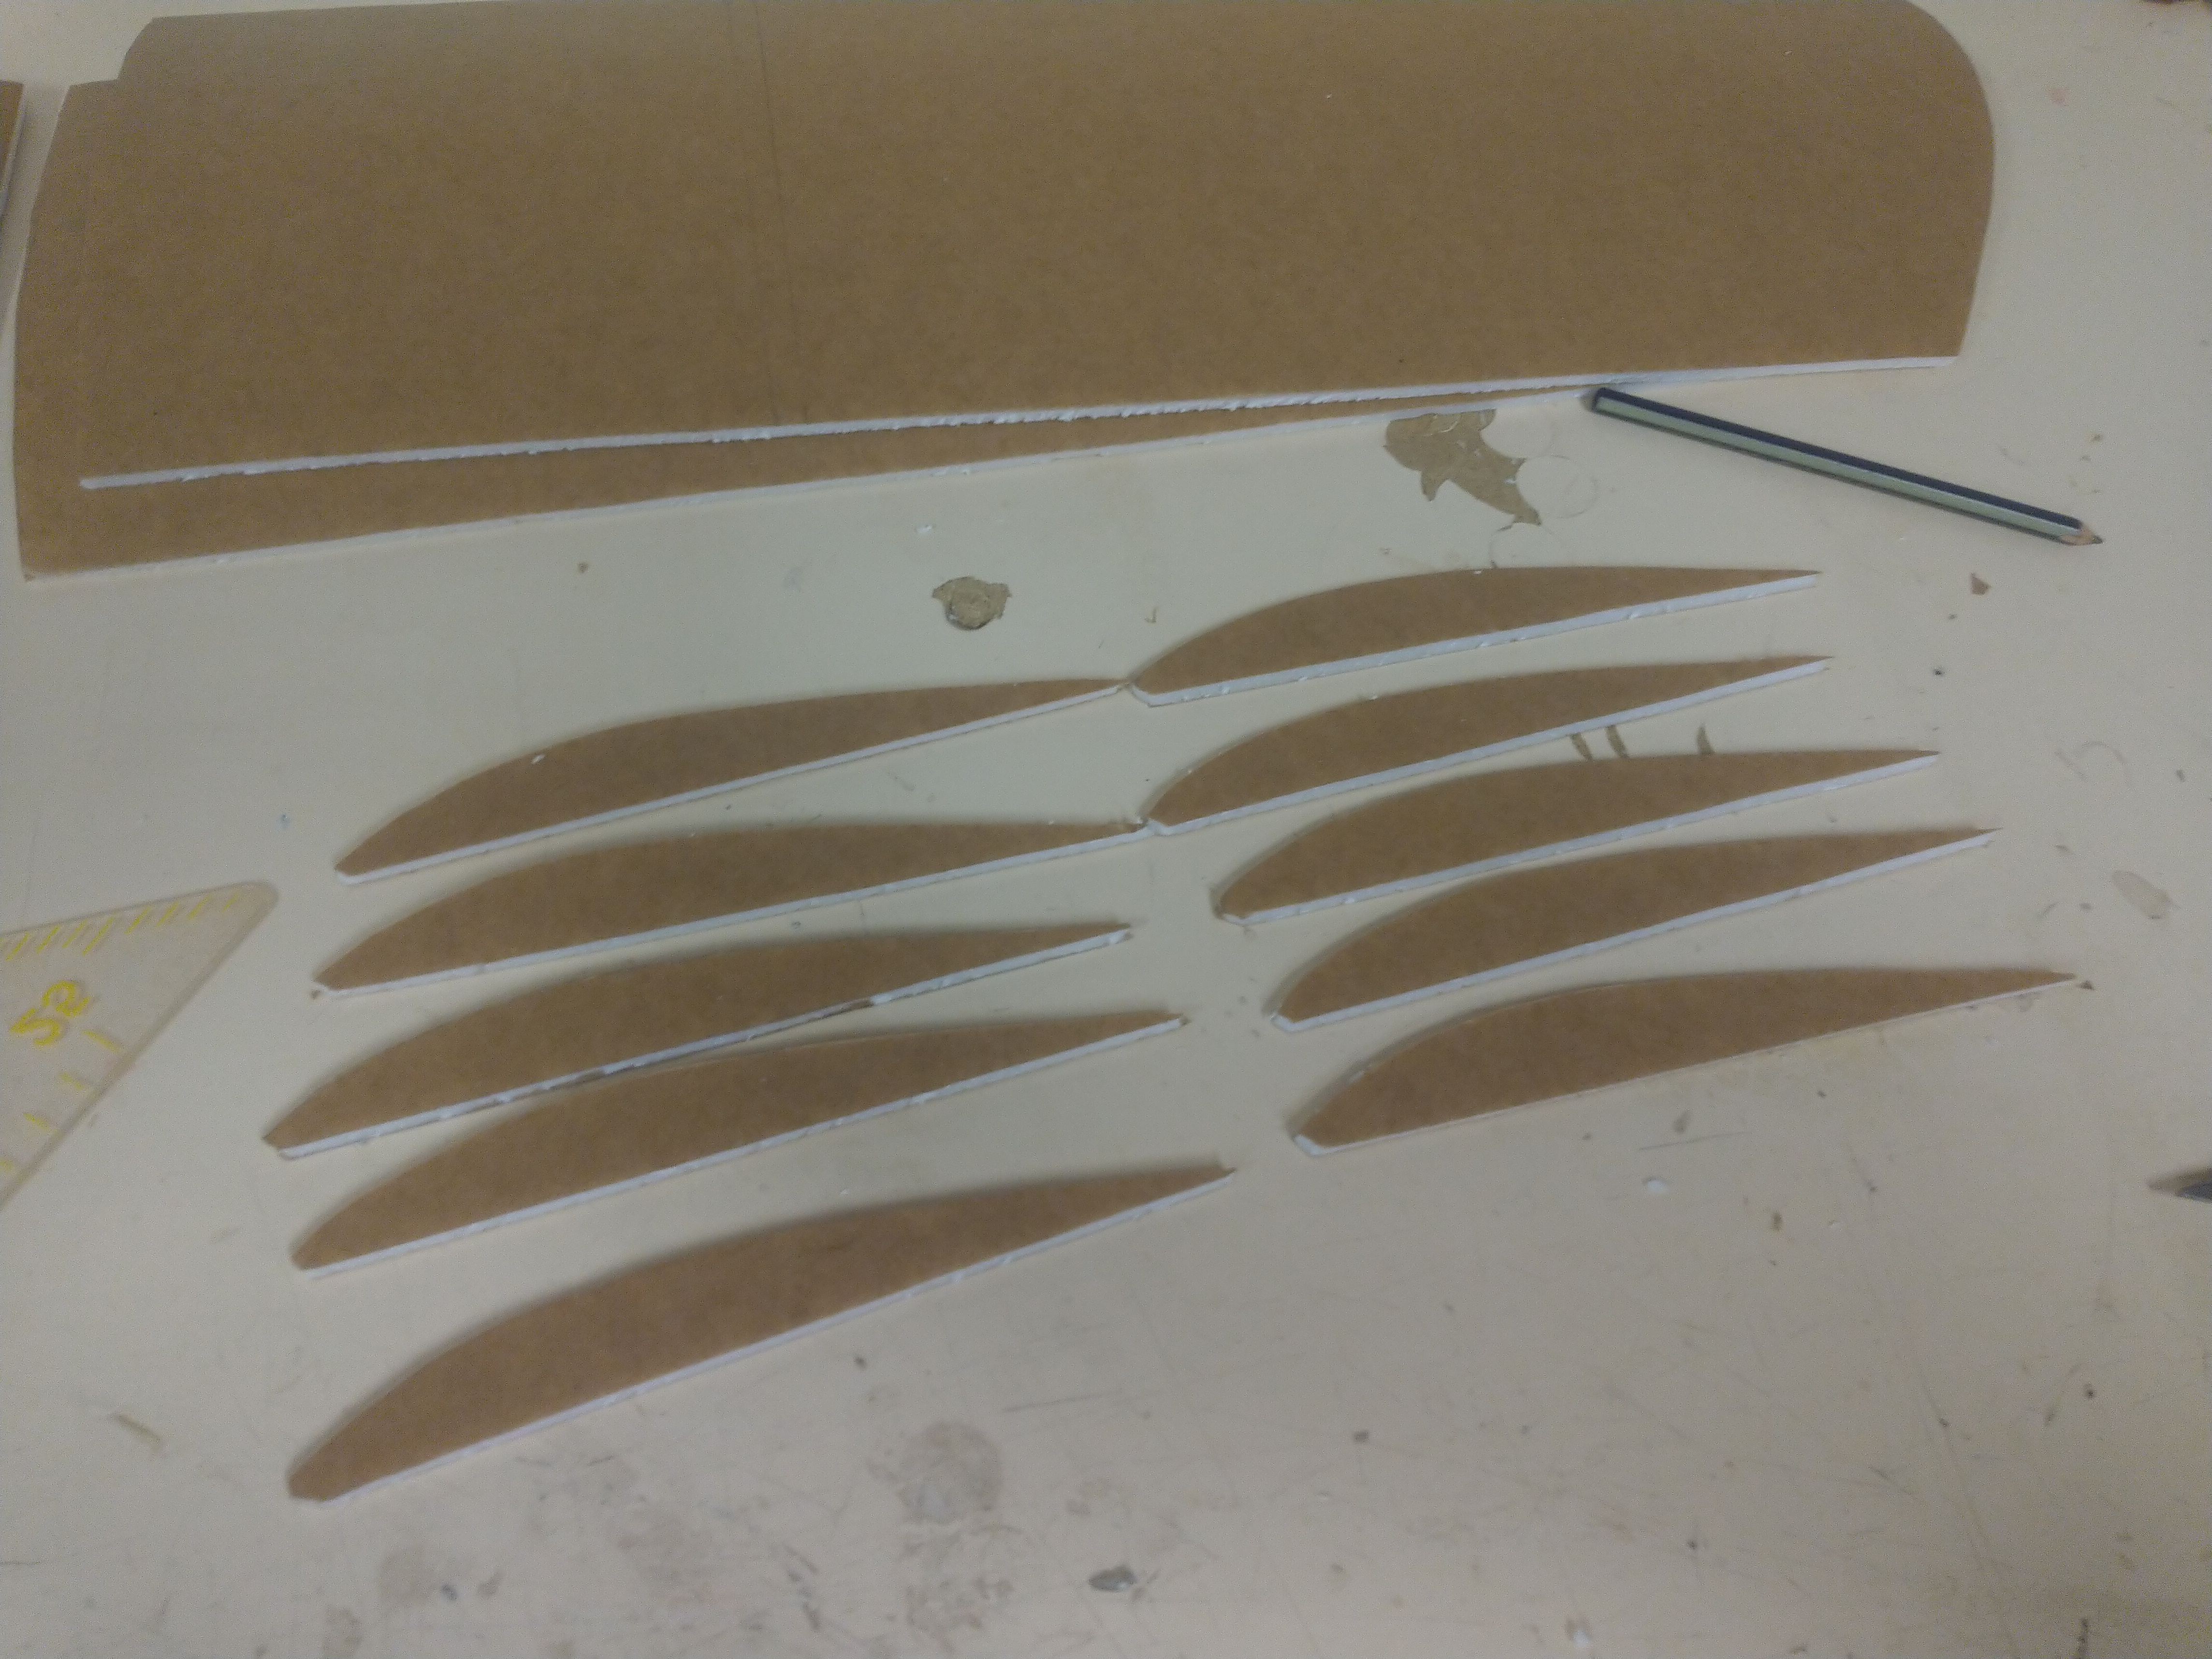
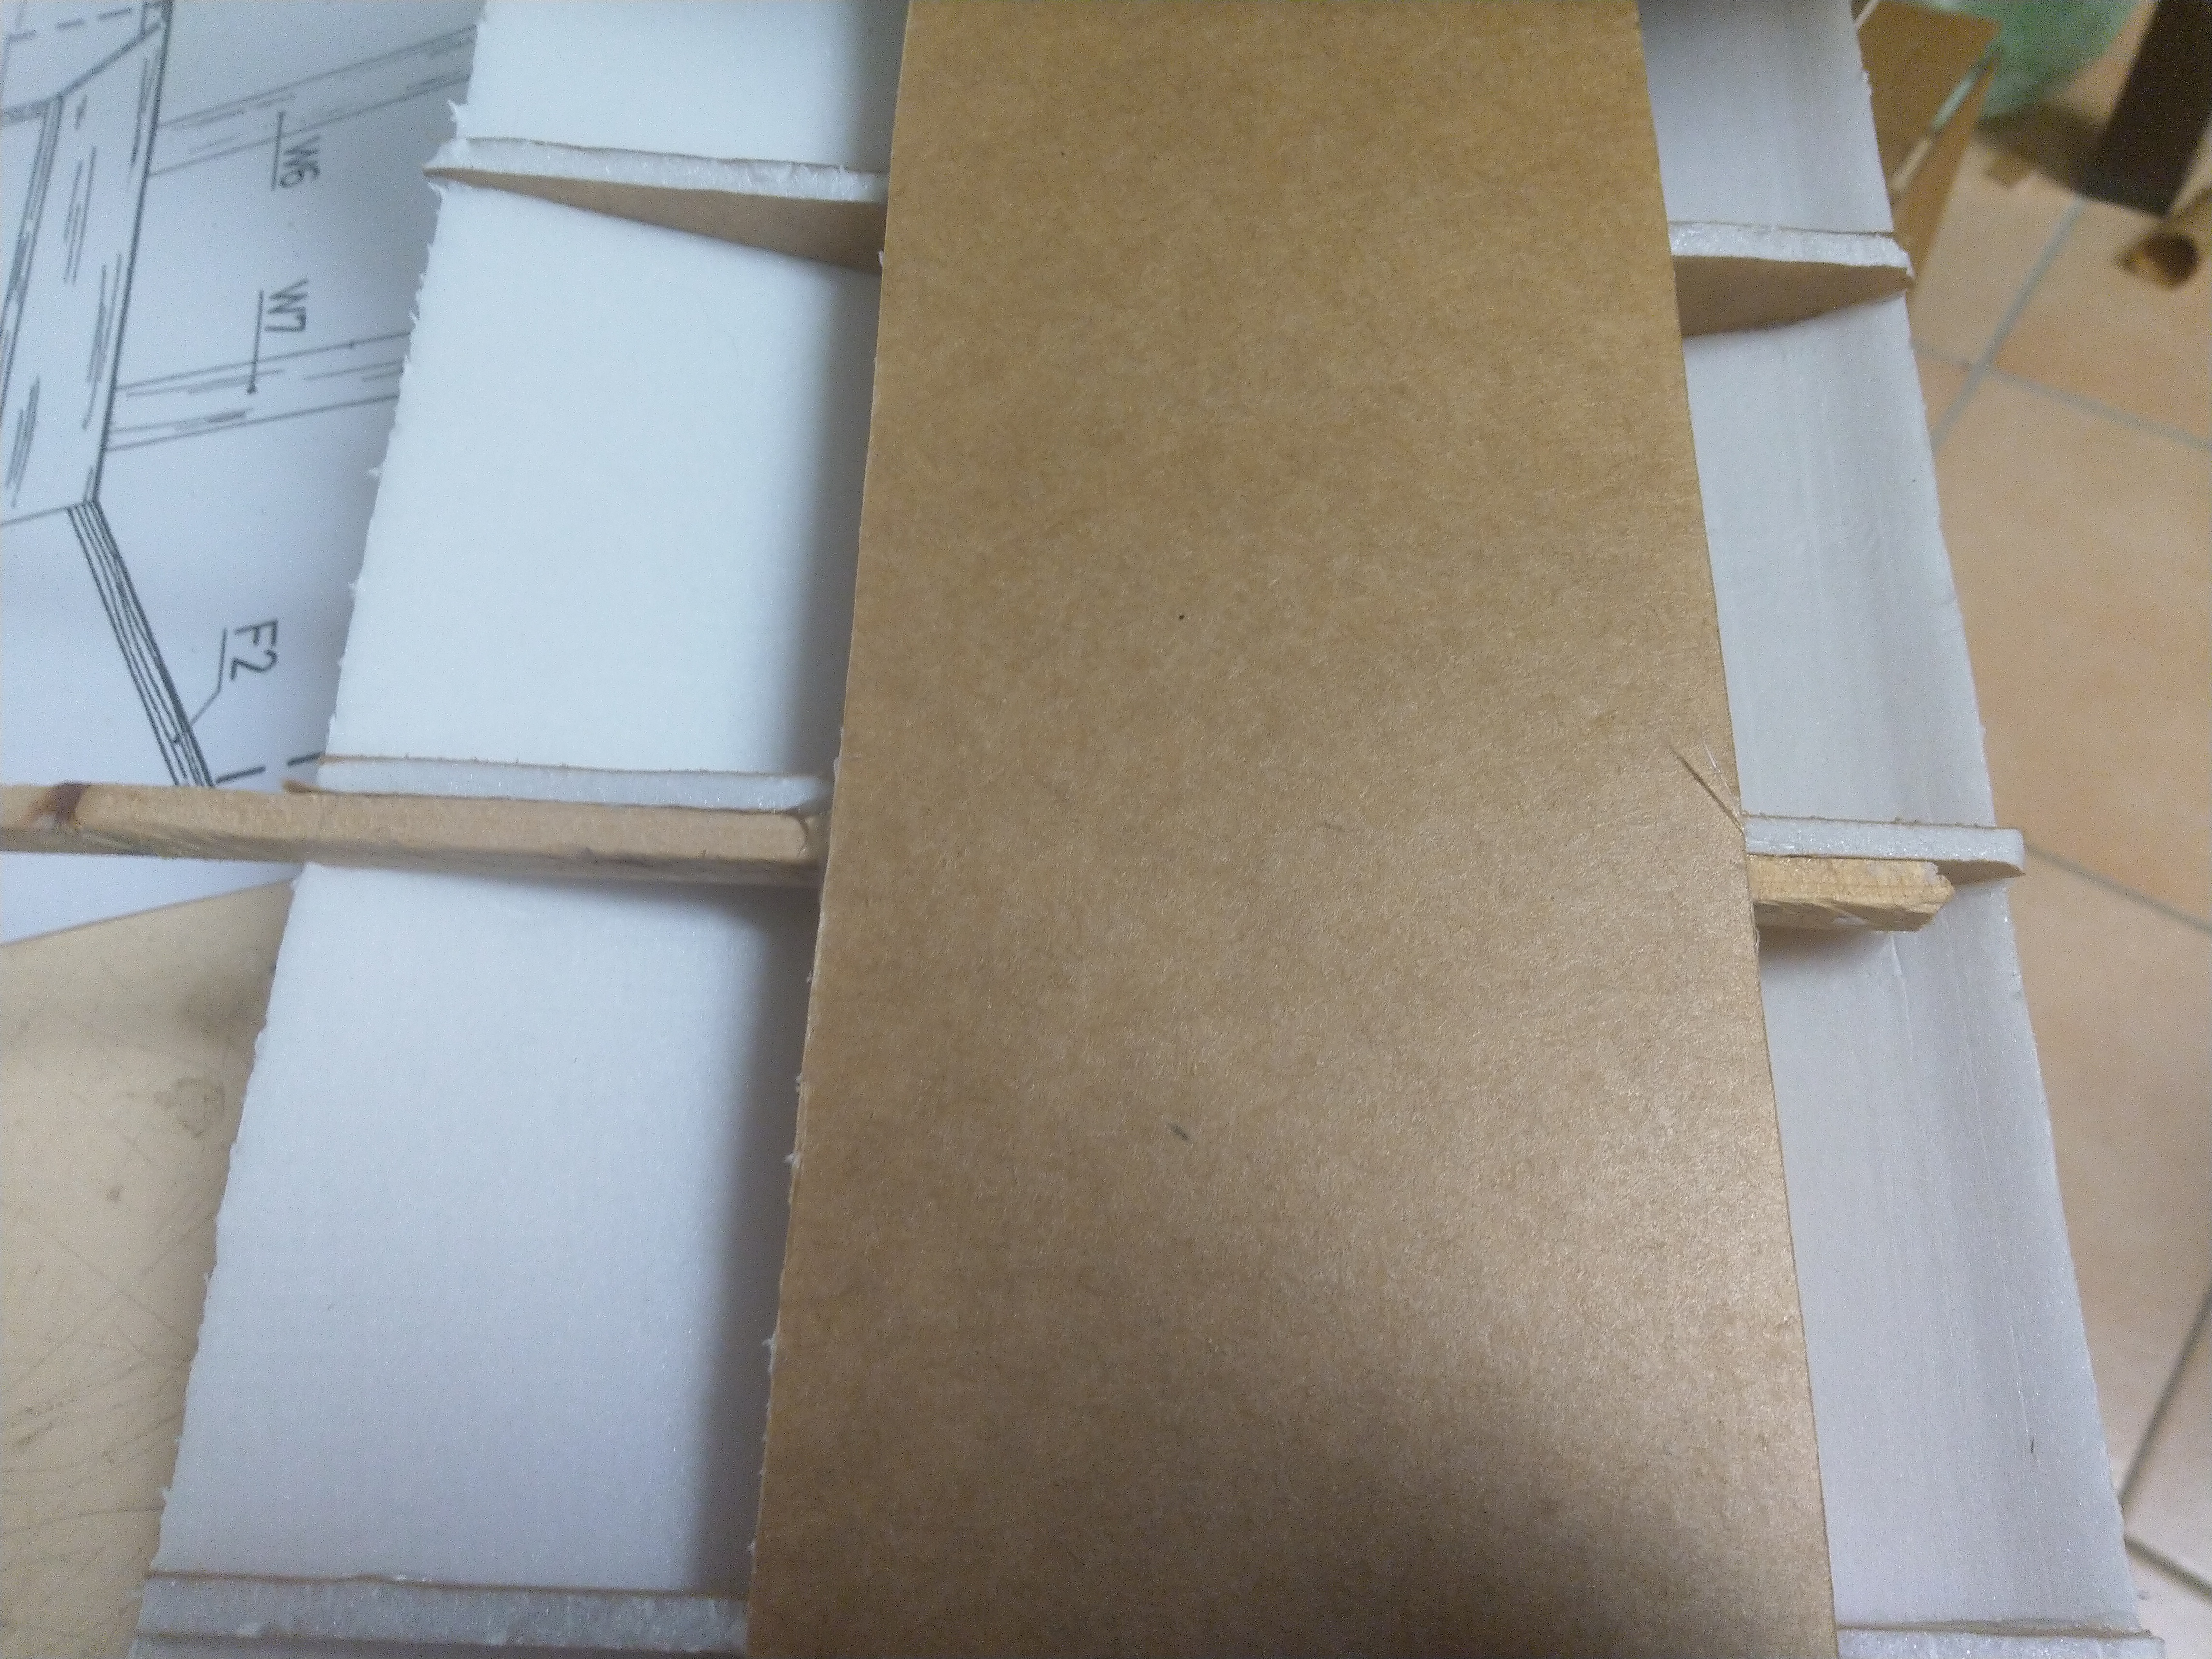
Apply the wood pieces next to the rib. There will be a reference mark on the plans.
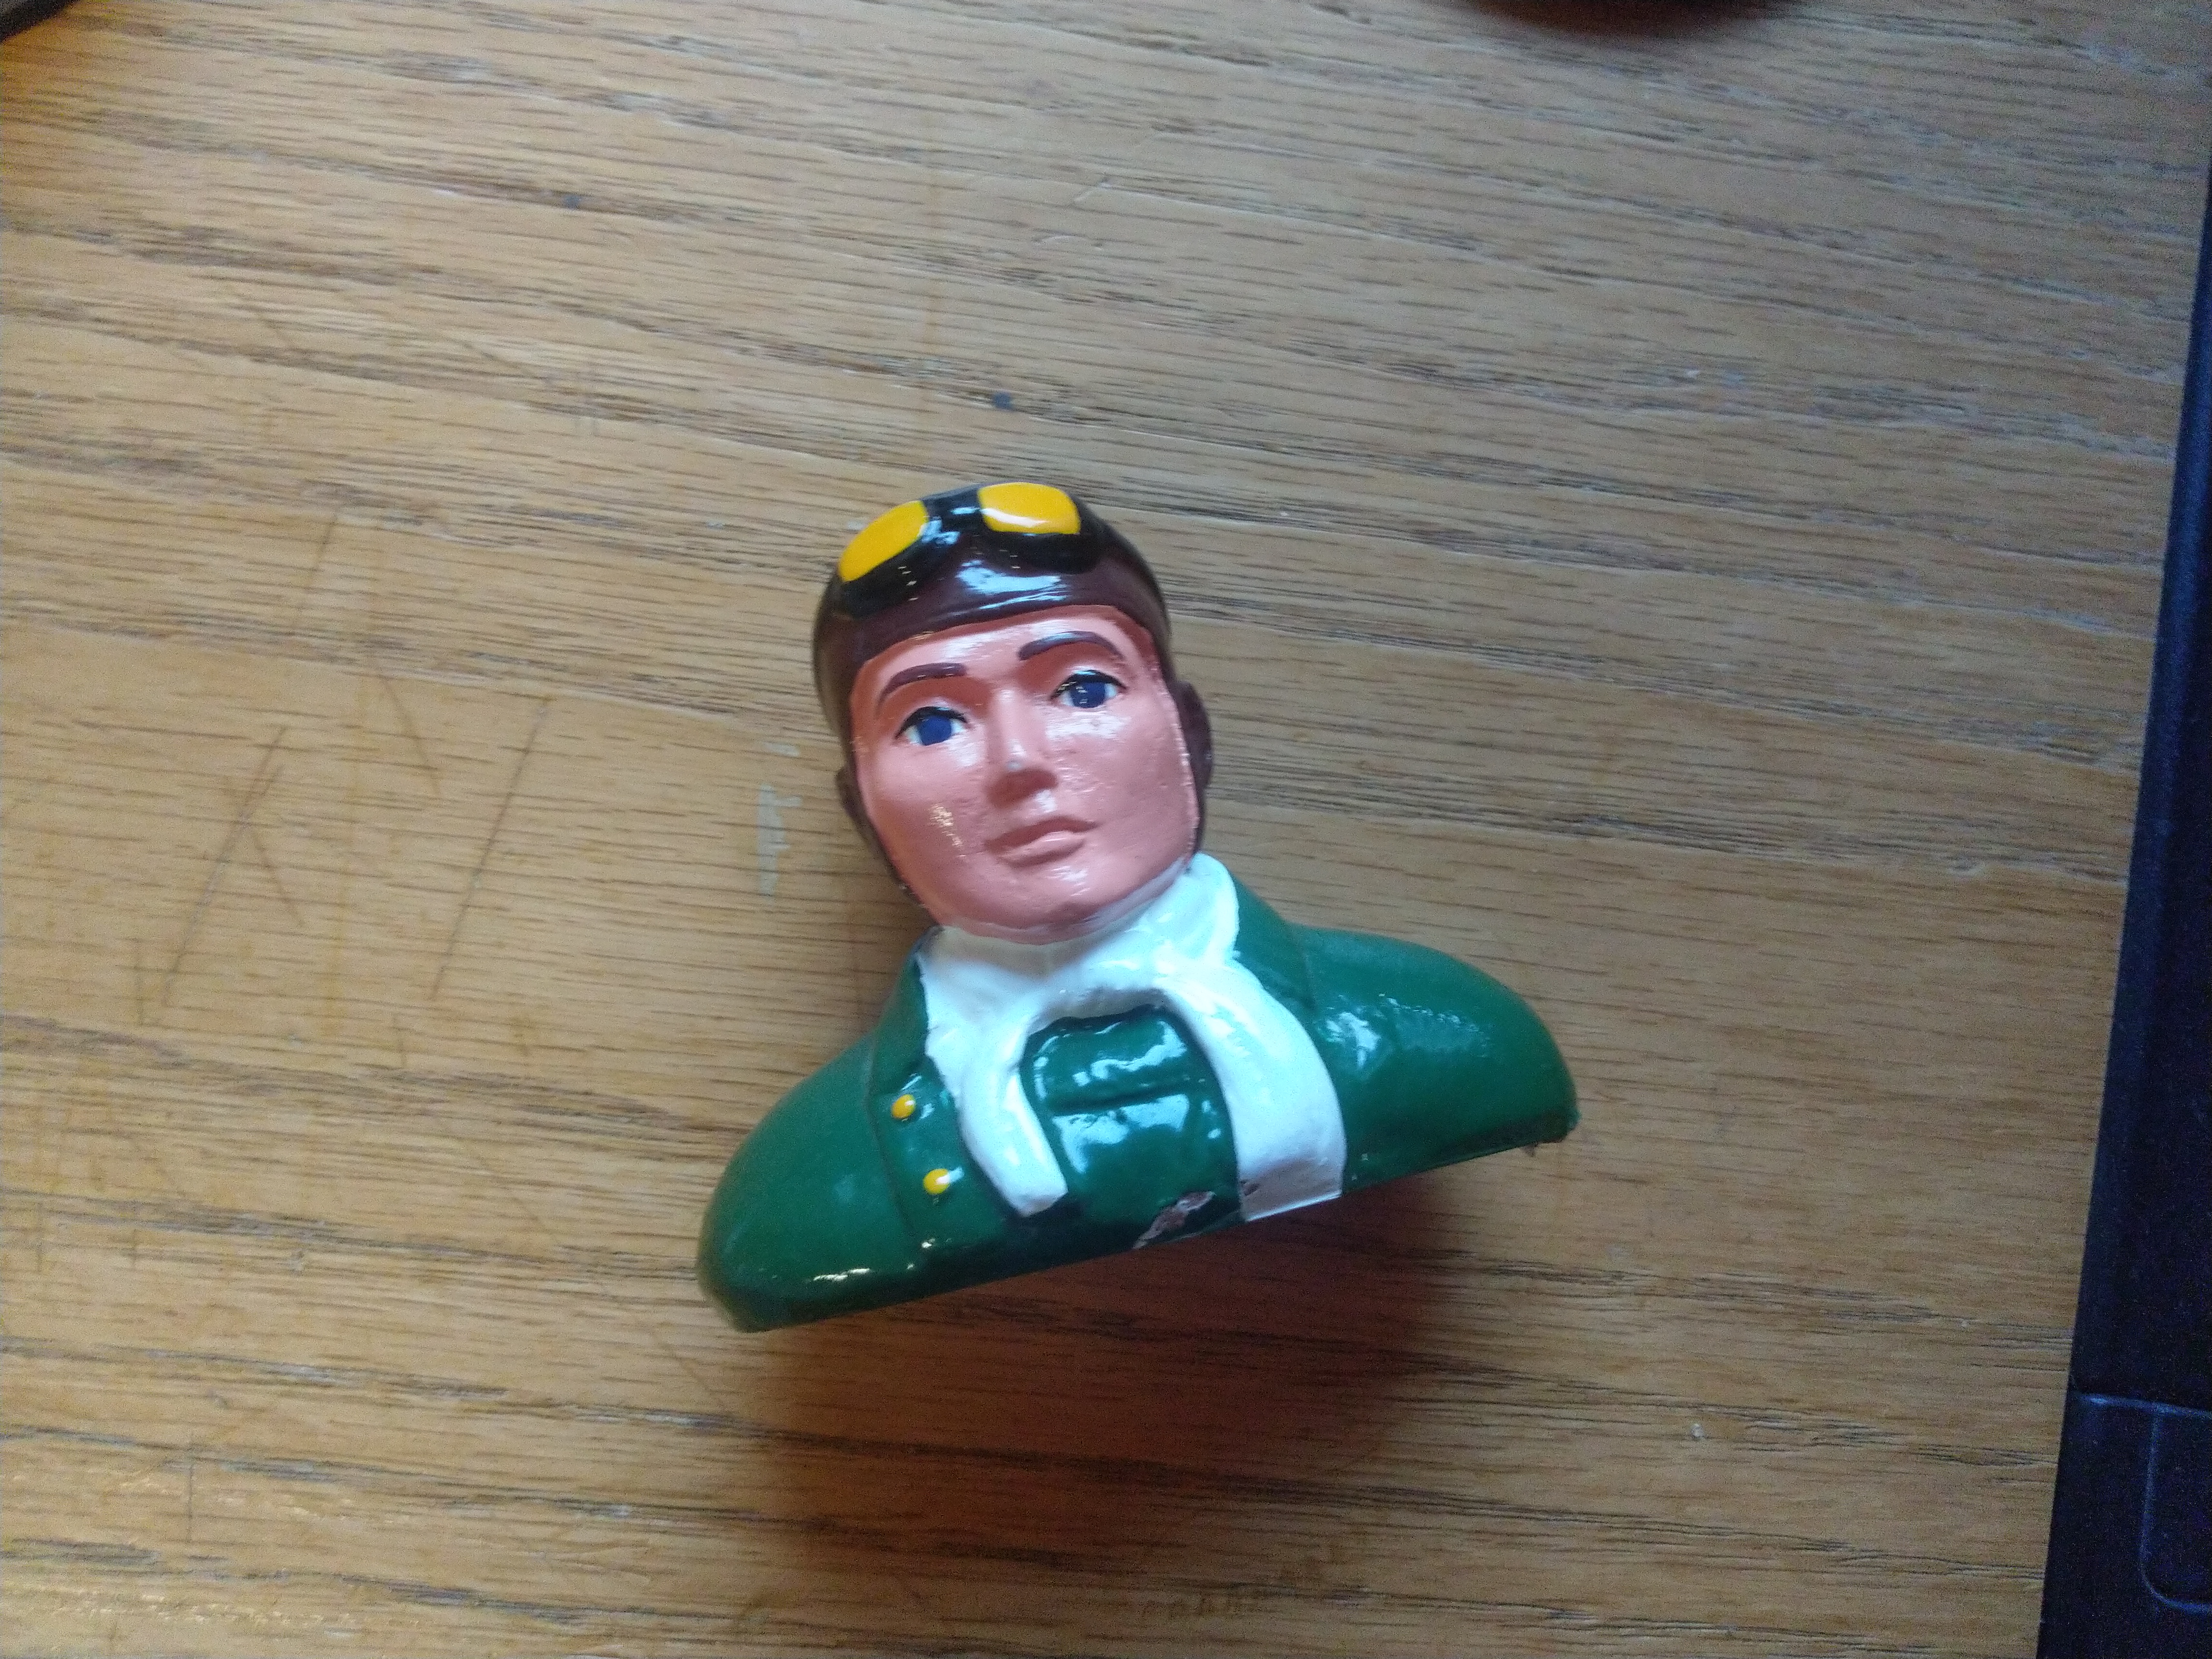
Now its just adding the tail and the wing struts and the landing skid. The pilot is of course optional, but I will add a pilot in the plans!
The model is coming in at 500 gramms with electronics, pilot and a 3s 1200 battery installed. Its pretty hard to get the CG right because of the short nose.
I want to maiden it today! I think its going to be nothing special, but we'll see!
