FTFC25: Build-ruary by Patriot Rc

Patriot Rc

Active member
Next I glued on the doublers.
IMG_1673.JPG


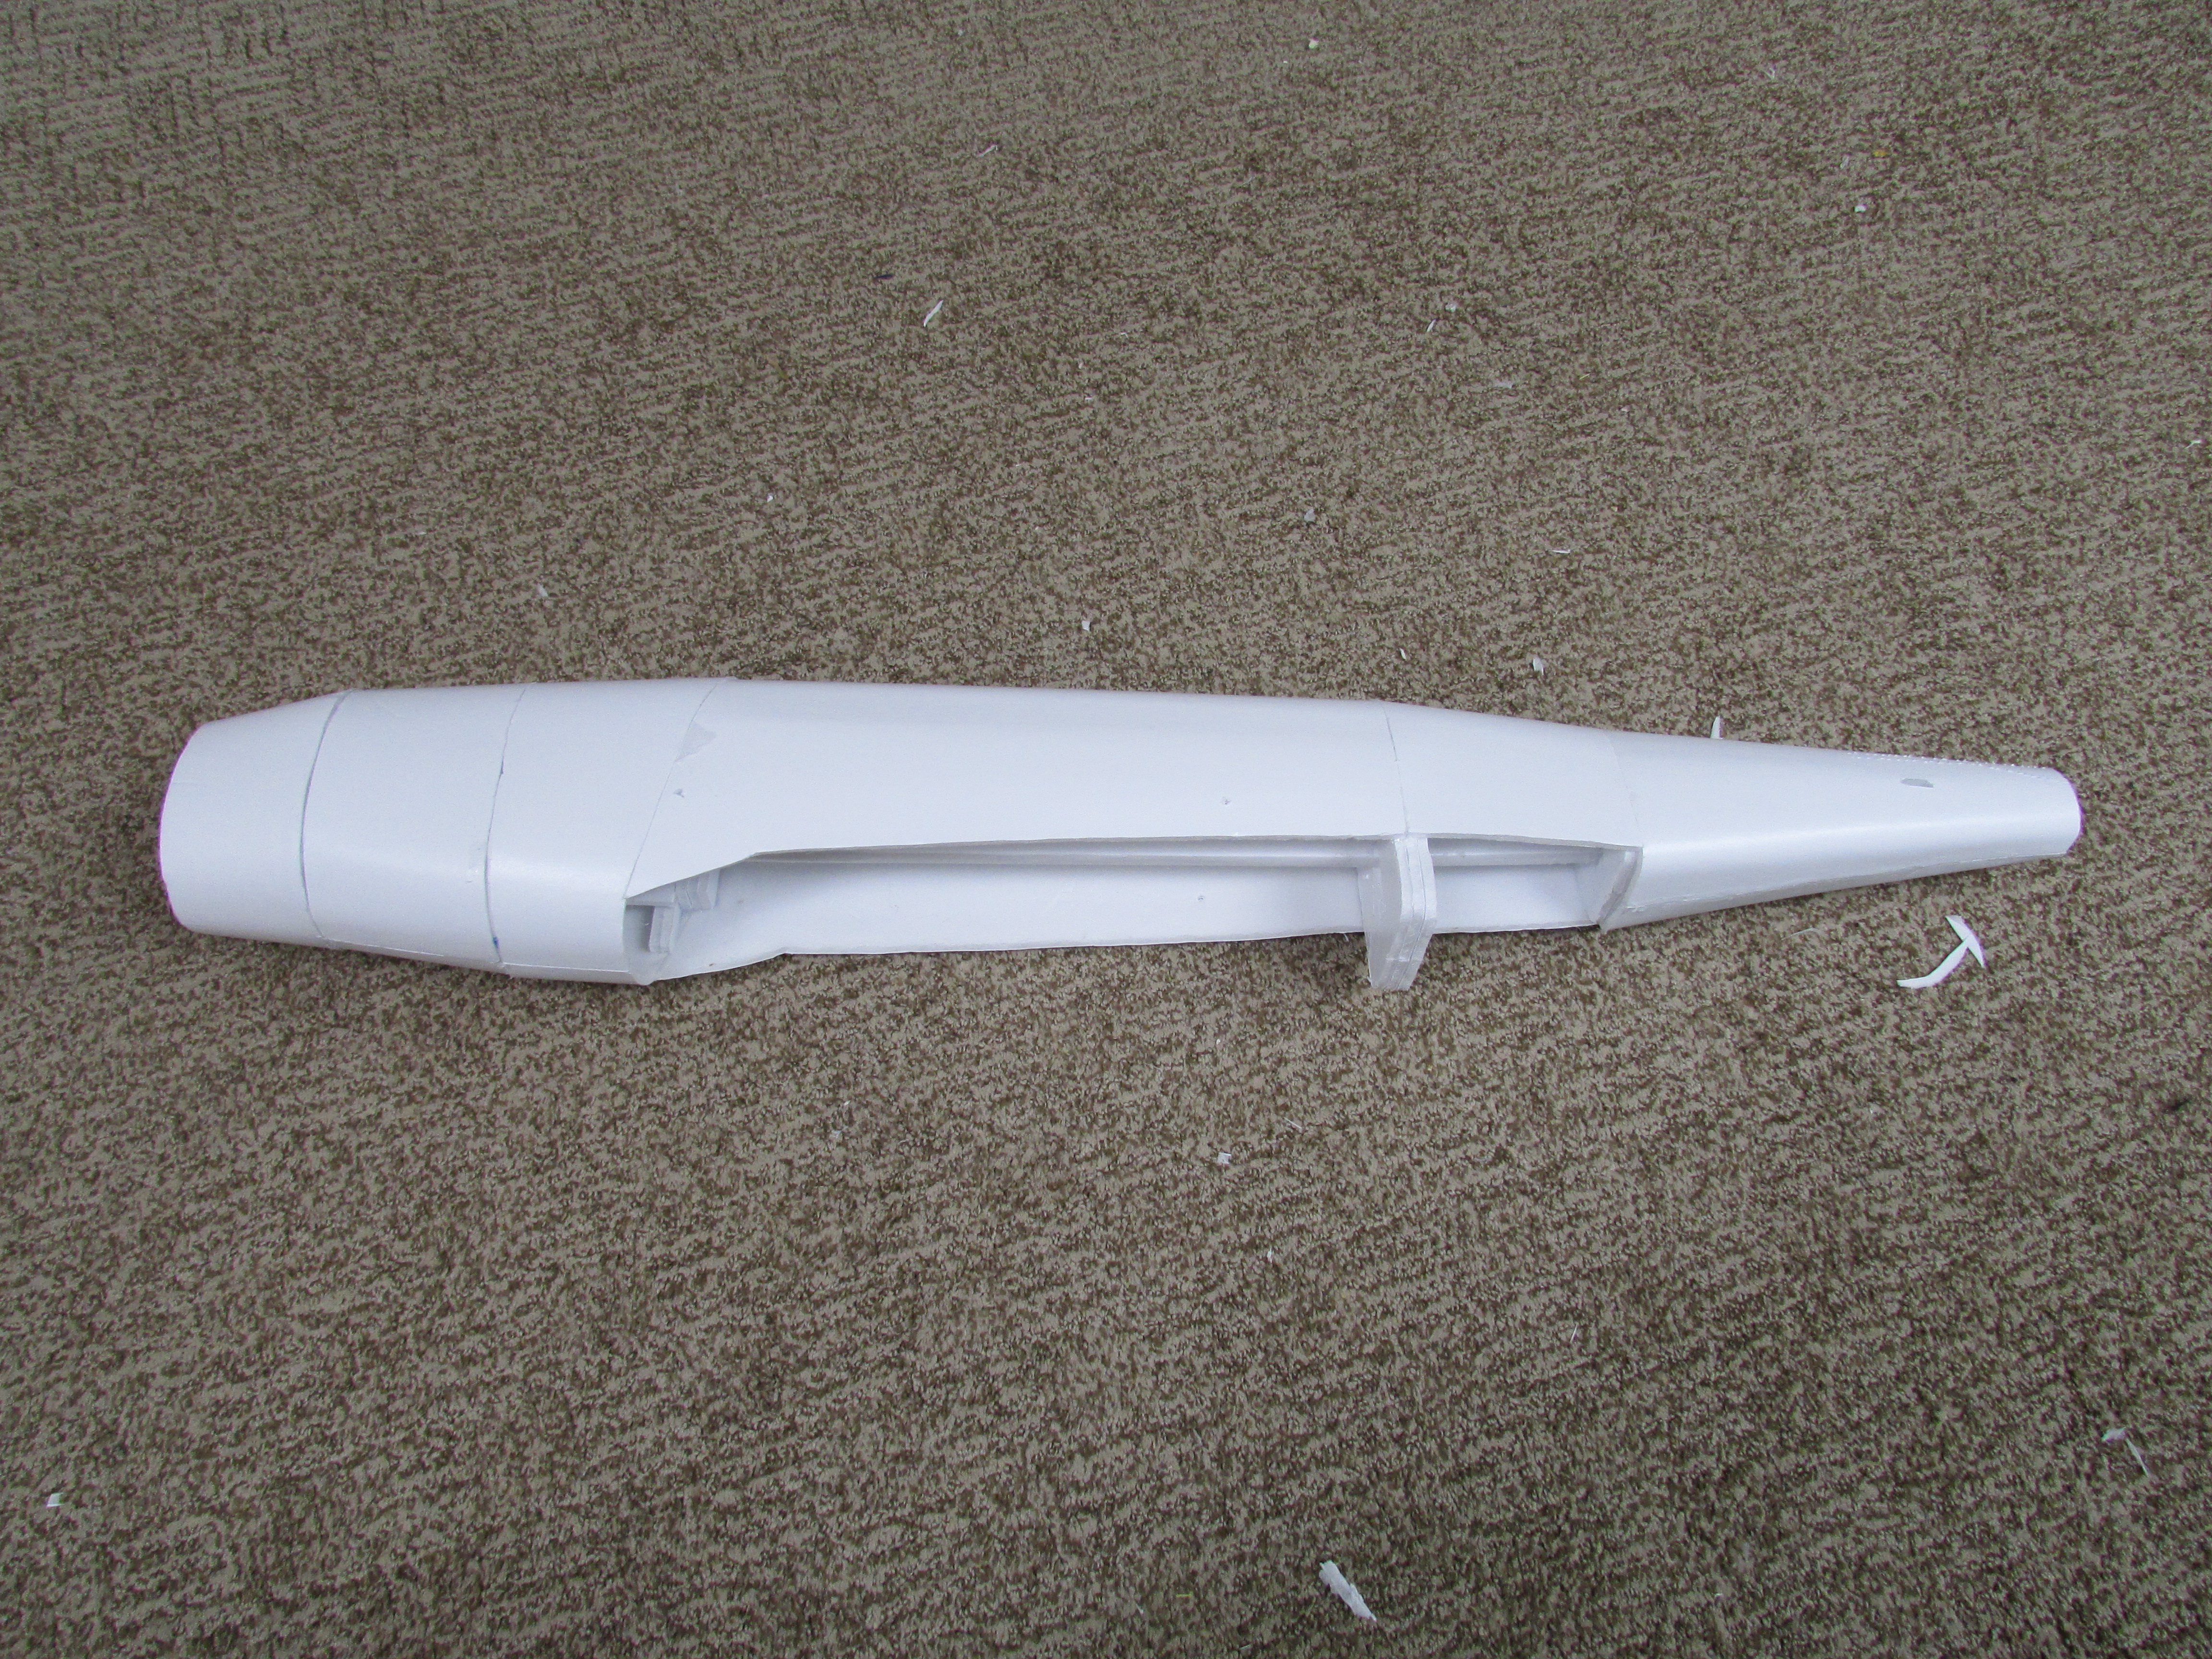
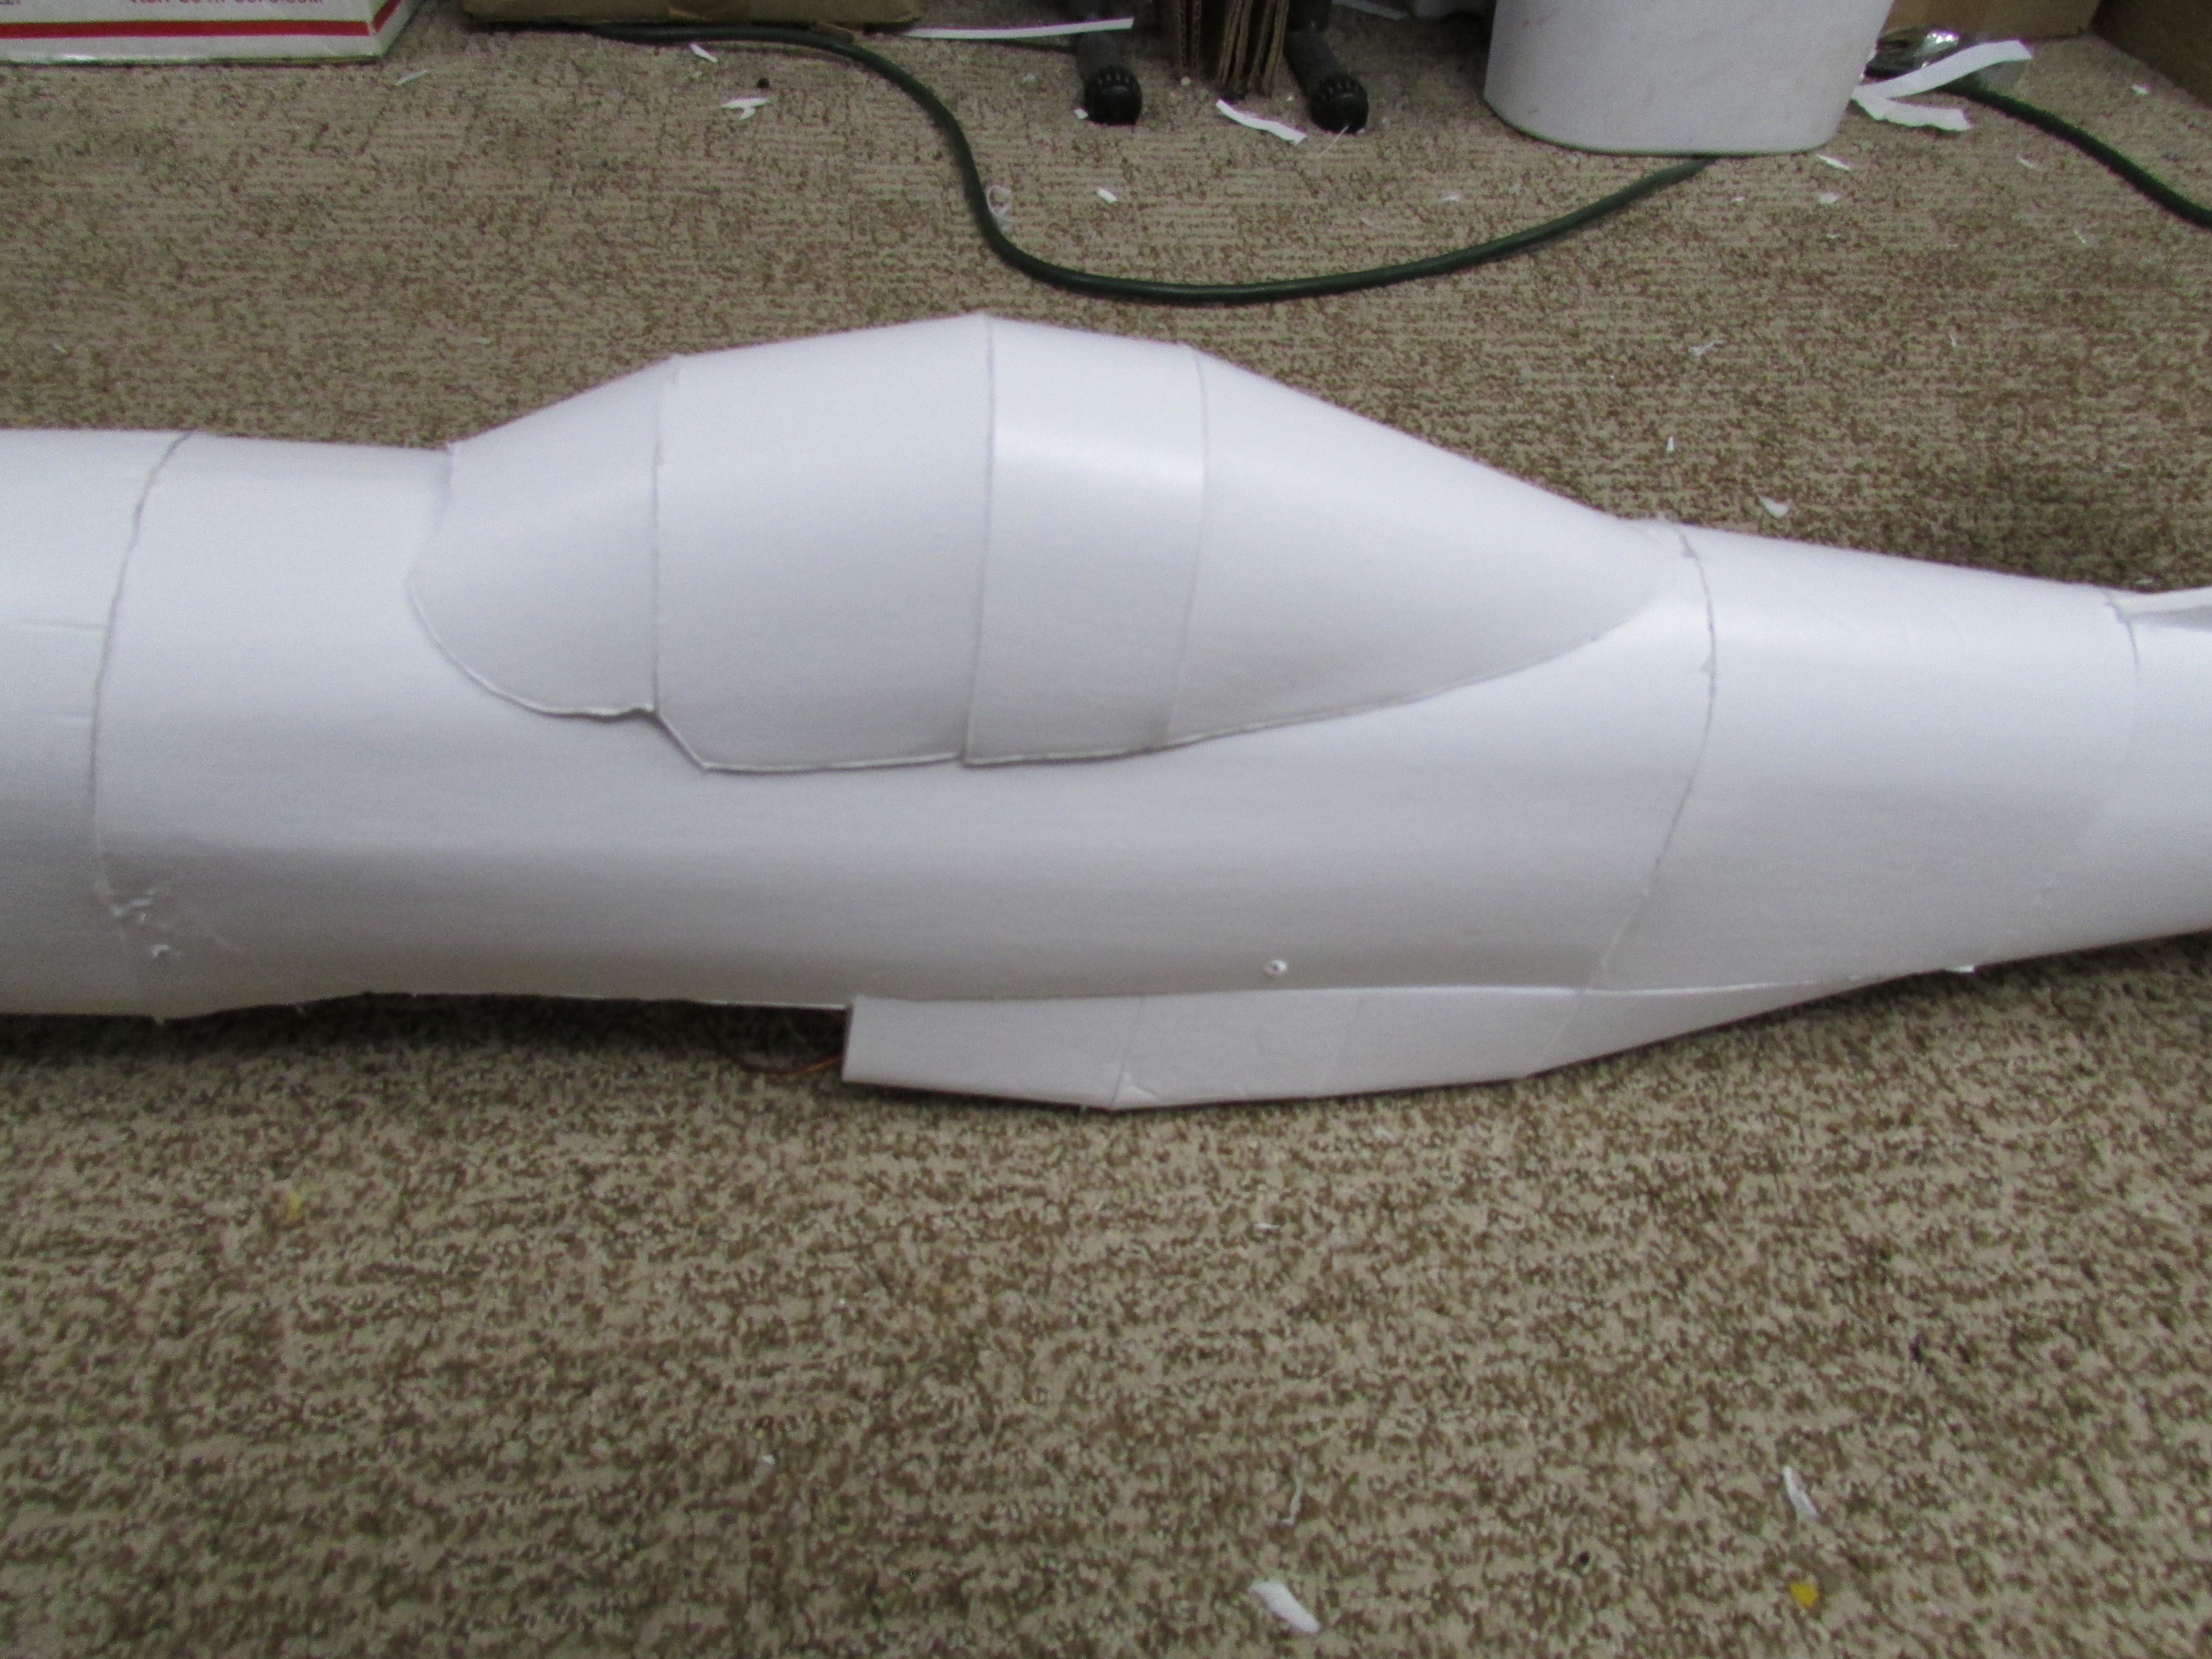
Then I folded the fuselage together.
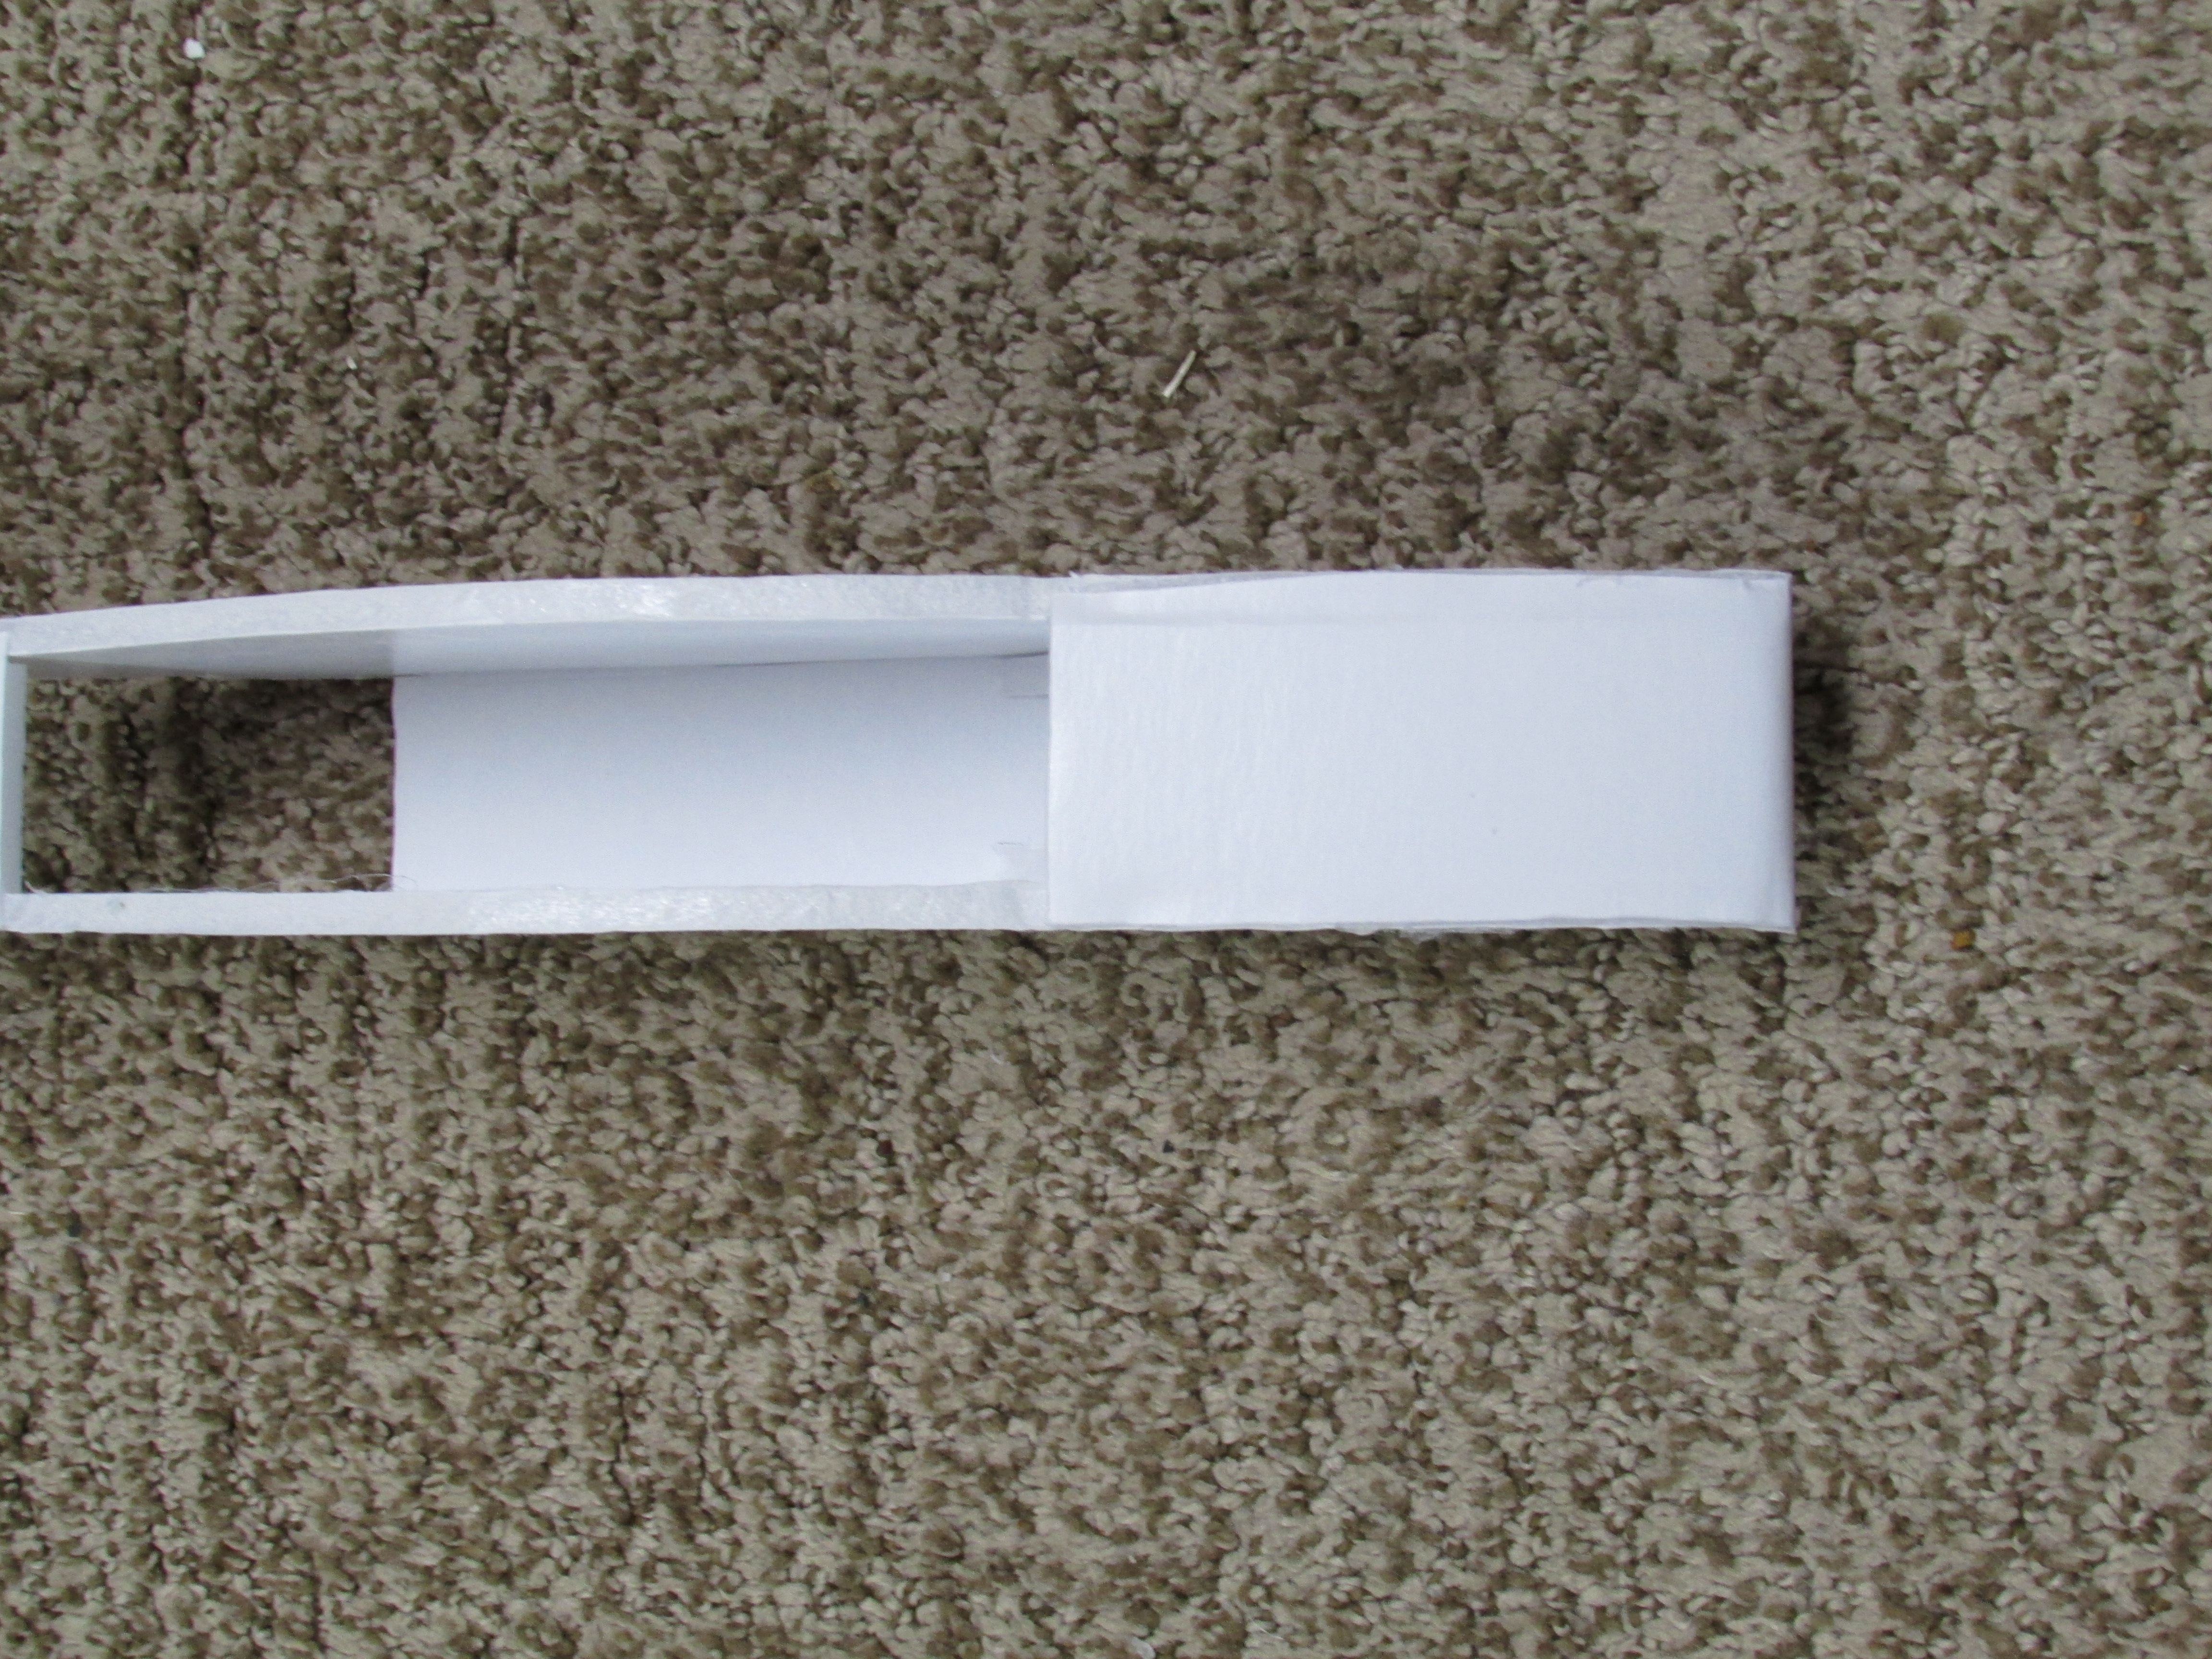
IMG_1674.JPG


IMG_1677.JPG


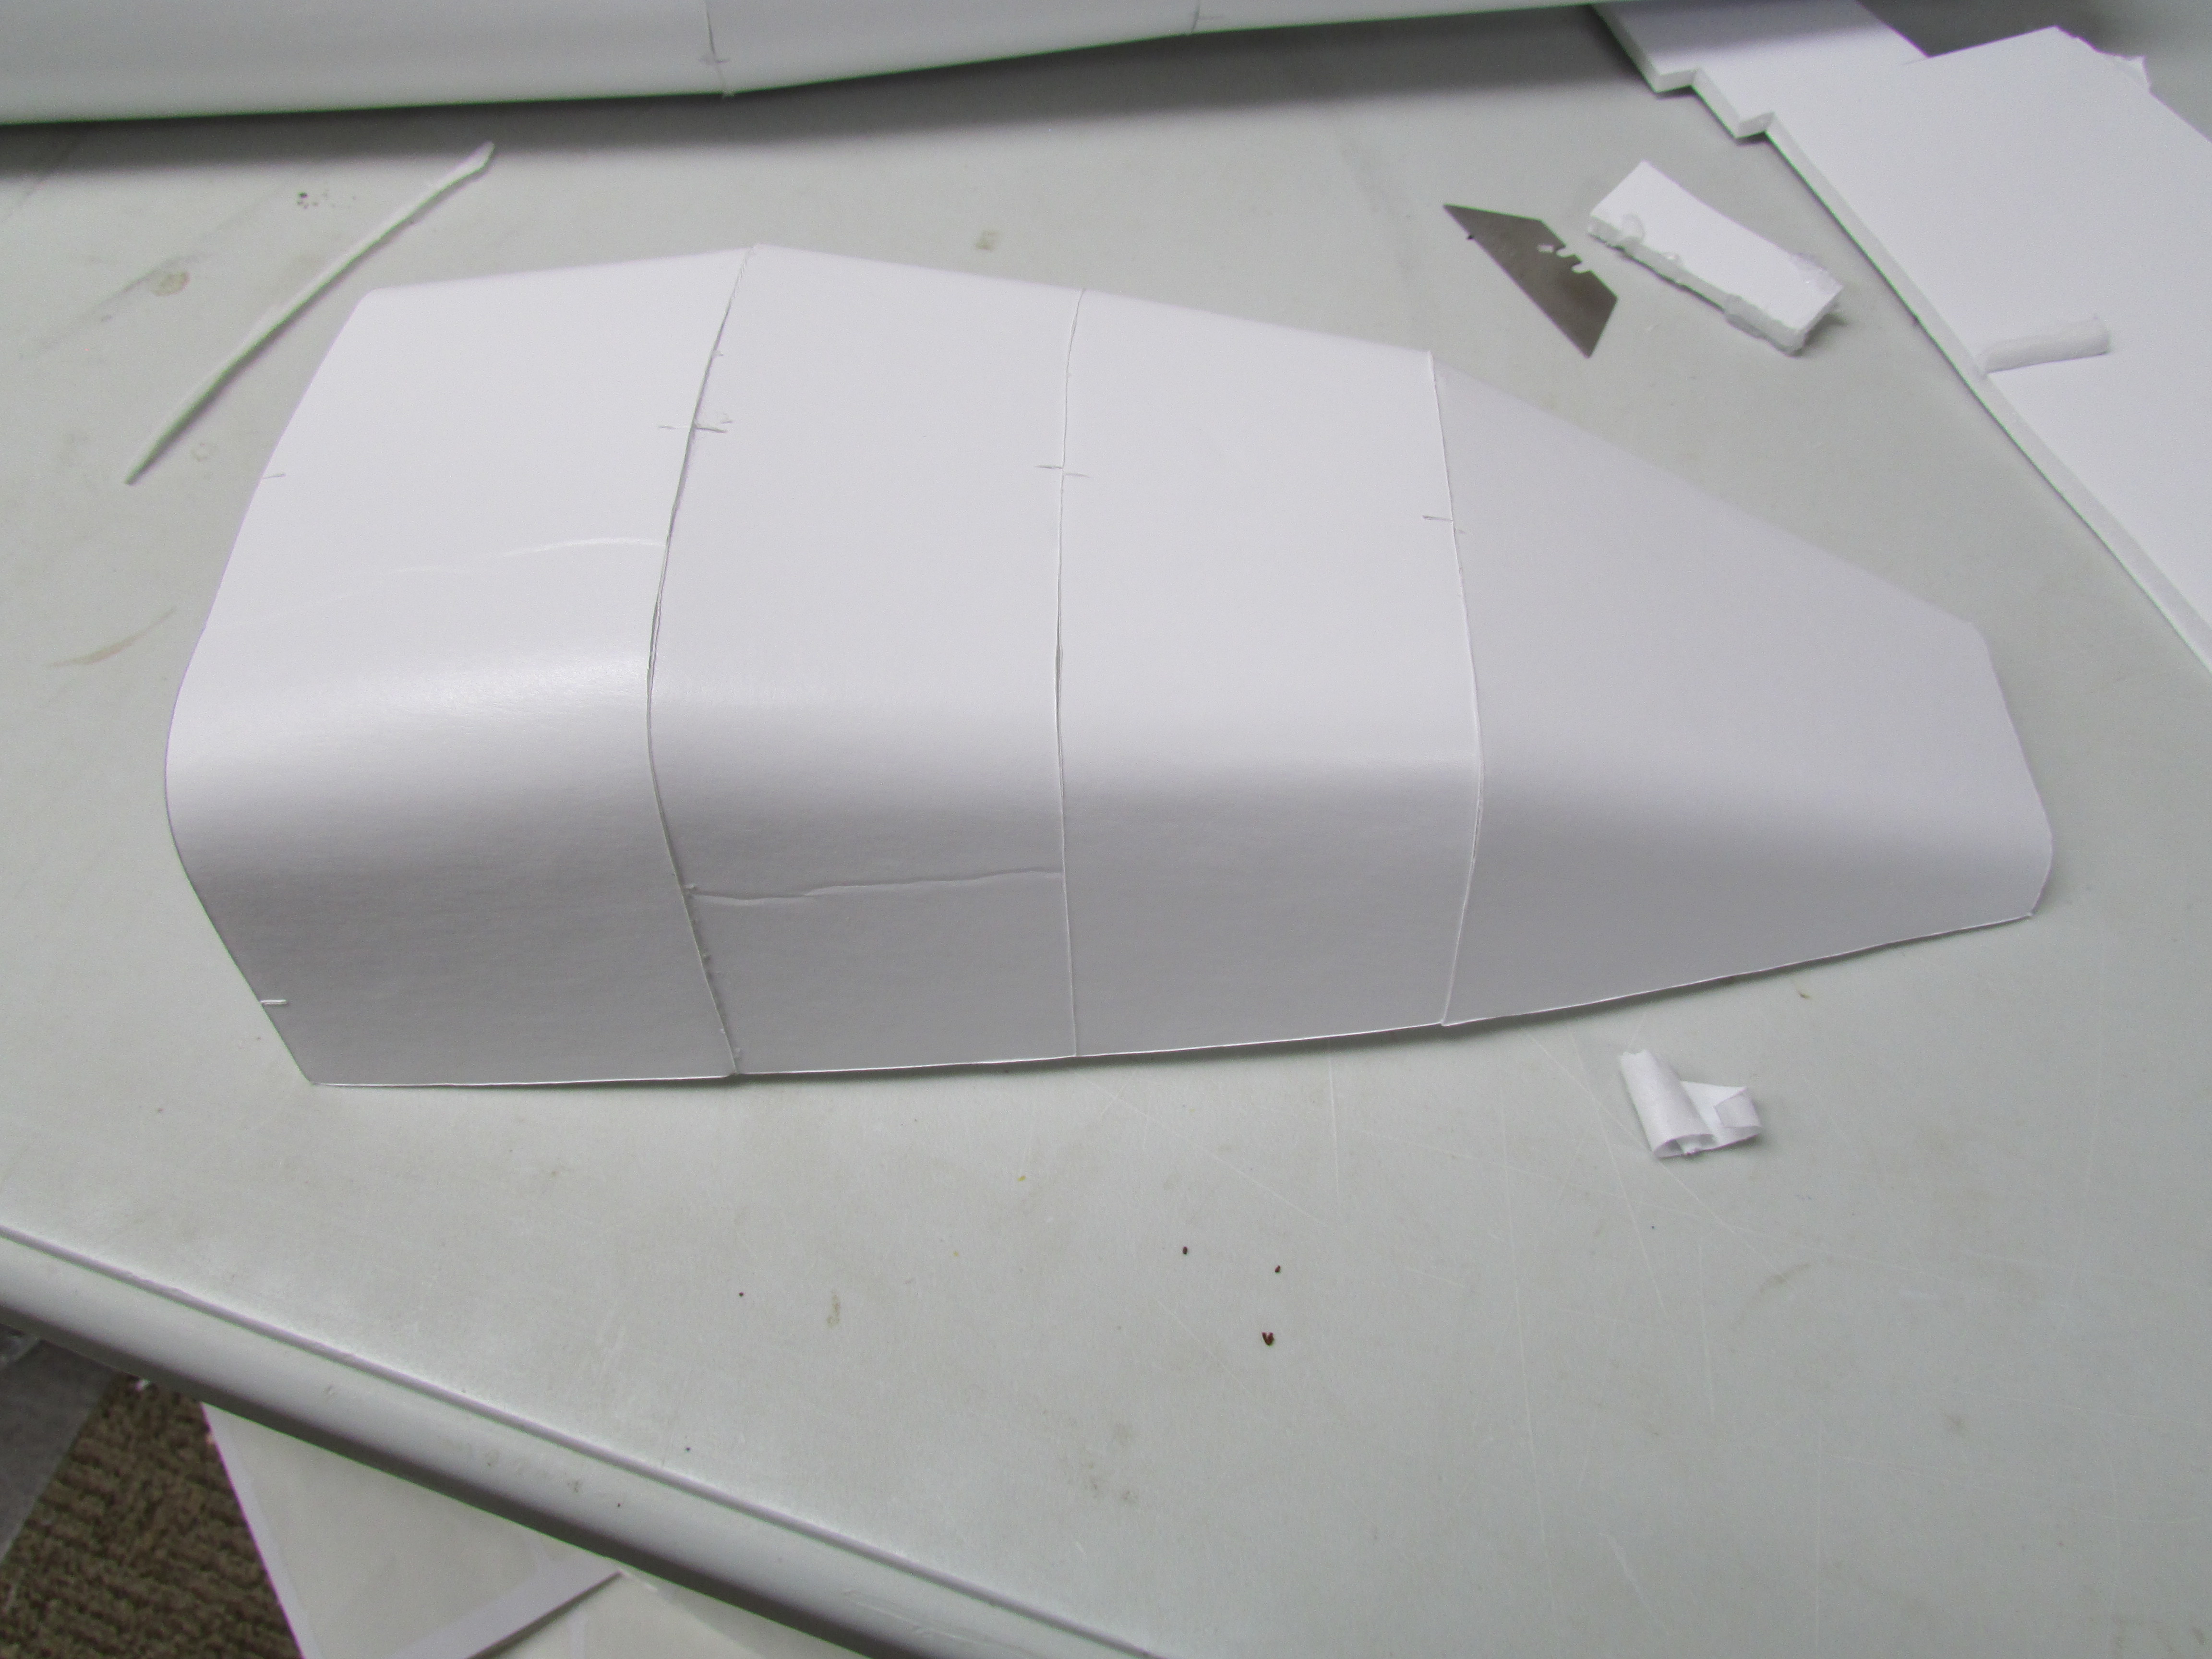
Next I built the canopy.
IMG_1682.JPG


IMG_1683.JPG


Then I beveled the Elevons.

IMG_1686.JPG


Next I added the sidepanels, servos, hooked up the servo linkages and put on the linkage guides.
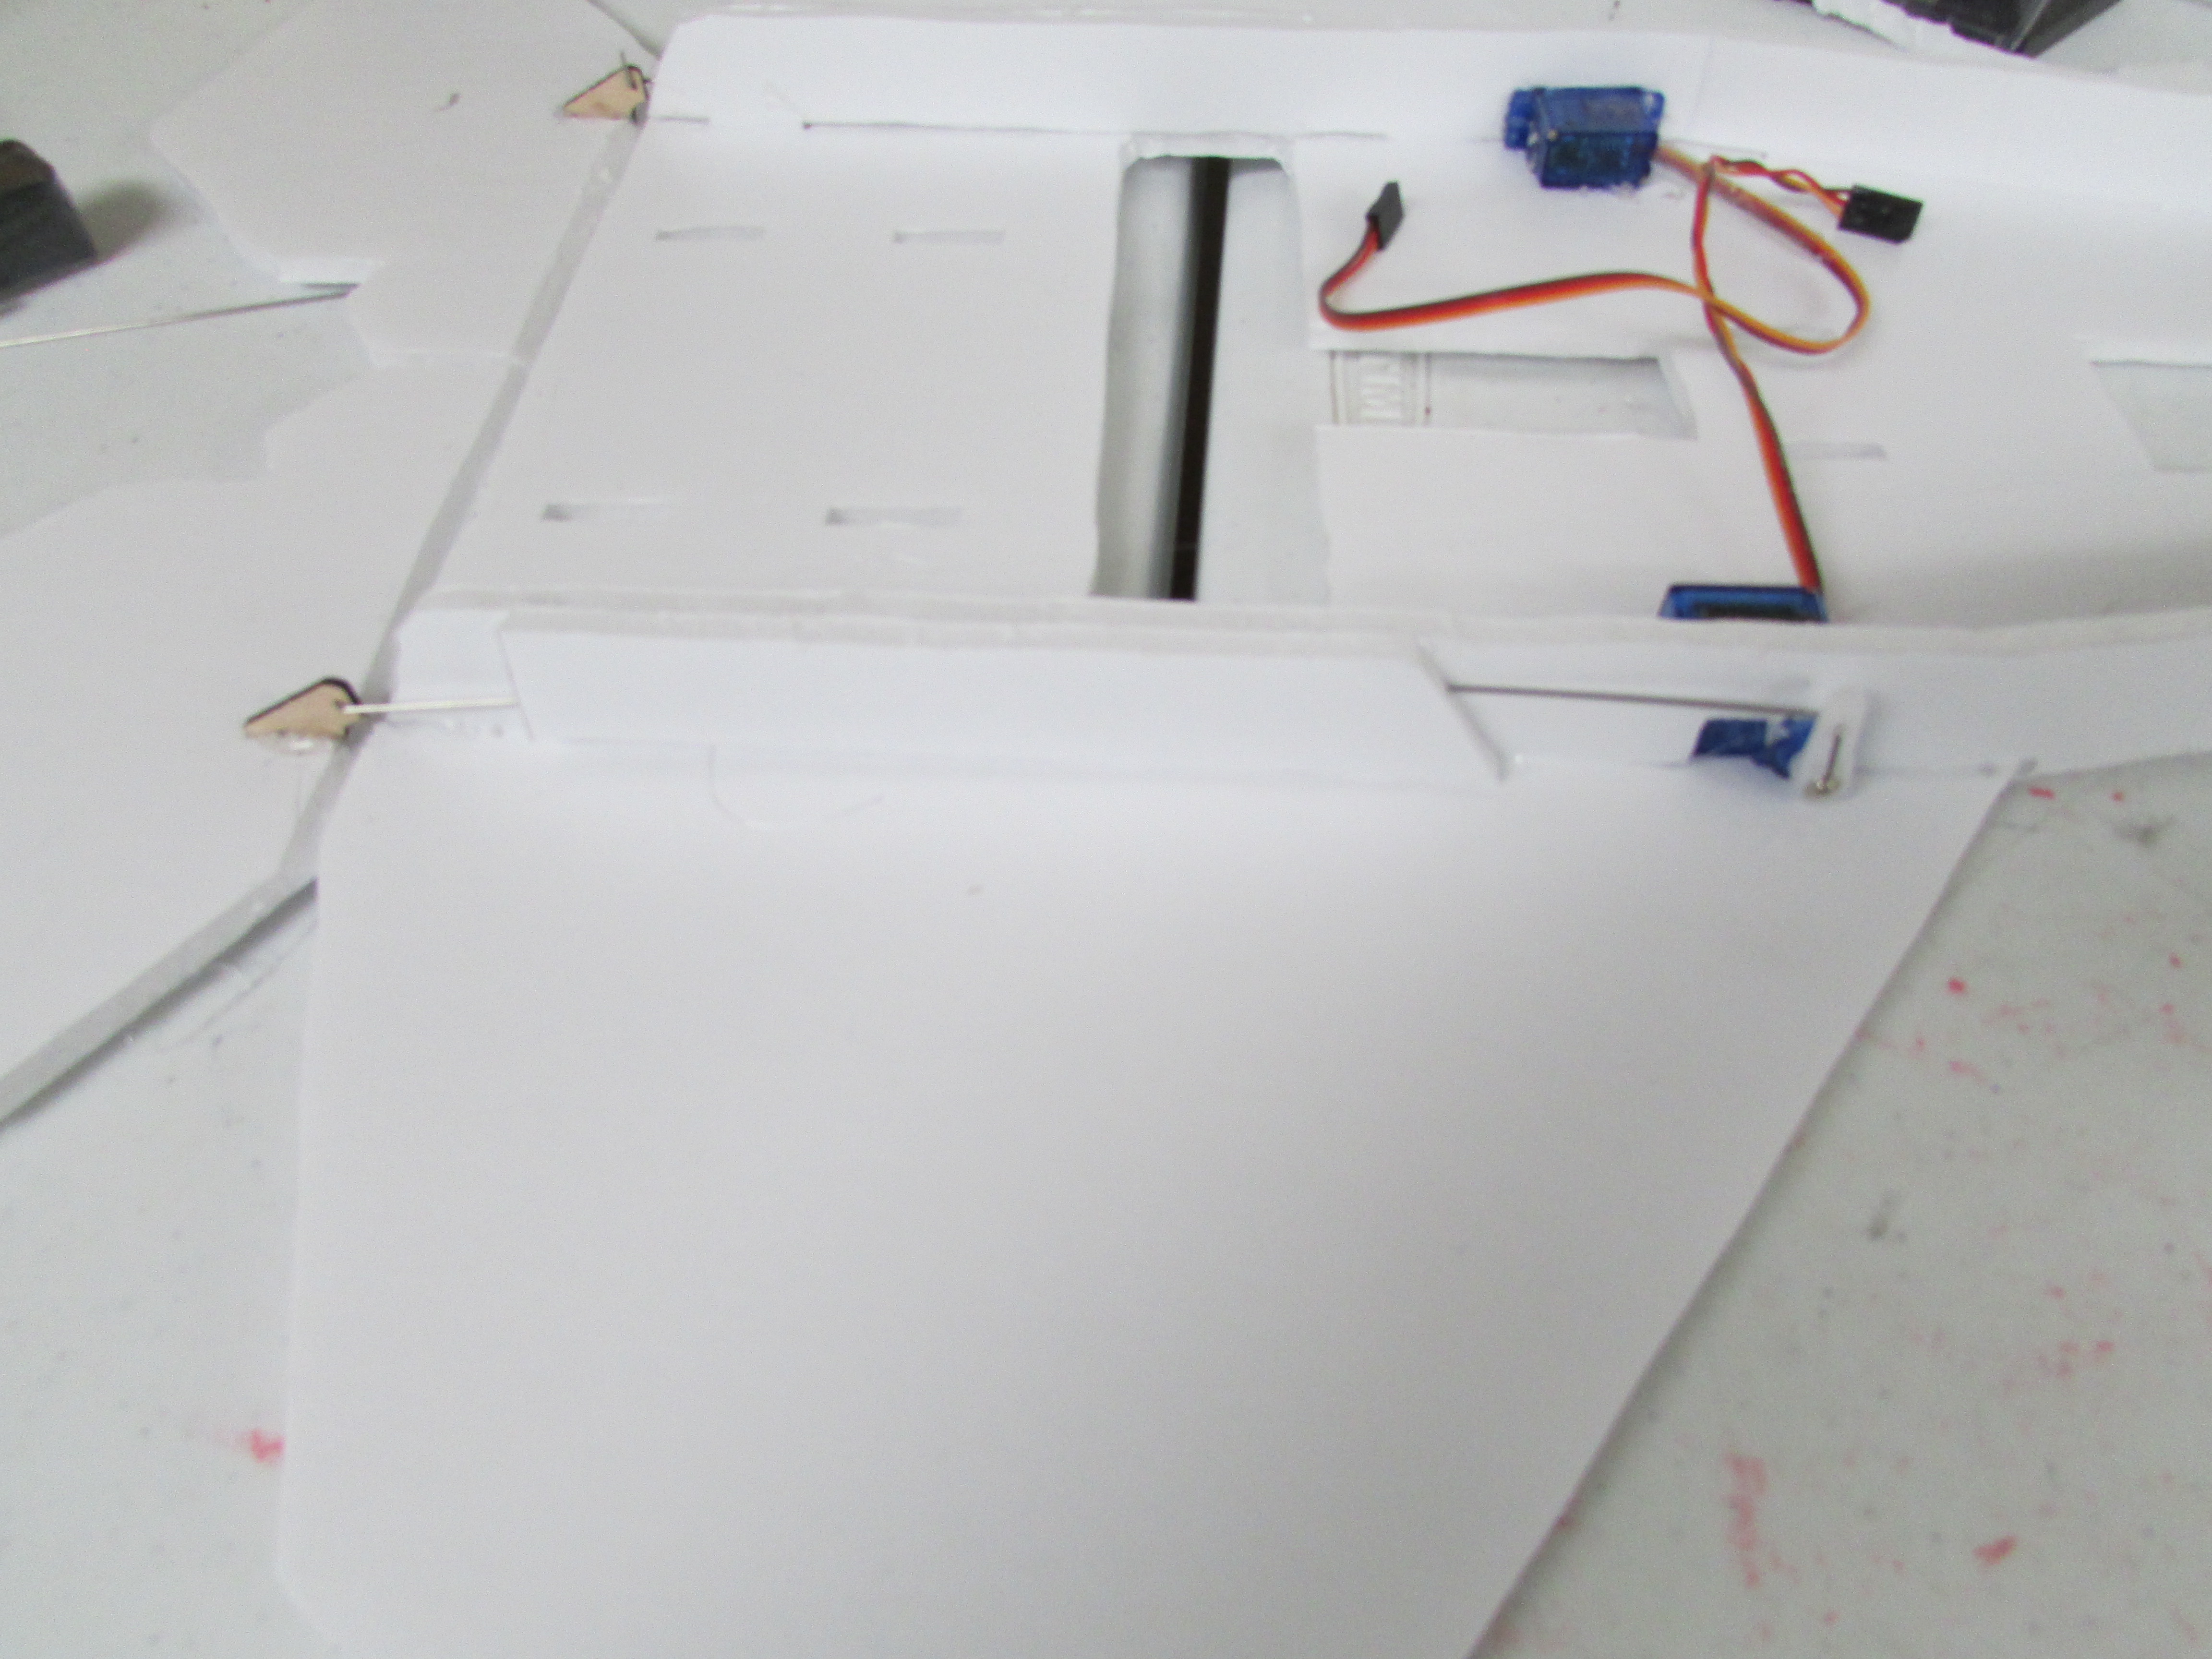


IMG_1692.JPG


Then I joined the fuselage to the wing.


IMG_1703.JPG
Next I added the motor, ESC and gyro.


IMG_1706.JPG
 

Patriot Rc

Active member
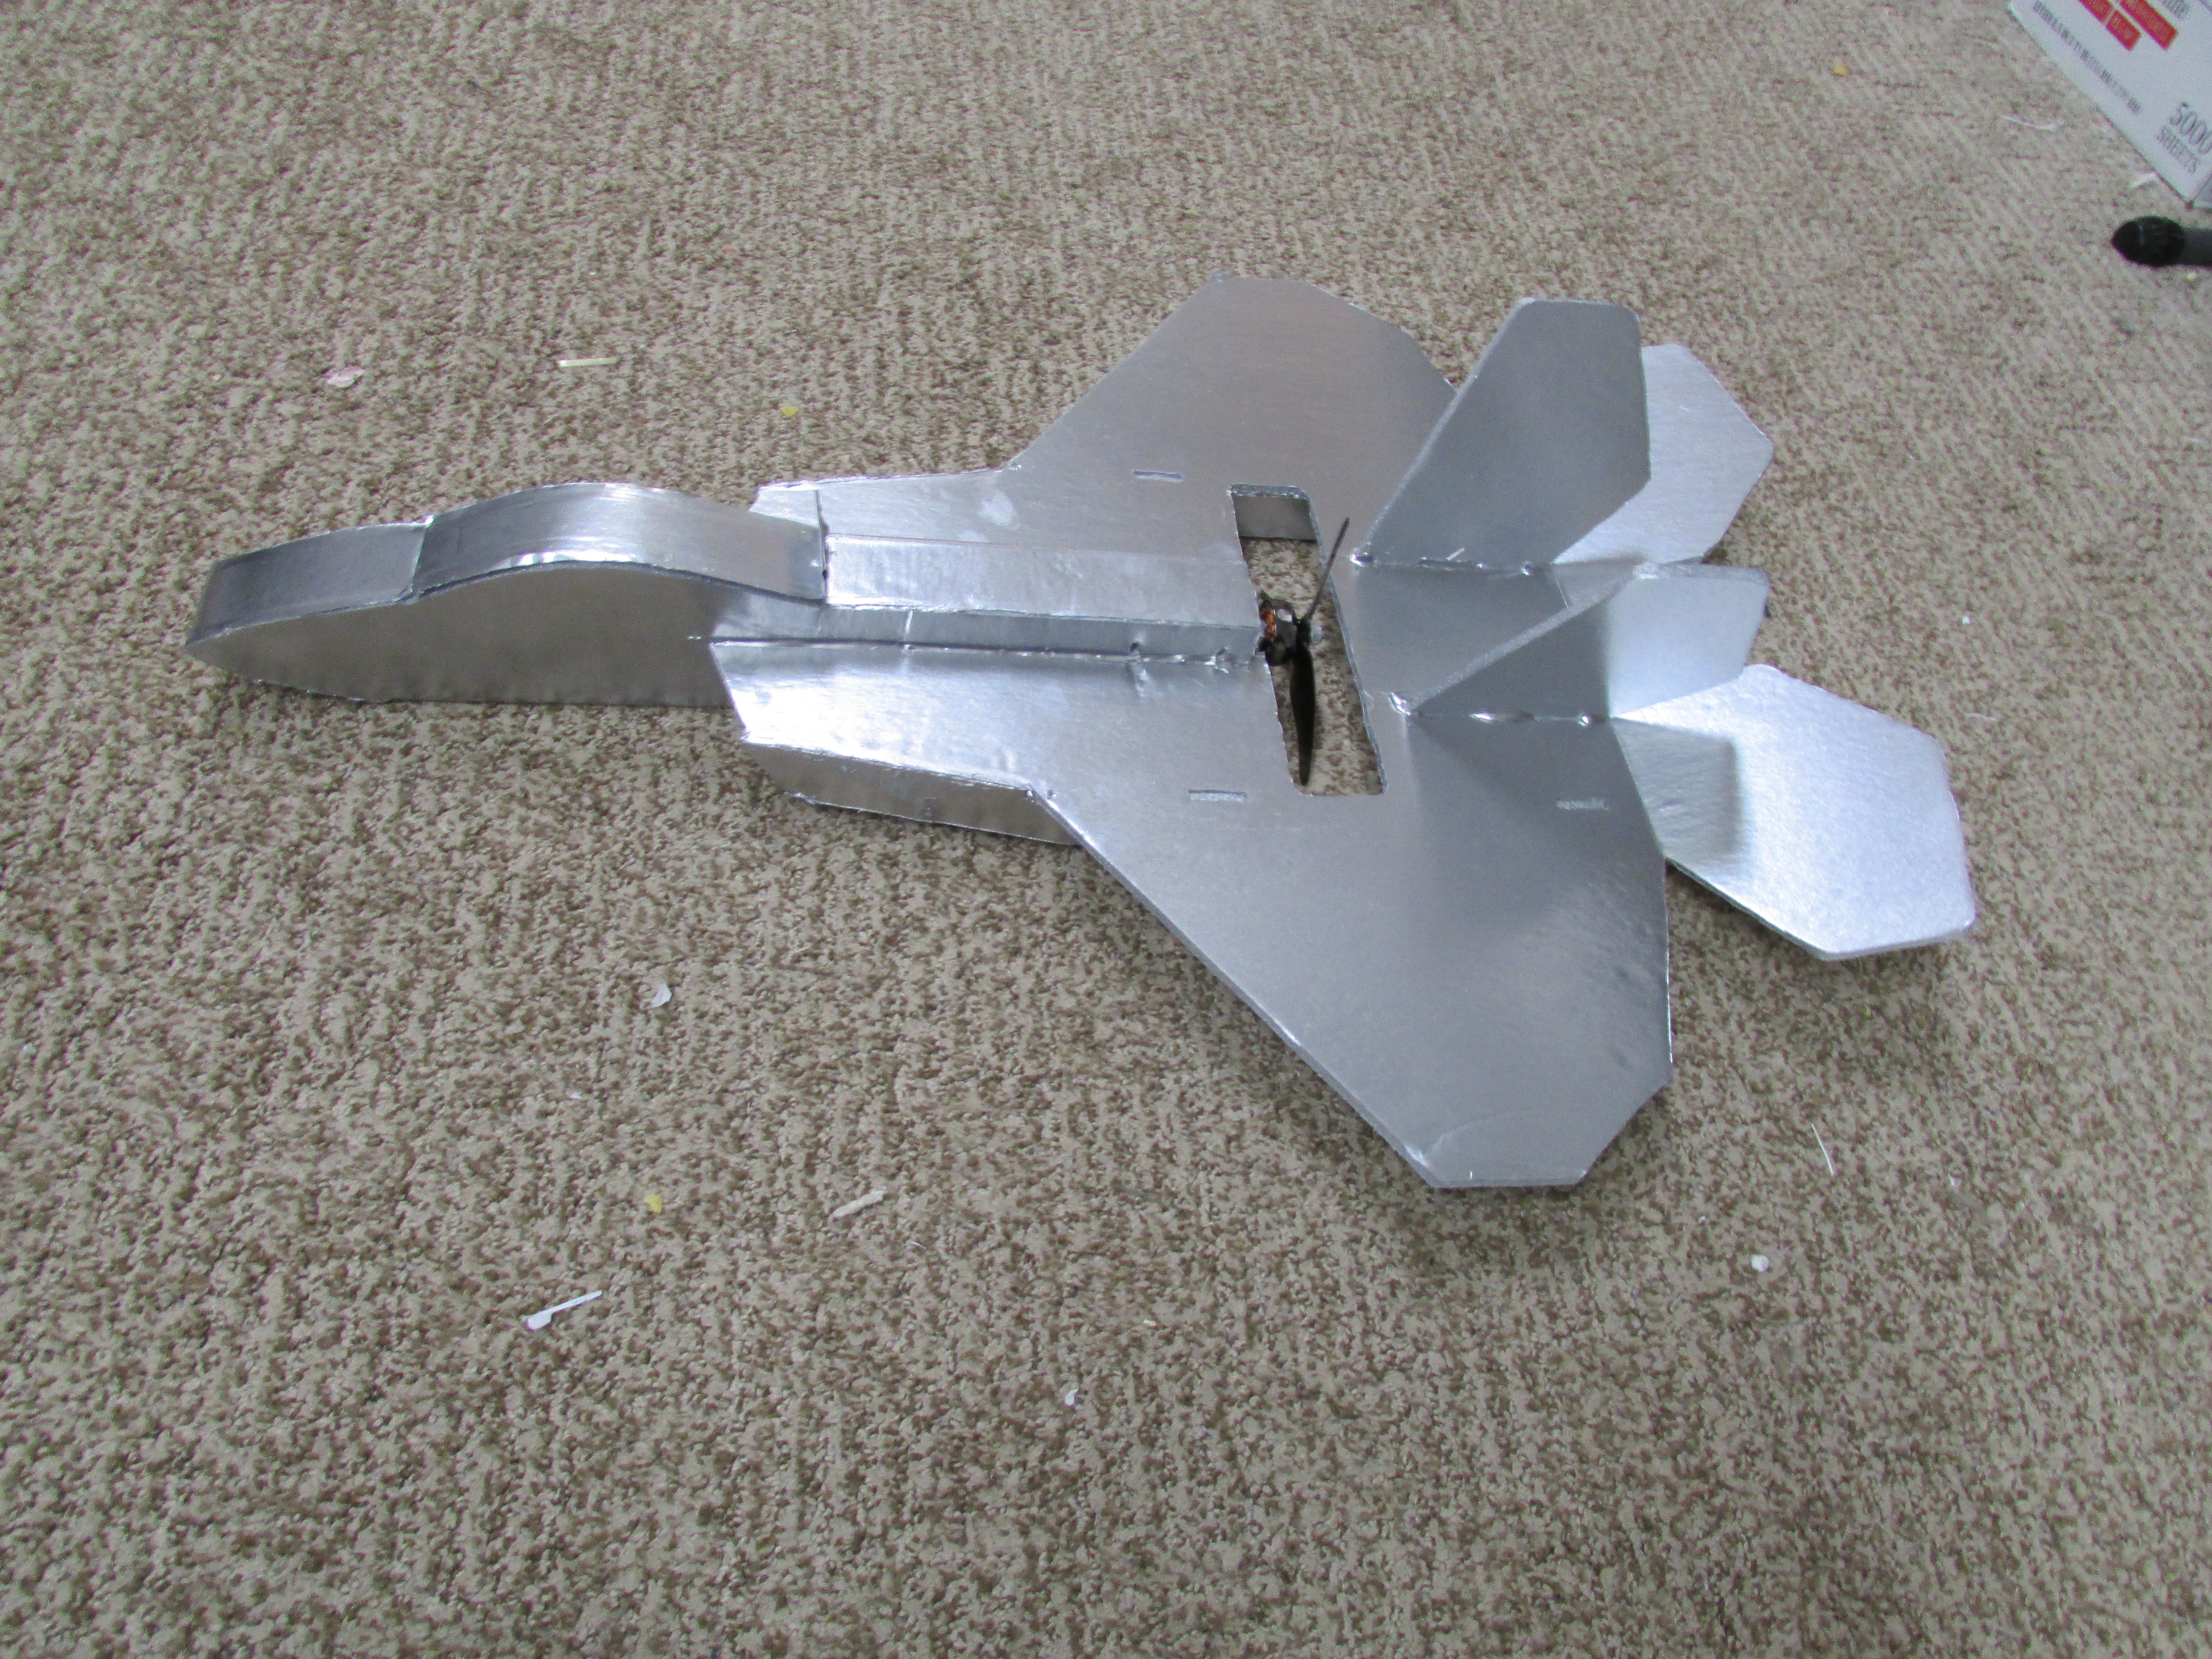
Then I added the belly pan and vertical stabilizers (I added the hatch to get the gyro out when i want it for my other airplanes)
IMG_1709.JPG
.


IMG_1707.JPG


Here is what it look like inside.


IMG_1717.JPG


Now it is ready for painting.


IMG_1710.JPG
IMG_1711.JPG
IMG_1712.JPG
IMG_1716.JPG


It took about 2 hours to build.

It took about 15 min (Not including dry time) to Paint

it was pretty easy to build 1 (1 out of 5).

It flew pretty easy 2 (1 out of 5)


Do's and Don't's

Always check the battery before you fly to make sure it is full (I didn't and my brother crashed it in too a tree)
 
Last edited:

Mr Man

Elite member

Patriot Rc

Active member
Here it is! its done. After I flew it the first time and its adventure in the tree its gotten a little dinged up


Before:
IMG_1746.JPG


After:

IMG_1750.JPG

1739501919236.jpeg
 

Patriot Rc

Active member
Master series mustang build log:

Here are the formers for the fuselage
IMG_1775.JPG


Here's the nose/fus. section
1739503170378.jpeg


Here's more formers for the fus.
1739503262299.jpeg


Here's the tail section of the fuselage.
1739503367009.jpeg


Here's some pictures of the fuselage.
1739503512415.jpeg

1739503613315.jpeg

1739503747822.jpeg

1739503829459.jpeg


Here's is the fuselage and the bottom wing skin with the spars (unfortunately I mounted the front nose section upside down on the nose so it looks funny, I am going to try redoing that section by cutting it off with a hot knife and putting a new one on.)


1739504369667.jpeg


1739504552341.jpeg
 

Flying Cherokee

Well-known member
Master series mustang build log:

Here are the formers for the fuselage
View attachment 248252

Here's the nose/fus. section
View attachment 248253

Here's more formers for the fus.
View attachment 248254

Here's the tail section of the fuselage.
View attachment 248255

Here's some pictures of the fuselage.
View attachment 248256
View attachment 248257
View attachment 248258
View attachment 248259

Here's is the fuselage and the bottom wing skin with the spars (unfortunately I mounted the front nose section upside down on the nose so it looks funny, I am going to try redoing that section by cutting it off with a hot knife and putting a new one on.)


View attachment 248260

View attachment 248262
Looking good so far!
 

Jo's squadron

Well-known member
How many sheets of foam did it take?
Master series mustang build log:

Here are the formers for the fuselage
View attachment 248252

Here's the nose/fus. section
View attachment 248253

Here's more formers for the fus.
View attachment 248254

Here's the tail section of the fuselage.
View attachment 248255

Here's some pictures of the fuselage.
View attachment 248256
View attachment 248257
View attachment 248258
View attachment 248259

Here's is the fuselage and the bottom wing skin with the spars (unfortunately I mounted the front nose section upside down on the nose so it looks funny, I am going to try redoing that section by cutting it off with a hot knife and putting a new one on.)


View attachment 248260

View attachment 248262
 

Jo's squadron

Well-known member
Master series mustang build log:

Here are the formers for the fuselage
View attachment 248252

Here's the nose/fus. section
View attachment 248253

Here's more formers for the fus.
View attachment 248254

Here's the tail section of the fuselage.
View attachment 248255

Here's some pictures of the fuselage.
View attachment 248256
View attachment 248257
View attachment 248258
View attachment 248259

Here's is the fuselage and the bottom wing skin with the spars (unfortunately I mounted the front nose section upside down on the nose so it looks funny, I am going to try redoing that section by cutting it off with a hot knife and putting a new one on.)


View attachment 248260

View attachment 248262
How is it coming?
 

Patriot Rc

Active member
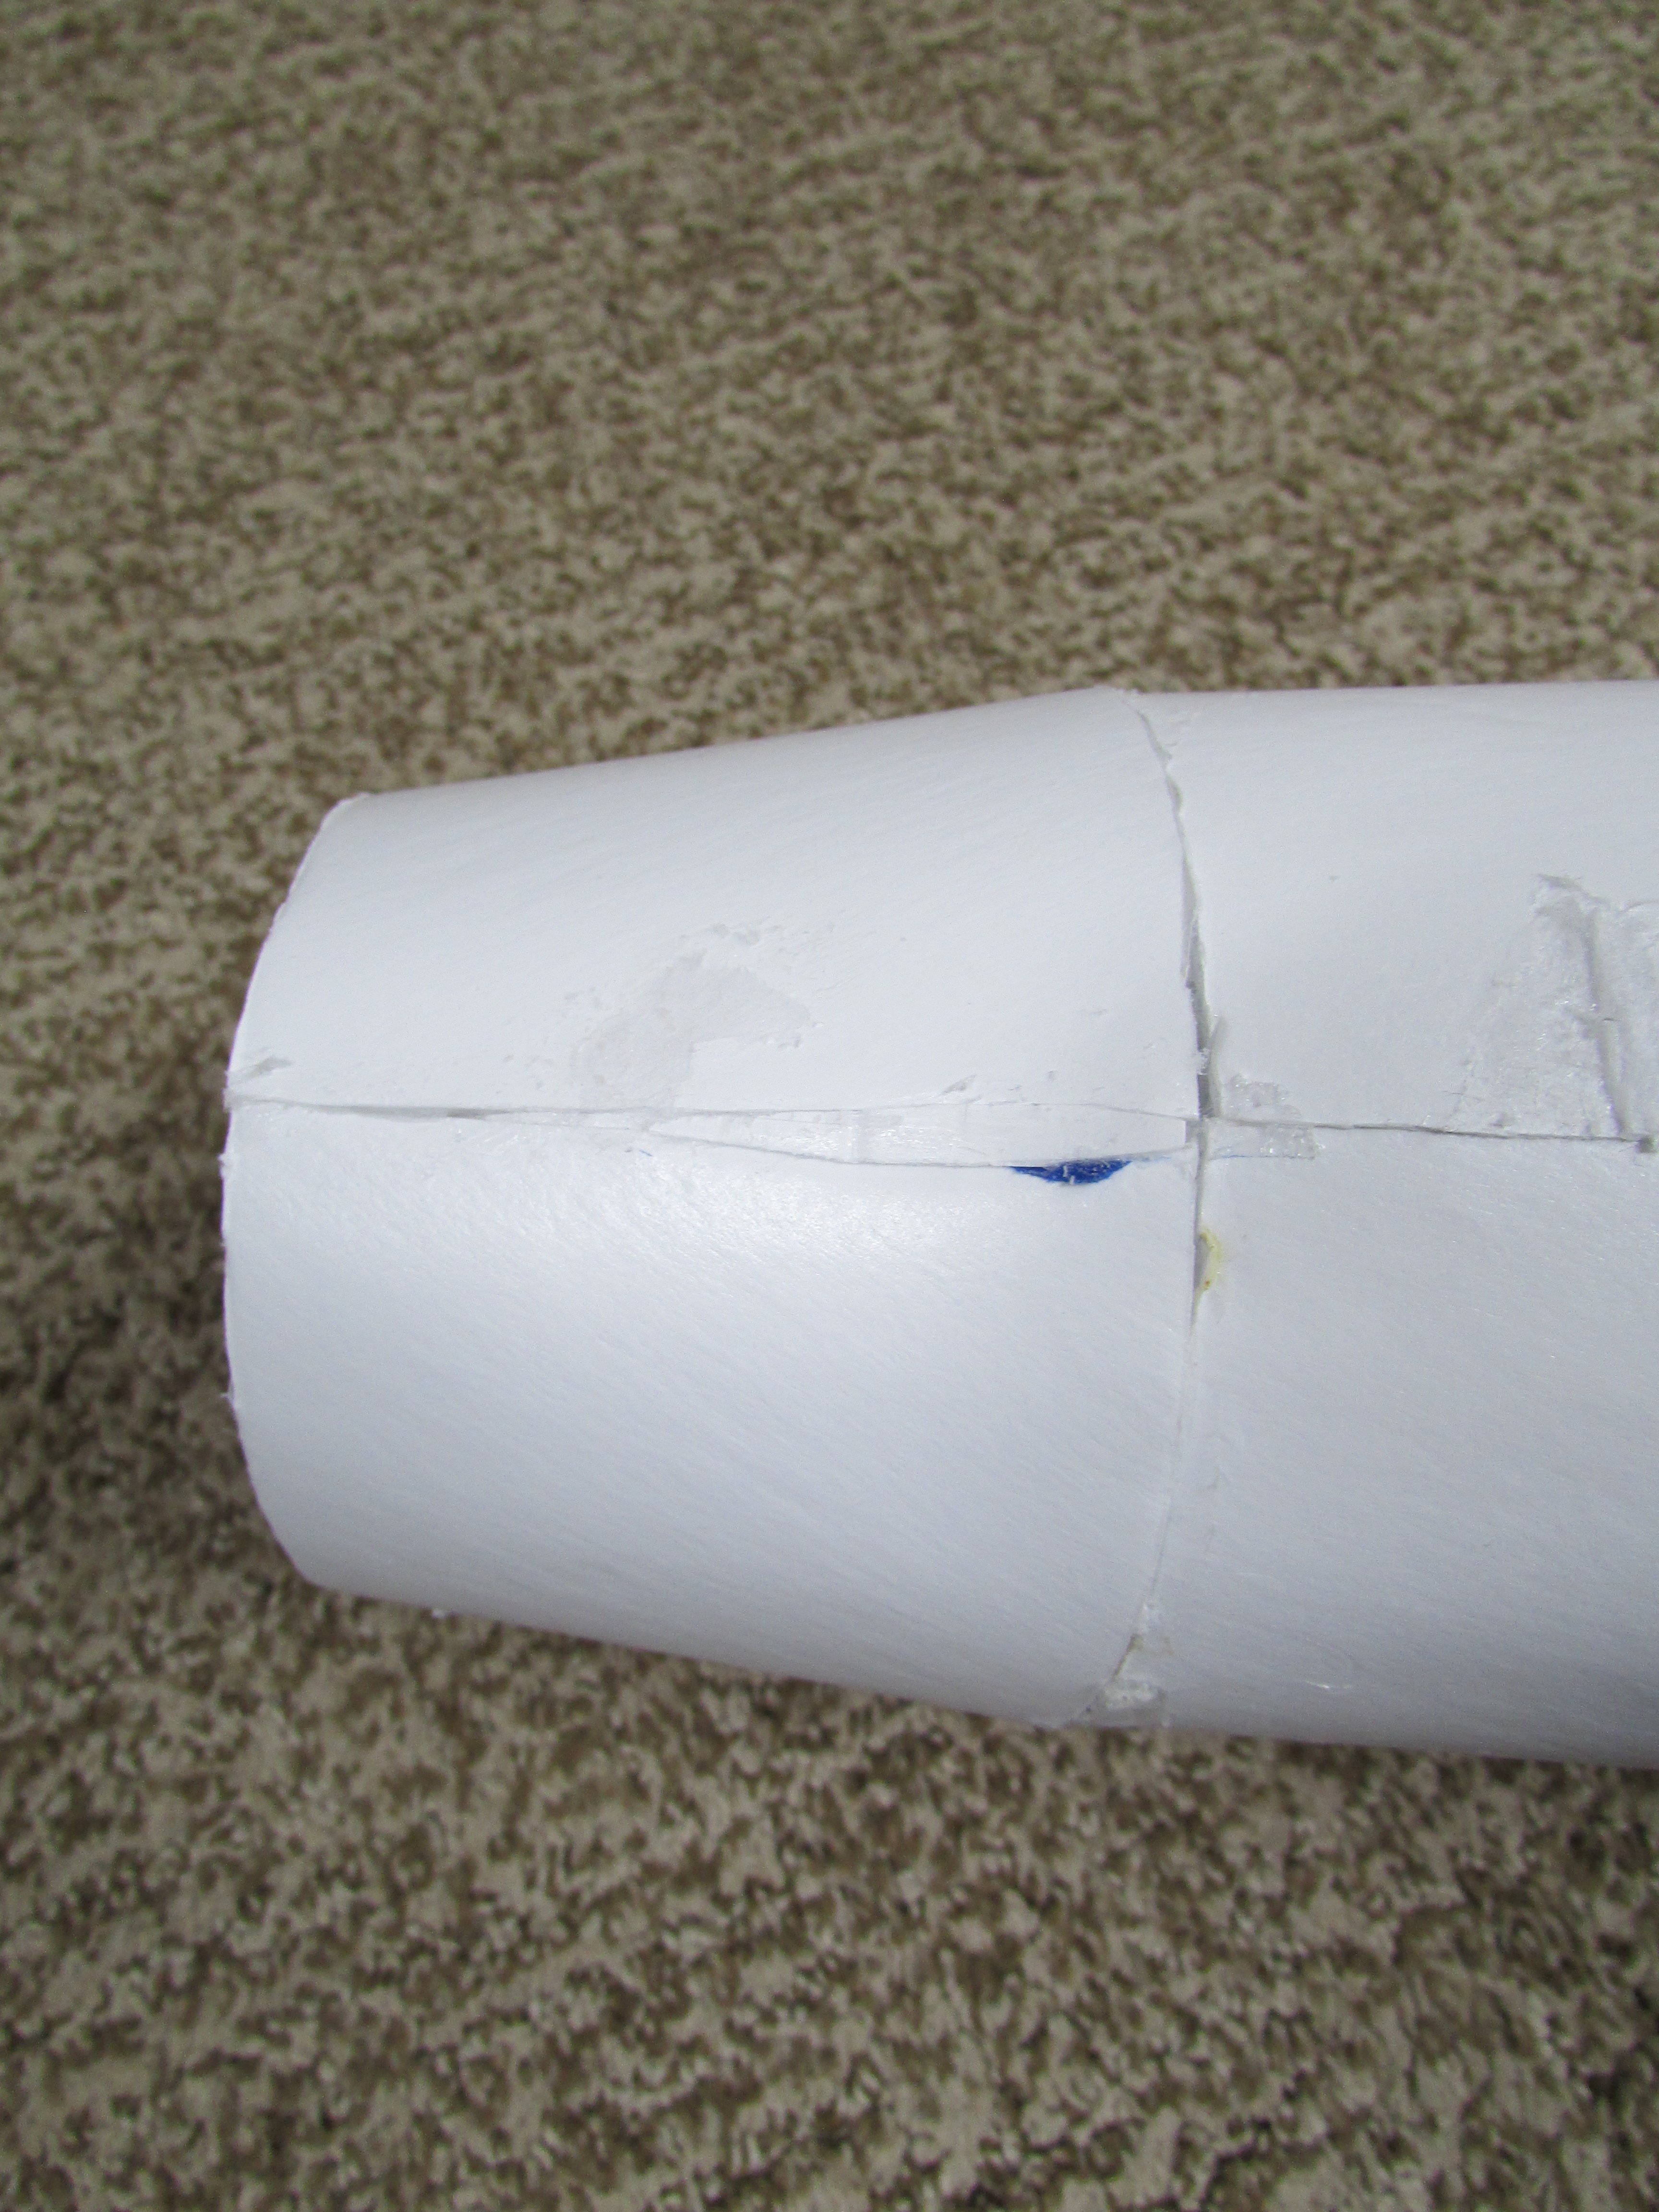
I was able to cut the nose off on my Master Series Mustang and put a new one on (this time I got it on right side up😅).


IMG_1836.JPG


IMG_1837.JPG


IMG_1839.JPG
 
Last edited:

Patriot Rc

Active member
I'm going to have landing gear, so I put some paint stir sticks on the inside of the wing.


IMG_1854.JPG


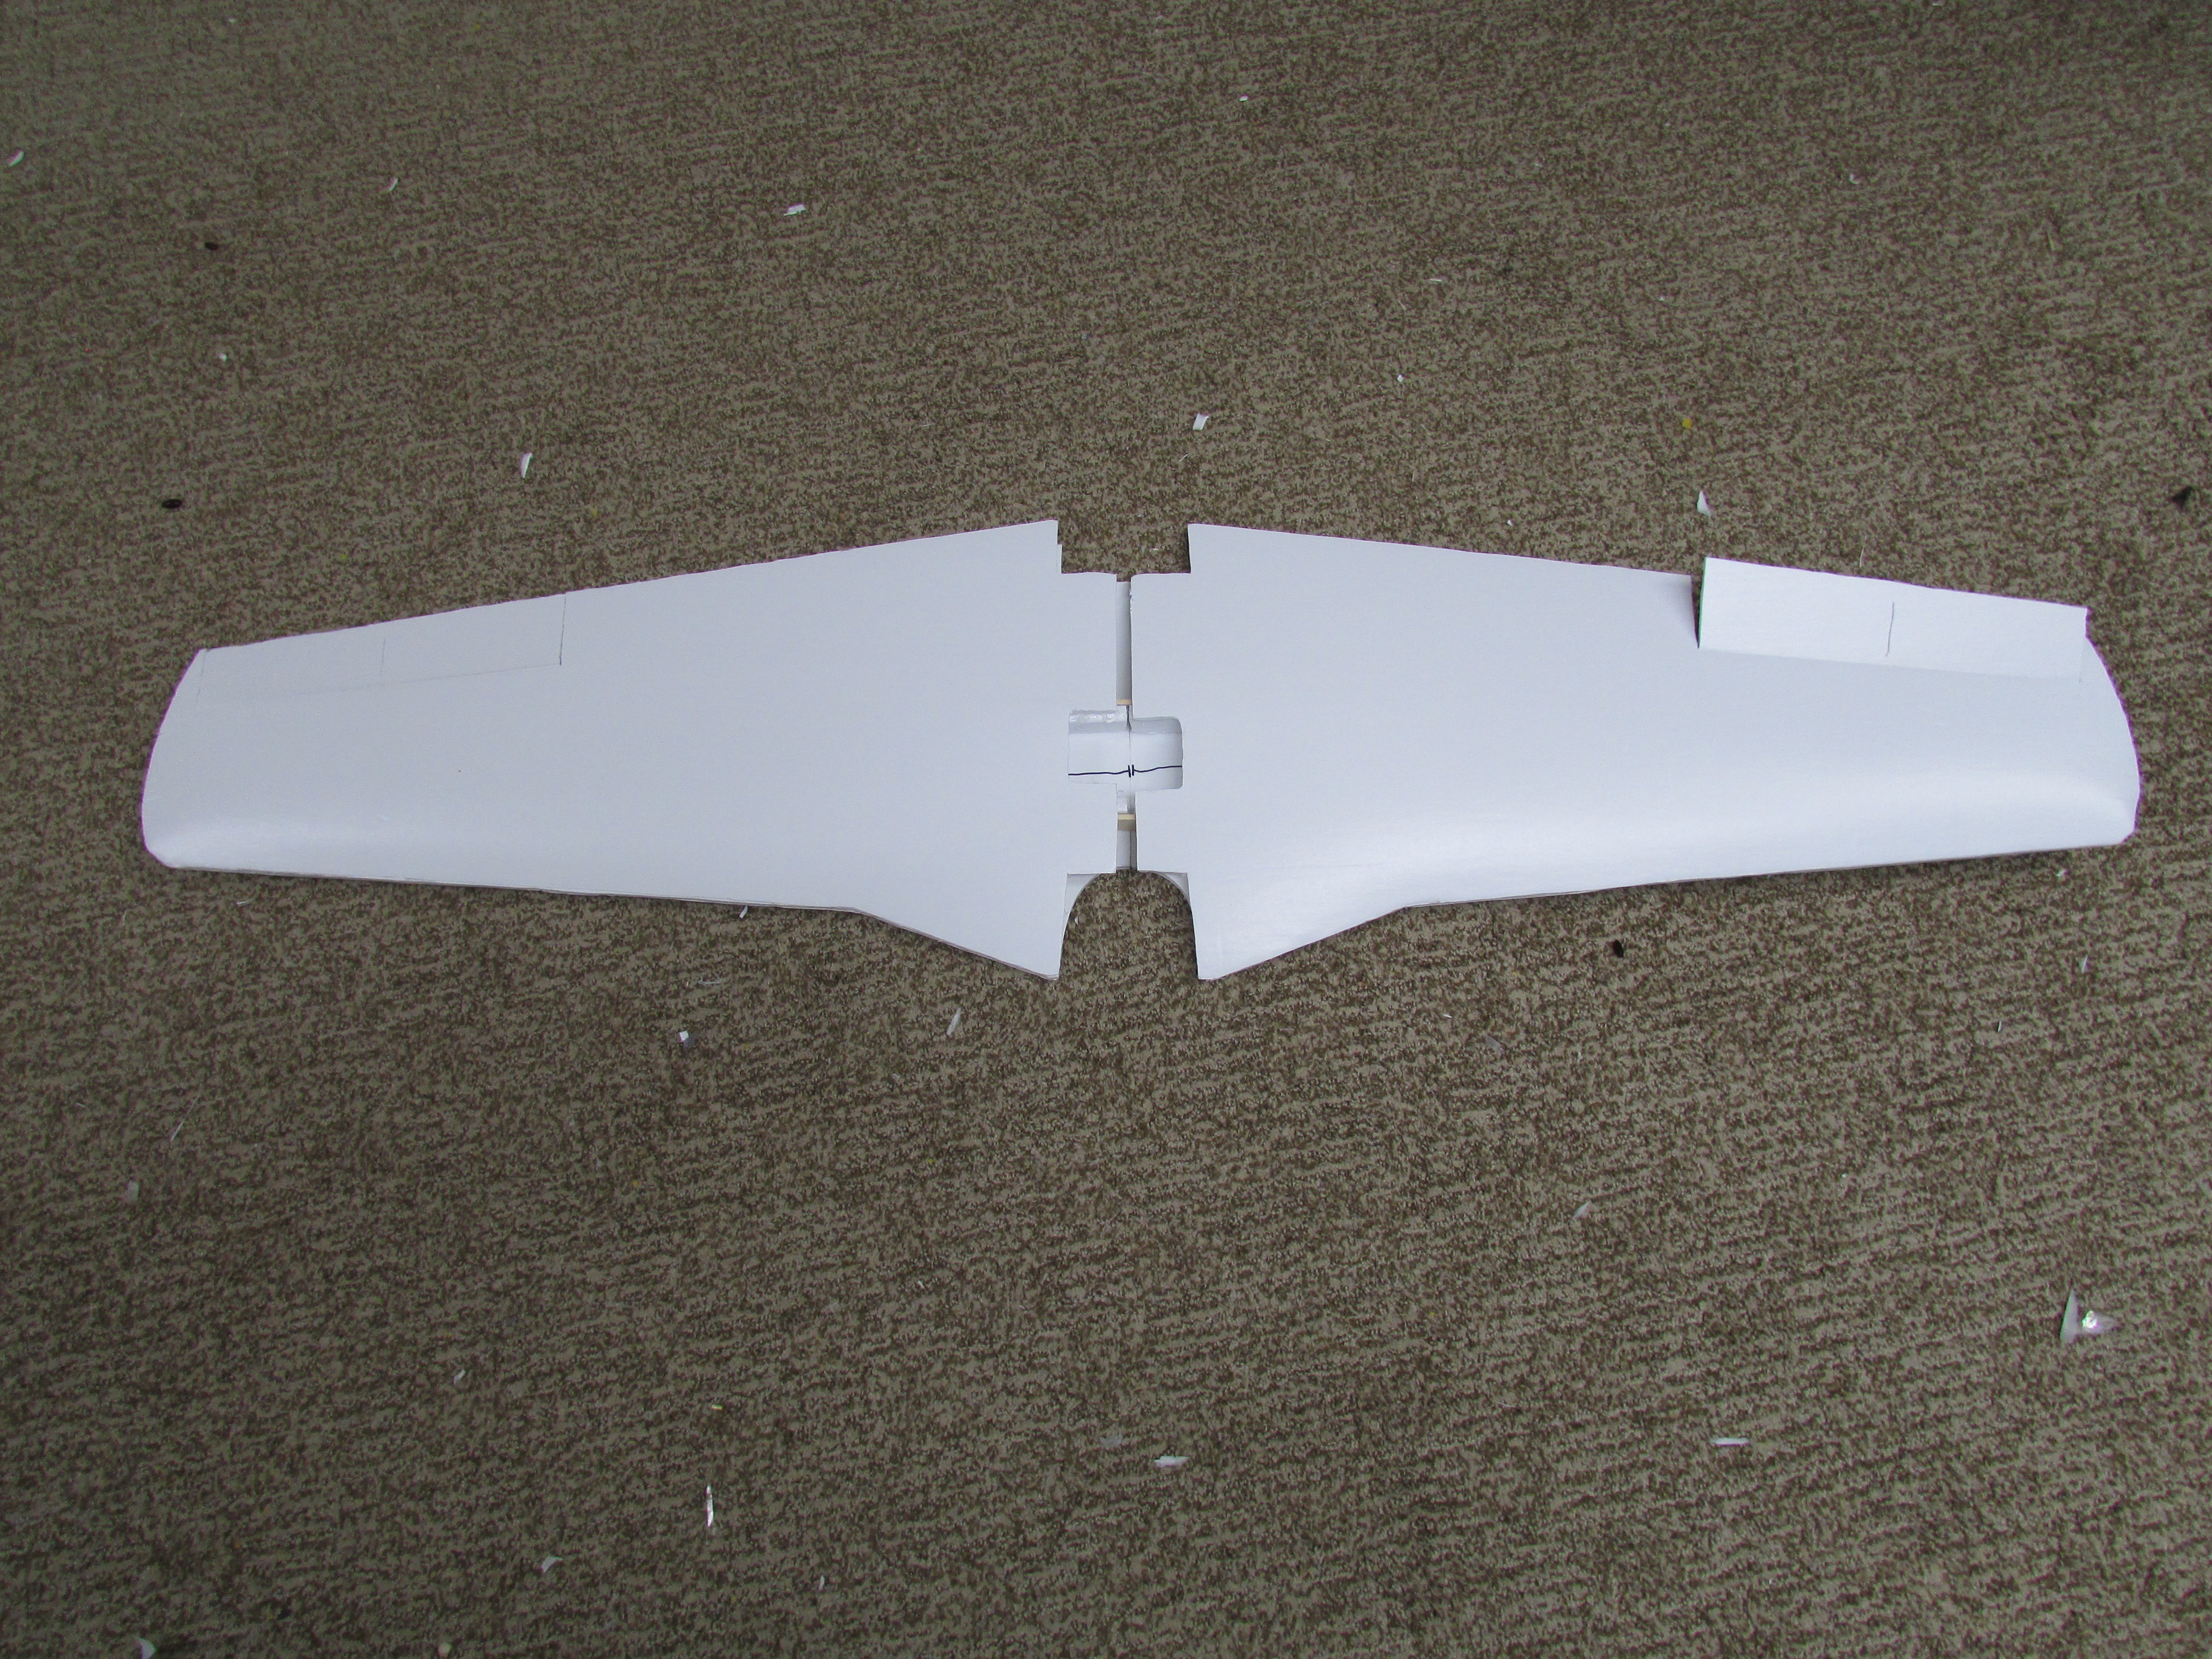
Then I added the top wing skins.


IMG_1856.JPG


Then I made the scoop.


1739937280649.jpeg


Next I put on the vertical and horizontal stabilizers and tail fairing.


IMG_1861.JPG


1739937565591.jpeg

1739937699952.jpeg


Then I added the servos and the scoop.

1739937848962.jpeg

1739937909375.jpeg


Next I made and installed the canopy.


1739938150513.jpeg

Then I added the aileron servos in the wing.


1739938466270.jpeg

1740213468821.jpeg
 
Last edited:

Mr Man

Elite member
I'm going to have landing gear, so I put some paint stir sticks on the inside of the wing.


View attachment 248407

Then I added the top wing skins.


View attachment 248408


Then I made the scoop.


View attachment 248410


Next I put on the vertical and horizontal stabilizers and tail fairing.


View attachment 248415

View attachment 248417
View attachment 248419


Then I added the servos and the scoop.

View attachment 248420
View attachment 248421


Next I made and installed the canopy.


View attachment 248422
Then I added the aileron servos in the wing.


View attachment 248423
Landing gear? That'll increase drag if you want speed.