Stevens Aeromodel Cap 232

rockyboy

Skill Collector
Mentor
I was lucky enough to have a Cap 232 kit drop in my lap two weeks ago - and already at ARC stage!

This kit was designed back in 2002/2003 expecting a GWS 300 geared motor with stick mount and 8 cell nicad, so that's going to need changing to a modern brushless and lipo setup.
IMG_20191208_220201-1024x1365.jpg
The initial construction and sanding looks very nicely done and all I need to finish up are the ailerons, confirm control linkages & electronics mounting, and then get covering!
IMG_20191208_220145-1365x1024.jpg

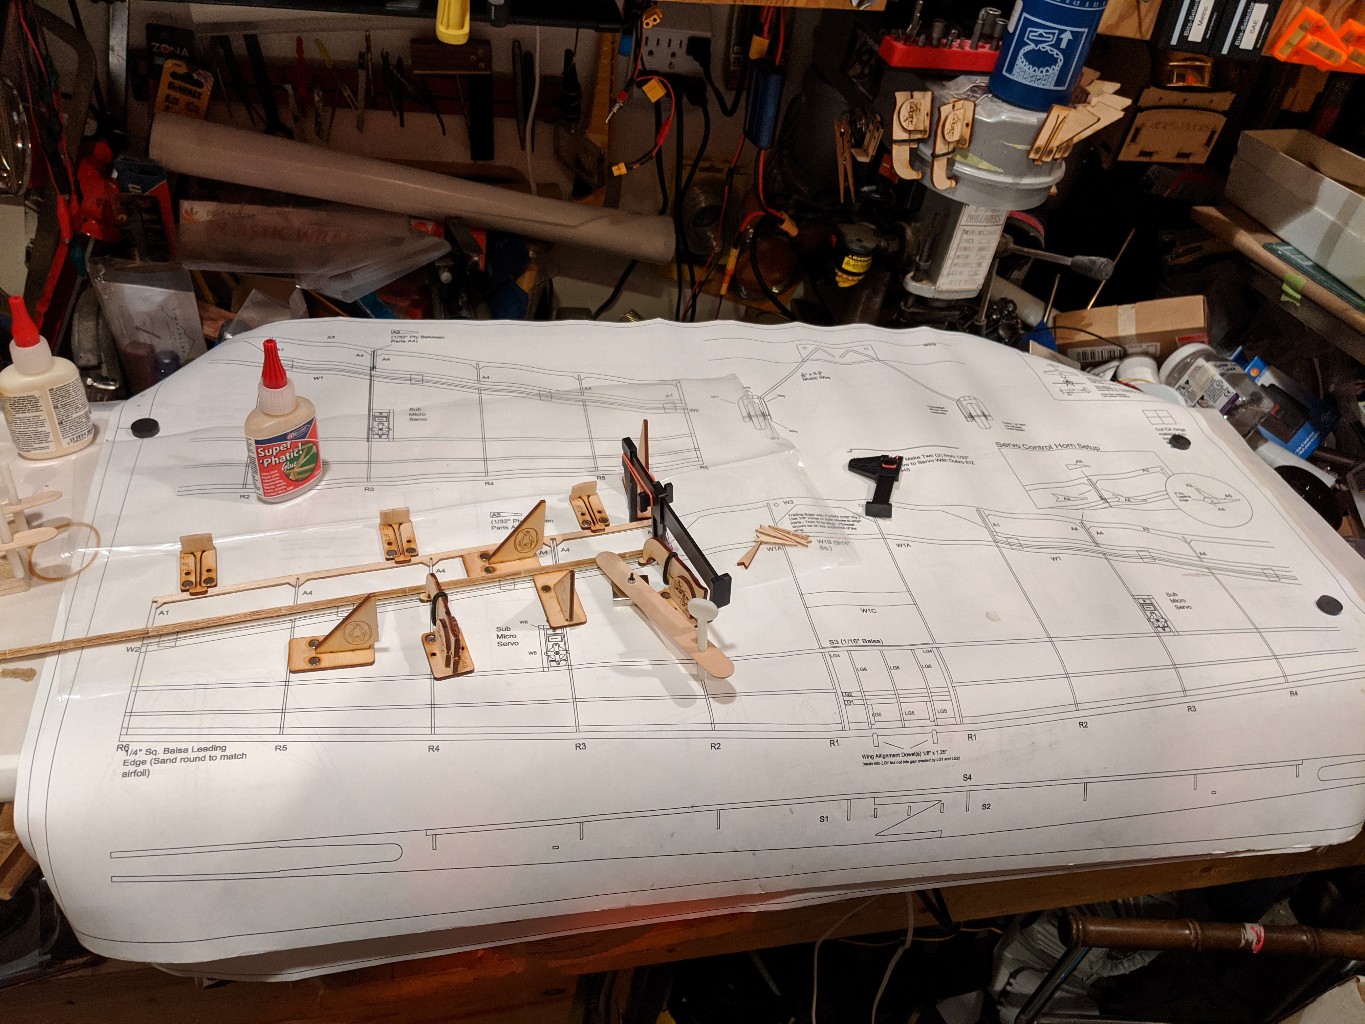
Let's see how many clamps I can use to build an ailerons...
IMG_20191208_220153-1365x1024.jpg
 
Last edited:

rockyboy

Skill Collector
Mentor
Looks like a nice project! Congrats on finding one at that stage with good construction, most of the ones I find look like they were assembled by 5 year olds with ADD and an unlimited supply of Mountain Dew.

Yeah, I also have a Great Planes Trainer 40 that's been about 3/4 assembled by one of those people... it's just ok enough that I feel bad about throwing it in the trash, but lots of glue joints are popping open and things are pretty rough looking... not sure I feel OK passing it off on to someone else either... *sigh*
 

rockyboy

Skill Collector
Mentor
I would love to get my hands on one of these kits.

If you see one, grab it for sure! Any discontinued Stevens kit really - I've been lucky enough to find several and haven't regretted picking up one yet! (y)

On this kit, I finished up assembling the ailerons... again using every clamp I could find space for! :ROFLMAO:
IMG_20191209_234012-1024x768.jpg


Then I wanted to make sure the servos I had would fit properly, and coated the screw holes with CA so they won't tear out easily...

IMG_20191210_152814-1024x768.jpg


The plastic control cable guides seem to have been glued in with something like titebond, cause when I gave them a little push they popped right out. So I scraped out the old glue and put them back in with a little epoxy.

IMG_20191210_151609-1024x768.jpg


Color time - the hardest part of the build for me! :D

I've had this roll of Blackberry Solite sitting on the shelf for a couple years and I really want to use it on something. I think it looks OK with a black and white next to it...
IMG_20191210_153421-1024x768.jpg


And after looking through a hundred images or so I found this color scheme that I like! Has a similar blackberry color, along with white and silver... luckily I have a roll of silver Solite on the shelf too! :D

0_15760213242858824913492954426795.png


I think I'm going to do the whole bottom side in black and white, and reserve the blackberry & silver for the top (with the white stripes to bring them together). Then I can do the vinyl graphics in white also, and maybe run a pinstripe of black down the fuselage too... will have to see when I get there.

So I started putting a little white on the bottom of the elevator, stabilizer, and fuselage...

IMG_20191210_222303-1024x768.jpg


As I was finishing up the fuselage piece I realized I didn't have the tail wheel wire bent or epoxied in place, so I'll need to cut off the end of the covering to deal with that. That was a good sign that it's time to call it a night - before I make any harder to correct mistakes! :D
 

rockyboy

Skill Collector
Mentor
Wingspan is about 38" I think - just a touch longer than a roll of covering.

I did get the bottom of the wing covered today - little bit of checkerboard so it will stand out nicely.

IMG_20191211_193751-1024x768.jpg


Next trick will be getting the aileron checkerboard to line up since I foolishly didn't do my pinning process and cover the wing and ailerons from one piece. I got all wrapped up in thoughts of how to deal with the elevator hinging since it has to be separated to go into the fuselage and walked right past the new ailerons pinning steps I've been practicing recently. :sneaky:
 
Last edited:

rockyboy

Skill Collector
Mentor
Let's get that tailwheel mount going! I was able to get the tailwheel wire bent, and the tailwheel mount wire installed in the fuselage by peeling up the covering, and it went back down just fine. The design calls for a small aluminum tube wrapped to the wire with kevlar thread and CA'd in place. Which is tricky when you have at least four big thumbs. I got an initial wrap going, and will come back when this is fully cured and do a neater overwrap.
IMG_20191211_233442-1024x768.jpg


Servos, extension wires, and CA hinges installed - with access to the back of the CA hinge it is easy to get a good bead of glue down the back of the hinge.
IMG_20191211_230647-1024x768.jpg


And hey - I was able to get the checkerboard on the aileron aligned pretty well too! :D
IMG_20191211_232740-1024x768.jpg


Next up is covering the bottom of the other aileron and getting the CA hinges installed into the ailerons.
 
Last edited:

rockyboy

Skill Collector
Mentor
Got the tail wheel bracket bending and installing all done, with a slightly larger wheel than is called for in the kit since I fly off a rough grass field and am sure the little tiny wheel would just get trapped in the vegetation. I might bend the wheel bracket a little more to lower the tail, but I want to finish the main landing gear and see how she sits first since I'm sure to be doing larger main wheels that the plan calls for too. :D
IMG_20191213_002522-1024x768.jpg


Ready to go back to covering now! :D
 
Last edited:

rockyboy

Skill Collector
Mentor
Time to start the top of the wing. First, cut two long rectangles of covering - enough that combined they will cover one half of the wing with some extra for pulling on with the fingers. Then peel the clear protective coating off and lay them so the more opaque color overlaps about 1/4". Then run an iron over the seam several times before getting frustrated at the sheets not sticking together.
IMG_20191216_210448-1024x768.jpg


Now go up to your wife's (or mother / sister's) side of the bathroom cabinet and "borrow" a couple of cotton swabs, and pull out the trusty (but very foul smelling) bottle of Trim Solvent. Lift up the top covering sheet carefully just over the seam (leave the rest of it in place on the table). Use the swabs to wet about 1/4" of the top of the covering still on the glass. Then carefully and in one motion, lay the top covering sheet back in place. Rub the join a bit with your finger to make sure the Trim Solvent gets squished in there. Now get out of the workshop for a little while so the noxious fumes can dissipate and the seam can firm up nicely.
IMG_20191218_170731-1024x768.jpg


When pulling the covering up from the glass, grab the bottom layer and gently peel it up. The join should be very solid, but no sense trying to rip it apart or create weak spots.

Then drape the covering over the wing and use the iron as normal. The seam between the blackberry & silver colors is able to go straight out perpendicular to the fuselage, even though there is no balsa spar or cap there to attach to. It's like magic! :D

IMG_20191218_173805-1024x768.jpg


One thing I discovered while I was working - and you should experiment with so you aren't surprised - is that the silver has a much lower shrinking temperature than the blackberry. To keep things from buckling up or pulling apart, I'm only going to shrink these coverings with the iron, and only let the iron be over one color or the other - never over both at the same time. Really don't want to have a repeat of my ACE All Star wing fiasco! In hindsight, that was almost certainly caused by using the heat gun on three coverings all joined together - and they surely had different shrinking temperatures.
 
Last edited:

Turbojoe

Elite member
Looking good. I'm watching to see how this turns out. I've had two bottles of the trim solvent for years. I know people do it all the time but I've never had the confidence to try splicing two colors together where the seam would be over an open area. I always do seams on spars etc. I've only used the solvent a very few times to lay down stripes etc. Like you I just couldn't get past that ungodly stank. Not many odors compare with this stuff. :eek: :poop:

Joe
 

Joker 53150

Mmmmmmm, balsa.
Mentor
After looking online I found the solvent has been discontinued. I did find one place with a single bottle in stock, but the shipping charges were more than I wanted to pay.
 

rockyboy

Skill Collector
Mentor
I've read that acetone or lacquer thinner are good alternatives, but haven't tried them myself. Lacquer thinners contain a whole bunch of different compounds, but lots are based on acetone - so maybe that's the magic juice in these things. I haven't been able to find a material safety data sheet or the like for the trim solvent to figure out what's inside it yet.
 

Turbojoe

Elite member
I love acetone and always keep at least a quart on hand. I use it a lot for cleaning seam color smears when covering, softening cured CA, cleaning glue tip etc. I've never tried it for mating covering pieces together. I'll dig out some scrap and see what happens.

Joe
 

Turbojoe

Elite member
That didn't take long. We know how fast acetone evaporates. The Monokote solvent is for Monokote so I dug out some old Monokote scraps. I put a thin film of acetone on the shiny side of one piece and laid the other piece adhesive side down. Smoothed it all out with my finger and made sure everything was dry. Initial light pull was encouraging then all the color pulled off the top piece. Everywhere the acetone hit the adhesive AND color were softened and easily wiped off the clear outer layer. That one doesn't work.

I've used the Windex trick for adding stripes etc and it works well. I doubt it'll work for joining two pieces together as a seam though. I'm out of Windex or I'd give it a try. It's probably the ammonia that causes the reaction. I don't have any ammonia on hand either. Sorry...

Joe
 

rockyboy

Skill Collector
Mentor
Thanks for testing that! I do have a bottle of ammonia in the shop - I'll give that a try tonight and see if it's the magic juice!