Ok, time to raid the Wife's sewing supplies:
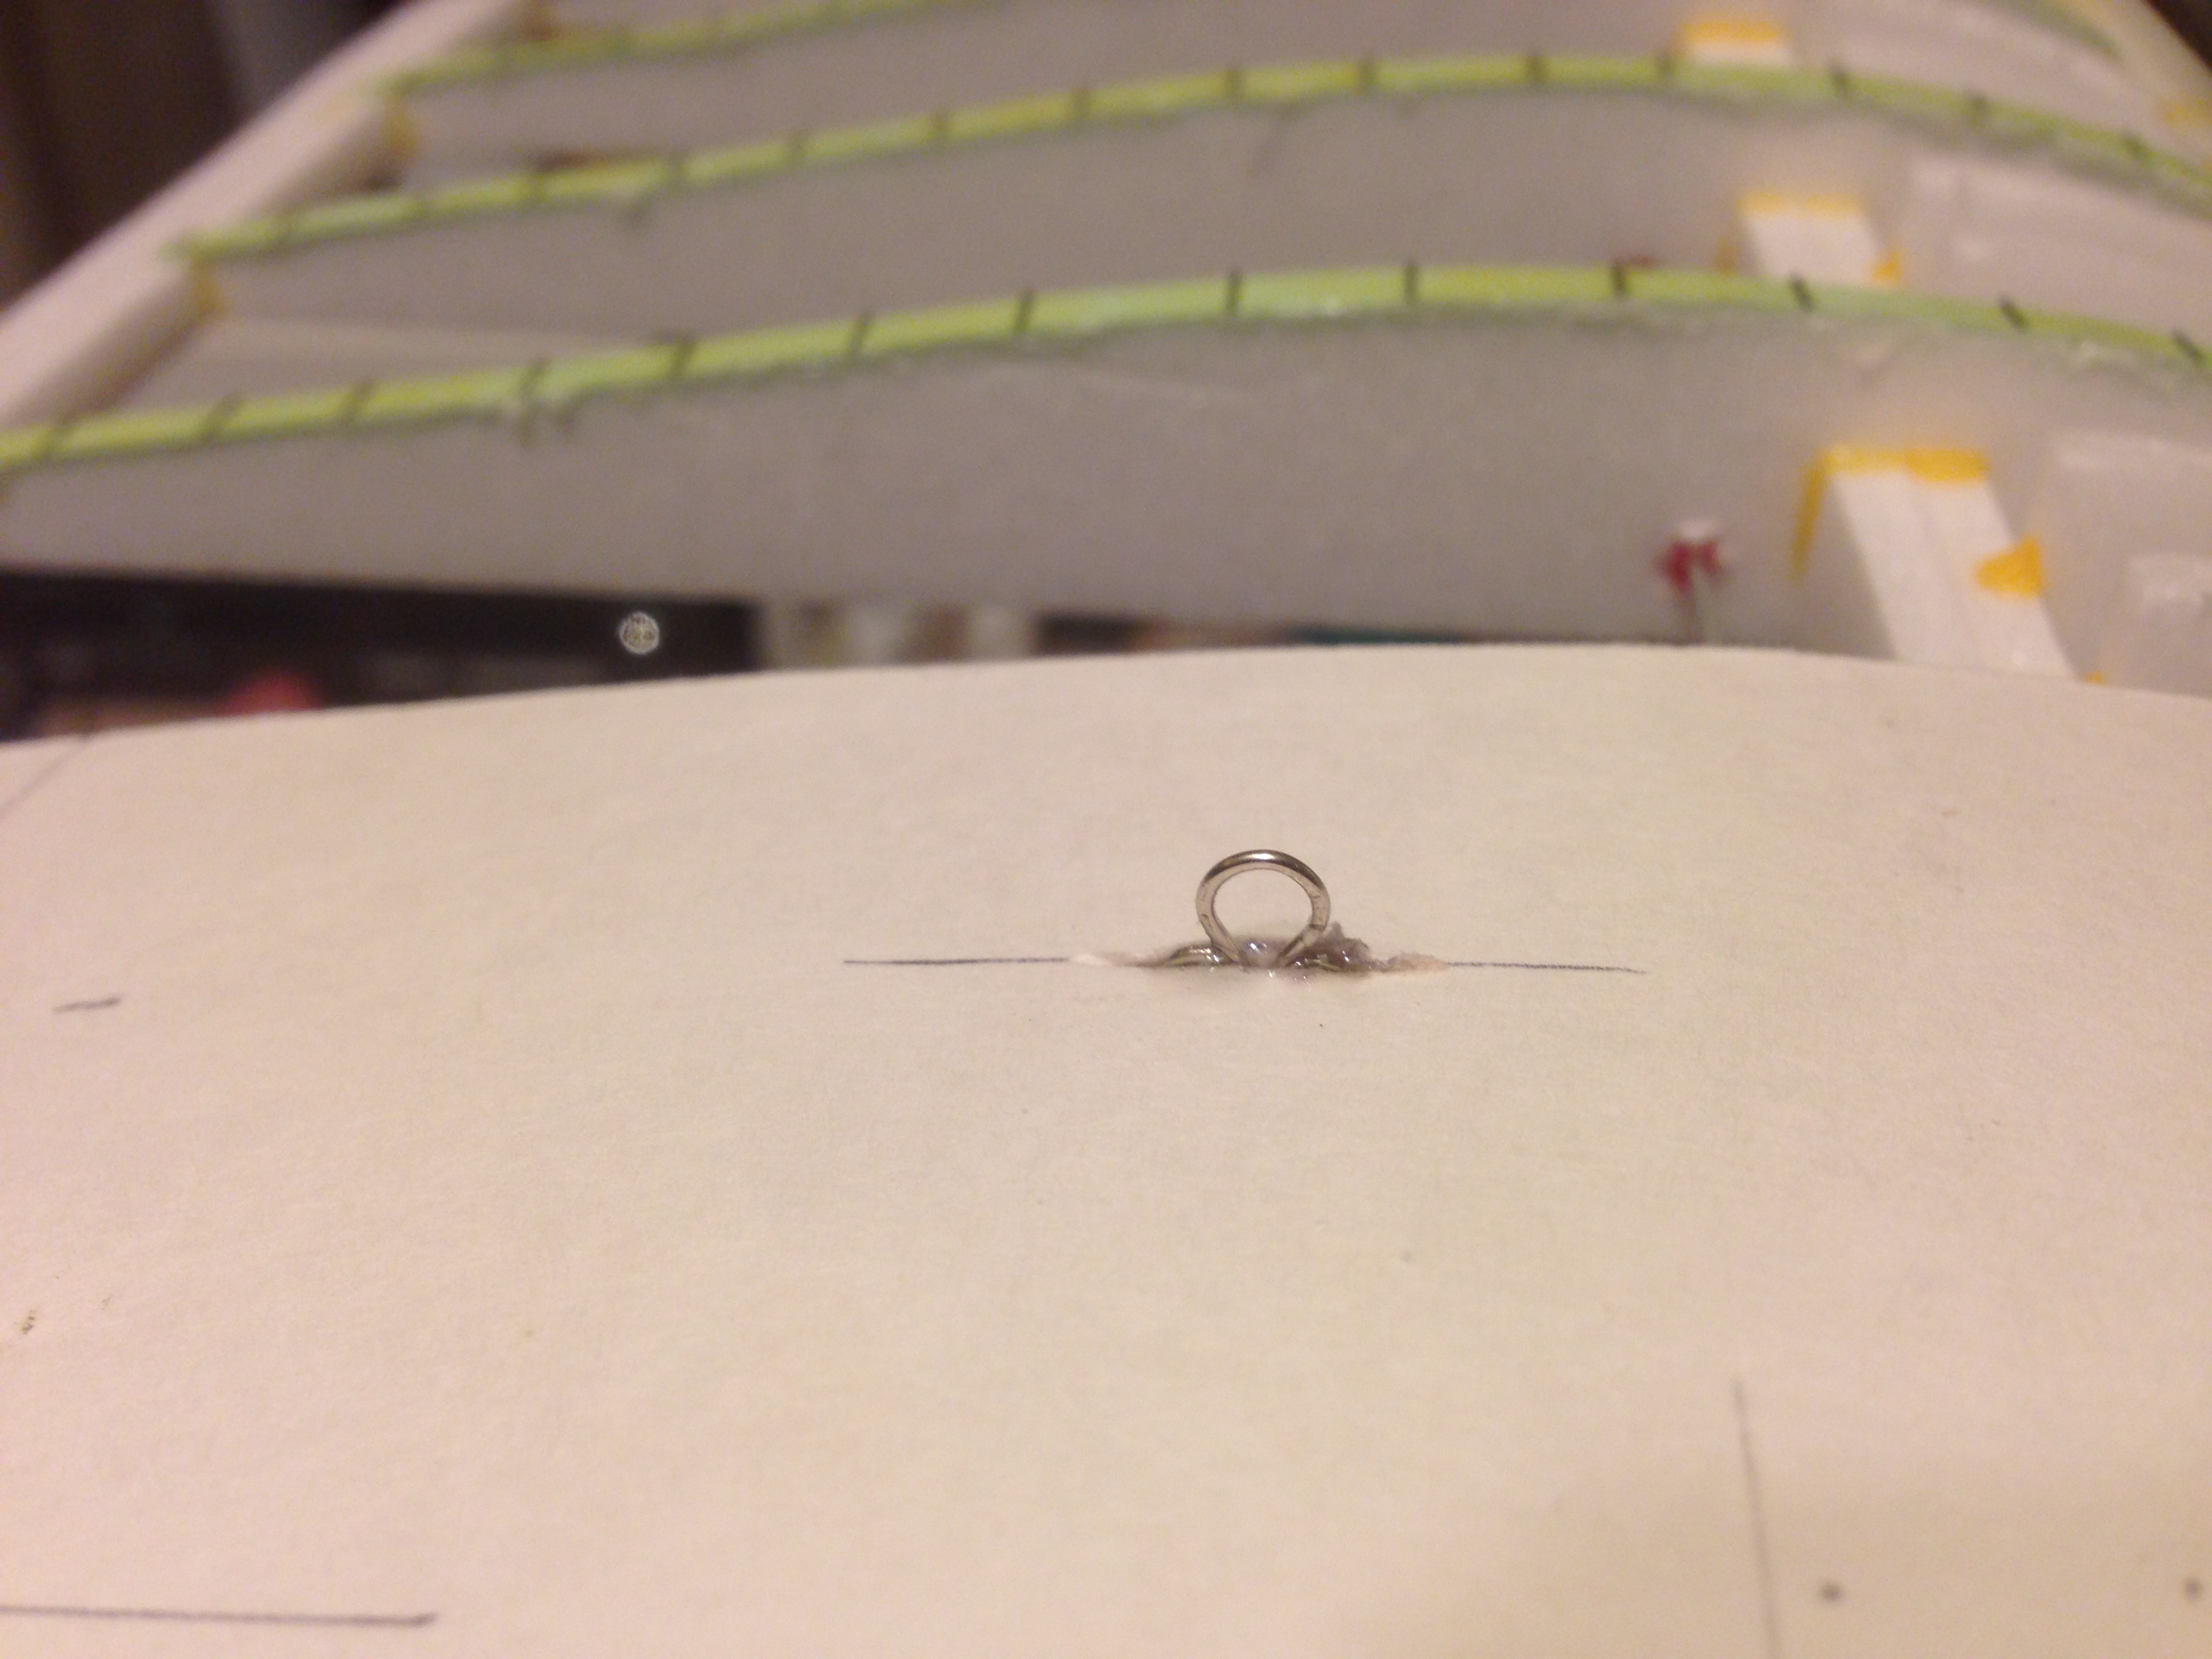
For the guy wire tie downs I used bra loops that the hook would go on to... give it a bit of risque character.
")
This was done on the top of the wing and forward of the wing mount location on the fuselage. I prepped the underside of the wing with a piece of balsa and gorilla glue. Used my dremel to cut a slot and more gorilla to hold in place. The fuselage part was perfect as the popsicle sticks for the landing gear provided the perfect hard point for the loops to go into.
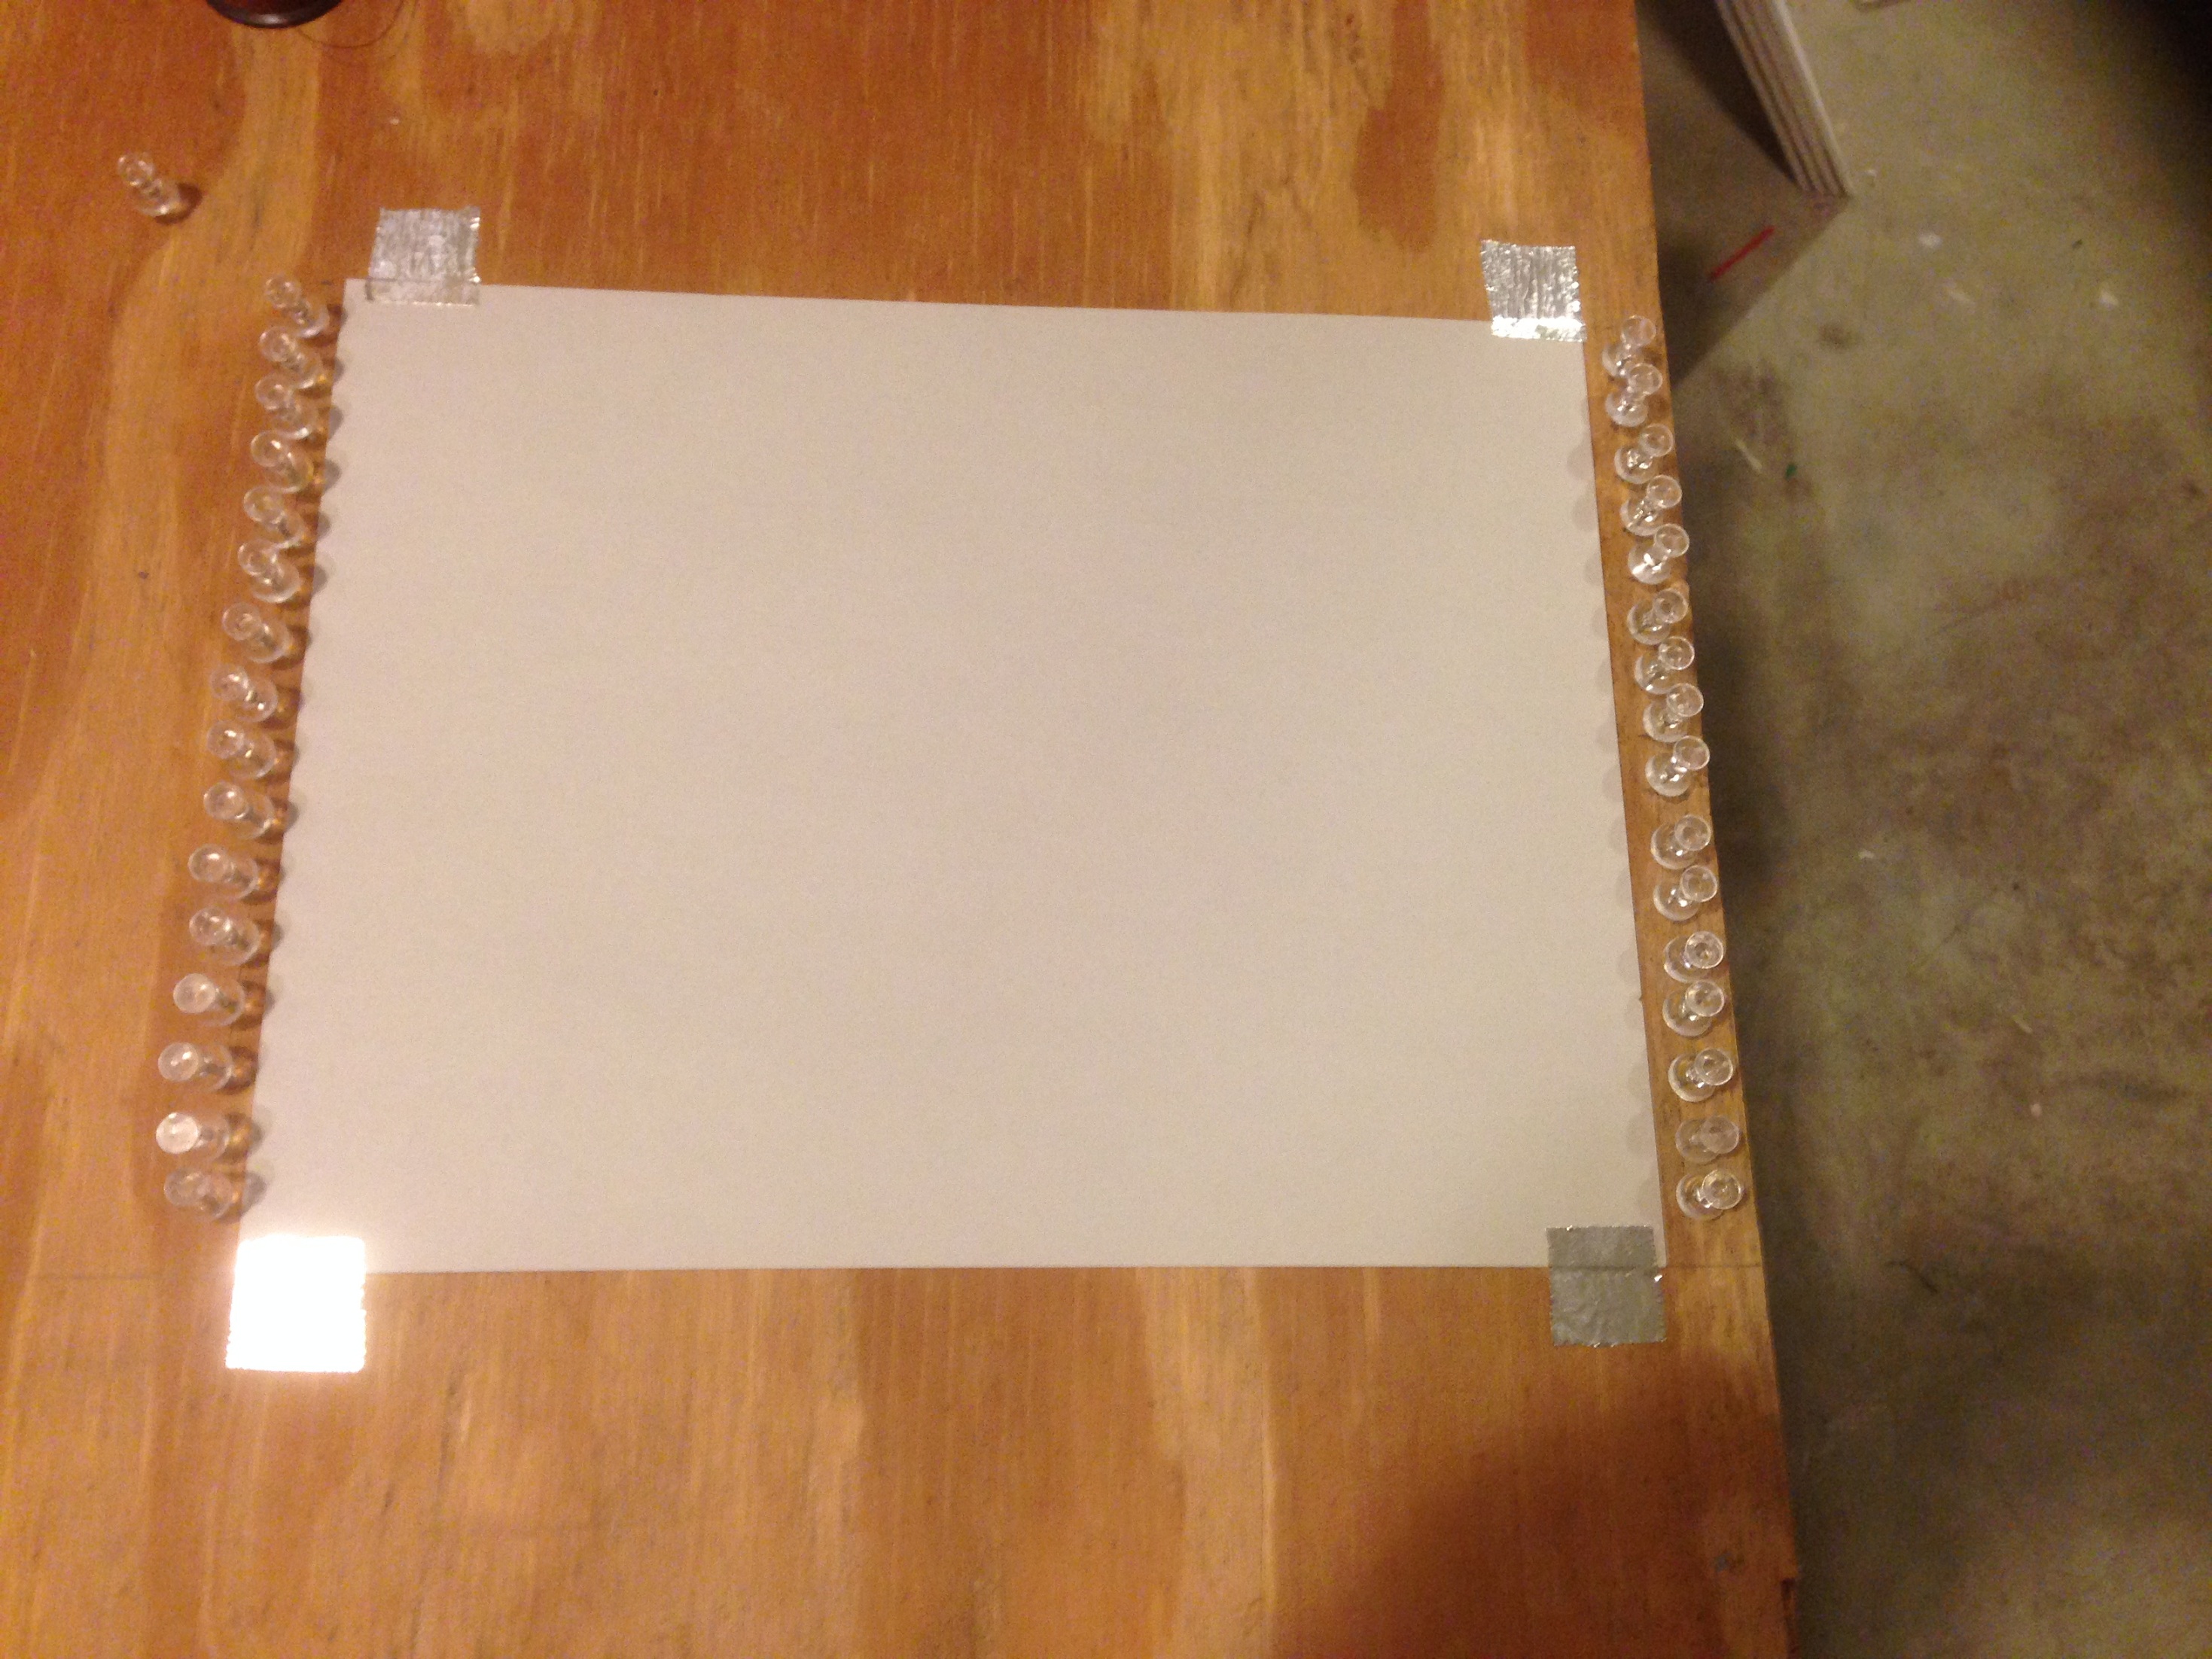
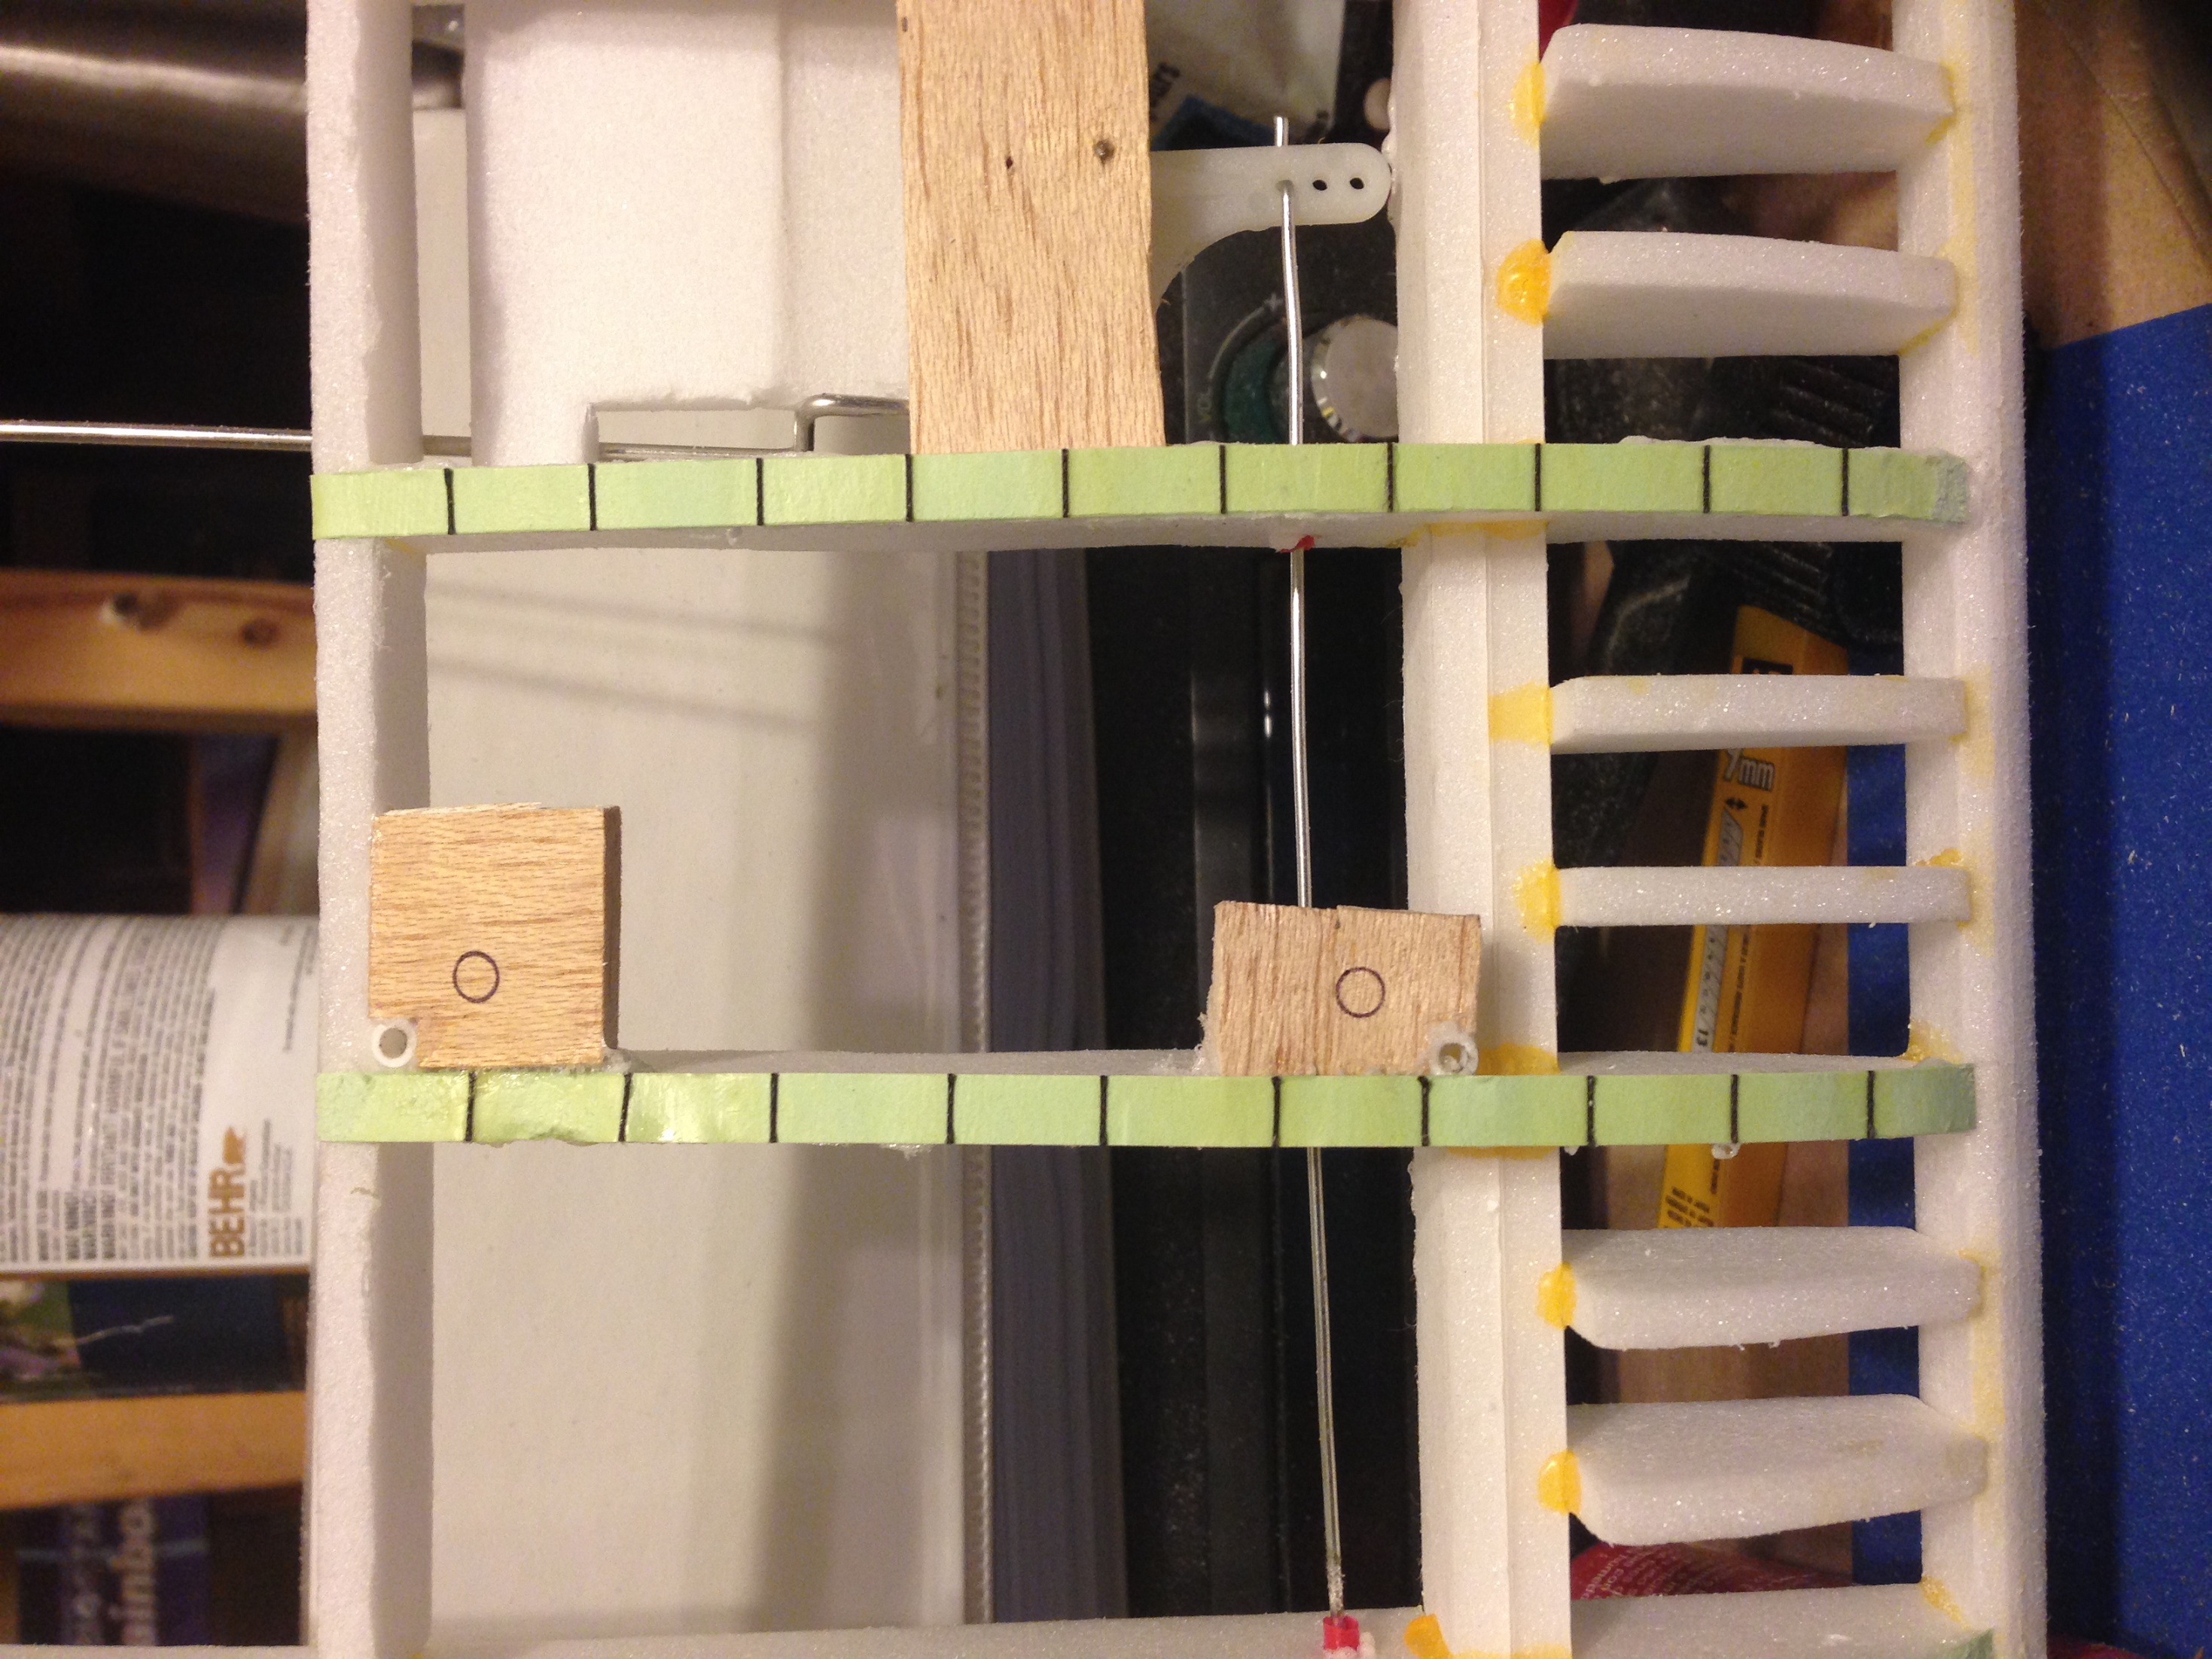
I need to make more cap strips for the bottom wing and as promised earlier I'll go over this in detail. I am using 110# weight cardstock. The wood board is prepped with thumbtacks as a scale interval for spacing of the stitching.
Tape the sheet in place.
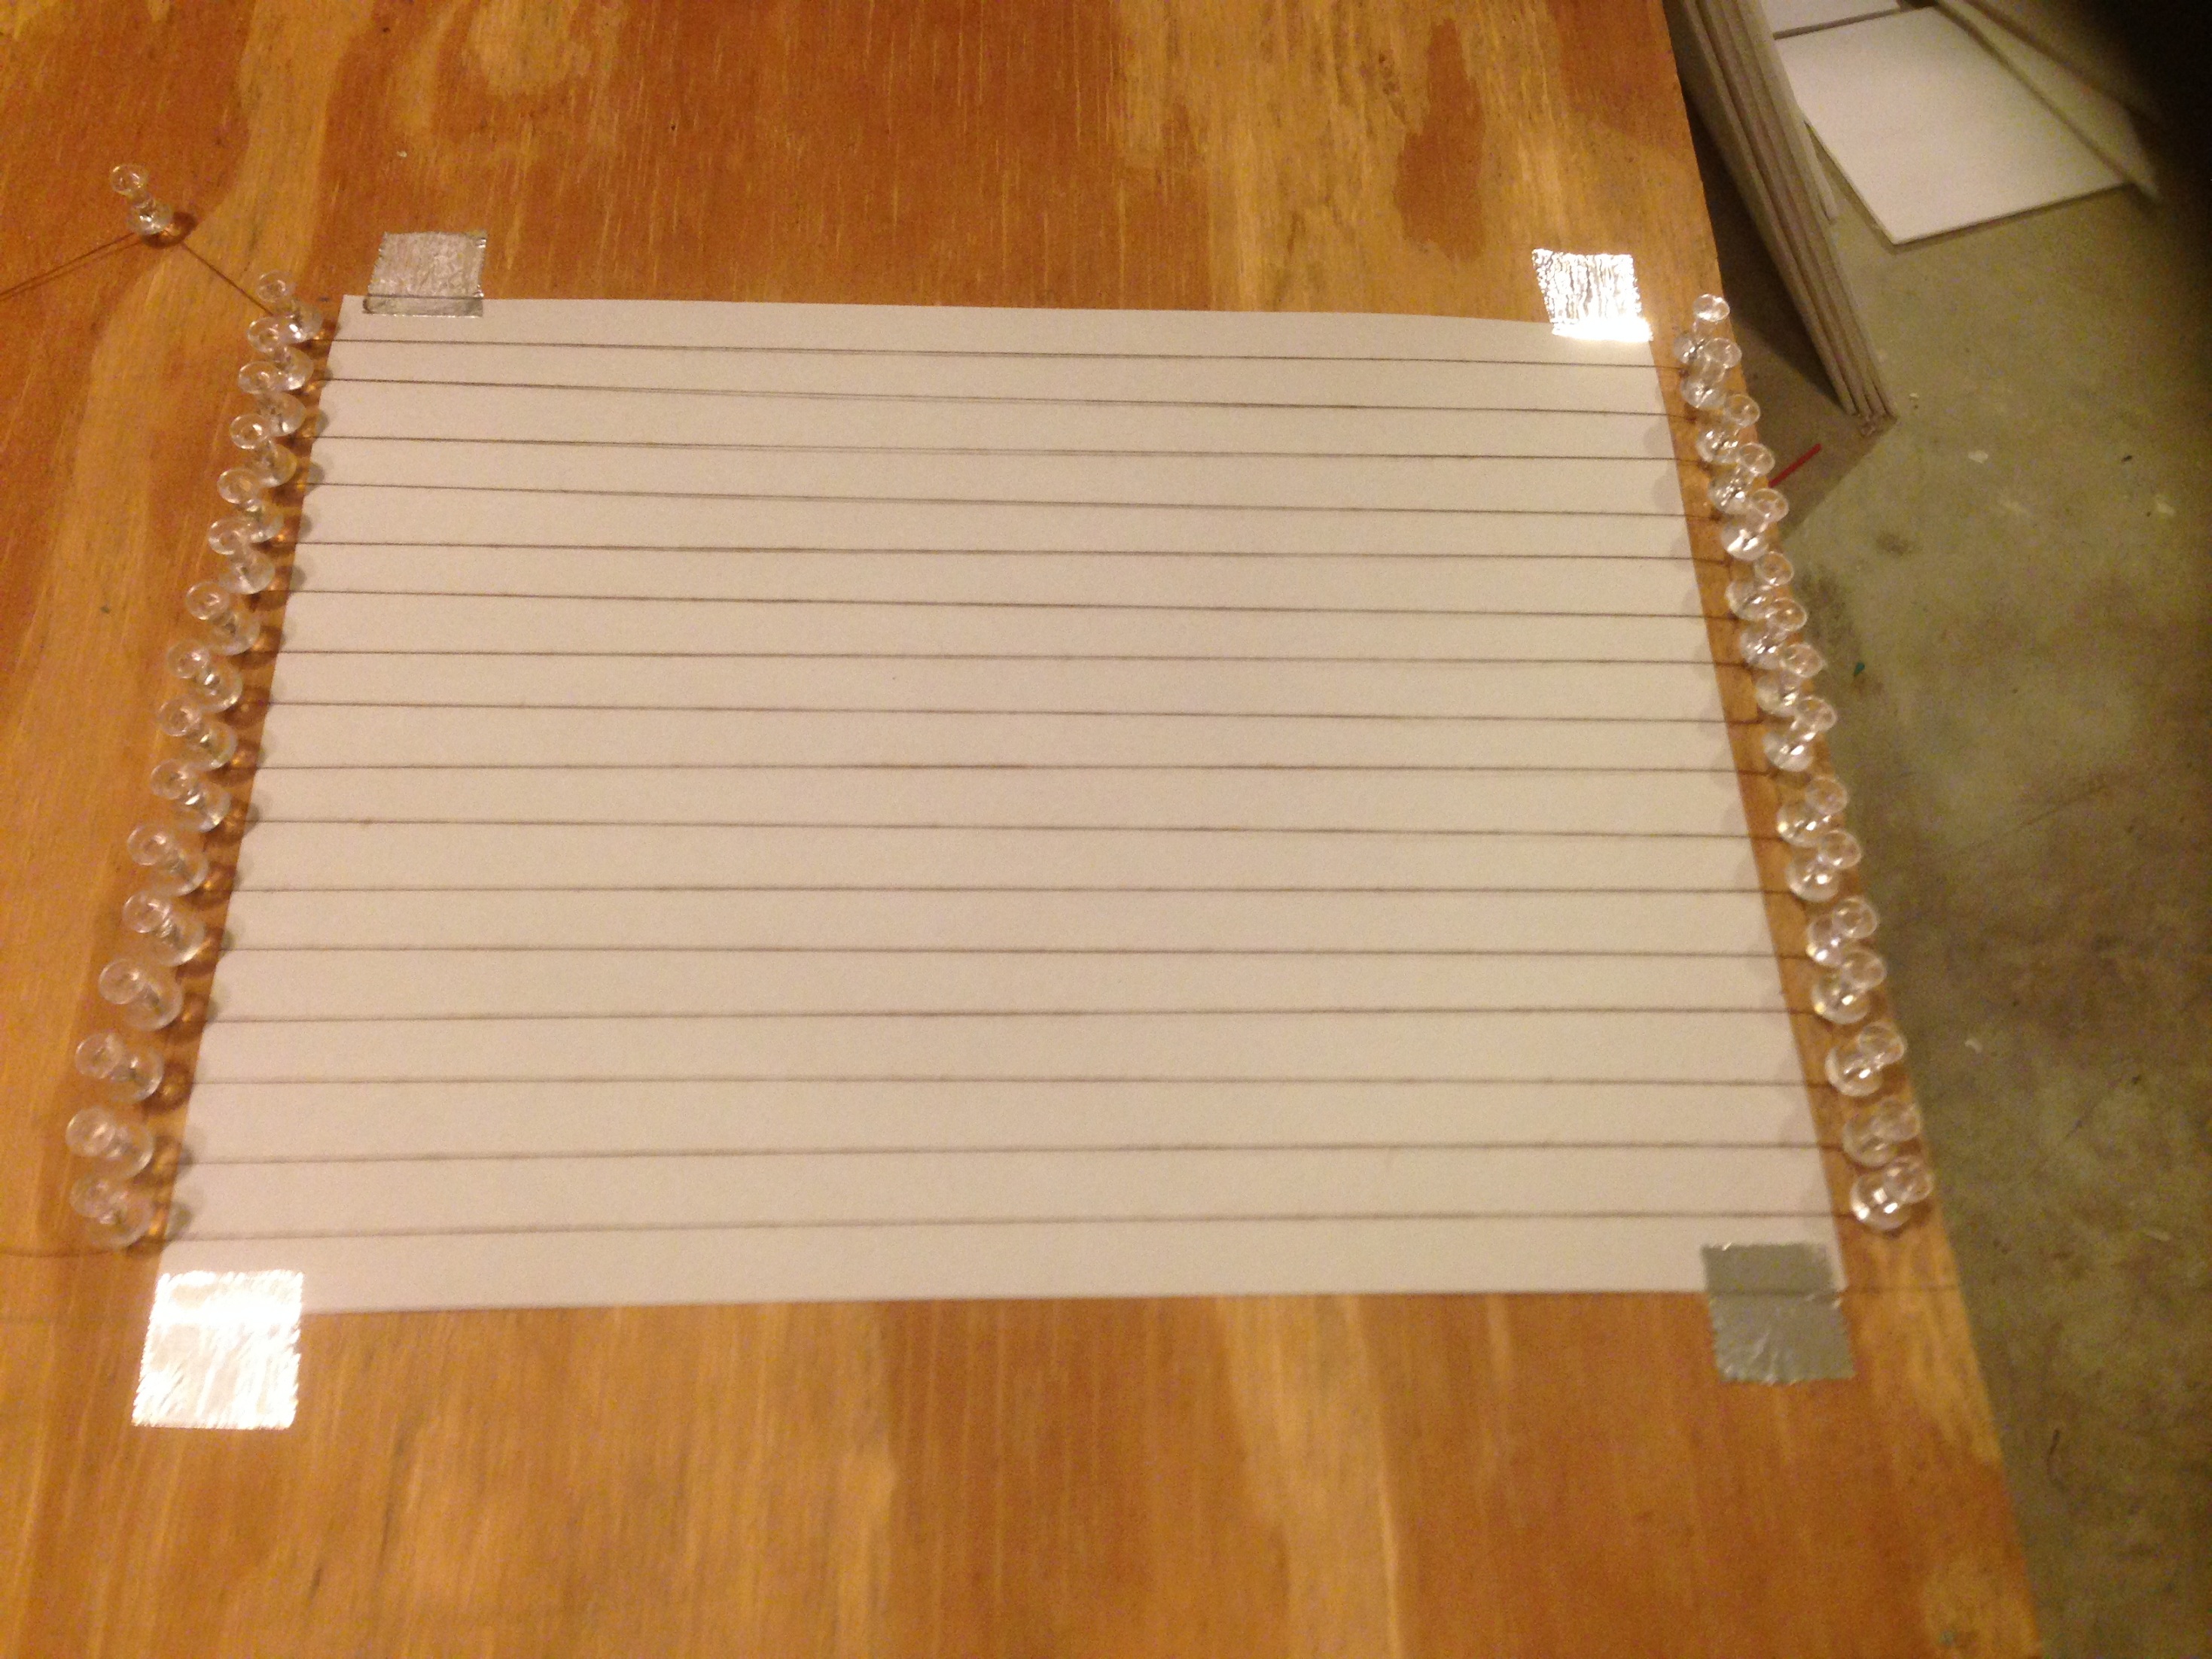
Run your thread around the thumb tacks.
Press down the thread ends to the board to make it all nice and flat.
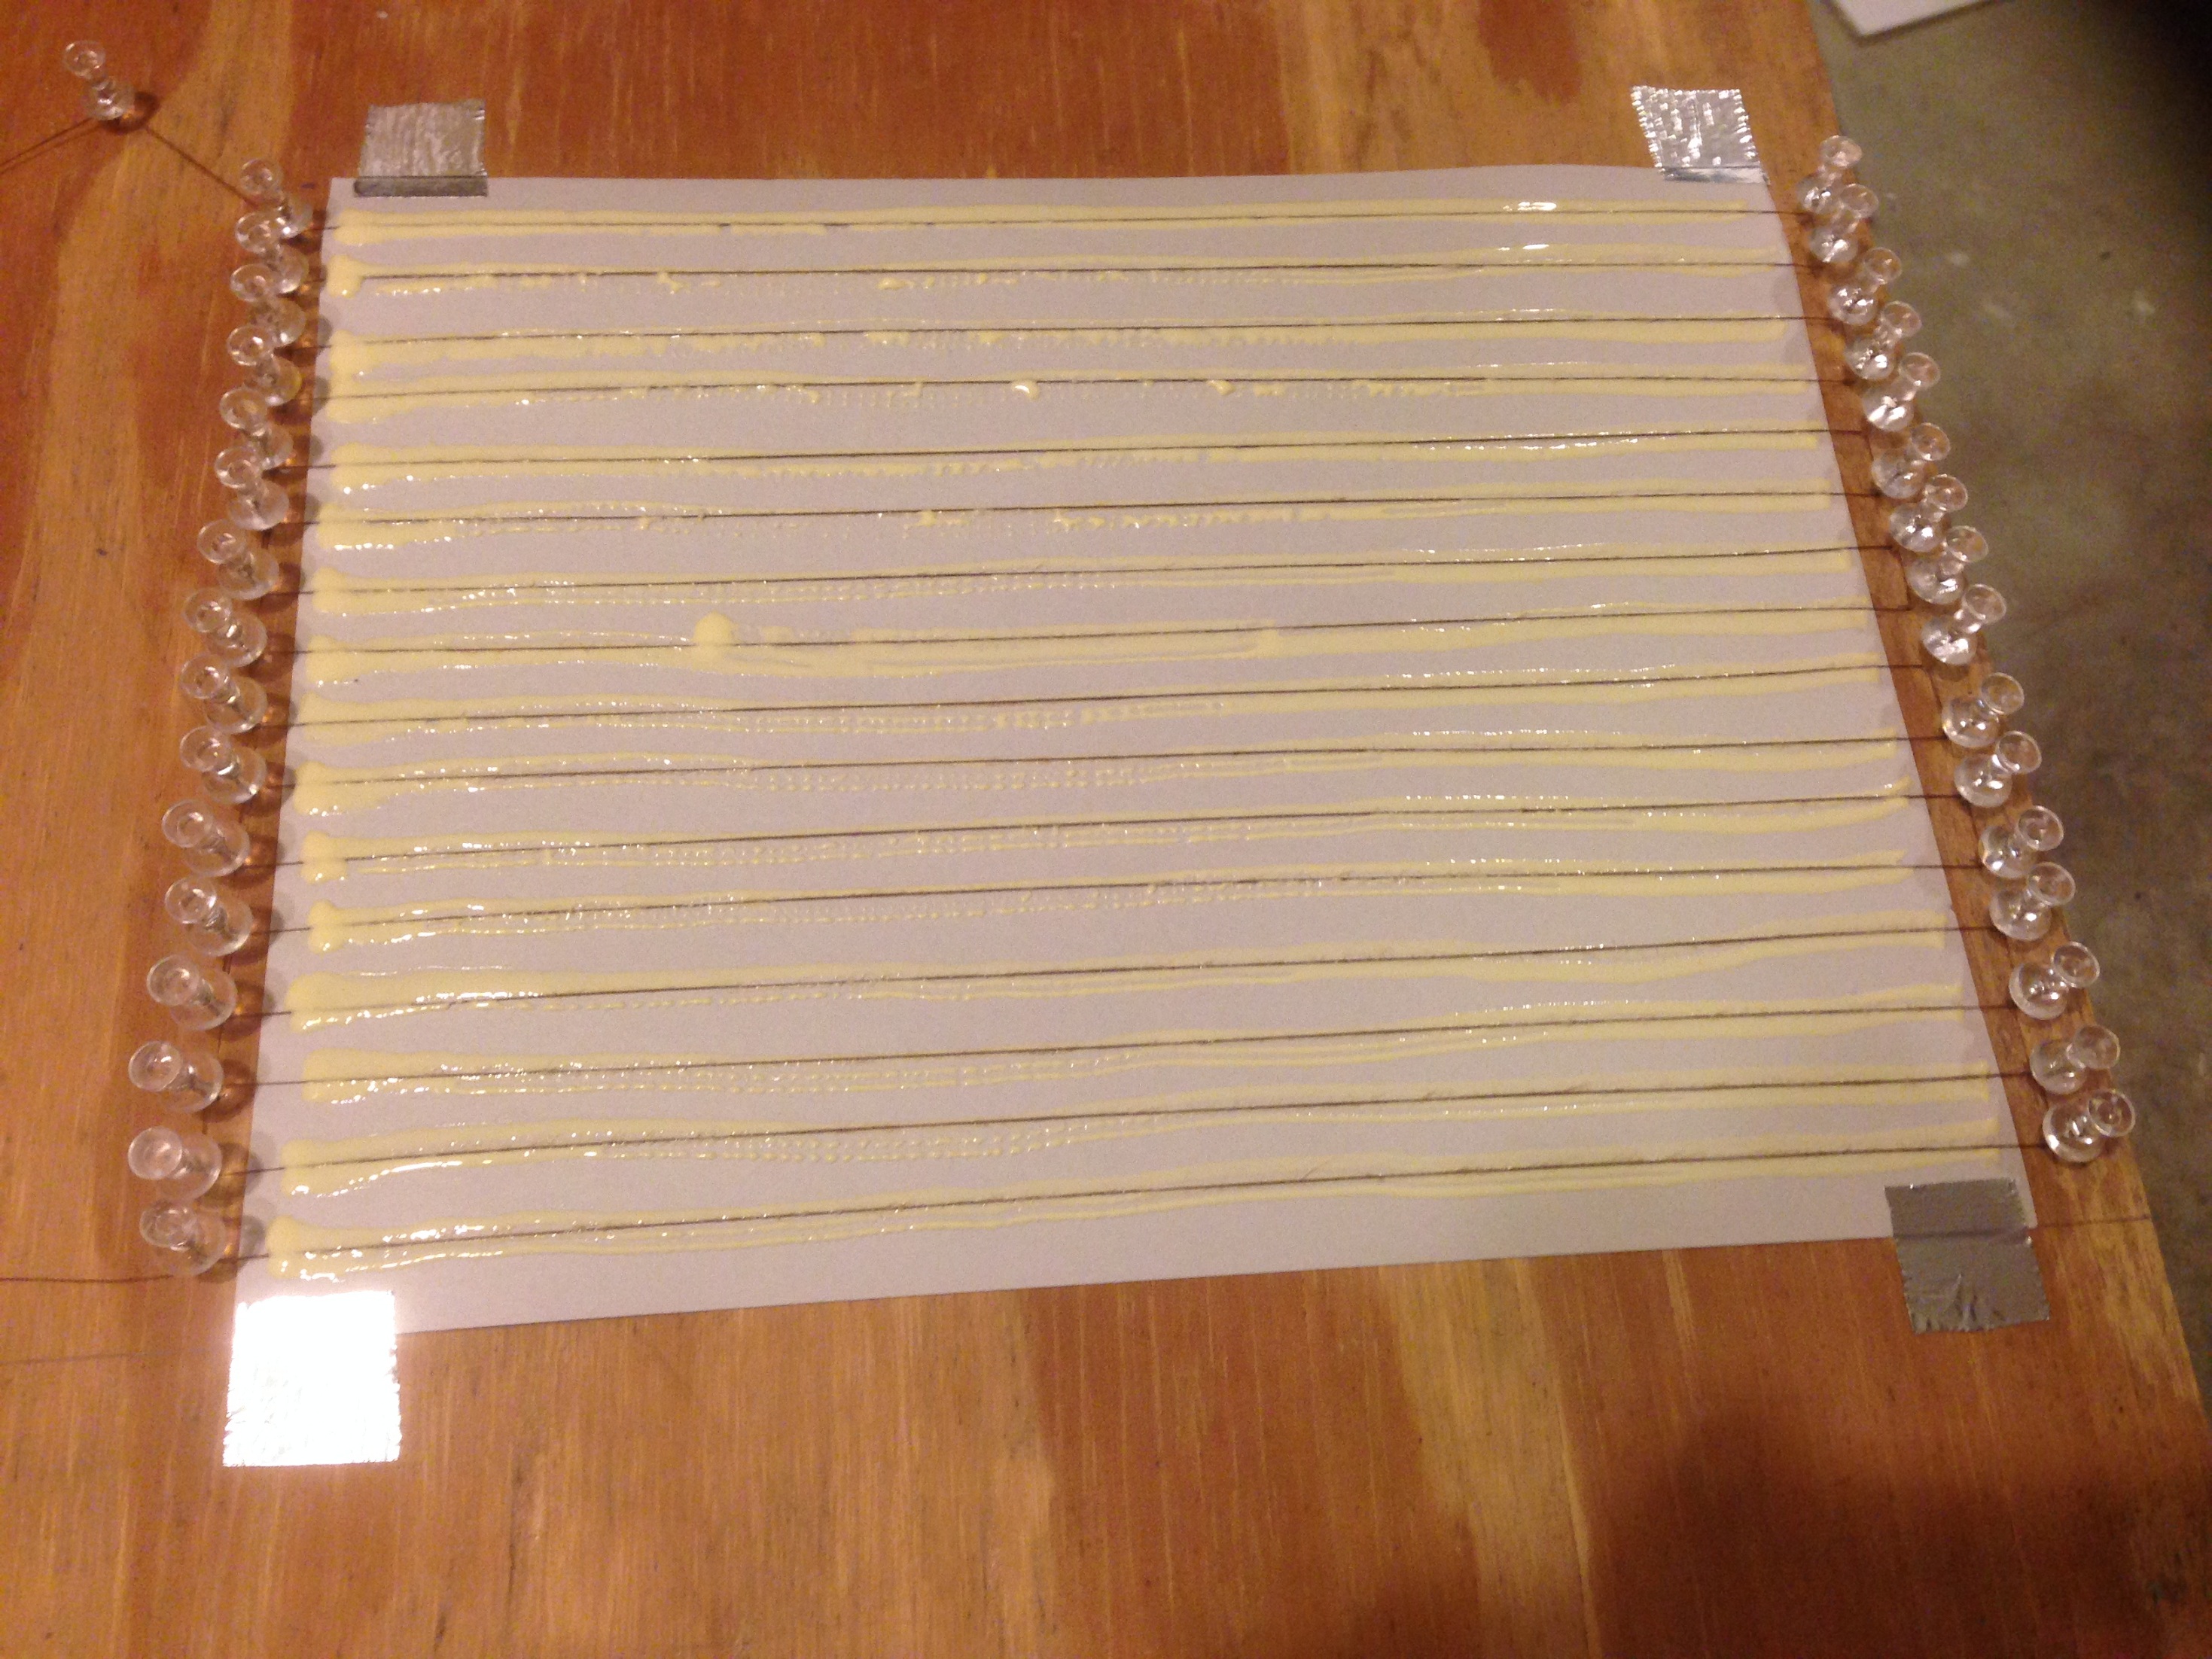
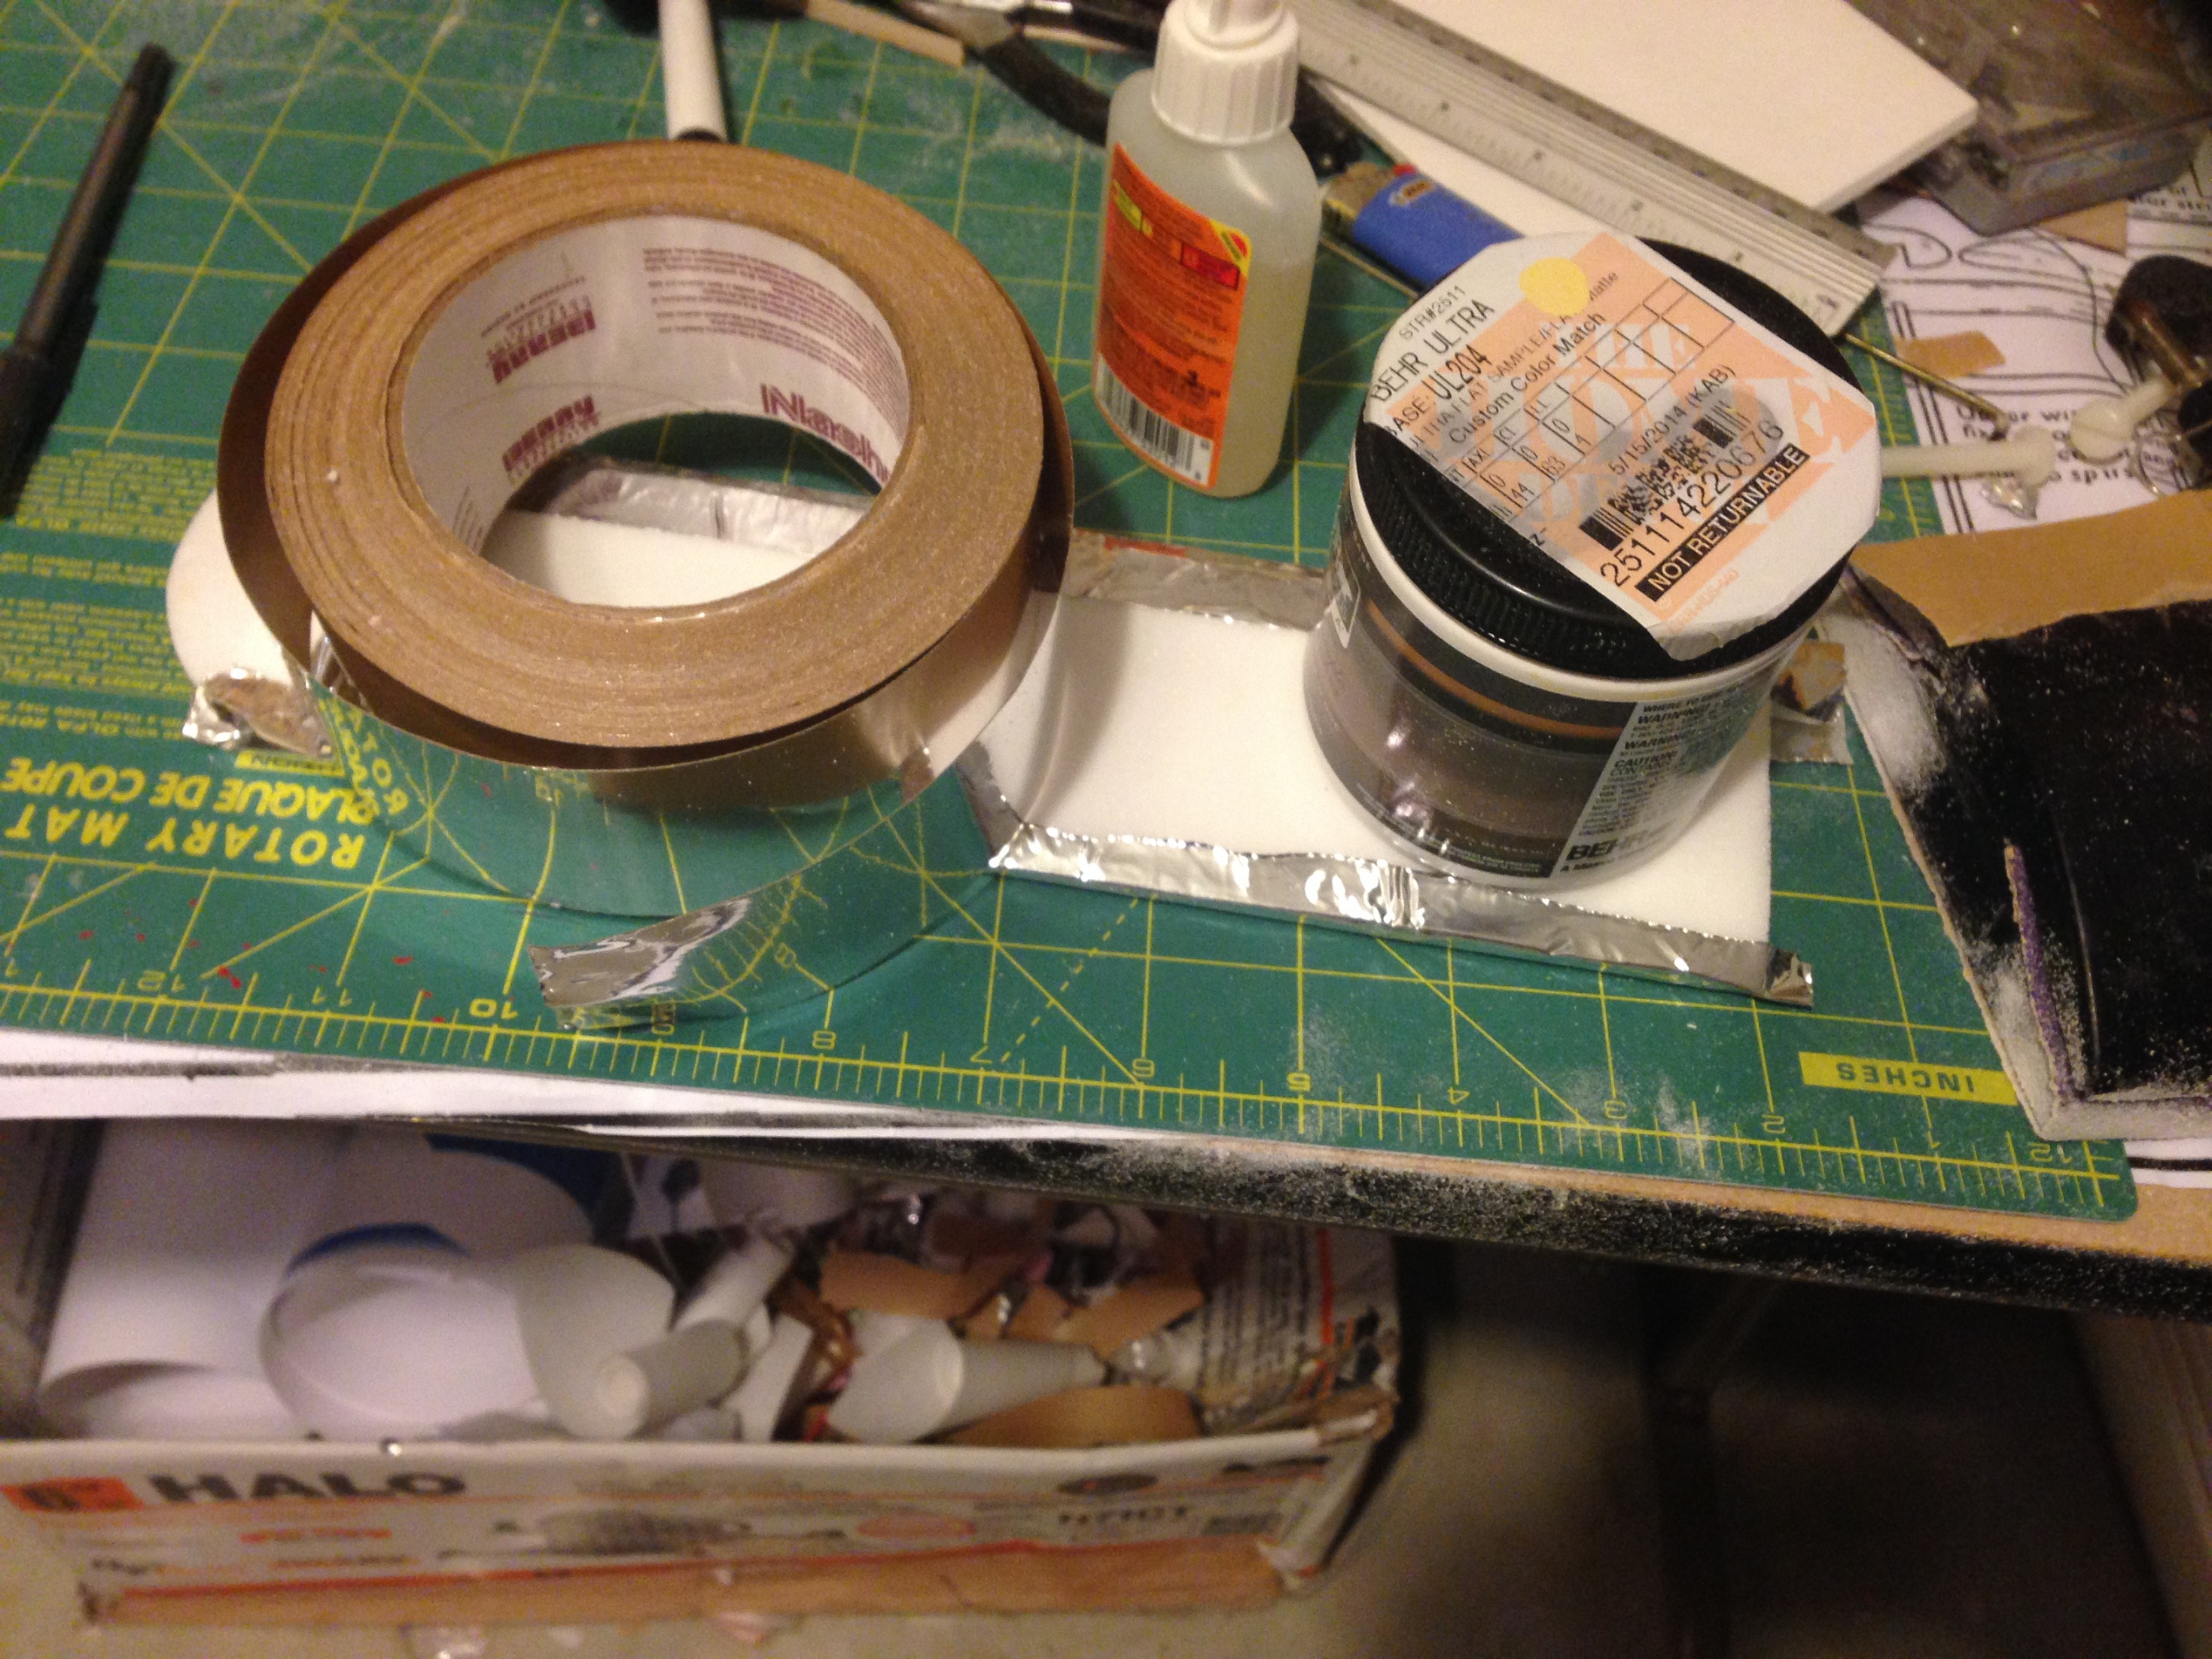
Apply wood glue over the threads.
smear with your finger to spread evenly.
Apply wax paper and squeegee out any air bubbles and excess glue if there is some.
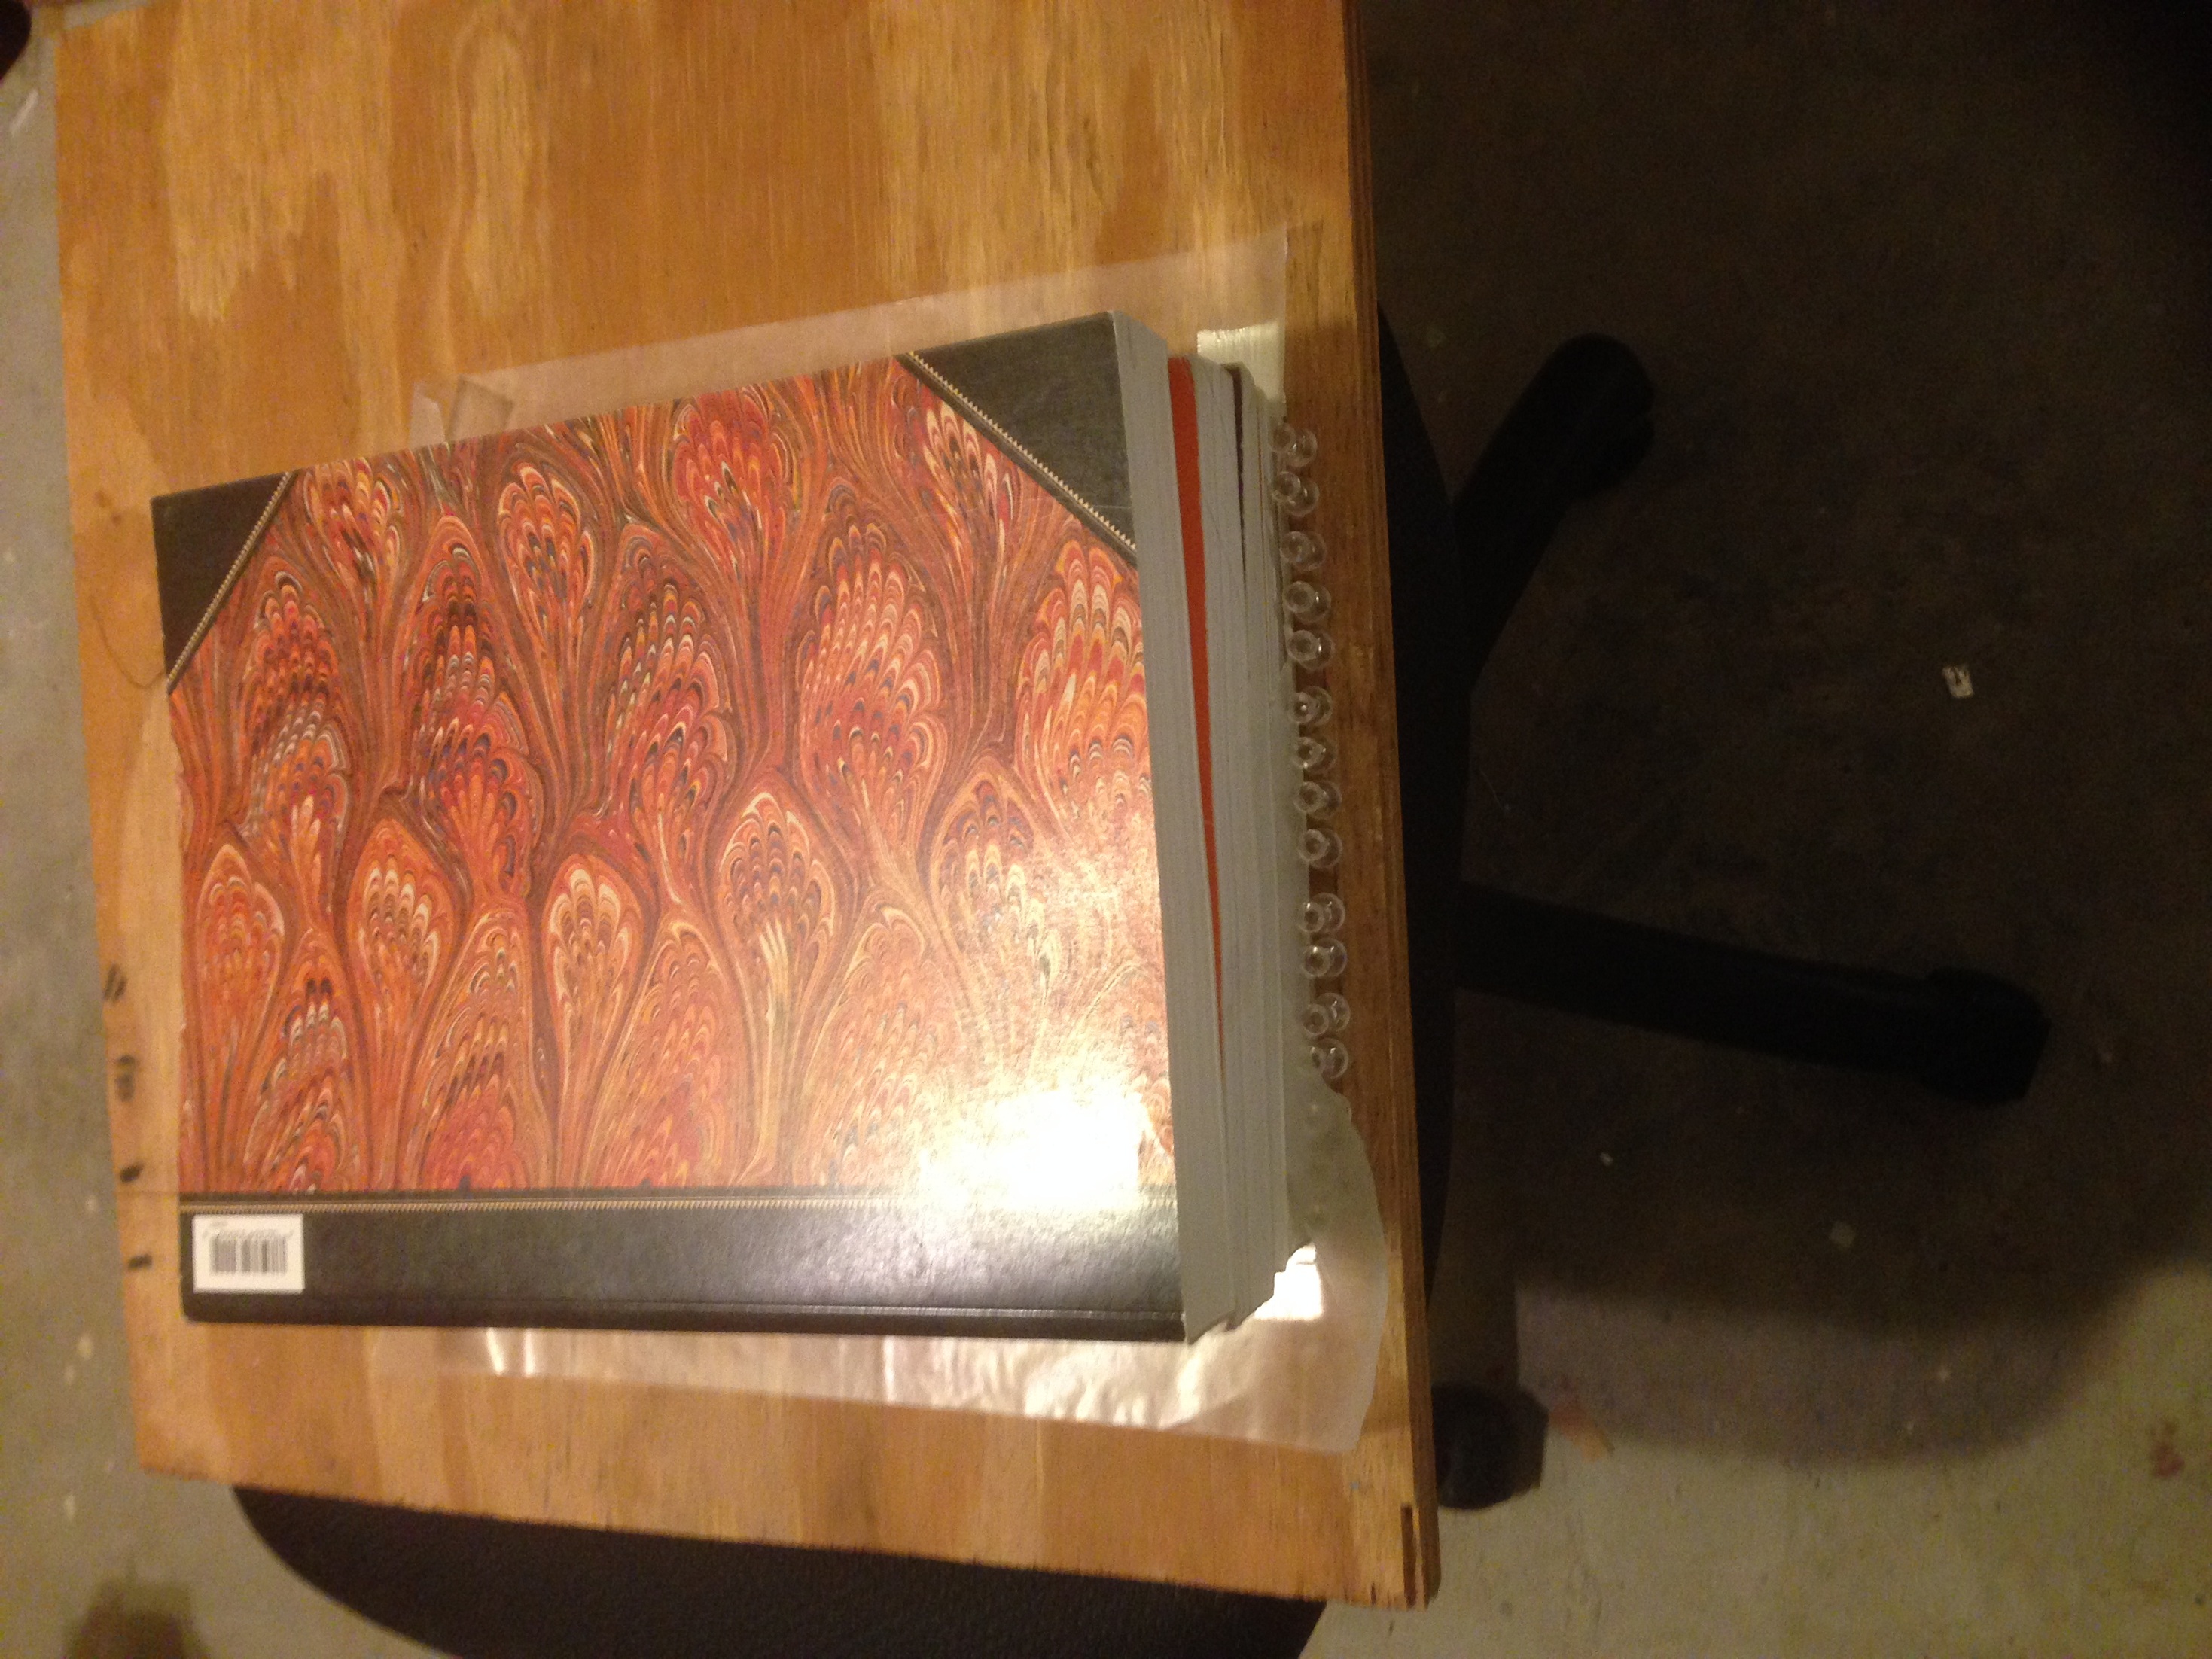
Apply weight to keep it flat. Keep in mind that the glue is water-based and can cause the paper to wrinkle as it dries. Thats why you want weight on it... so it dries flat.
I've let this dry overnight. I also applied some tissue and WBPU to the front cowl. I did more work on the battery hatch to have a more scale "pull up" handle to release it. I'll show that detail once done. I applied FG hinges to the top ailerons and will glue them to the wing later.
Next up is to cut and apply the cap strips and make the control rods for the bottom wing. I'm also considering simplifying the IP strut mounts to the same ones I used for the cabane strut mounts. I'll only have to use screws on the top wing then as those have already been completed. No biggie. The guy wire installation will hold it all in place once done.