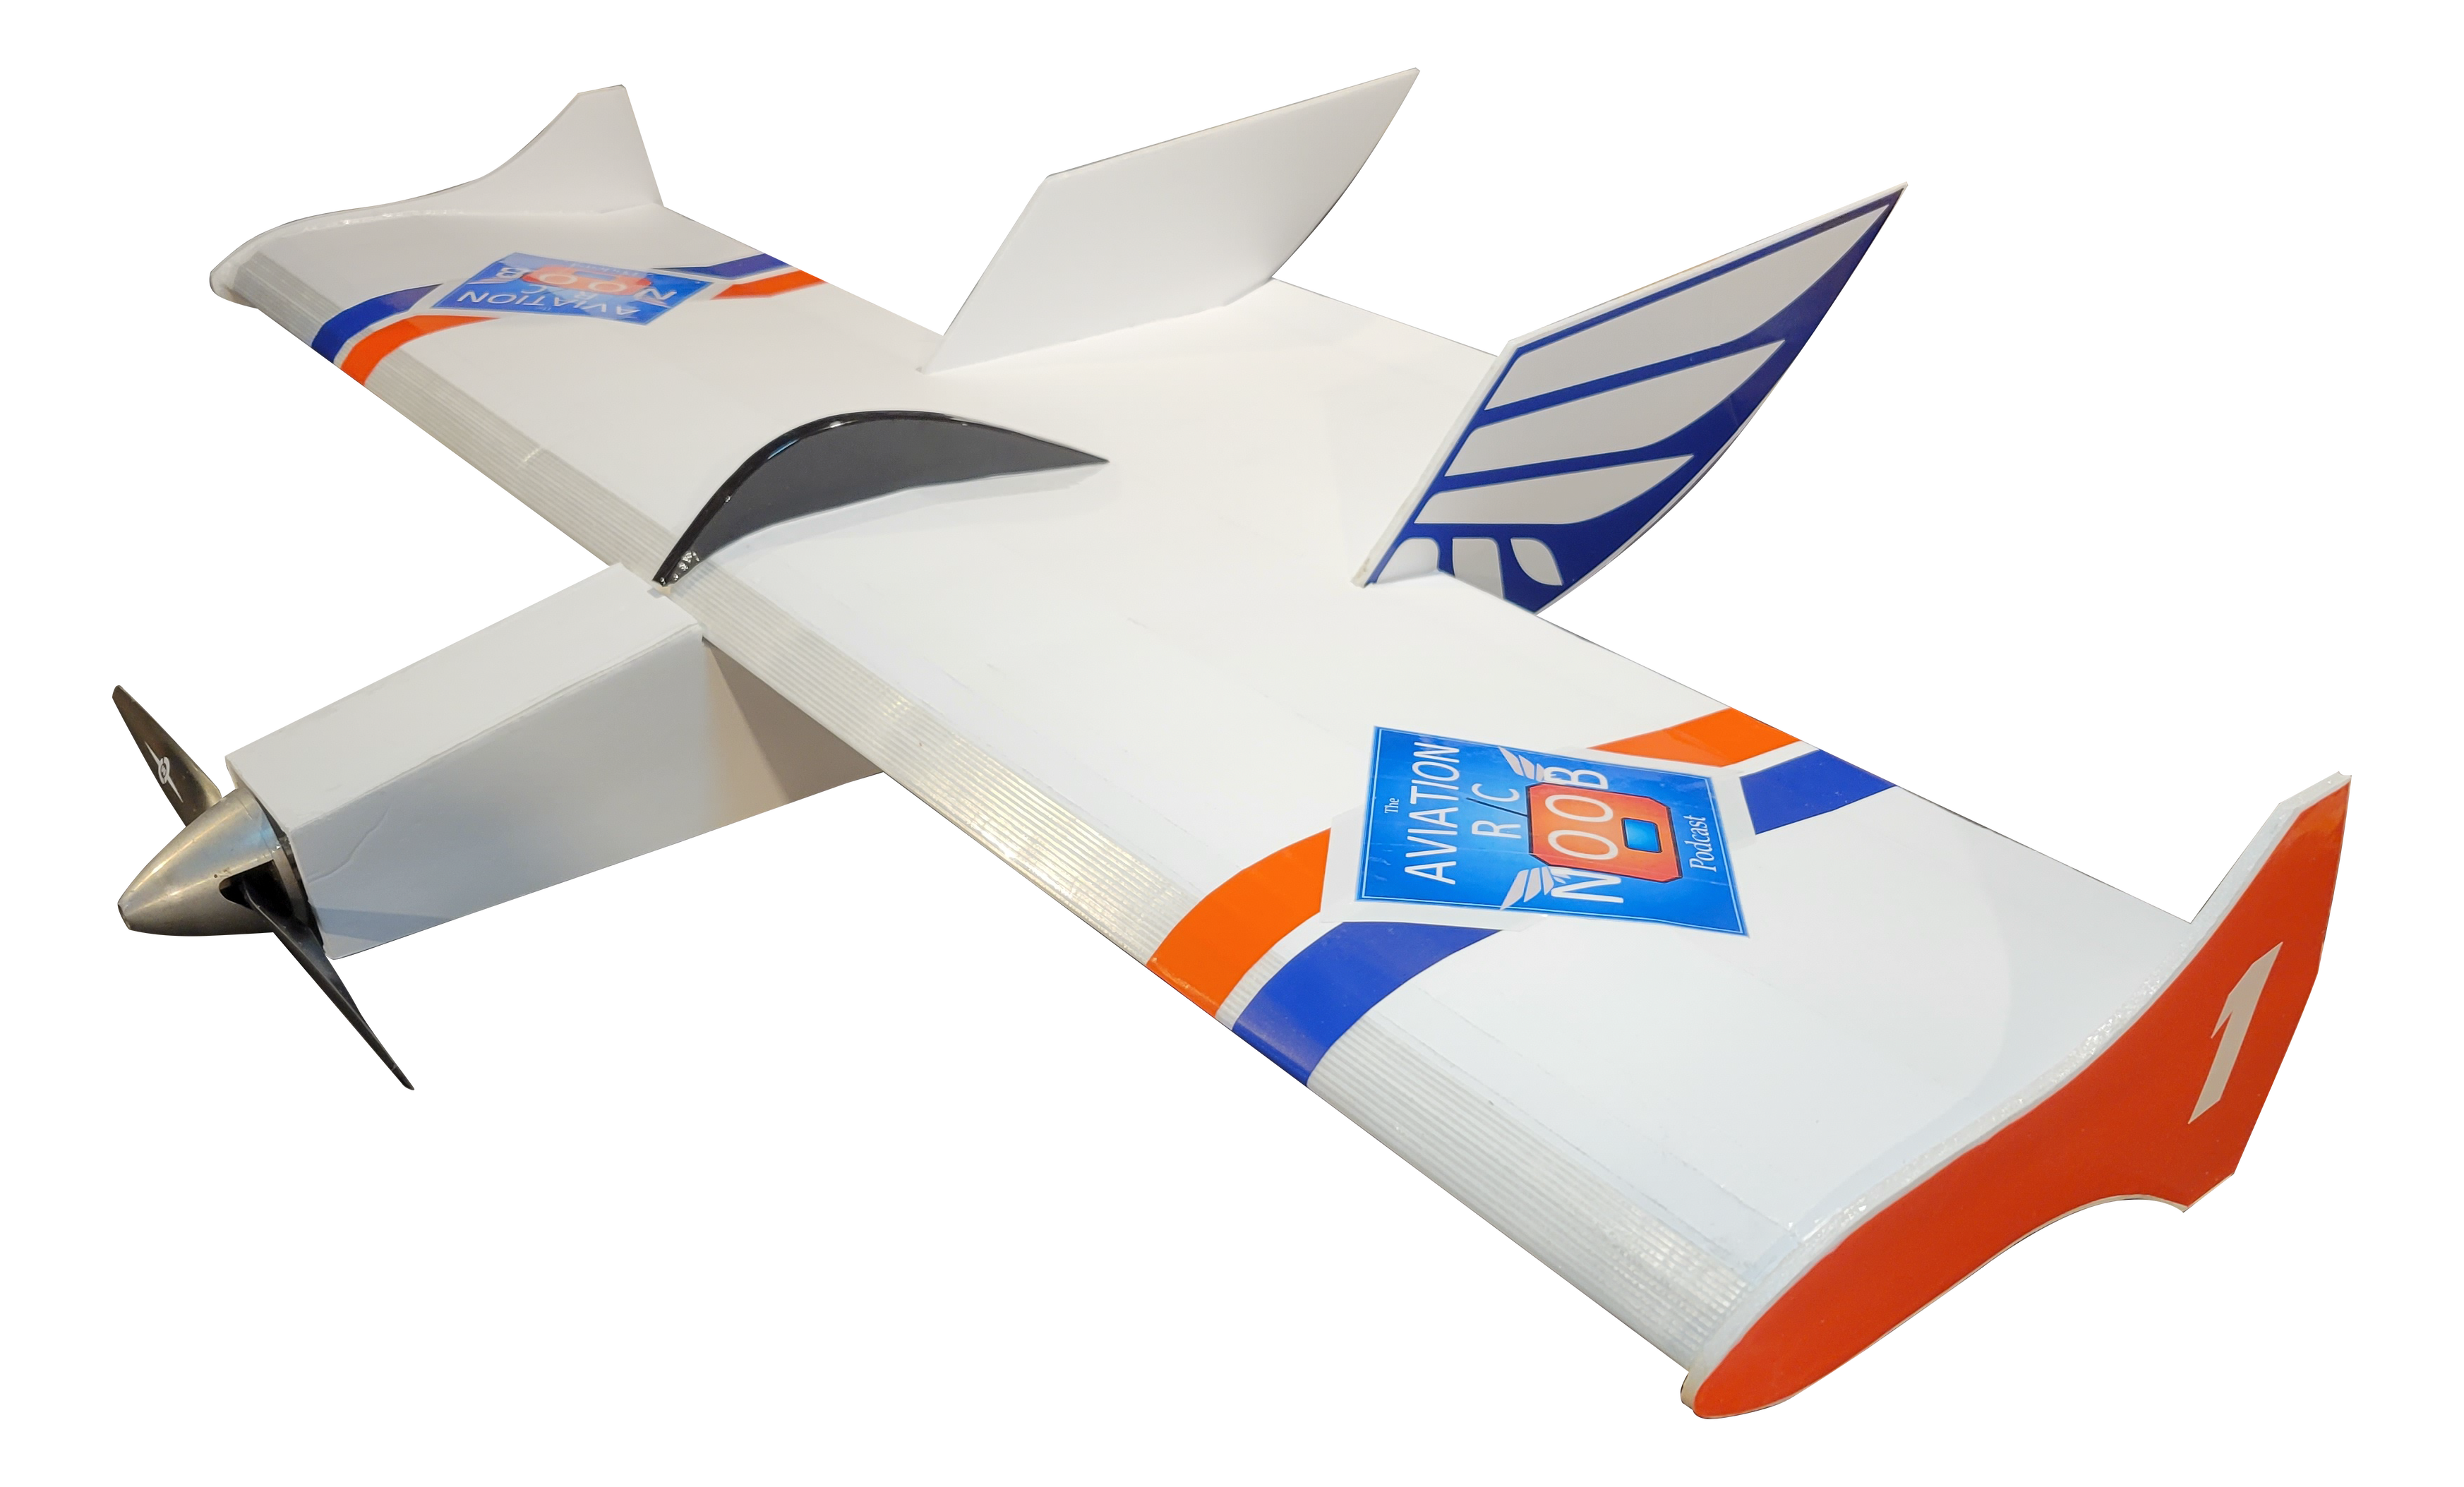
300% NOOB Wonder for FF 2023

FoamyDM

Building Fool-Flying Noob
Moderator
image.png

As the Co-host of the Aviation RC NOOB Podcast, I am so pleased to see this project taking off with such community support from @SP0NZ and @FlyingTyger. I know that at Flight Fest we will all be hosting Wonder Jumble combats, each with our variants.
1680671687154.png

Inspiration
Last year the Aviation RC NOOB Podcast organized a small FT-Spitfire community flight. The community support and participation of this first stab was encouraging. And meeting our listeners in person

ARCN has enjoyed the past few Flite Fests from the community, comradere, and combats. Part of what we love about combats is having the community coming together, and having a Big Target attack. Considering the effort and support the community has shown so far, we felt we wanted to show up in a BIG way. By building Big.

Build Declaration
Joe and I have been overwhelmed by the support this and our growing podcast community have shown for this project. To honor this, I am declaring we will be building (and flying) 2 - 300% Noob Wonder variants of @SP0NZ Foam Wonder design. As a way to push myself to be sure to complete the project, we declared this on our 71st episode of the podcast.

Community
After sharing the news about the SP0NZ plan release, the Hangar RCs excited to produce and make available, Speed Build Kits of the "NOOB" Wonder. And Tony @FlyingTyger helped build a model faster than I could print out Plans! With that he release incredible looking 1930s decal set available for free, here.

Gratitude
Along with that we have had friends listeners and hobby community members offering to help us with this project. It is heartening and incredible and to those who have and will be part of this project please accept our sincere THANK YOU.
 
Last edited:

FoamyDM

Building Fool-Flying Noob
Moderator
PLANNING STAGE
This portion of the build is the most critical
So let's get to it:

Sizing and Materials.
As I looked at my 100% printouts and measured the part sizes, I scaled up bulk dimensions. ~21" long fuse, with a ~38" WS. This makes a 300% version ~60" long fuse, and the WS 112", or a 56"half.
Then I looked at how the wing chord scales, 17.83" (with Ailerons) x3 = 53.5" - 3.5" ailerons gives us 50" main body.

Given those sizes, it looked like it would fit quite well on DTFB.

Thankfully Dan send me the electronic files to work with. Which sped some of this up. (Thanks again @SP0NZ ). I took them sized them and looked at where I needed to make adjustments, In part for equipment space needs (like batteries, and motor mount) and to see if a minor adjustment will help economize in sheet usage.
IMG_20230404_144042702.jpg

yellow boxes are DTFB sheets (20"x30")
Fuselage
I decided to shorten the Fuselage by an inch and a half. It was also apparent that the 6S 5000mAh Battery (2.5"x3"x6" brick) as well as reduce the height some. This allows me to keep it to a 20" width, reducing the sheet count and waste.
Wing
The general dimension of the wing were clear, I realized that some of the wing shape is the paper overwrap. Something not needed in this size. By shifting the wing WS by about 1.5" I could use the side "waste" as the aileron reducing waste board even more.
The Spar - this I the most critical design element of the project. If it fails, the plane crashed. And at this scale. It can start being dangerous. The plan is to use a 3.5" deep spar with a 4" wide top plate. And use a 4.5" truss elements out mid aileron. This should create a torsionally stiff spar box to resist twisting loads from the aileron forces. I plan to install formers every 6"-8" or so. This will really give support outside the box spar. This allows for safer handling and better flight/crash performance. The spar size means a flat width of 10". Perfect for the material. A little less deep, so structurally weaker, but will have less drag than the true scale depth.

Empange.
The tail section is just larger than a full sheet, which is easy to adjust. The wing fins are 3/4 of a sheet.

Motor system
In the gratitude section above, I mentioned a special thanks to our Listener @Mutley for donating some properly sized motors for the project with a 15x6 prop.
The also came with 40A esc (2-6S) and 3 servos
 
Last edited:

FoamyDM

Building Fool-Flying Noob
Moderator
Building Log

9/5

With the basic plans figured out, it is time to get to work.

First materials. Each plane will be approximately 15-17 sheets. Which means I need a stash! And glue!
IMG_20230403_160122162.jpg

Spar and Wings first.
I decided to use half a sheet of DTFB for the spar. At 300%, the spar depth is 4" and width of 6" but that feels like too much and I want to reduce the drag some. so I am reducing it to 3.5". Leaving the width to 3.375, leaving a between distance of 3" for easy trussing. 10"-Neatly half a sheet x 3 + 3-truss strips. On 2 sheets.
IMG_20230405_015109428.jpg

Also each wing half will consist of 5 sheets, yielding a 24" chord x 55" half-span width.
IMG_20230404_203248331.jpg
 
Last edited:

FoamyDM

Building Fool-Flying Noob
Moderator
Make sure you trust the spar enough to hold your plane and some others👍
That brings up a good point. I need some help;

To those who have made large planes 8'+. How did you support the wing, and how did you split it?

@Squashymoon125 - I will discuss my thoughts more when I flesh out the plan post some.
 

FlyerInStyle

Elite member
That brings up a good point. I need some help;

To those who have made large planes 8'+. How did you support the wing, and how did you split it?

@Squashymoon125 - I will discuss my thoughts more when I flesh out the plan post some.
on my p26 and hp42 I used foam spars reinforced with wood, and either some REALLY strong magnets, or some buckle clips that I 3d printed
 

RossFPV

Well-known member
That brings up a good point. I need some help;

To those who have made large planes 8'+. How did you support the wing, and how did you split it?

@Squashymoon125 - I will discuss my thoughts more when I flesh out the plan post some.
You could try to pay close attention to the monster planes in the ft videos, they normally show alot of the wing build.
 

Yankee2003

Well-known member
That brings up a good point. I need some help;

To those who have made large planes 8'+. How did you support the wing, and how did you split it?

@Squashymoon125 - I will discuss my thoughts more when I flesh out the plan post some.
Do you drive through Greensboro or Winston Salem on the way to FF2023?
A bit off topic…but since I’m here anyway….
 

FoamyDM

Building Fool-Flying Noob
Moderator
IMG_20230419_165123753.jpg
With the first little noob Wonder finally built and some design ideas measured out in CAD and cut, it is time to build and see if my mental gymnastics pan out.
**Sheeting**
I started by piecing the sheeting for the wings and Fuselage
IMG_20230420_090736924.jpg IMG_20230420_090752578.jpg
Then I turn to the spar, because that is important for the wing construction.
**Spar**
The spar roughly a 3x3.5" U box. I am then trussing. (triangular internal support.) They are roughly at 45°. I have put a hole in the center to accept the wings's DT broom handle
And because cos 45° is 1.414 of the original height, I will need 90" of trussing for 60" of spar. 3 sheets of trussing for each 2 boxes.
This picture is the dry fit of the truss over the broom
IMG_20230420_215639540.jpg

The extra 0.09*l ends up being the end wall support. This trussing distributes the spar rod load across the spar box, and stiffens it too. The trussing keeps the box torsionally stiff also allowing the ailerons to be effective and flex less.
Here is it weighed down for gluing. IMG_20230421_113148127.jpg
 

FoamyDM

Building Fool-Flying Noob
Moderator
One of the wing spar trusses is done. Here it is propped. Against the wing skin panel. set into the foam trussing is the dollar tree metal broom handle. And joining each wing will be a 20mmx18mm CF rod which fits like a glove.
IMG_20230425_112933320.jpg
 
Last edited:

Yankee2003

Well-known member
One of the wing spar trusses is done. Here it is propped. Against the wing skin panel. set into the foam trussing is the dollar tree metal broom handle. And joining each wing g will be a 20mmx18mm CF rod which fits like a glove.
View attachment 237202
Oh….heck yea!! That is going to make a statement In combat. And by statement I mean target.
I love this idea.
 

FoamyDM

Building Fool-Flying Noob
Moderator
This is what the wing will be like: IMG_20230503_184914687.jpg
Cut the fins out. A few measurements and a freehand sweep.
IMG_20230502_193329721.jpg
Figuring out the fuselage double box truss to make the nose sturdy
IMG_20230502_193314620.jpg IMG_20230503_000512727.jpg
Preliminary fitting of the fuselage. And stabs.
IMG_20230503_185128120.jpg
It's coming together!
 

FoamyDM

Building Fool-Flying Noob
Moderator
I haven't stalled, but I am figuring how to anchor the fuse into the wing well enough for acrobatics.
 

FoamyDM

Building Fool-Flying Noob
Moderator
Here are the ailerons. Craft still with hole, with a BBQ skewer hing pins. 5mm x 0.6mm flat for stiffness then folded over.
IMG_20230526_105422958.jpg IMG_20230526_105328714.jpg
Ready for install
IMG_20230526_105507122.jpg
disassembled plane, taken apart... Works well for transport.
IMG_20230523_212012414.jpg
Empenage IMG_20230519_213448289.jpg
wingtip plates
IMG_20230519_213525208.jpg reverse-tape hinge IMG_20230519_213054517.jpg

tail plate mods
IMG_20230519_213042798.jpg
And of course the podcast logo decal mock up for looks. This should work perfect!
IMG_20230512_151035515.jpg