
You are using an out of date browser. It may not display this or other websites correctly.
You should upgrade or use an alternative browser.
You should upgrade or use an alternative browser.
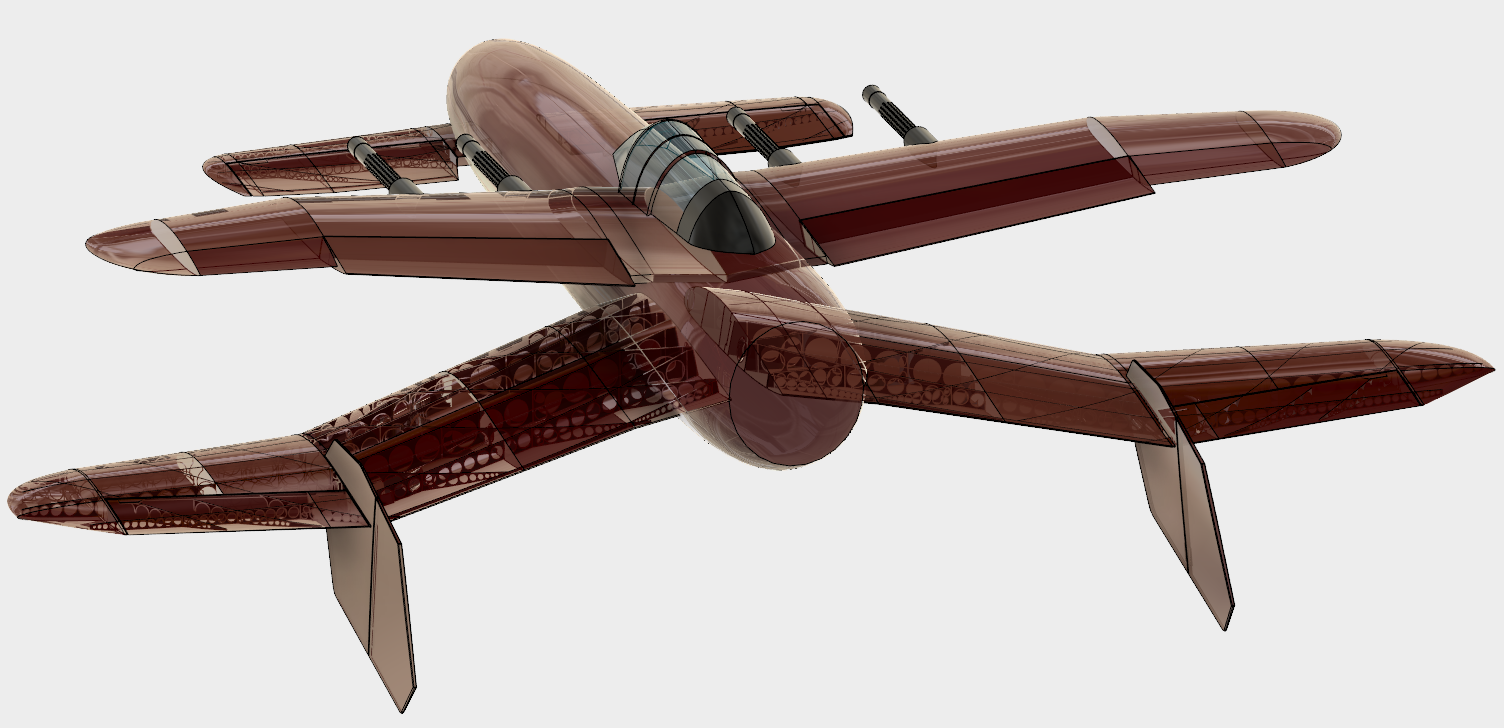
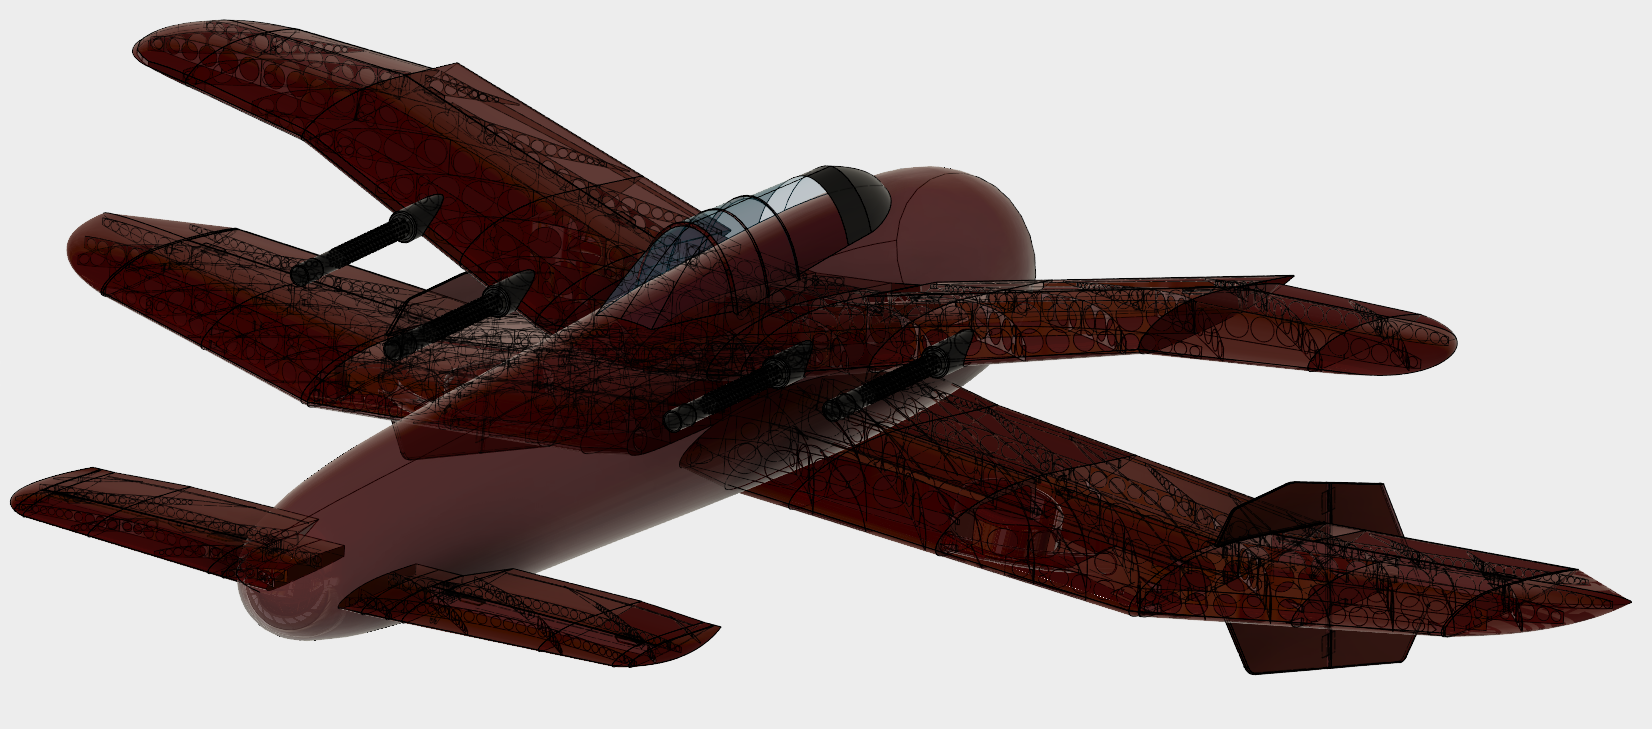
3D Printed Hughes P21-J Devastator
- Thread starter localfiend
- Start date
JGplanes
Active member
Thanks for the reply. I'll definitely have to try doing this. I also subscribed to your youtube channel, and look forward to watching all the videos.
Couple more questions...
I guess I’m ok with that for the kind of planes I’m printing. I haven’t noticed that much of a difference compared to the 3Dlabprint test pieces I've printed.
I assume you’re using Simplify 3D to slice with, and only printing single extrusion walls? My walls are all .4mm thick, and I set it to only print the perimeter wall. This way I can adjust the extrusion by layer so that the bottom and top layers are thicker where you have to glue it together (same as 3Dlabprint). If I make the walls any thinner, the slicer will have issues with curves.
It’s hard to see the offset layers you’re referring to from some of the images. Would you mind sharing a file for a small piece, so I could check it out in Fusion?
One more thing. I think you're using a Prusa Mk2 also. How do you get your thin wall prints to stay stuck to the bed? I usually have to use a thin layer of glue on the bed, but taller parts have issues occasionally. Do you know any tricks?
JG
Couple more questions...
You'd have a ripple everywhere a piece of the inner bits contacts the outer.
I guess I’m ok with that for the kind of planes I’m printing. I haven’t noticed that much of a difference compared to the 3Dlabprint test pieces I've printed.
Much closer than .6mm and you start getting ripples in the outer surface, and you can also start to confuse the slicer and it leaves gaps in the structures.
If your outer section is thicker than zero, you can set your slicer to print two skinnier outlines, but not just one.
I assume you’re using Simplify 3D to slice with, and only printing single extrusion walls? My walls are all .4mm thick, and I set it to only print the perimeter wall. This way I can adjust the extrusion by layer so that the bottom and top layers are thicker where you have to glue it together (same as 3Dlabprint). If I make the walls any thinner, the slicer will have issues with curves.
It’s hard to see the offset layers you’re referring to from some of the images. Would you mind sharing a file for a small piece, so I could check it out in Fusion?
One more thing. I think you're using a Prusa Mk2 also. How do you get your thin wall prints to stay stuck to the bed? I usually have to use a thin layer of glue on the bed, but taller parts have issues occasionally. Do you know any tricks?
JG
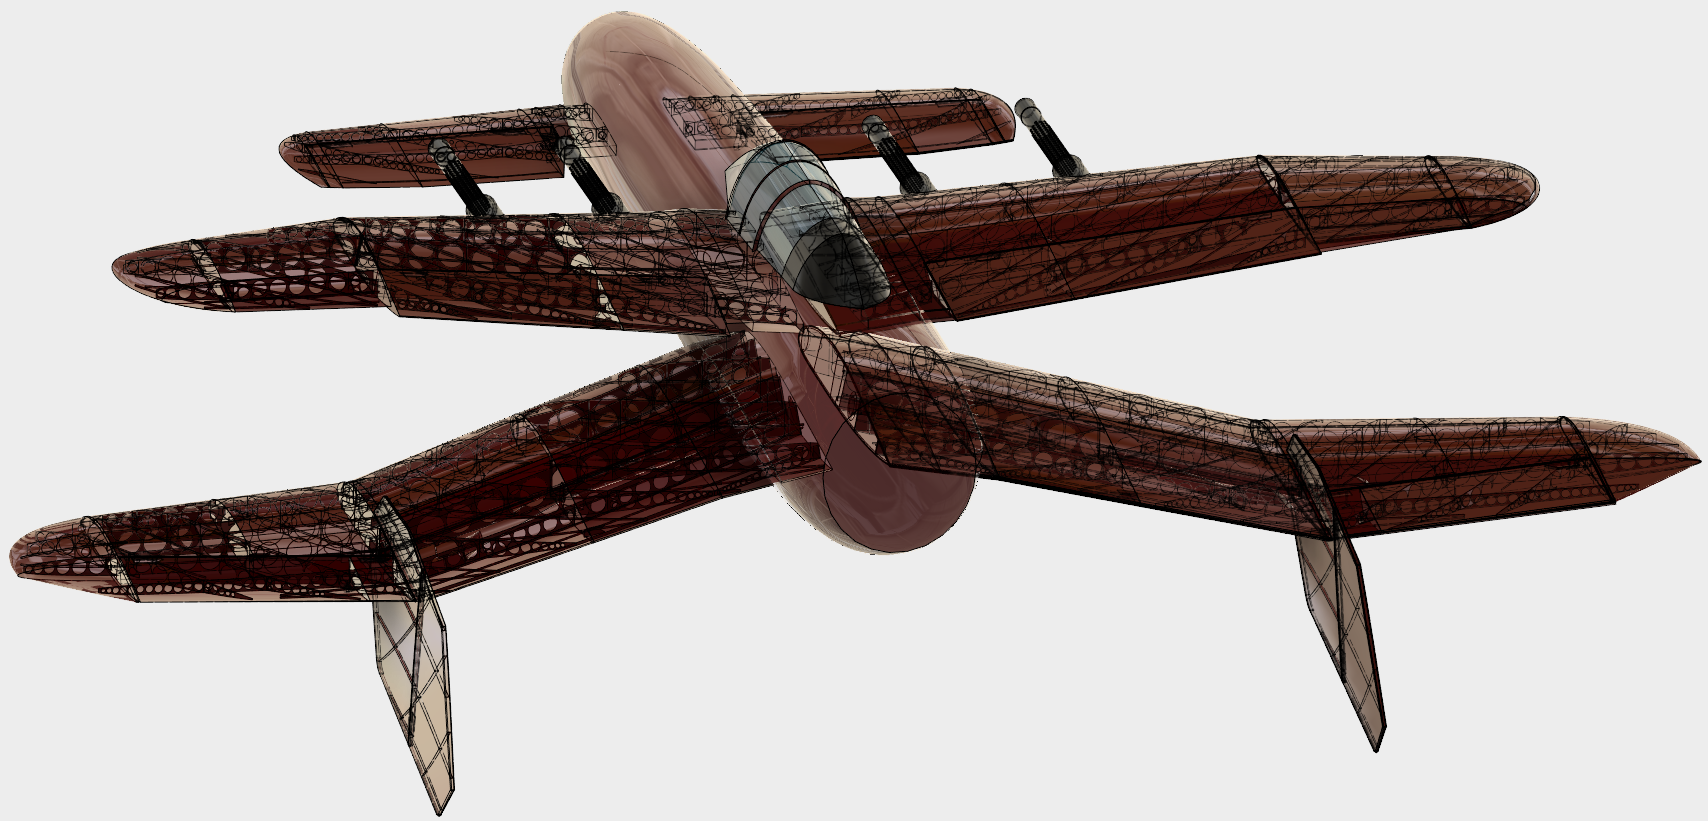
This is awesome. Going to be a decent sized build if that's the size of the Canard.
Yeah, I want to keep the wing loading down, and still be able to balance the plane. There's a ton of weight in the rear with this being a biplane. I really hope the amount needed for the nose won't make the plane overly heavy.
I assume you’re using Simplify 3D to slice with, and only printing single extrusion walls? My walls are all .4mm thick, and I set it to only print the perimeter wall. This way I can adjust the extrusion by layer so that the bottom and top layers are thicker where you have to glue it together (same as 3Dlabprint). If I make the walls any thinner, the slicer will have issues with curves.
It’s hard to see the offset layers you’re referring to from some of the images. Would you mind sharing a file for a small piece, so I could check it out in Fusion?
One more thing. I think you're using a Prusa Mk2 also. How do you get your thin wall prints to stay stuck to the bed? I usually have to use a thin layer of glue on the bed, but taller parts have issues occasionally. Do you know any tricks?
JG
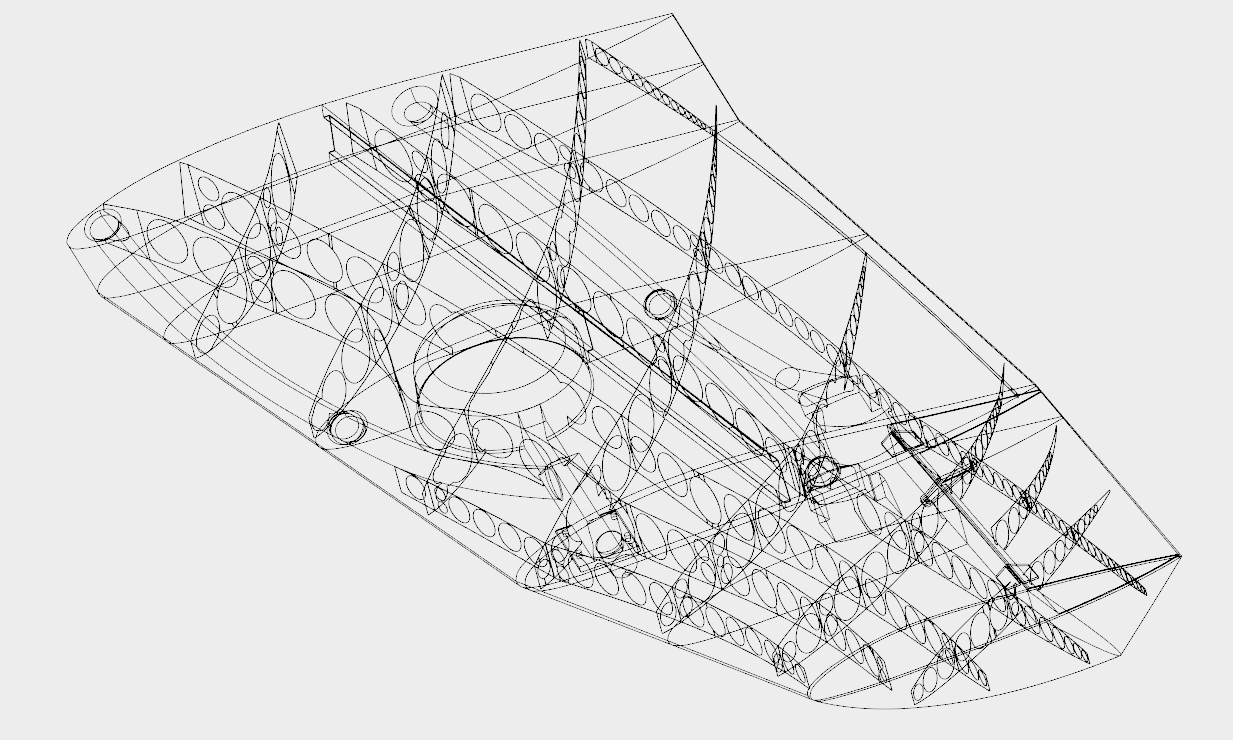
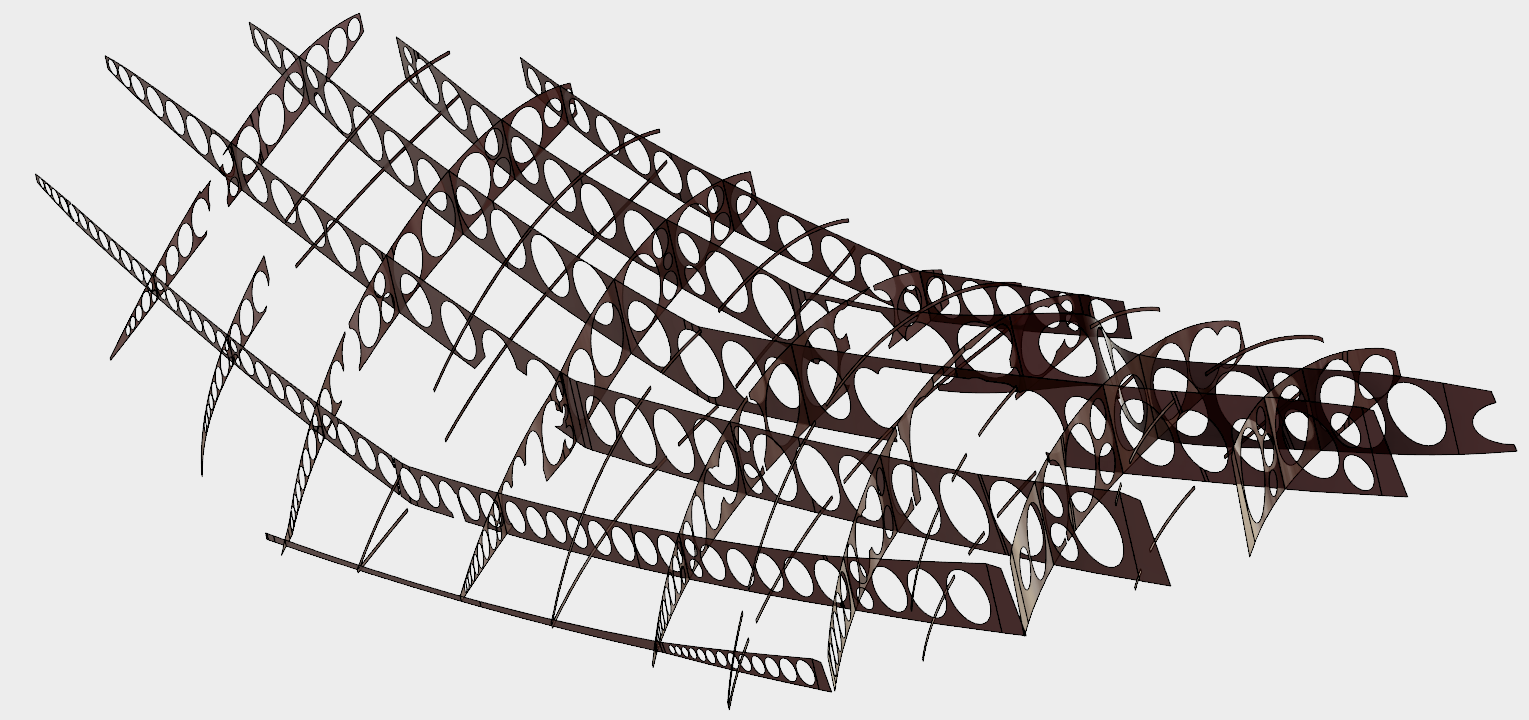
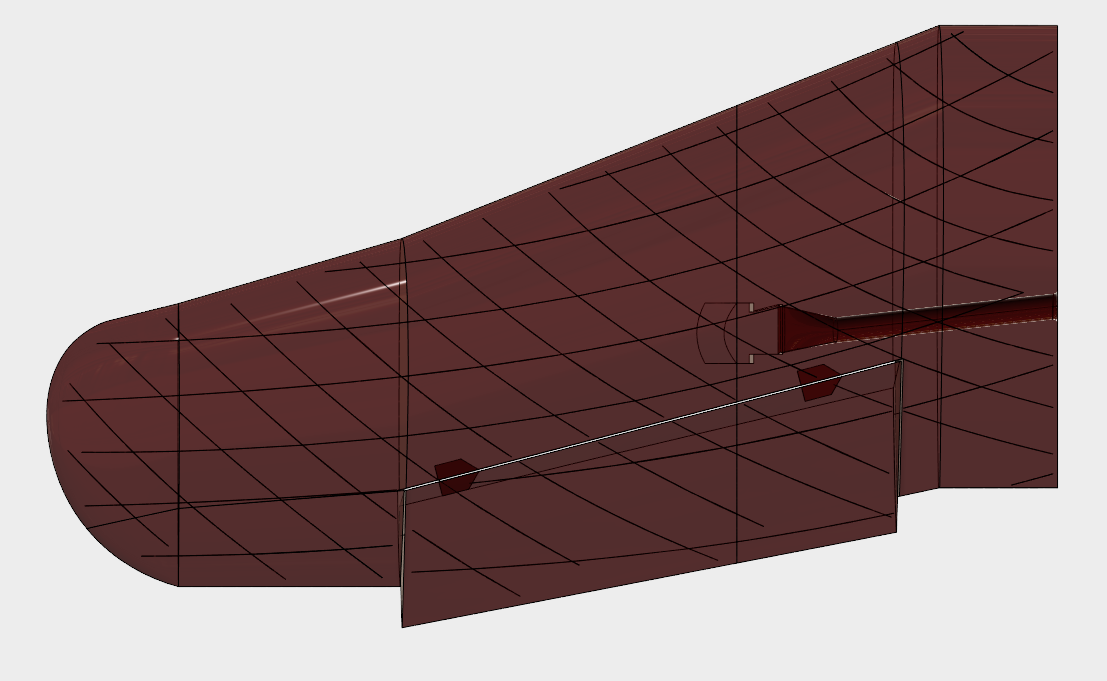
I'm using simplify 3D with multiple processes. My STL files are setup exactly how the 3DLabPrint stuff is. They probably have a more streamlined process to get their though. We both have zero thickness outer walls and a gap between internal and external spars.
So, I can do the first 3mm with double wall thickness, and the rest with a single perimeter just like theirs.
Here's a cross section. I'll see if I'm able to save and export a piece for examination in fusion. The file is incredibly complex though so don't get your hopes up.
It might be a bit of a pain to set things up this way, but I have some ideas I'm trying out on the upper wing to make it easier. I think it's worth it for complex shapes though. Early on I tried to have a set thickness for walls, but keeping it on advanced shapes was a bear in the end, and complex stuff often had slicer issues around curves.
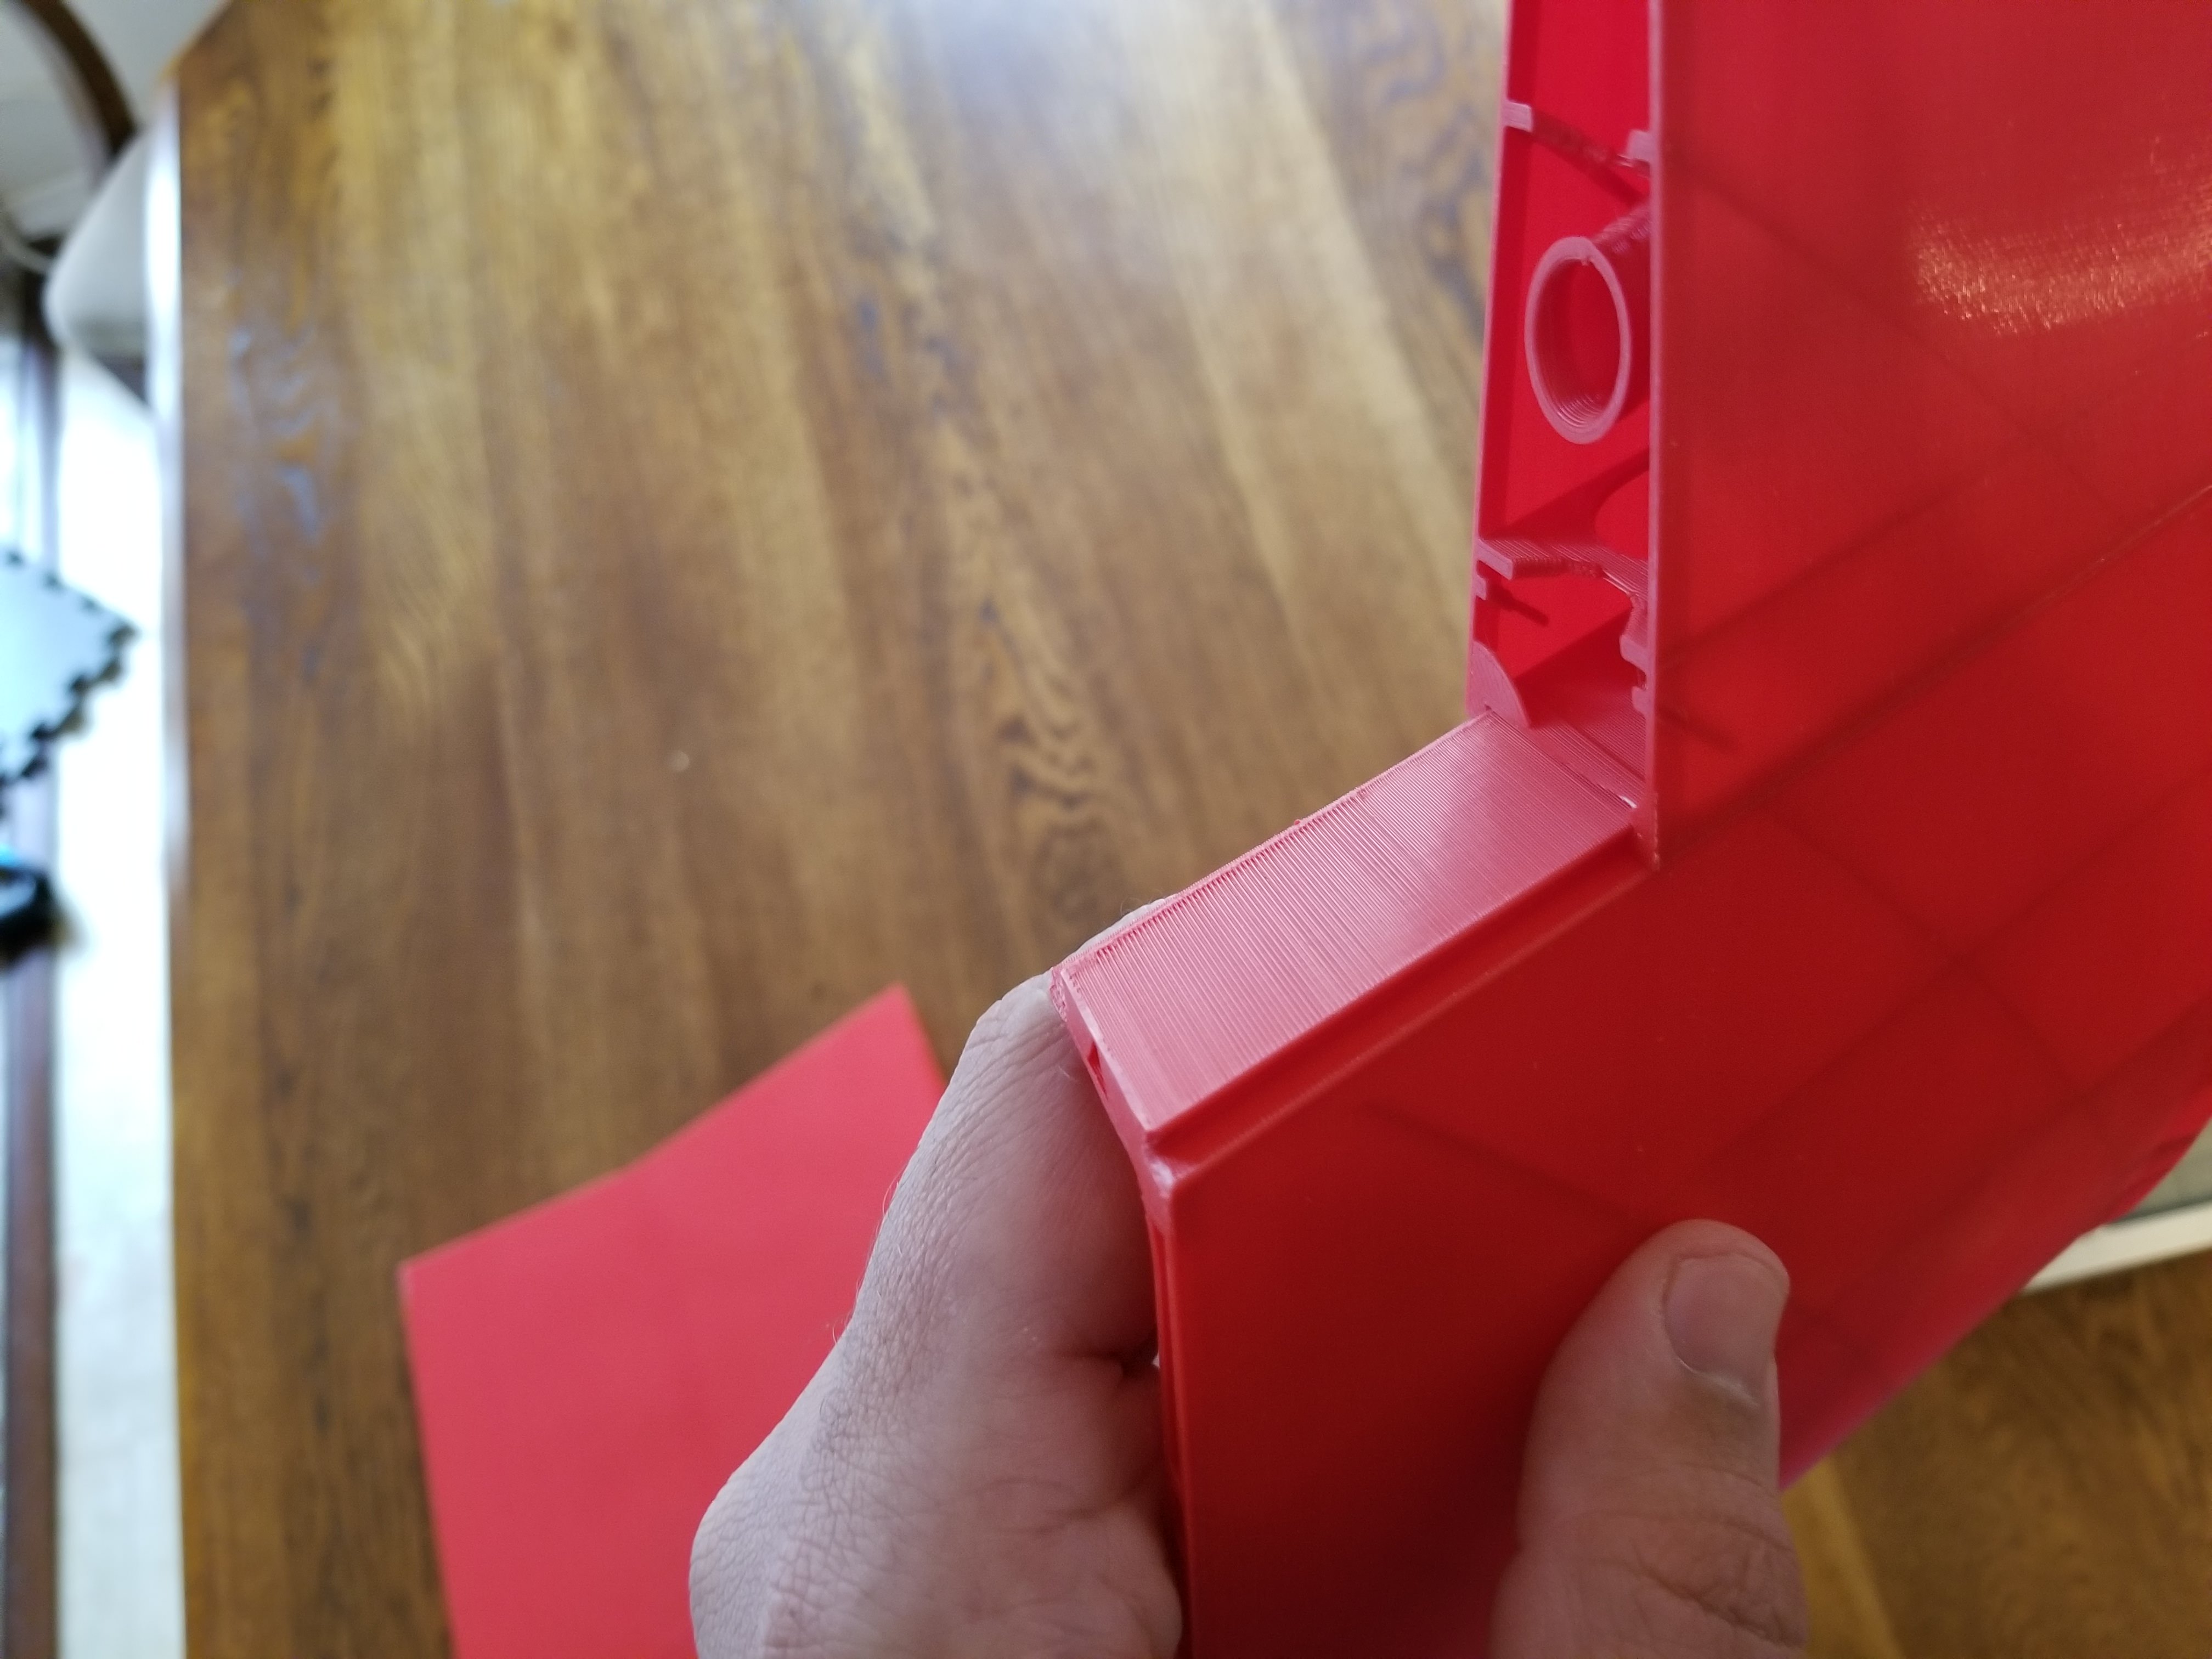
And yeah, I'm using a Prusa. I also use glue stick for thin wall prints. If you run into any tall stuff that still gives you trouble, or have trailing edges that want to pull up, helper discs are great.
Just make some .2 mm high objects. They don't have to be round, but circles are easy. You can tie stuff together at the base that way, or increase surface area on troublesome points with a minimum of waste filament. It's also really easy to pull off the bottom of the part when it's done printing.
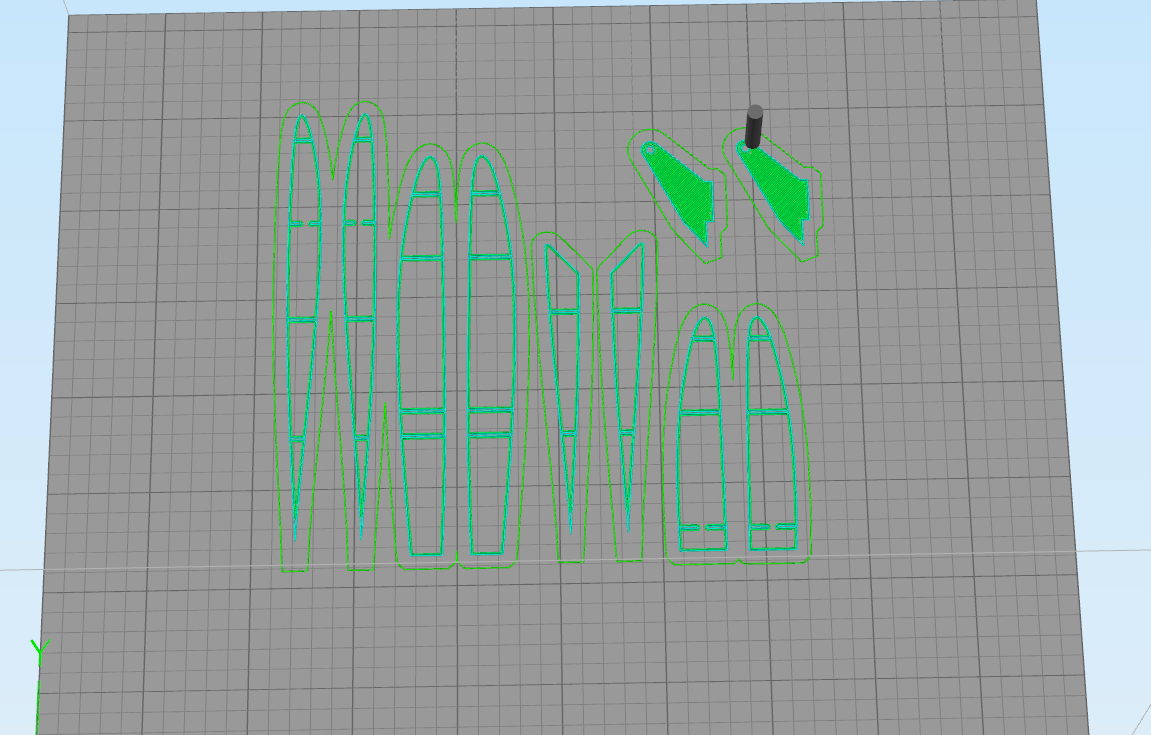
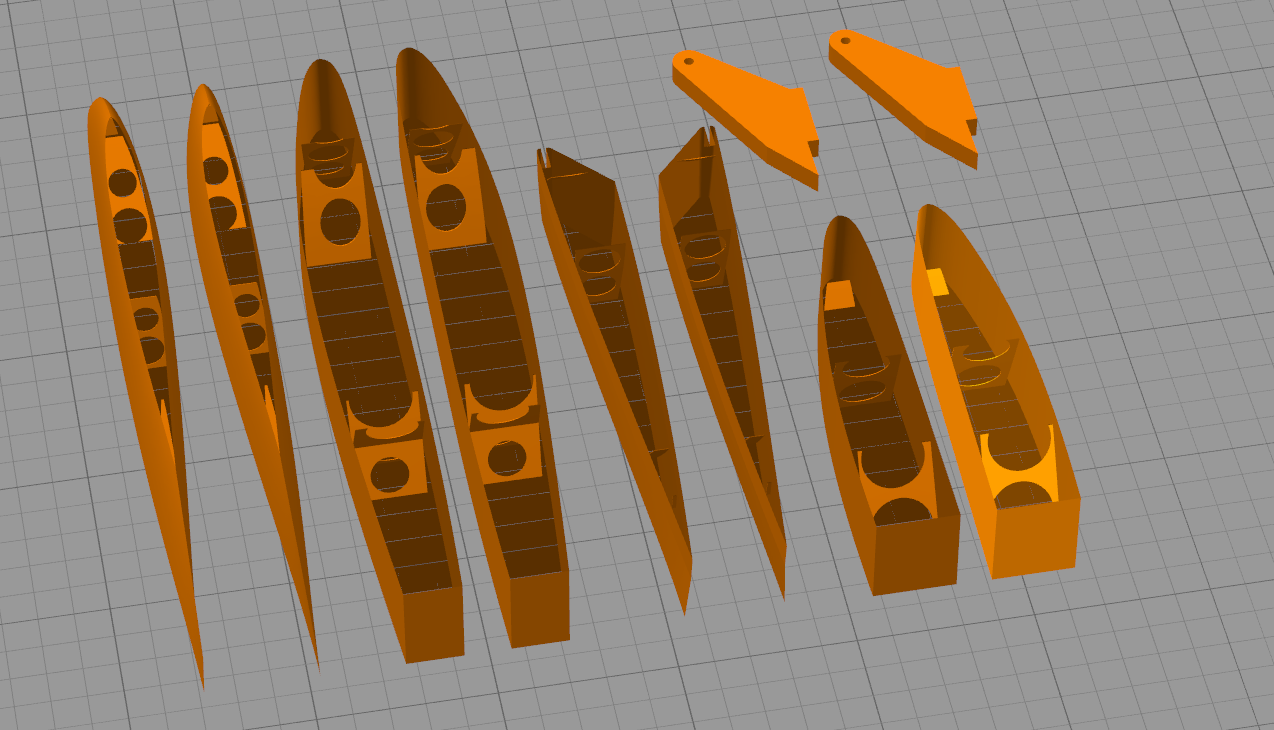
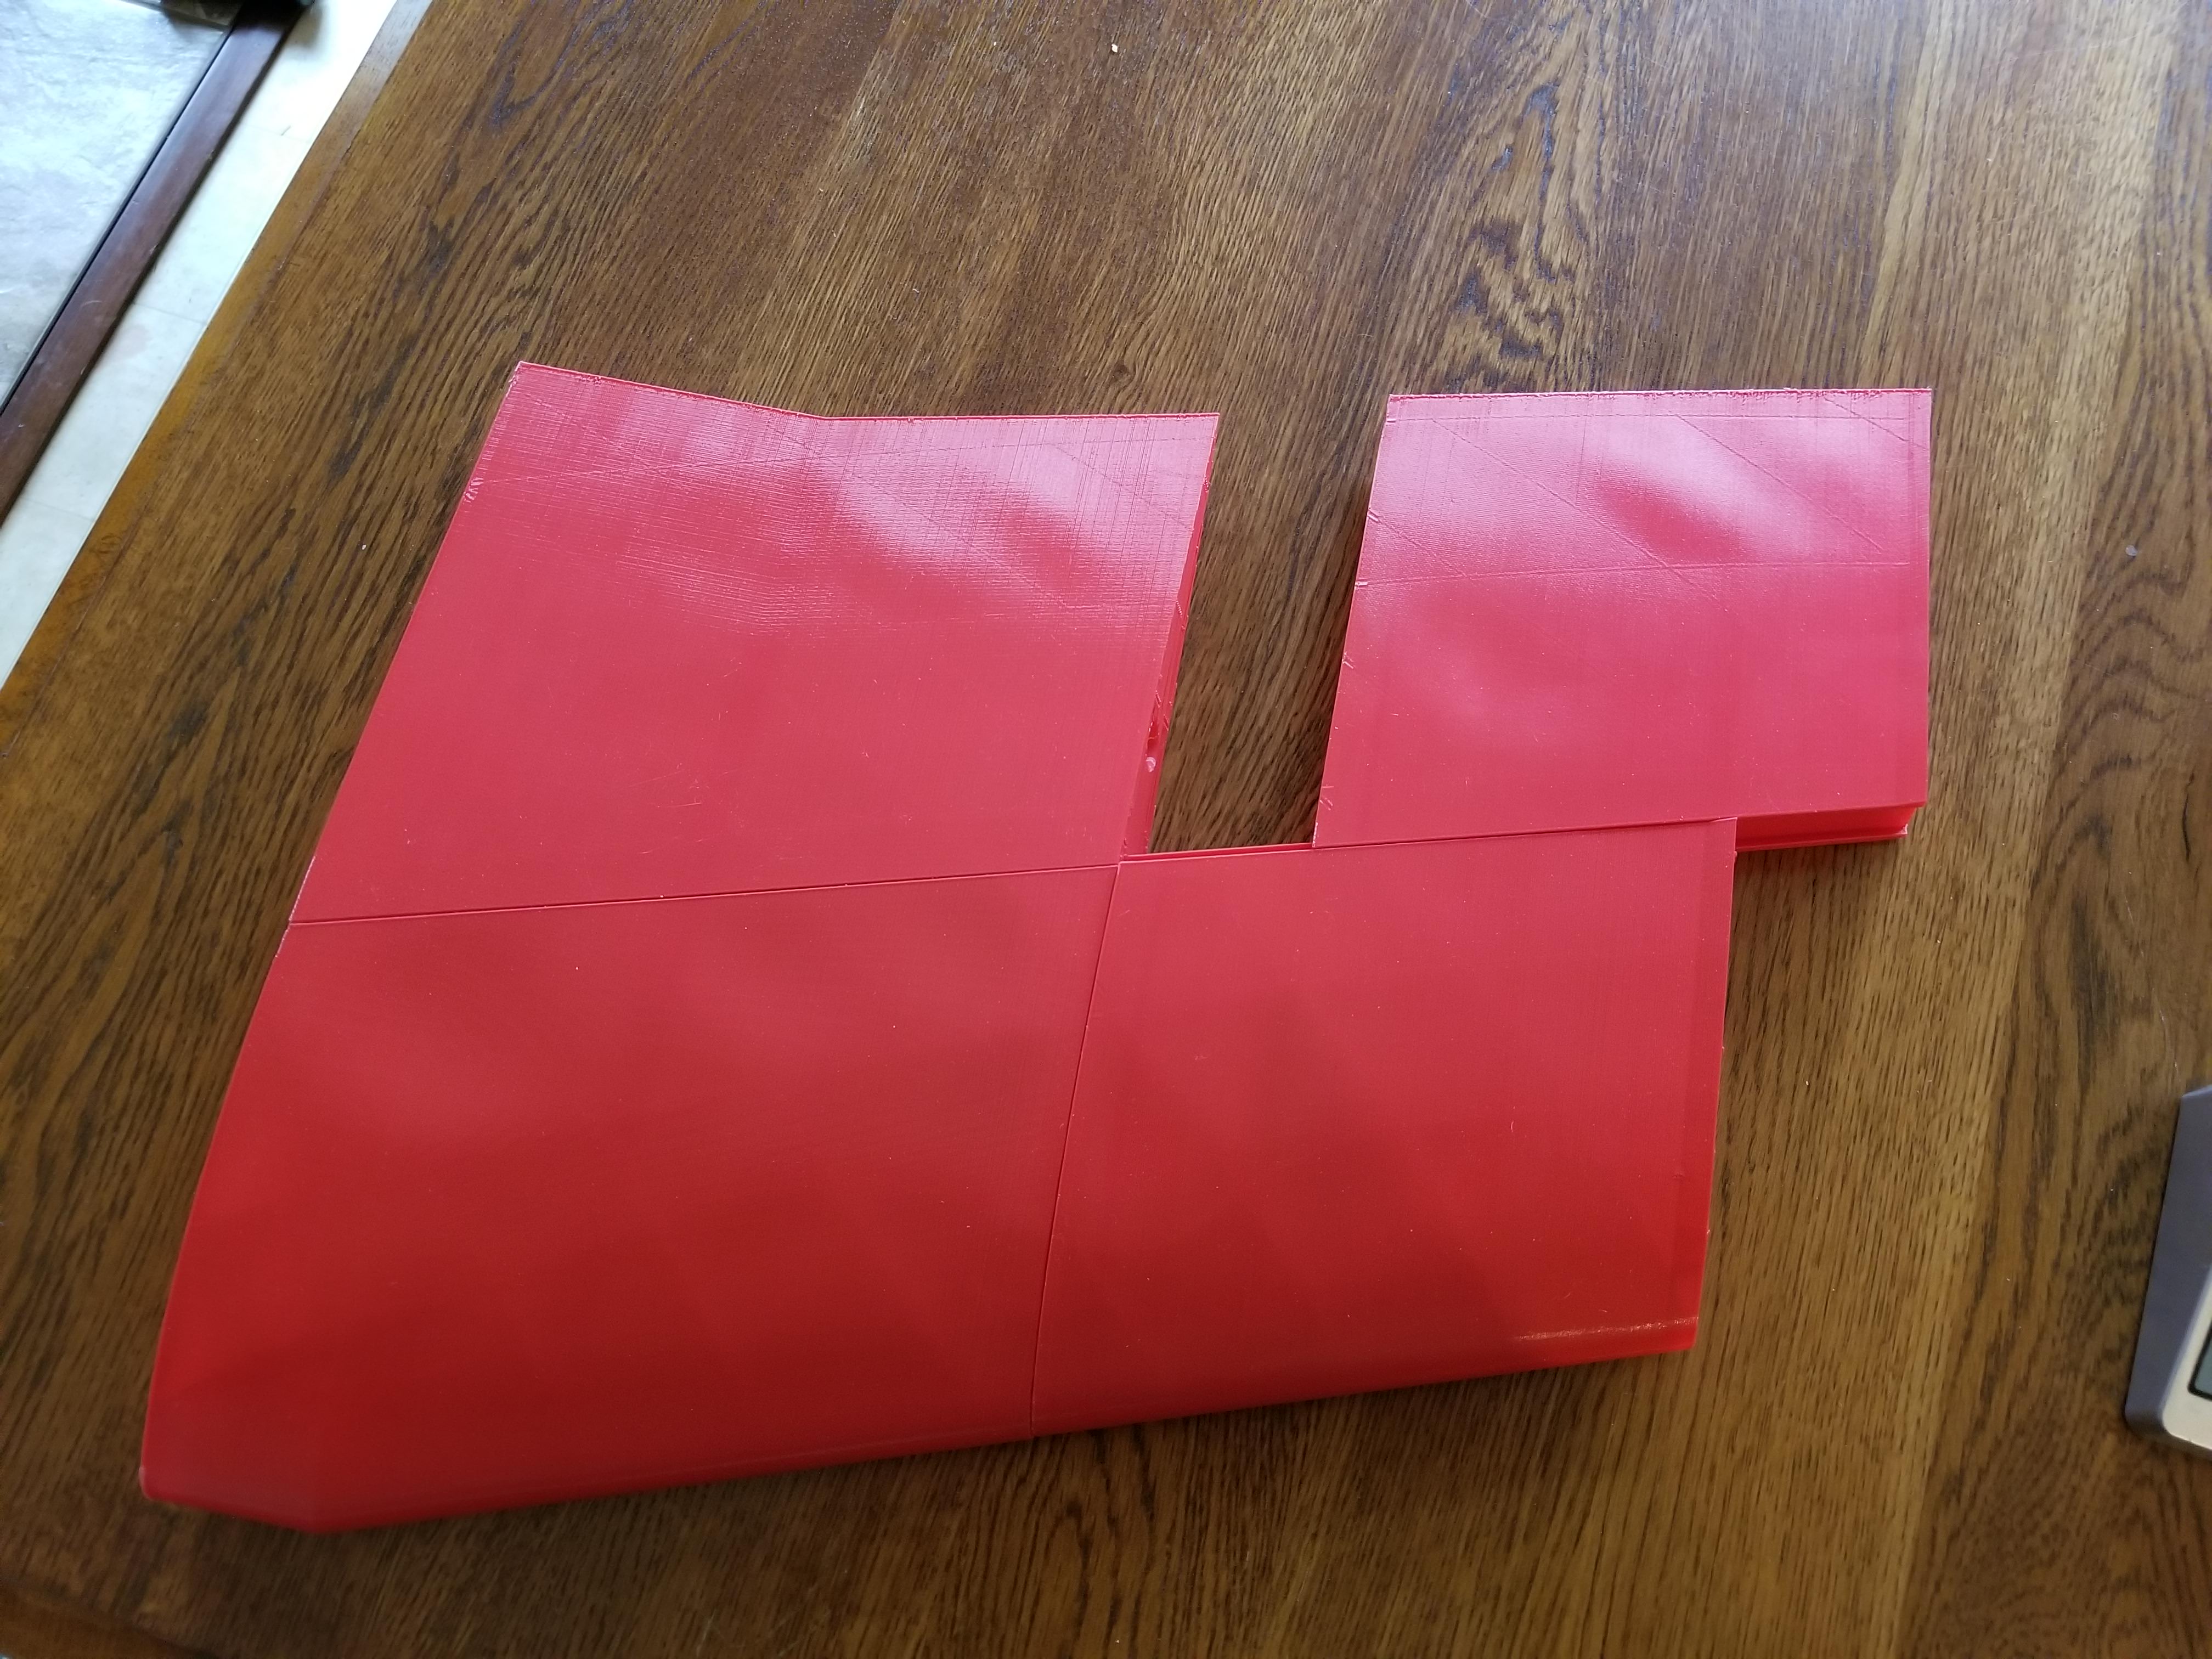
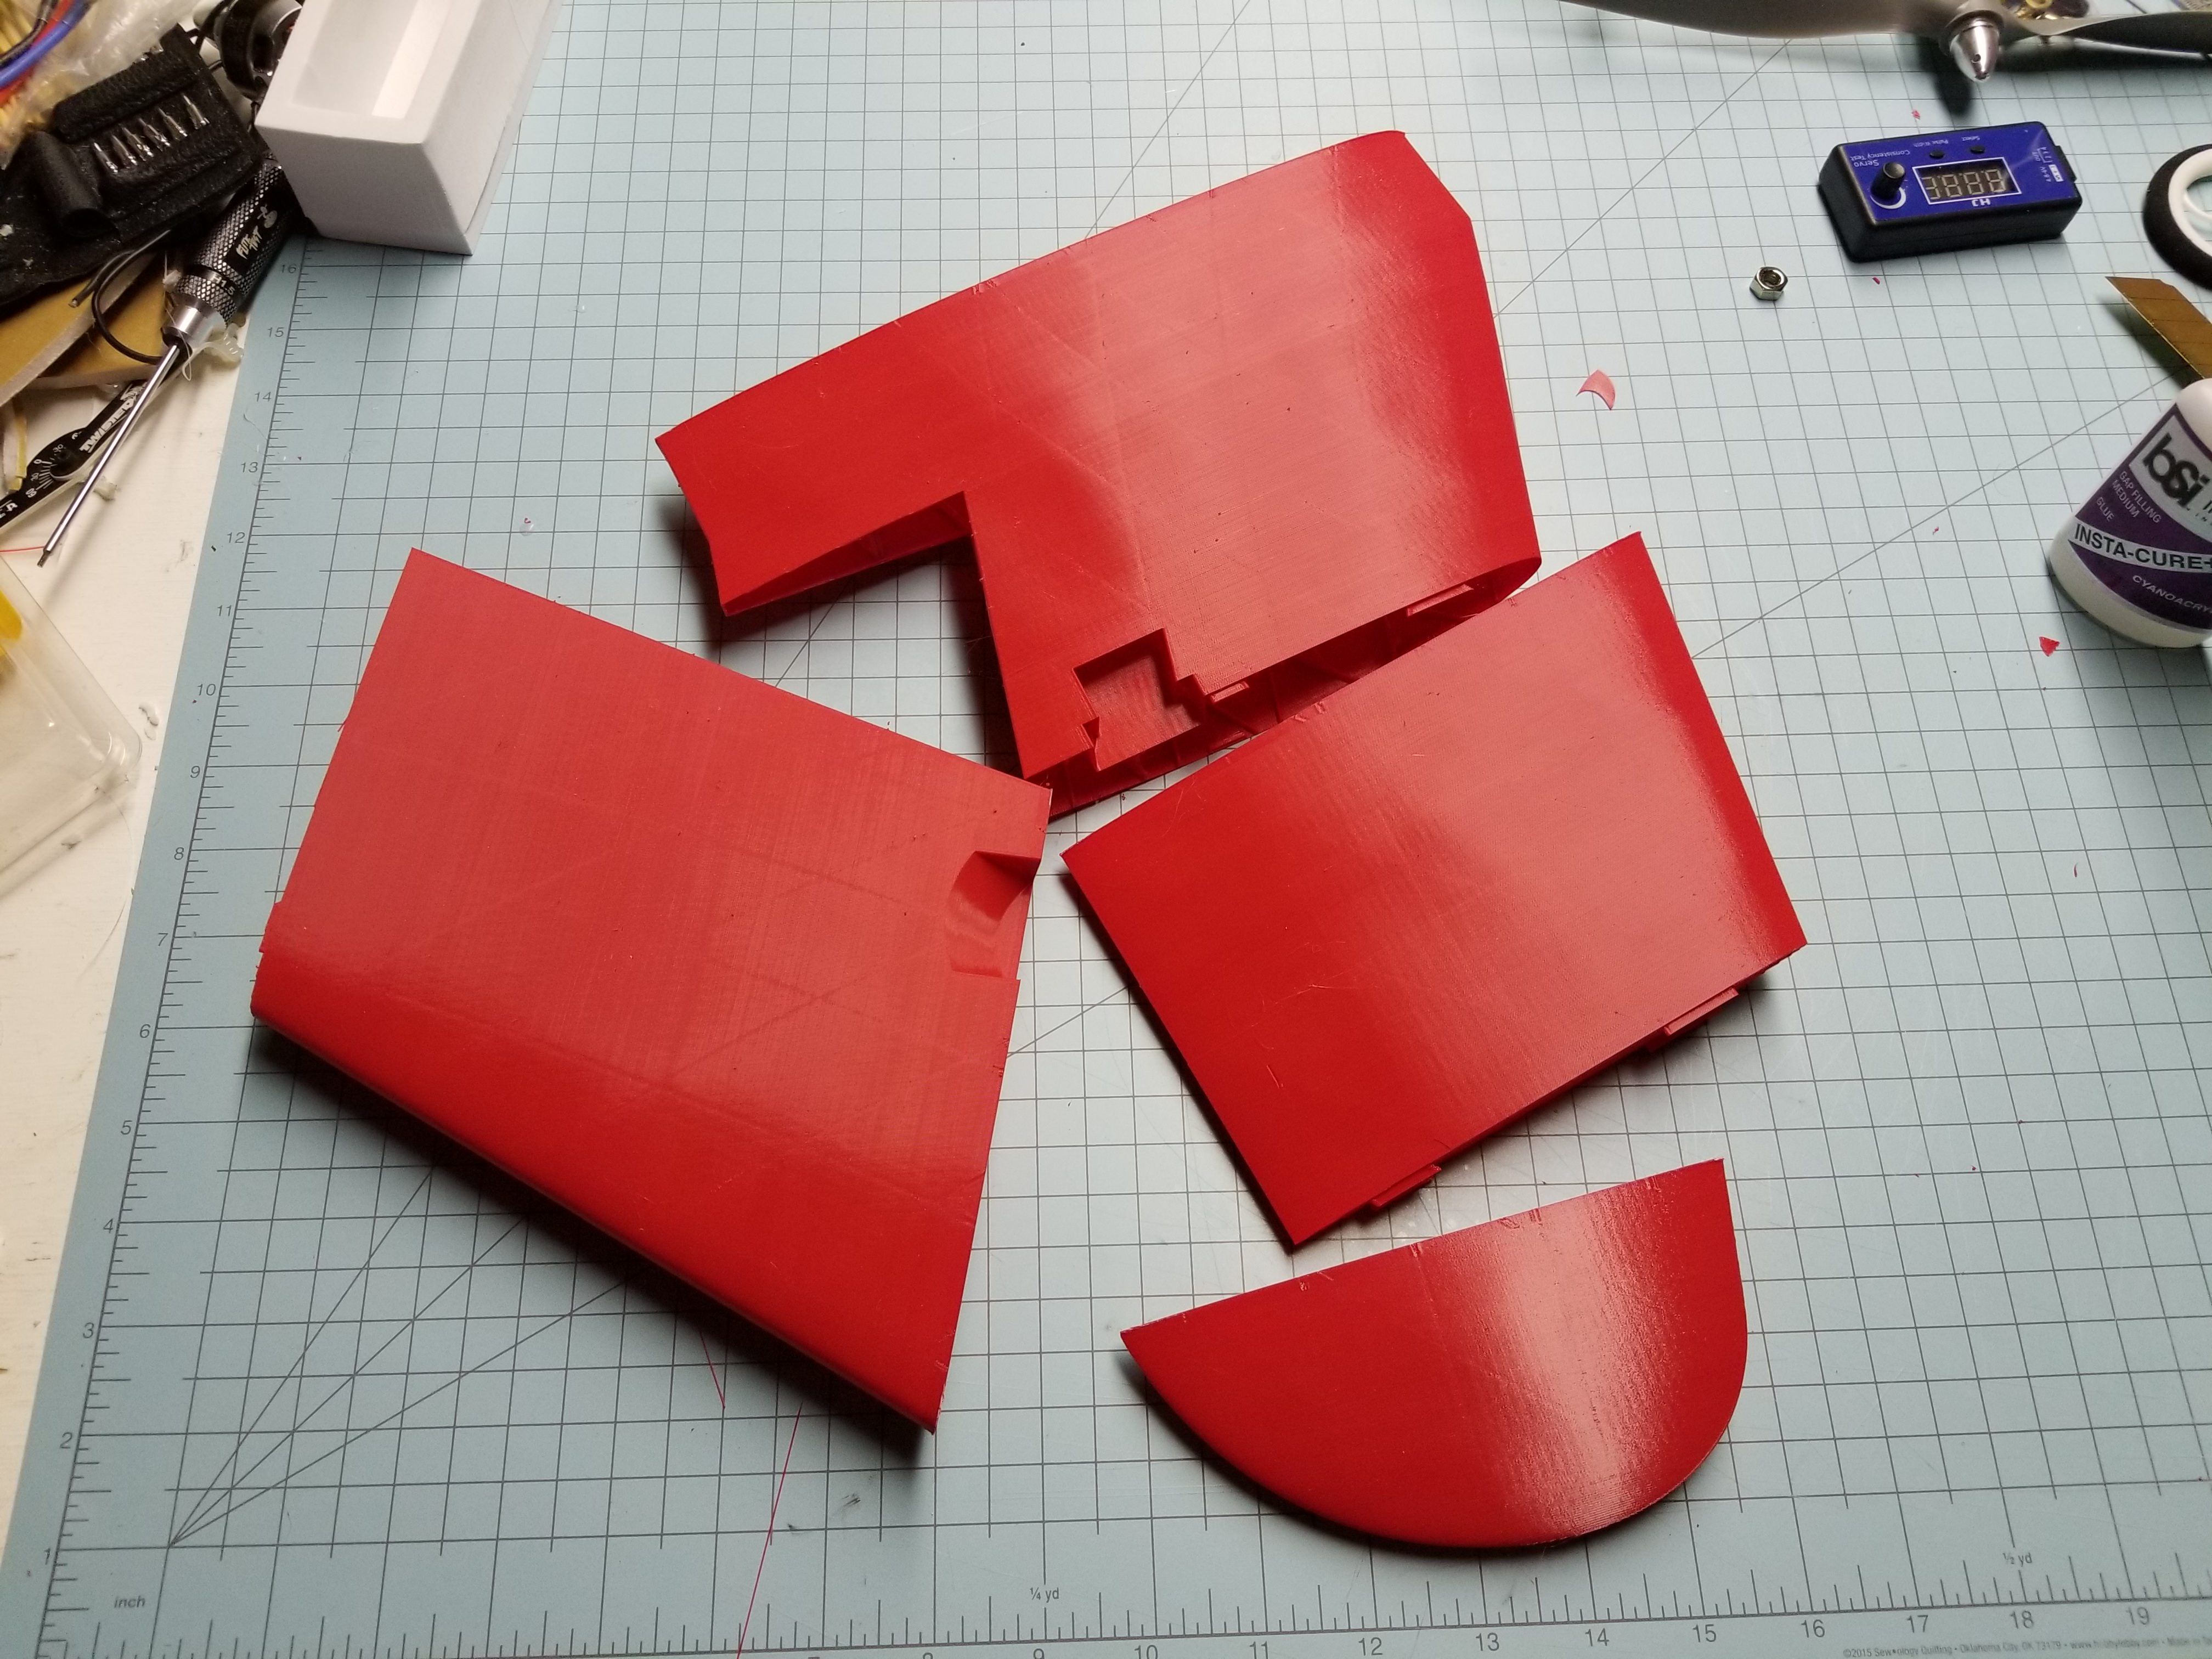
Well, got the bottom wing done this weekend. Took me a bit longer than expected, though part of that was me being lazy and goofing off. Drilling holes in spar shapes is boring lol.
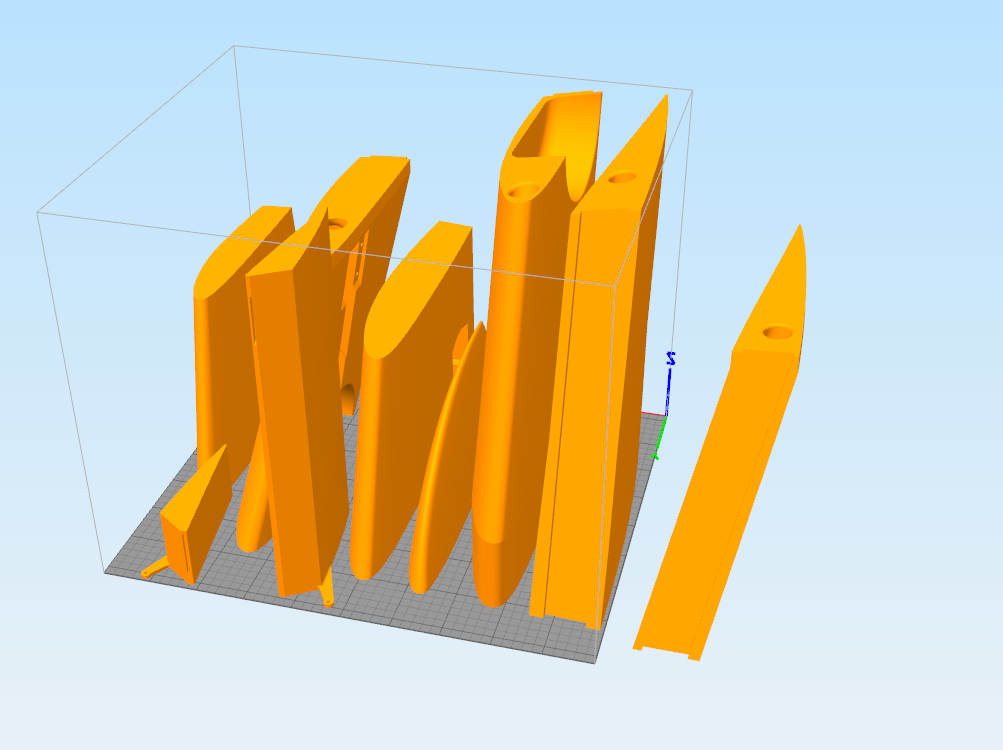
There's all the pieces. Won't all quite fit in one go, and it would be a 25 hour print if it did, so splitting things up is a good idea. I like to set 12 is hour prints or less. Start one in the evening, then start another before heading to work.
Got the first two sections printed last night, got a few more going that should be done tonight.
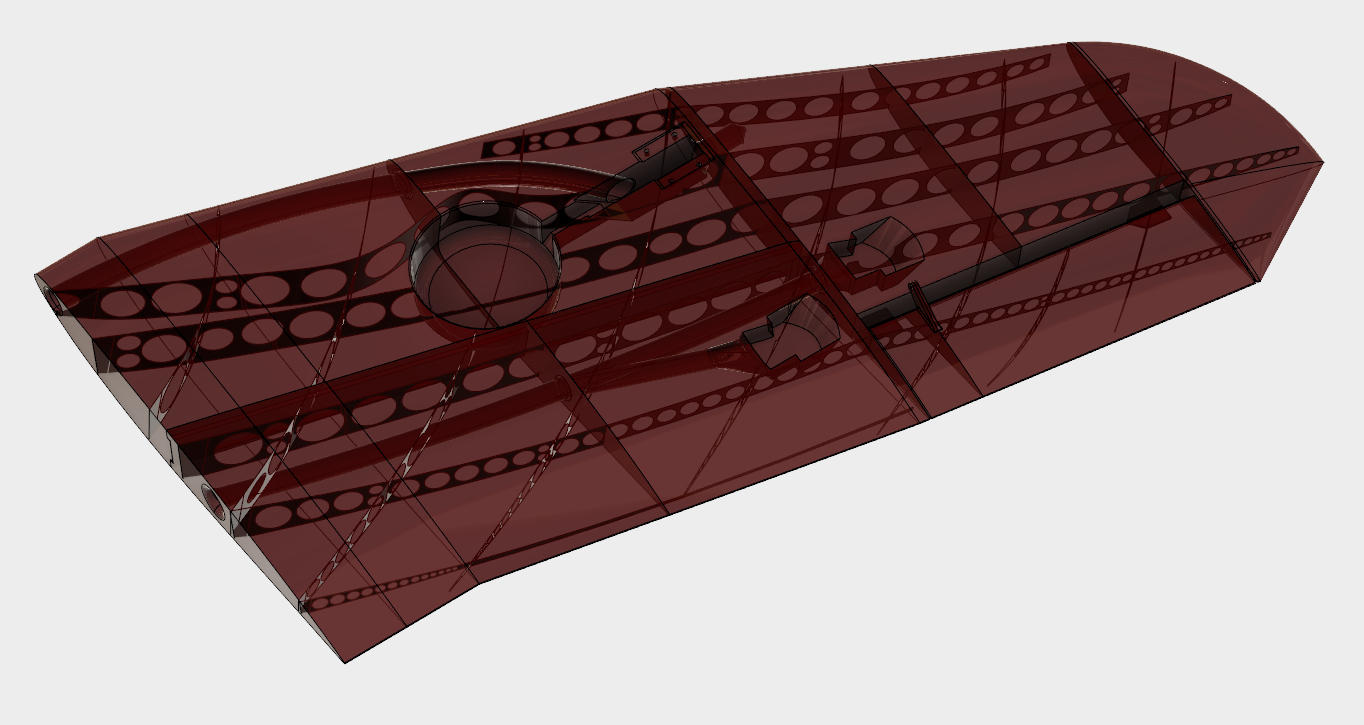
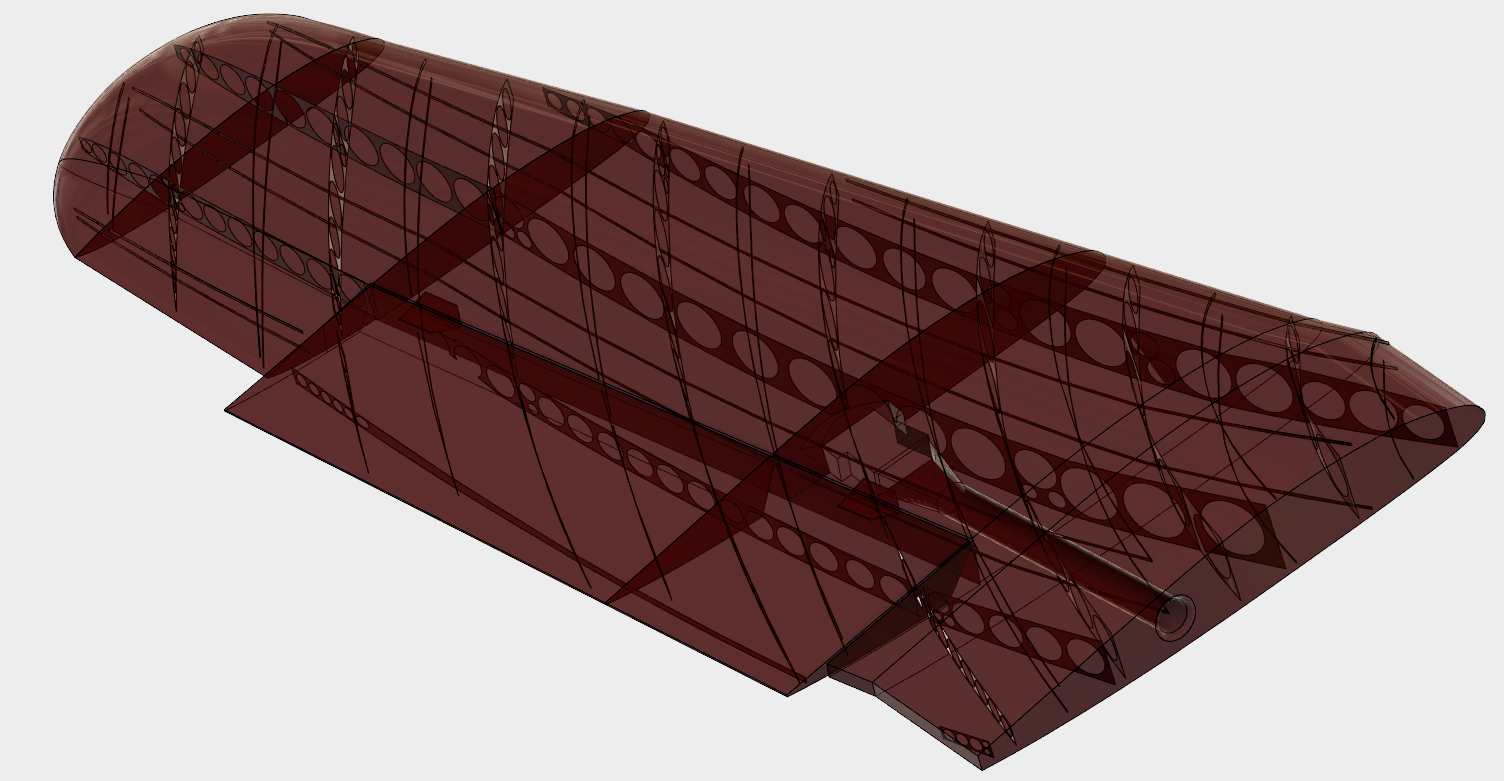
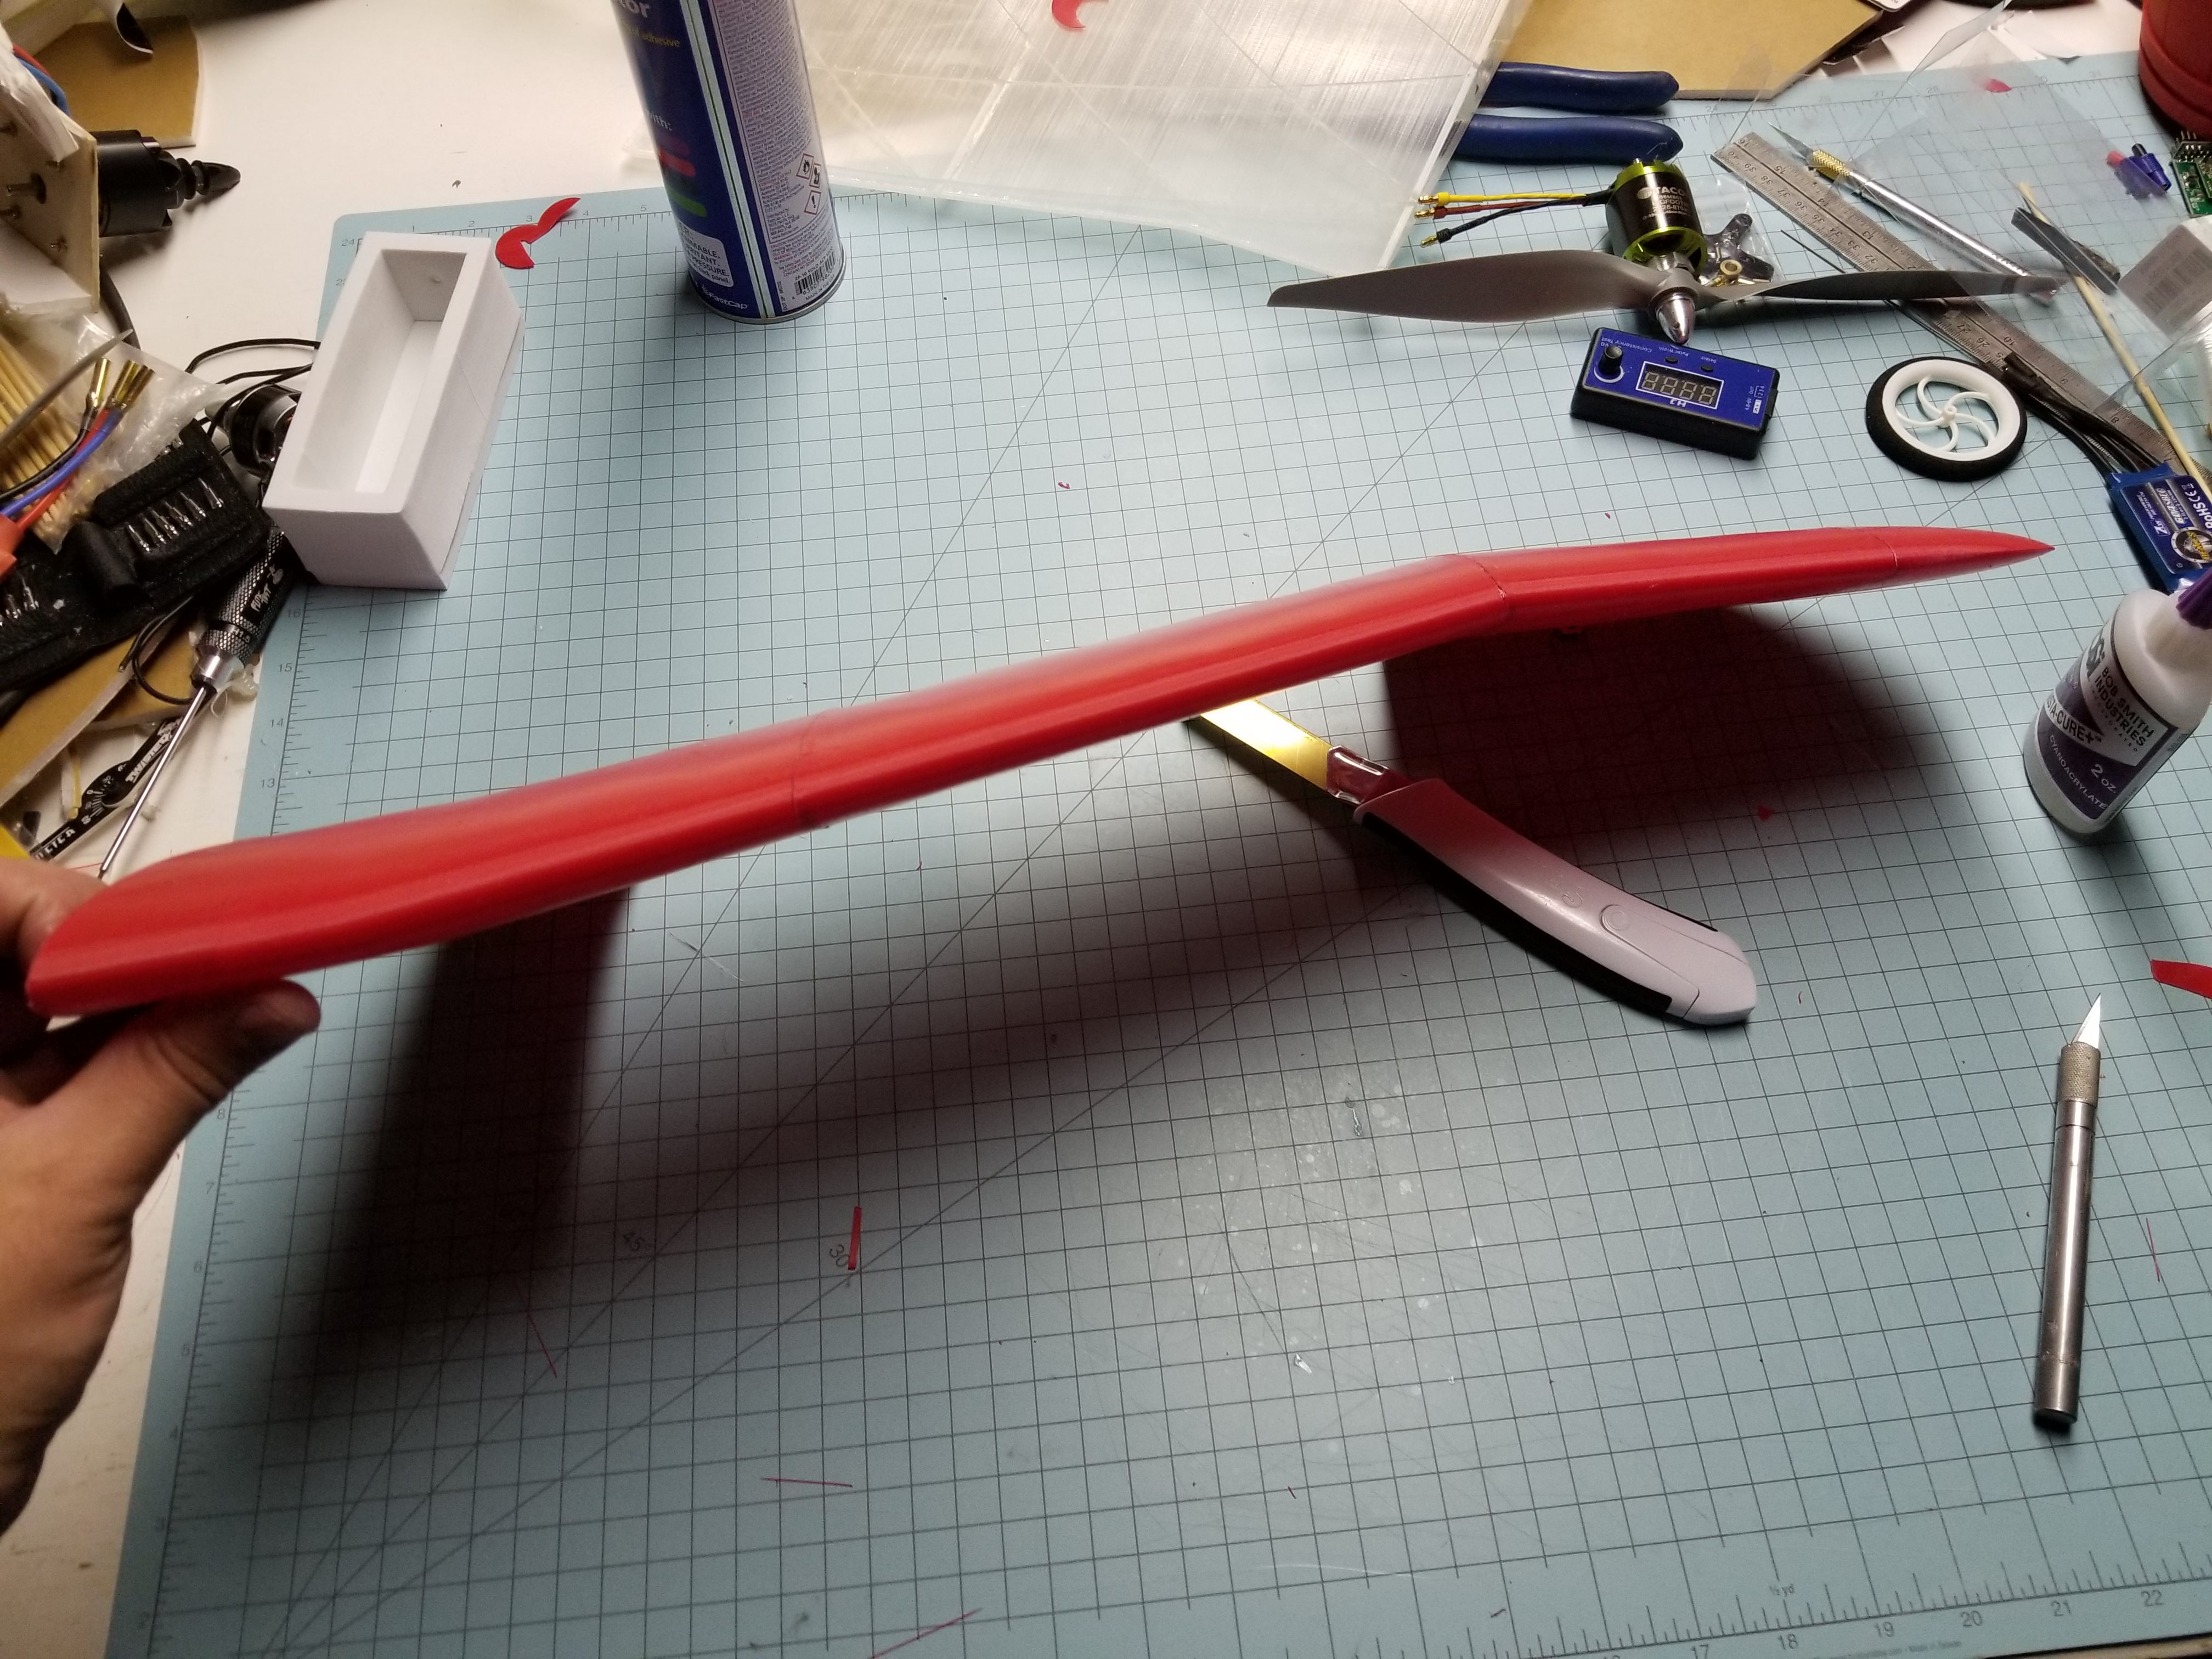
So, got the bottom wing sections all printed out. Got a few things to tweak, and then I'll be adding some alignment aids and probably a few 1mm deep "spars" to run in between the real spars to help keep surface tension on the outer skin. I've used far less spars than 3D labprint seems to on their planes, should be a very strong wing even so, mostly because of the dovetail section.

Baby wheels. Gonna need to draw up and print some bigger ones, or might just go with some lightweight foam ones. Balancing may be an issues with the retracts. It's all good though, if it's too heavy, I can go without. The horizontal stabilizers would make for a great place to add wheels. Heck, the Shindin ended up getting wheels on it's h-stabs. Though, I'll probably work in some sort of wire support.
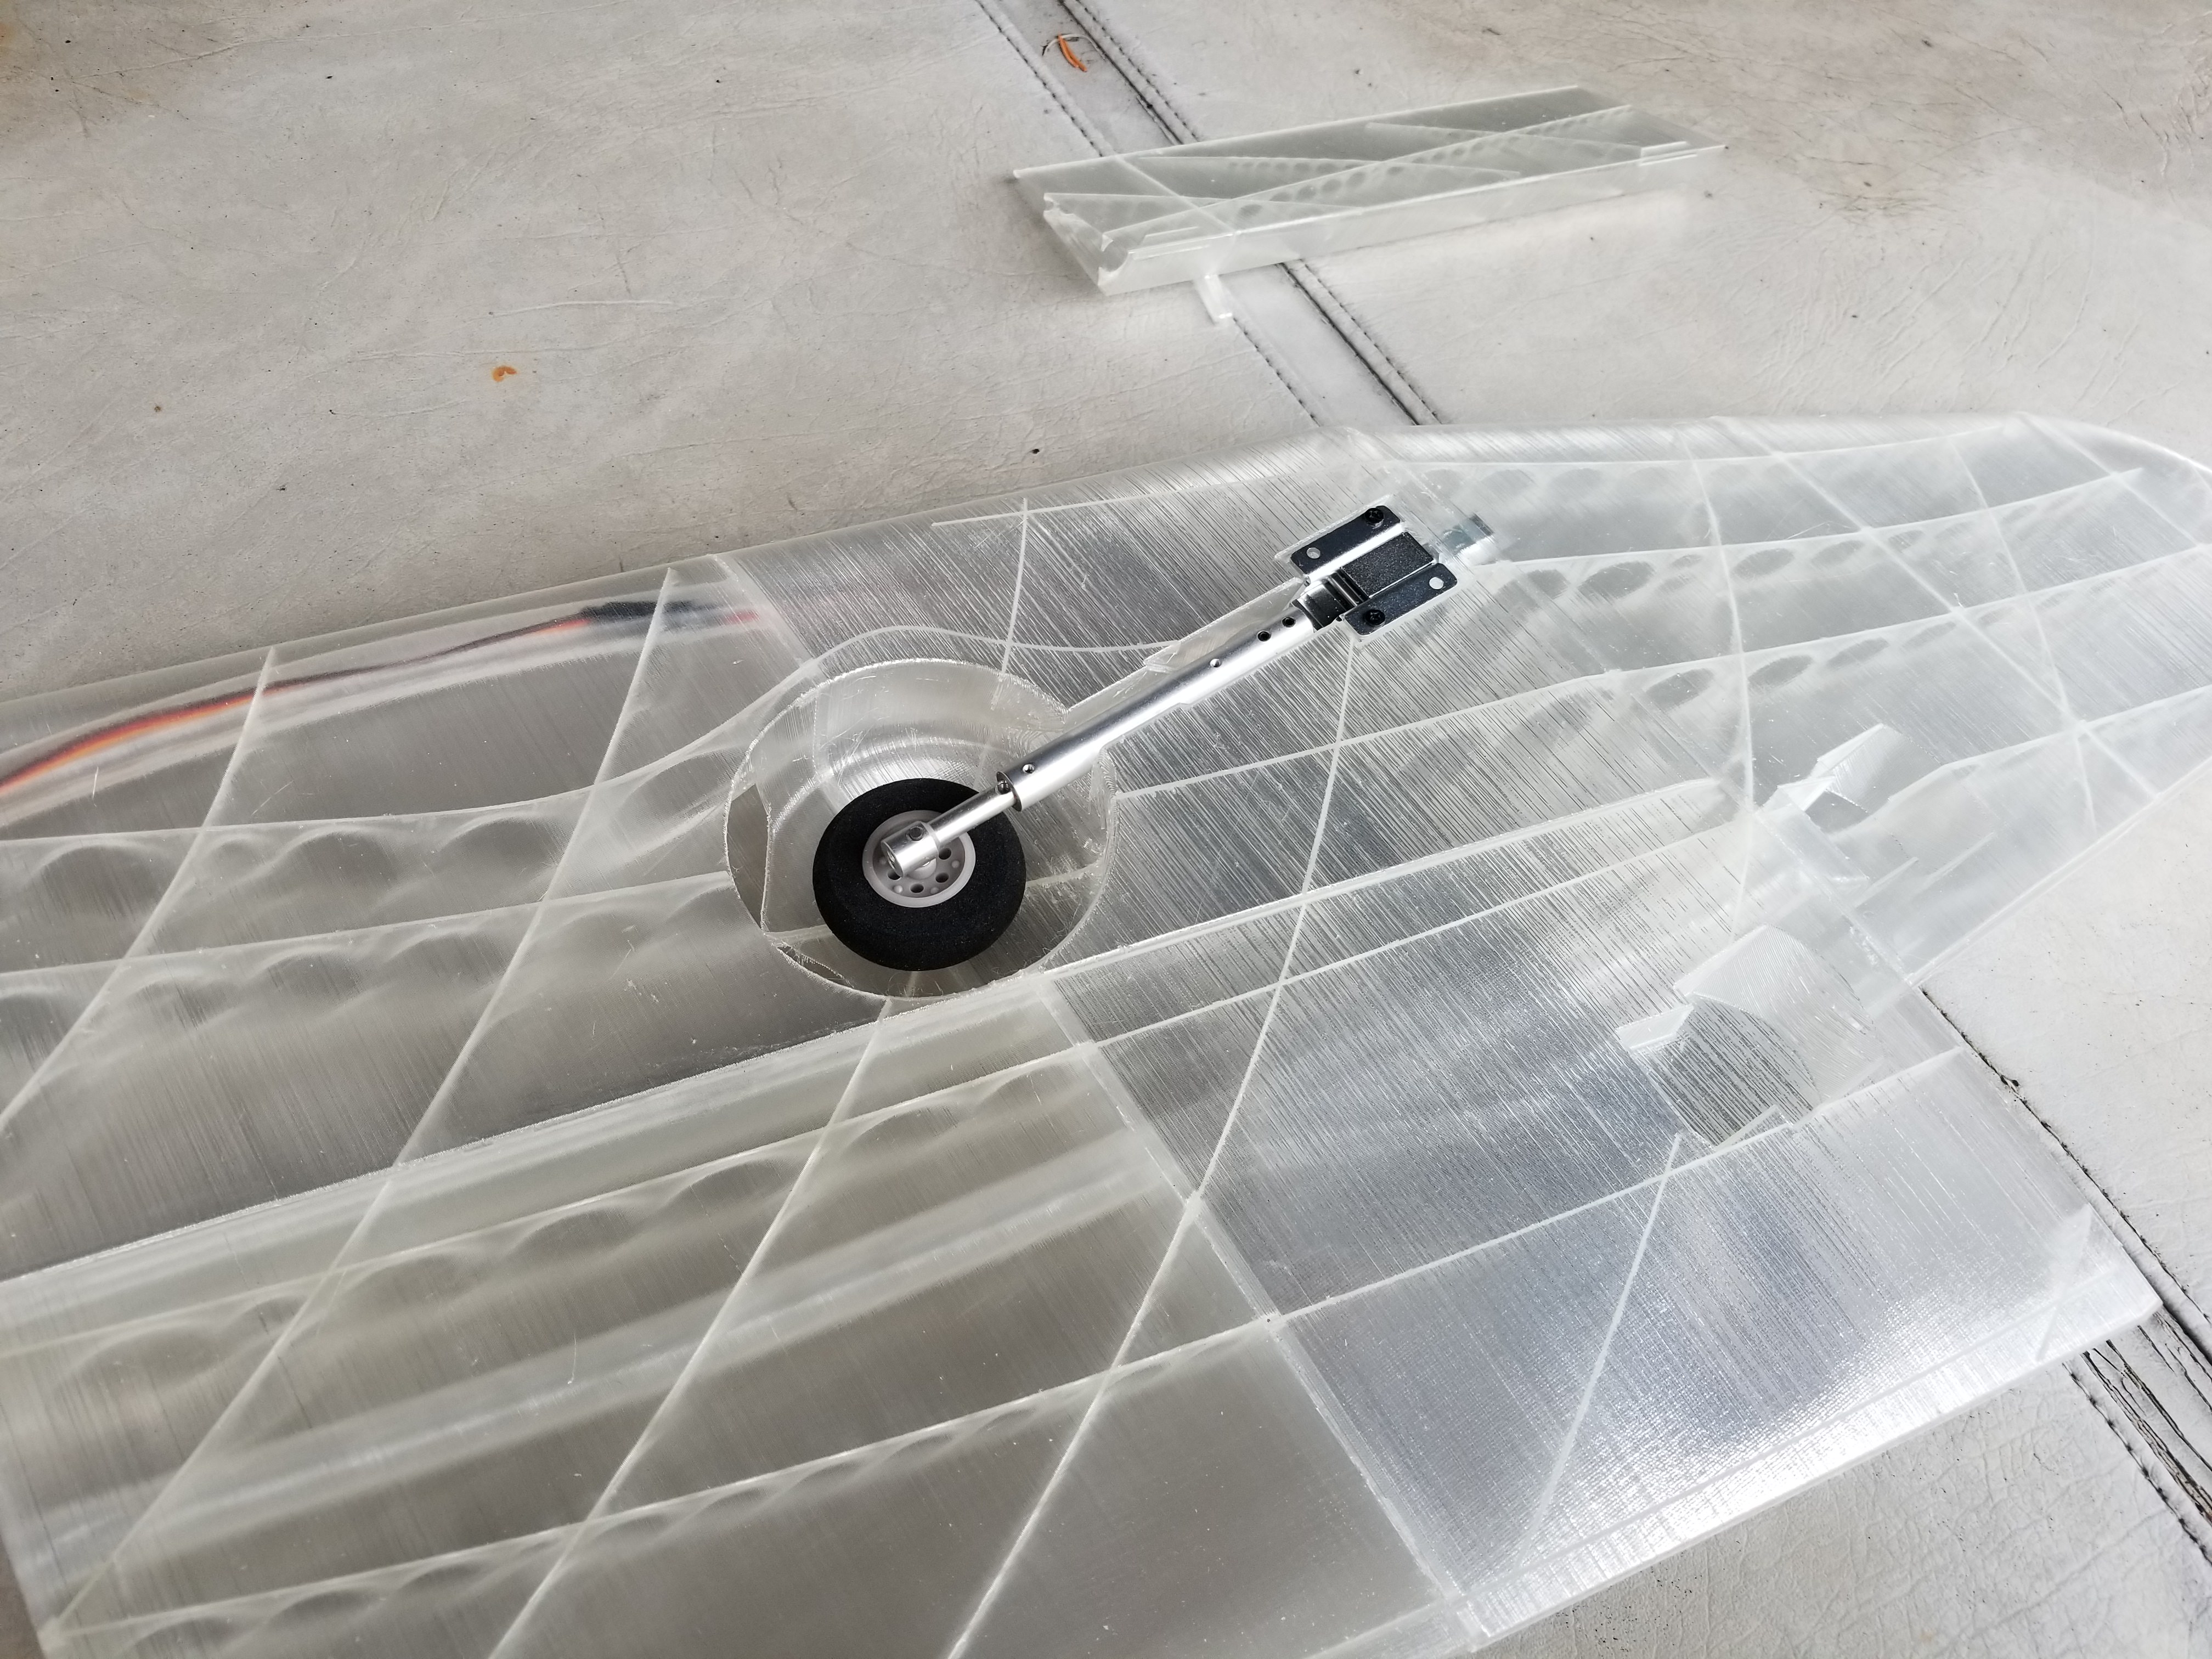
Baby wheels. Gonna need to draw up and print some bigger ones, or might just go with some lightweight foam ones. Balancing may be an issues with the retracts. It's all good though, if it's too heavy, I can go without. The horizontal stabilizers would make for a great place to add wheels. Heck, the Shindin ended up getting wheels on it's h-stabs. Though, I'll probably work in some sort of wire support.
Looking great! I hope the retracts work out. I would think that if you can keep the wheel weight down that balance won't be a massive issue. If not is there something preventing you from moving the battery forward?
Looking great! I hope the retracts work out. I would think that if you can keep the wheel weight down that balance won't be a massive issue. If not is there something preventing you from moving the battery forward?
No, should be able to have it but up right against the canard, maybe even on top of it. I'm just not used to a plane of this size and weight. Plastic is heavier than foamboard, so my experience with being able to eyeball the weight of the tail doesn't transfer over well. The motor is going to need to be large to have good enough thrust, and a decent sized prop, which requires a bigger and possibly bulky battery.
I'm hoping I'll be able to make this thing fly with a Tacon Bigfoot 25 motor, and a big 4s battery. Bigger motors might be problematic for balancing. I'm just gonna have to see how it turns out when everything is printed.
With this being a pusher it's fairly easy to mount the motor forward and add a shaft extension if you need to push your CG more forward. I think it'll be fine as is though.
That could be a pretty cool solution. Do they make shaft extensions that'l just thread onto something like a 3-6mm motor shaft?
I'm gonna have to do some searching.
An extension, then a 3d printed mount for a skateboard bearing at the rear would be really simple to do.
Tench745
Master member
I've seen some home-built extensions built from hobby store brass tube or carbn fiber. I think there was a Horten flying wing build over on RC groups that did this.
Yeah, here's the one I was thinking of.
Here's another that uses carbon fiber.
I'm not aware of any store-bought solutions. If you knew someone with a metal lathe it would be fairly easy to build a really long collet style prop adapter.
Yeah, here's the one I was thinking of.
Here's another that uses carbon fiber.
I'm not aware of any store-bought solutions. If you knew someone with a metal lathe it would be fairly easy to build a really long collet style prop adapter.
Nathan_116
Member
This is freaking awesome!!!! With 3D printing becoming a pretty big thing, some one should make a series on how to design these aircraft. Would definitely be willing to through a few bucks at someone for that CADing gold, as with foam board you can design by hand, but these you literally can't.
I've seen some home-built extensions built from hobby store brass tube or carbn fiber. I think there was a Horten flying wing build over on RC groups that did this.
Yeah, here's the one I was thinking of.
Here's another that uses carbon fiber.
I'm not aware of any store-bought solutions. If you knew someone with a metal lathe it would be fairly easy to build a really long collet style prop adapter.
If this were a one off build just for my own use I'd probably consider a custom solution. Doing a bit of looking around at standoffs, as they might do the job, and be readily available. Of course, this would probably only be for bigger motors. I'm hoping it'l balance fine with a moderate choice in powerplant.
This is freaking awesome!!!! With 3D printing becoming a pretty big thing, some one should make a series on how to design these aircraft. Would definitely be willing to through a few bucks at someone for that CADing gold, as with foam board you can design by hand, but these you literally can't.
Making a set of videos on how to do this is something I'd like to be able to do, but the time component really comes into play. I barely have enough time to design my own stuff. Hopefully this thread will help to inspire others to try similar things.
I've been teaching myself 3D CAD, and working out a bunch of the kinks in this type of design since last year, hopefully some of my tips will save others time. When I get this done maybe I'll do a video overview of the design process for this plane. If only designing airplanes was a real job.

Finishing up the tweaks needed for the bottom wing. Just little things here and there to strengthen things up. The big one is adding skin tension material in the gaps between spars to keep empty spots from sagging without adding a bunch of weight. Hopefully it works.
Uncle Manuel
New member
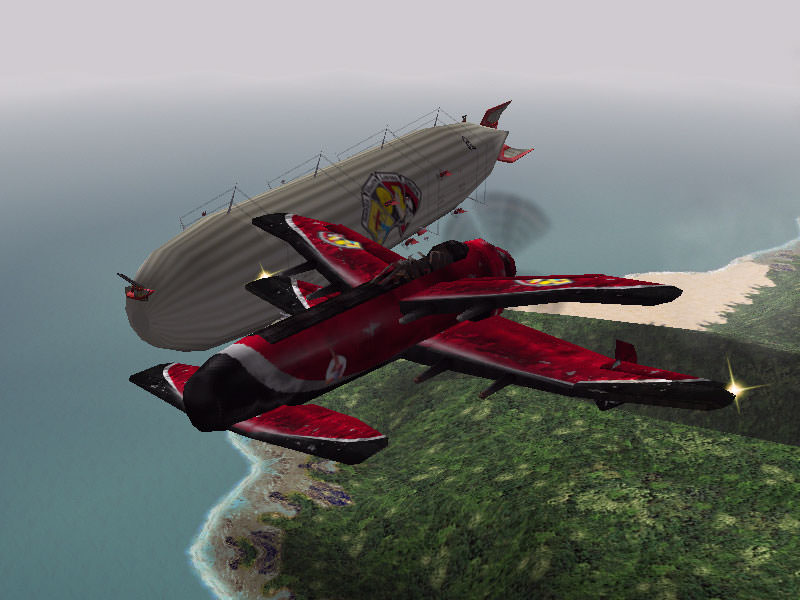
OMG, this brings back sooo many memories! Awesome game back then! I can't wait for this plane to get airborne...
OMG, this brings back sooo many memories! Awesome game back then! I can't wait for this plane to get airborne...
Me either.
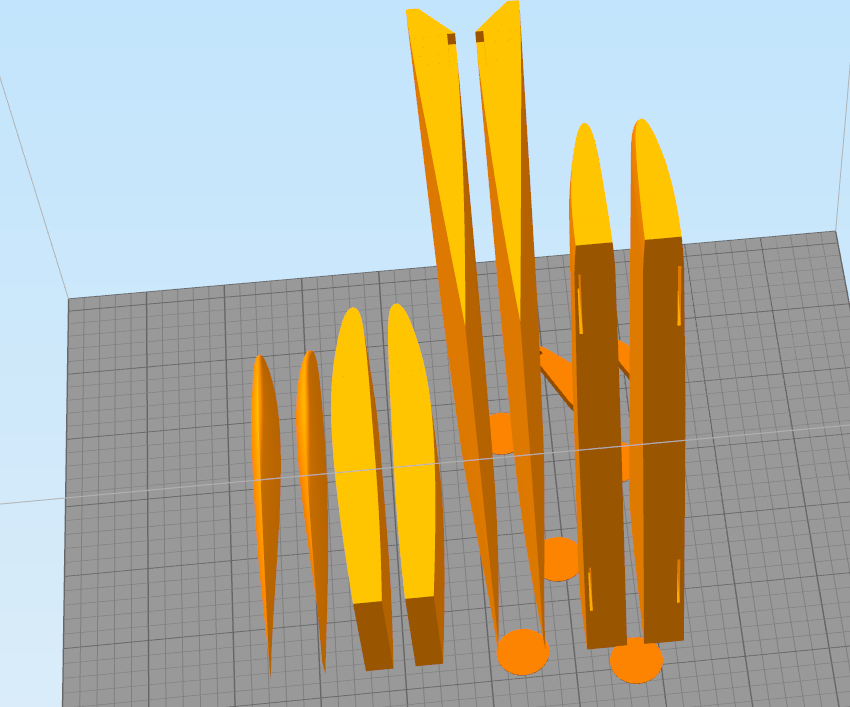
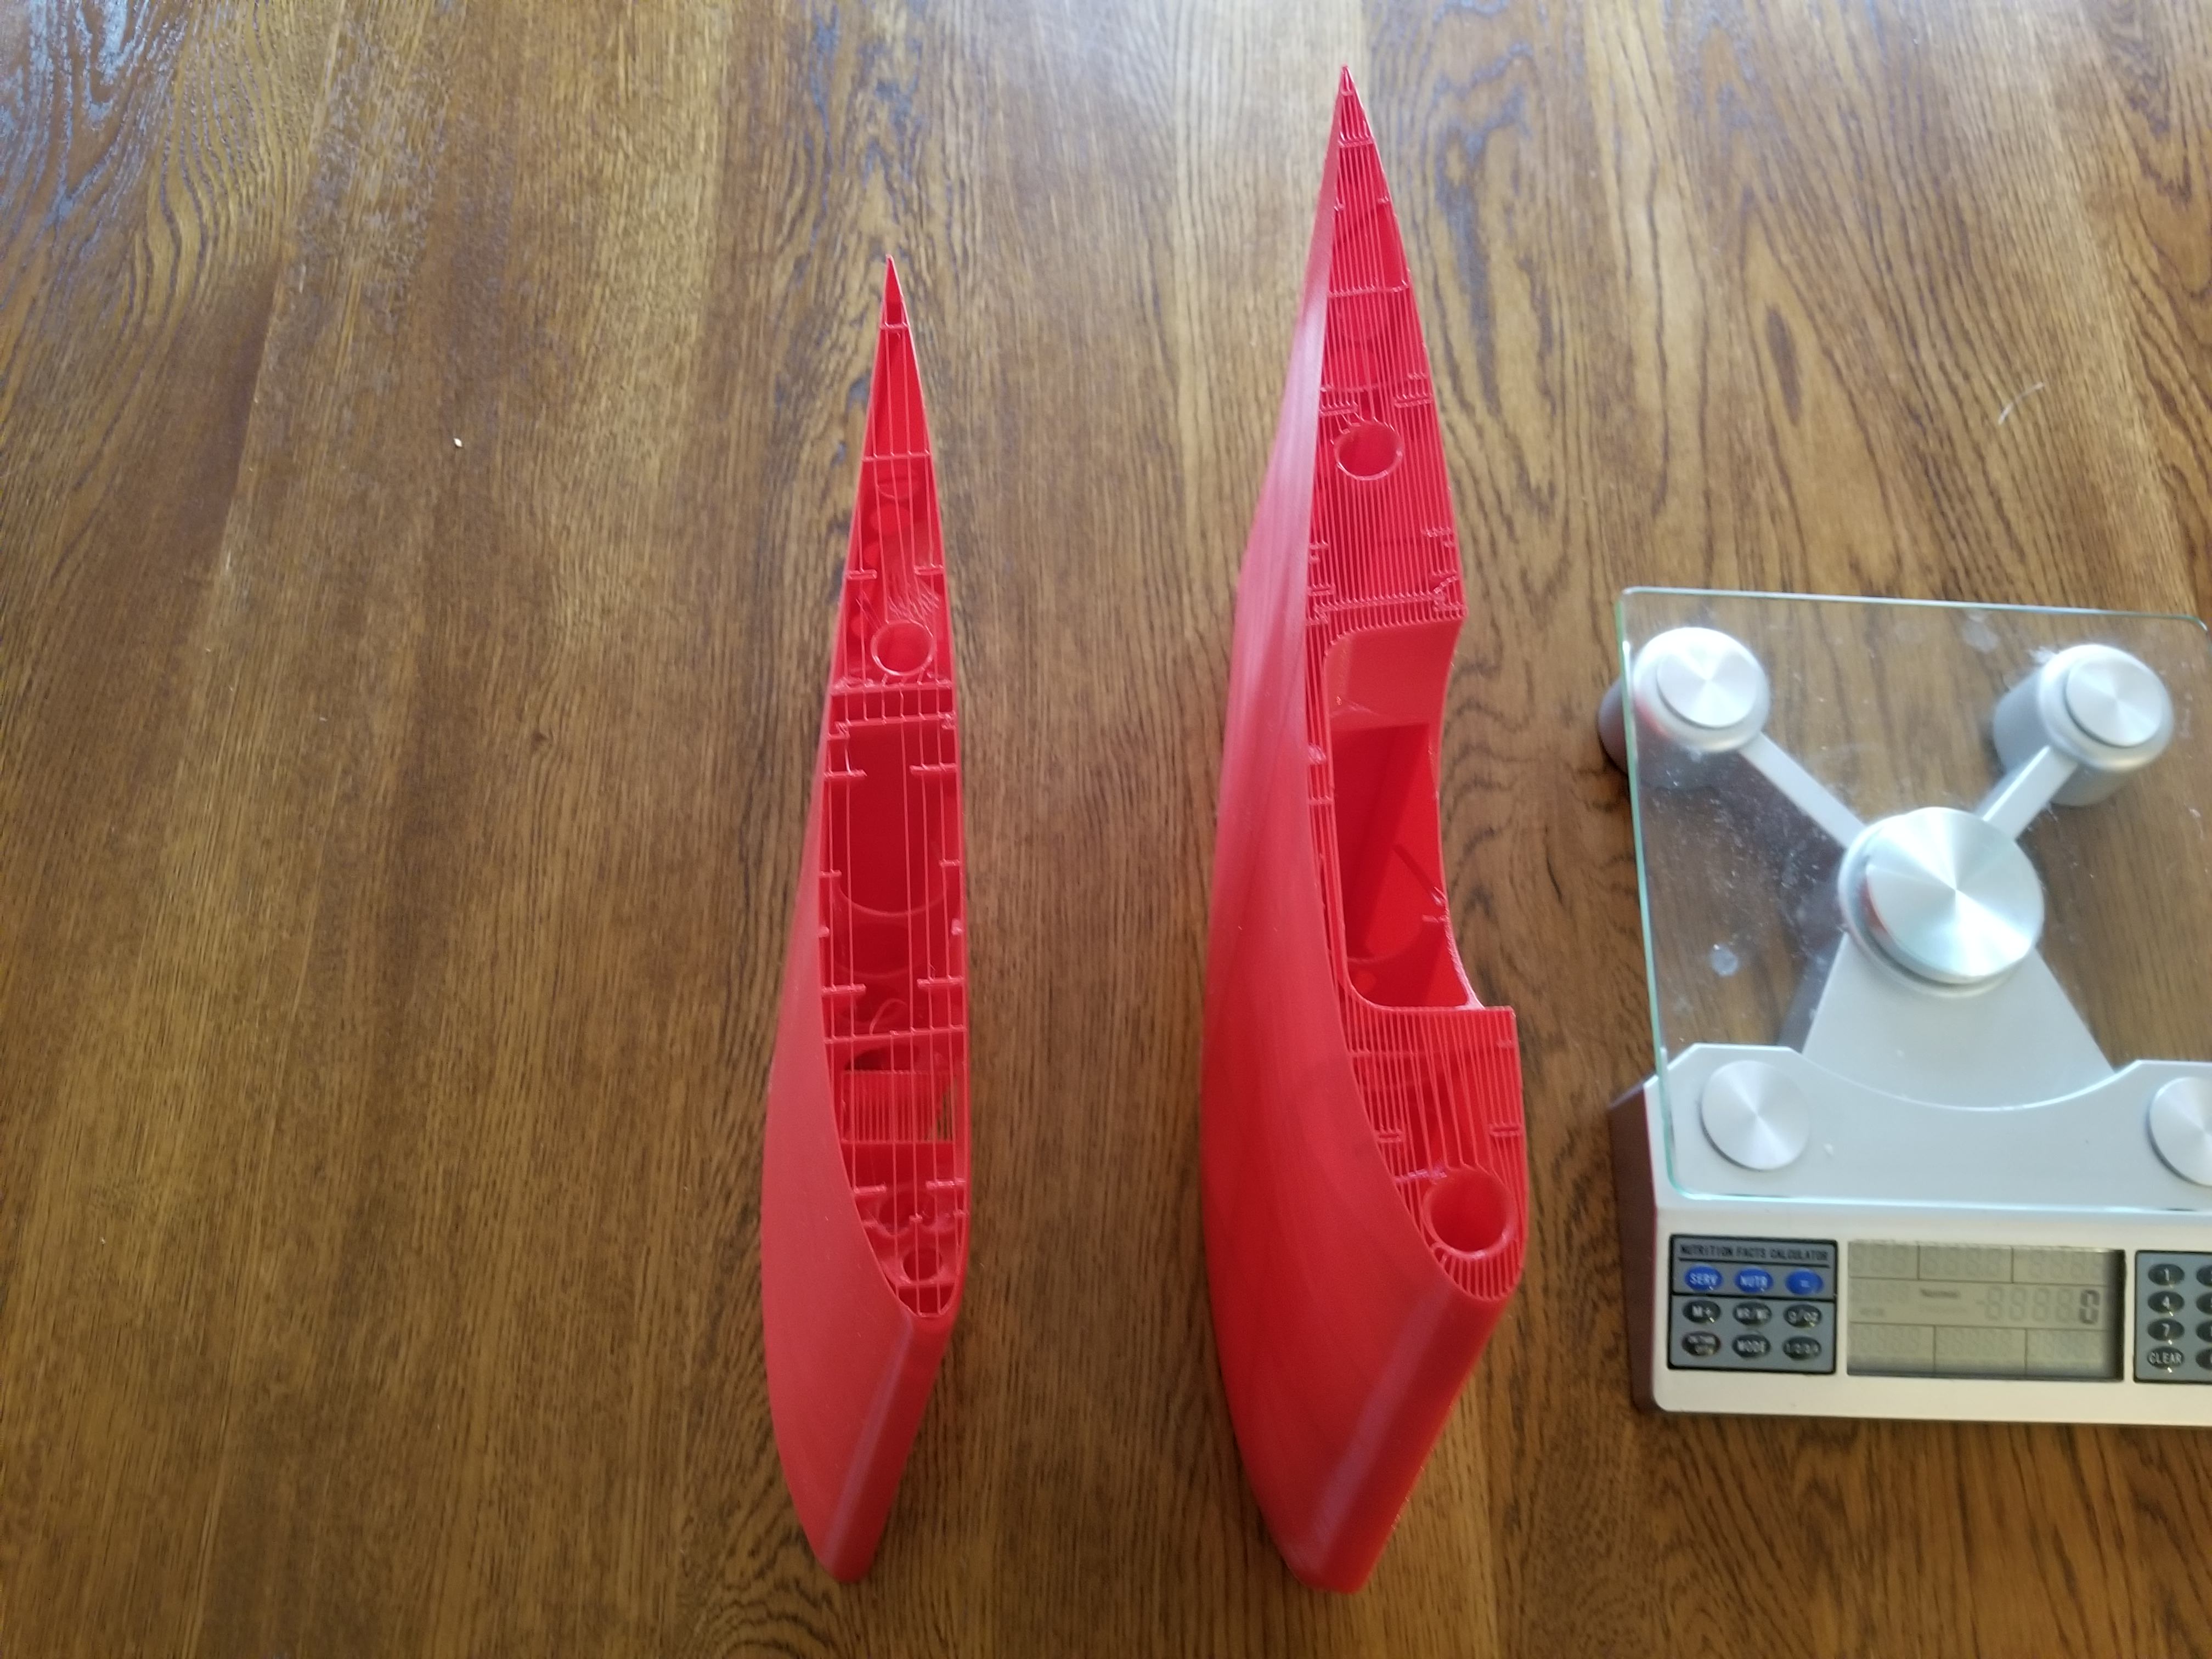
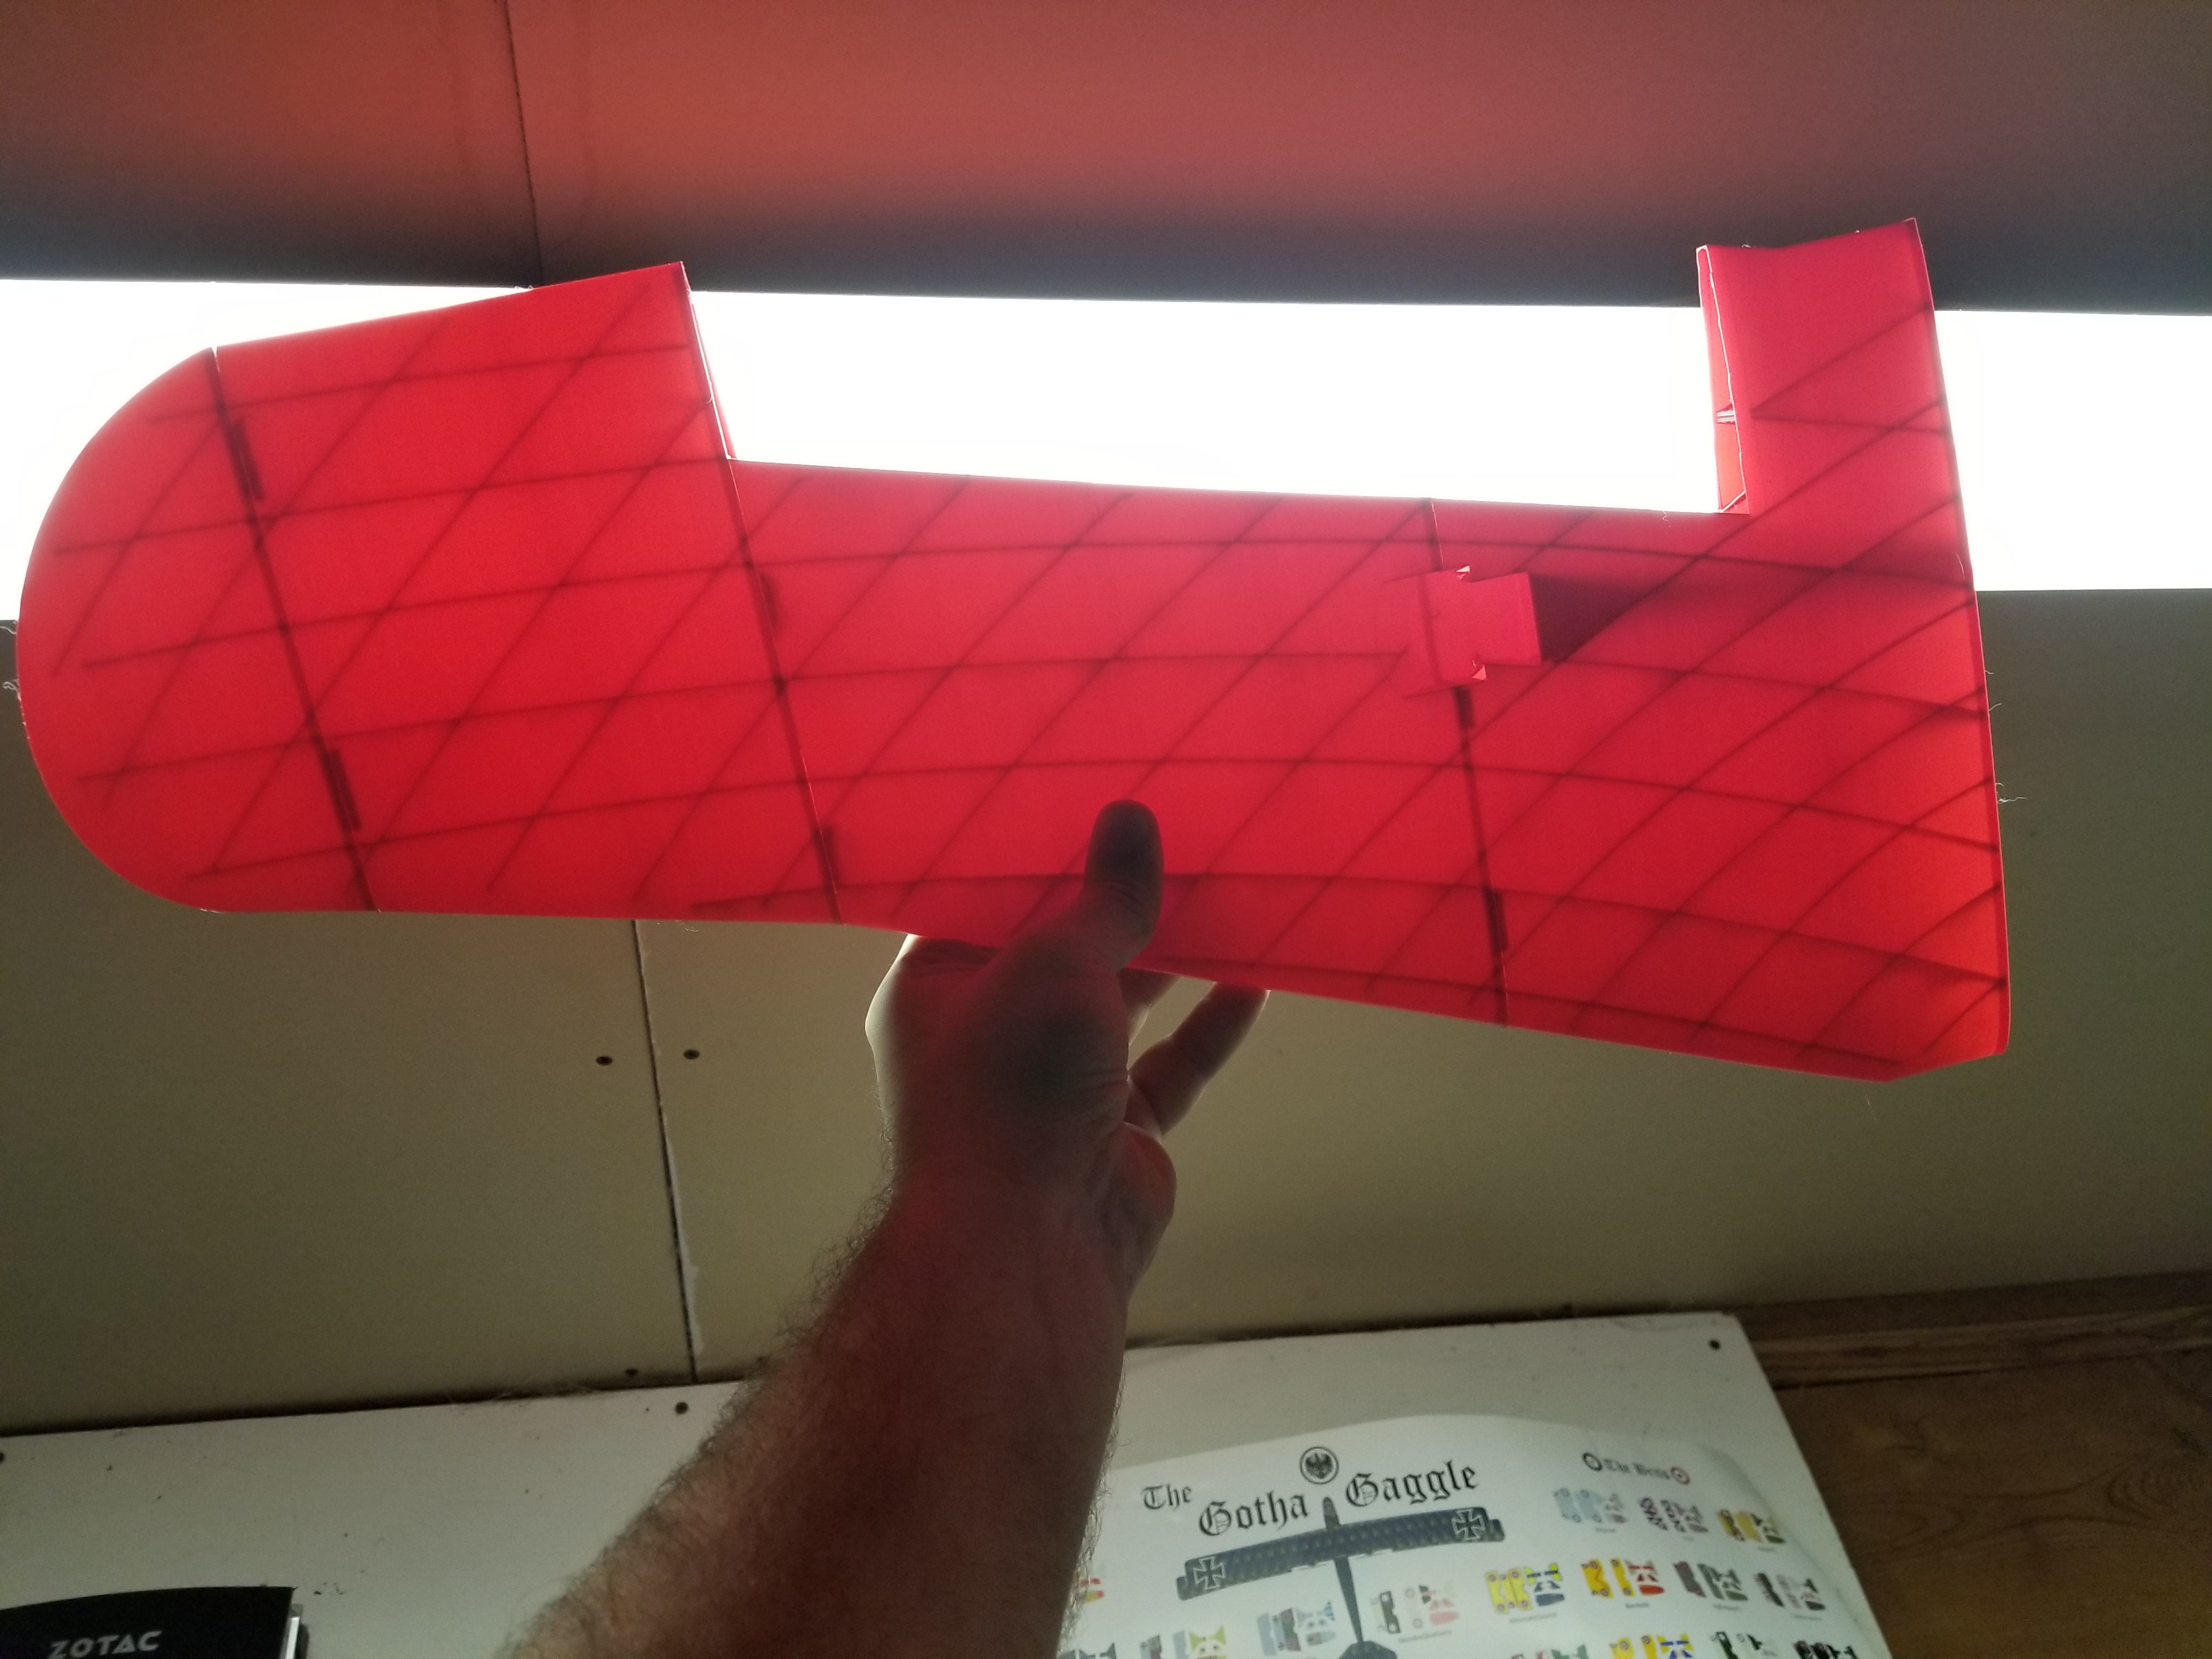
Got most of the top wing wing done now. Think it's going to get some skin spars like the bottom wing, so there's a bit more to do, but the big headaches on it are done. Servo slots, wire routing, and lots of lightening holes in the structural spars.
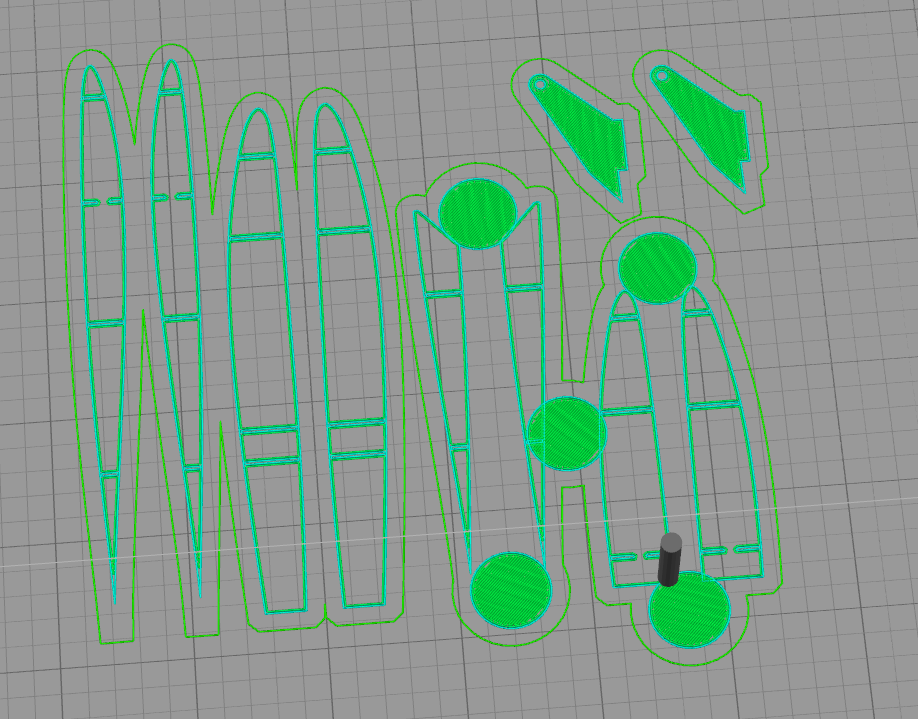
Also printed out the lower wing again to test some of the changes I made.
The new style dovetails worked out great. The parts just slide together, and I think it will be much stronger that the tongue and groove thing I tried at first.
You'll see a few waves in the skin surface. I'm going to connect the skin supports to the edges a bit better, as well as add some more reinforcement. I want to be able to keep the skin tension up without the weight of a full spar. It worked in some places, but now I have a better idea of where supports need to go.
Looking good
Looking good
Thanks. Plugging away at this.
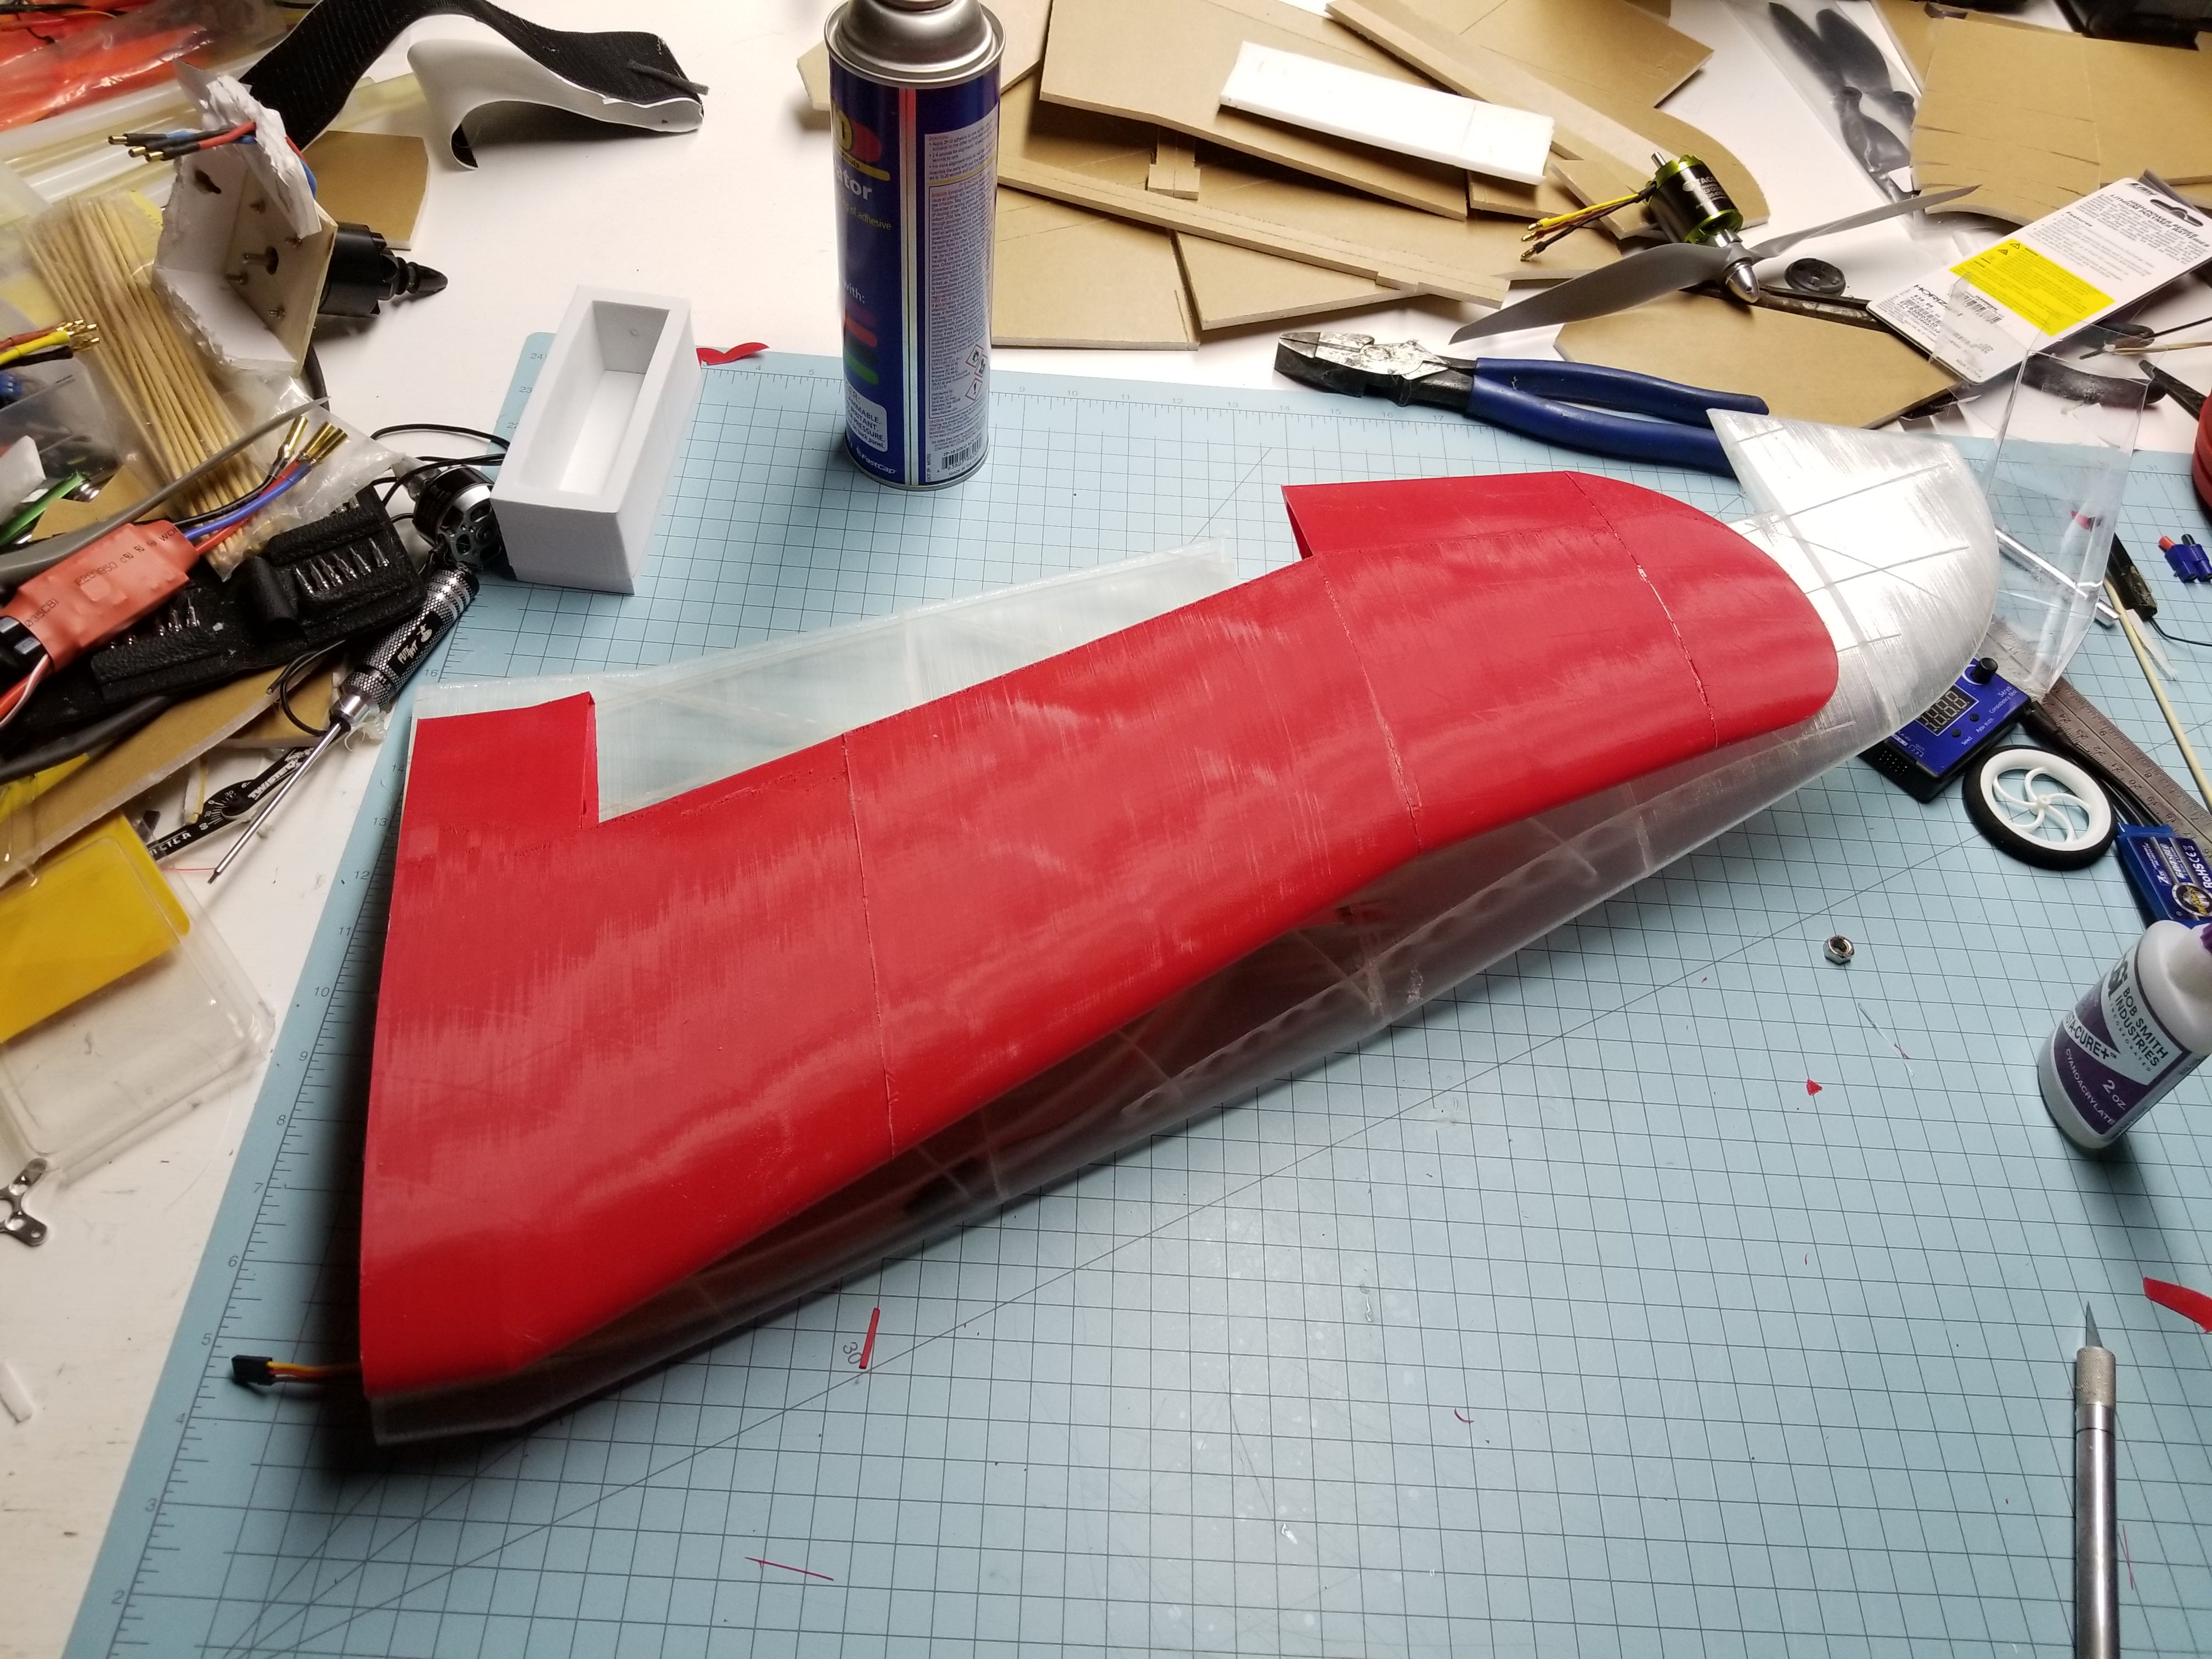
Just got the skin tension spars finished for the upper wing.
Michael9865
Elite member
Your craftsmanship and 3D skills are amazing.
Your craftsmanship and 3D skills are amazing.
That's the thing I'm liking about modern 3D design programs. It's more science than art, and anybody can use them. I had very little experience before last year and now I can draw some pretty complex shapes.
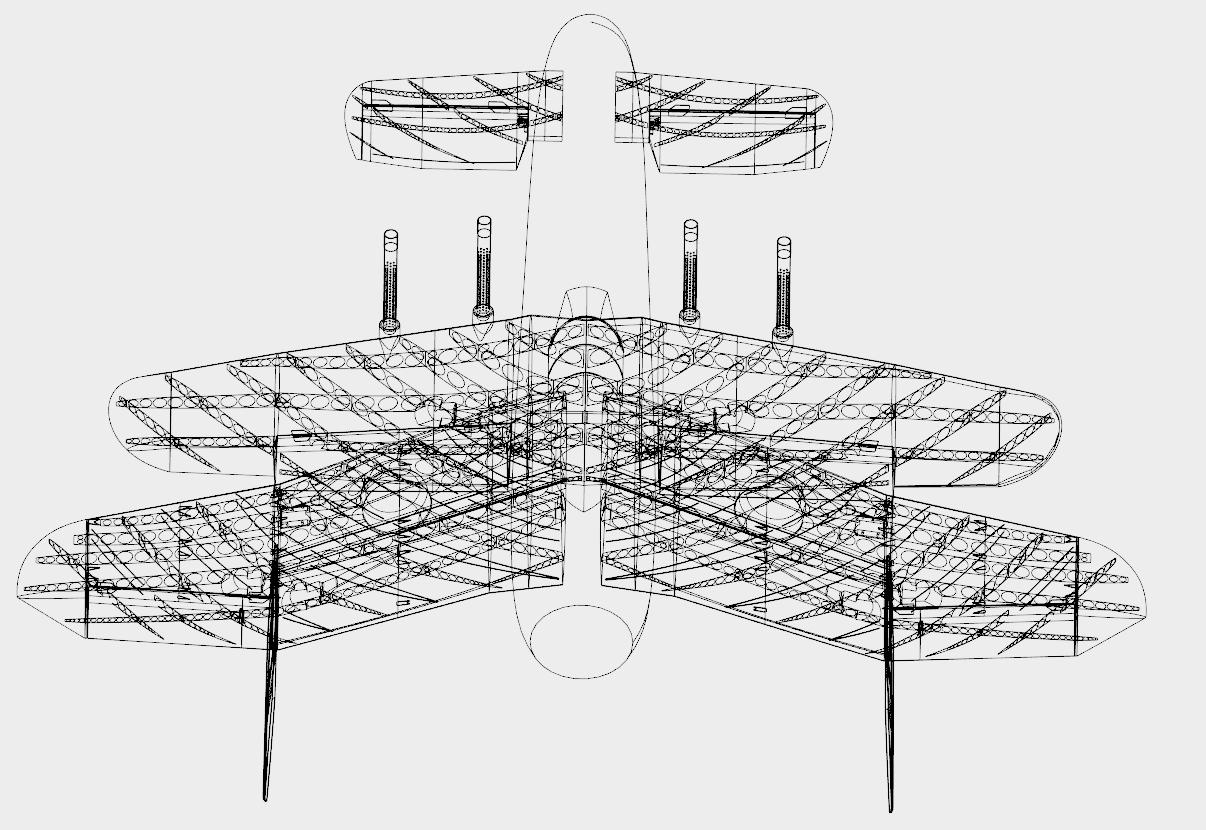
Got the bottom wing tweaks finished, and completed the upper wing and vertical stabilizers. Everything except the fuse is all done and ready for printing excepting any changes I might decide to make.
Top wing is printing now:
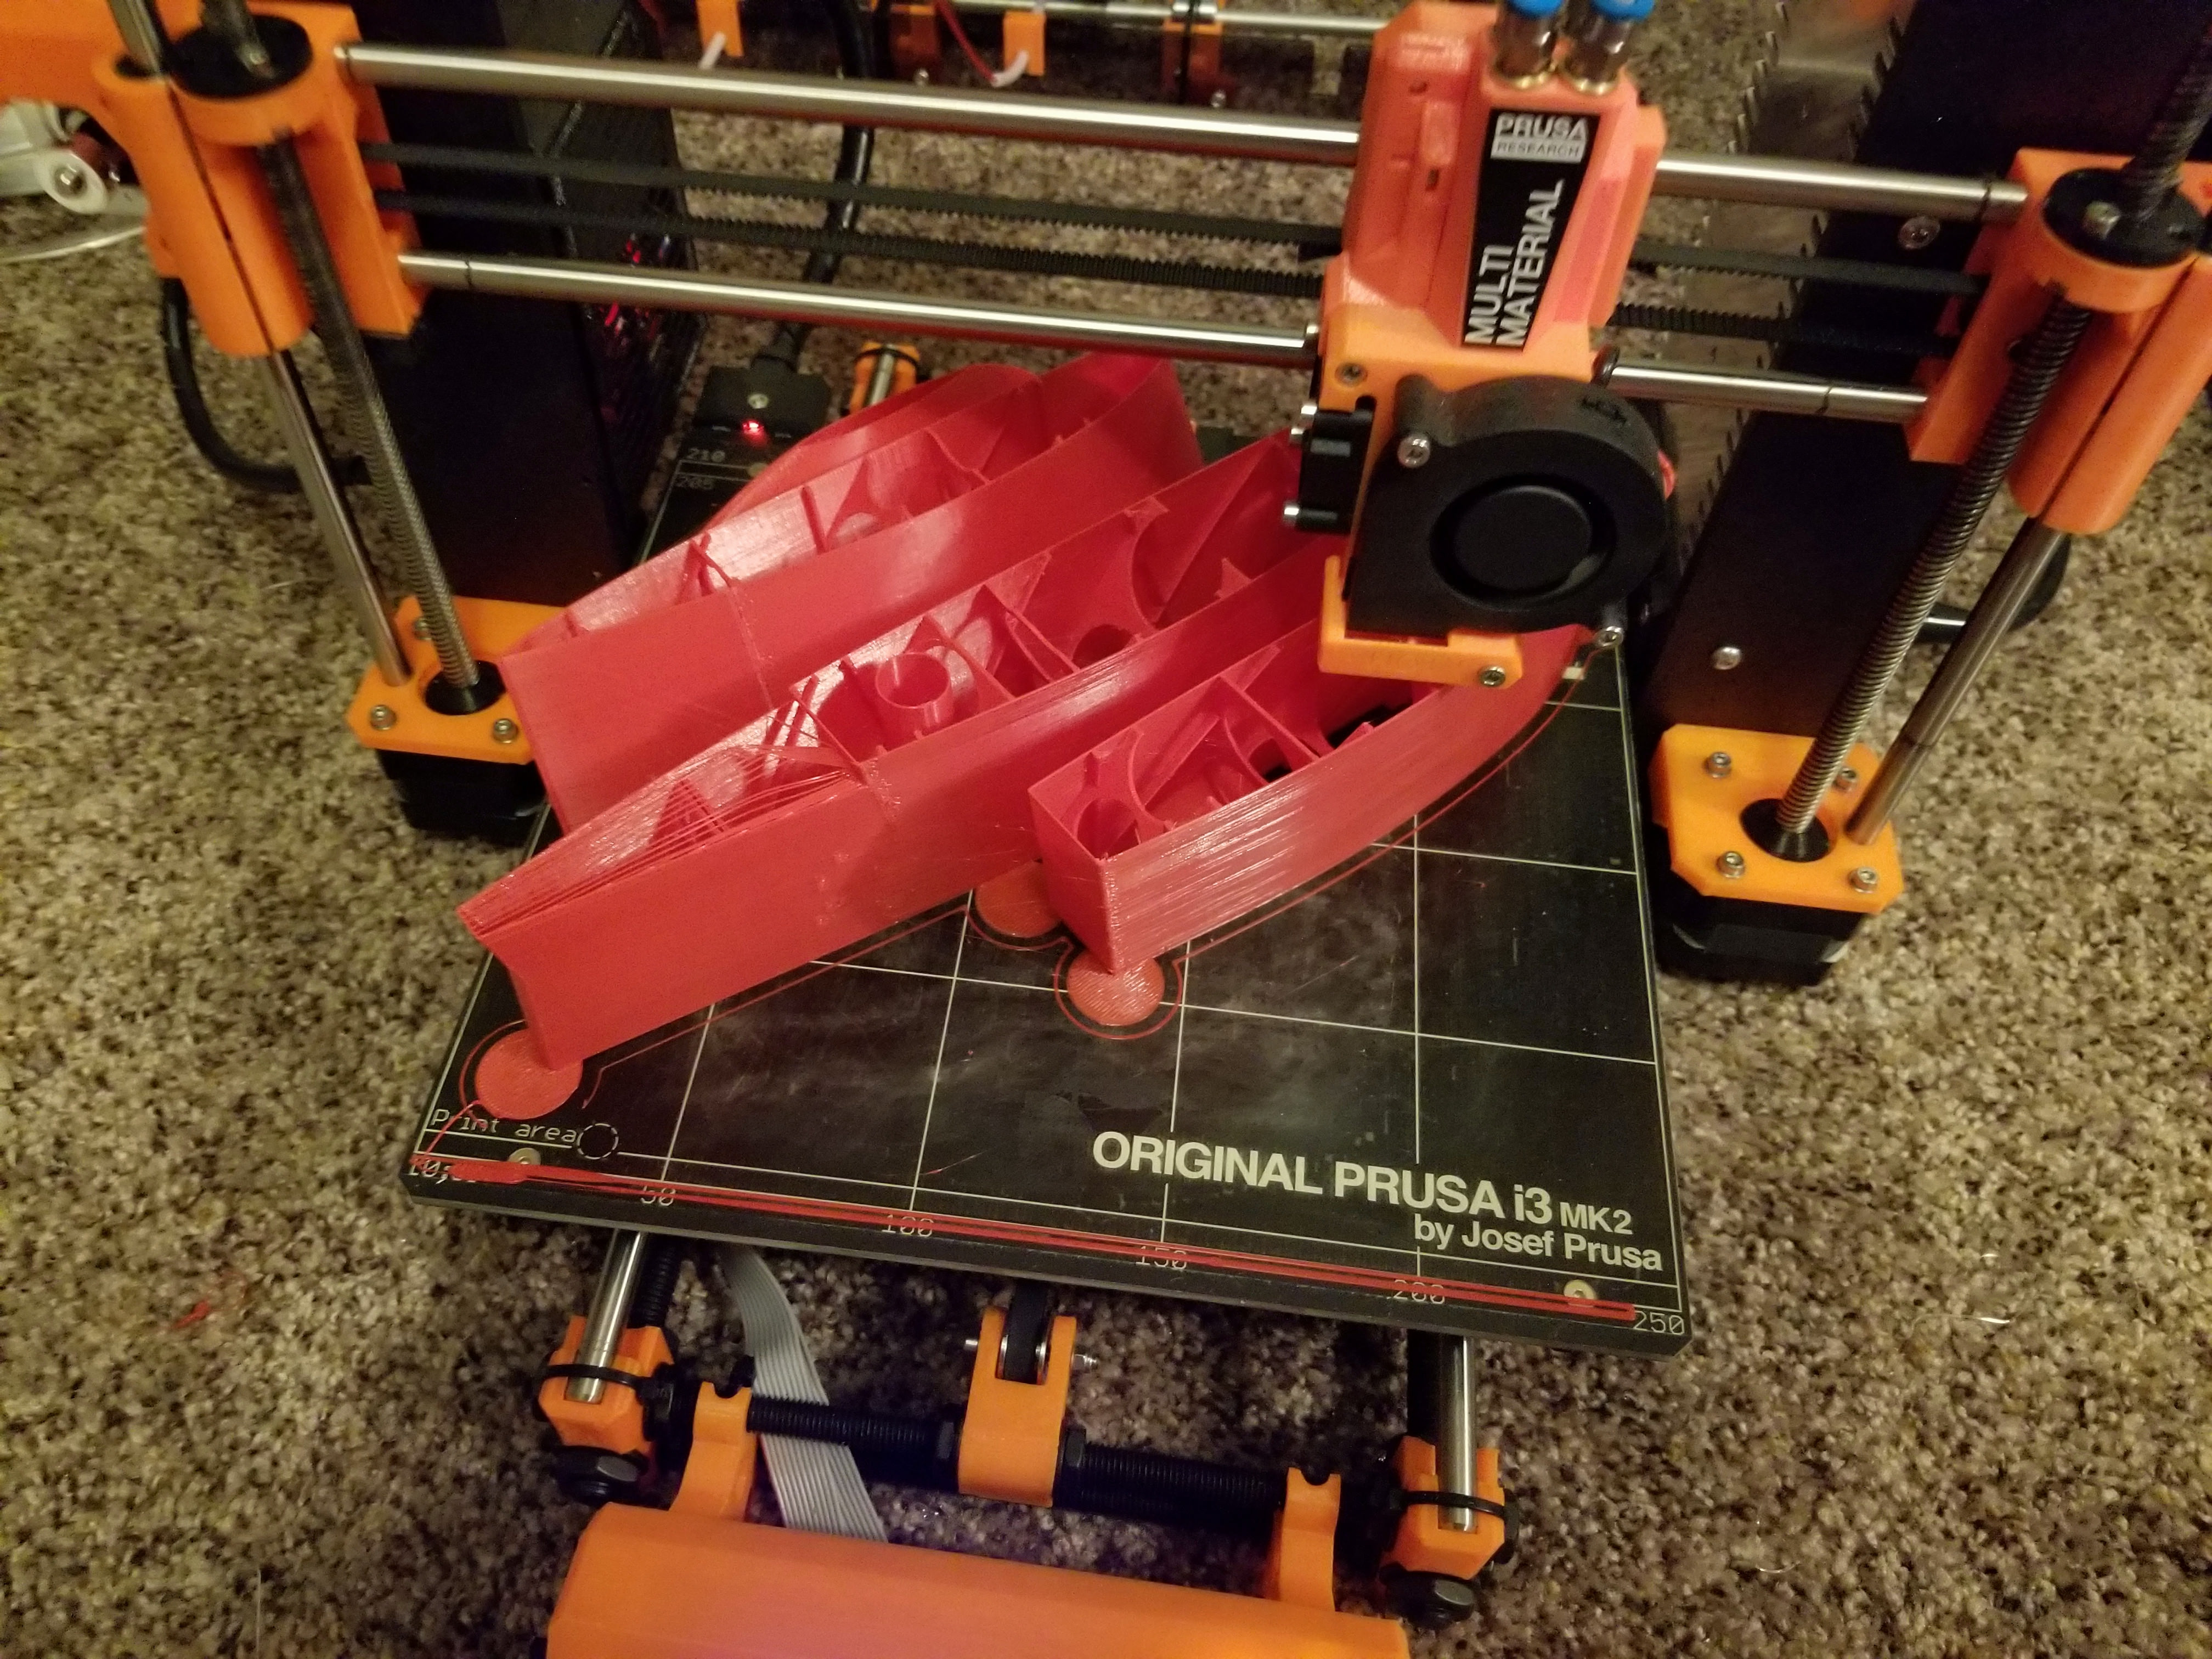
Top wing has finished printing. There are only a couple tweaks I need to do to it. I'll probably reprint it as well, since I accidentally used the wrong profile when I started the print late last night. Print was a little ugly in spots do to the wrong settings.

Similar threads
- Replies
- 3
- Views
- 238
- Replies
- 0
- Views
- 186
- Replies
- 6
- Views
- 507
- Replies
- 0
- Views
- 556
- Replies
- 4
- Views
- 478