
DETAILS
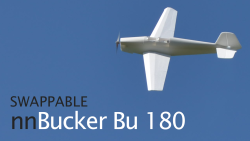
I will be designing and building a swappable Bucker 180 over the next few weeks and wanted to gauge any interest from others who might like to build one also. I'm going to name my version the nnBucker Bu 180, because hey, why not?

http://www.aviastar.org/air/germany/bucker_student.php


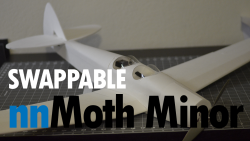
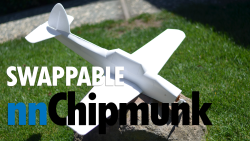
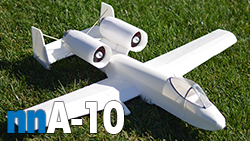
If you like this design then perhaps you’ll like some of my others as well.
|
|
|

|
|
|
FAQ
Will this plane work with the standard FT powerpod and electronics?
Yes. The Beef package/park 425 or greater will work just fine. I will be testing a few different set ups and will note how each performs.
Will the plans be available for free so I can build one too?
Yes.
Will there be a build video?
At this time, no. However the nnBucker 180 follows very similar build techniques as the FT Mustang. http://flitetest.com/articles/ft-mustang-build
You list a 2000mah battery in the electronics section, is that the only size that will work?
Nope. I've flown my nnBucker 180 with a 1500mah 3S all the way up to a 3700mah 3S with no issues. I'm sure you could fit even more if you wanted.
No landing gear? What gives?
I fly in a large grass field and normal sized wheels don't work well. I didn't want to include landing gear that I wouldn't be able to properly test, so for now you'll need to experiment on your own.
Can I use a different size motor than what's listed in the specs section?
Yes! As a minimum I would not go under 200 watts as you need around 700g of thrust for a decent flight experience. 500 watts is a good ceiling but make sure to add a CF or aluminum spar.
Can I use a smaller prop than 9"?
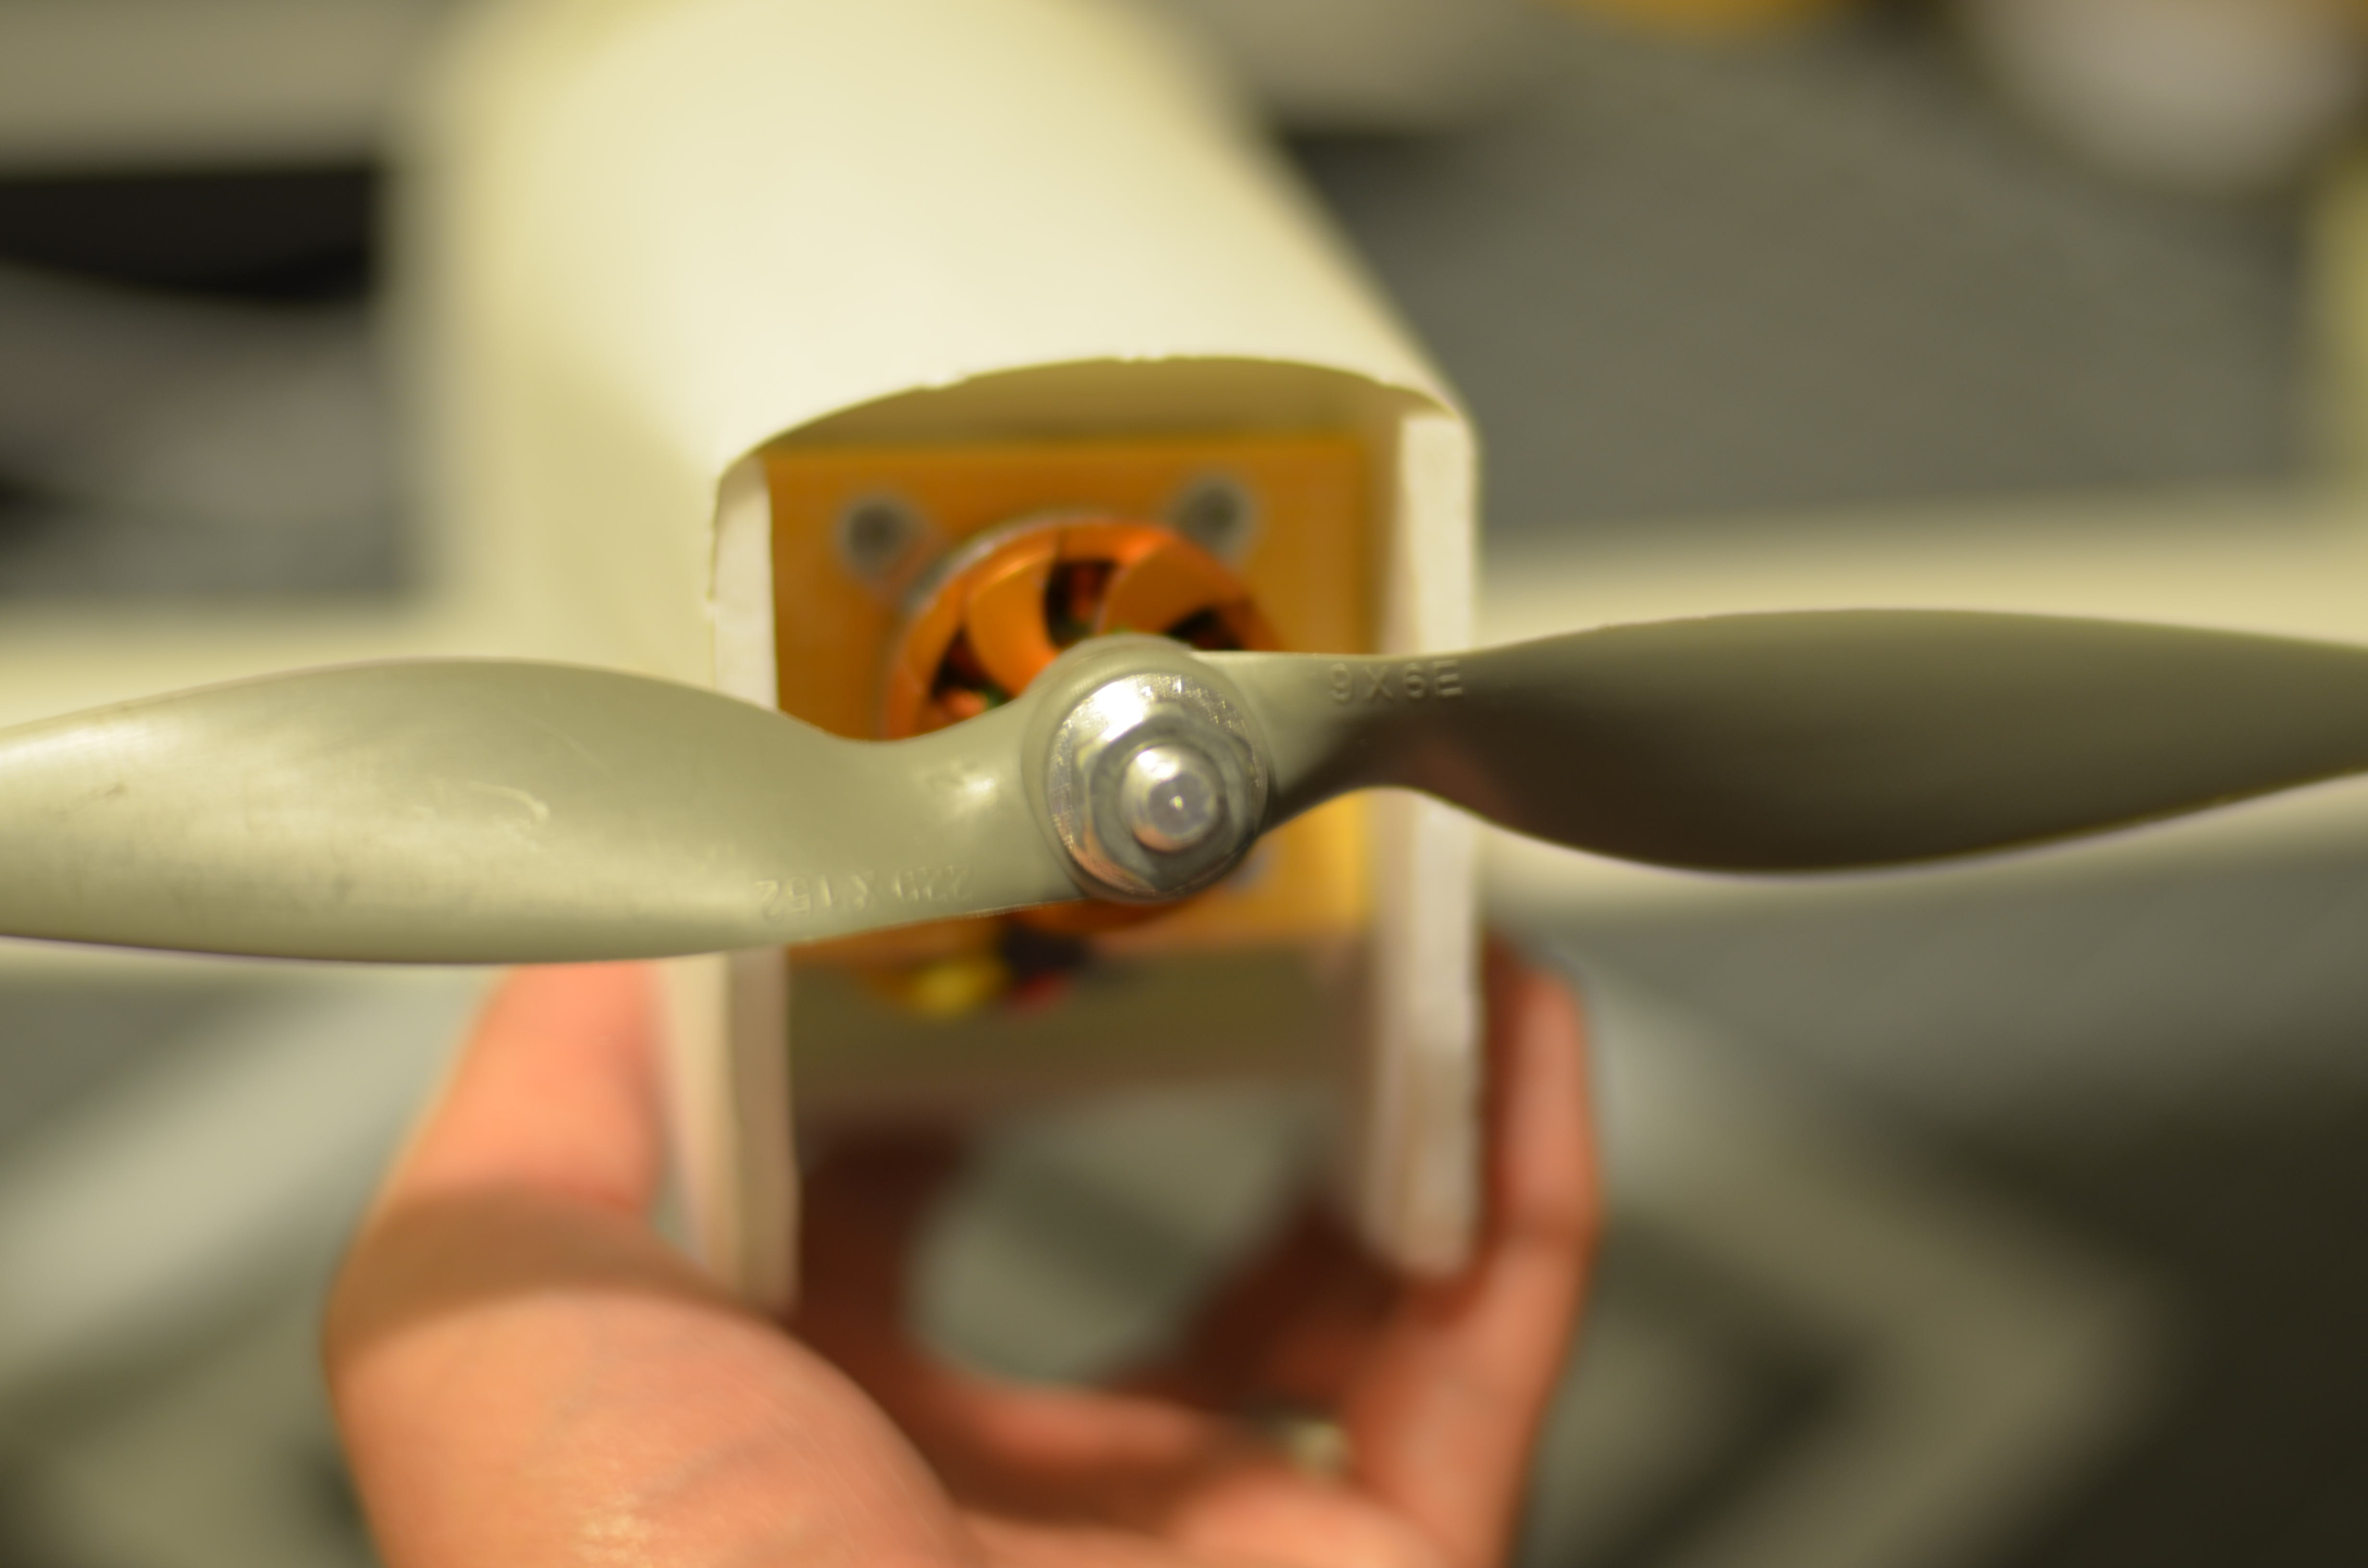
Yes. I have tested an 8" prop with no issues. You could also use a larger prop and have no issues.
SPECS
My Beta 3 Bucker has the following SPECS.
WINGSPAN | 1350mm - 53in |
FUSE | 800mm - 31.5in |
CHANNELS | 4 |
WEIGHT | Airframe - 350g AUW - 700g |
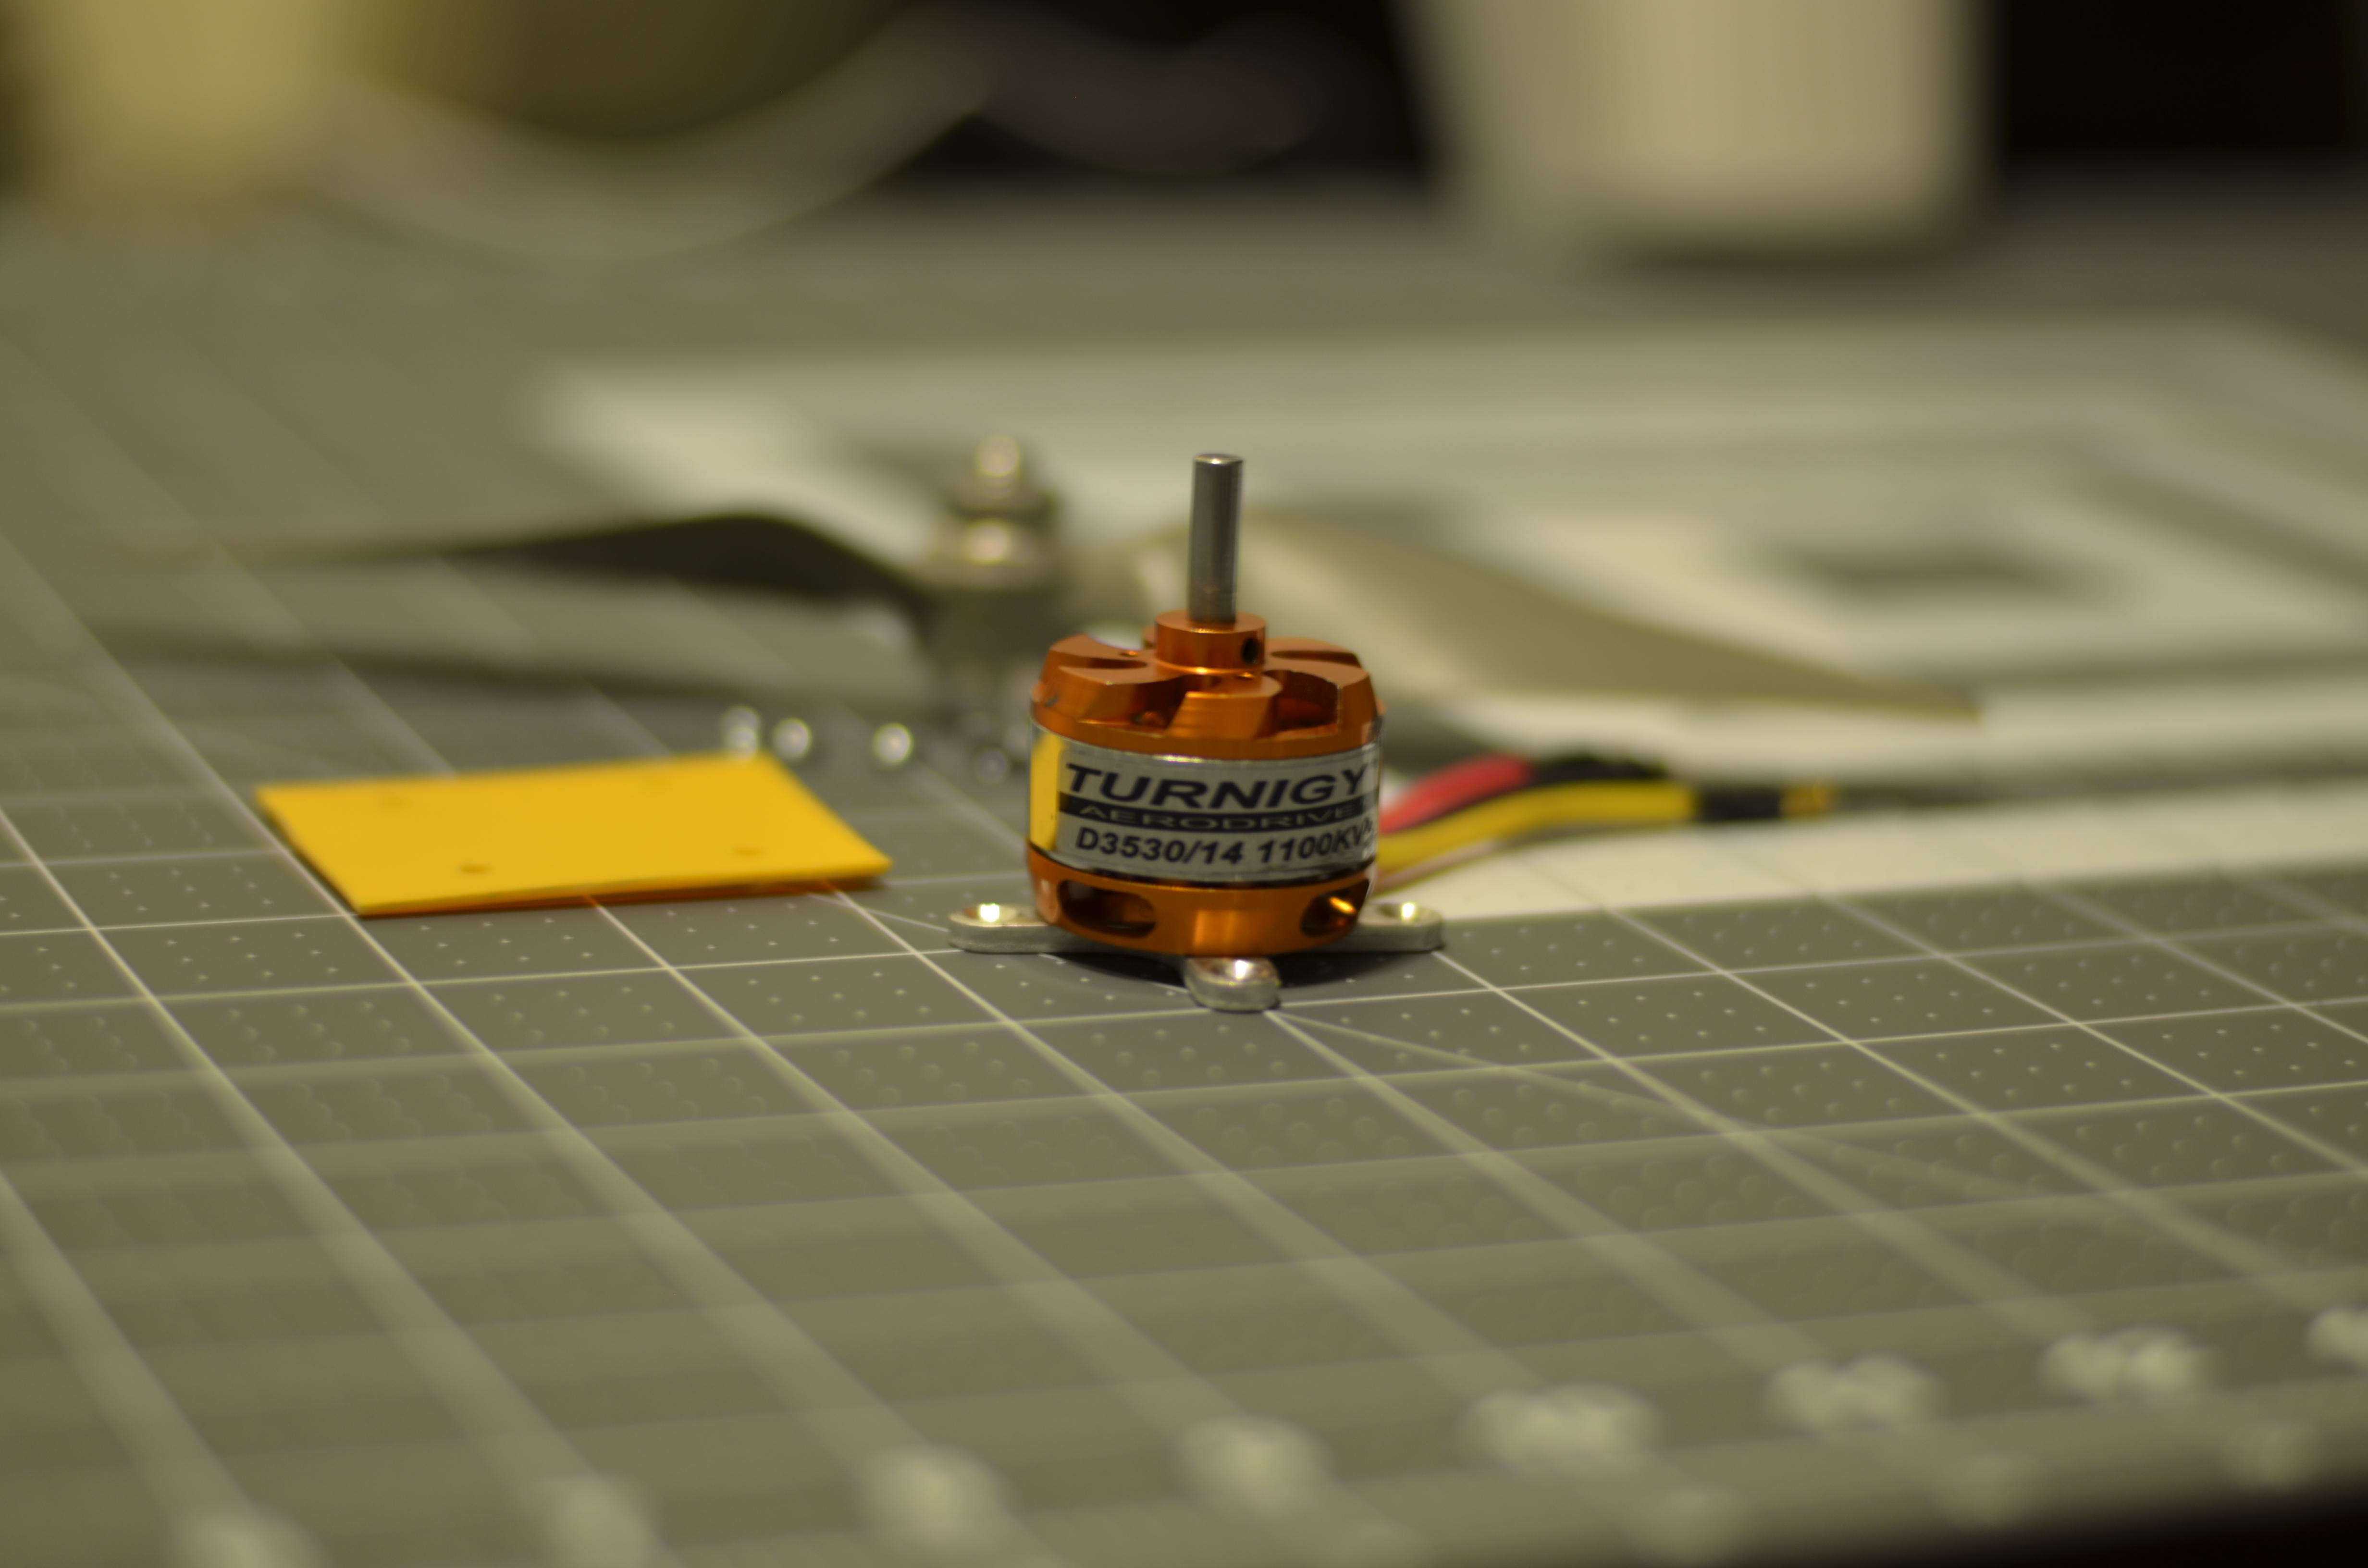
ELECTRONICS | MOTOR - Turnigy D3530/14 1100kv 73g 315w 22a PROP - 9x6 APC ESC - HobbyKing Blue 30a BATTERY - 2000mah 3S SERVOS - 4x HobbyKing 9g |
BUILD DIFFICULTY | Intermediate |
MATERIALS | 3 sheets of DTFB 1 sheet of poster board 2 BBQ skewer 1 FT PowerPod |
PLANS
I will be adding each version of the plans here and also include a change log for each release. In addition to the below plans you'll also need the FliteTest Powerpod for this bulid.
BETA 1
July 22nd 2014
Plans
NOTE: These plans have not been tested, build at your own risk.
BETA 2
July 31st 2014
Plans
Change log
-Redesigned fuse
--Reduced width, height, and shape
--Tail section redesigned
--Former size increased for more 'round' look and feel
-Added more formers
-Removed landing gear template
-Added cockpit poster board
-Removed FT PowerPod from plans
-Fixed bottom trailing edge from blocking aileron movement
-Added lead servo cut out in wing
-Added 'tabs' to ailerons similar to those on the elevator control surface
-Moved servo reference line on wing it now lines up properly to the airfoil curve
-Changed elevator control surfaces from two piece to one
-Changed placement of vertical stabilizer
-Reduced amount of paper removed from belly piece for strength
NOTE: These plans have been built and require little to no tweaking to work, however, the plans have not been flown yet, so please build at your own risk.
BETA 3
August 1st 2014
Plans
Change log
-Fuse
--Extended top plate of fuse to accommodate smaller can motors
--Adjust powerpod notches and skewer hole
-Decals
--Added decal PDF
-Other
--Added BBQ skewer spar line for elevator
-Fuse
--Extended top plate of fuse to accommodate smaller can motors
--Adjust powerpod notches and skewer hole
-Decals
--Added decal PDF
-Other
--Added BBQ skewer spar line for elevator
NOTE: Beta 3 has been built and flight tested. I'm a doing a final review of the plans and will then release a final version.
VERSION 1
August 18th 2014
Plans
Change log
-Fuse
--Added guide arrows for extensions
--Extended fuse top plate to incorporate servo placement
--Modified former 3
--Added former 5 for tail support
--Added guide for former 5 placement
--Added landing gear text
-Wing
--Moved CG slightly back
--Adjusted dihedral
-Poster board
--No change
-Decals
--No change
NOTE:Version 1 (V1) has been fully built and flight tested. Multiple people have built and flown V1 and no alterations were required to ensure proper build or flight. Beta 3 is nearly identical to V1 except for the items above mentioned in the change log. The maiden flight video seen below in this post is identical to the V1 plans posted here minus the aileron 'tabs.'
BUILD LOG BETA 1
July 21st 2014
I will be using the following PDF plans as a guide.
The design went pretty quick, only took about 4 hours total for the beta version. I used Photoshop to trace most of the shapes from the reference PDF linked above. With a lot of measuring, patience, and brainstorming I have completed the beta version and I feel good about everything so far. Beta plans added to PLANS section.
July 26th 2014
I completed my beta build in one night, here are some pics from the process. Hope you enjoy! All the 'issue' I point out are being corrected for the beta 2 plans.
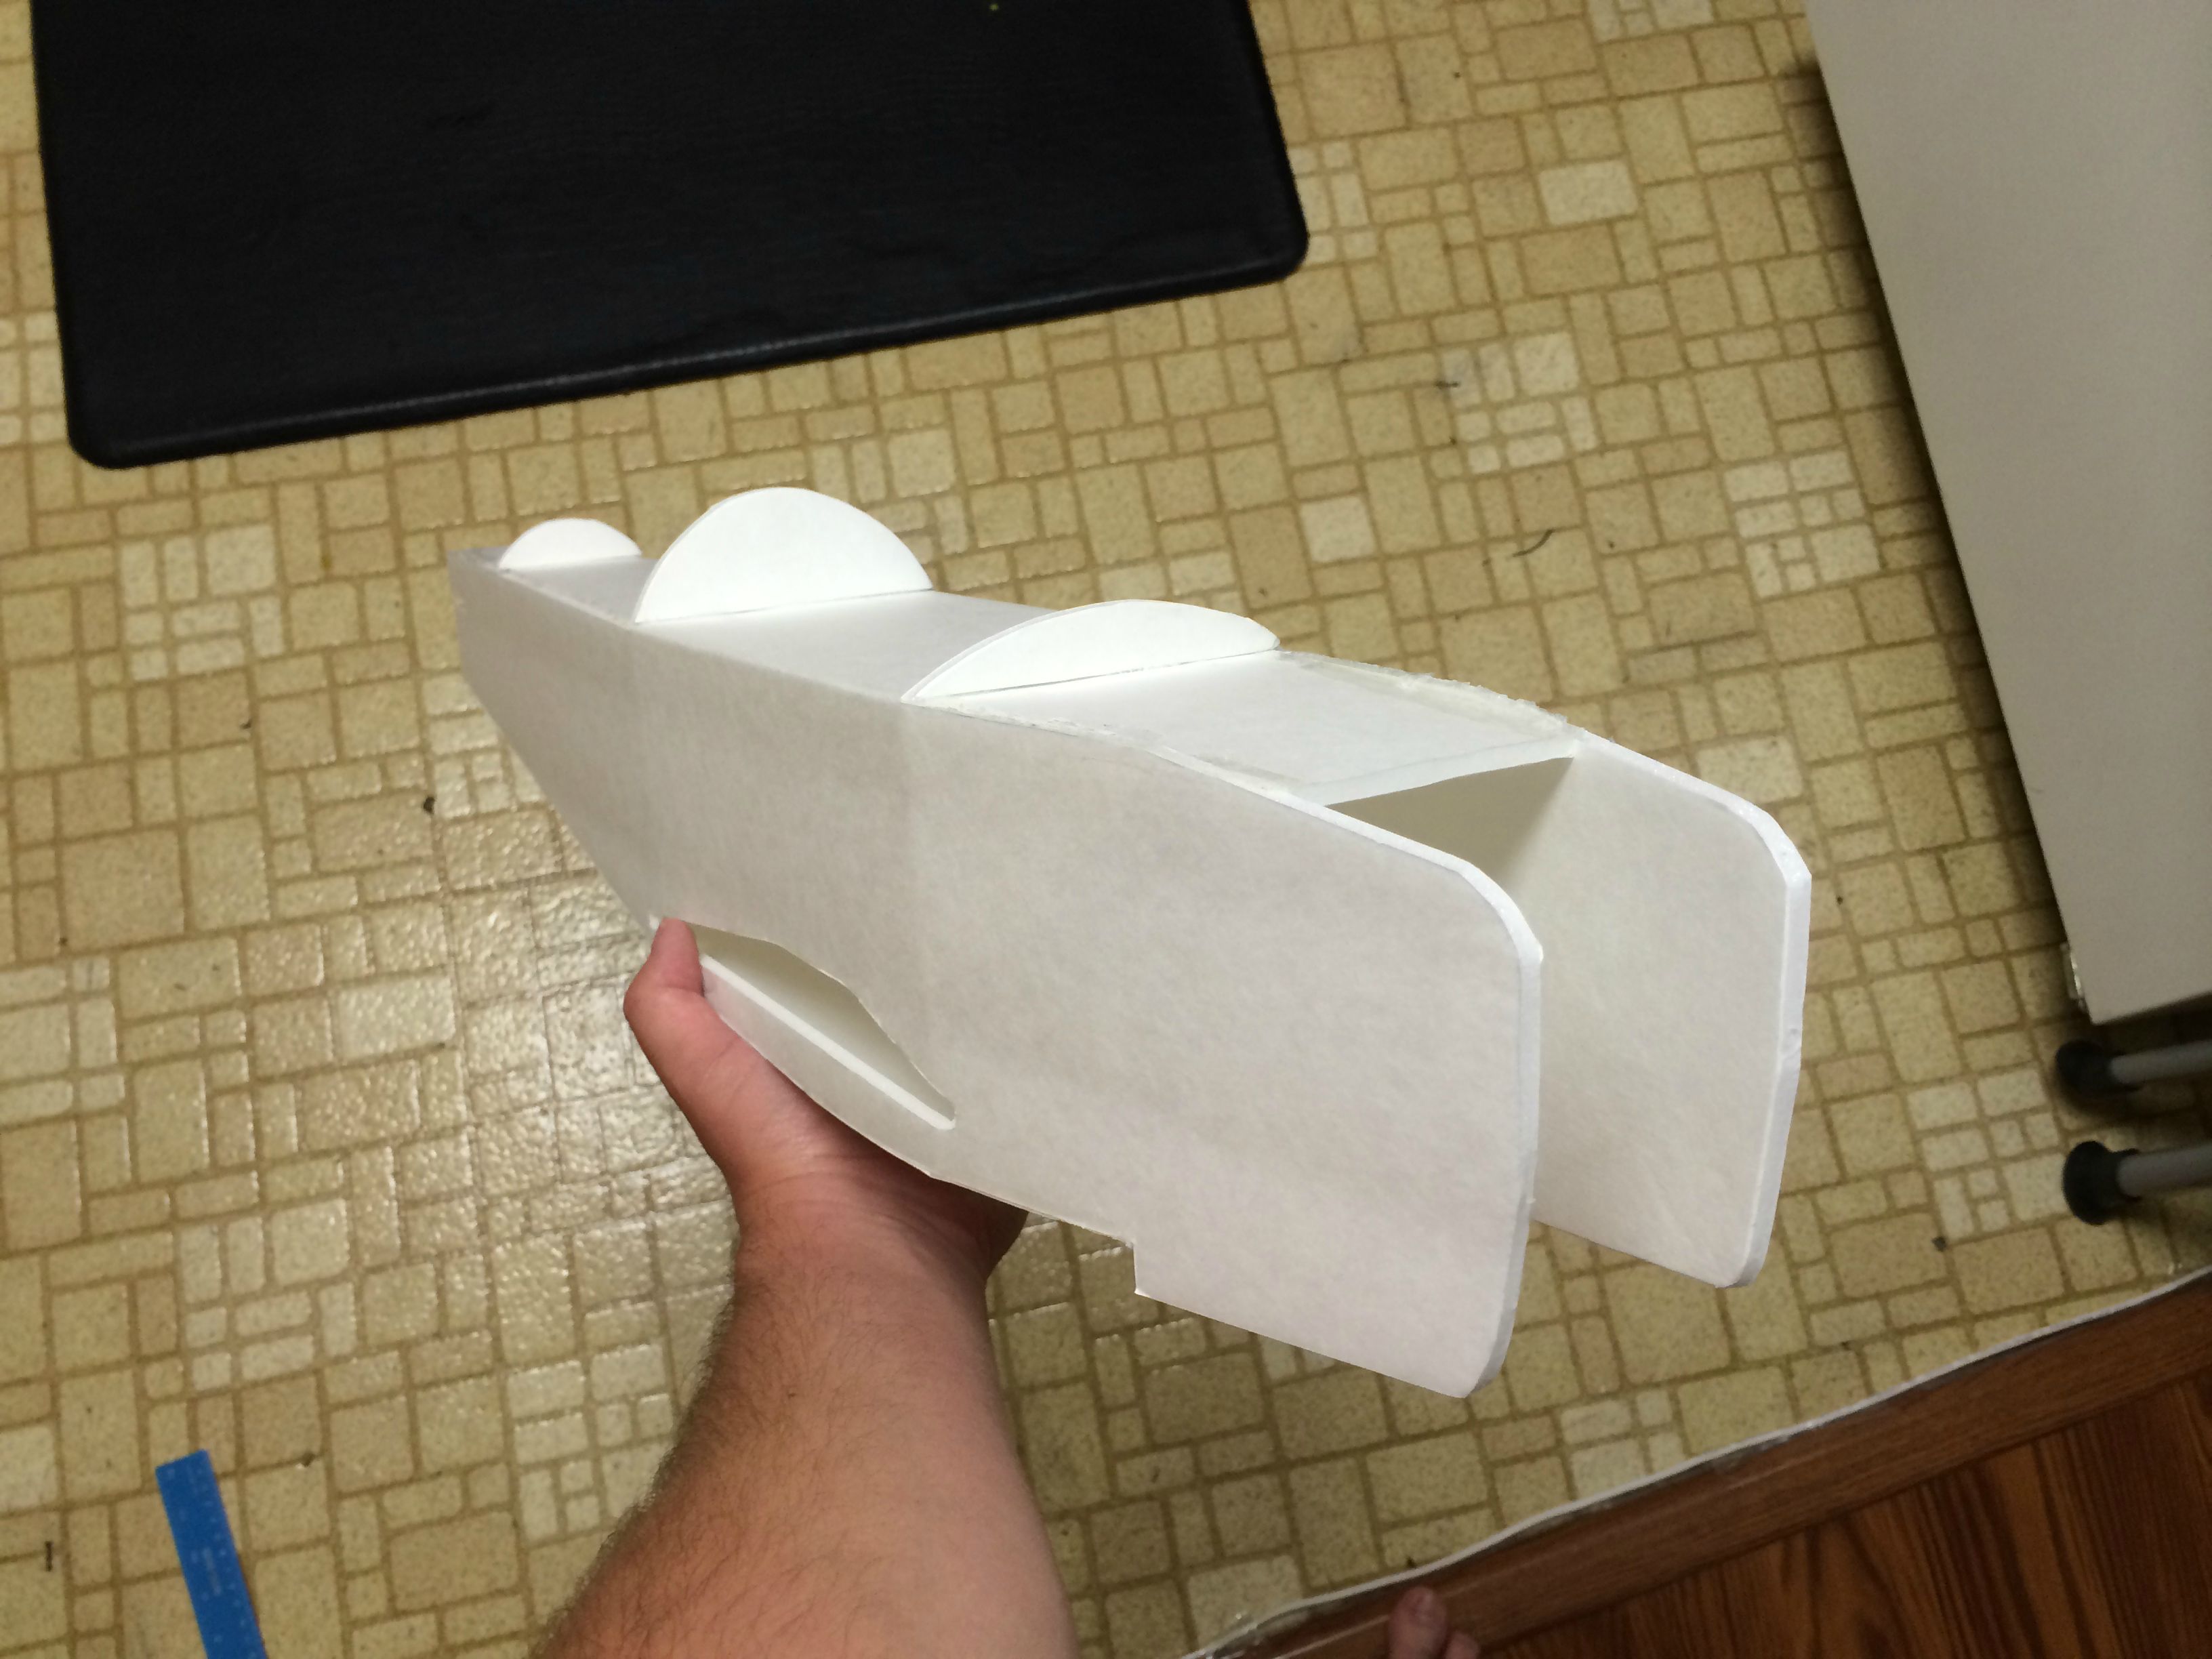
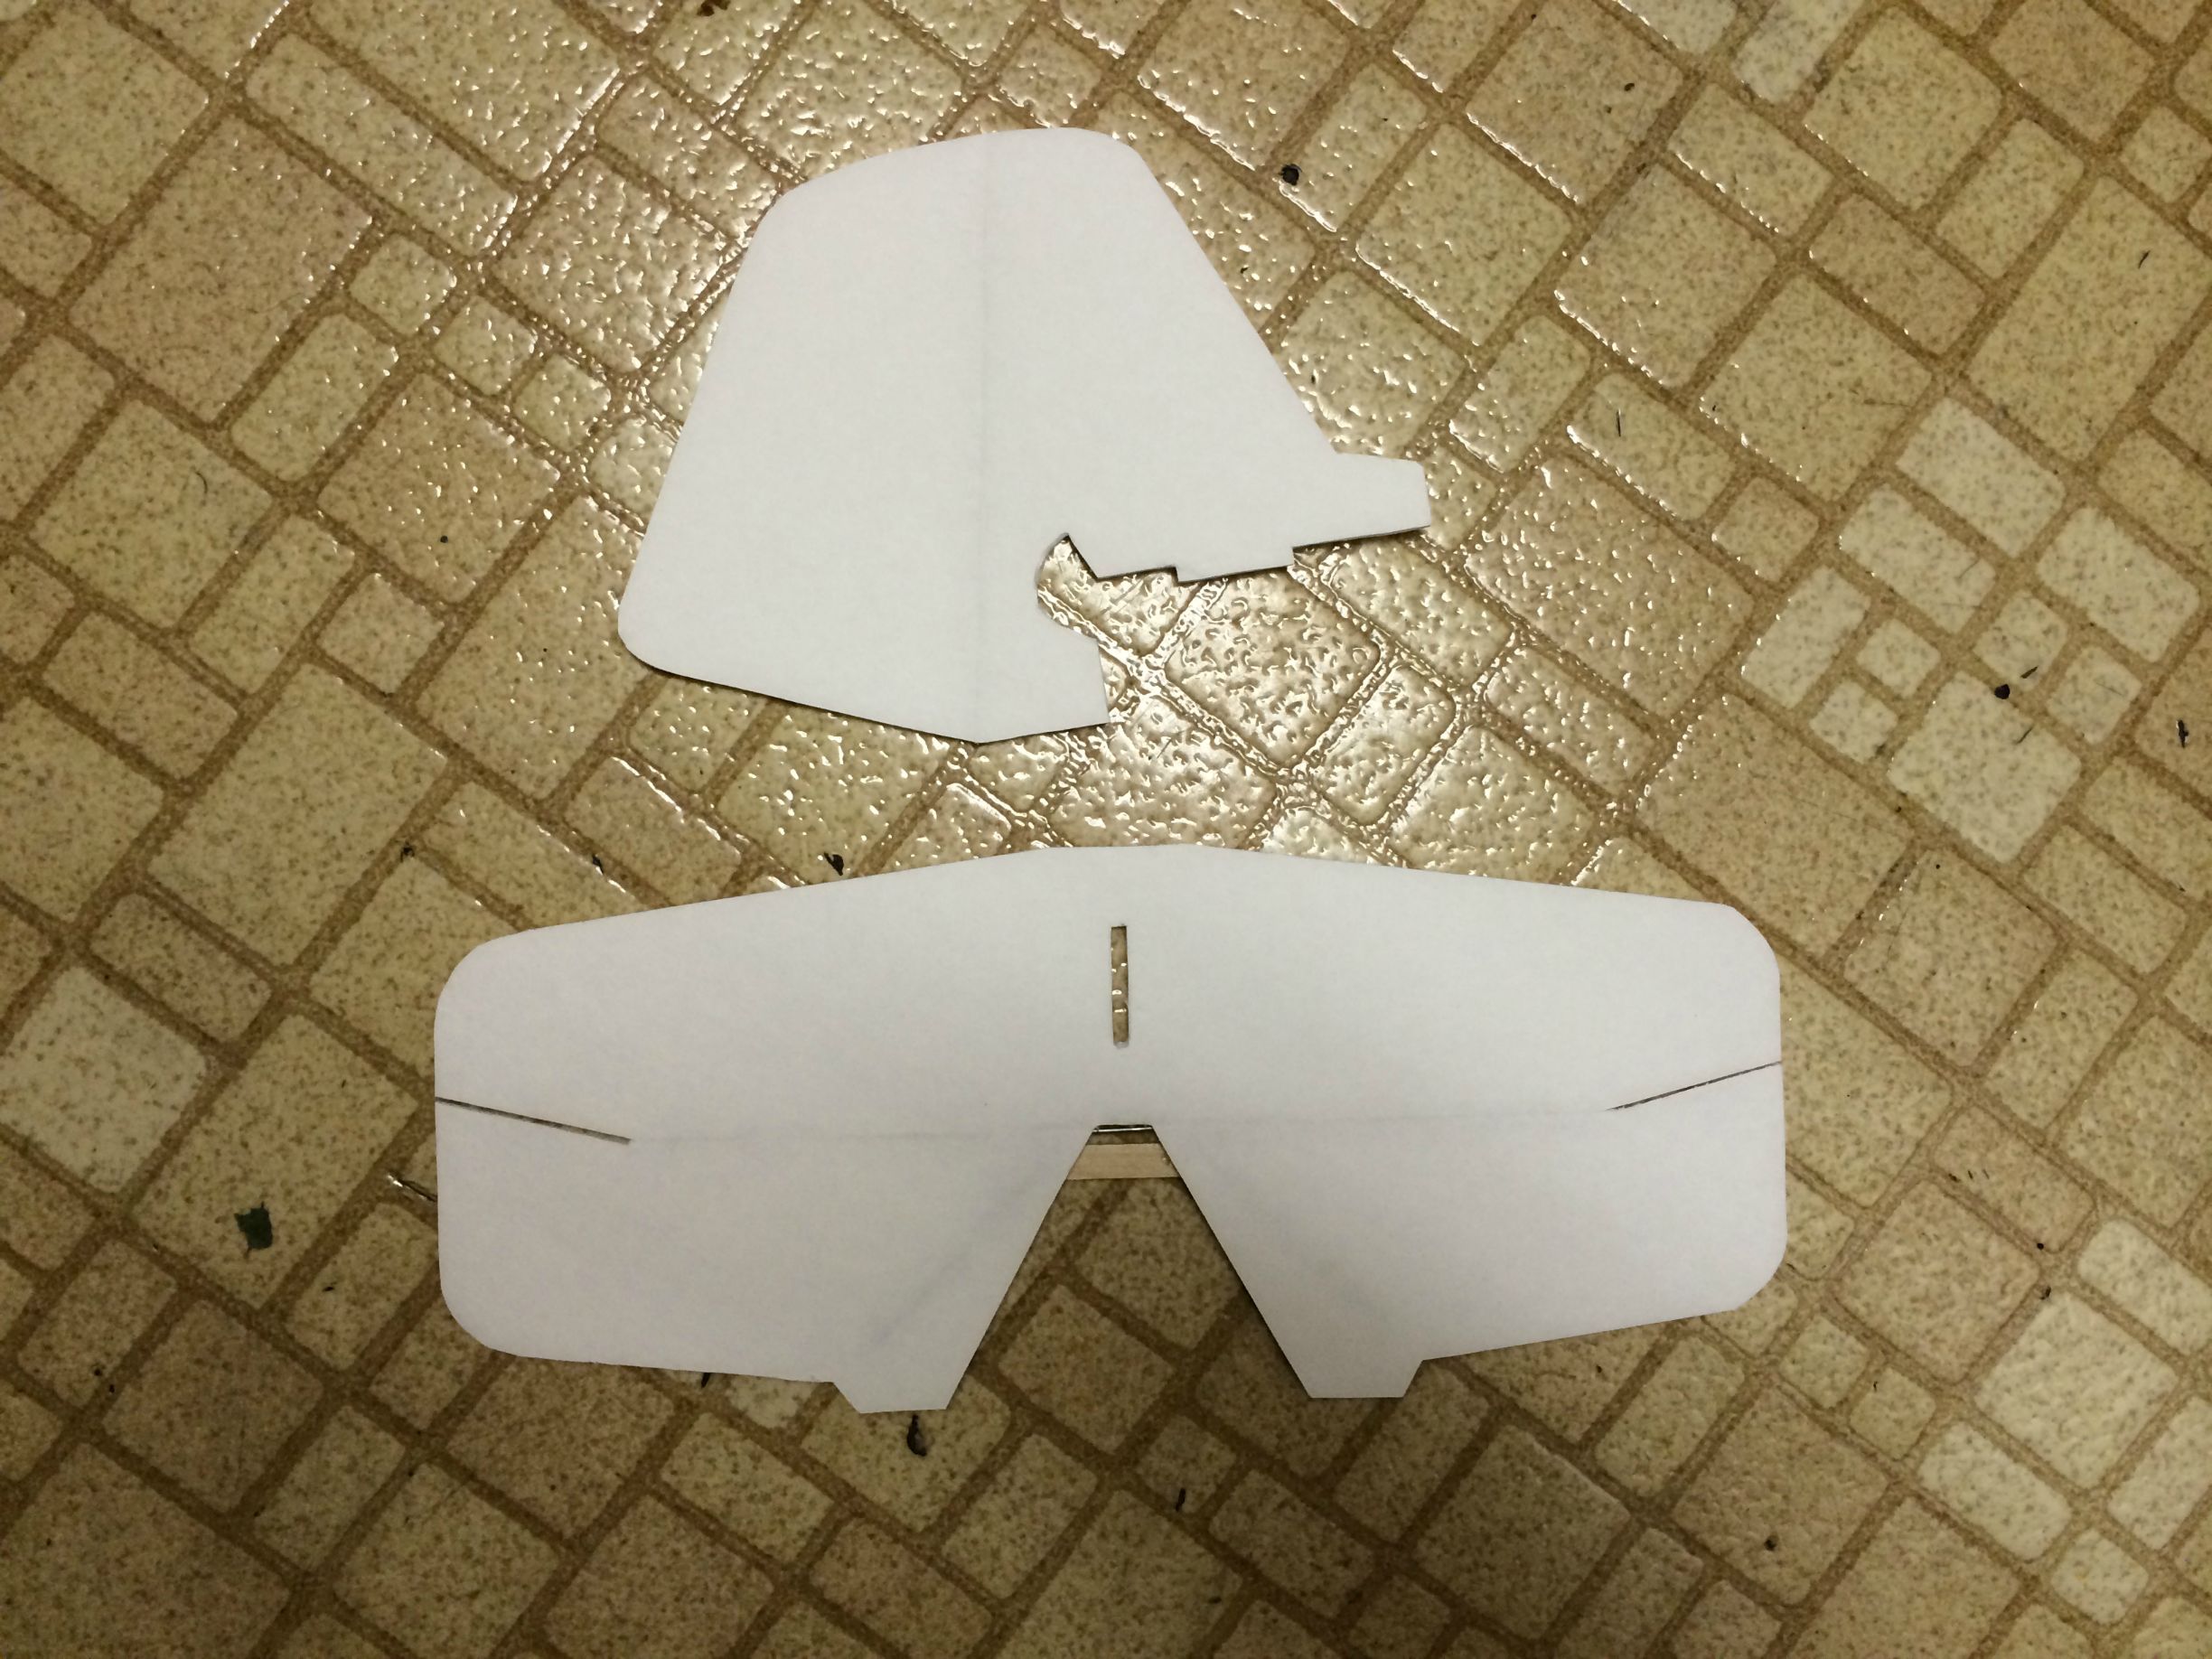
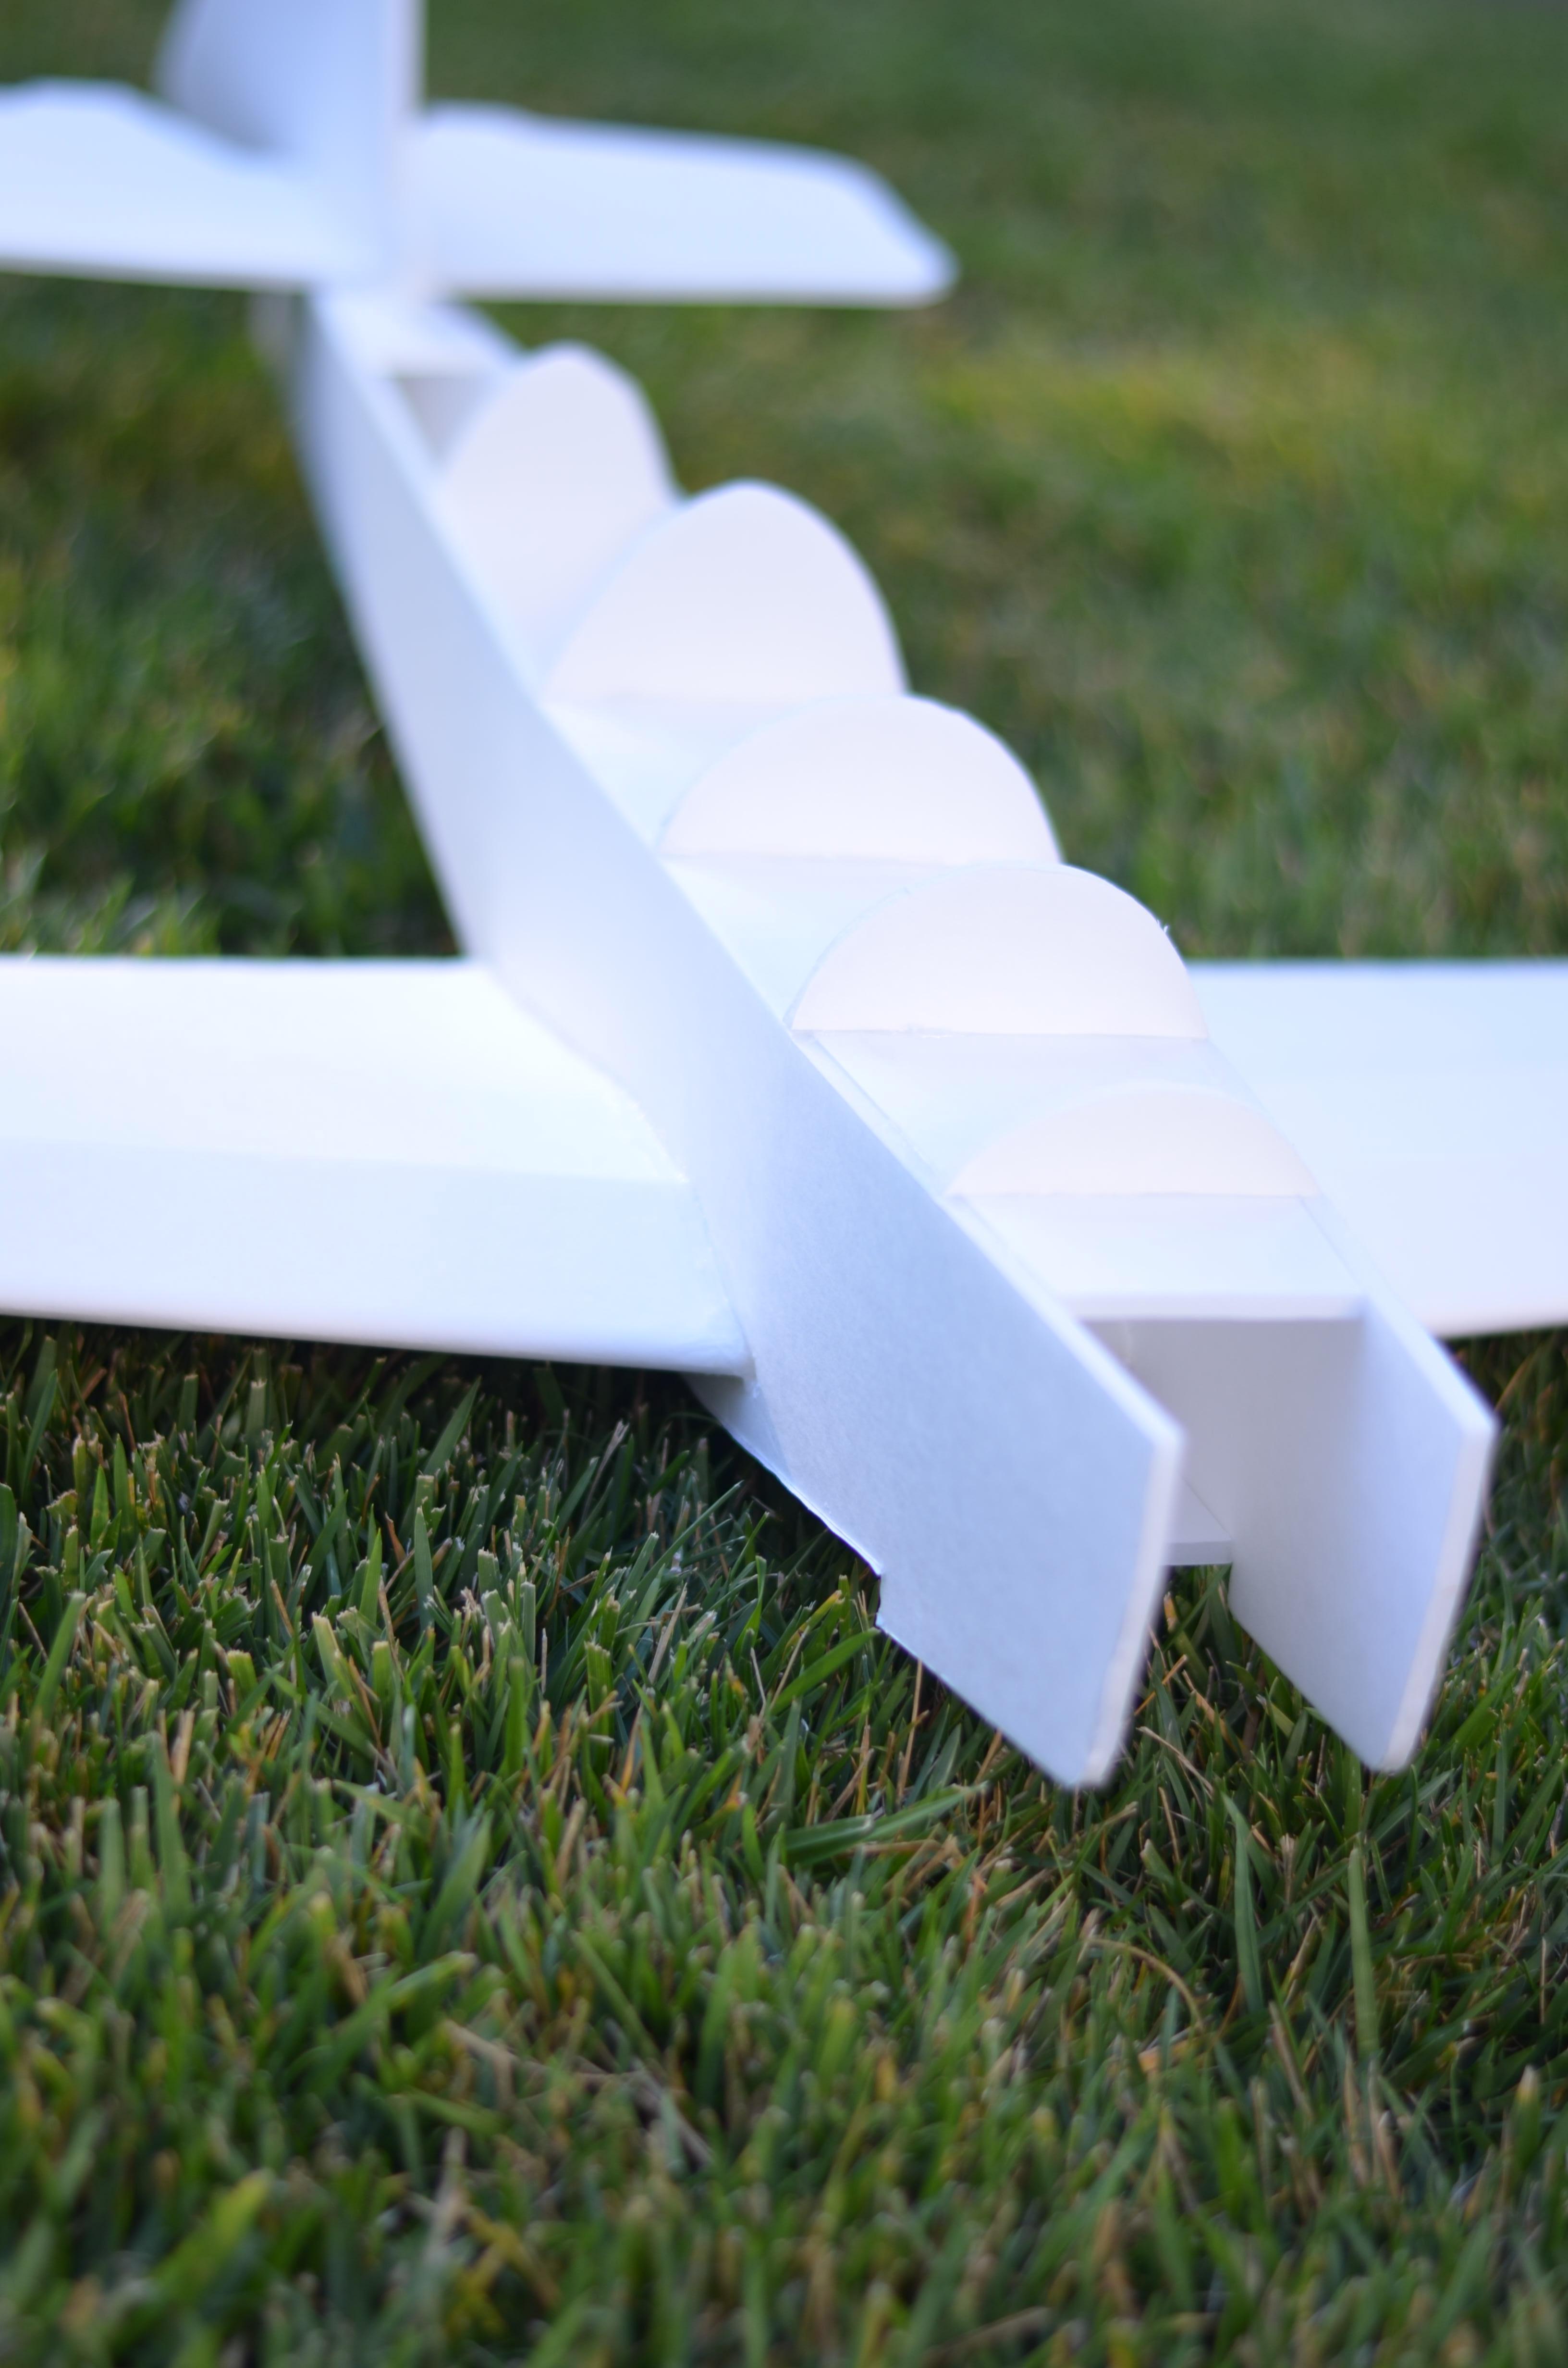
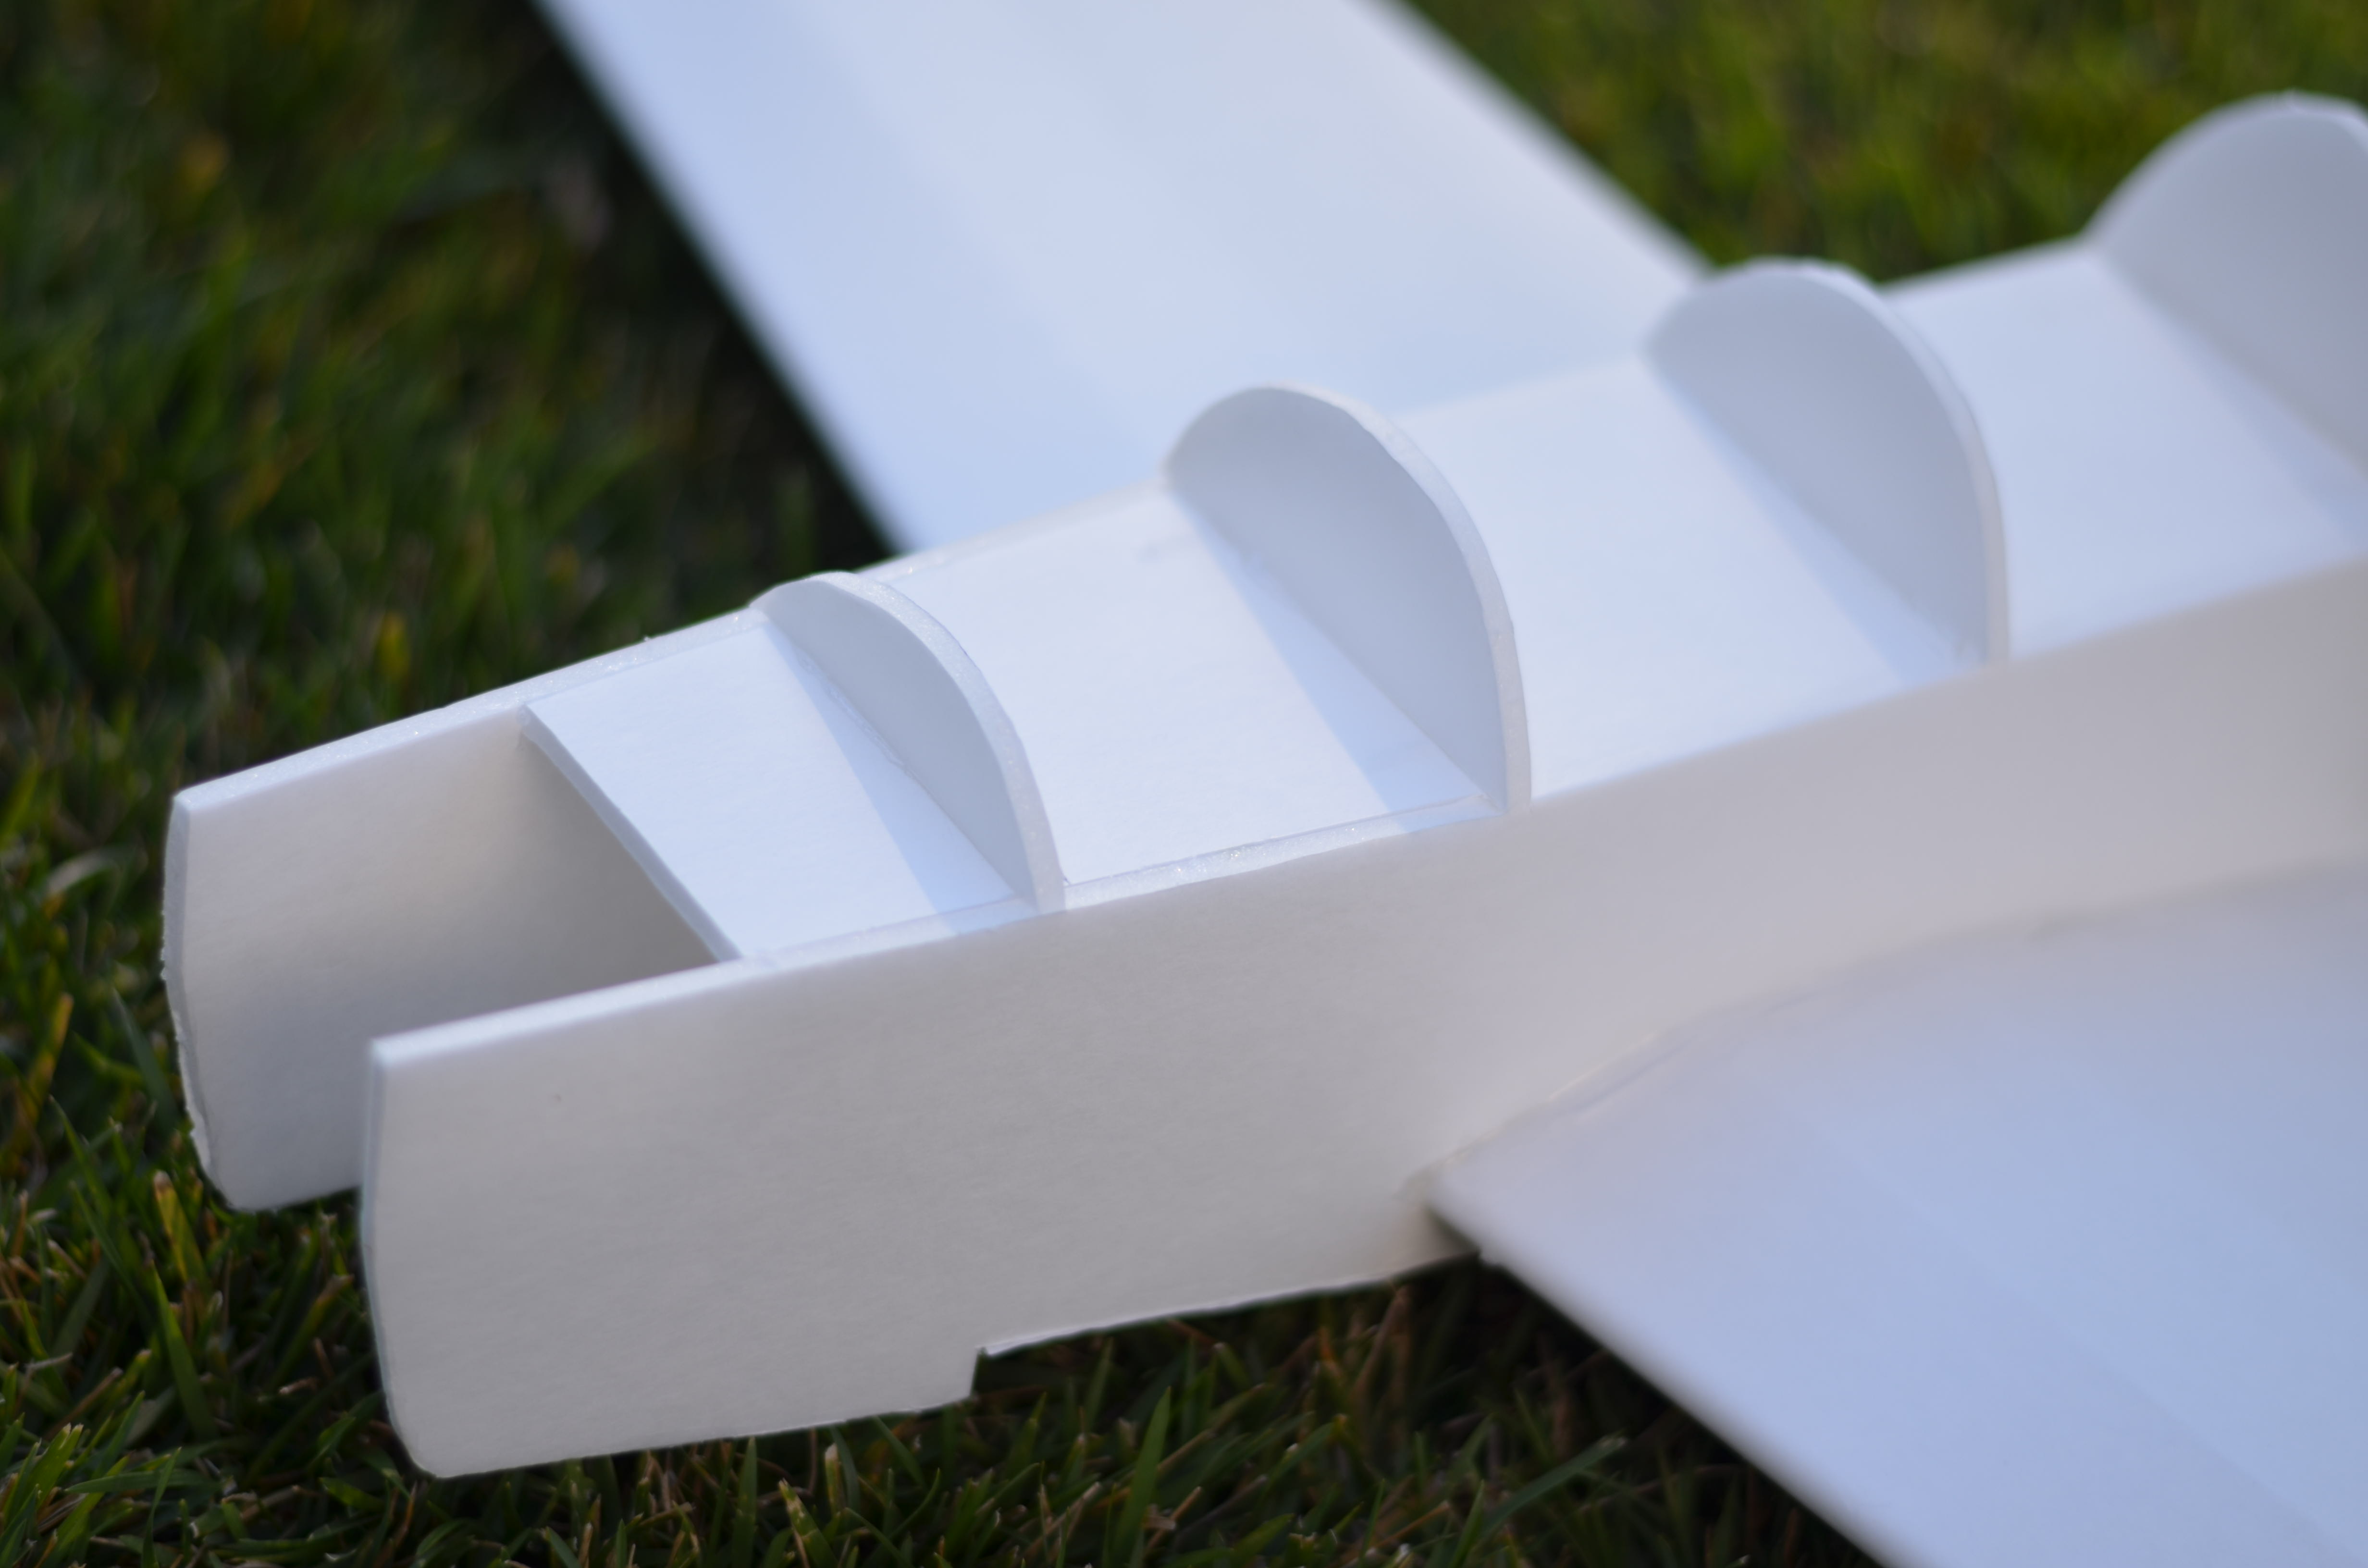
Fuse
The fuse went together very easy. The 'remove paper' for the belly is not needed, the curve is gradual enough that the foam will bend with little work and it will add more strength to the belly with the paper on. Also, more formers are needed.
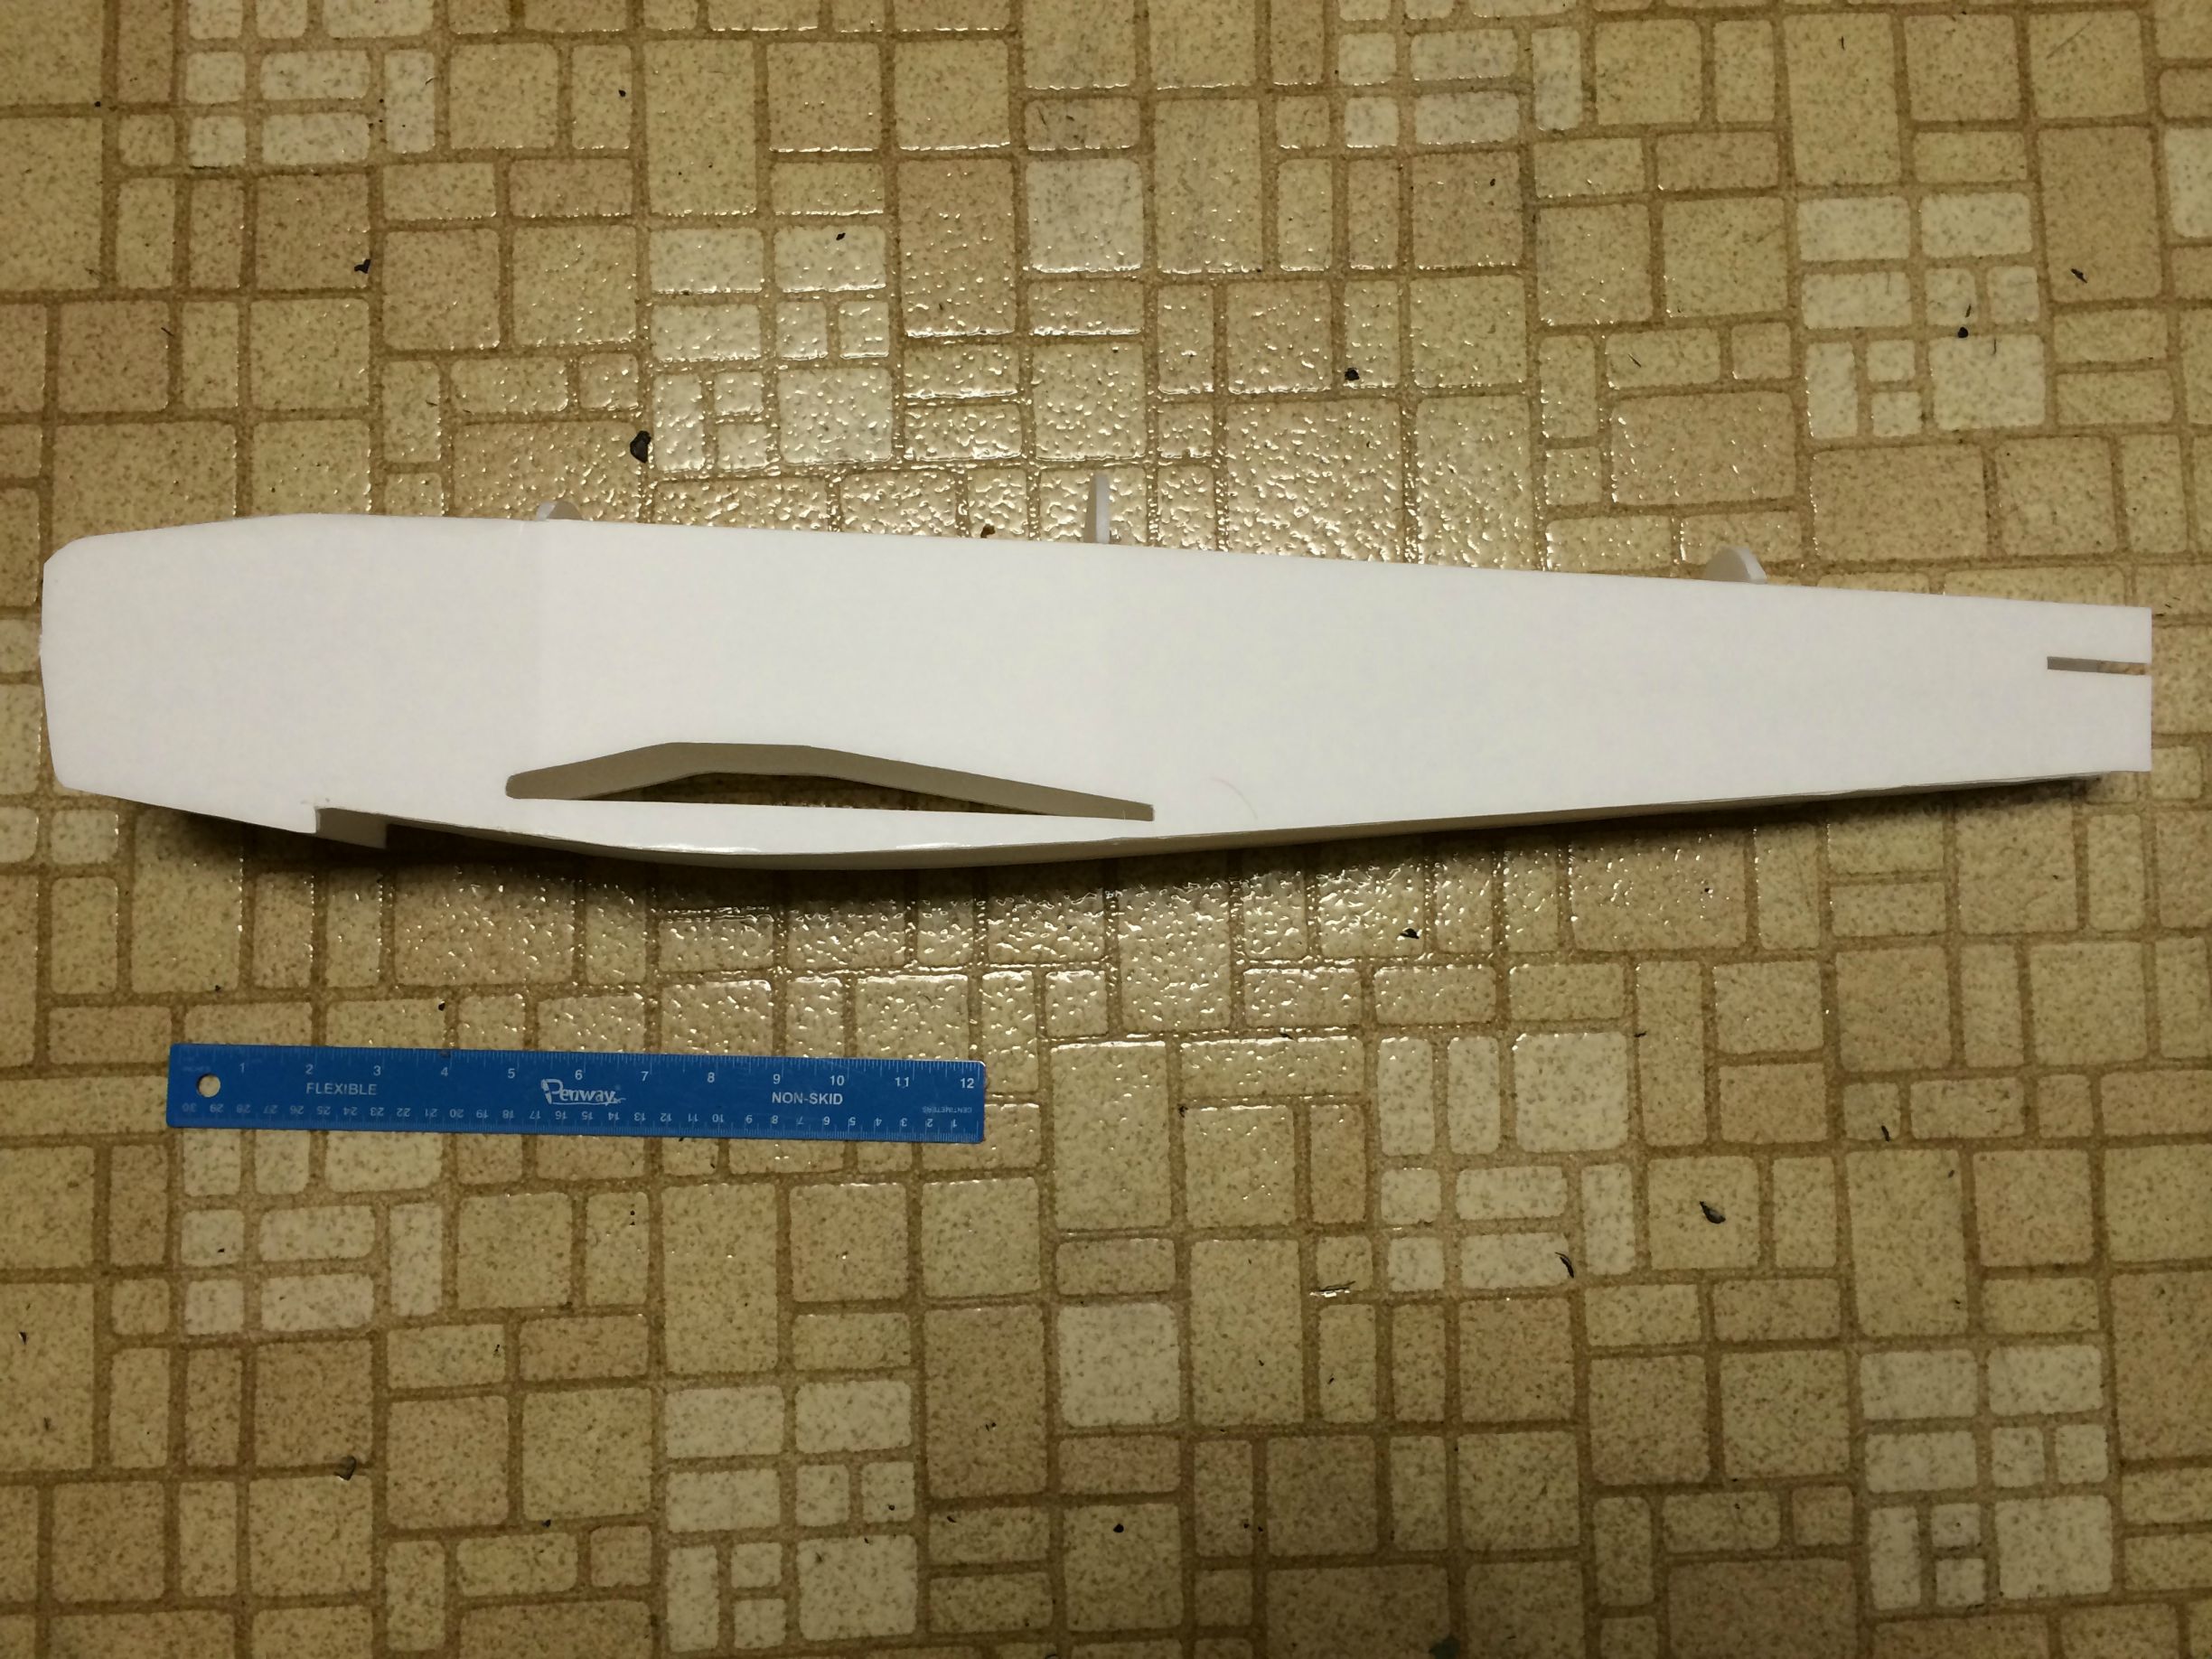
I will be changing the shape of the fuse a little, the beta came out more boxy than I had expected.
Wing
The wing goes together like a standard FT wing. Servo placement was a bit off in the plans and I also need to trim a bit off the tailing edge of the underside of the wing to prevent the aileron from hitting. All in the all the wing came out very nice, I am very pleased with it. I will be adding the aileron 'tabs' like on the elevator because they look cool.
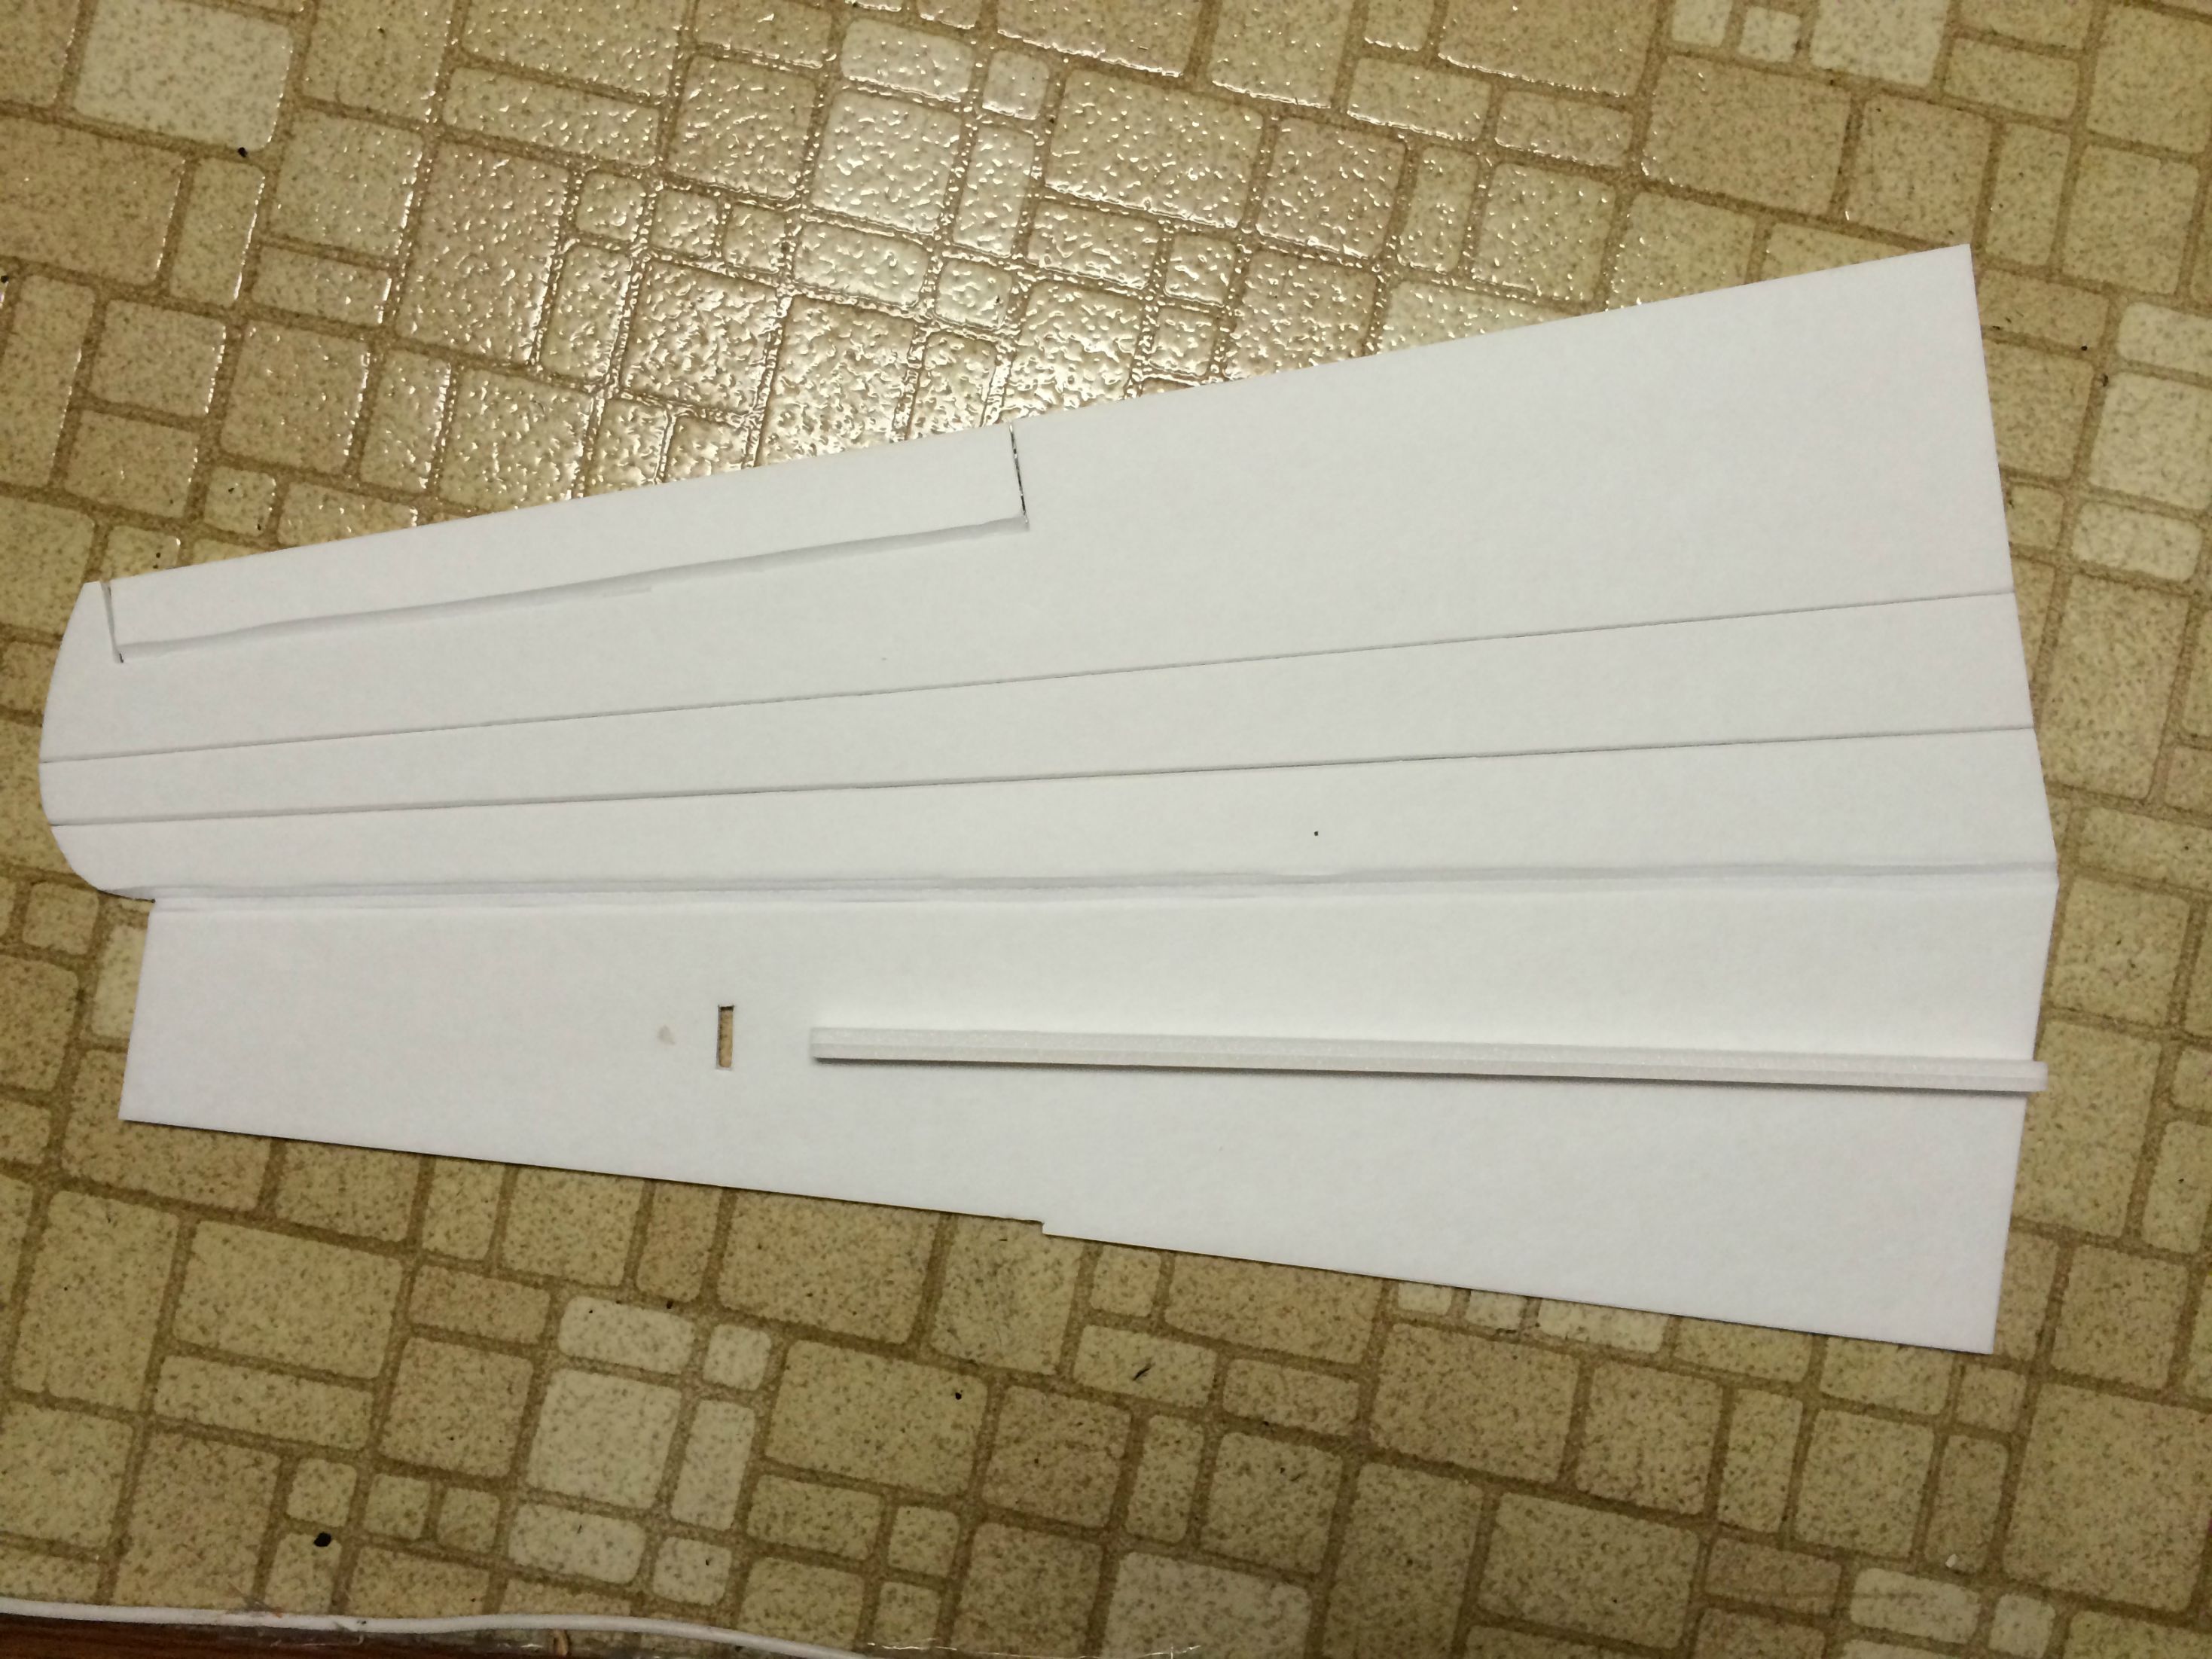
Wing installed nice but the whole is a bit large.
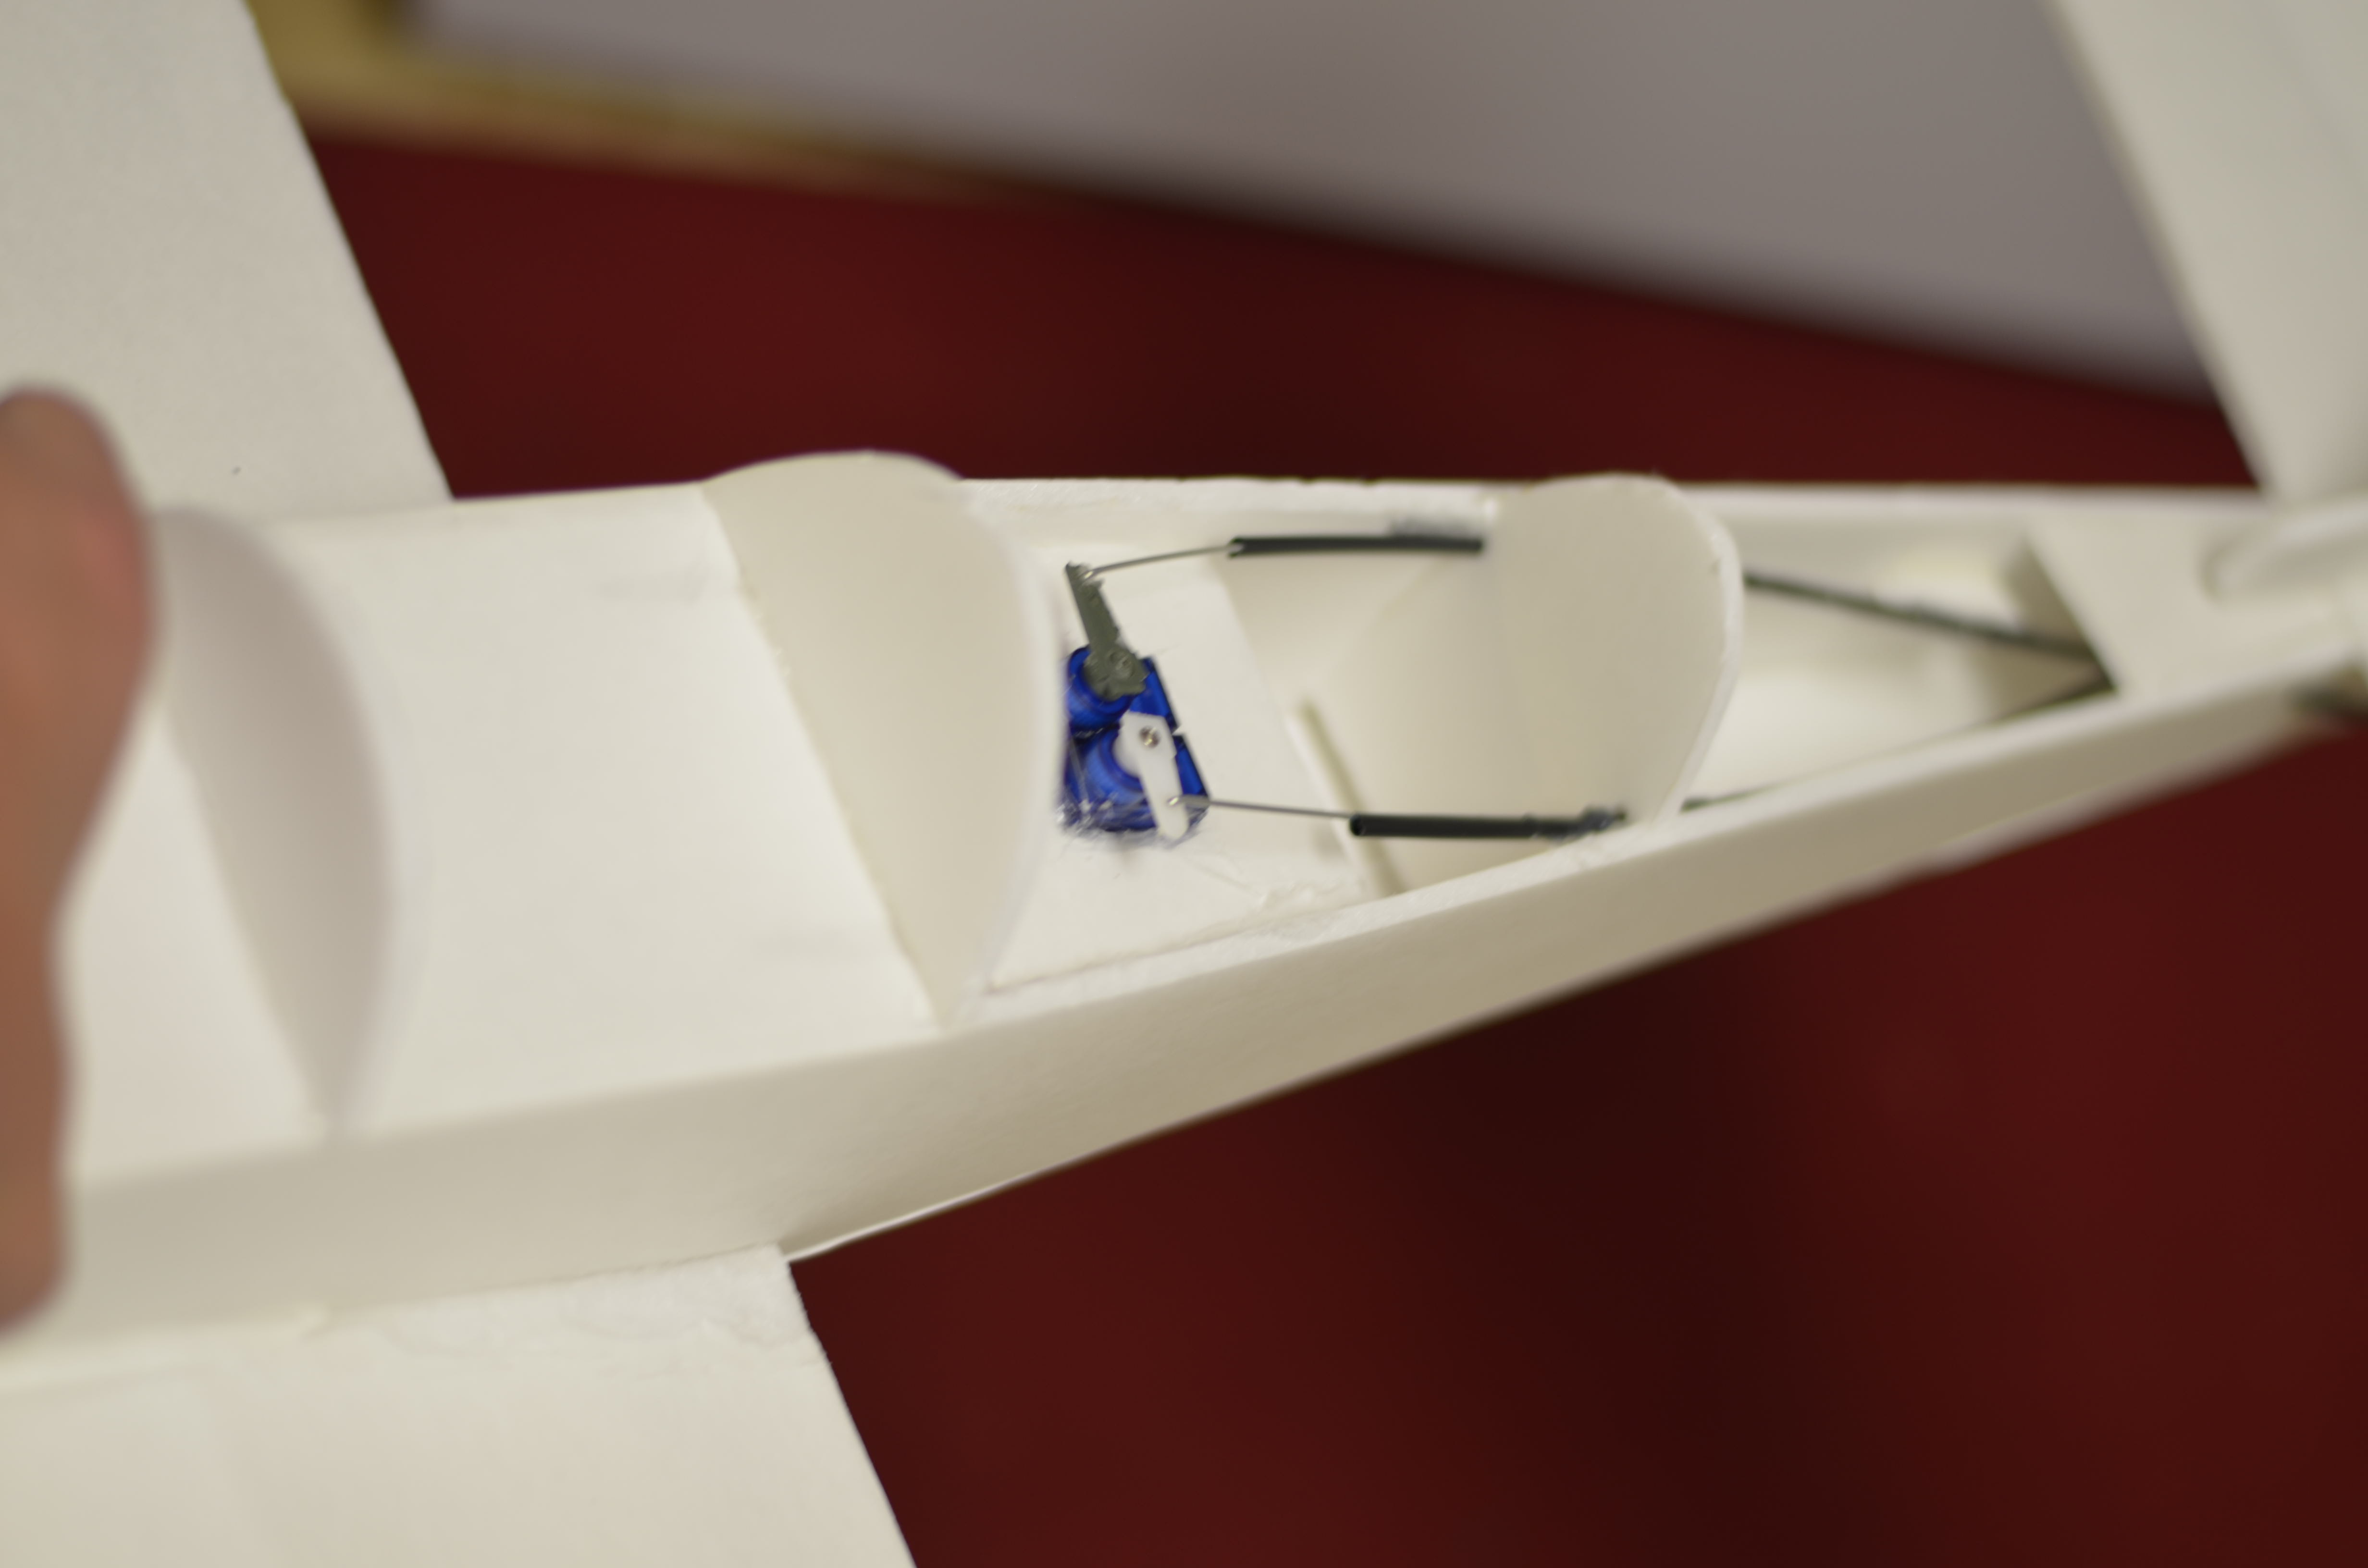
Elev/Rud
I was playing around a bit with the elevator, I'm not happy with it yet.
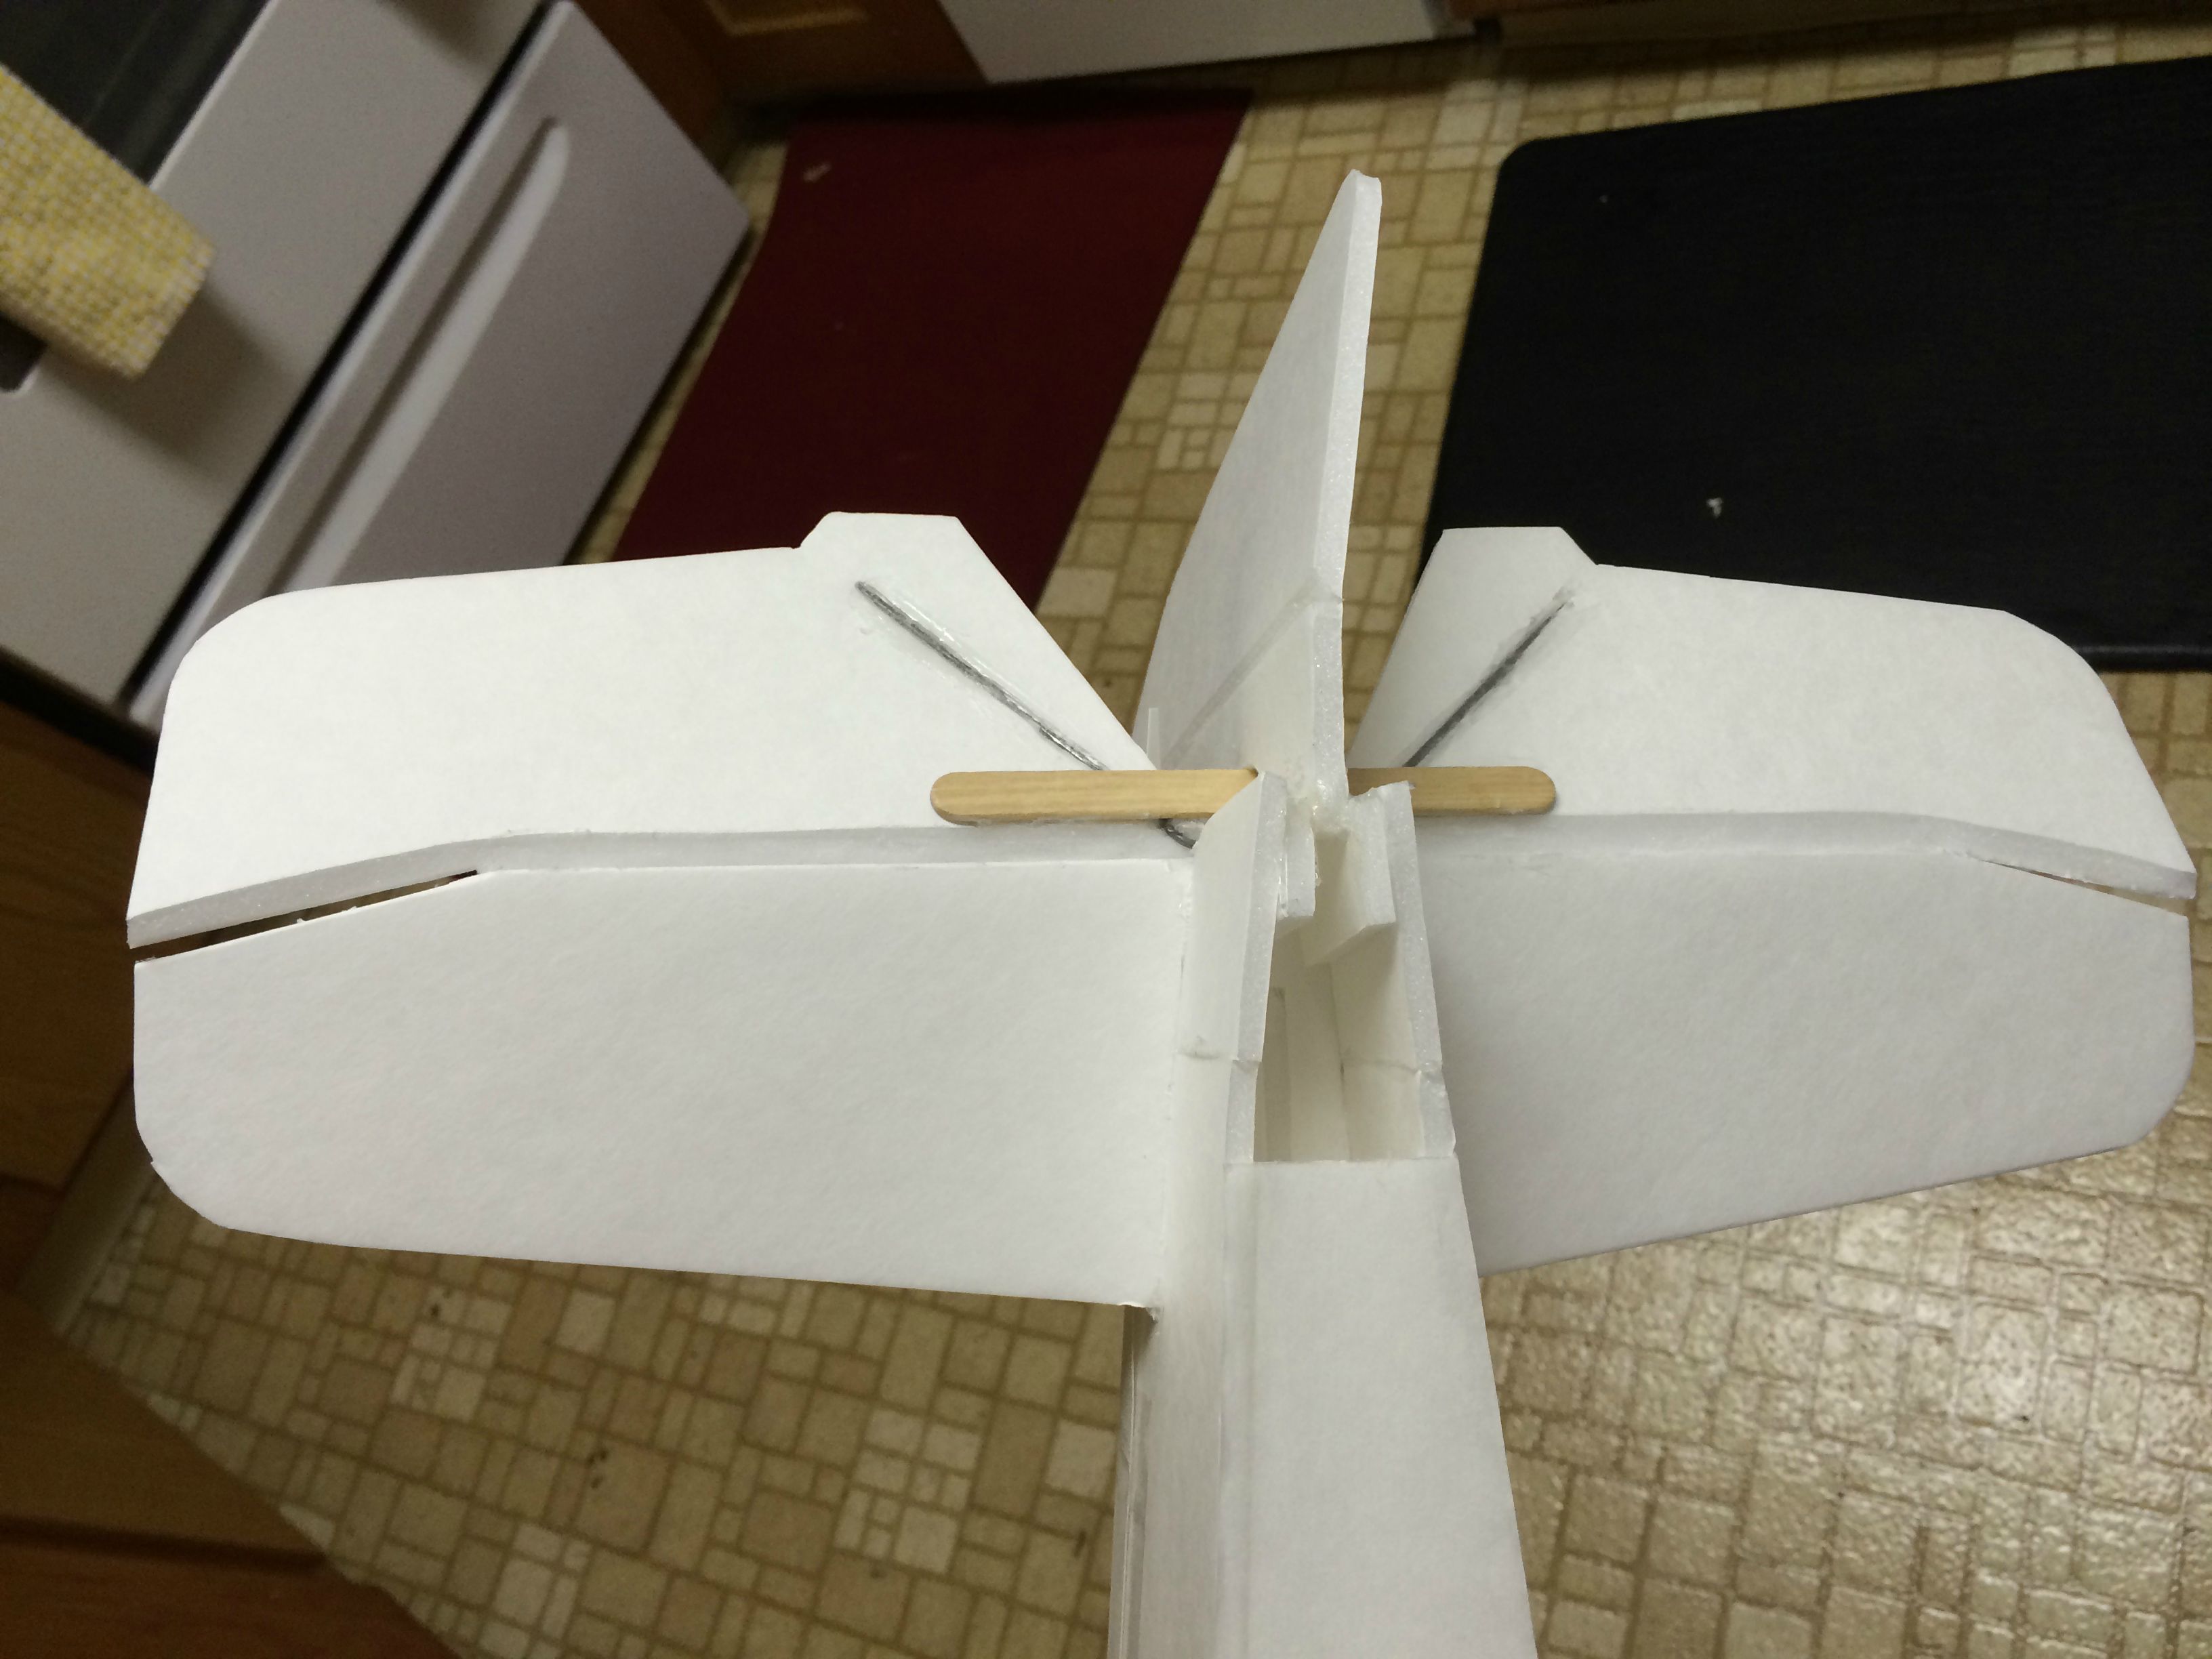
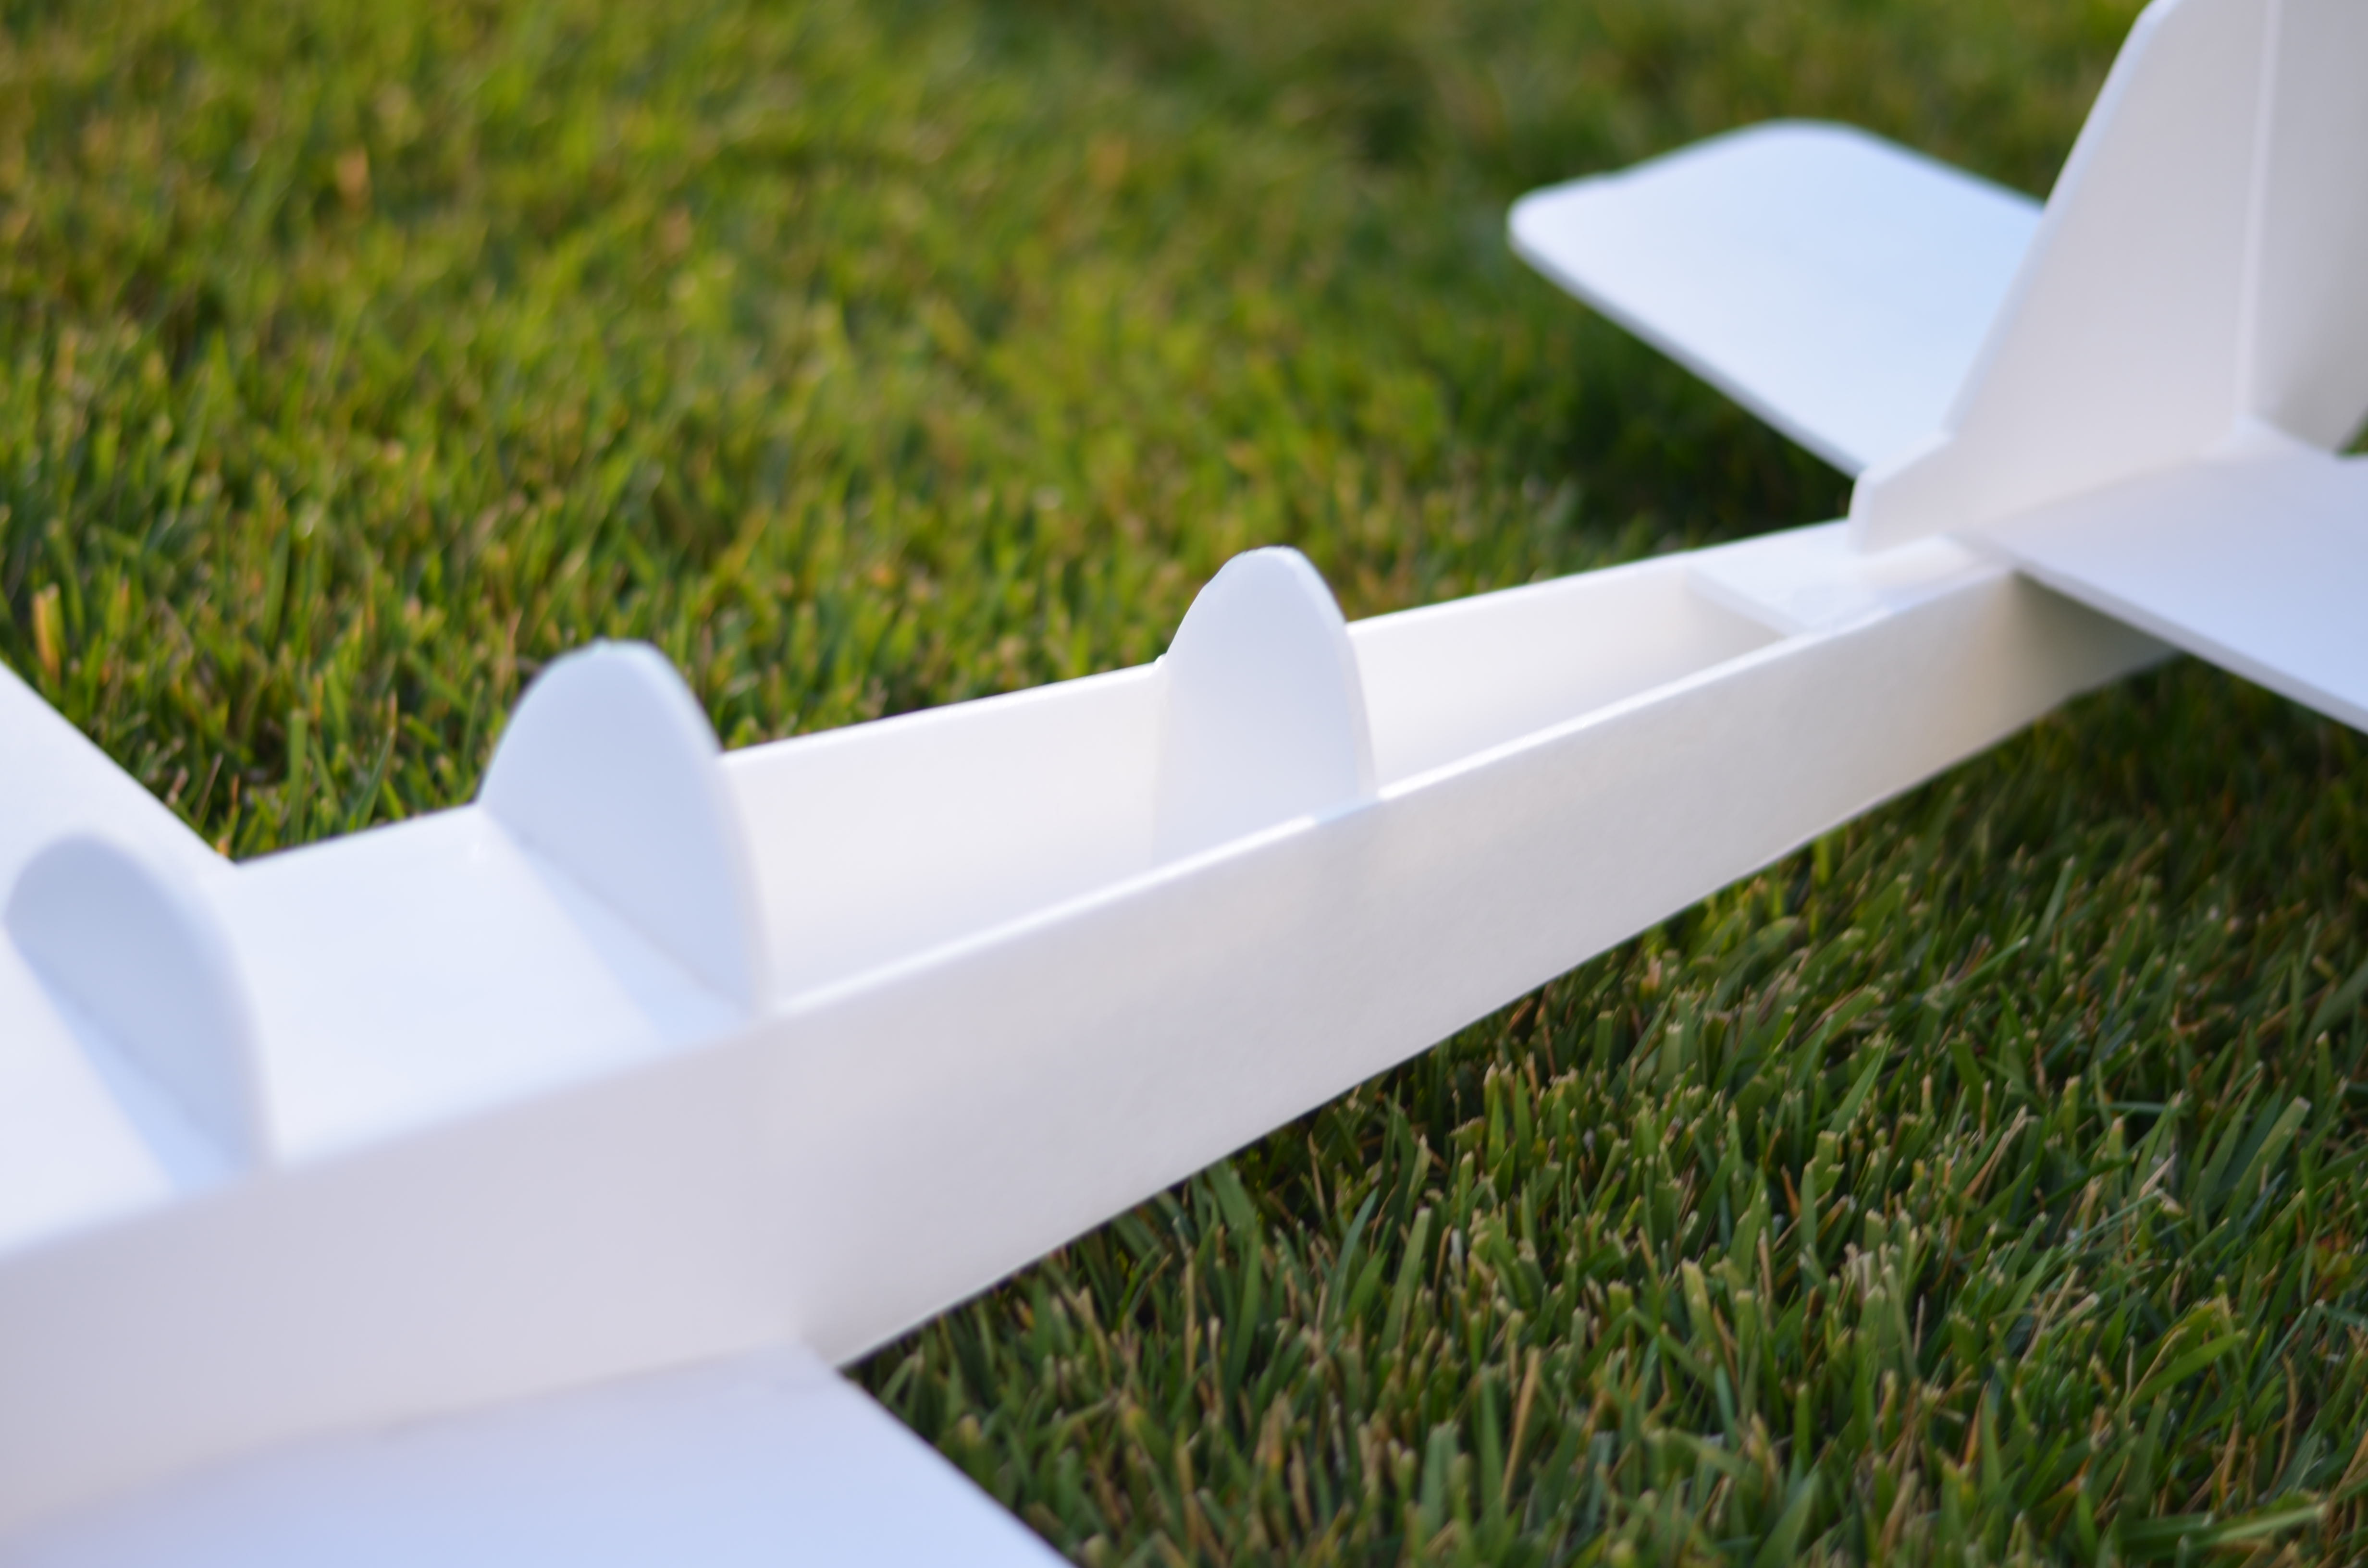
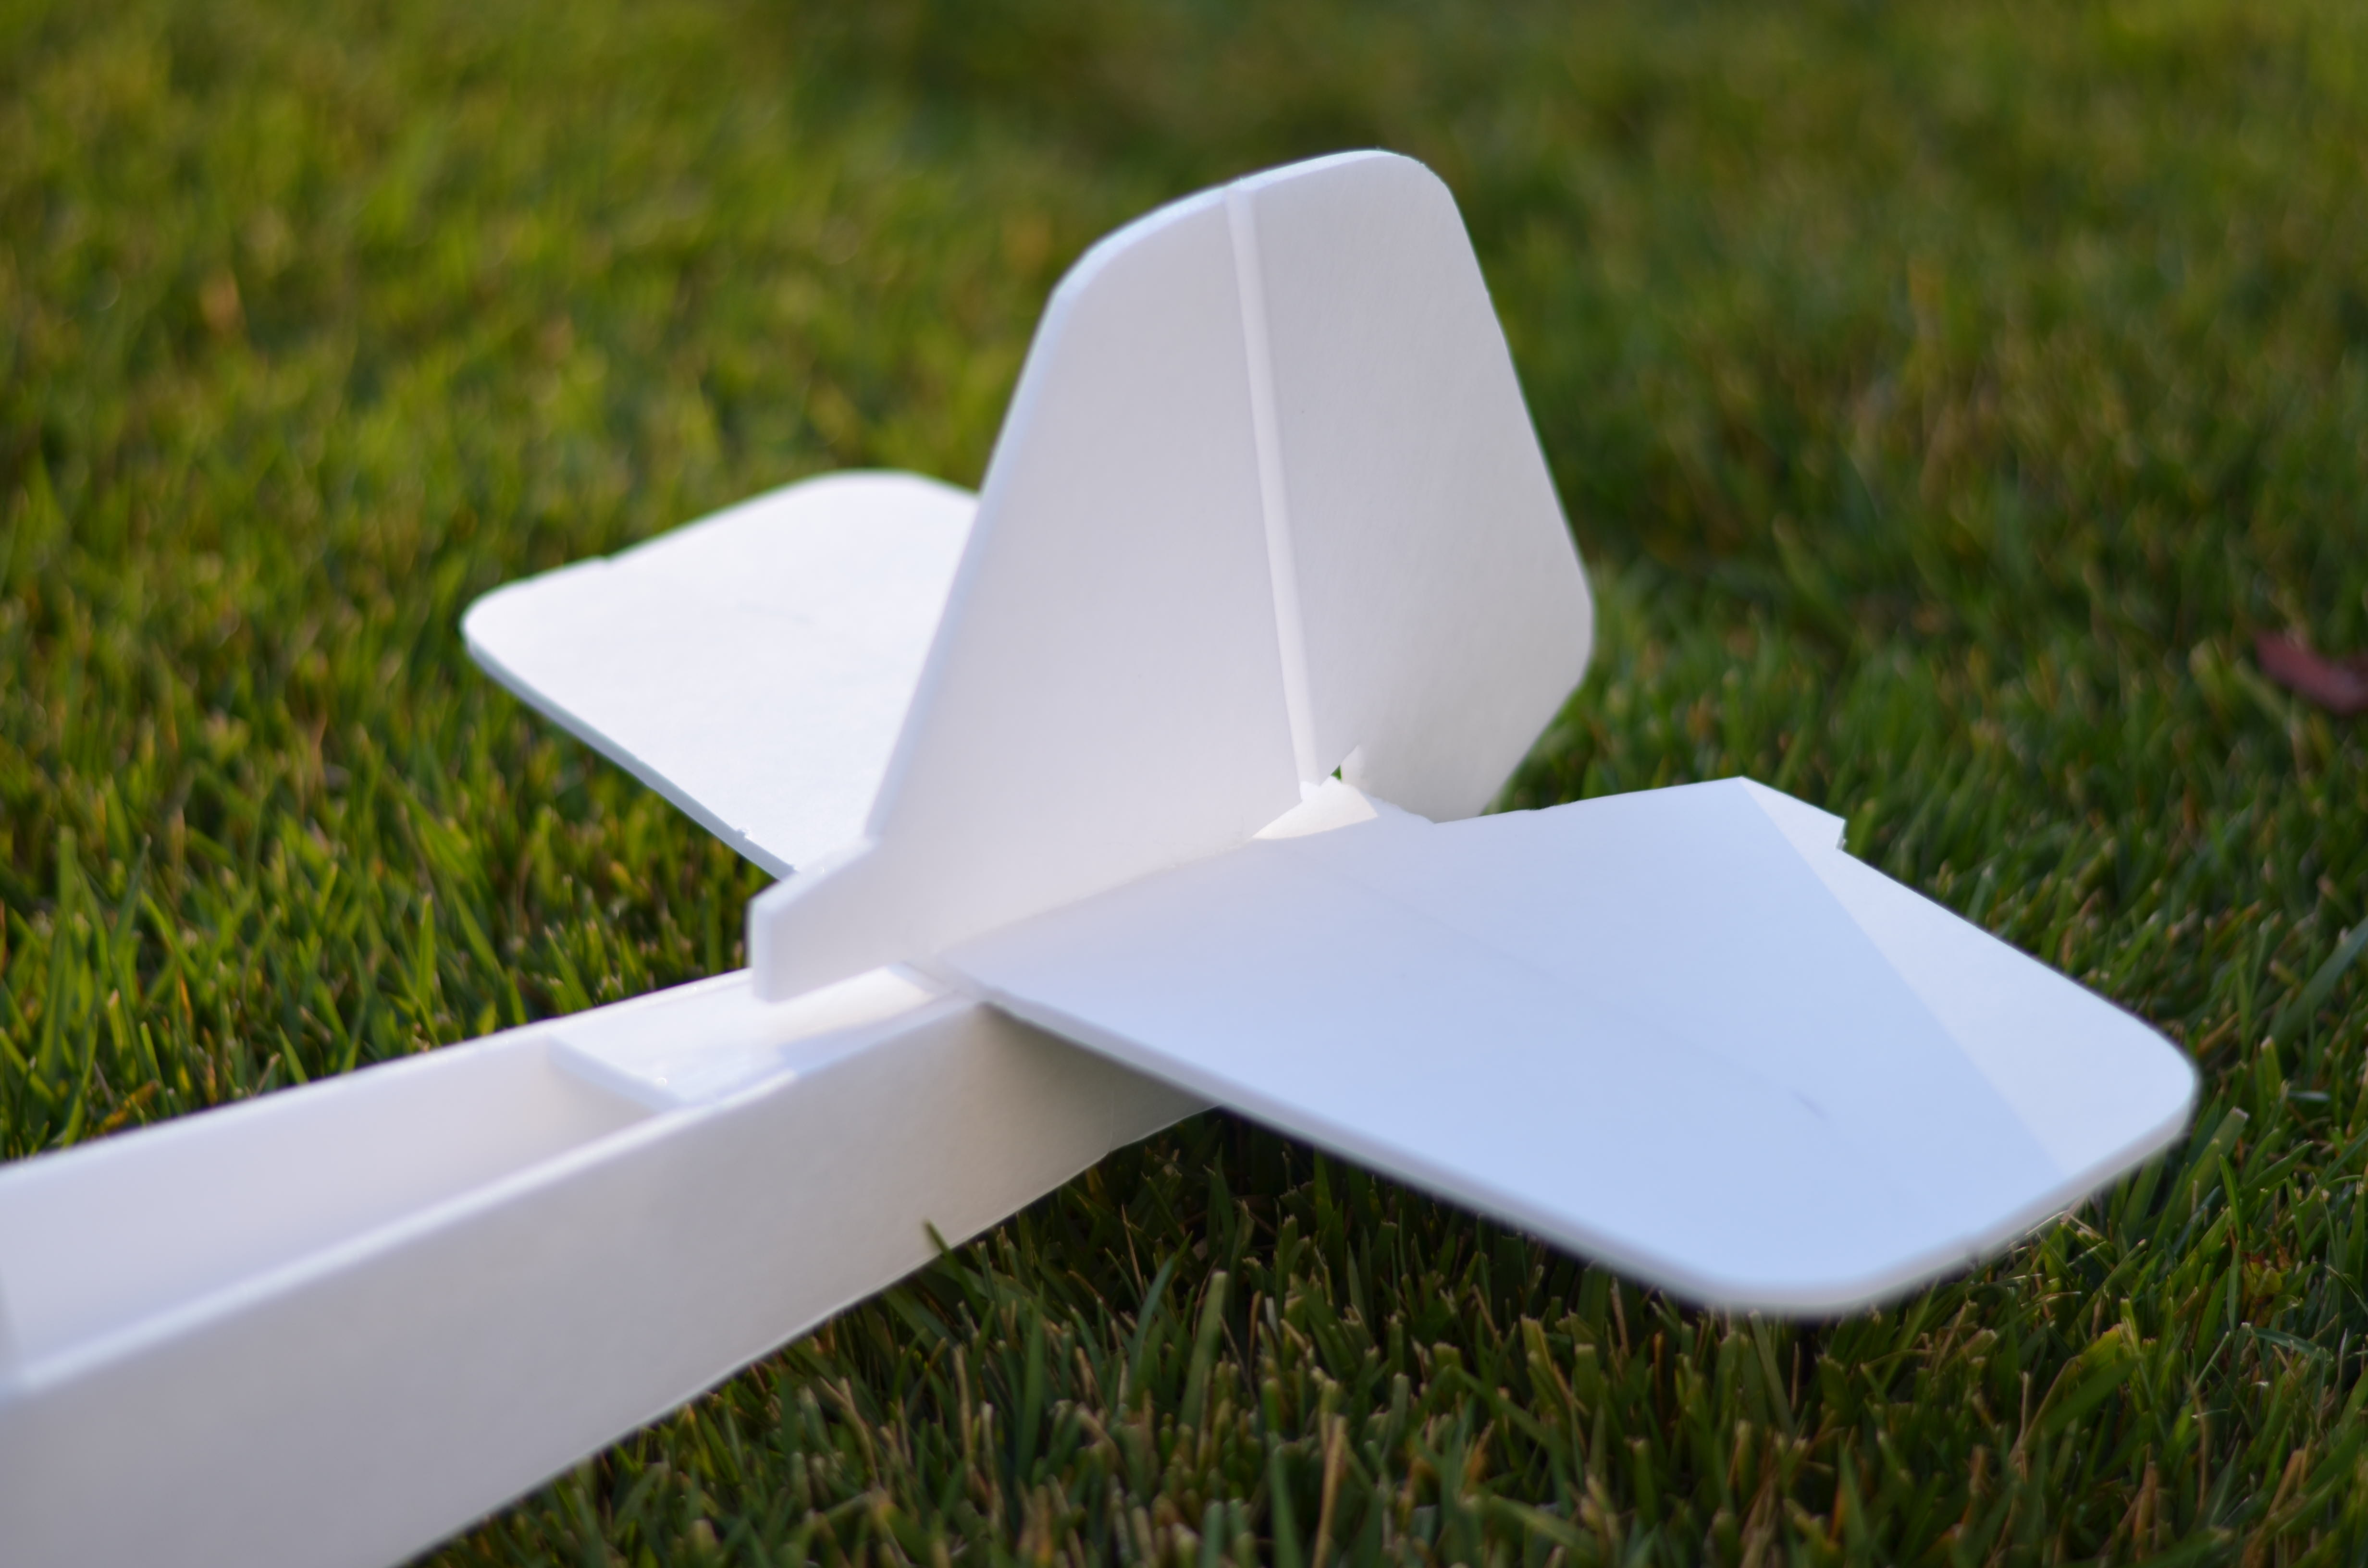
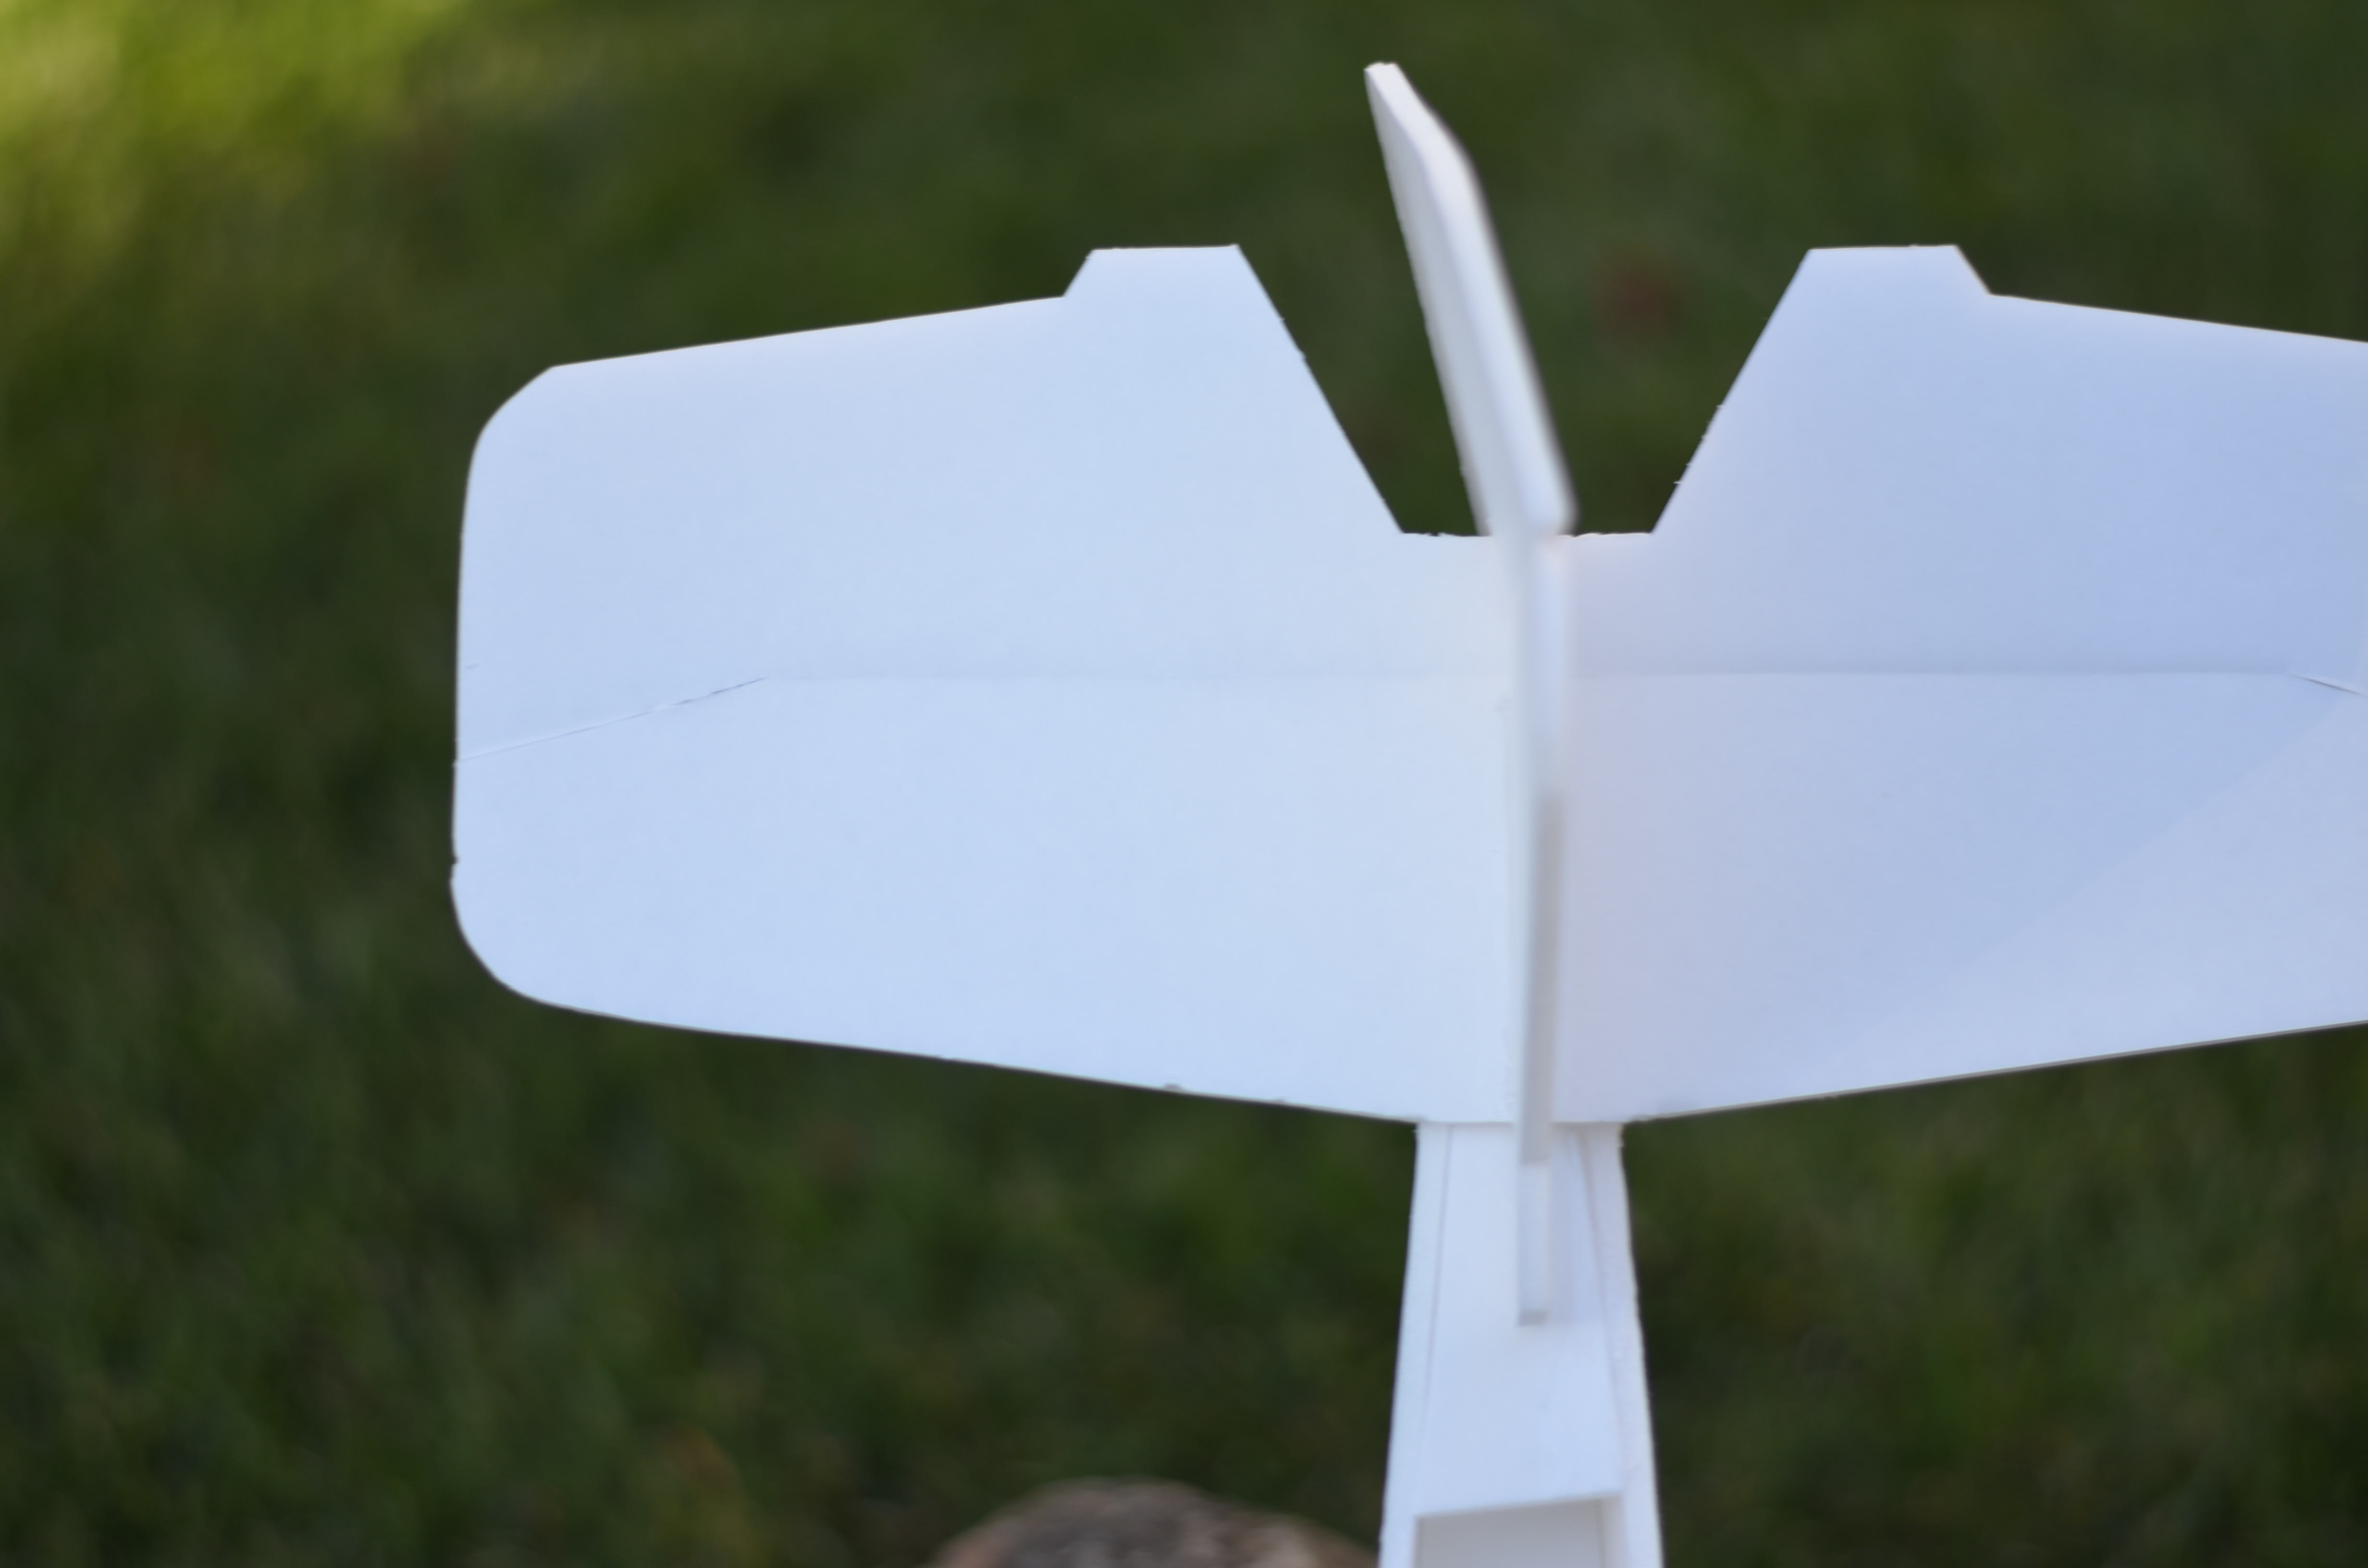
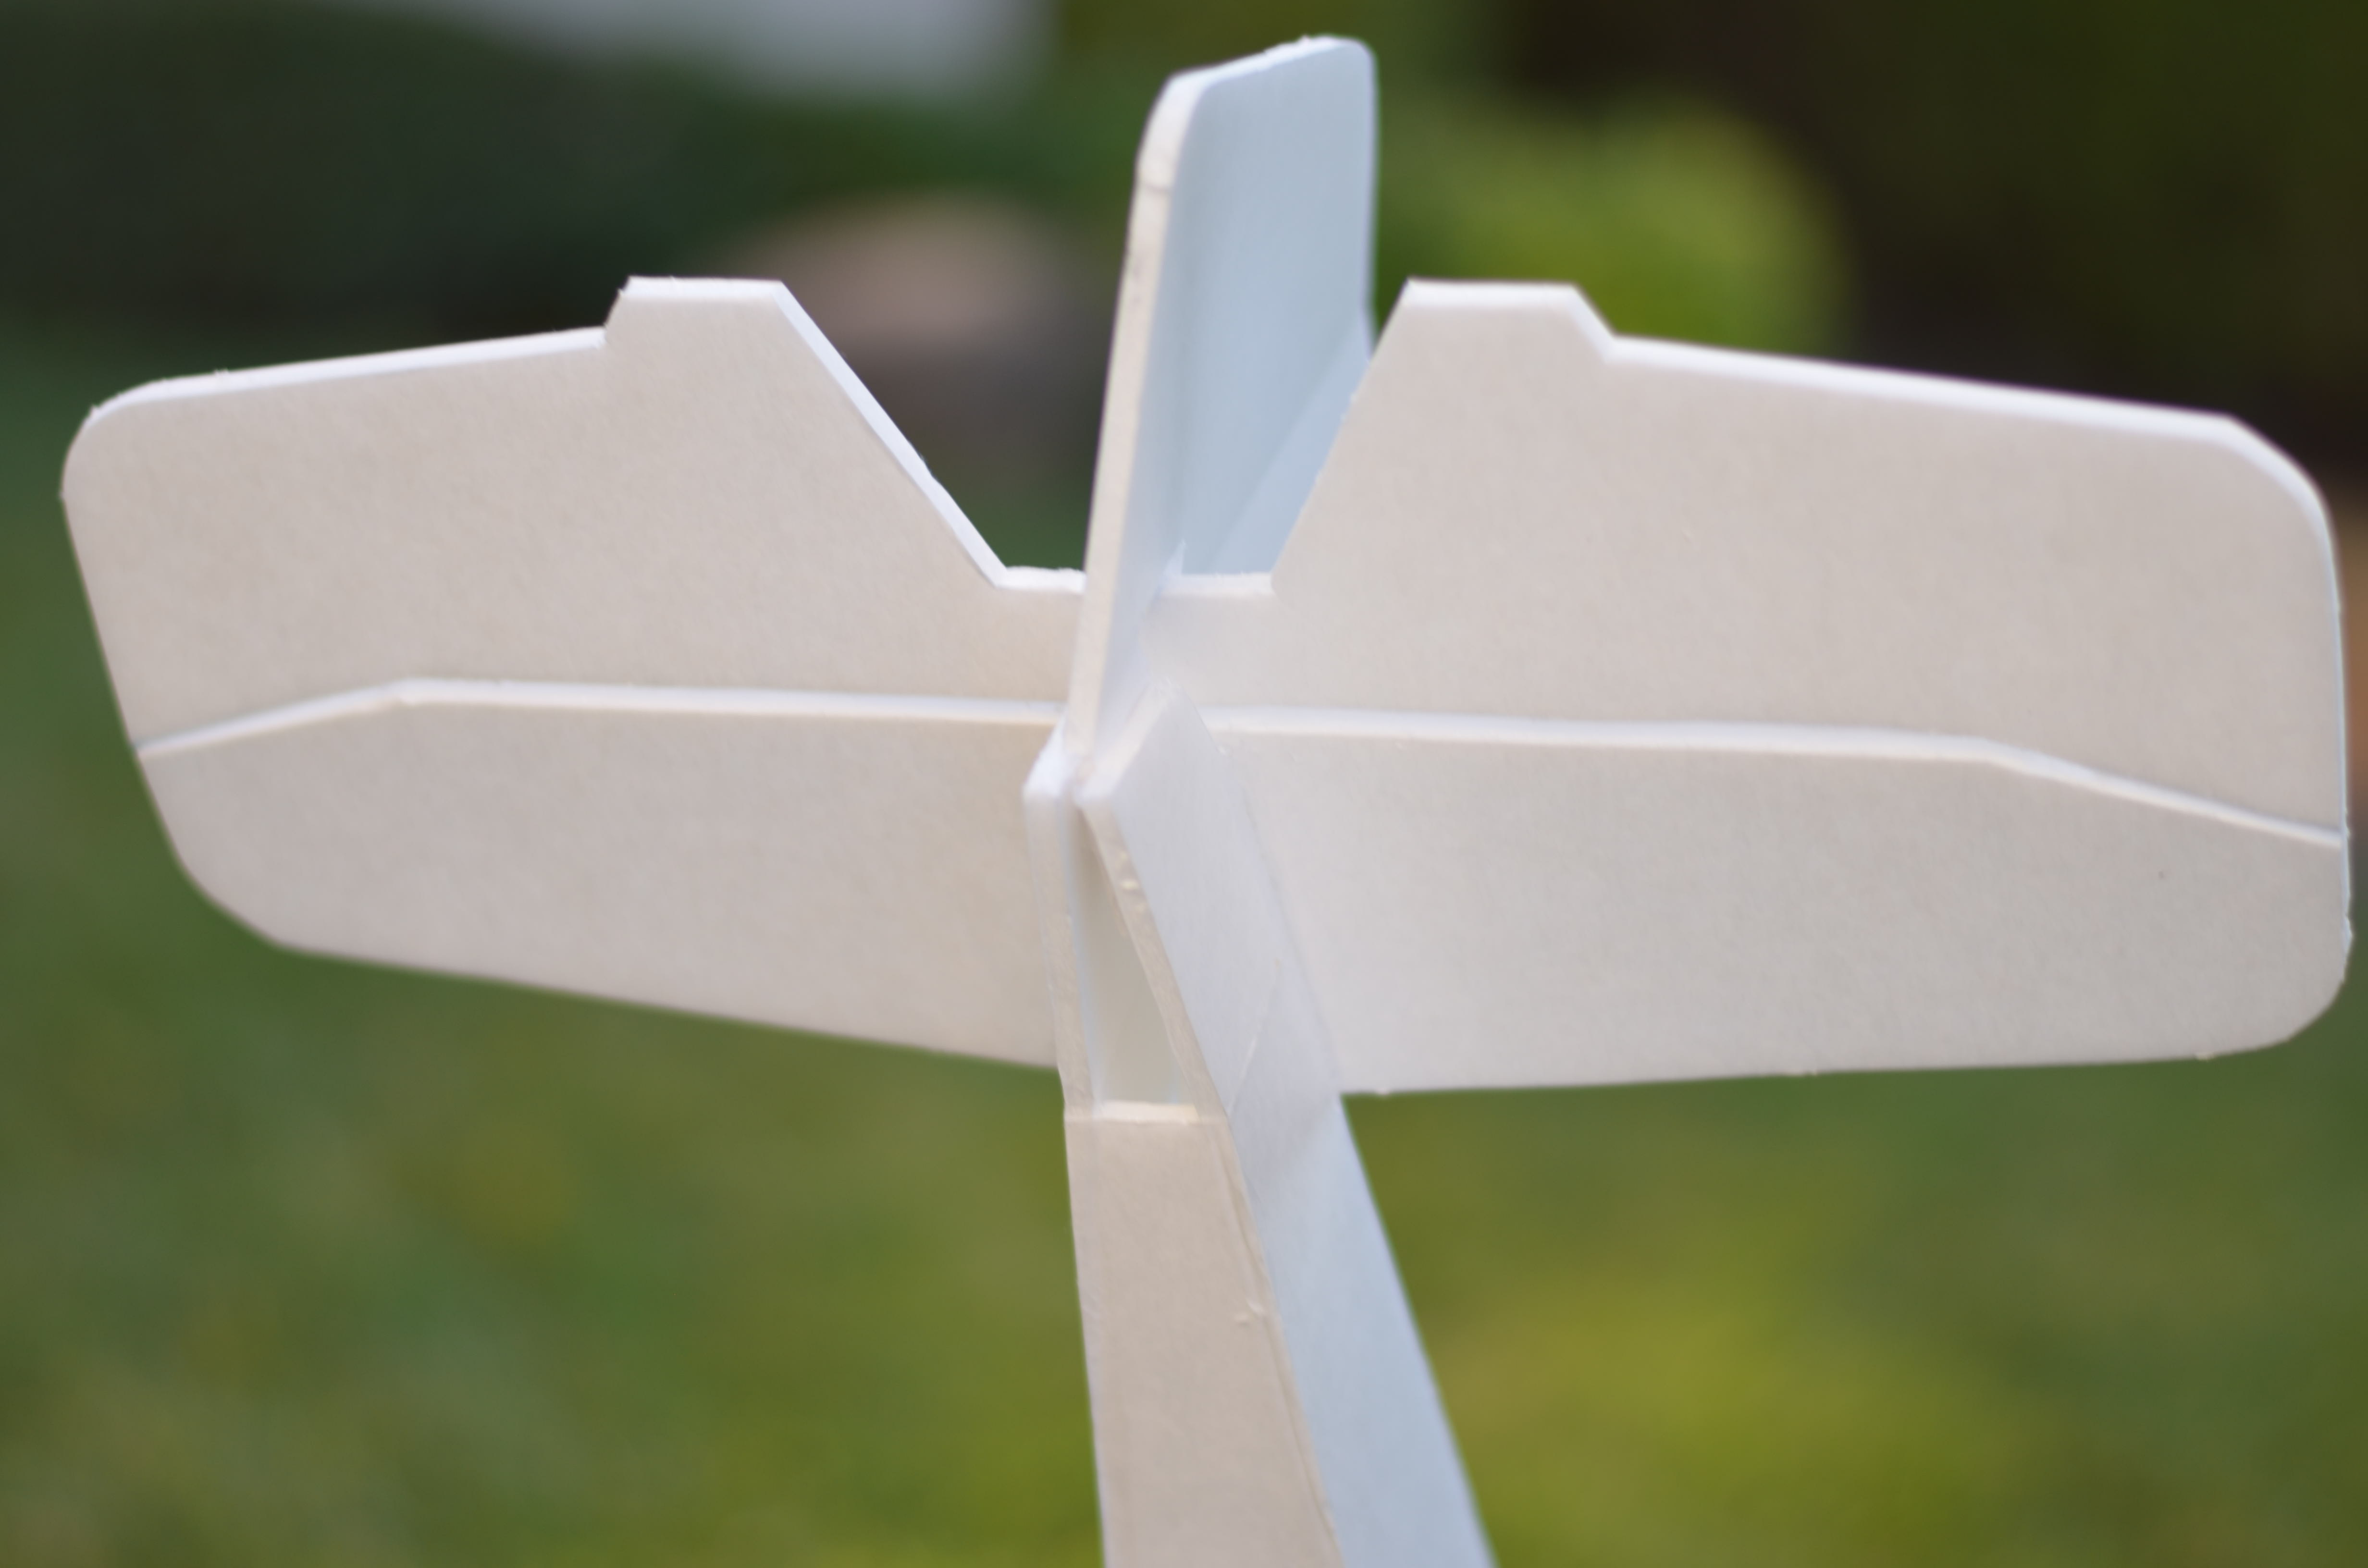
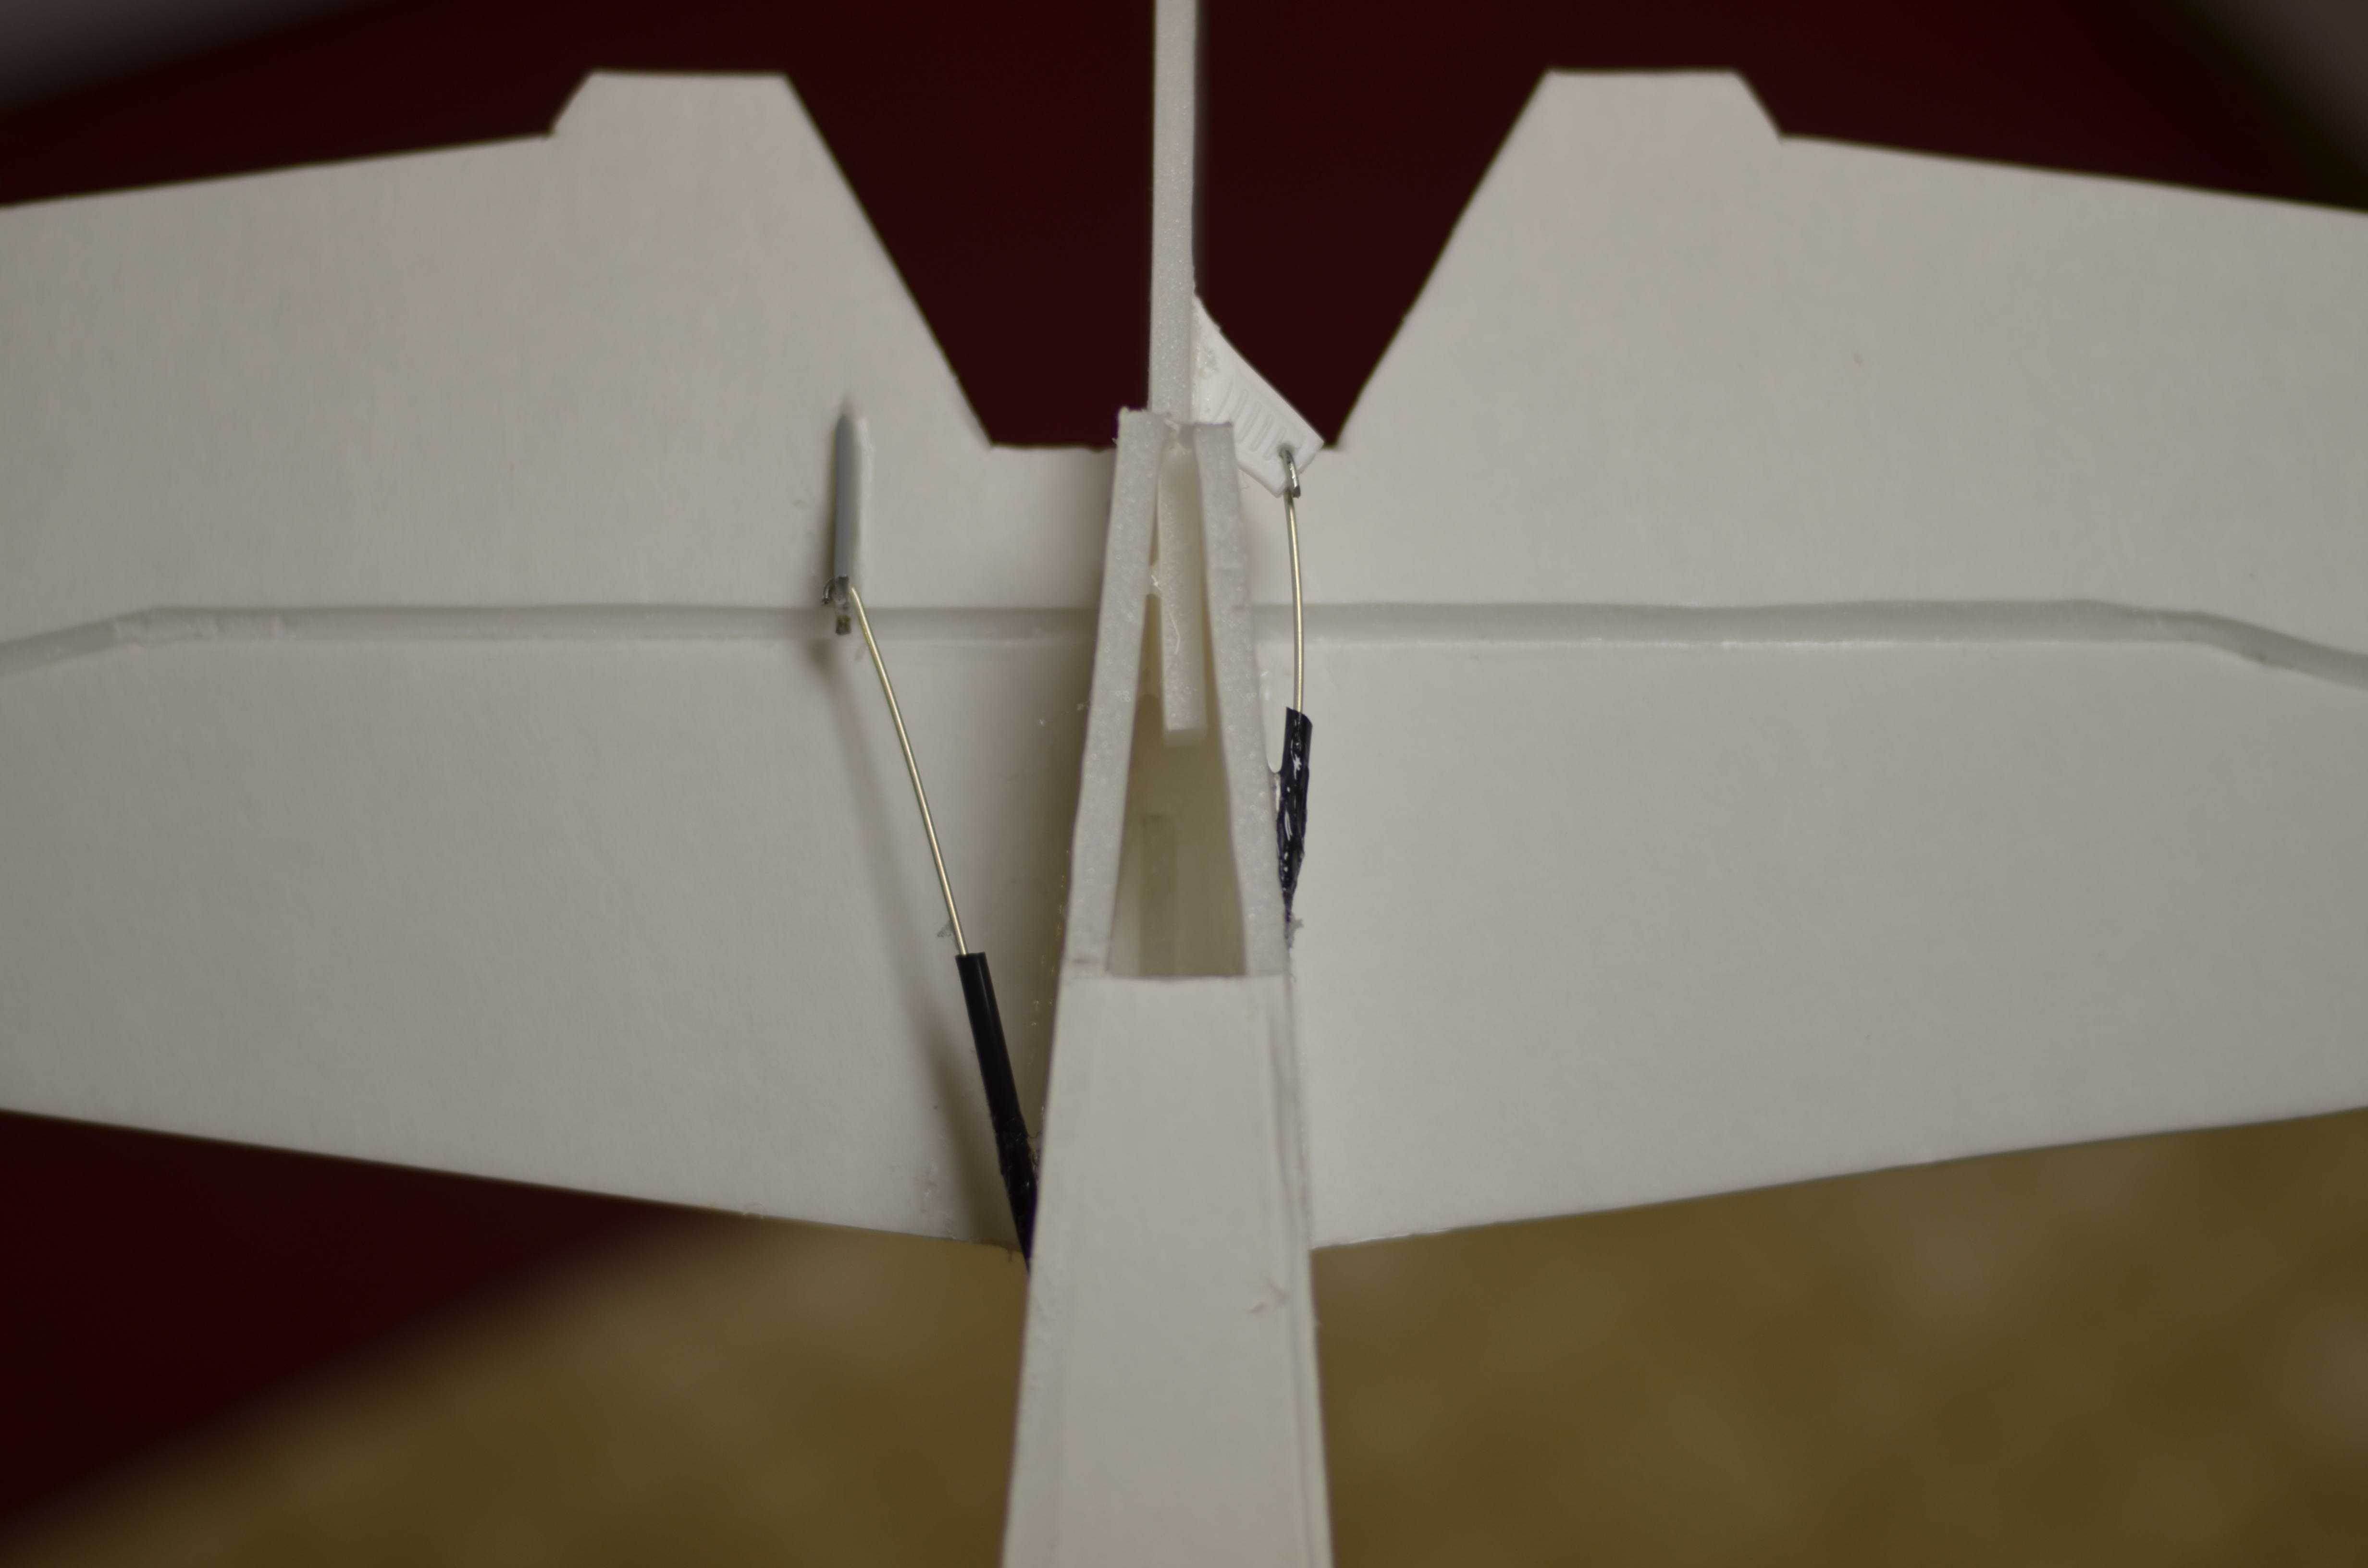
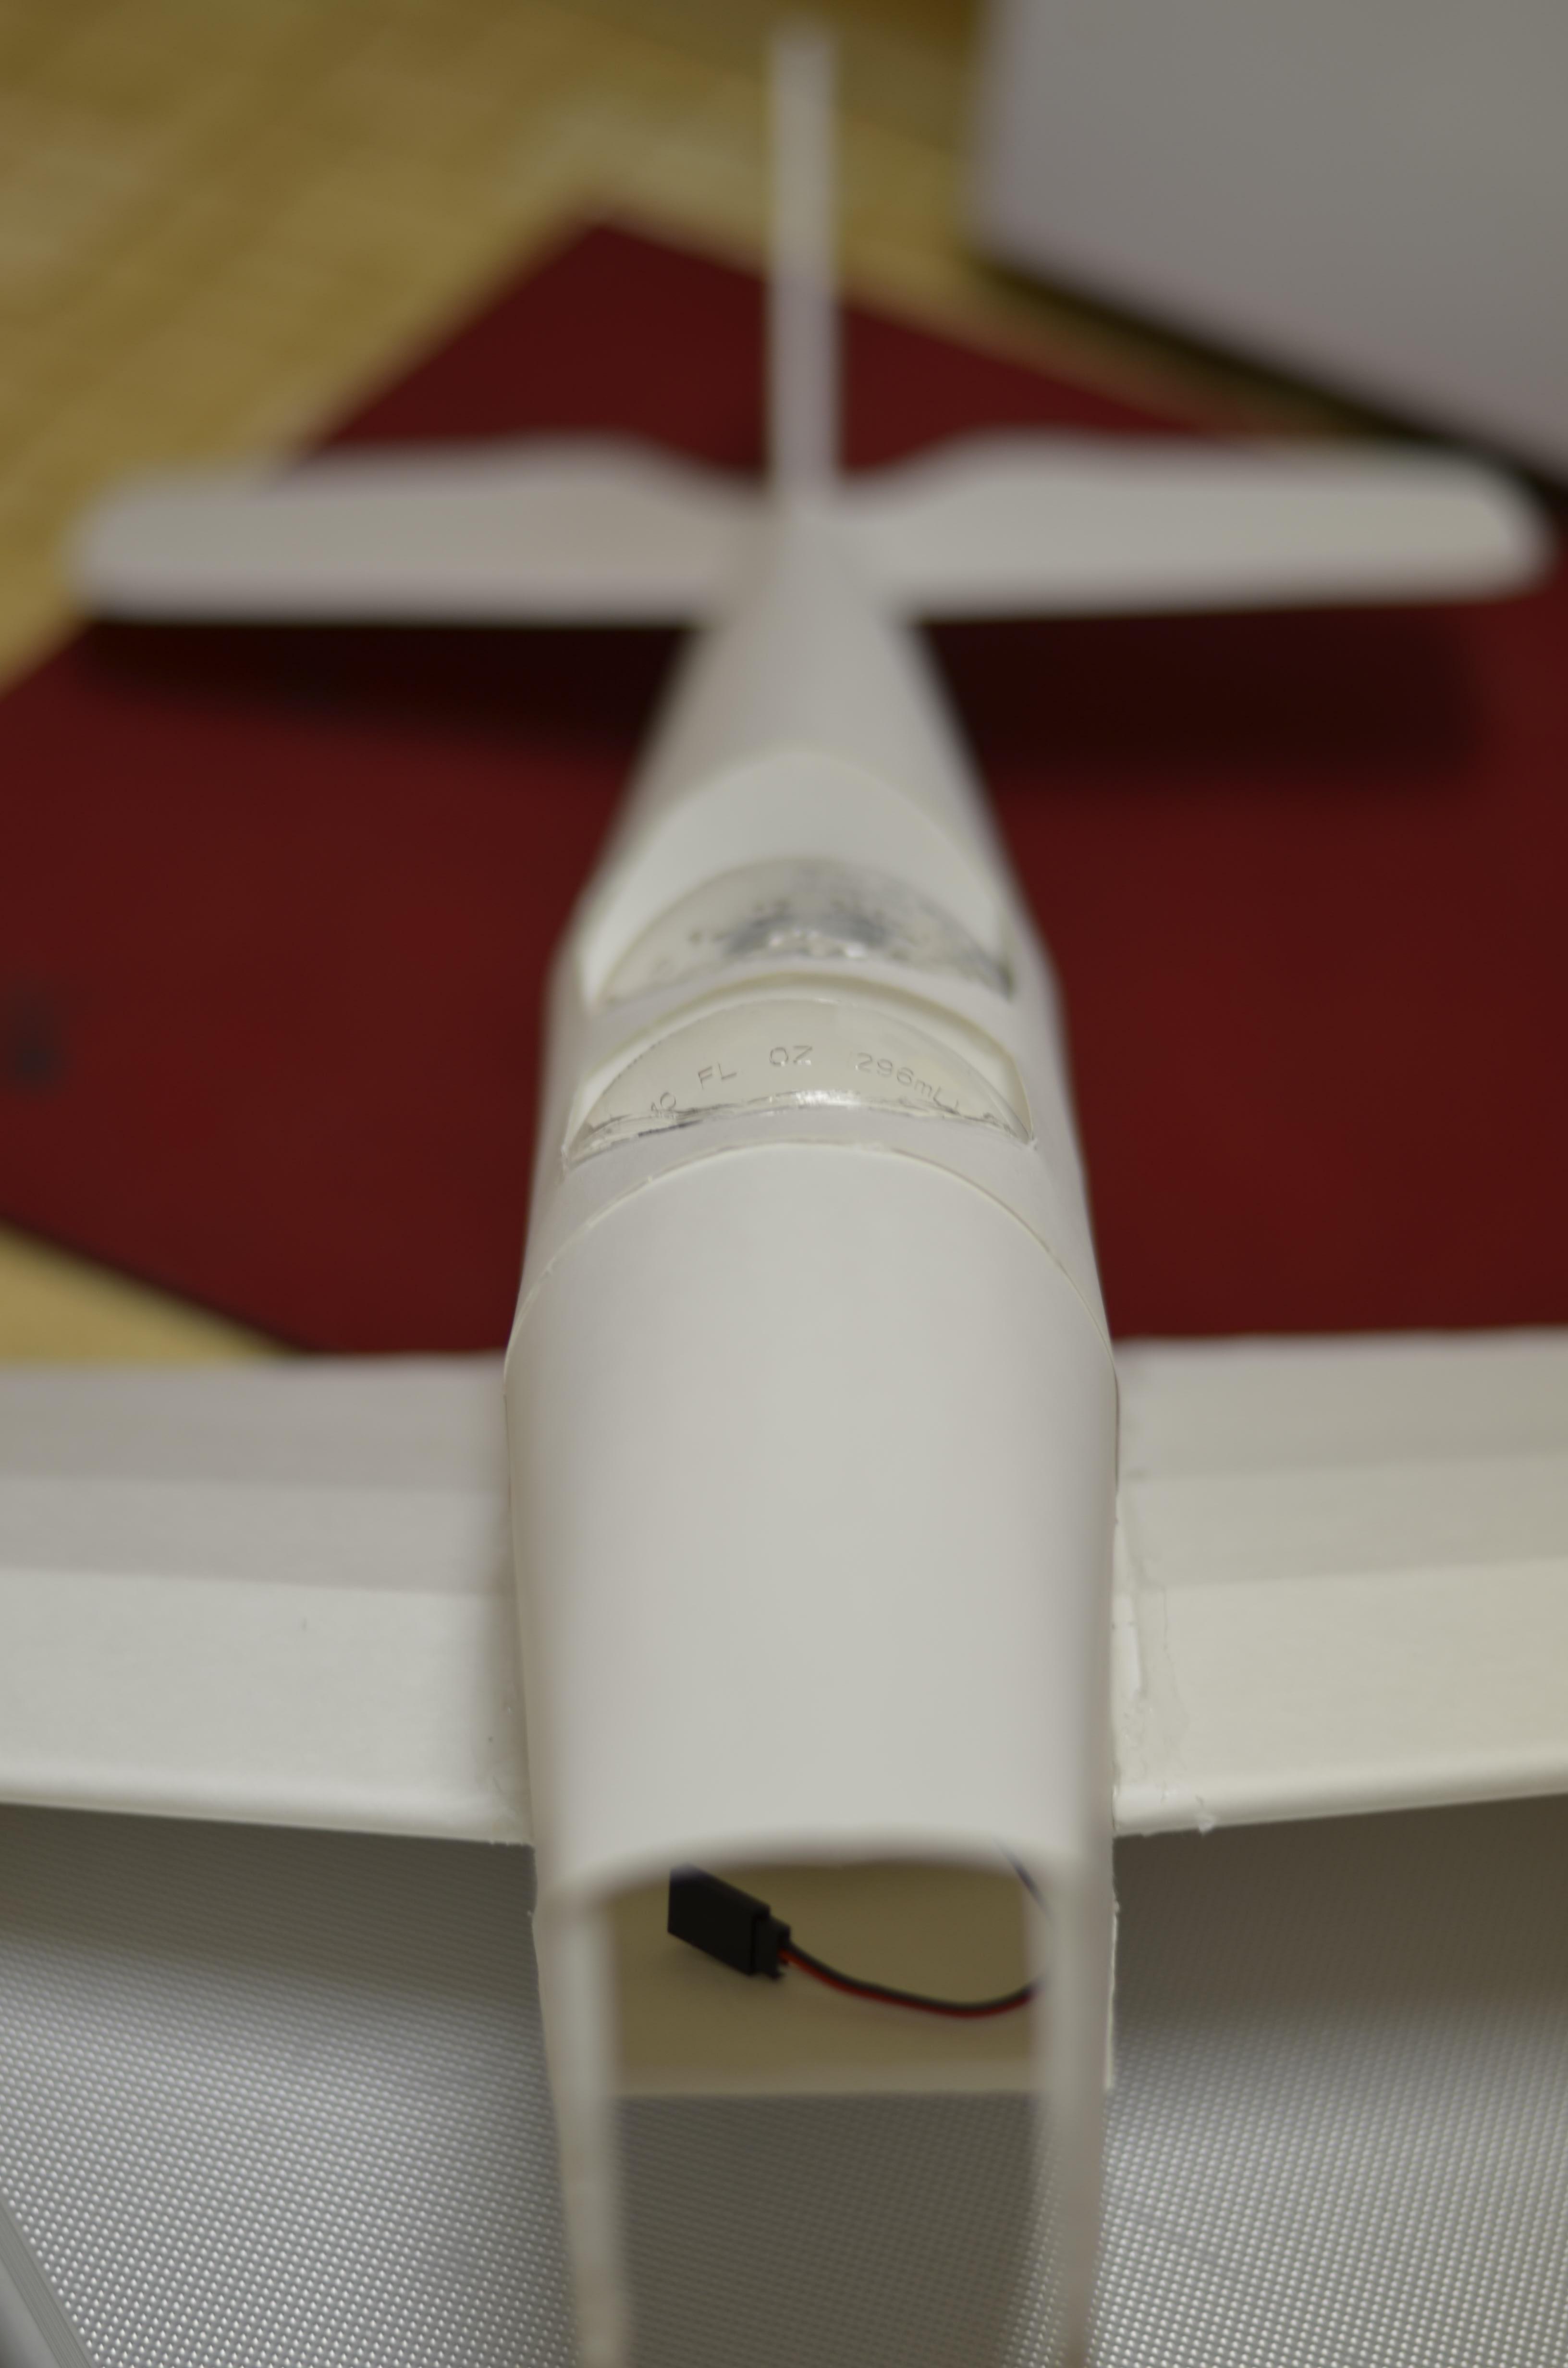
Tail
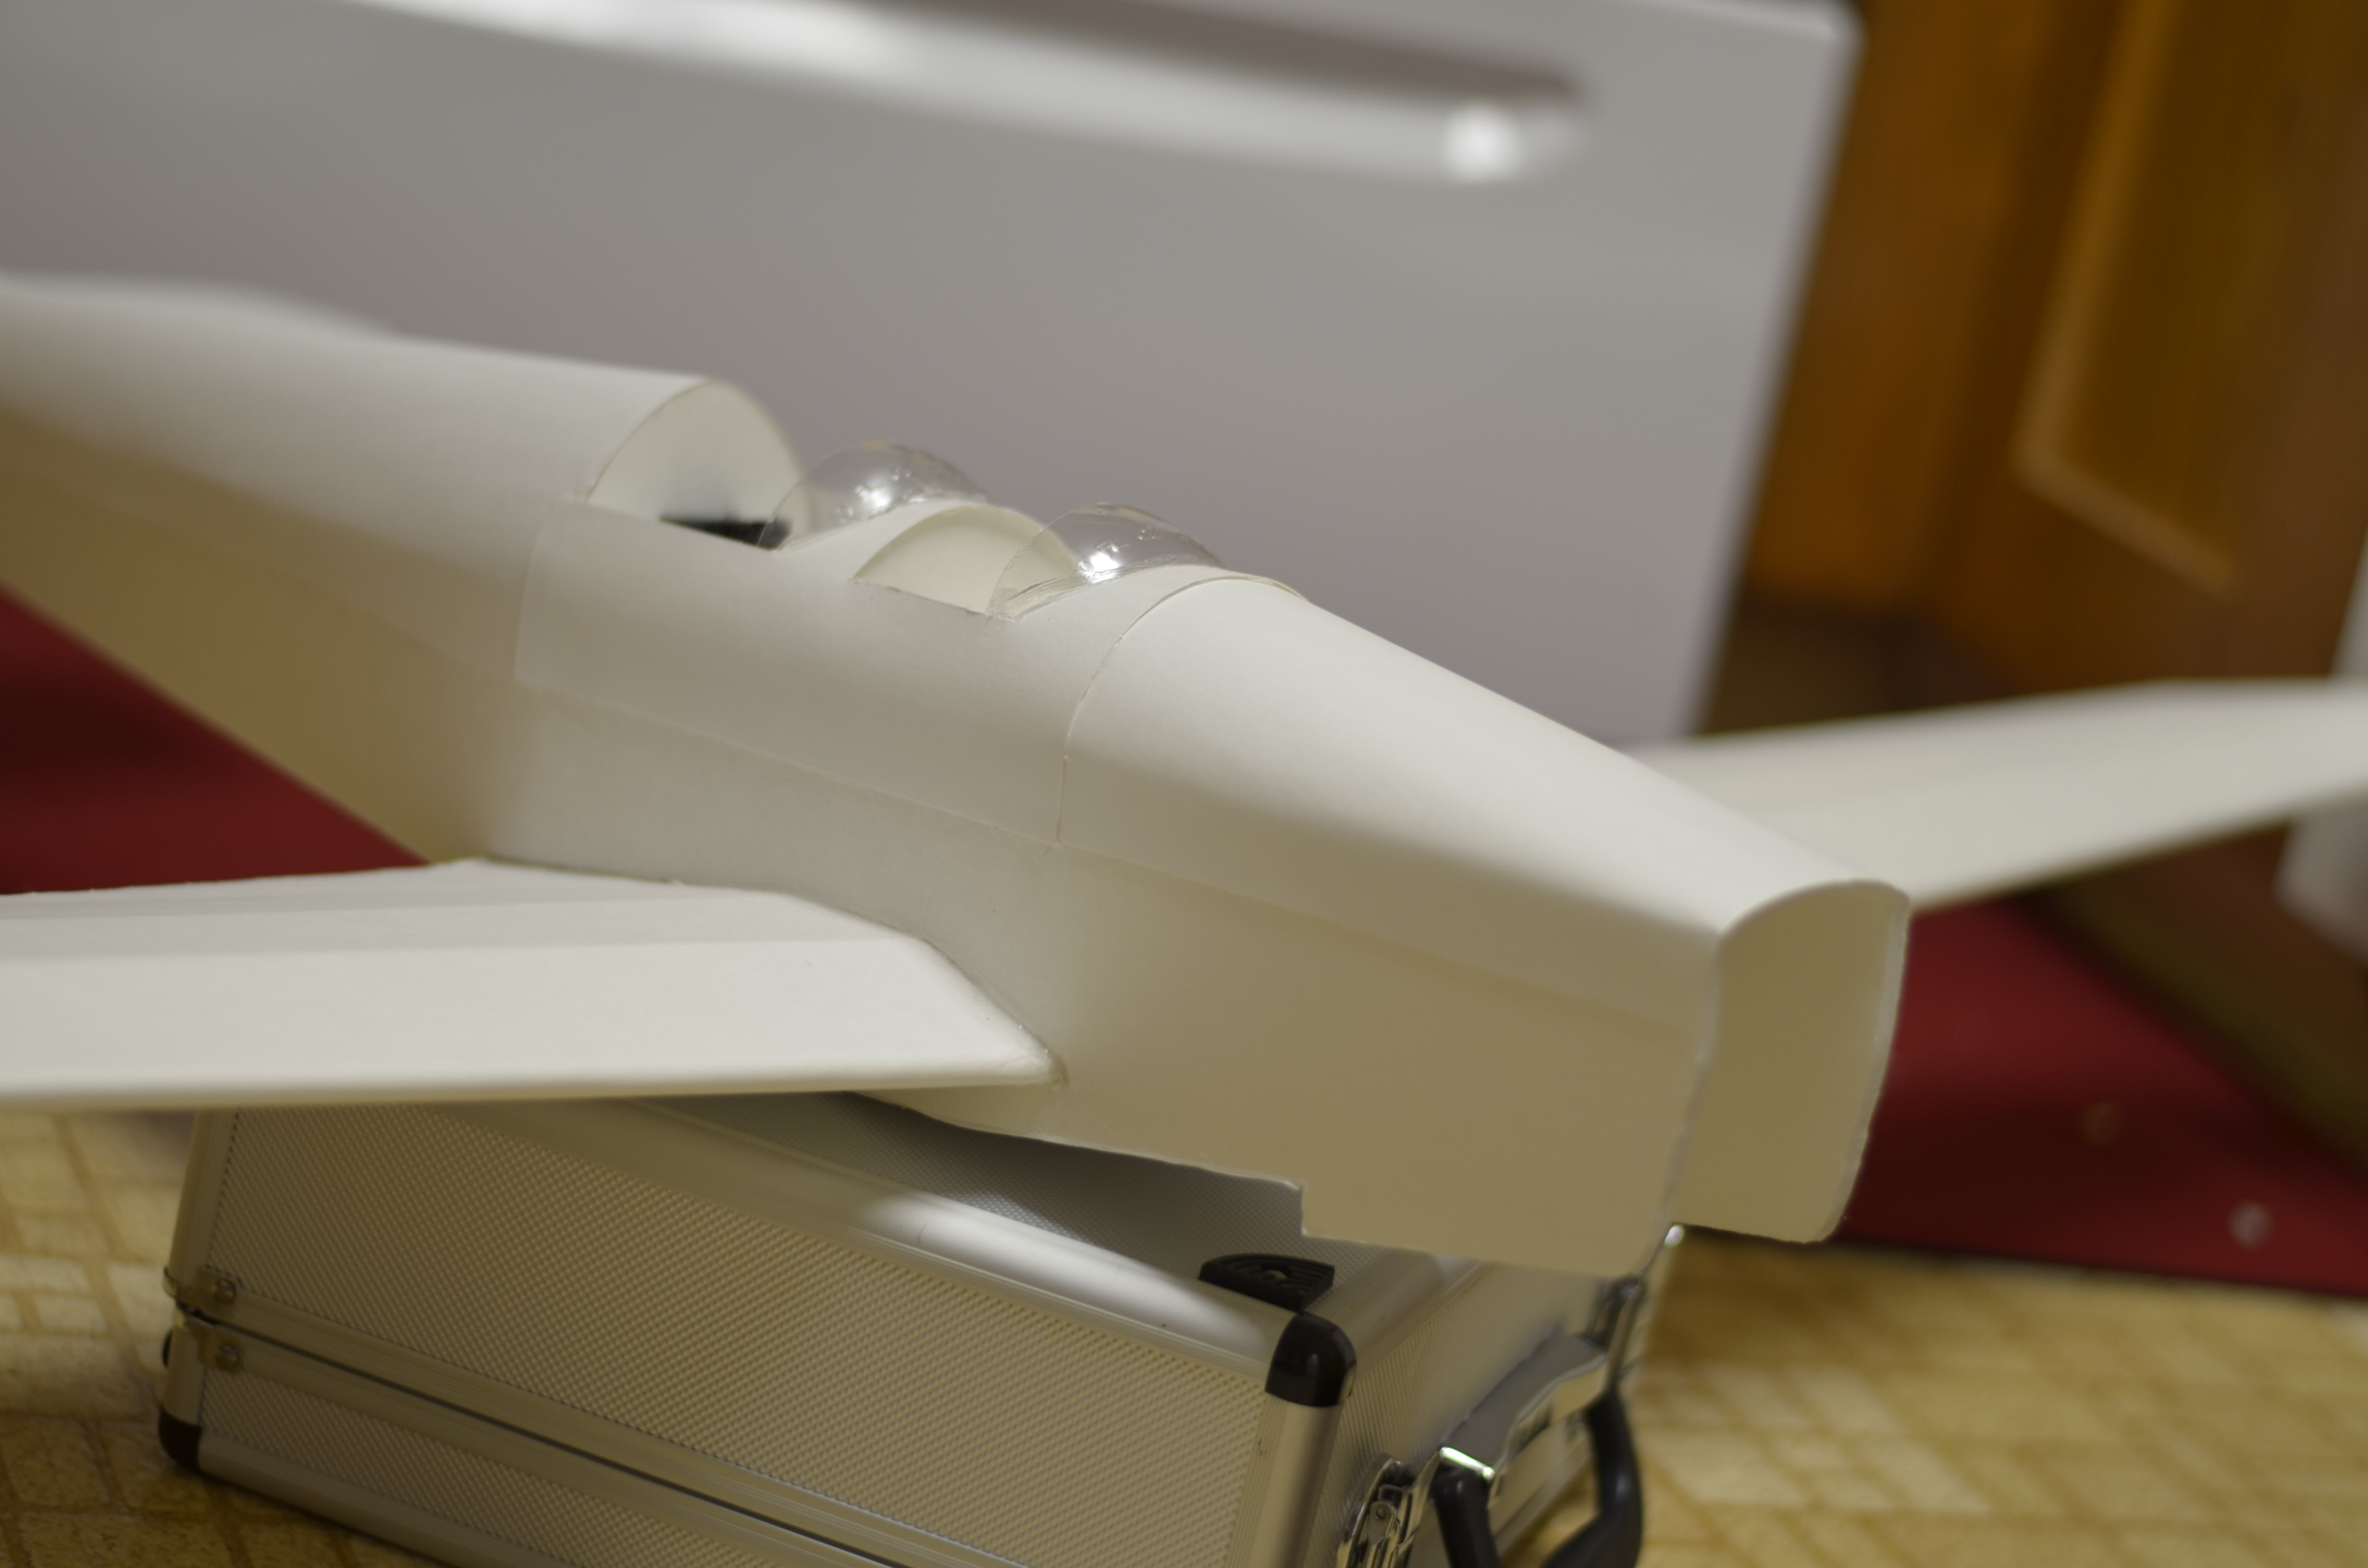
The elev/rud installed really nice, everything was very square and incredibly strong with this design. My fuse taper angle is a bit off, so I had to add some spacers as seen here.
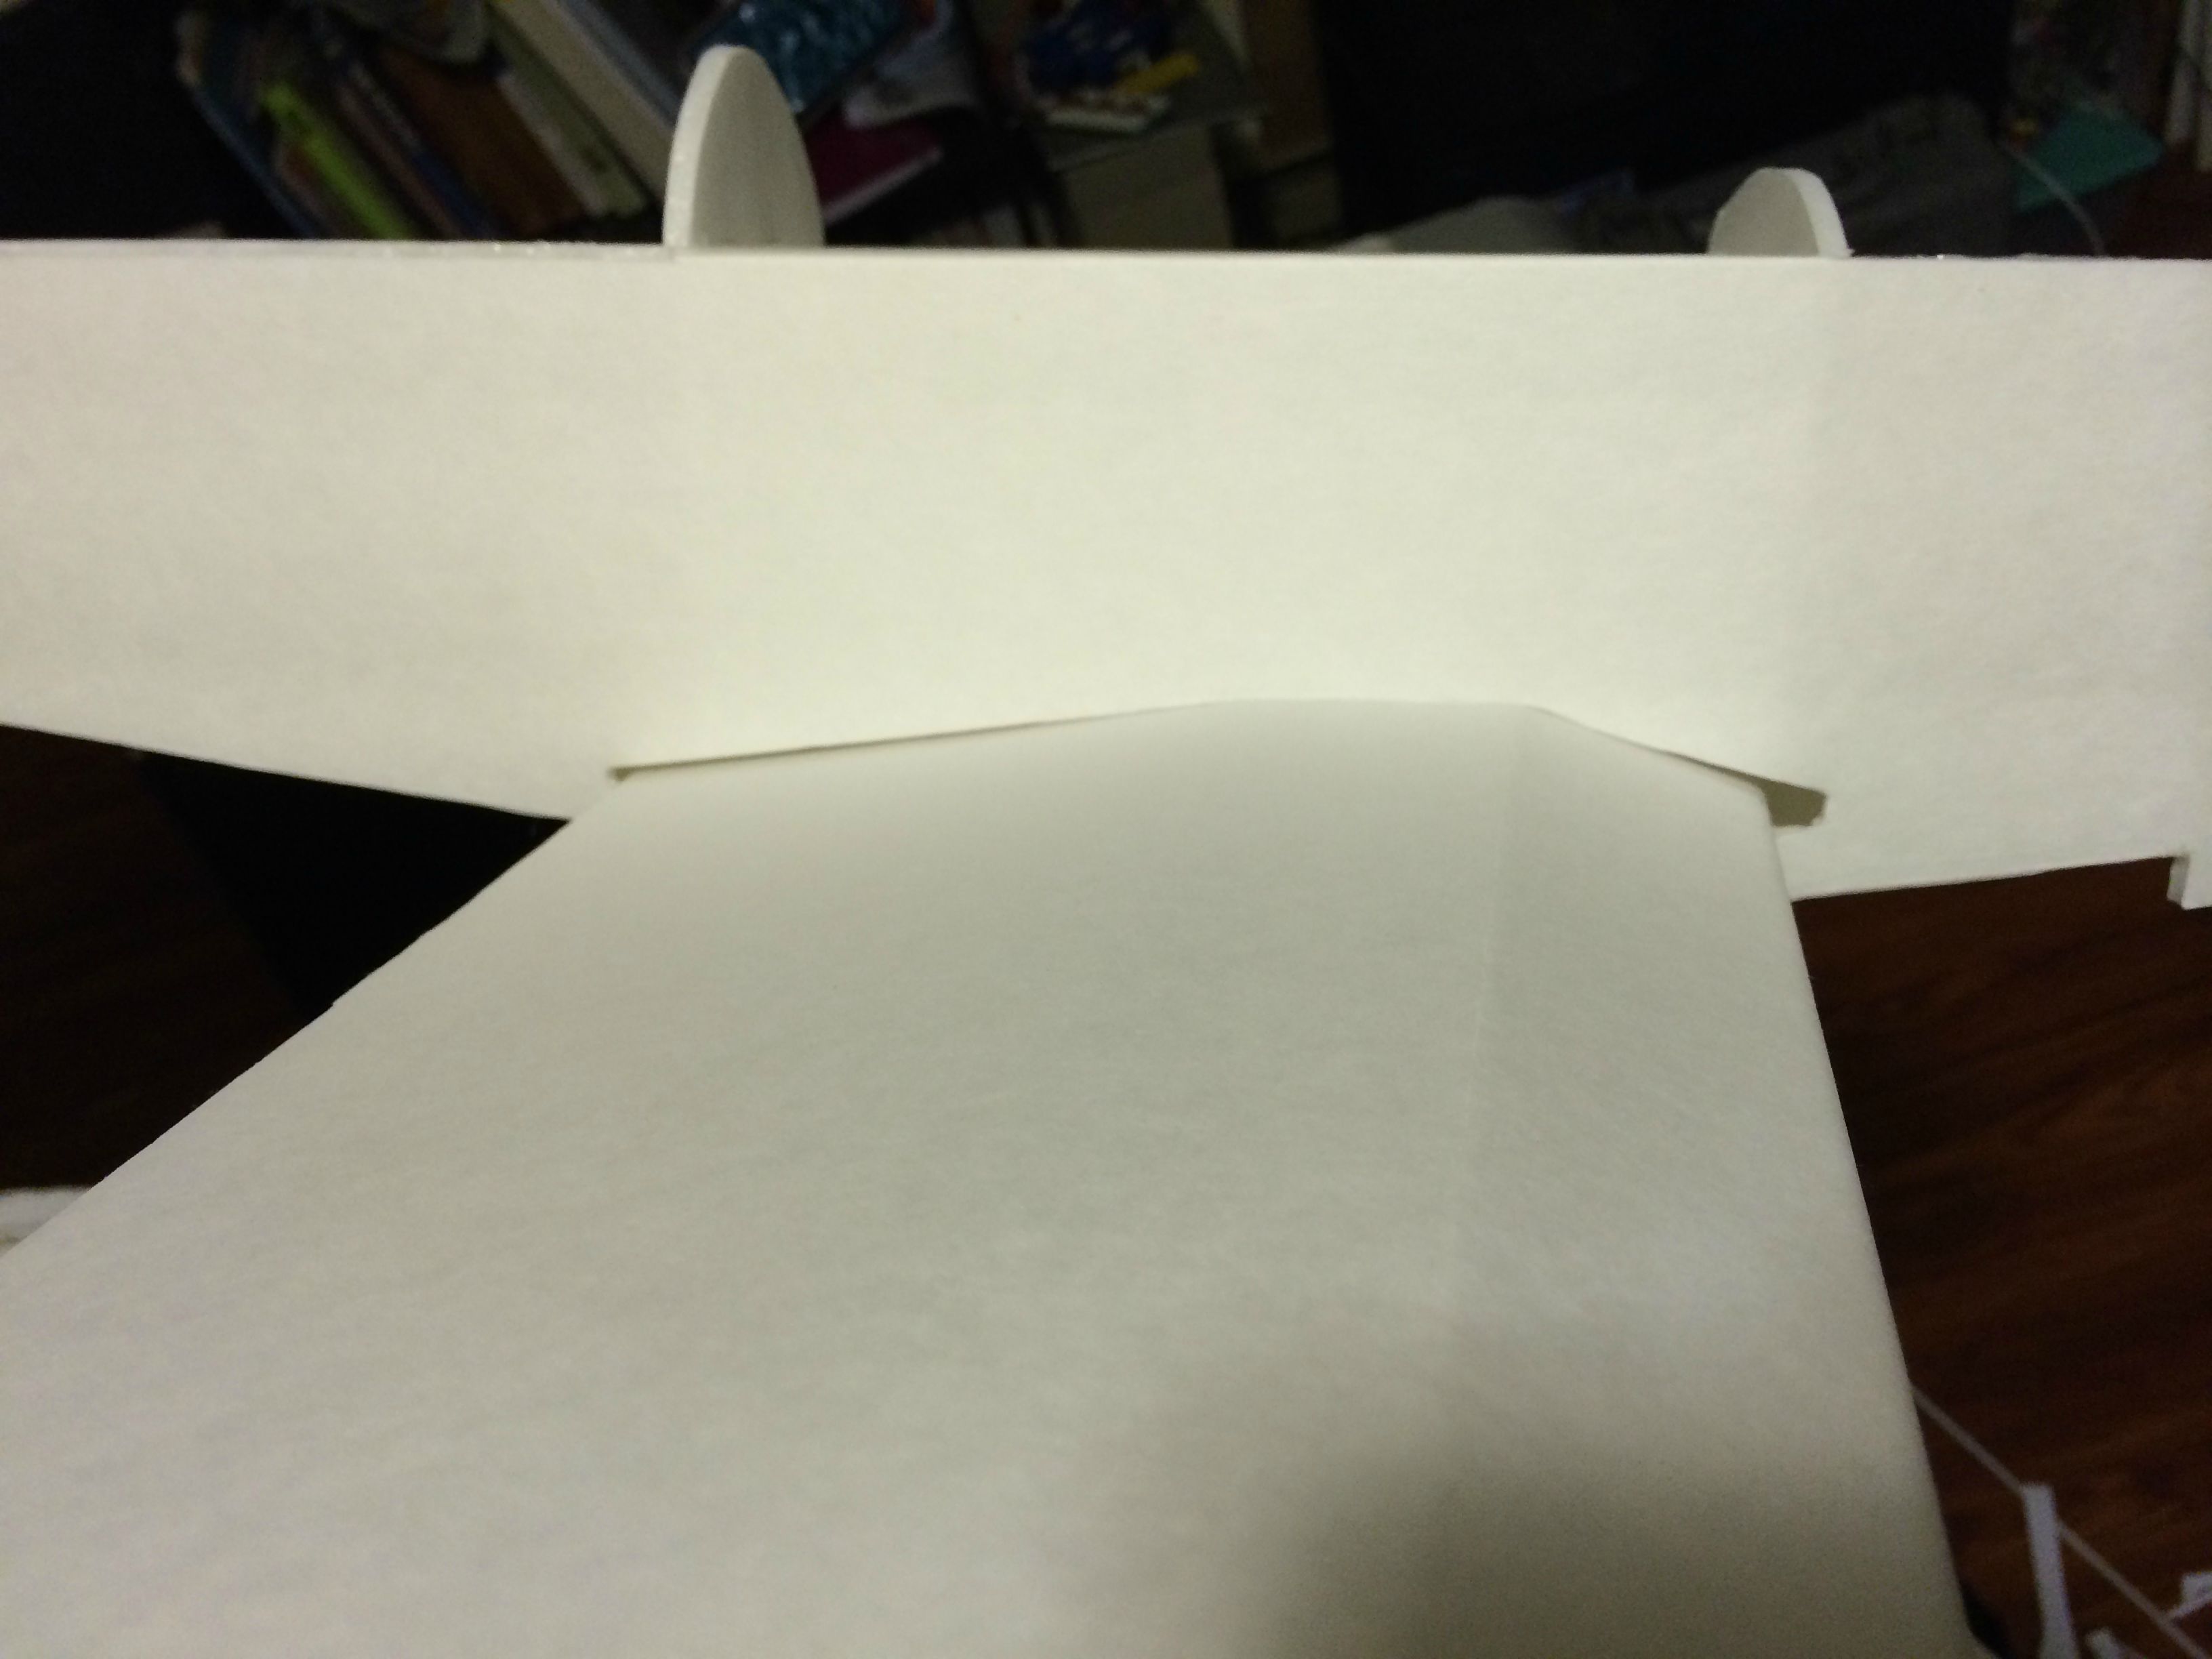
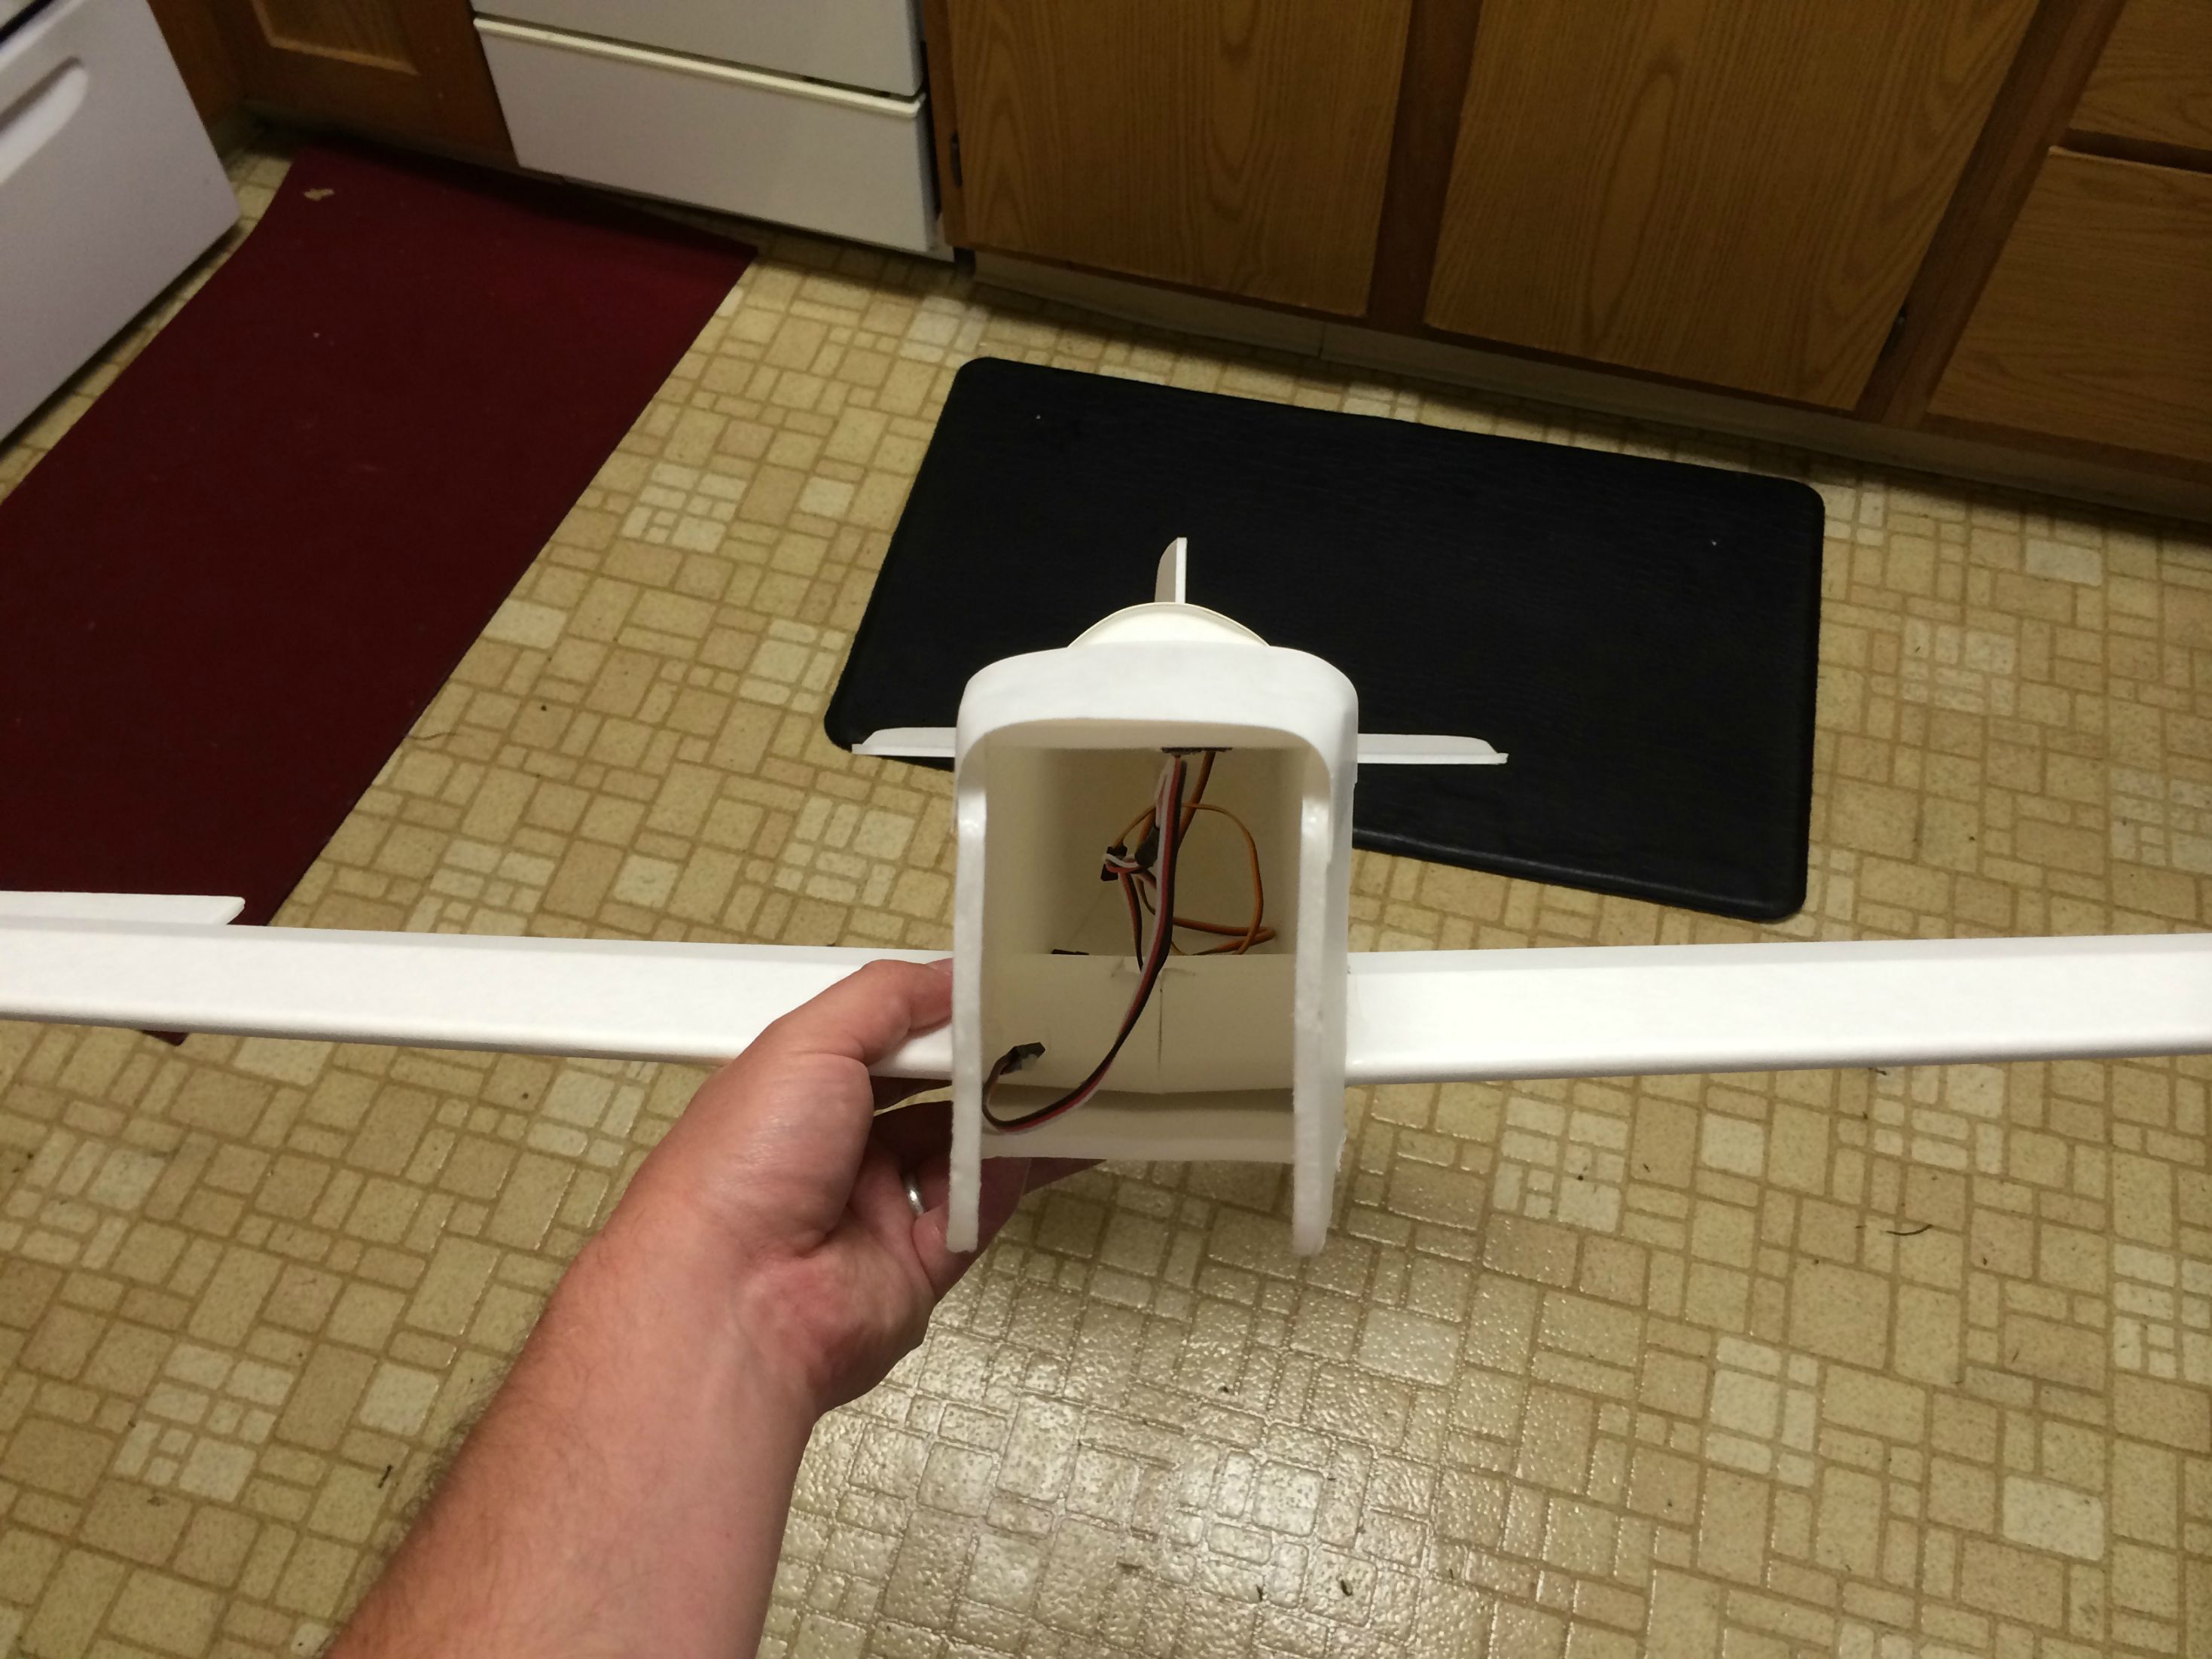
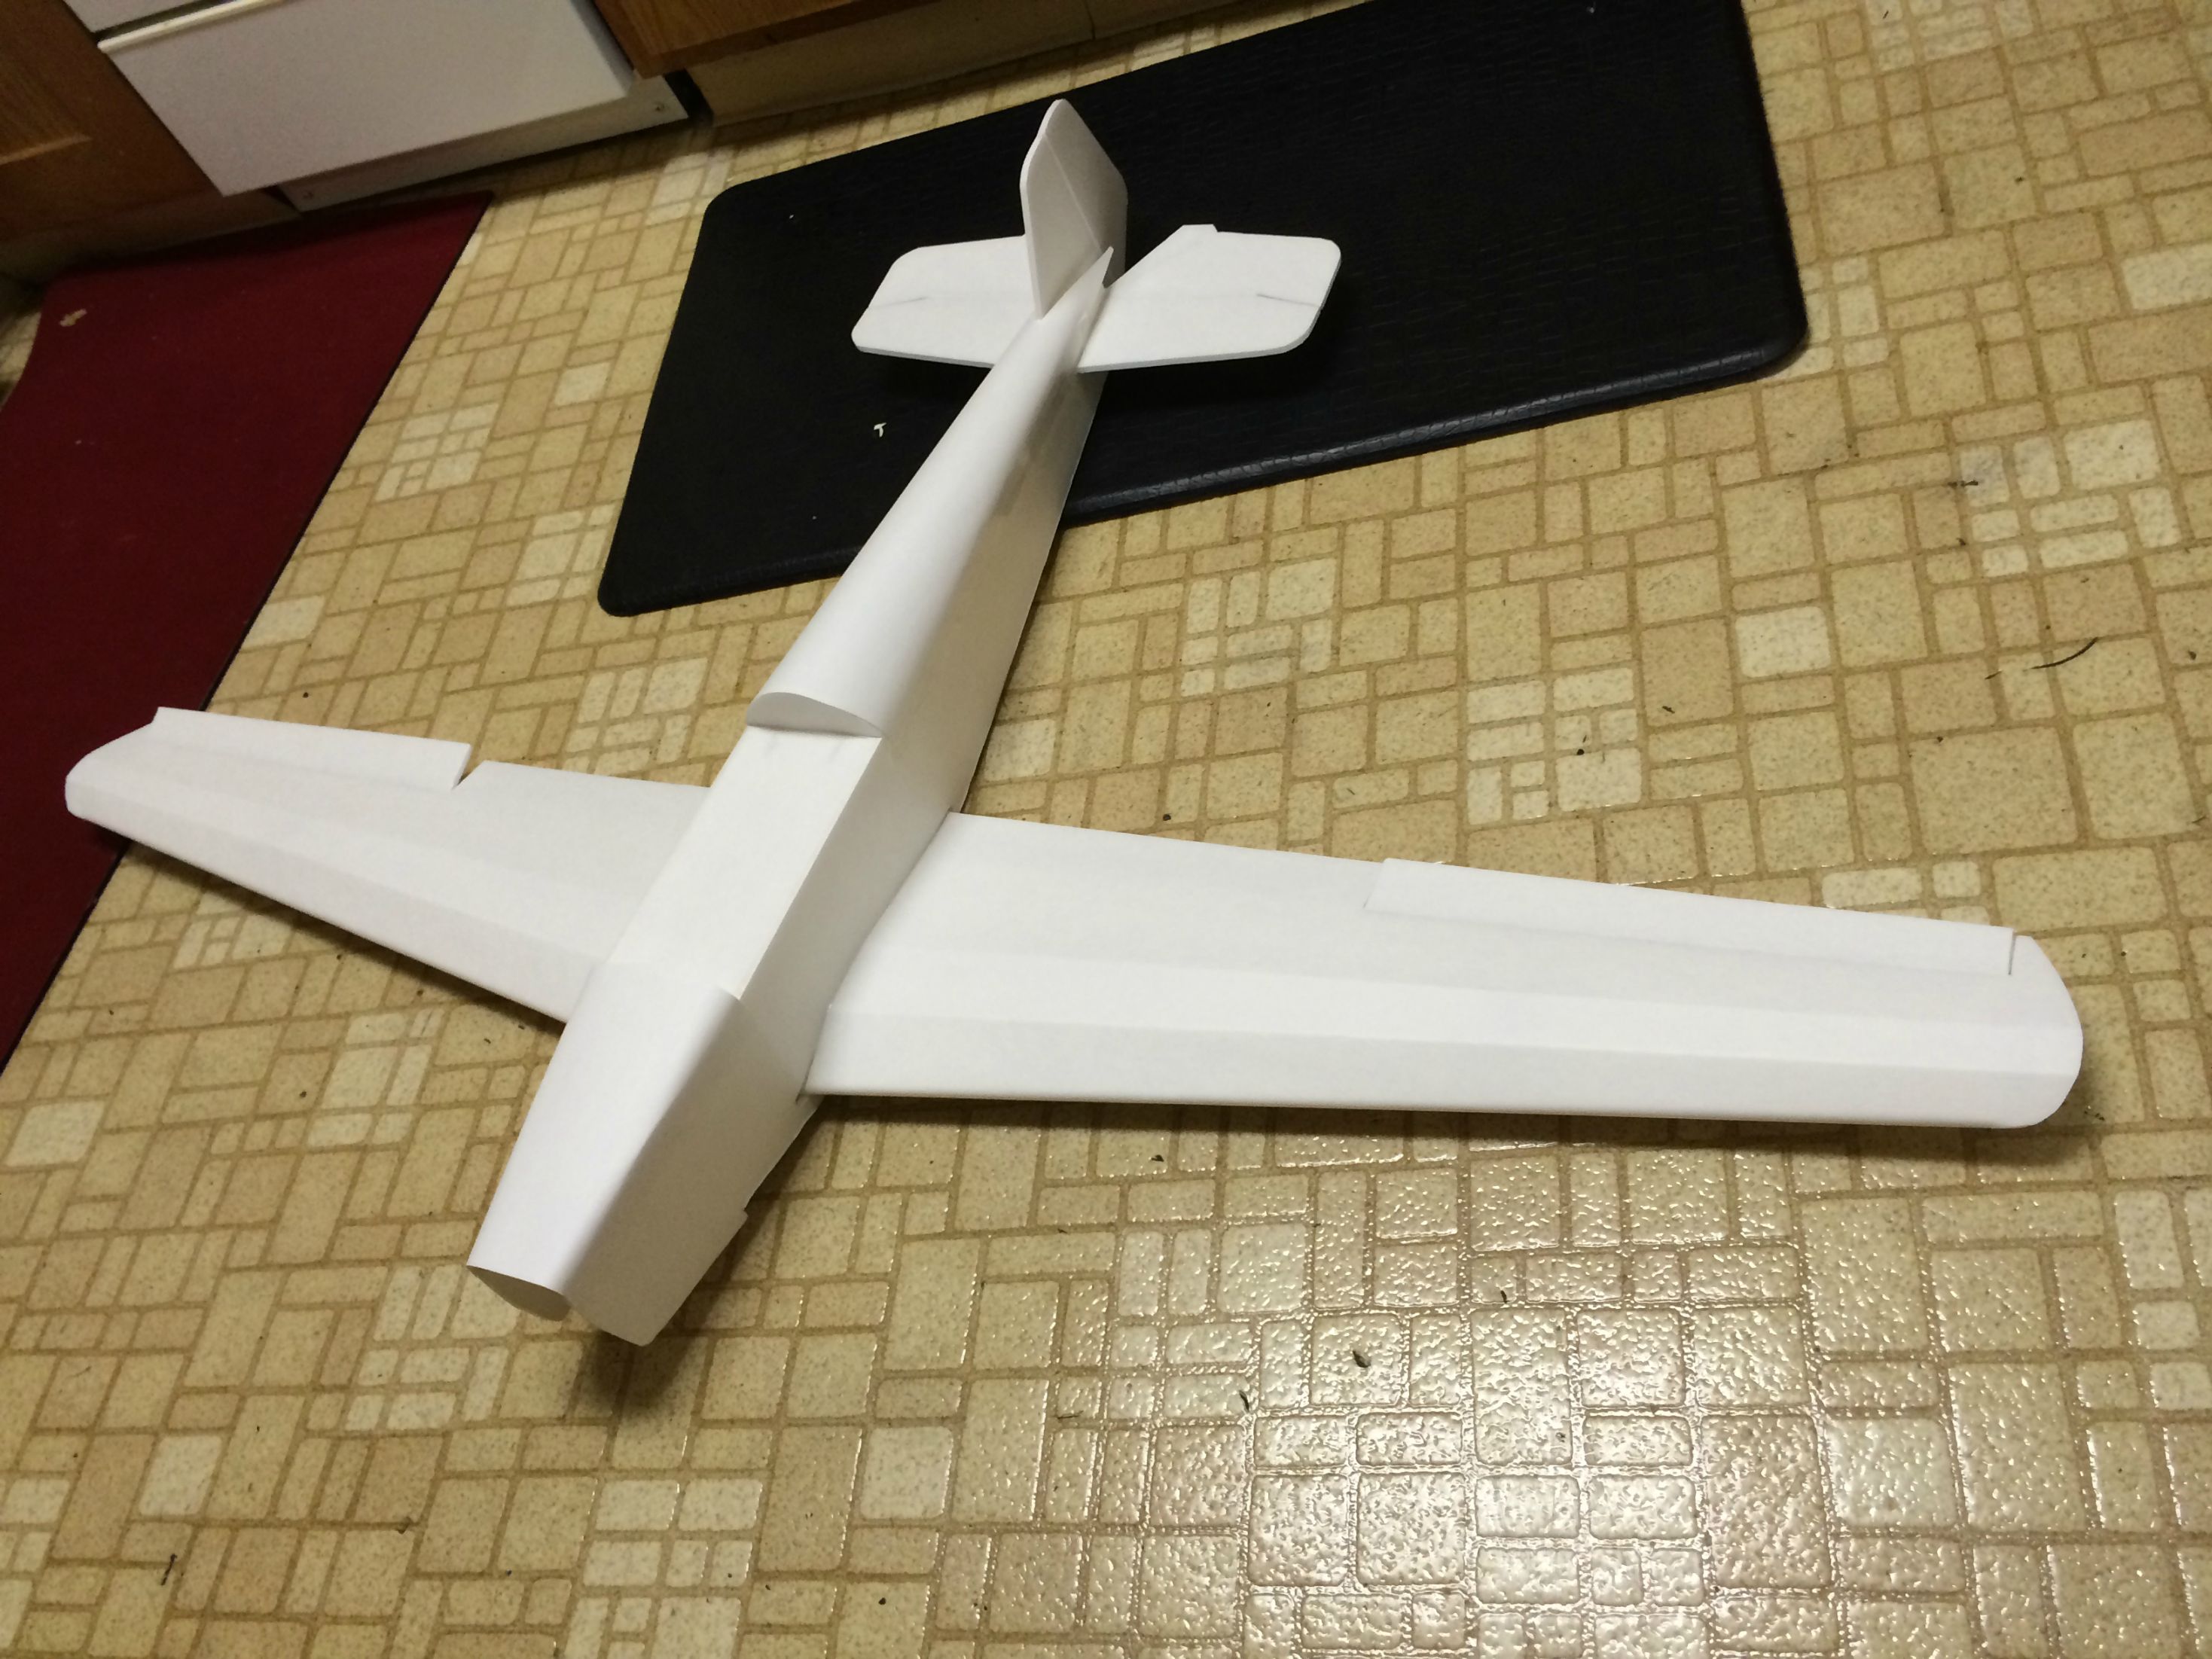
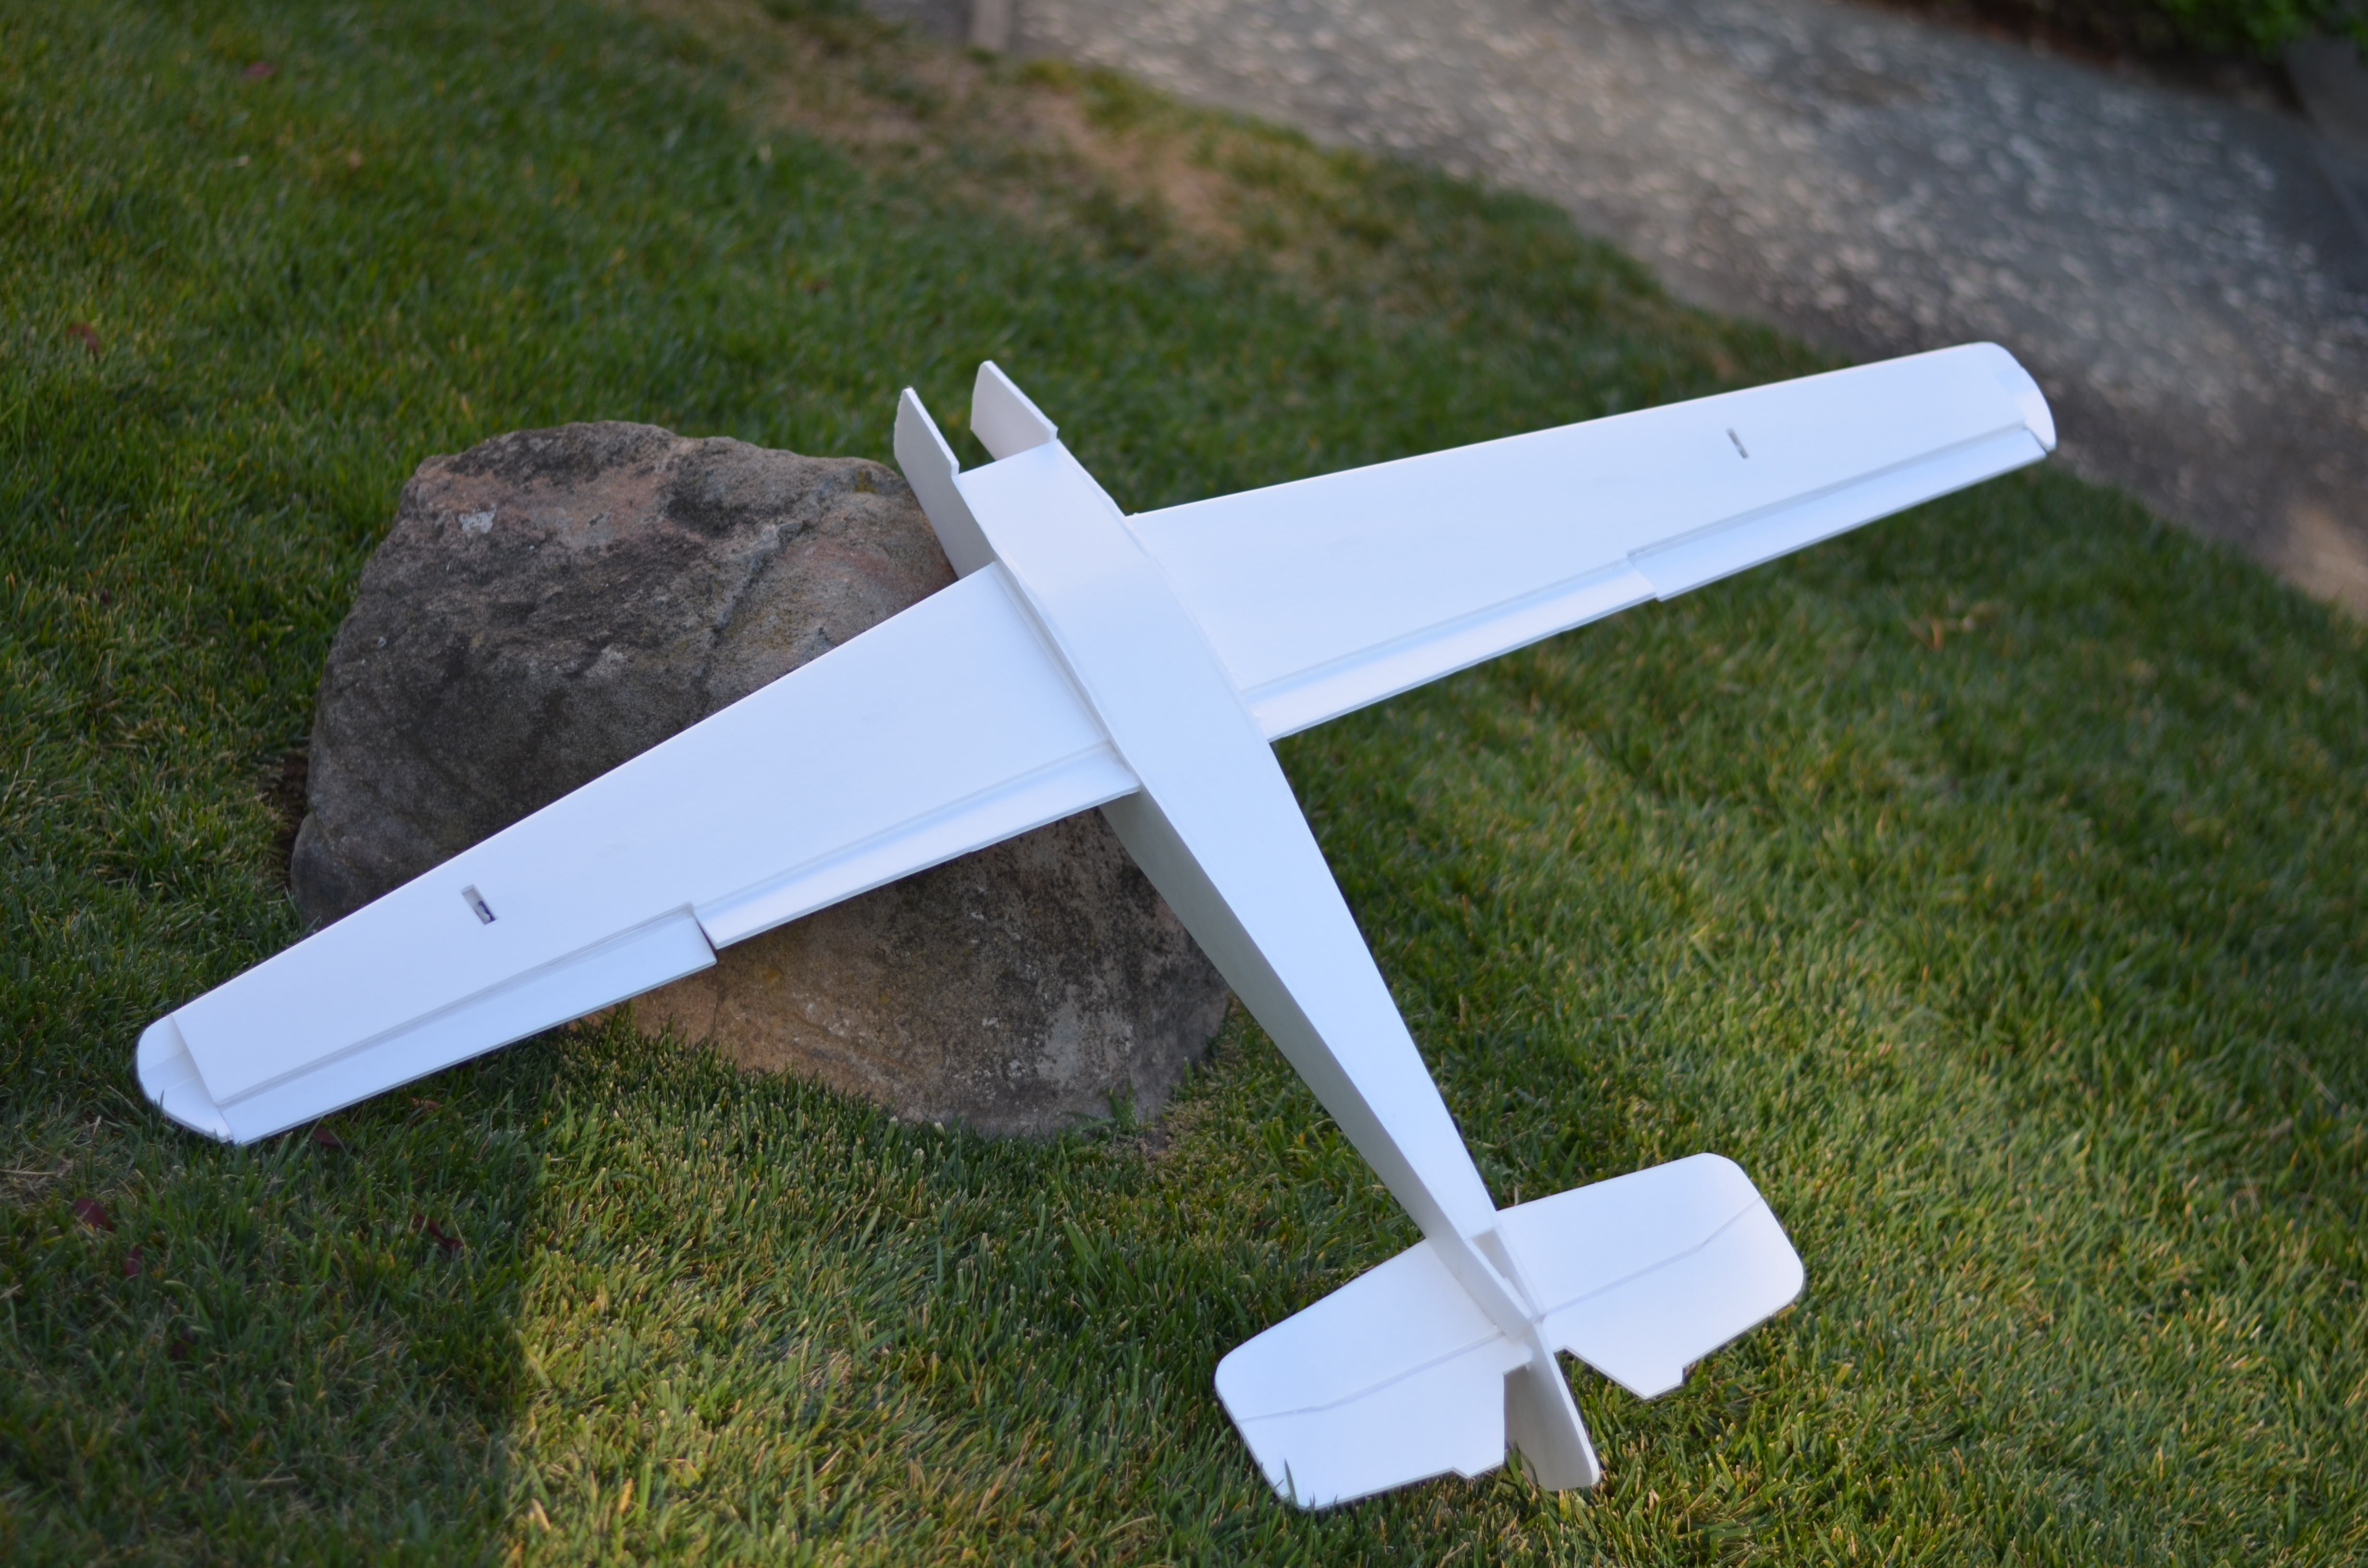
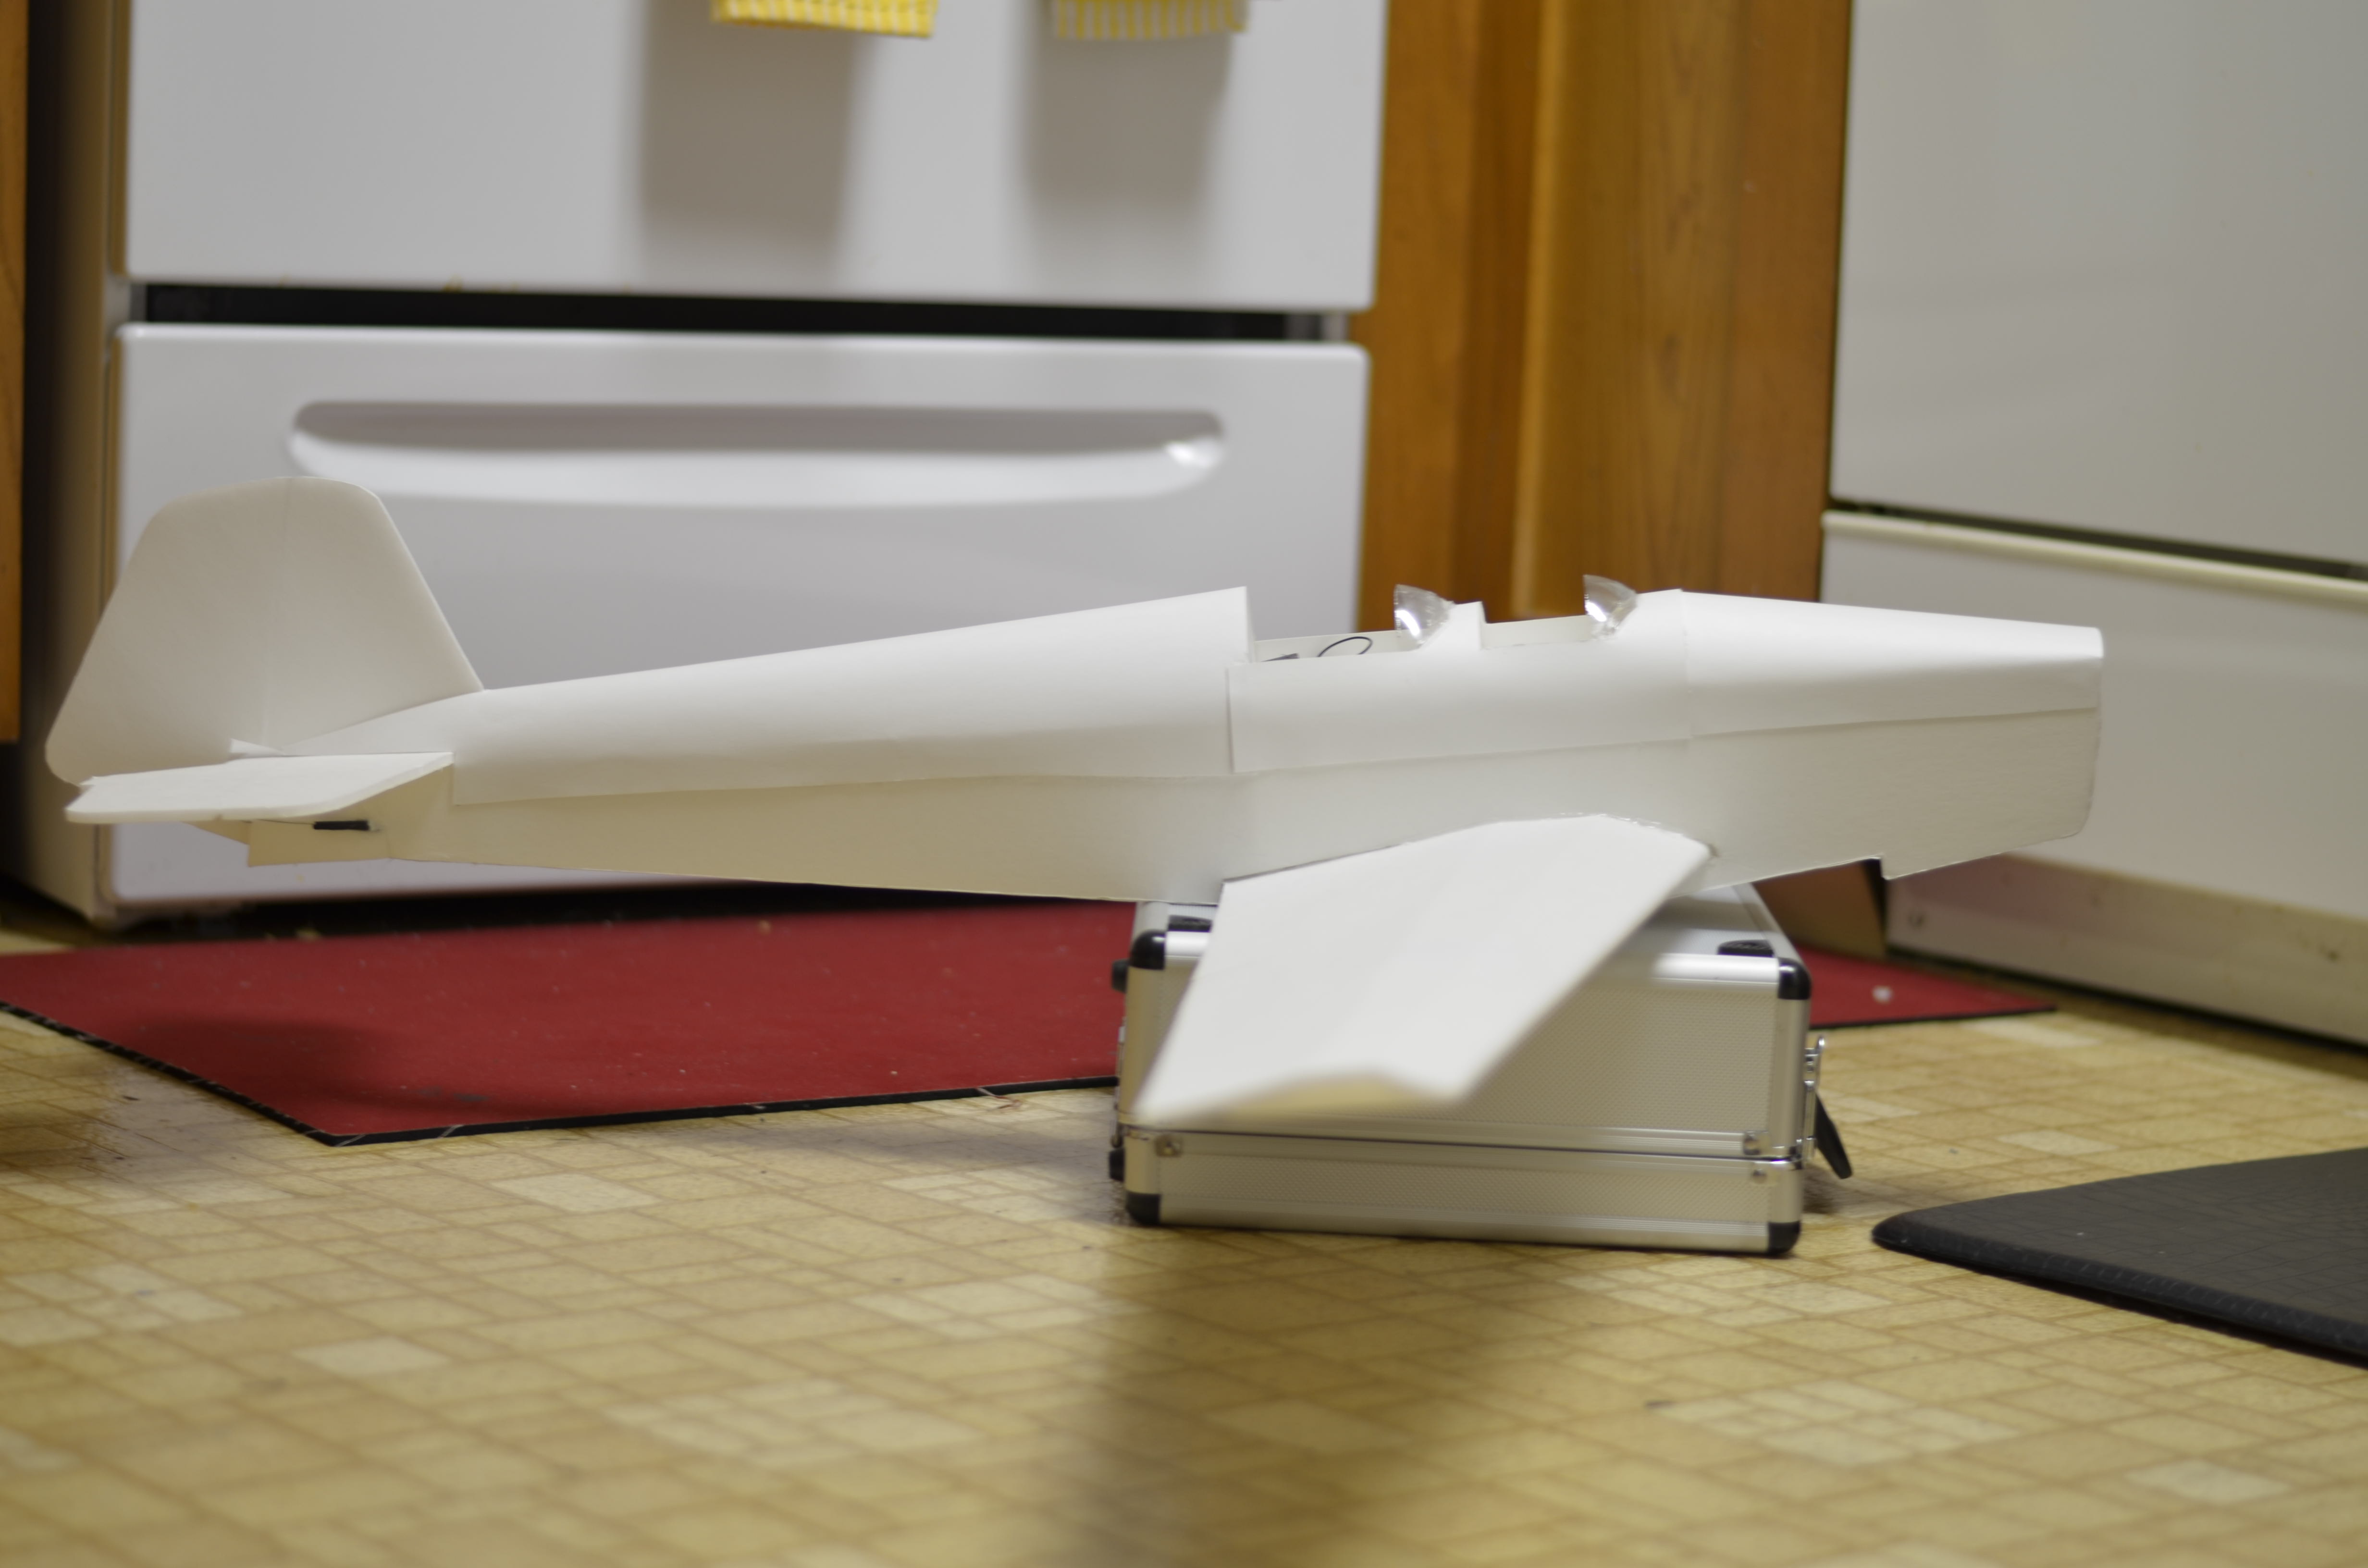
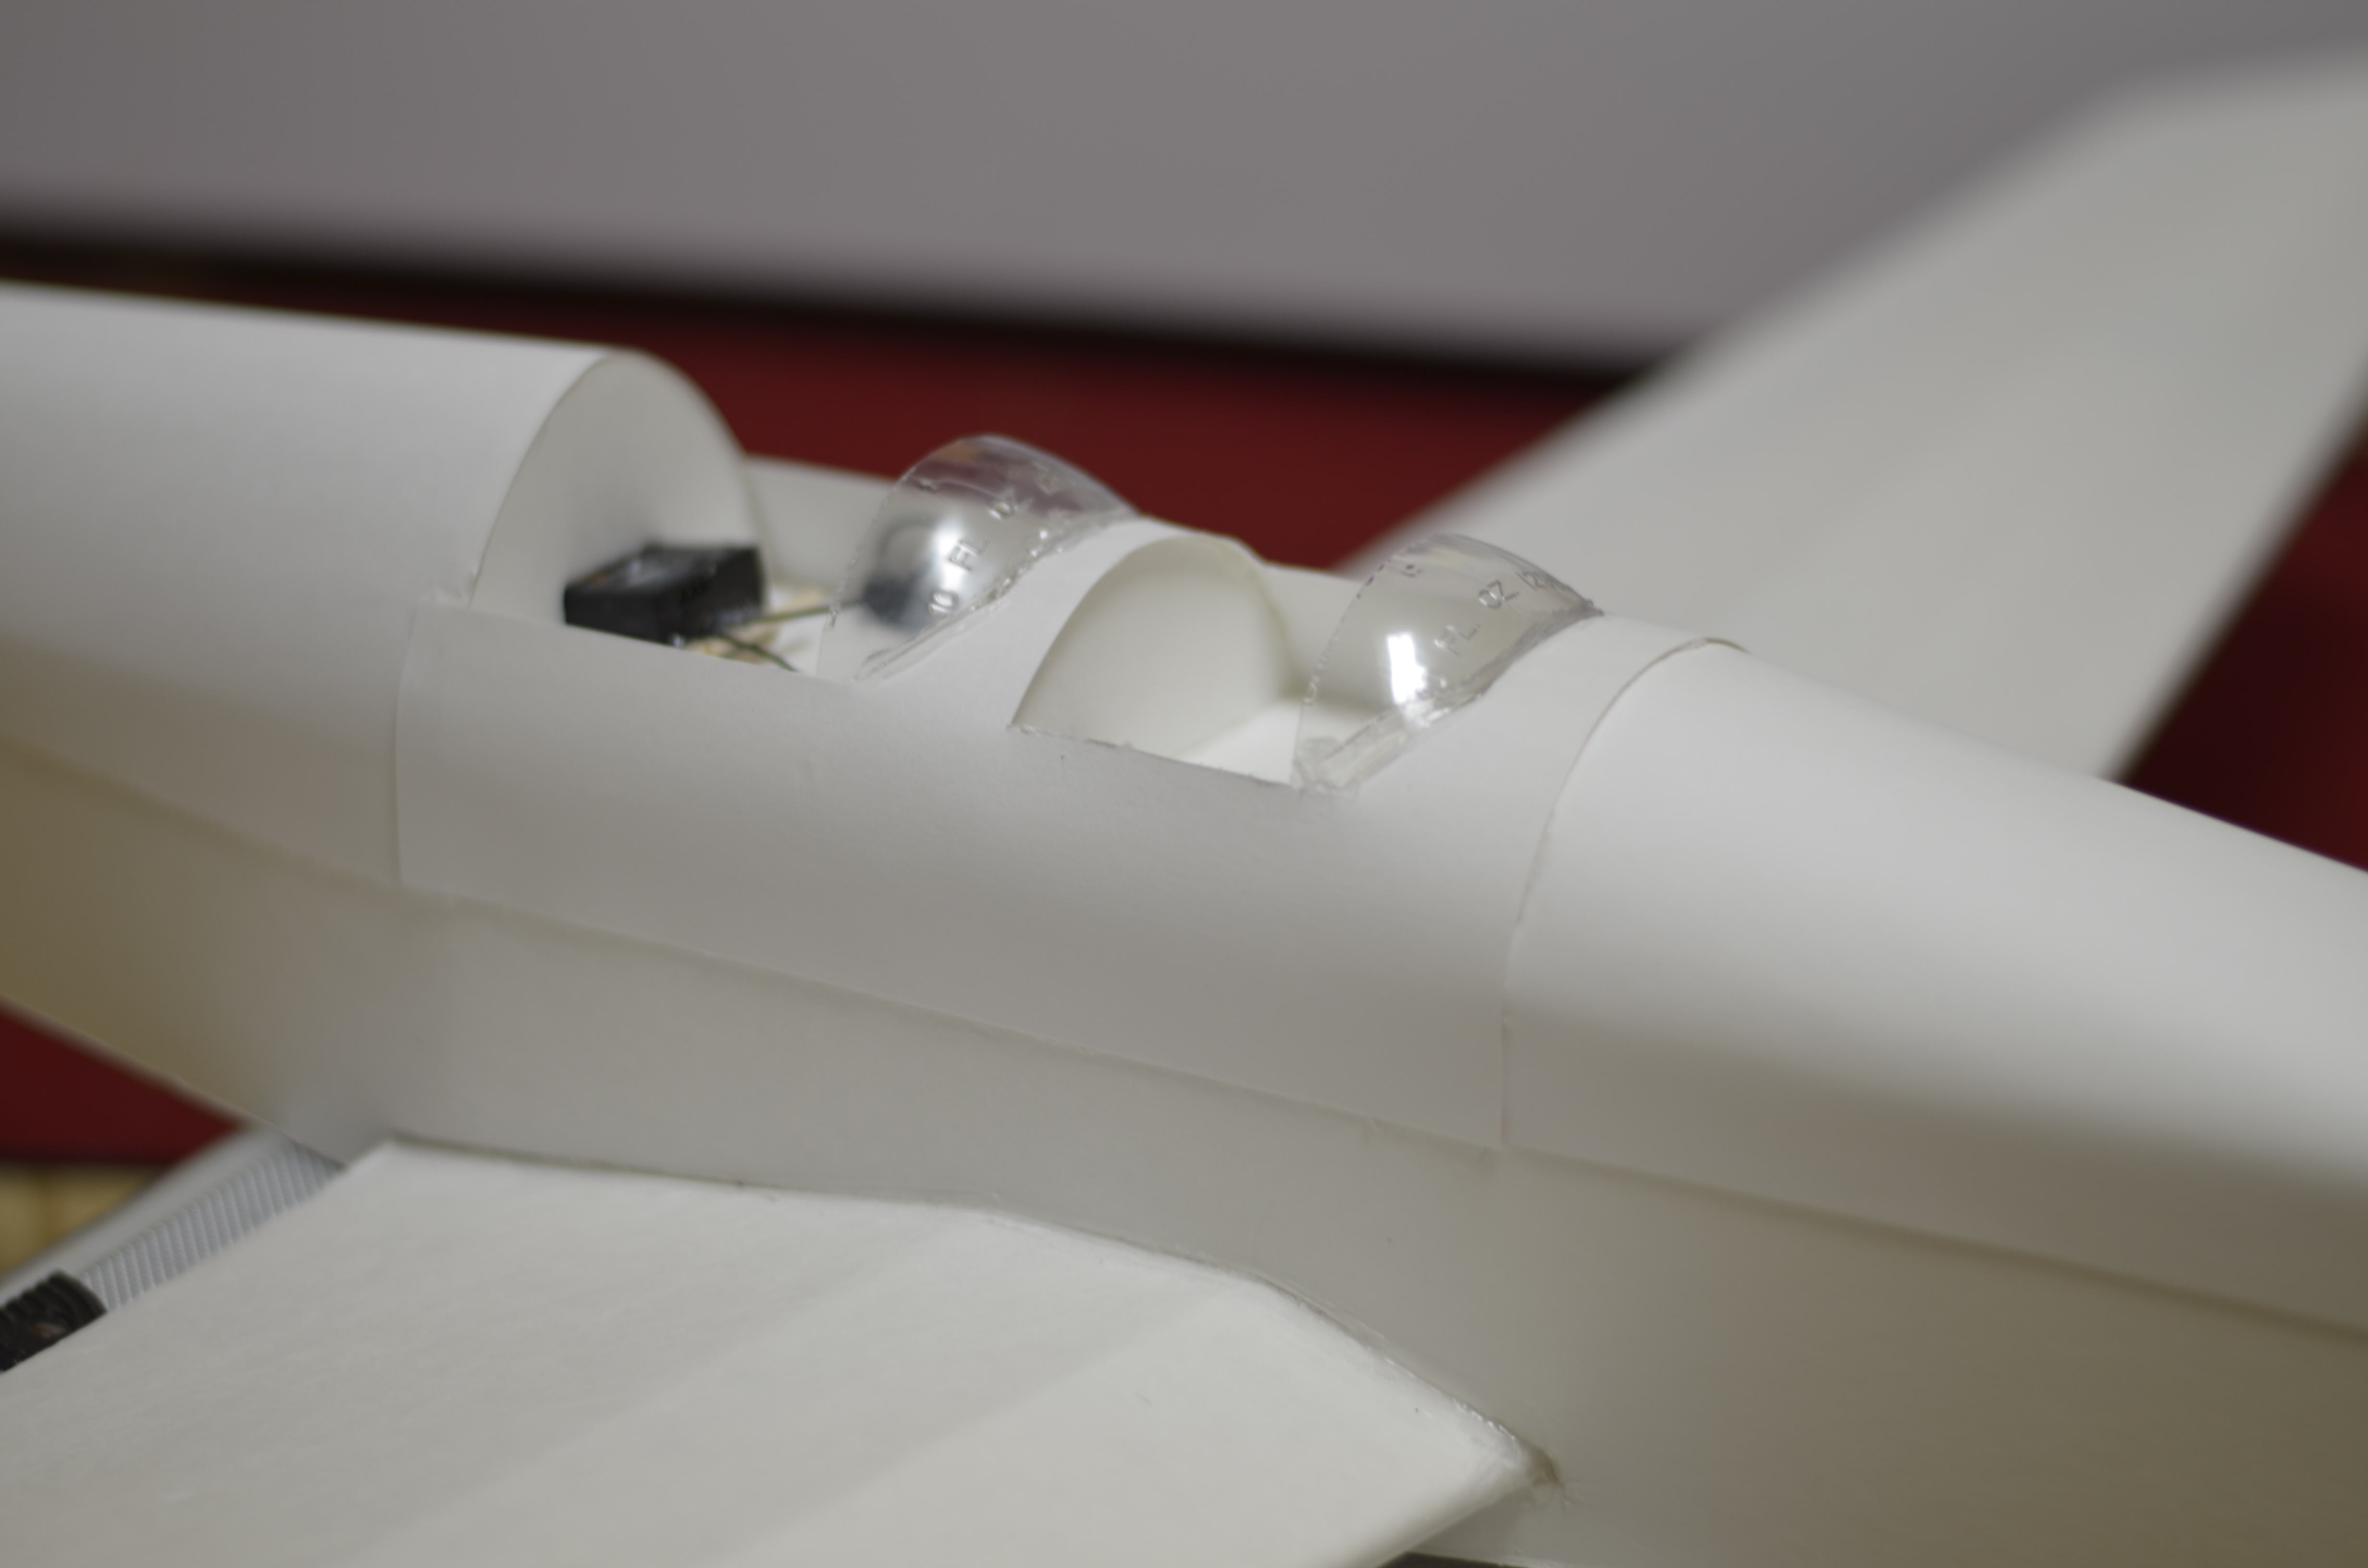
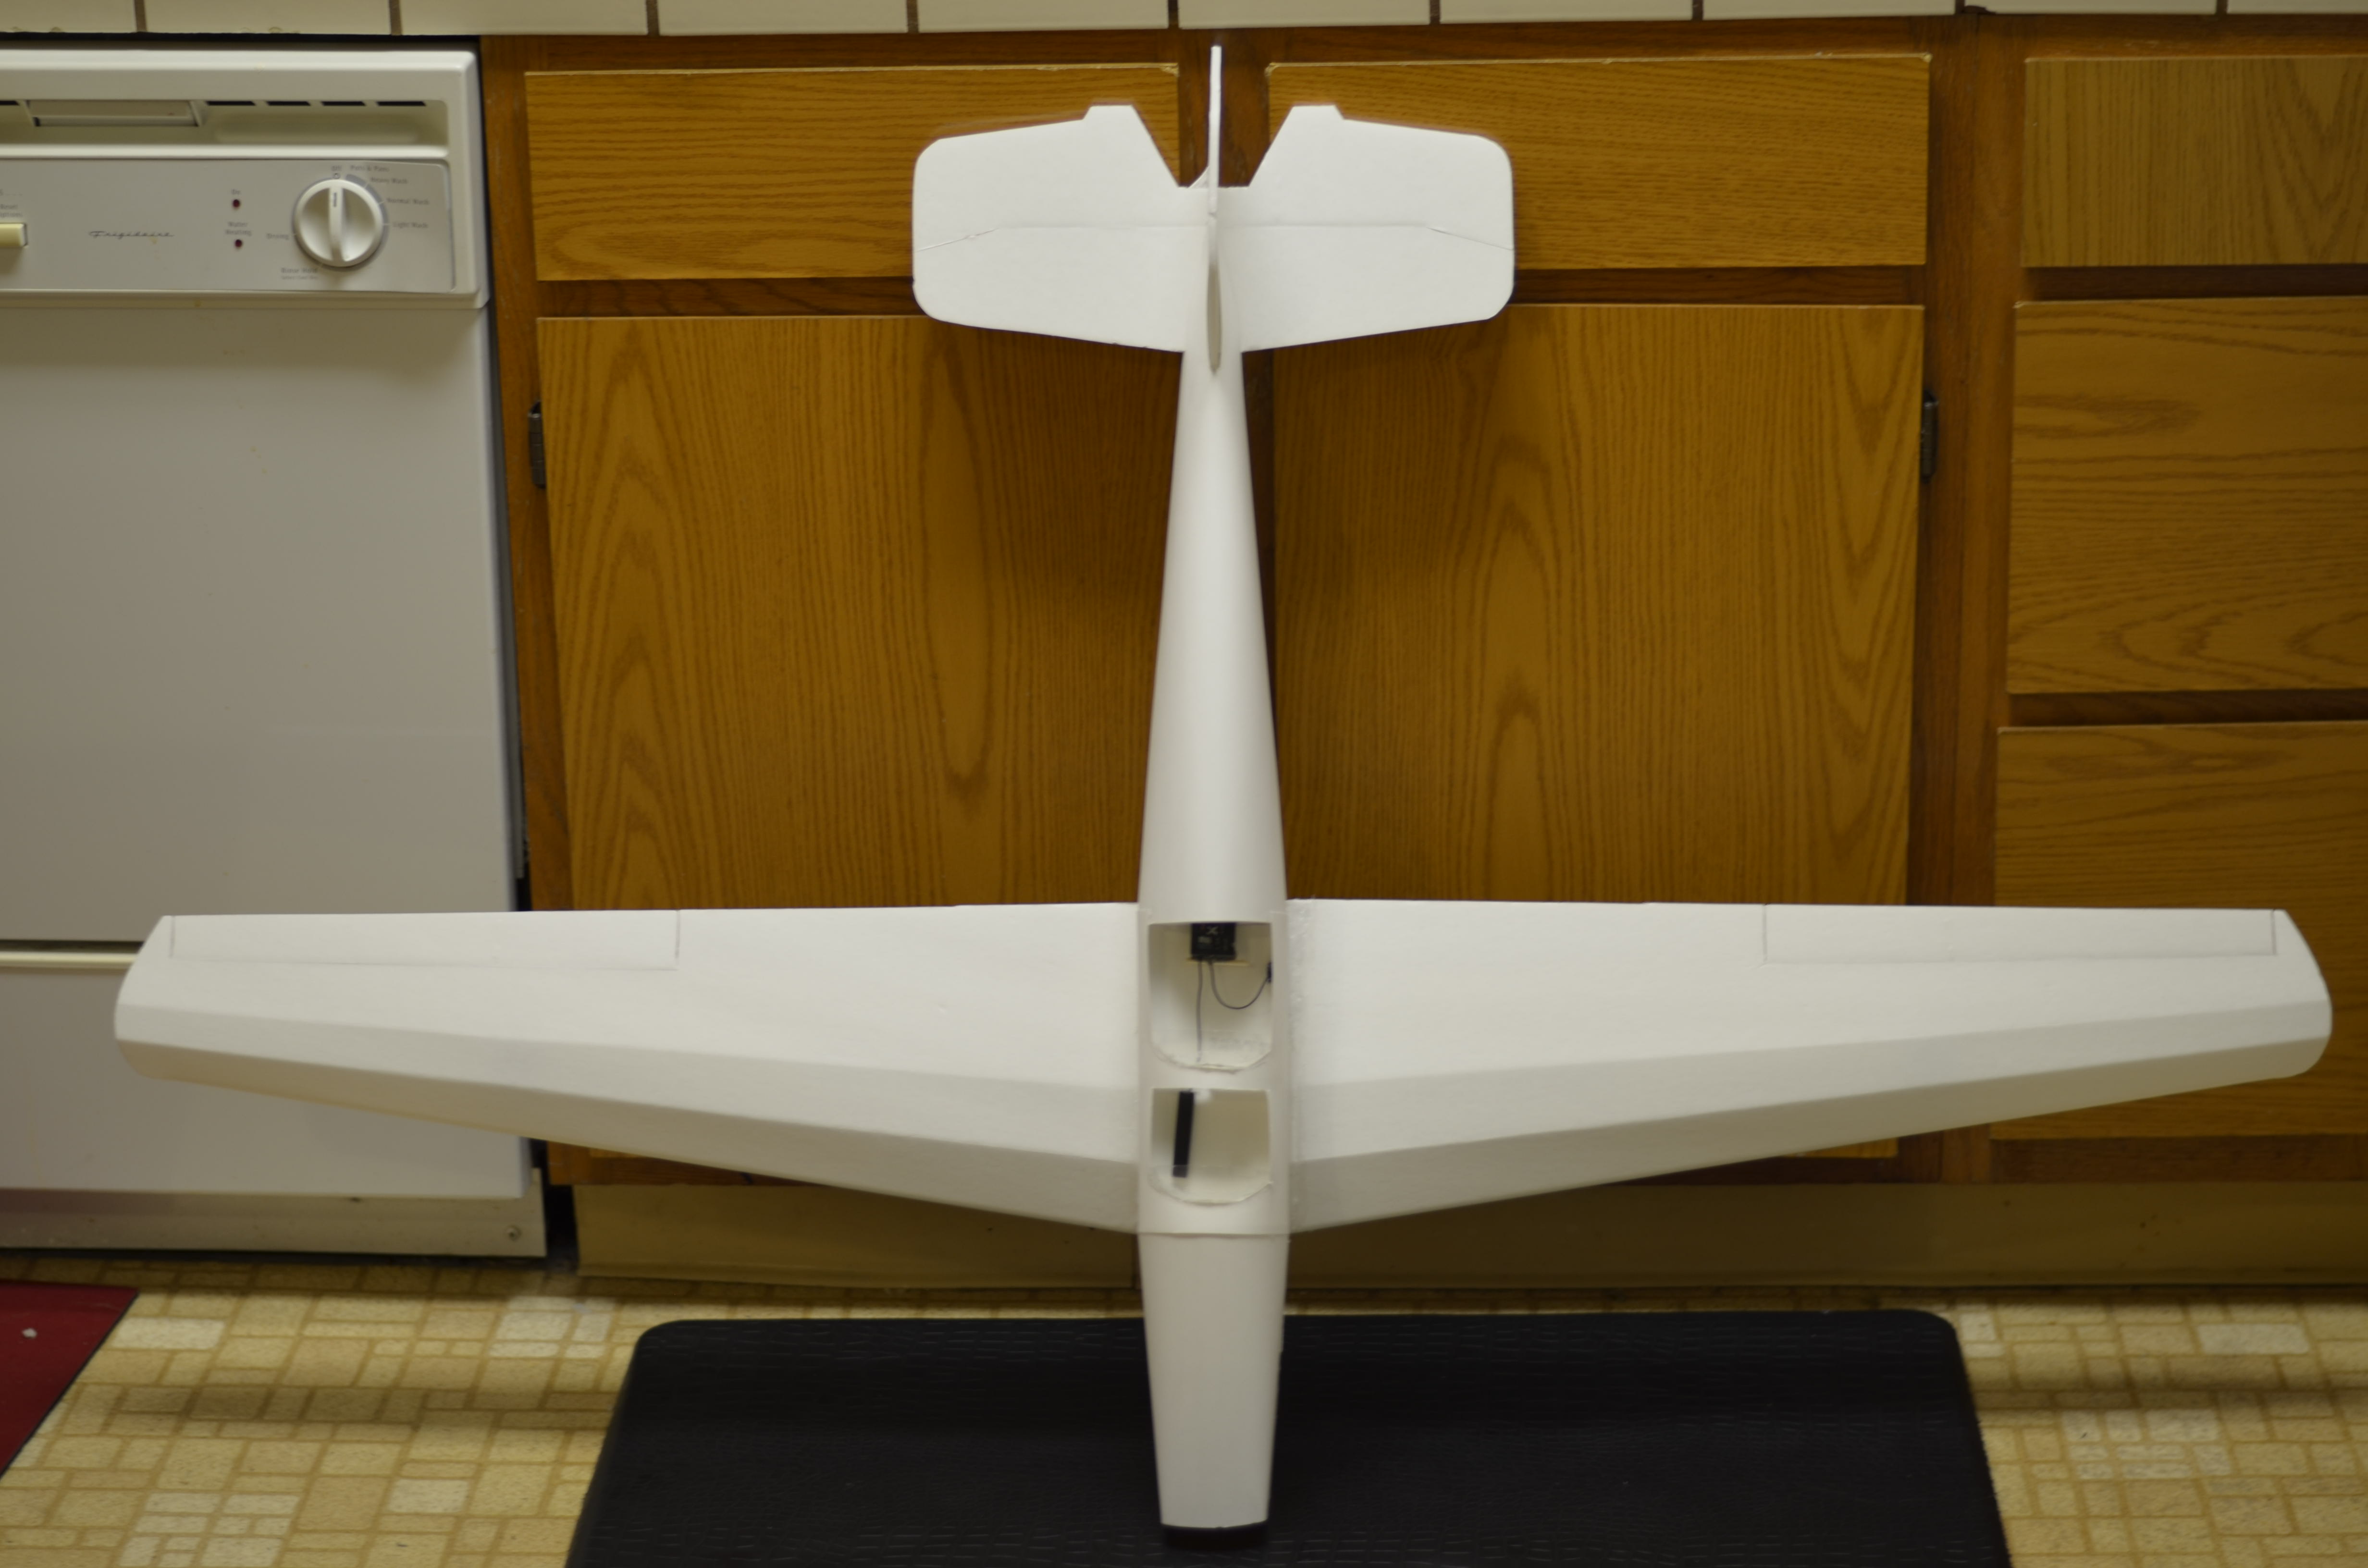
Fully assembled
There is a lot of room in here!
The tail section of the fuse and poster board didn't line/meet up as planned, I'm still brainstorming how to best fix this so everything lays flat. It's hard to tell from this picture but the fuse is too long in the section above the elevator, so the poser board is kinda floating.

She is much larger than I anticipated, it's awesome. I will be taking her out for maiden in the next few days and I plan to teach my wife how to fly on this design. Depending on how the beta flies I might let her learn on this one, otherwise we'll wait for beta 2.
BUILD LOG BETA 2
July 31st 2014
I decided to trash the beta 1 fuse and start on beta 2. I just didn't like the look of the beta 1. I cut the wing out and moved it over to the new fuse.
Beta 2 fuse was drastically redesigned to better capture the scale look of the Bucker Bu.
August 1st 2014
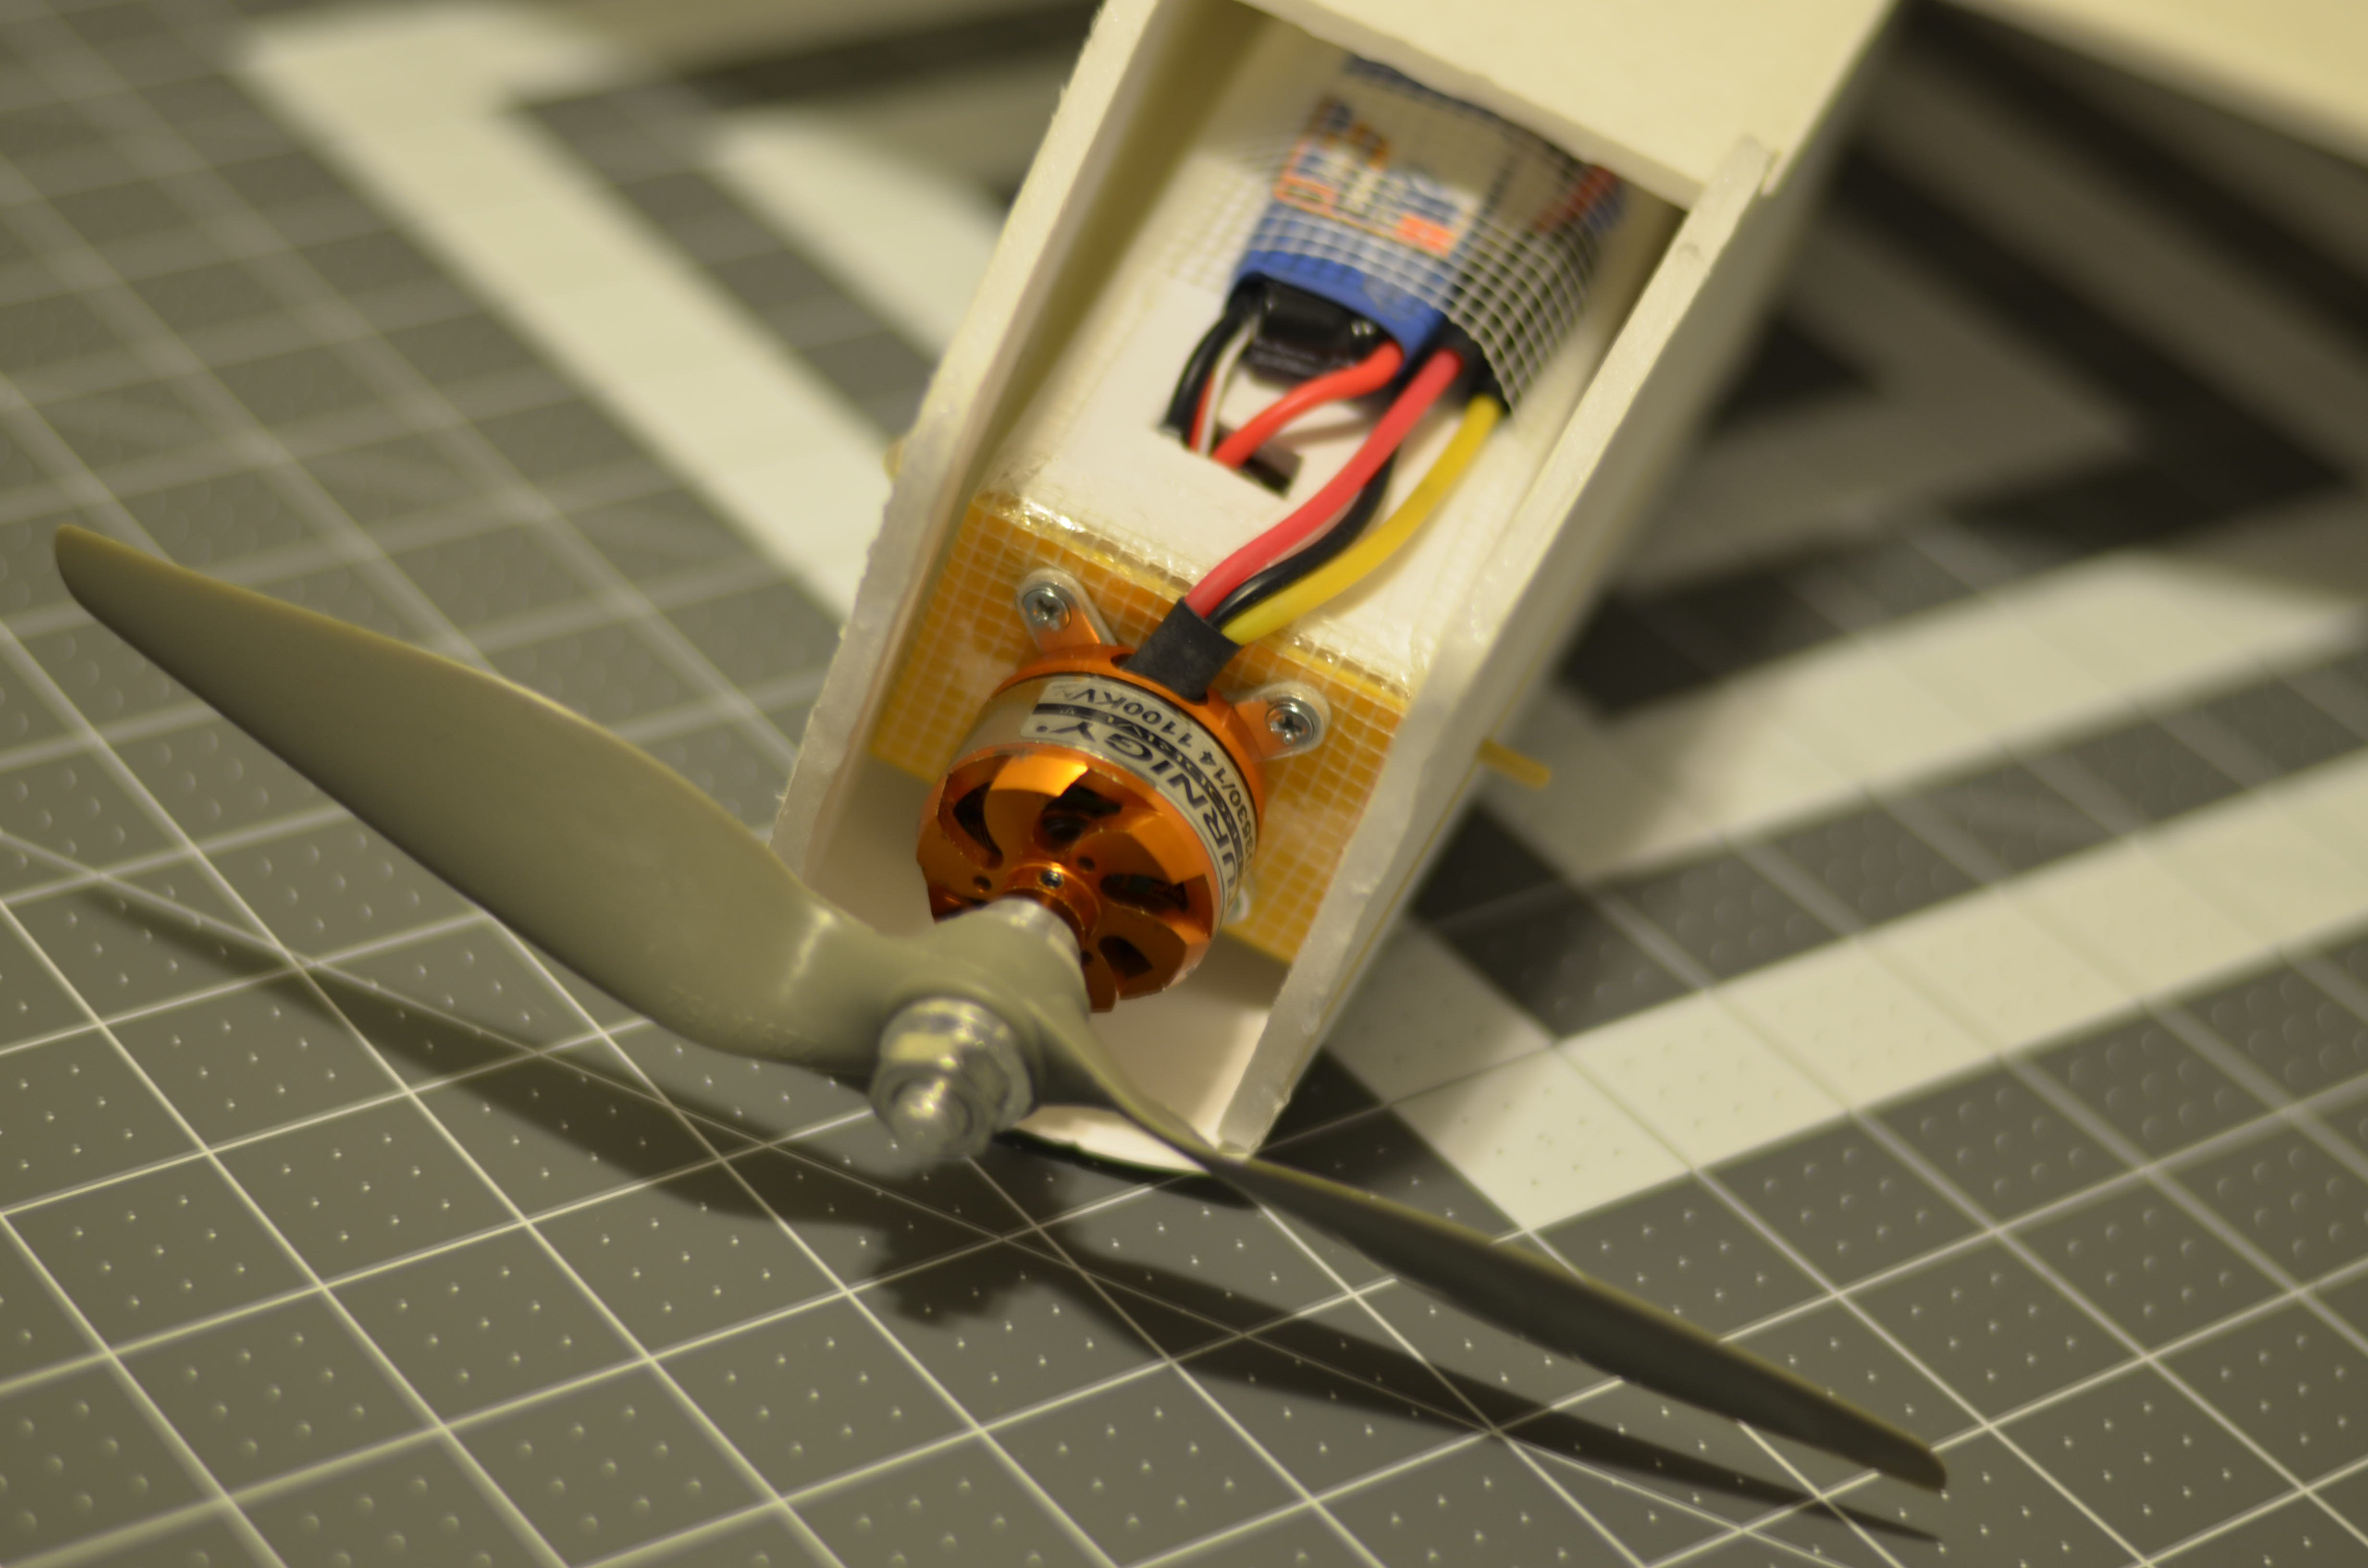
With a 2000mah 3S she balances with the battery right up against the wing if you're mounting under the power pod. I have my battery inside which gives much great flexibility and safety.
Tomorrow morning I will be taking her out for maiden and I will report back on how everything goes!
REVIEW
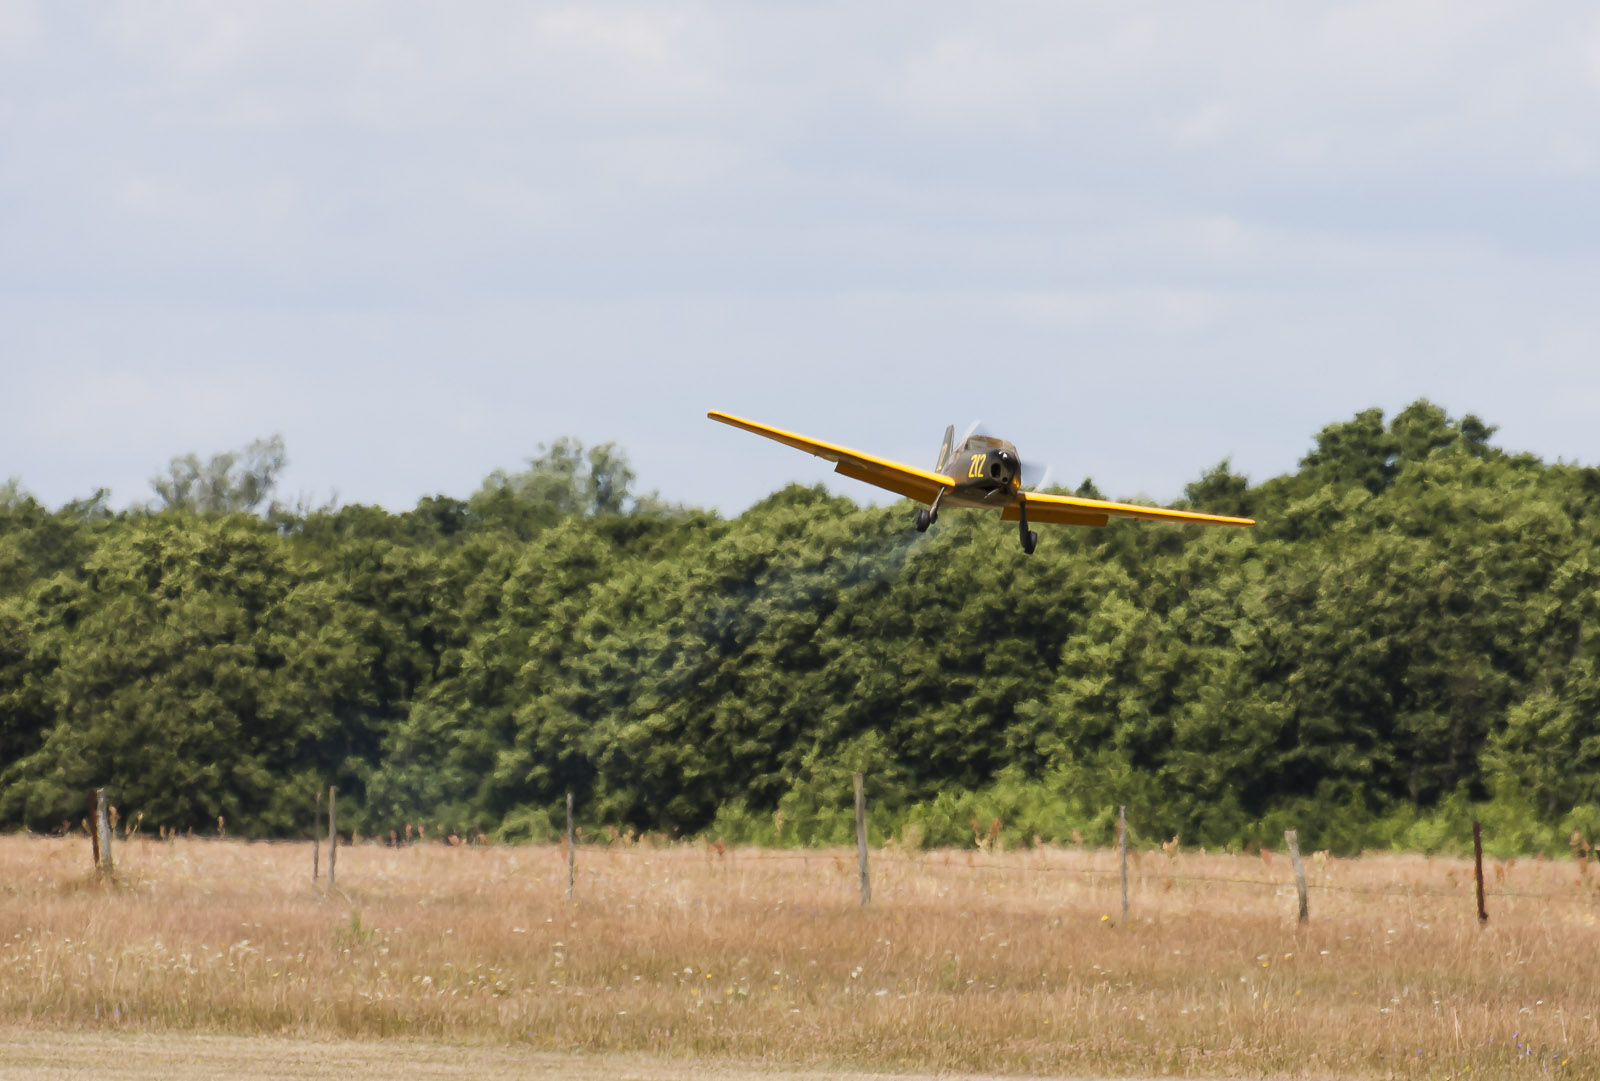
Maiden flight
Beta 3 - August 2nd 2014
Review
Beta 3 - August 2nd 2014
I spoke a little to the flight characteristics in the review video but overall they are really good. I have since put probably about 10 flight hours on the nnBucker and have a few more points I can add. I have outlined a few of the common areas to critique a plane and added my comments below. Let me know if there are any other specific areas you're curious about!
STALLS
There is very little under camber on the wing tips so I was a little worried about tip stalls at slow speed. However, the large wingspan really takes it home here.
-If I fly straight and flat and just chop the throttle and slowly give full elevator she will slow down and then just start to sink, never dropping a tip. Even as she is falling nearly straight belly down, there is still full aileron control and just a little throttle is all that's needed to pull out.
-Flying straight up and then killing throttle and letting all controls go neutral she will freeze in place at the moment of stall and then nose dive straight down, slightly leveling off as she gains speed.
-Slow speed turns she'll want to start to drop her nose a bit but it's very graceful and a little up elevator keeps everything true.
WIND
I fly in 5-10mph winds everyday and am very comfortable in gusts and otherwise bad flying weather. The greatest strength winds I have flown my nnBucker in is 15mph. I was able to completely let off throttle and hover in place with no issues. As the wind fluctuated she would slowly drop altitude but I always had full aileron control.
Sharp banked turns in the wind are fun but she gets pushed around a bit when you expose that much surface to the wind.
LAUNCHING/LANDING
With a small amount of wind and about 1/4 throttle I can just let go and she will lift out of my hands and scoot on, so launching is a breeze.
I have very little dihedral in my wings so belly landing 53in is a tad hard. I've come in just slightly crooked a few times and caught a wing tip and spun around a bit. I would recommend adding a smidge more dihedral than I did to avoid this.
ACROBATICS
Overall I'd say it the nnBucker is a solid B for acrobatics. The large wingspan looks great in rolls and with about 75% throttle and increased rudder throws she will knife edge like no ones business. Loops are decent. Inverted requires full elevator and a good amount of speed or else she will not stay level but she's really stable upside down.
GLIDE SLOPE
For the wingspan I was hoping for better. She glides well, and if you keep her weight down that helps a lot too, but gliding isn't amazing. She will retain speed pretty good if you chop throttle and keep her level but as she loses speed she'll start to sink and doesn't feel 'floating.'
SLOW SPEED PERFORMANCE
I like how she flies slow if you stick to using the rudder. At slow speeds if you tip more than 30 degrees or so with the ailerons you'll start to drop altitude but if you keep her relatively flat and uses mostly rudder, she'll hum along nice and slow.
Thanks for checking out the nnBucker Bu 180! If you built a nnBucker and enjoyed it please consider donating a few bucks so I can buy more supplies to make more planes.

Last edited:

.JPG")


")
