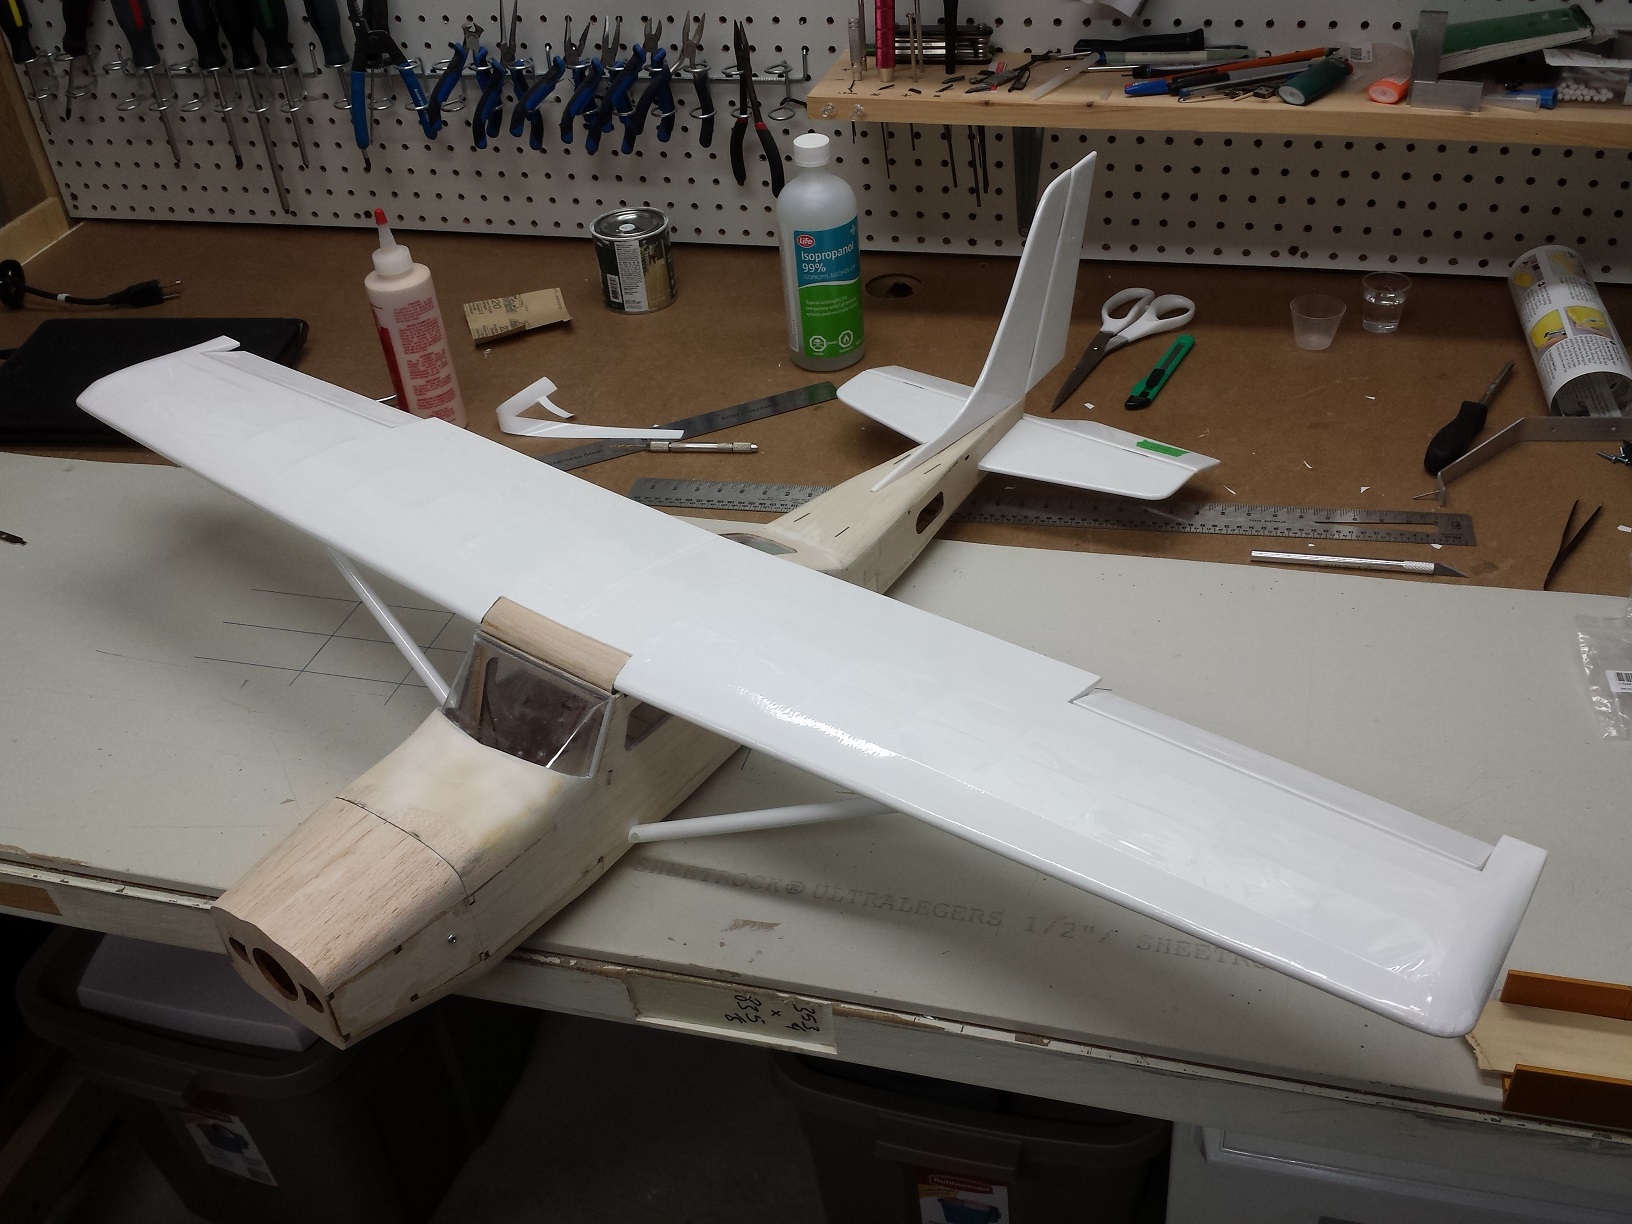
Cessna 182 Balsa Build

artw

Member
update

here is an update, I am almost finished with covering and then it is on to pushrods/electronics.
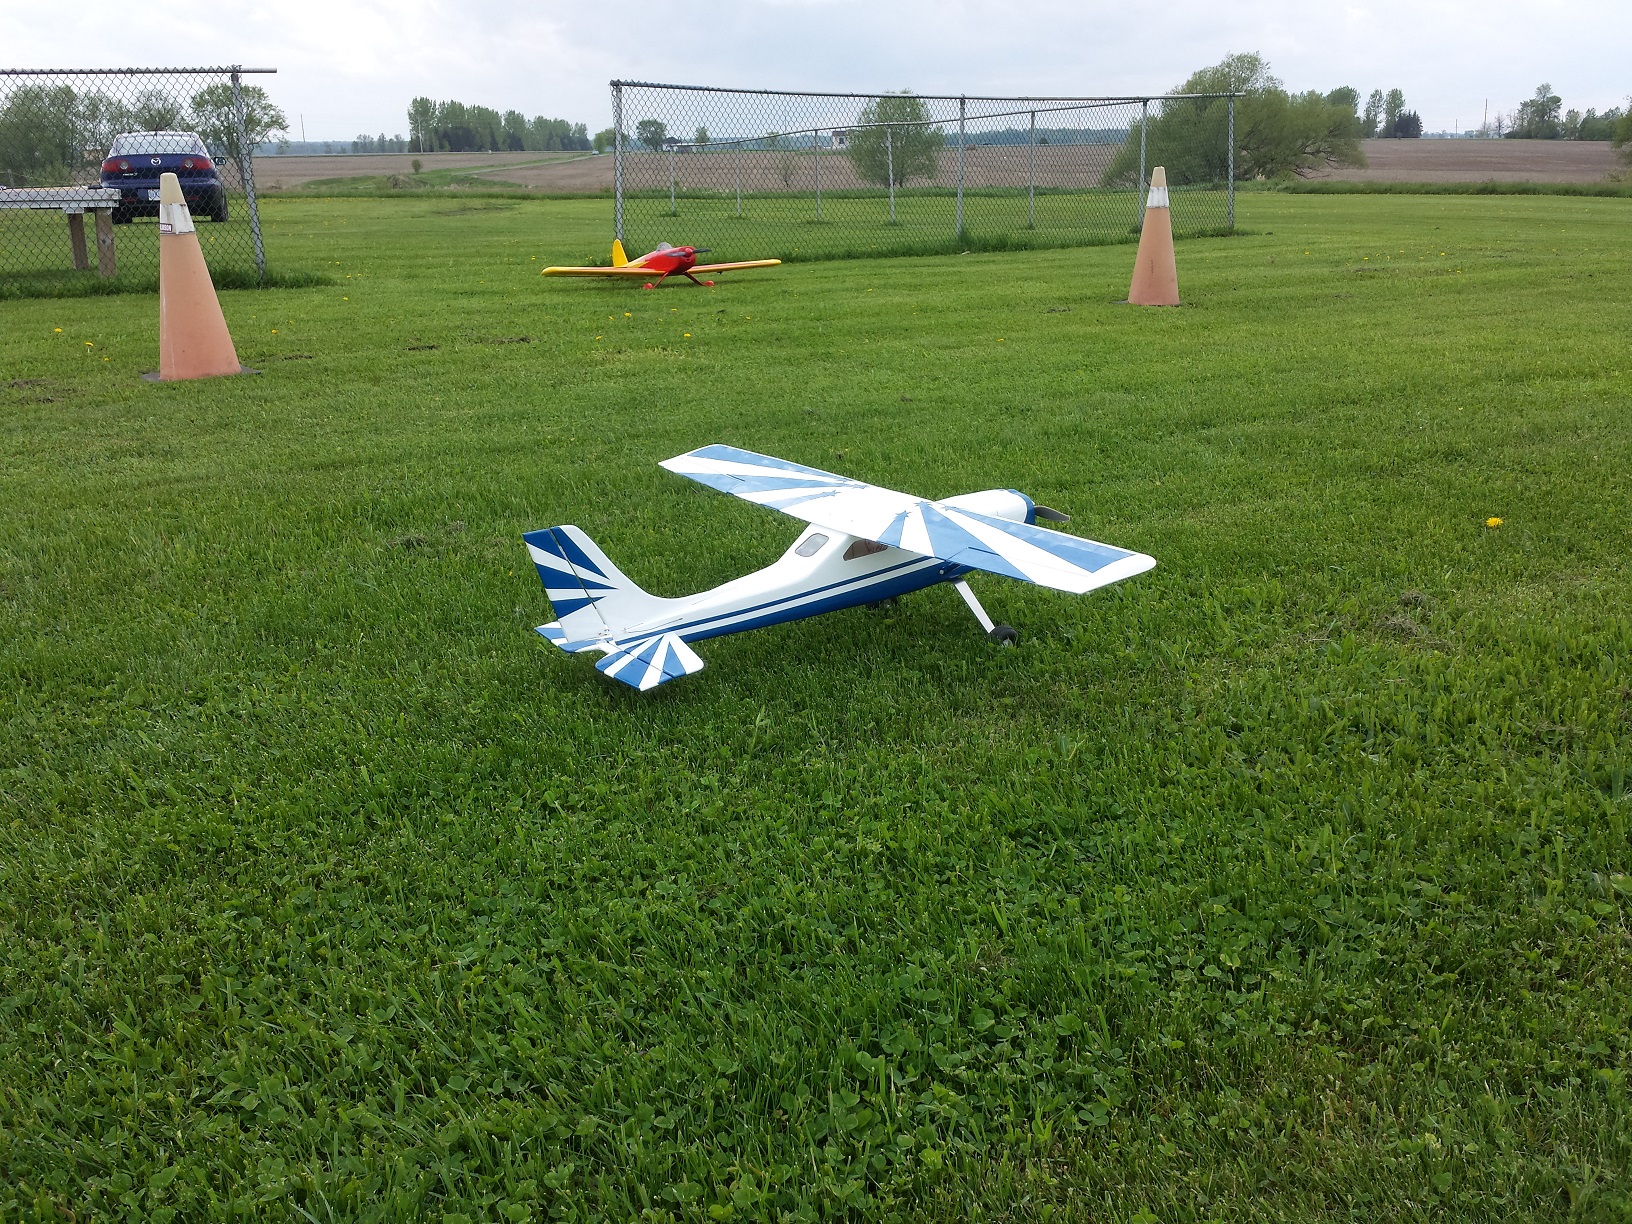
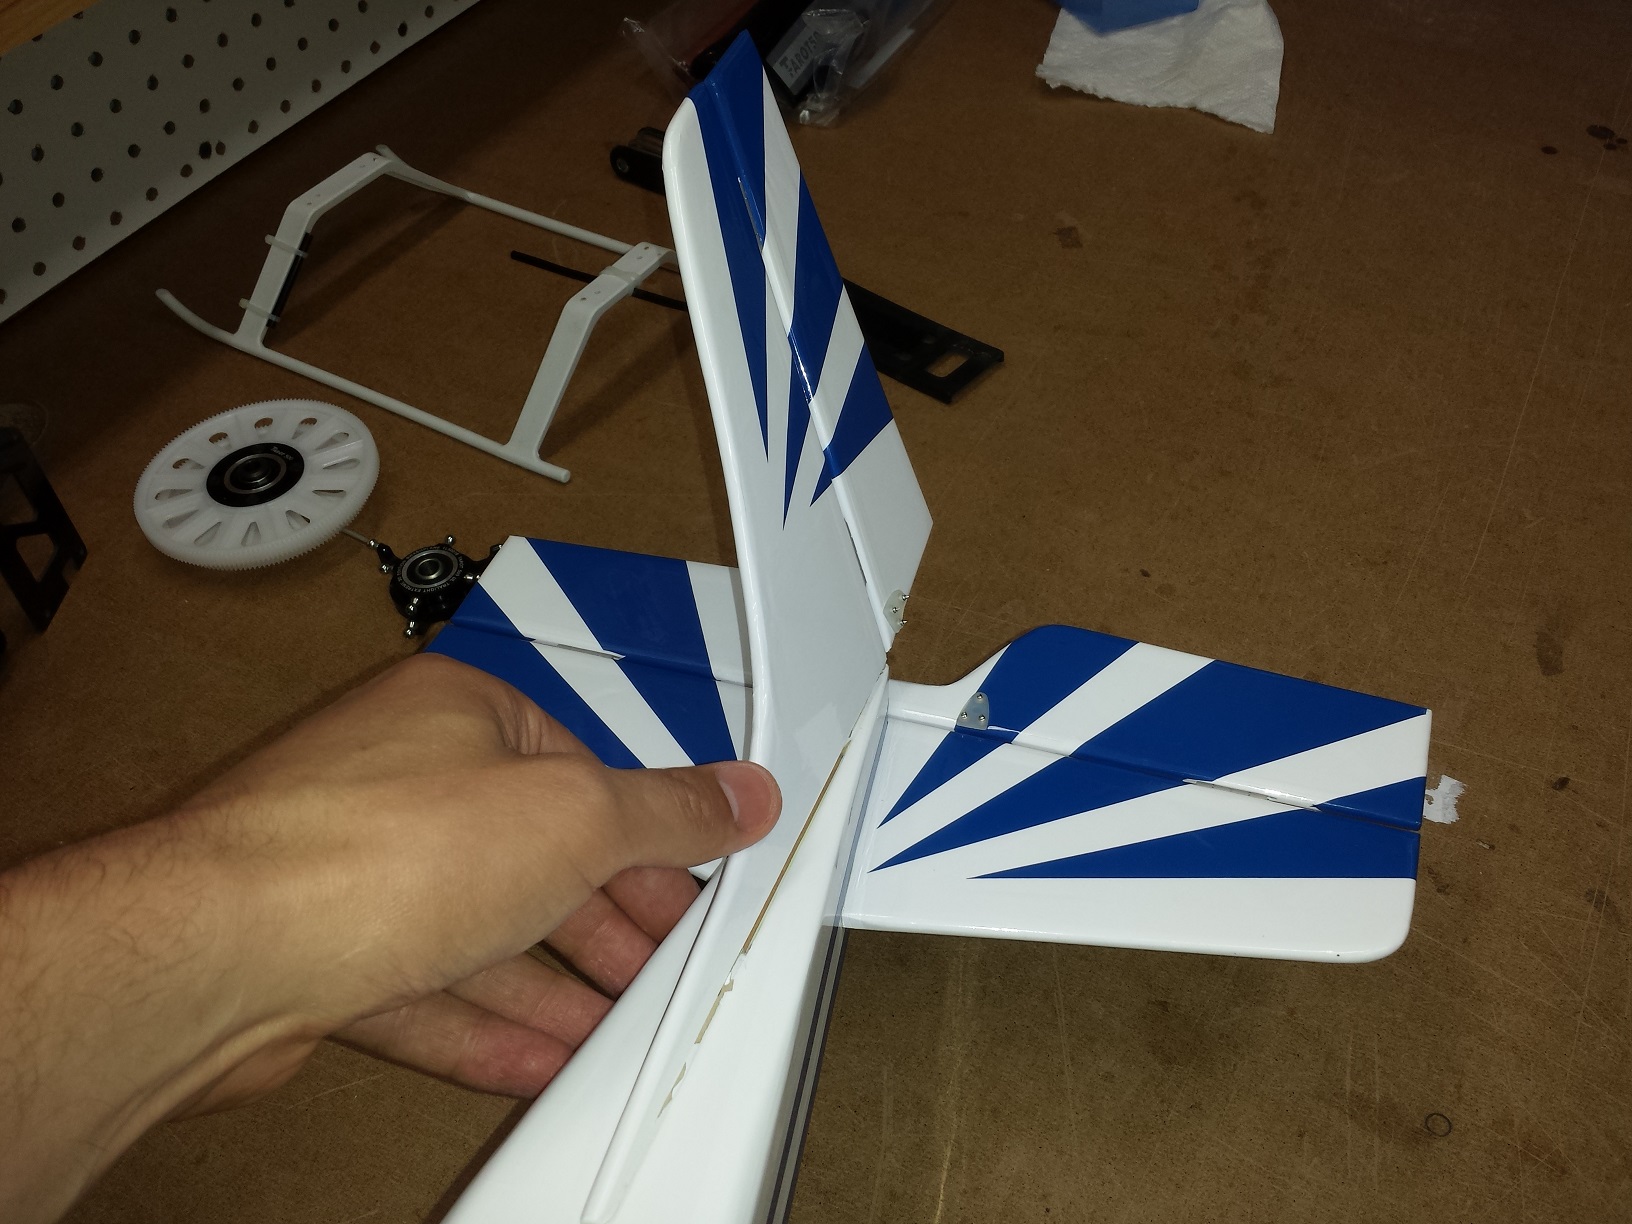
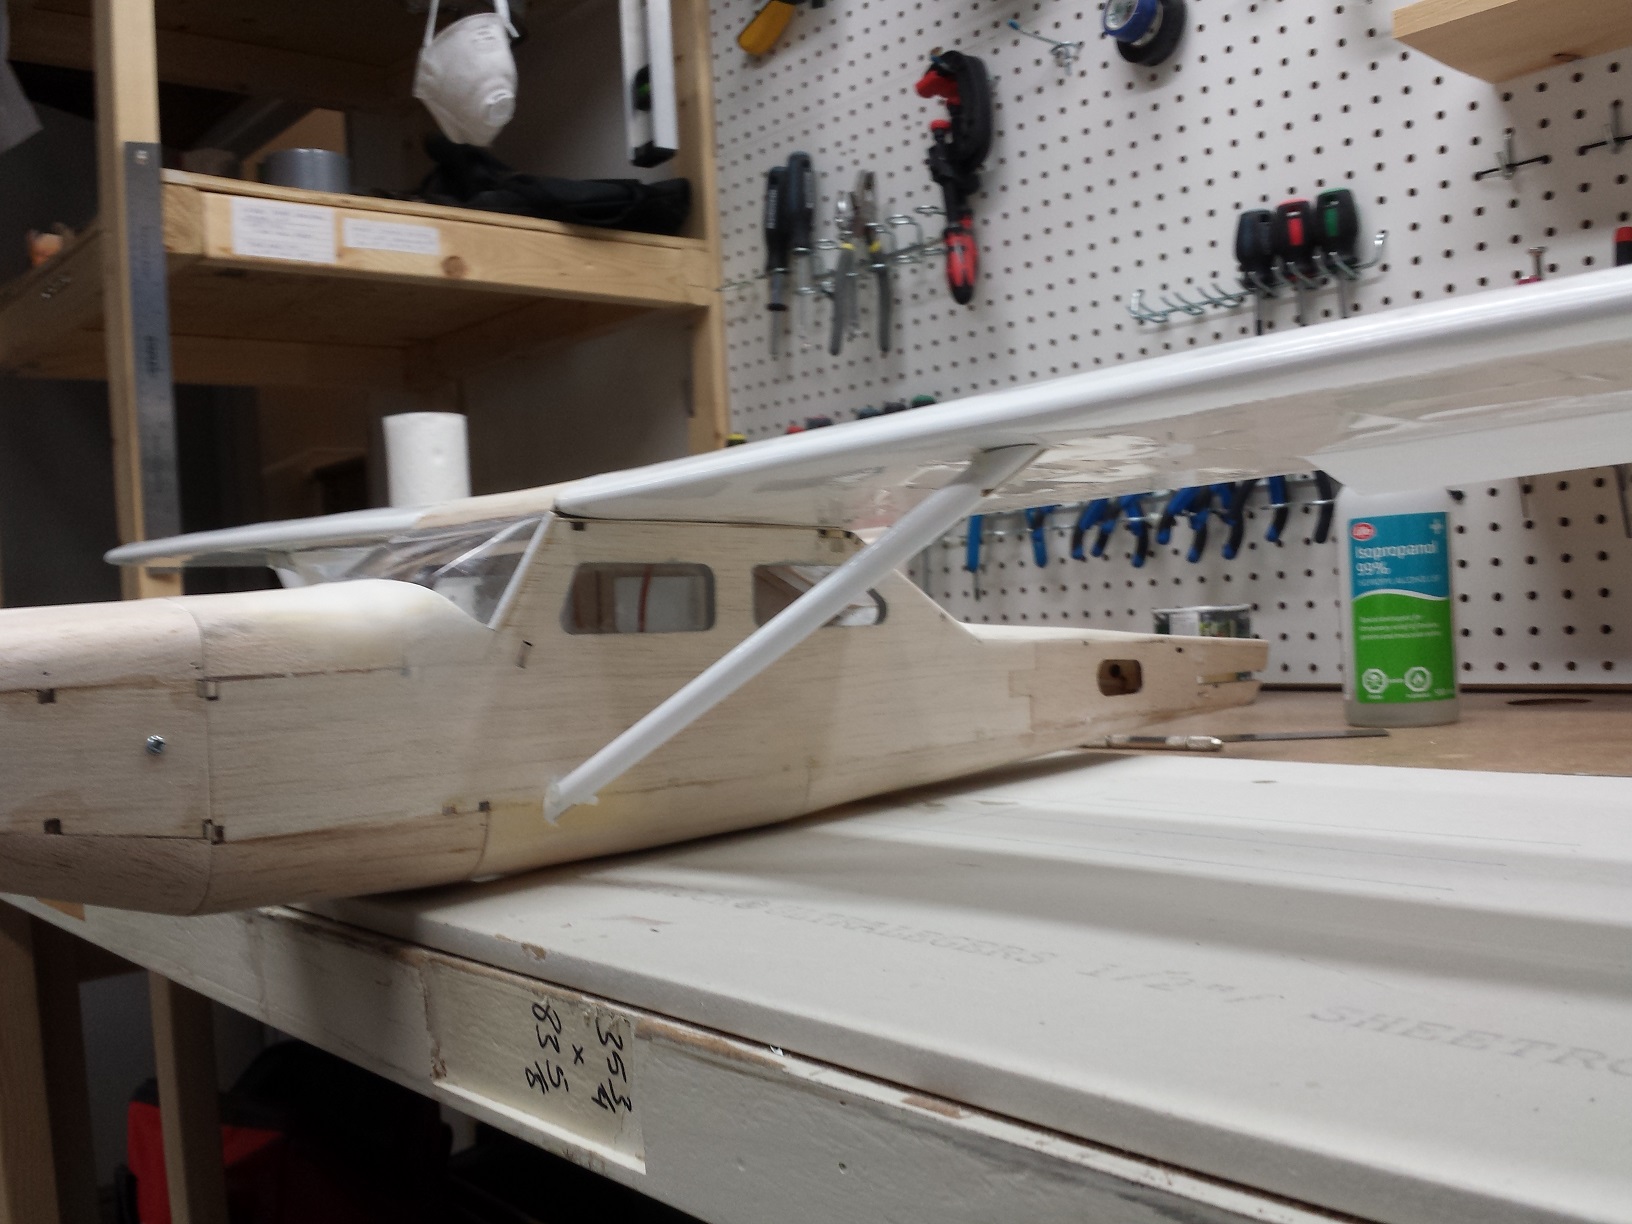
I decided to do the wing struts as well.
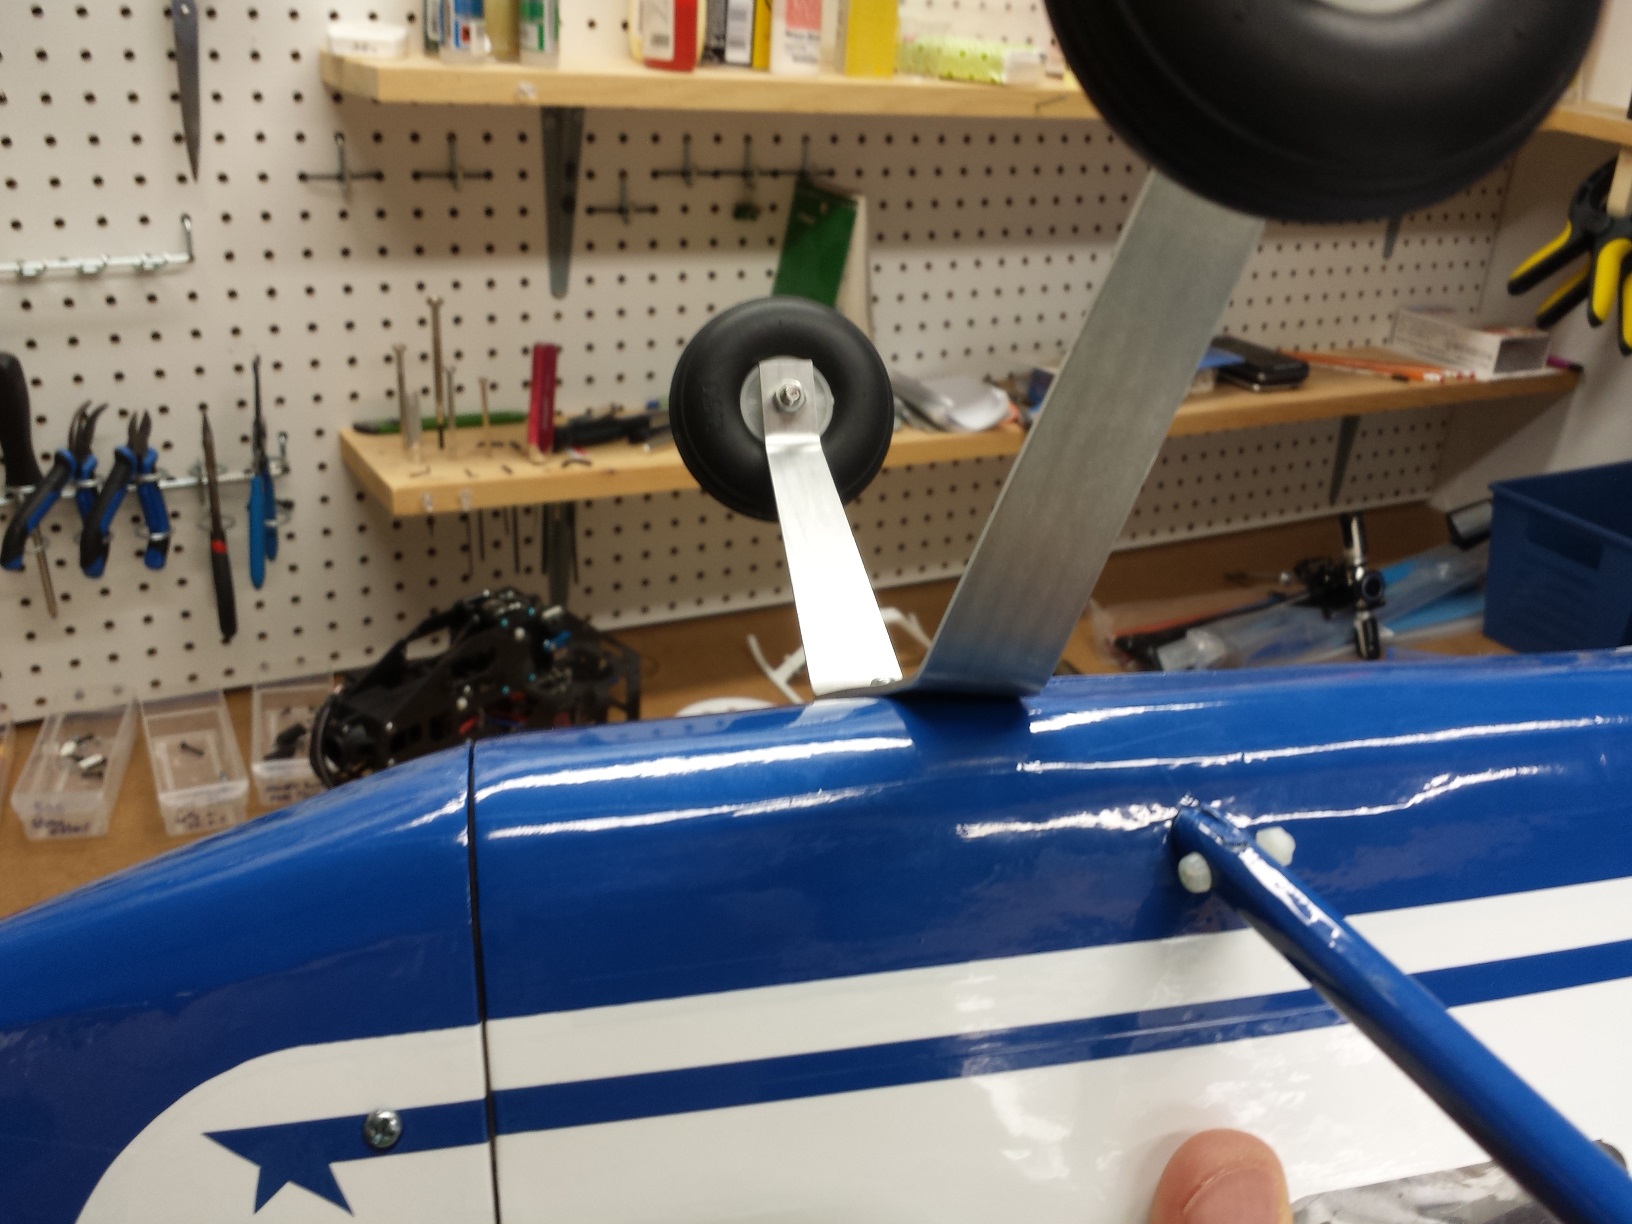
here is the lite ply brace I installed between the 2 ribs inboard of the ailerons. they are angled such a way so the struts end up at the fuselage just ahead of the door pillar.

xudtfr4.jpg


oeCIuuk.jpg


it is a 3/8" hardwood dowel covered with monokote.

dnE37Hq.jpg


8aWLH3q.jpg


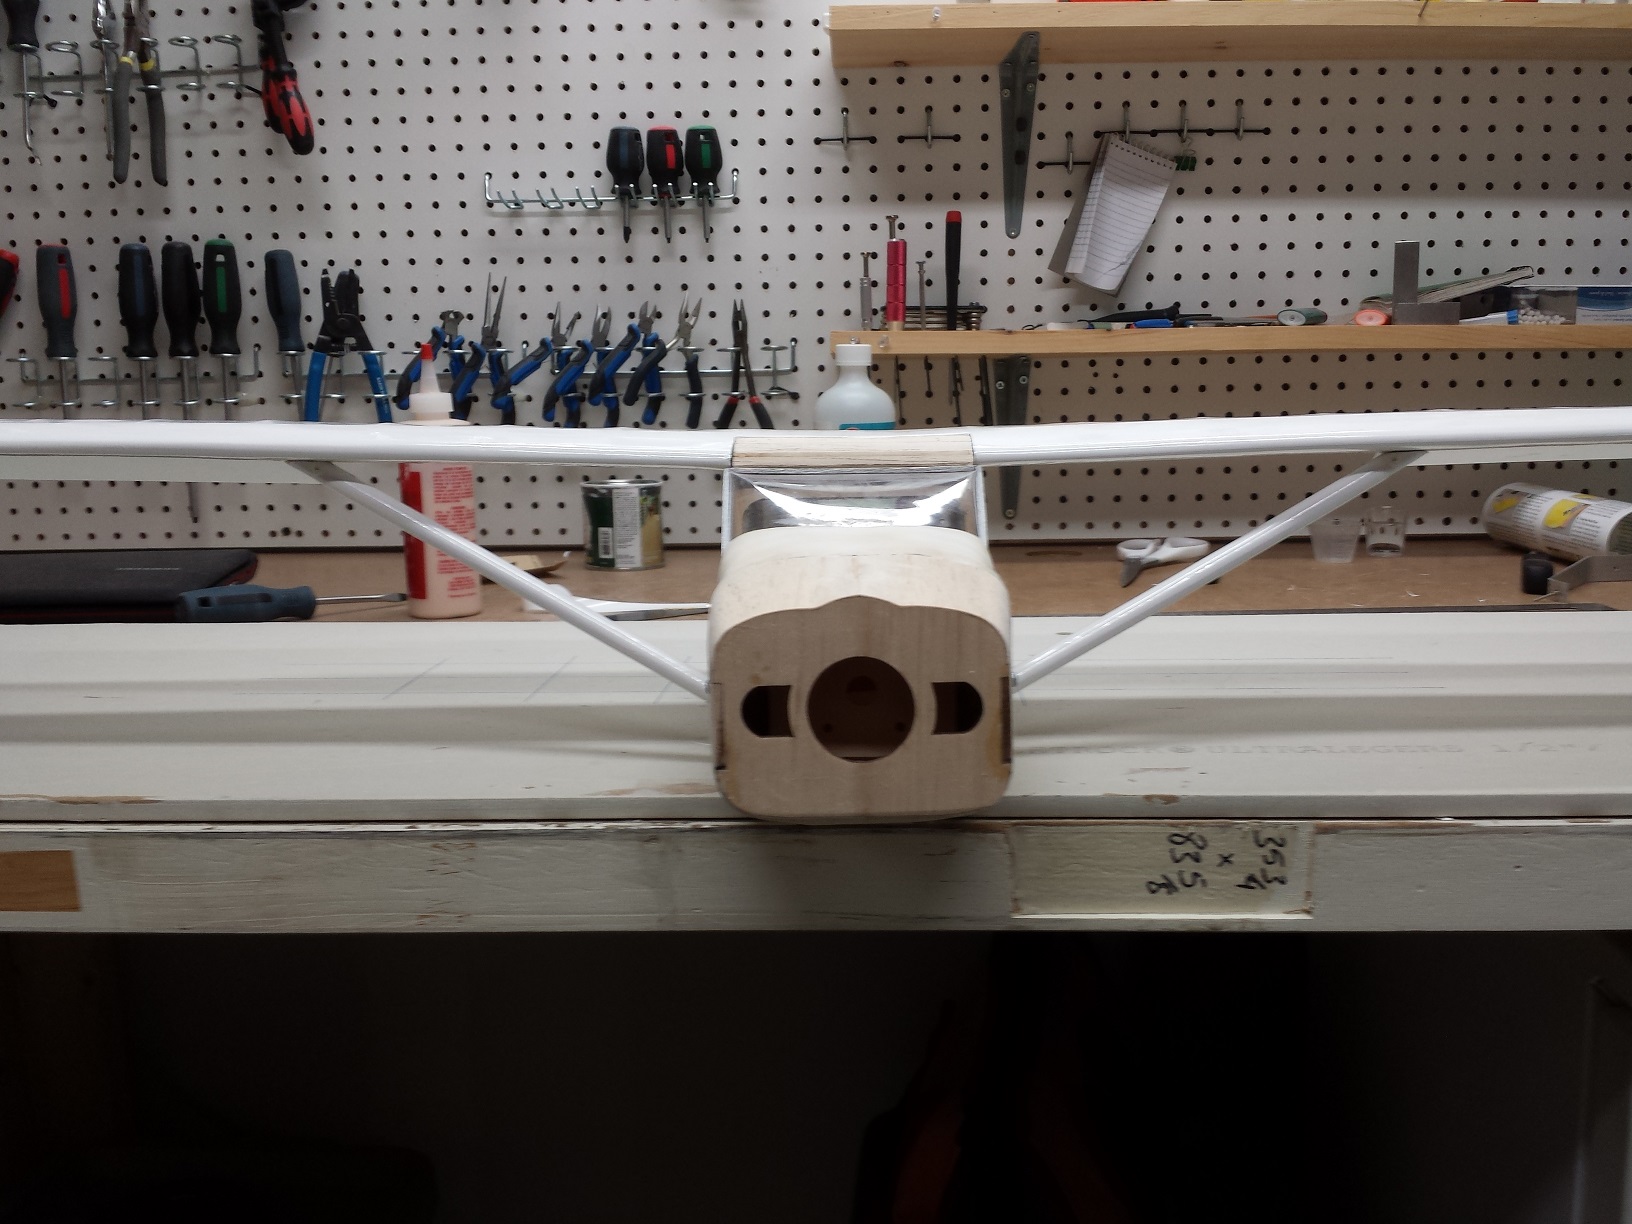
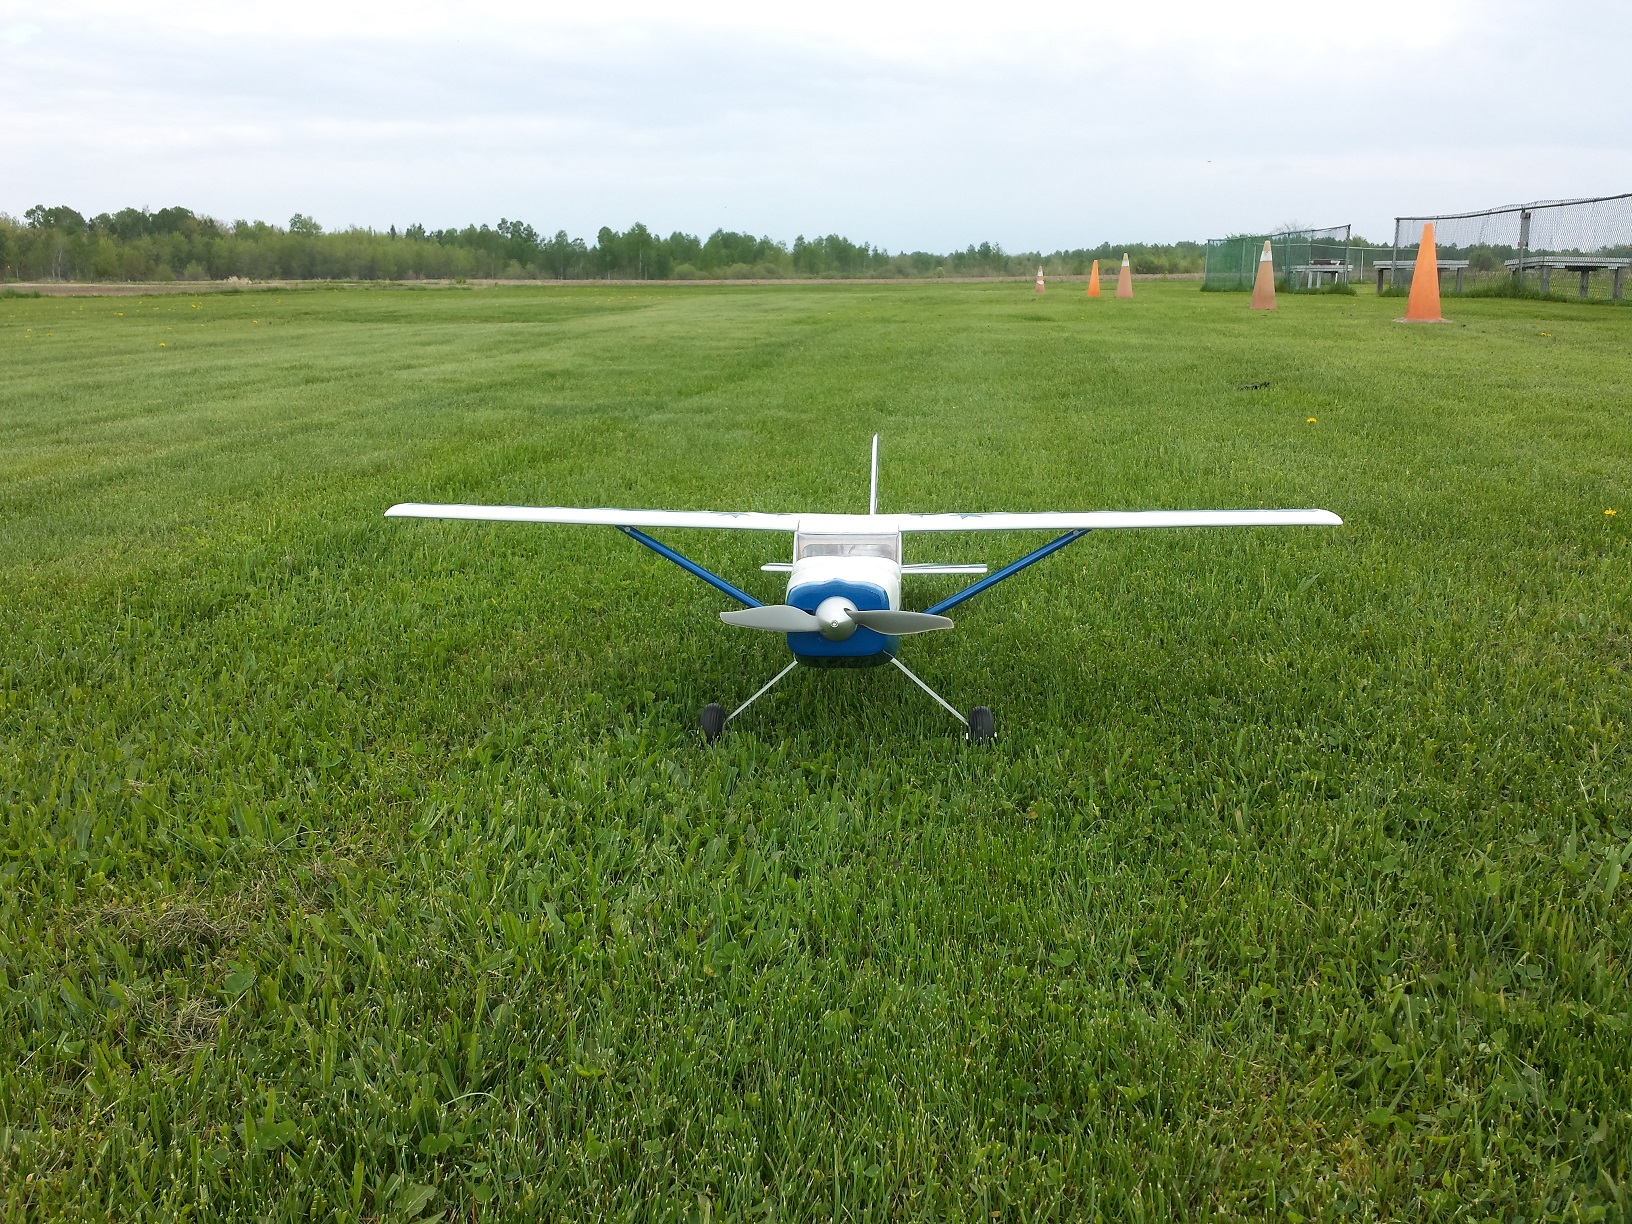
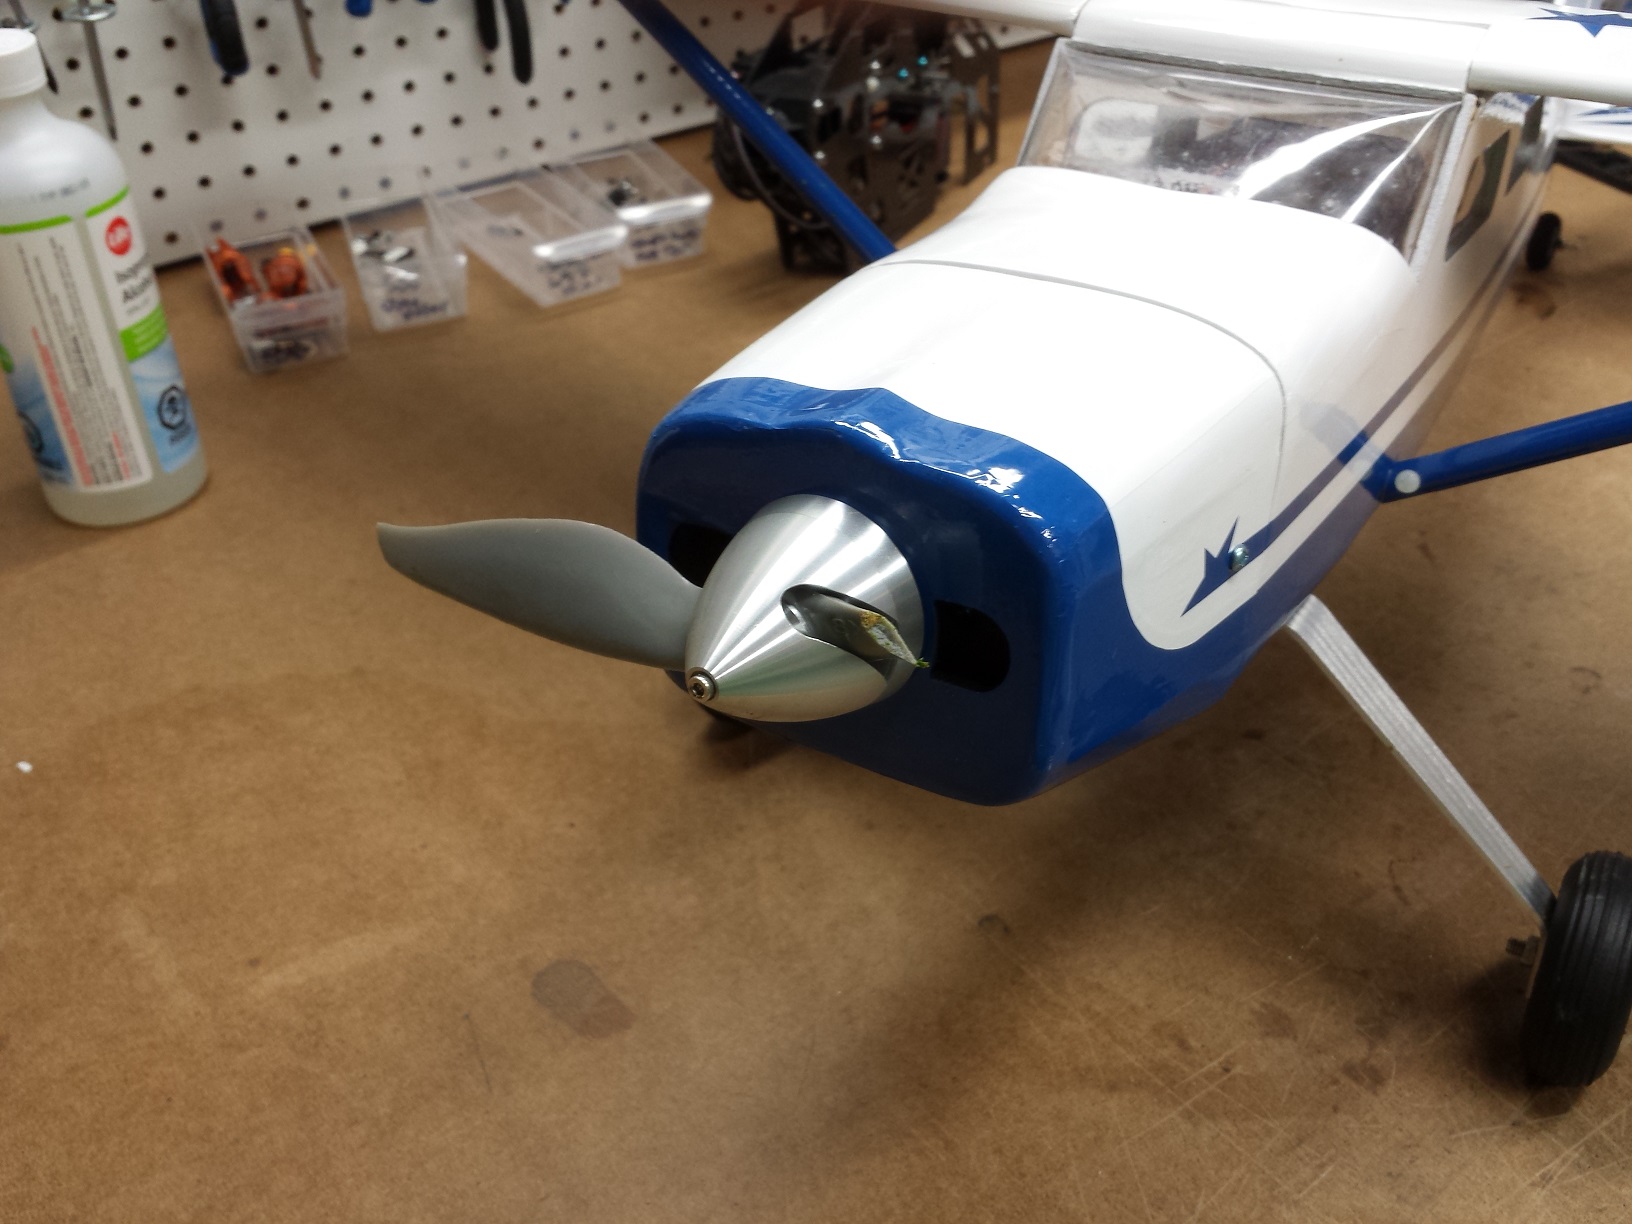
it is starting to look like an airplane!

eZVqVh1.jpg


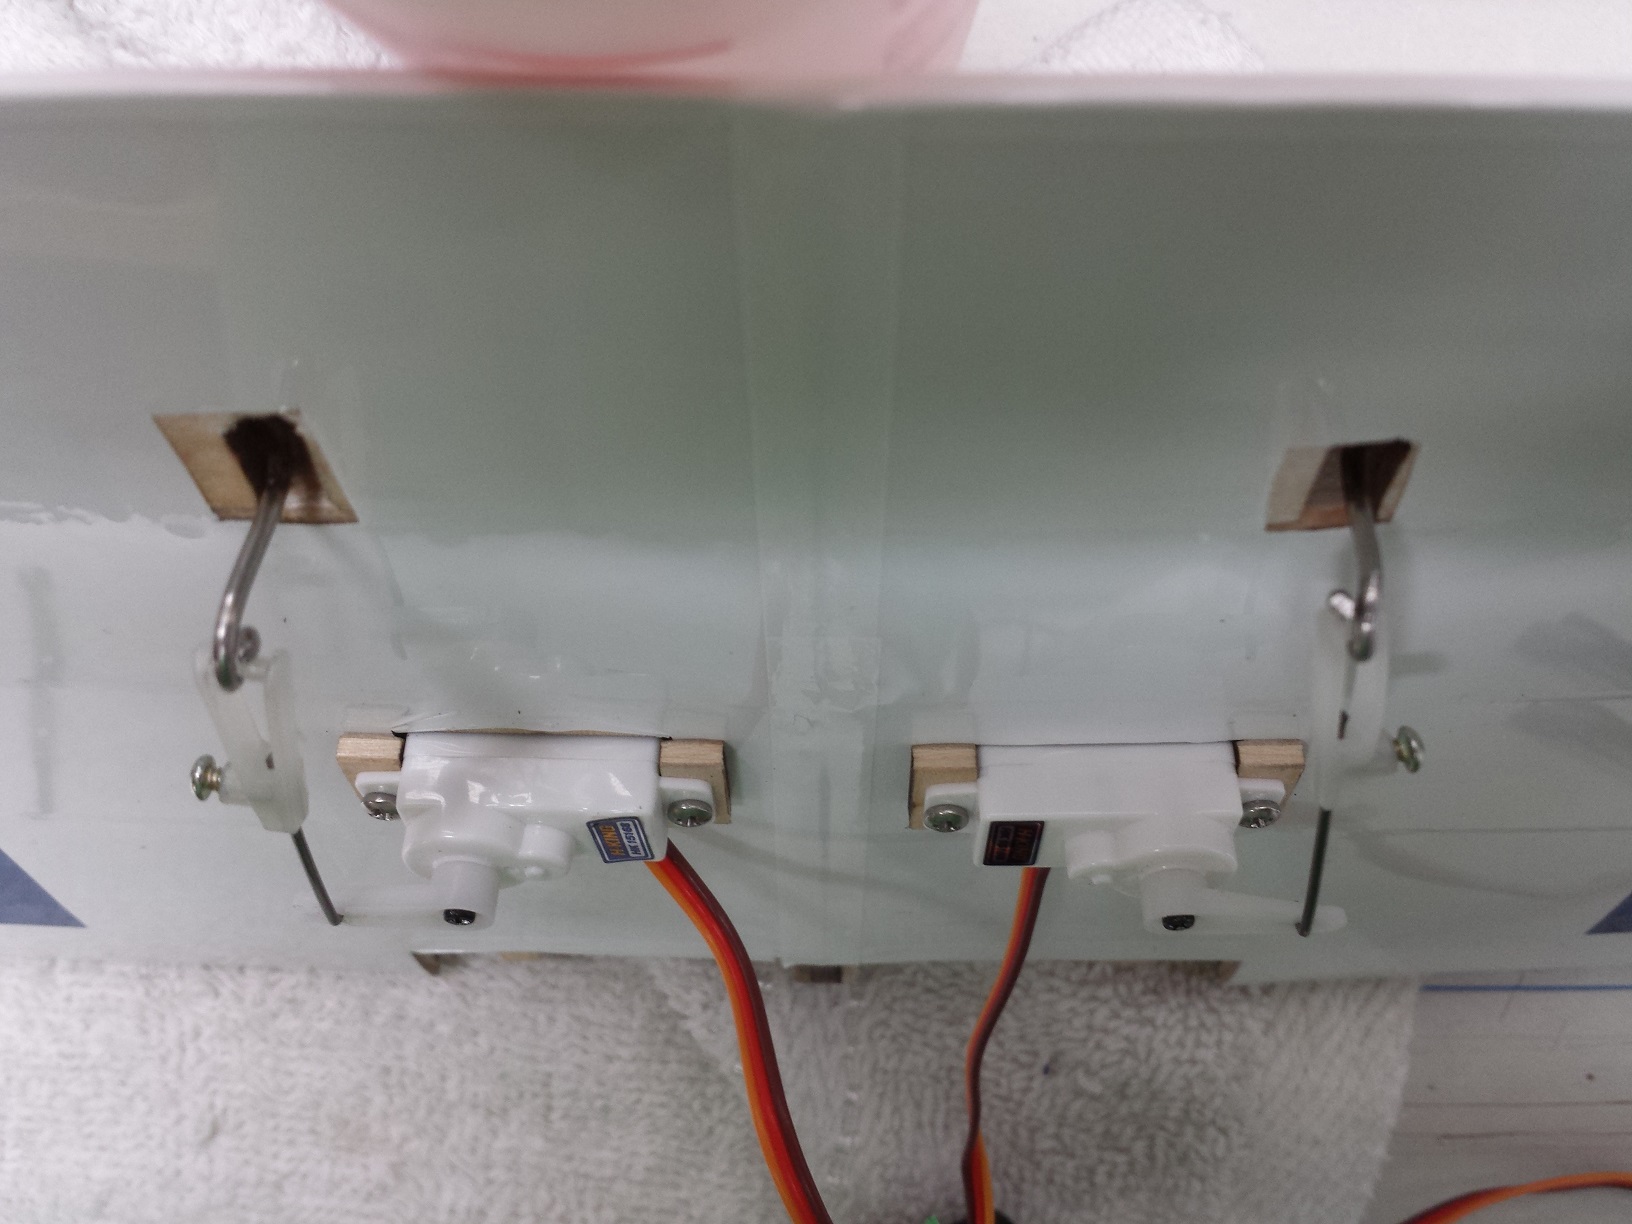
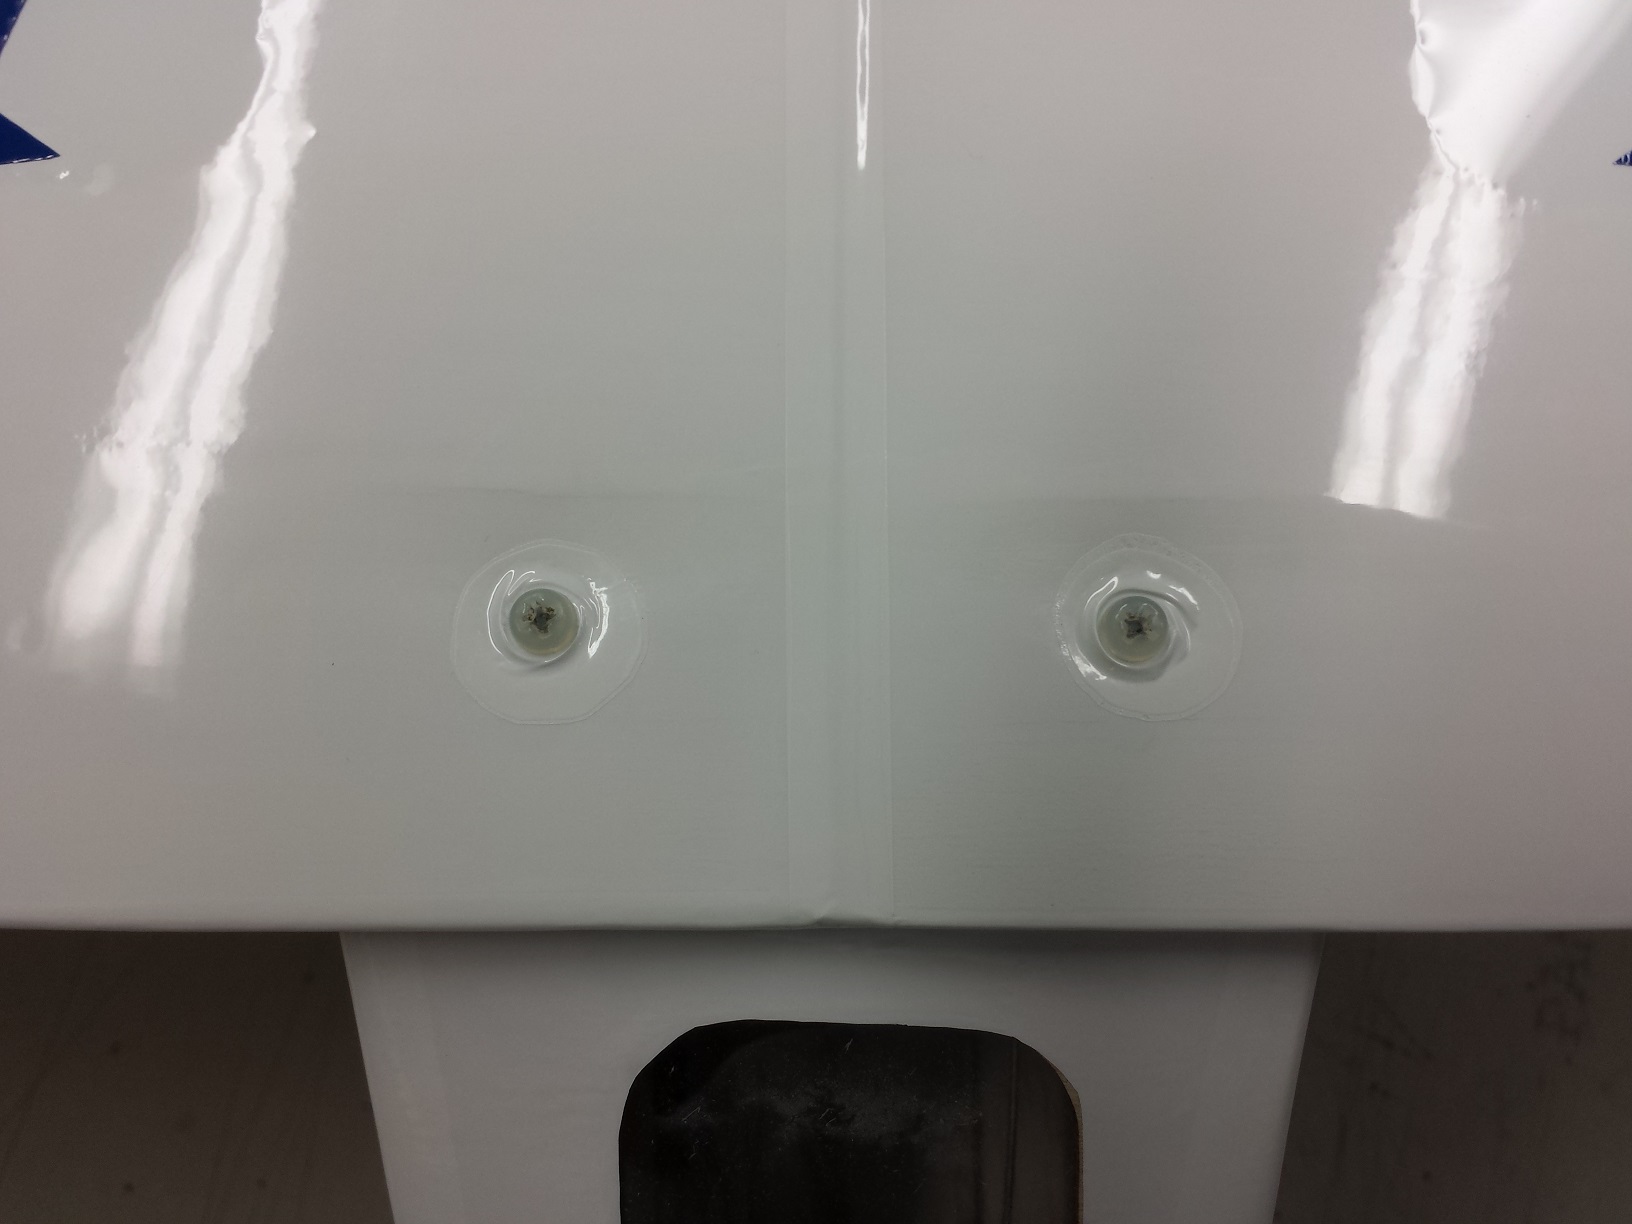
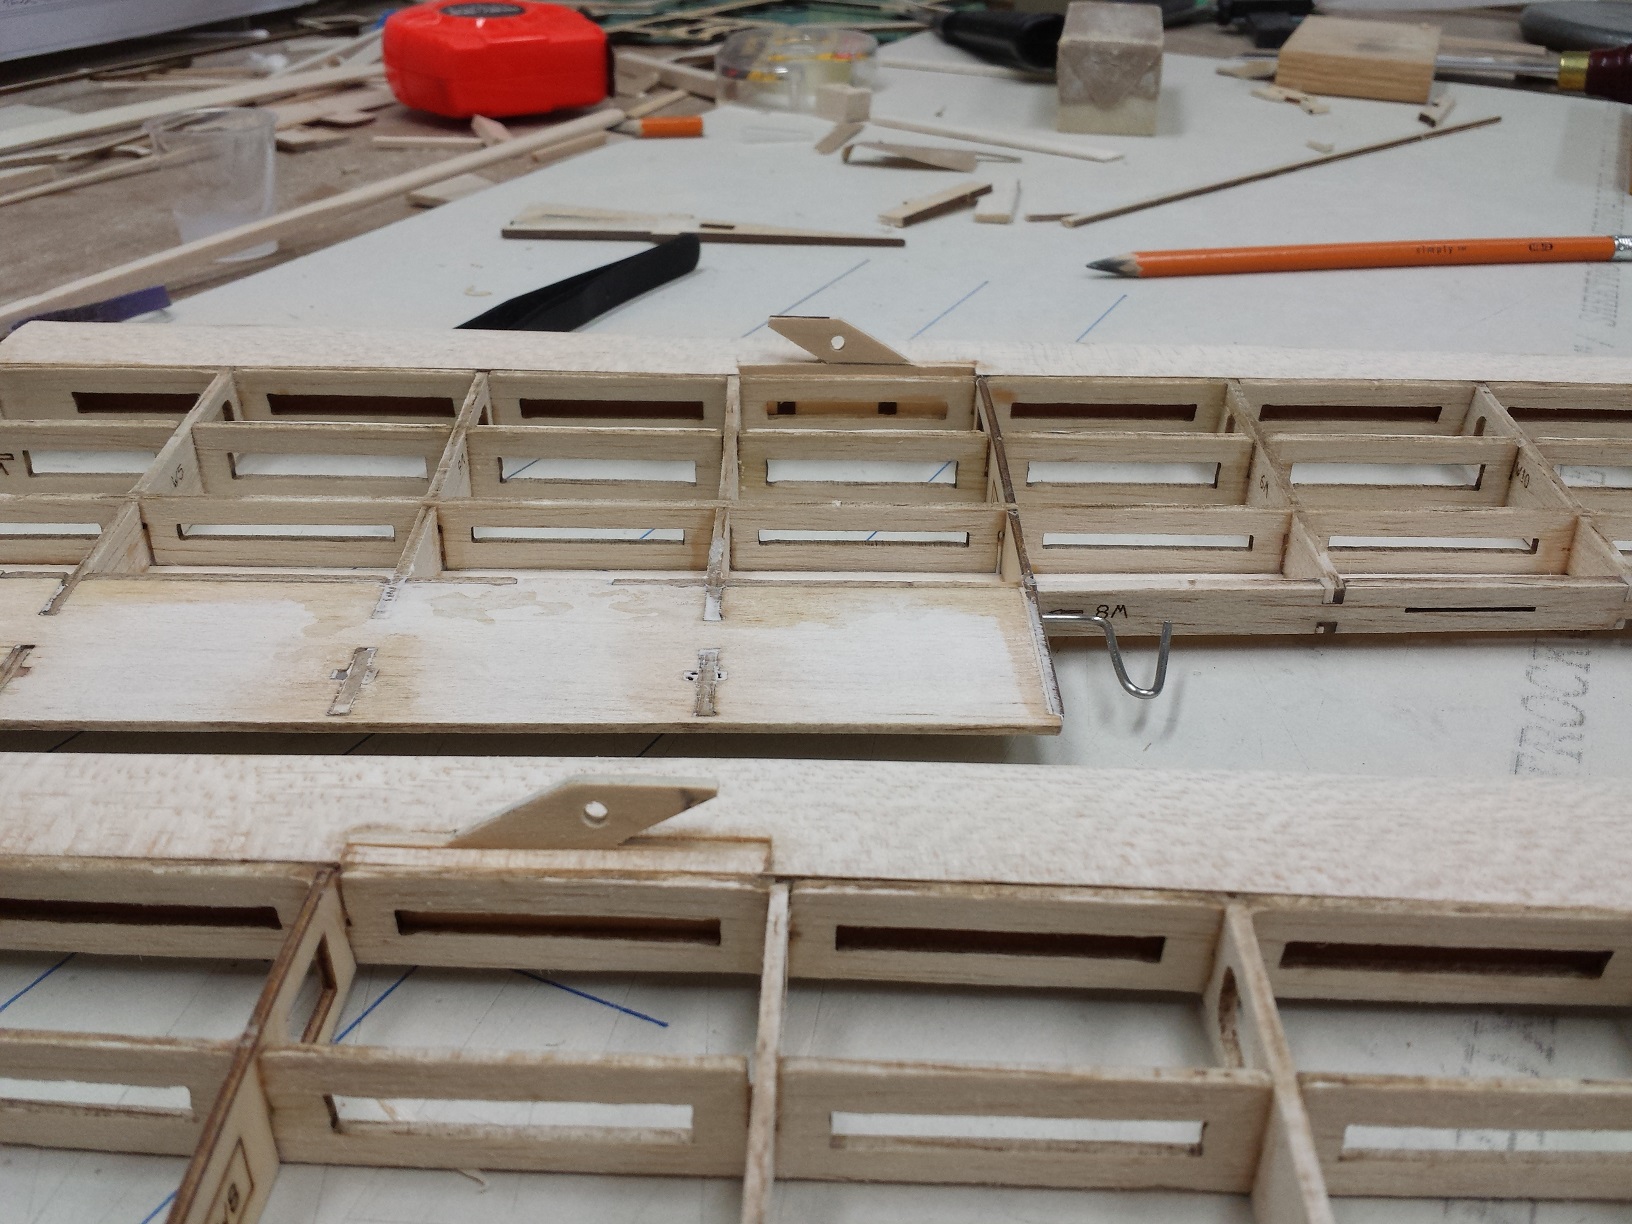
the next step was figuring out the aileron servos.
both an HXT900 and the HK 15168's stick up too far, about 3mm too high.

D4UR0et.jpg


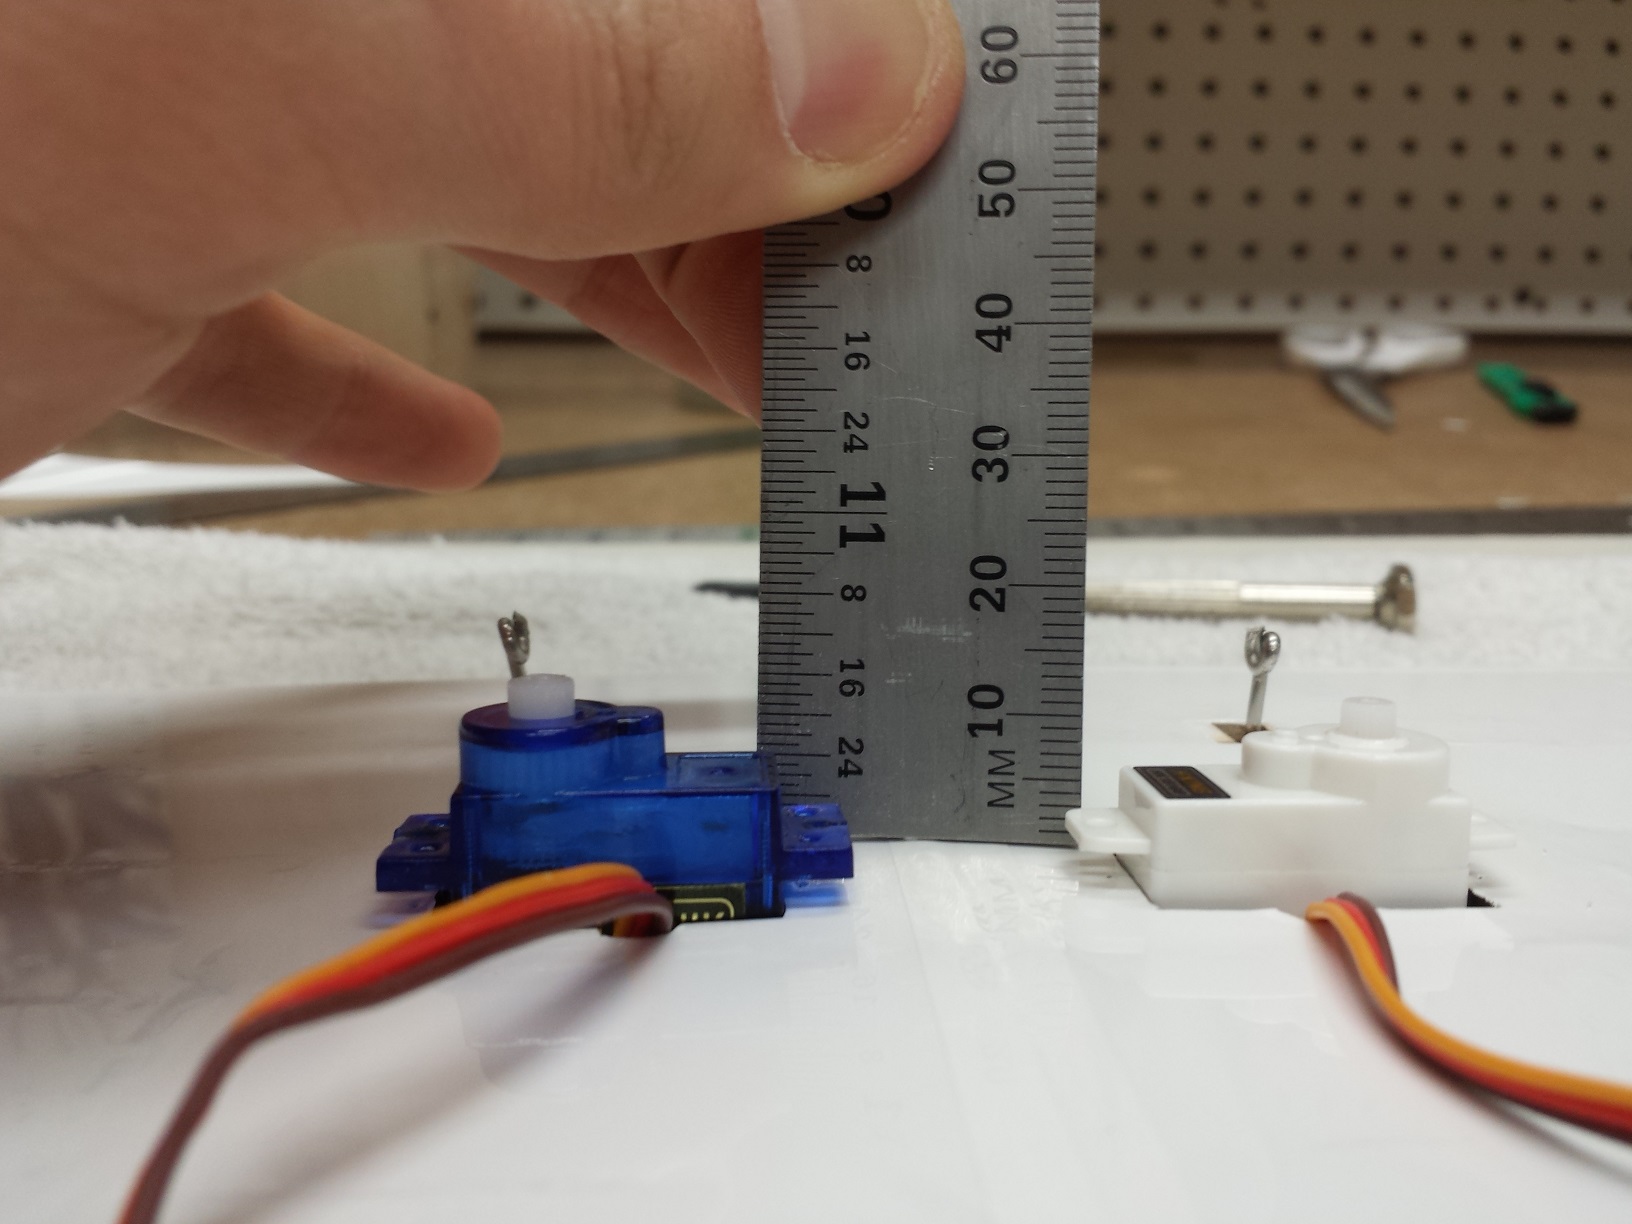
some left over lite ply from the motor mount sheet fit perfectly.

9WOgNd1.jpg


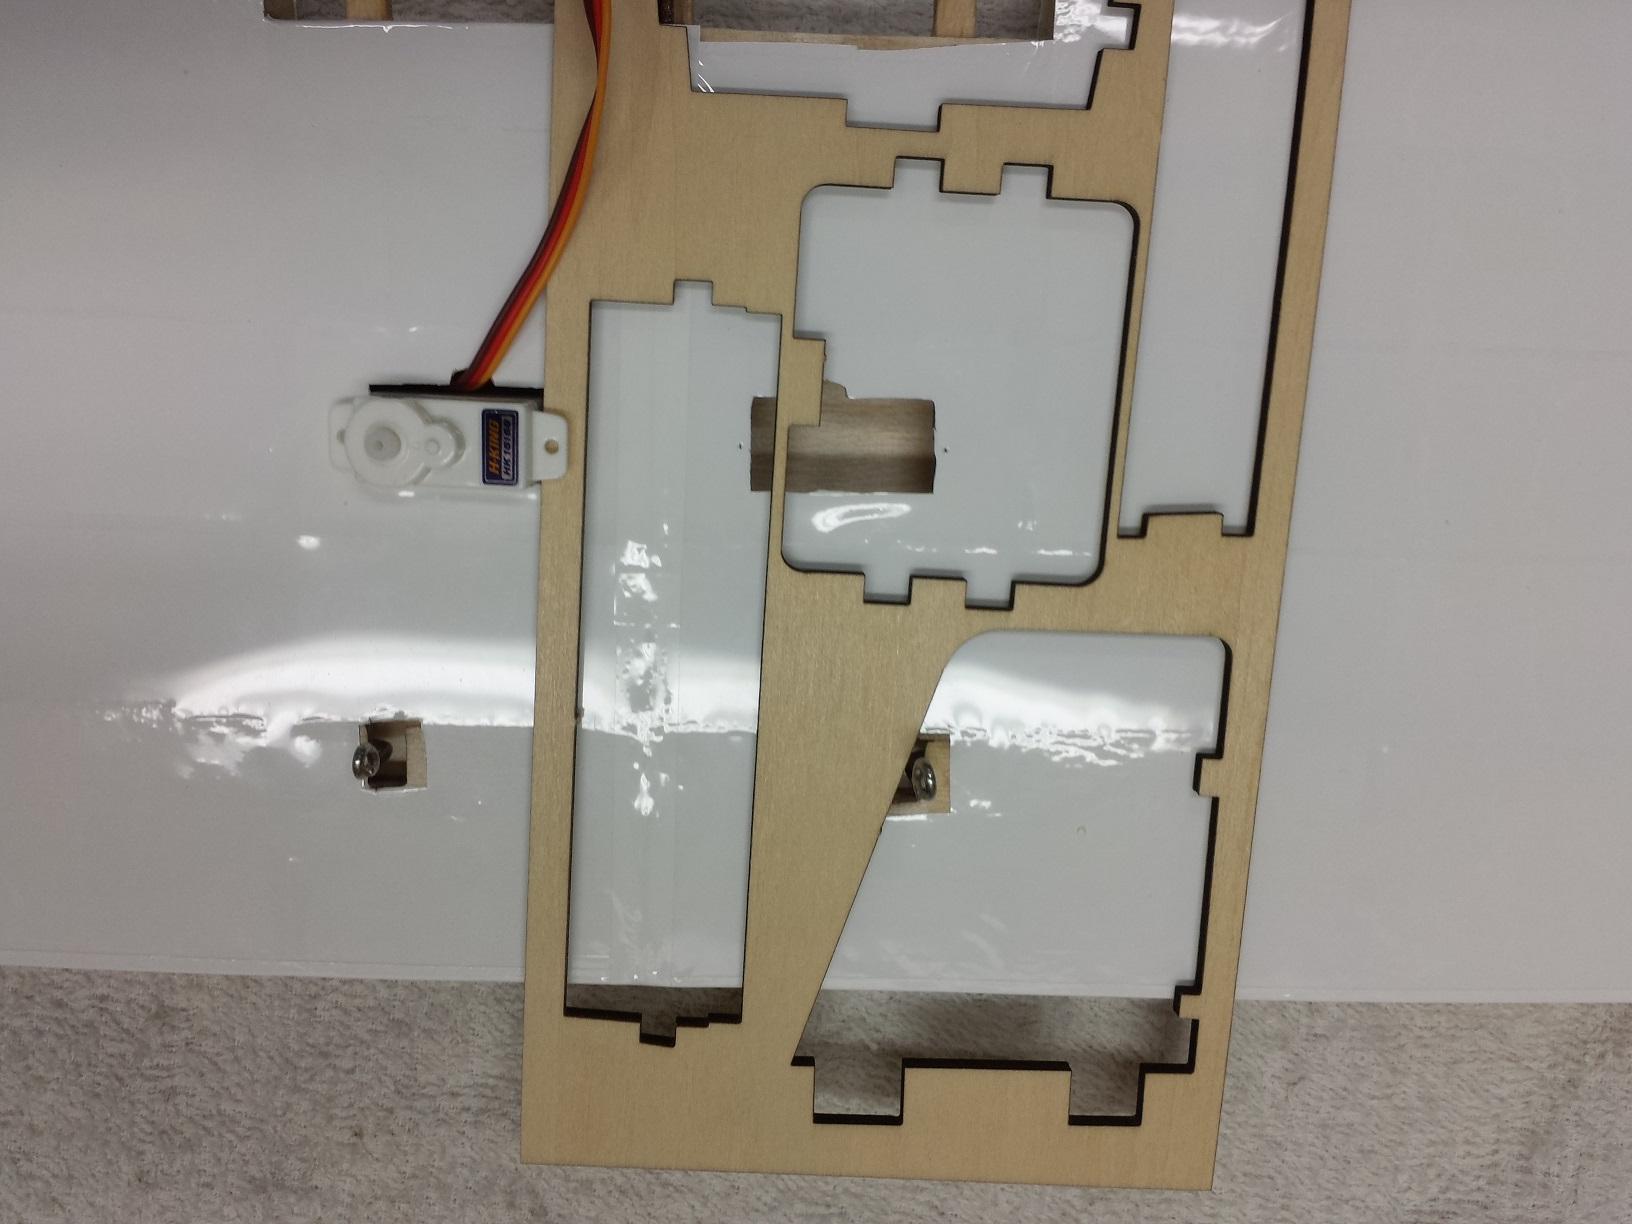
Here are the servos installed with their plywood spacers.

FaSsGse.jpg


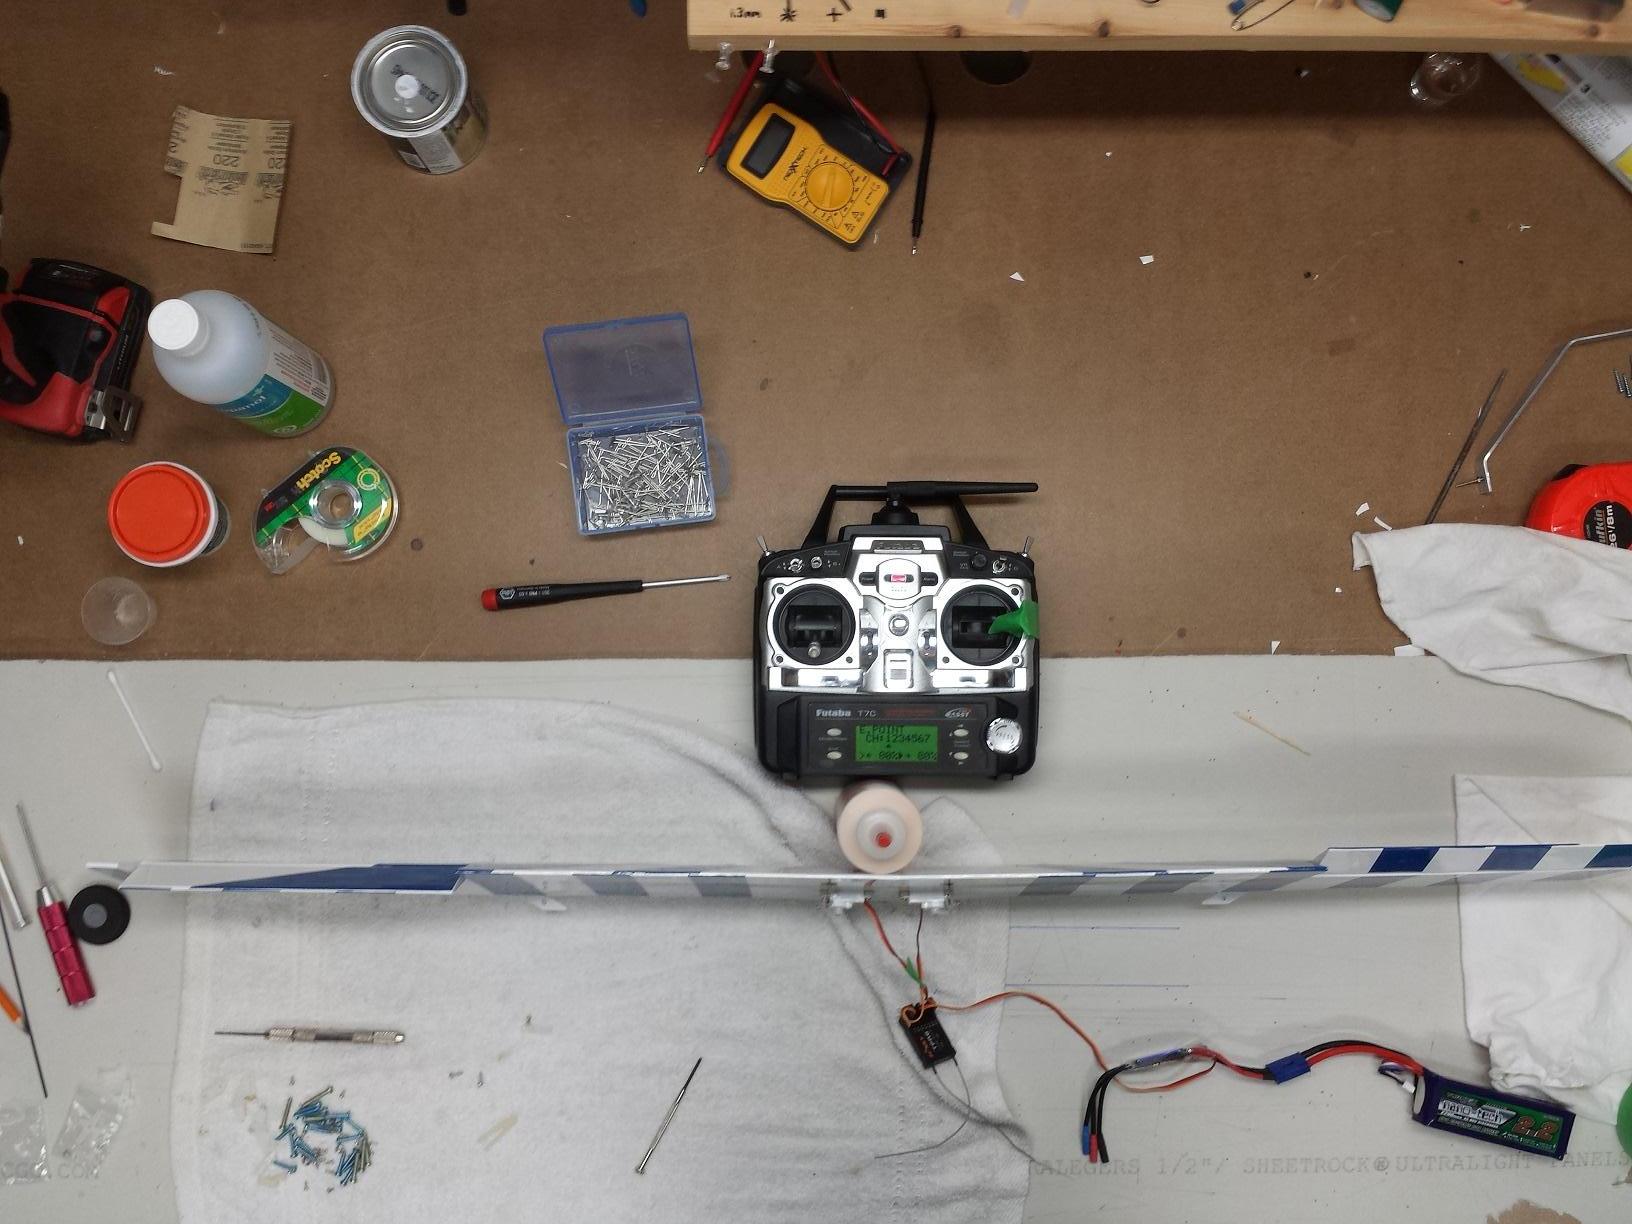
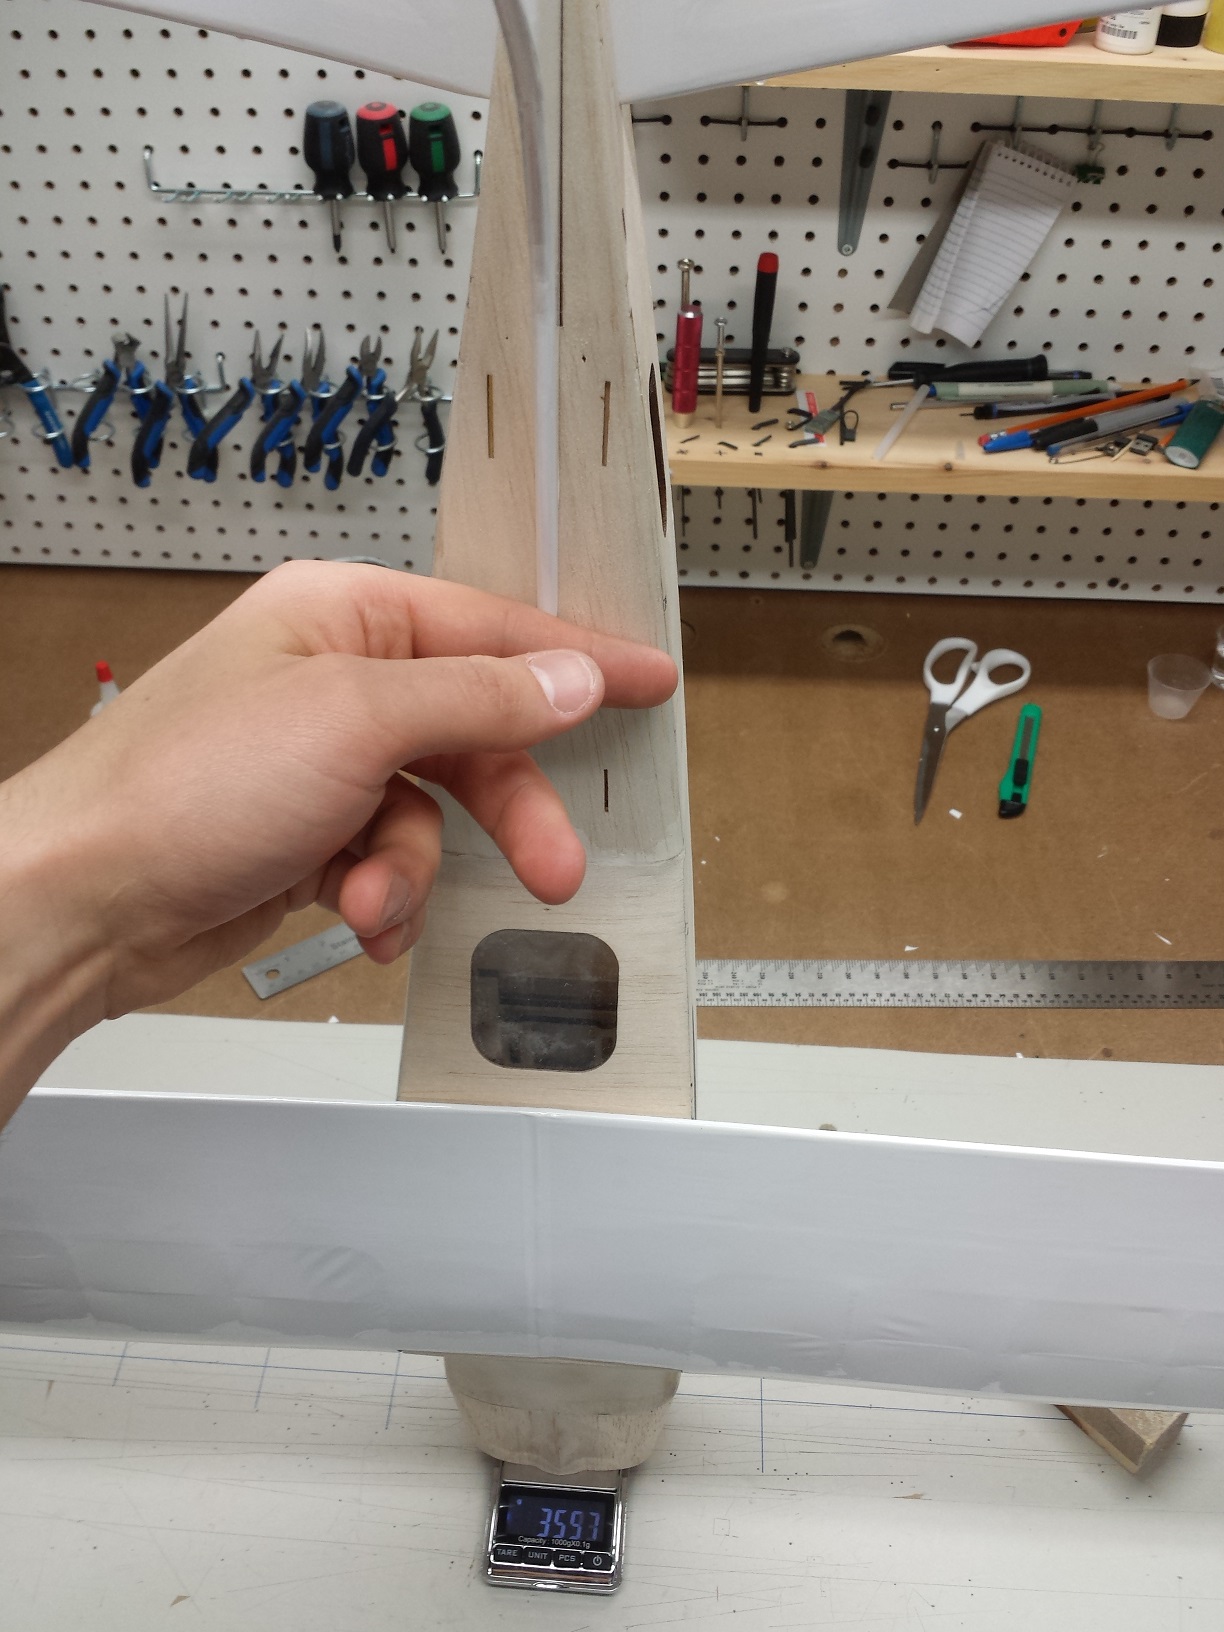
time for a weight check.
it is about 360 grams with the wing covered, ailerons and their servos installed, no pushrods. Tail surfaces covered. No other servos/pushrods/motor/electronics/landing gear.
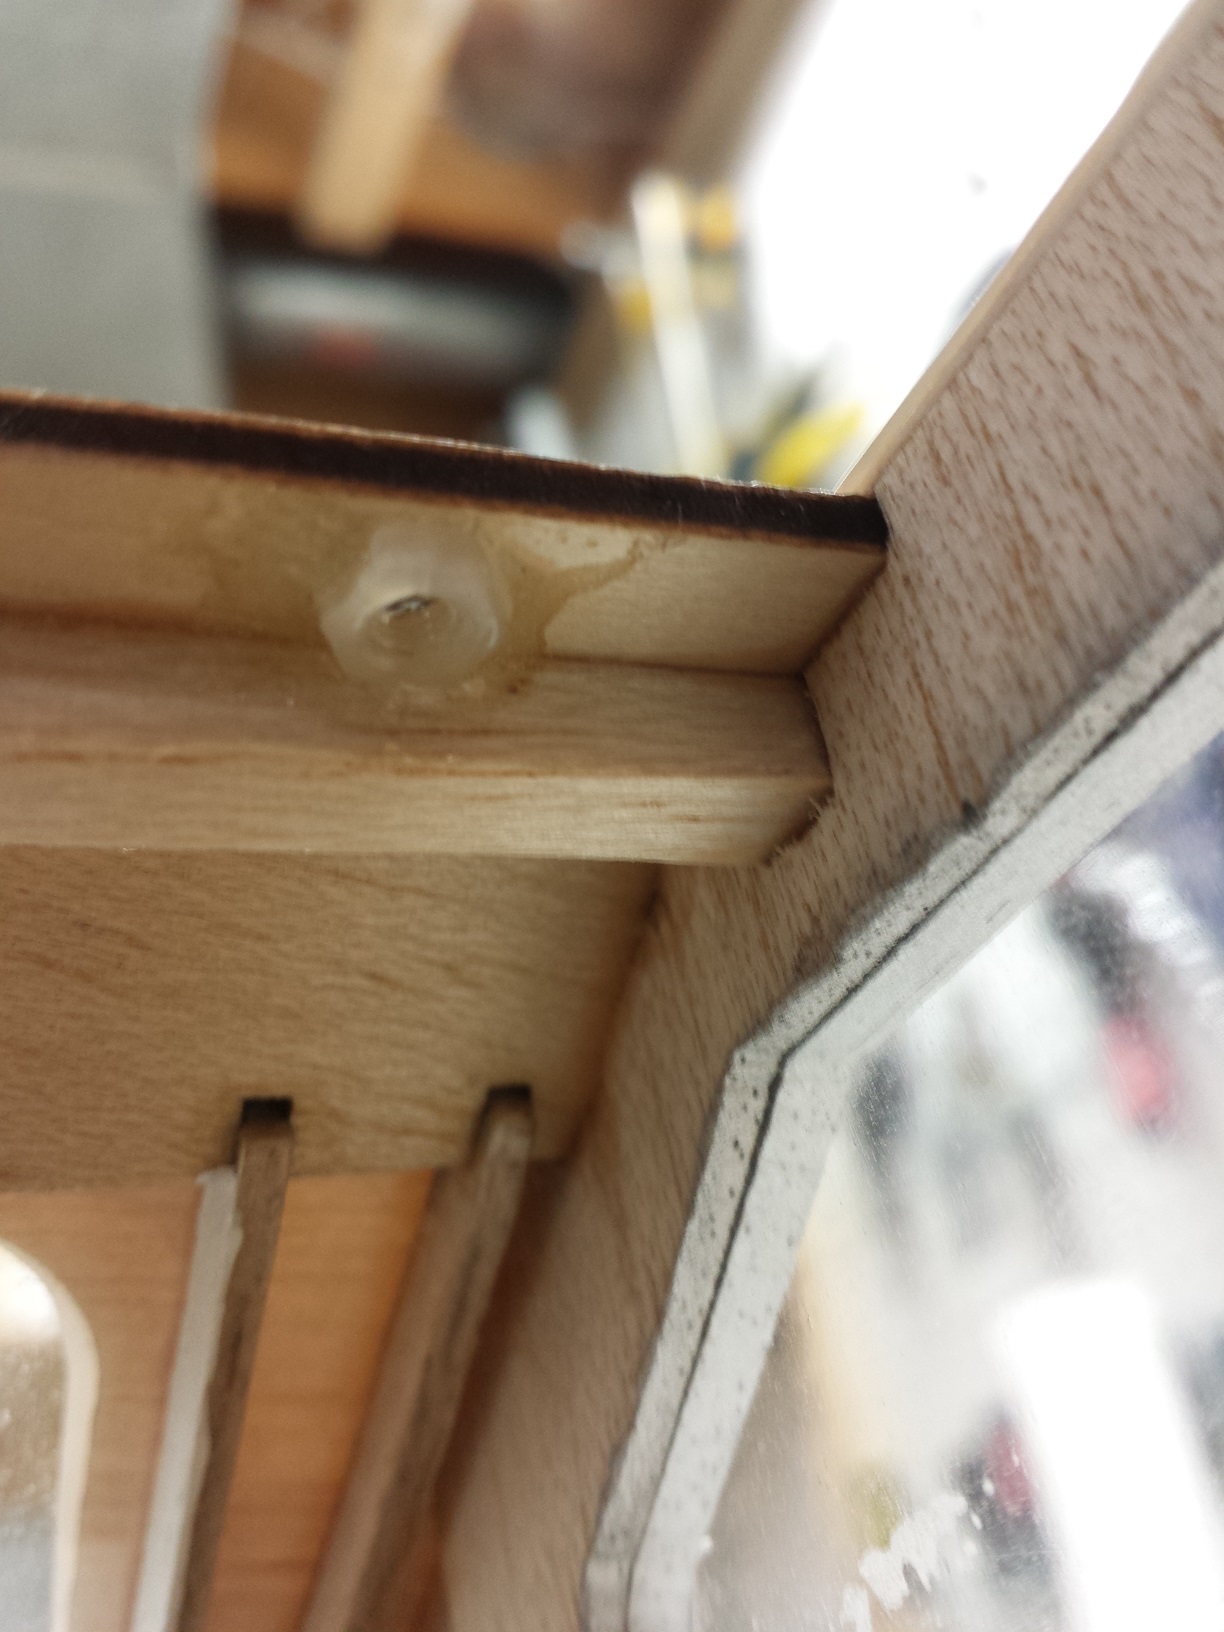
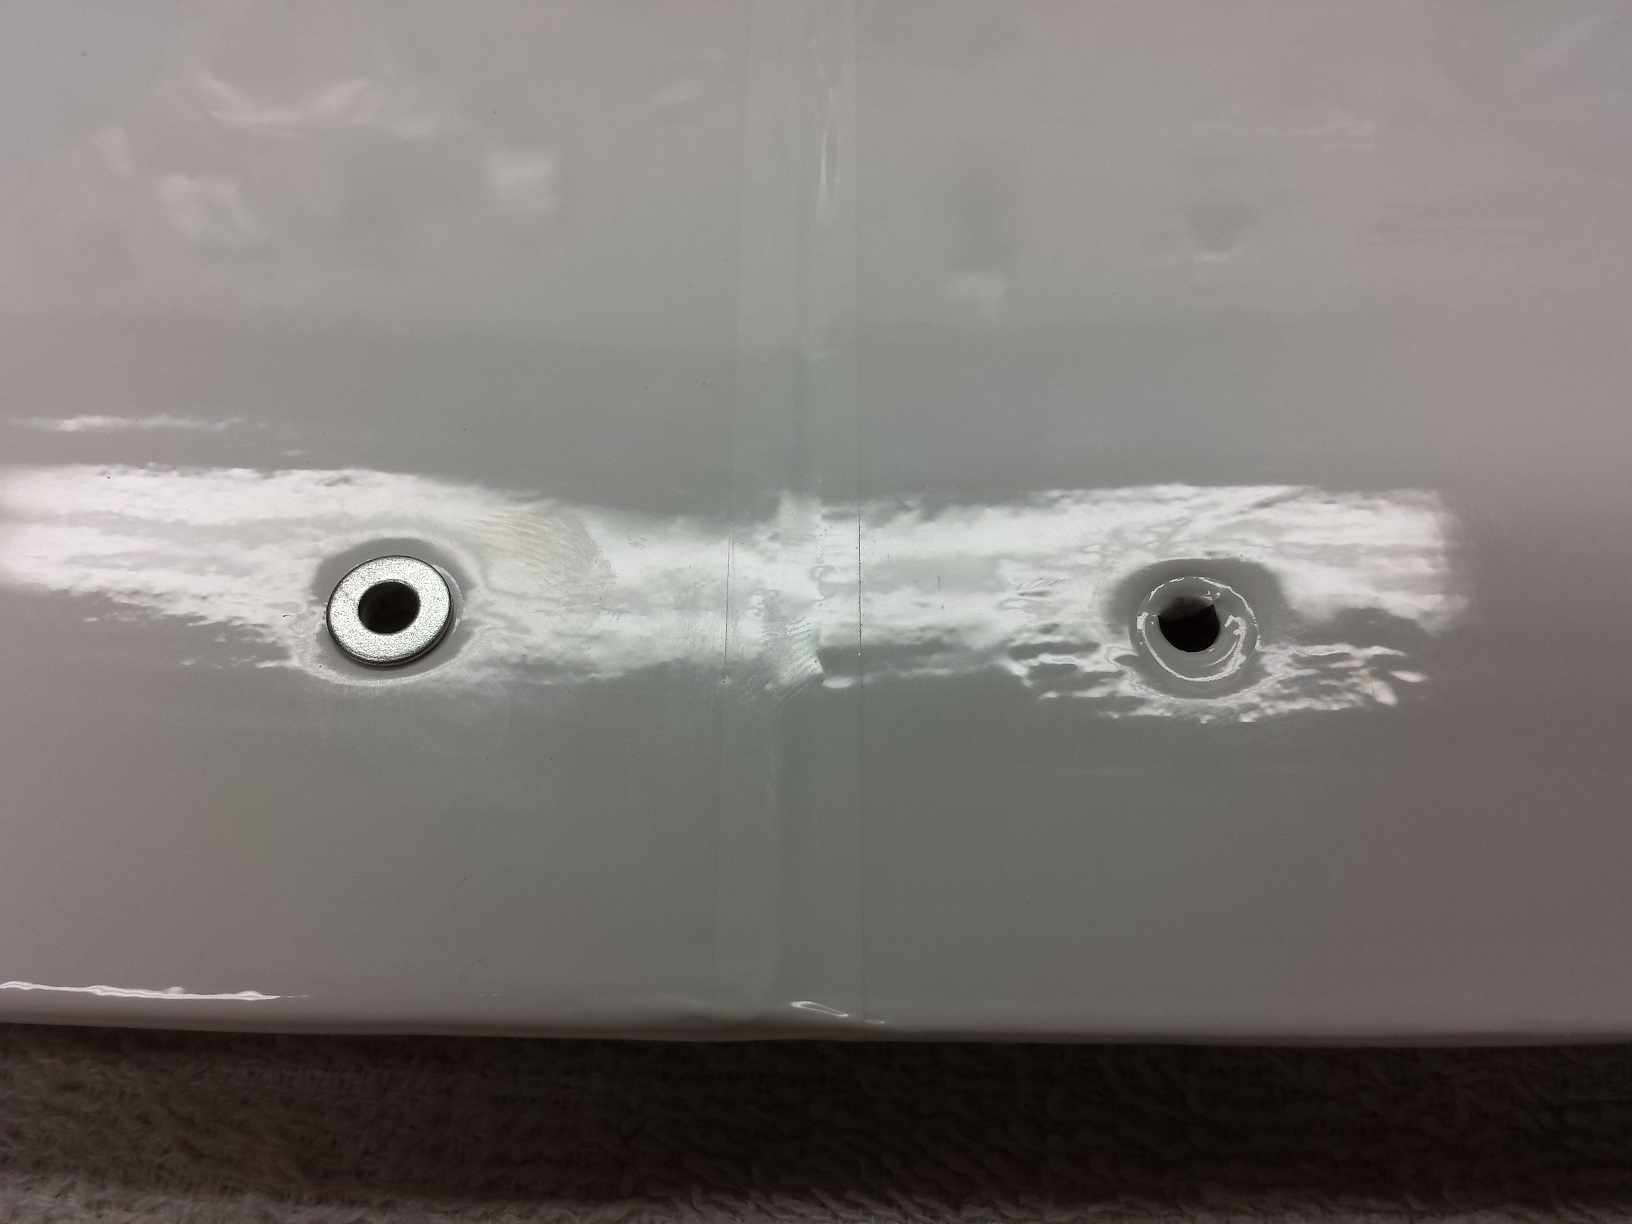
MUzHrRL.jpg
 

artw

Member
Here is my proposed covering scheme, I found a 3 view image of a super D and imported it into CAD.
I attempted to make it look right over the actual sizes of the Cessna.
The stripes (white in the photos) are going to be hobbyking sea-blue.

MG1iJc7.jpg
 

Joker 53150

Mmmmmmm, balsa.
Mentor
Artw - what did you do for the linkages between the aileron torque rod arm and the servo pushrod? I tried to use the parts as they sent the kit (most likely a mistake) but couldn't figure out how to make it work, and had to find another method.
 

artw

Member
I was going to ask you the same thing about the rudder and the elevator.
for the ailerons I am going to use the standard threaded pushrods at hobbyking and their nylon clevises.
I crimped together the "loops" on the aileron torque tubes just enough so I had to give the clevis pin a good push to get it to go in.
with the kit parts your guess is as good as mine? are their some sort of set screws that go into the clevis to hold it on? it is not threaded and neither is the flimsy pushrods they provide.
 

Joker 53150

Mmmmmmm, balsa.
Mentor
Sorry for the bad quality picture, I'm too lazy to remove the wing right now...! :) I cut off the "loops" at the end of the aileron pushrods inside the cabin and glued on the pictured tabs. I don't recall if they're Sullivan or DuBro - probably DuBro - but they'll do the trick. The only potential problem is that I may have mounted them too far from the pivot point, meaning the ailerons may not move as far as I'd like. If that happens I'll just cut them off and glue new ones on closer to the pivot point. (you can also see in this picture that the covering isn't finished around the windows - in fact, the windows aren't even glued in yet)

IMG_1465.JPG
 

artw

Member
so I worked on the ailerons tonight.
I was not able to make the hobbyking parts work with the kit, they were all too large so I went with the kit parts and installed it how they show in the "manual".

A7GAGwg.jpg


(ignore the melted servo, got too aggressive with the heat gun. Will R&R before the maiden).
it is not obvious in the photo but the right torque rod is shorter than the left which resulted in significantly more aileron throw, as Joker alluded to above. I had to reduce the travel on that servo 80% each way to make it appear the same as the other I may have to adjust it more.

Does anyone know if this kit, or a model of this type needs differential ailerons? I could use this to my advantage.
here is both of them at 100% rate:

aXLRPxU.jpg


here is the one with the longer torque tube at 100% rate.

af0xKEP.jpg
 

Nerobro

A Severe Lack of Sense
Cessnas benefit from differential aileron. it's far from essential, but if you can relieve a rudder heavy plane, you should.
 

Magwie

Member
Nerobro - Would that mean there should be more up aileron travel than down to reduce drag?

or the other way around?
 

Nerobro

A Severe Lack of Sense
Yes, more up than down. More up also avoids stalling due to aileron inputs... and with the hours put into this model, that's a big benifit.
 

artw

Member
Time for another update.
I wanted to figure out a better way to attach the wing. the kit has you use 4 of the blue screws to attach the wing to the fuselage.
I didn't really want to have to use 4 screws, and besides the hole in the wing is so big if you pushed hard enough the head of the blue screws would go right through.
I had some M3 nylon bolts and nuts I wanted to use. They threaded in nicely into the mounting plate but they had the same problem with the heads barely getting any purchase.

before I did the next step I epoxied some M3 nylon nuts underneath so I was not relying solely on the mounting plate to hold the bolts in place.

sm2mo3k.jpg


for the solution to the problem on the top I used some M3 metal washers. I attached the wing, and gave the screws a good hard turn to imbed the washers into the wing balsa:

9O79Vv8.jpg


after that was complete, I tacked the washers in place with some canopy glue. I then proceeded to cover the washers, and gave them a good shot with the heat gun.
just a warning for people who have not covered this model yet, the heat gun WILL melt and distort the windows and any trim covering you may have (or at least mine did, it is one of those black and decker jobs) so I covered the entire plane with multiple towels first.

WNyDcIw.jpg


after I reinserted the screws the covering came off the washers and twisted a bit. oh well nobody will see that from the air.
I am going to post a taildragger update in my other thread as well.
 

GT6mark3

Junior Member
image.jpg image.jpg image.jpg Since my last post I've managed to more or less finish the model. Because our flying field isn't particularly smooth, I've made a tail dragged and put "Tundra" tyres the main gear. I used the kit's leg ( straightened out) and attached tnear to theforward end of the battery bay, where it helps to retain the front edge of the hatch. The rear of the hatch is locked in place with a home made spring catch, and I've cut 3 holes to help with battery/ESC cooling.
Some of you might notice that my trailing edge is more or less flush with the rear fuselage and doesn't overhang the cabin. I did this by reducing the width of the plywood blocks that locate the front of the wing so that the windscreen blends more accurately with the leading edge. A new ply plate with captive nuts holds the rear down. Even with the wing moved forward by about 10 mm, the C of G is still at 30 mm from the LE with a 1300 mAH 3s and no lead ballast. Flying weight is 1lb 11oz.
Apologies for the inverted photos must have the Australian version of the iPad.
 

artw

Member
Hey that looks great!
I am going to maiden mine today. I saw your comments about your maiden and the CG in the other thread and I will change mine from what it is now (27mm) to maybe 32 or so. don't want to go too far off until I see how it flies.
I also second your comment about making the battery compartment wider. I have 1500mah 20c's and they really do barely fit.
I will add some cooling holes, great idea! I was wondering about the best way to do that.
 

Joker 53150

Mmmmmmm, balsa.
Mentor
Seeing these finished birds really makes me want to finish mine up. Wing struts are a must, as they really look good.
 

artw

Member
Had a blast flying this around on the weekend. this thing is FAST! it is not something like an eflite apprentice that I could just take over to the soccer field. at least not until I get more comfortable with it.
Center of gravity ended up being 36mm I maidened it at 32mm but needed almost full nose up trim to keep it level.
Maiden day I flew it was dead calm. Has a pretty nasty tip stall. I got it into an aggravated tip stall and cartwheeled it into the ground with almost no damage! see below photos.
Second day it was really windy. It actually handled 10g25kt winds pretty good! but it would go over on it's back in about a second so it was definitely a handful in wind.
I could seriously see the benefit of putting a gyro on the roll axis. it is really touchy even with 35% expo.
Lots of fun.
here are some pics!

xRJEXCf.jpg

Ready to go

vFVpFUv.jpg


d2S3fQp.jpg

Broke prop

yR9C112.jpg

Snapped vertical stab in this location

07TNdZK.jpg

Twisted landing gear.

when I cartwheeled it in, I thought oh god, that is it, where is the garbage bag. I am very happy with the damage, I have crashed a lot of balsa planes. this plane appears to be very strong. I repaired it and flew it again the next day (the windy day)
 

Turbojoe

Elite member
Hey guys, haven't been around here for a while. Got sucked back in to my helicopters again. Made the decision soon after I received the HK Cessna kit that I wouldn't be building it. I took all the parts out of the sheets and weighed the leftovers. Lost the desire to build it after seeing the results. I won't post this offer on any other forum or every "want something for free" person will come out of the woodwork.

I hope nobody ever suffers this fate but if you crash and destroy your HK Cessna I will send you my unstarted kit just for the price of shipping. You choose the shipper (as long as it's USPS) and what insurance if any you want. Lots of good people here. When I give something away I want it to go to good people....

Joe
 

Joker 53150

Mmmmmmm, balsa.
Mentor
Great offer, Joe, hopefully nobody gets to take you up on it! Now if you want to unload a MM kit or two, let me know! :)
 

AkimboGlueGuns

Biplane Guy
Mentor
I'm still keeping my eyes out for a Park Scale Models Cessna 207. The kit is actually pretty cheap, but then again, so am I. Those Park Scale Models kits look pretty fantastic and I have yet to find a negative review.
 

Turbojoe

Elite member
I'm still keeping my eyes out for a Park Scale Models Cessna 207. The kit is actually pretty cheap, but then again, so am I. Those Park Scale Models kits look pretty fantastic and I have yet to find a negative review.

I've built a couple of PSM kits. I too want his Cessna's but Zeke always takes weeks to get around to shipping and I'm a ridiculously impatient person. That's the only thing that keeps me from buying more from him. The kits really are nice to build though. SUPER light too.

Joe