Dat Rhino

Namactual

Elite member
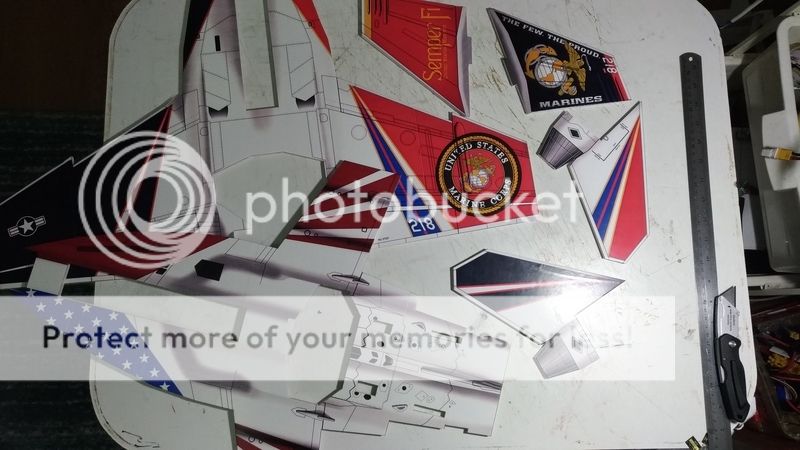
She looks good man! A little rubber cement to tack down a few peeling edges and she will be right as rain. (y)
I see you have done some mods as well. Let me know how that magnetic nose cone works out.

The skins do take a little practice to get right. When you start your next build I would experiment with the vertical and horizontal stabilizers first since they both fit on a single sheet of paper. I will upload a pre-tiled version of the skins that will work for A4 as well as US Letter. That will help cut down on the amount of seams.

I will get the tiled skins uploaded ASAP.
 

Namactual

Elite member
Ok, I did a VERY minor update to the USMC skin. I just added an extra bit of highlight on the darker areas of the paint scheme to help make it pop. This change came about when I did the USN skins so I just transfered it over. I doubt most people would even notice so don't sweat it if you already built one.

Full sheet set:
Updated: see second post.

And also the tiled set as promised:
The tiles are 7.5x10 inches when cut down to the witness marks. Also they are formatted to create the least amount of seams possible, not the least number of sheets. There will be a lot of wasted paper. As a result, if you glue the entire paper set to foamboard without cutting the shapes down you will have a lot of wasted foam as well. The idea is to print, cut and tape the larger pieces together and then cut them down around the full sized part. Once you have the part template cut down, cut a piece of foam to match the template size and glue each template to foam.

I will post pictures to explain if you need. Just ask.

I still have to convert the USN skins to a tiled format, which I still plan to do. The only question is when. If anyone wants to build the USN version for FFE'18 and needs the tiled versions I will be more than happy to crank them out ASAP. If not, I am going to switch gears for a bit and start my builds.
 
Last edited:

Namactual

Elite member
Update...
USNUpdate.jpg

All that's left to do now is build these bad boys.(y)
 

Namactual

Elite member
I had my day all planned at the ball-field for a full day of flying, but a last minute sporting event put the smack down on that idea. :(

So, while I let my prints dry out the rest of the night, I decided to get started on the actual squadron skins.
Peak.jpg
All I have working on so far is the top wing plate so pay no attention to the rest of it yet. I am playing with different weathering techniques and effects at the moment. All hand painted. Nothing duplicated either. All brush strokes will be unique. This is just the first pass as well. I plan to really put the time in on these, so don't expect these done anytime soon. That said, I will update this thread regularly with progress.
 

Namactual

Elite member
Sometimes I just find a groove...
Peak2.jpg Peak3.jpg
I am done for the night though, my hand is starting to cramp.
 
Last edited:

Namactual

Elite member
I really need to be building today, but I don't want to quit painting while I am on a roll like this...
Peak4.jpg
I have been experimenting with weathering more. I moved on to the intakes and found a way to not only make it look better, but faster to do as well. That's always a bonus.

So here is the important part of this post. The real Navy Rhinos underbelly are actually painted gray. It's a shade or two lighter than the top as well as a little less blue, but much darker than the white I have at the moment. Here is the issue. If I darken the lower half of the airframe, the foamboard cross sections are going to stand out like a sore thumb. I have been trying to decide if I should just go for accuracy and ignore aesthetics, or try to lighten the top paint a few shades to compensate for the white underbelly. This would look better overall, but would be less accurate.

Anyone have any opinions here? I am torn, I am not sure which way to go.
 
It is hard to picture without seeing it though. so go with your liking :)
I see you have 50mm jets from blitzRCworks.. I have sbare. F-16, and F18..still in box need to put to gether and install FMS 50 mm EDF.
and your FH-Pjantom is unbelieveablely beuiful. do you have any plan to build single 50mm or 64mm edf plane
 

Namactual

Elite member
Thanks bud!
I really need to get back to the Phantom, I am so close to getting it done. I hope now that work is winding down I can have more me time to finish it soon.

It will not happen this year, but for next years FF I plan to make an Air Force F-16 at the same 1-20 scale as the Rhino. I also plan to build it around a 50mm EDF with a prop option.

I decided to go the lighter color route...
peak5.jpg peak6.jpg
She is getting there.(y)

I have got a lot done, but I think I am done working on this for a bit. I collapsed my intake layers in photoshop to save a texture file and accidentally overwrote the .psd instead. Technically the intake is done if I do not need to make changes, but if I do, or want to make a different squadron I am back to square one. I still have my originals for the Airshow versions so the base is there, I will just have to redo all of the weathering and decals. Probably about 4 hours worth of work. :cry: Luckily is was not my wing plates, that would have sucked the wind out of my sails for sure.

Anyway, I am going to see if I can get some flying in today to help cool off.
 

Crow929

Active member
I'd say just go ahead and make it close to accurate without worrying about the stark white edges sticking out. If desired, you could go over the white edges with a marker or chalk to lessen the contrast. I think it will look great regardless, nice work!
 

Namactual

Elite member
Thanks Crow!
I will give it a shot when I get the intakes redone. The base color really can be changed in a matter of a few clicks the way I have the masters setup.

Until I collapse the layers that is...:cautious:

Edit: I forgot to mention the main reason I decided the go with the white/light gray version was because the the inside/backside intakes and rear fuse are all white.
 
Last edited:

PsyBorg

Wake up! Time to fly!
Wow mate these look great!! I just caught up on this thread again. You been goin at it pretty strong since the last time I checked in. Also Thanks for putting the Rogers in the loop mate. I see I am not the only fan of them bad boys. I may actually have to make one and see about getting the skins printed if anything for a static model to hang from the ceiling. Will see what finances look like after Flite Fest since all my spare change is being diverted for that trip.
 

Namactual

Elite member
Thanks brother.

Hopefully I can get the two Rogers skins done before FF. I doubt I will have time to build one, but I should have the design work done by then. If I do we will see about hitting up @kilroy07 to hook you up with a set of prints at FF.(y)
 

kilroy07

Legendary member
Just checking in (let ya know I'm still thinking of ya!) LOL

As for the printed skins for FF, Yea, I can have a couple sets on hand for on site builds (as long as Nam vouches for ya!) ;)
For a few chosen, we might (will) have a couple laser cut kits too!
(I would say you'd owe me a 12 pack of Guinness for one, but from what I understand beer isn't allowed at FF.) :(

Next week is ALL about Miss America (MY entry for the veteran airshow at FF.)
And while it's not NEARLY as nice as the work Namactual has done for the Rhino, I think it's passable for my first FF go around.
I'm not fussing with the mustang's lines at all (MA has clipped wings, and a few other nods) so it's going pretty good.

why am I telling you about MY project?... (no, I'm not some egotistical boob...)
We are working on putting the skins on THEN laser cutting... I've got a wide format printer so we can print them out as a single sheet.
But, there are some technical hurdles I'm working on (going to test the workflow out on MA) with her out of the way next week that gives me 3 weeks to perfect the process before FF and Nam is doing all the heavy lifting, so I am hopeful we will see a new breed of kits by then.
 

Namactual

Elite member
I think I am pretty much done with the weathering. I added a few hydraulic leaks at the LES's and the burn residue underneath of the engines. The majority of the decals are there as well. I just need to create the main logo for the vert stabs and a few other odds and ends. I also spent a few hours today roughing out some "other" details...
Peak7.jpg Peak8.jpg
1: Scale weapon pylons
2: AGM 84's
3: AIM 120's
4: AIM 9x's

These are basic sketch models at the moment. The scale is correct, but lack finer details. I am not sure how much would actually show up on a 3D print at this size so I did not go too crazy. I will do some test prints at some point and go from there, but do not expect the print files anytime soon. These are something that realistically will not be finished until after FF. They do make for better visuals though. (y)

A little comparison...
Comp.jpg

I also fixed the wingtip pylons. Those were too simple.
 
Last edited:

Namactual

Elite member
Here is a little addendum to the build guide documenting some of the skinning steps.
Updated: see second post.
This is just a very quick basic tip guide. I will do this right and add it to the build guide when I get a chance.
 
Last edited: