Dat Rhino

Namactual

Elite member
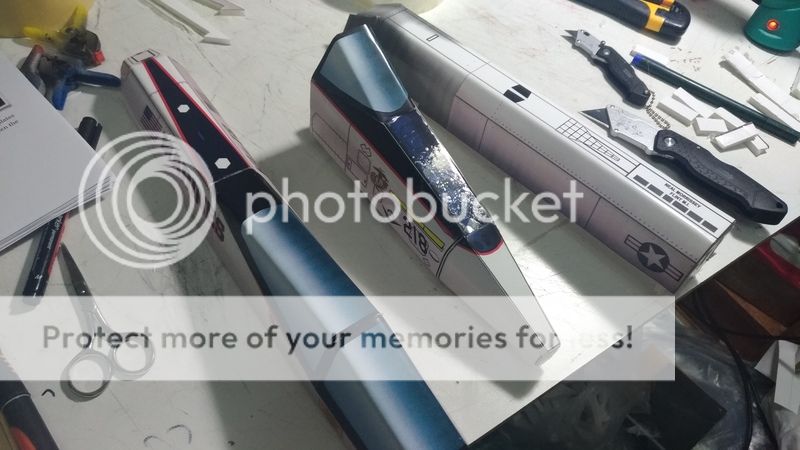
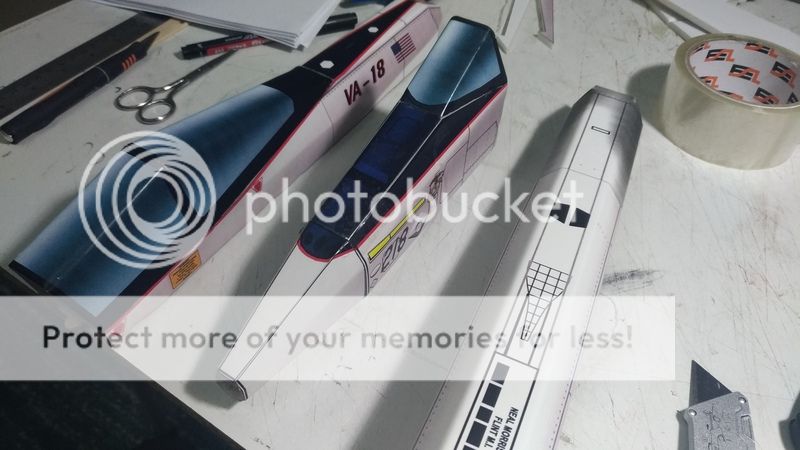
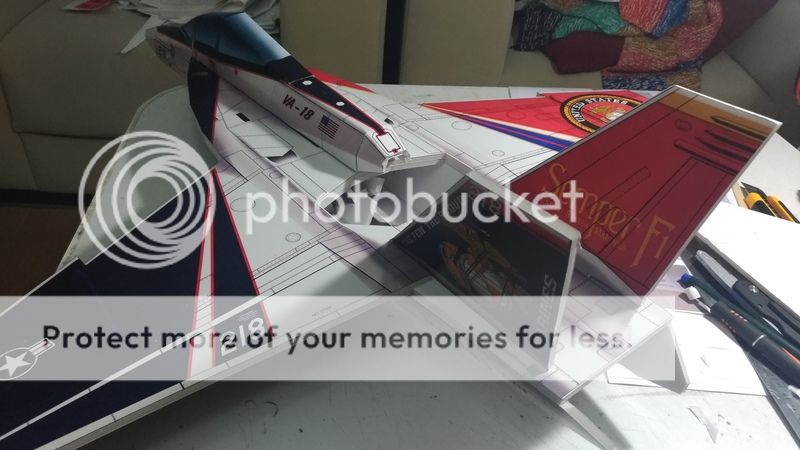
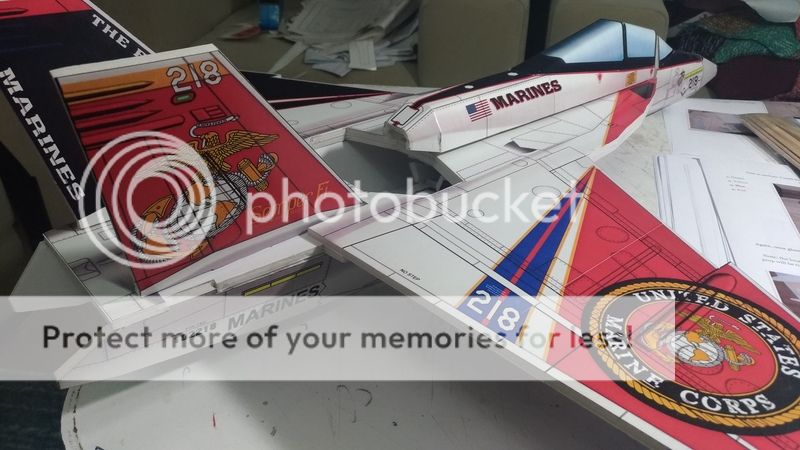
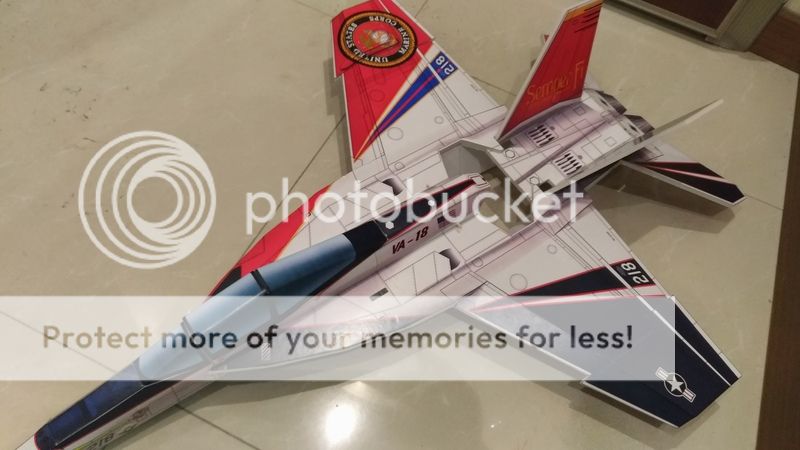
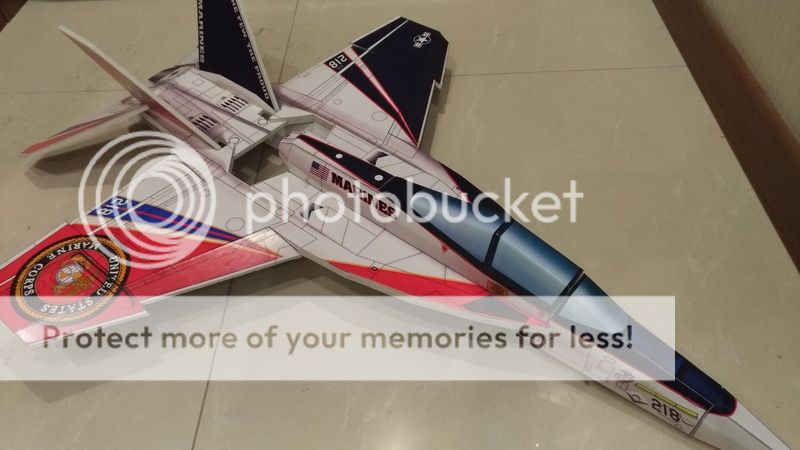
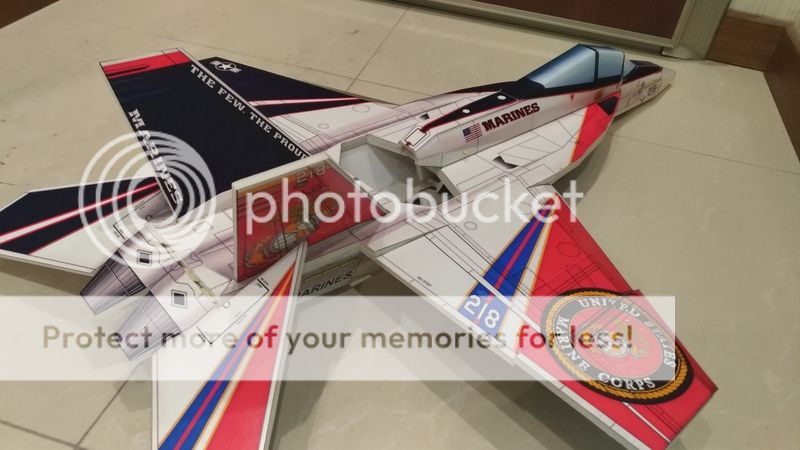
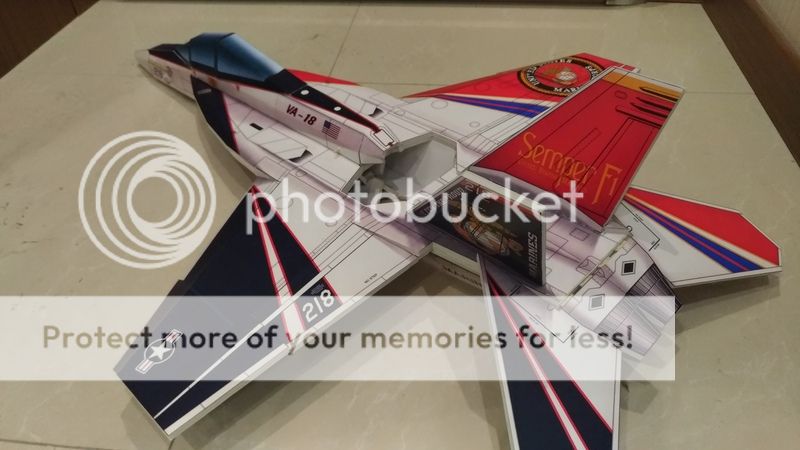
I am going to call it done, unless there are any objections?
Peak9.jpg VFA-103Done?.jpg
I did see one small mistake, but it is an easy fix. The gun ports and the square object right behind it on the nose are not black on the full scale. I will fix that when I format the skins.

I have one more project to do tomorrow and then it's back to building.
 

Namactual

Elite member
Ack, what a mess.:cautious:

I converted my second post in the thread to a content link hub. I had too many links and revisions in too many posts to keep track of. Everything will be linked and updated there from now on.(y)

I just uploaded the Veterans Airshow USN skins in a tiled format (7.5x10"). I think everything is in order, but if you have any issues let me know. I have been painting, cutting, pasting, moving, saving, uploading and finally linking F-18 skins in multiple formats for weeks and they are all starting to look the same. Please forgive me if there are any mistakes. :cry:
 

Crow929

Active member
I think it looks great, you should be proud.
Not only has this been added to the list of builds, I think it has leap-frogged a few in the order as well.
Thanks for all your hard work!
 

Namactual

Elite member
Thanks Crow!

That looks really good seth!(y)
Have you had any fitment issues, or other problems with the build so far?
Has the build guide been easy to follow?
 

Namactual

Elite member
Last night I decided to give painting a break and thought I would work on video editing for a bit. I found if I do not change the scenery every once in a while my productivity tanks as a result of burnout.

I thought I could crank this out in two hours before bed, but that was a mistake. I spent two hours alone trying to pre-cut three, eight minute videos into semi organized shots that are somewhat easier to work with. I spent another two hours playing with different songs and finally another hour trying to fix an export issue with iMovie.:cautious:

That's ok, I am still learning and that's what this is all about.

The timings are not perfect. Every time I would adjust, the timing issue would cascade farther down. You would think adjusting the next clip to compensate would fix the issue, but it never seemed to work out that way. A few shots slipped by twice, (which was not needed I just did not notice until after reviewing the finished vid a few times), but it was fun. Well maybe not the hour trying to get this to export properly, but the rest of it was. The thing I really need to work on next is finding a better way to organize and keep track of different shots. That is if there is a way to do something like that in iMovie.

This is only my third try at editing like this, and it definitely was the largest one I have worked on. I would love to get to the same level as C-Rock or Wingnut, but I have a long way to go.:sneaky:
Maybe someday.:)
 

seth

Member
Thanks Crow!

That looks really good seth!(y)
Have you had any fitment issues, or other problems with the build so far?
Has the build guide been easy to follow?


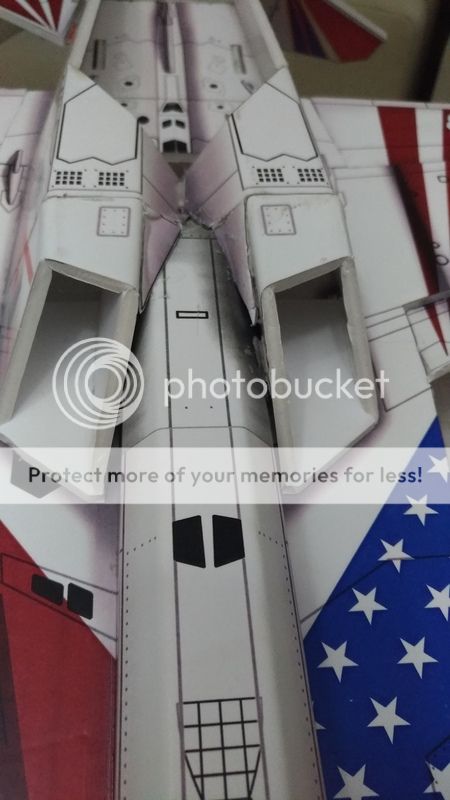
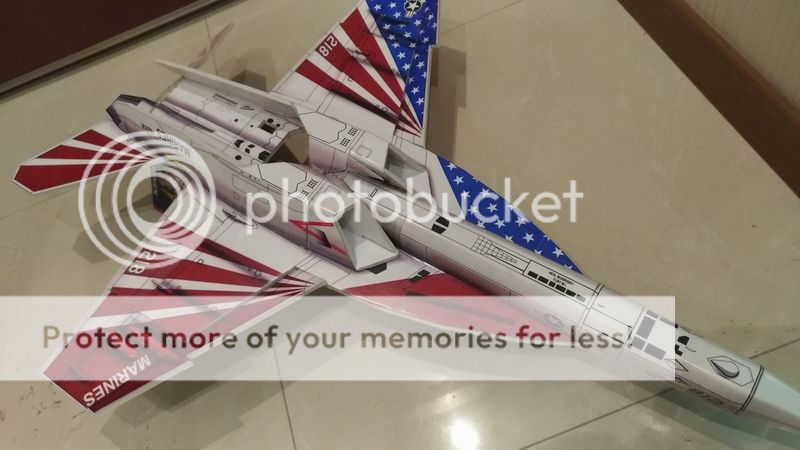
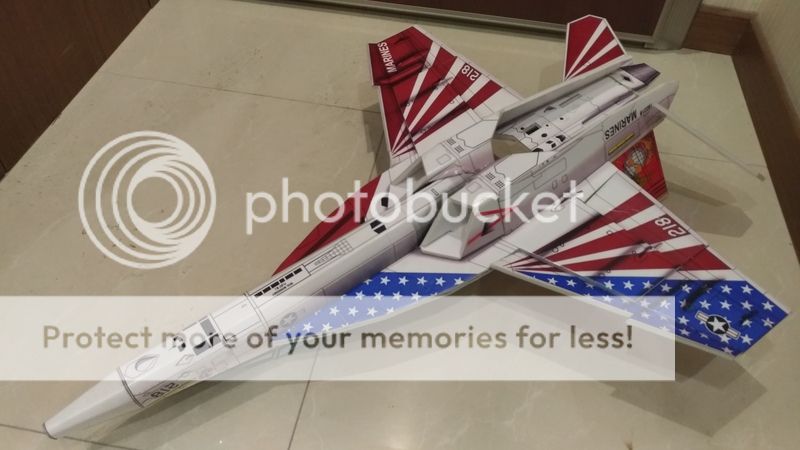
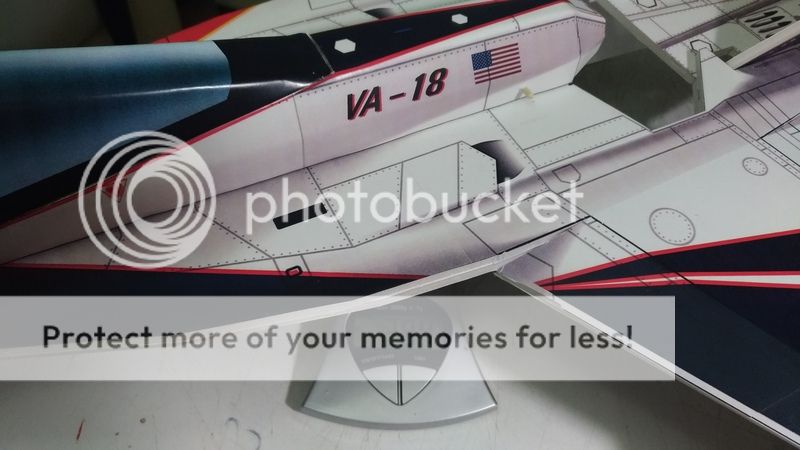
There was no fitment issues until now, but it was a bit difficult to combine the air intakes and the underbody. The build guide is very useful. Thanks again for all your share.
 

Namactual

Elite member
Aye, the intakes can be a pain that's for sure.

The skin prints have the intakes and rear fuselage connected which looks nicer as there is no visible seam. The tiled blueprints I had those two parts separated. It does not look as nice, but it is easier to build.

Did you leave the intake and fuselage connected or did you cut them in half? I probably should just separate the two parts on the skin versions as well, it really is the better of the two options.
 

seth

Member
I have not photographed the bottom part. Sharing it in the evening. Then it is clearer.

But everything is going so well until now. I really enjoyed making this plane.
 

Namactual

Elite member
That looks great seth!

The intake intake fold need to be hand trimmed a bit before gluing. I left a little extra meat there just in case the fuse folds were not made to spec. I am at work at the moment, but I will upload some example shots when I get home. Don't sweat it though, that will look amazing in the air.(y)

The weight is a bit higher than I would normally suggest, but it's not that bad. I have never weighed mine before I installed the electronics so I can not say exactly for sure, but my skinned version is only 354grams with the electronics installed. I think you might be pushing around 400+ if I had to guess. You could also use a smaller battery to help offset the extra weight. Using a 5040 hex-blade on a red bottom and a 1000mAh battery I think it would fly great. An AUW of 450gr is perfect with that setup, but would still be good up to 500gr or so.

Over 500gr it will fly for sure, but it may not be as acrobatic much heavier than that.

Keep me posted on how it goes and how much it ends up weighing in the end.

I just ordered 3 different kinds of adhesive paper I will be testing with in regards to weight and print quality. I will keep you all posted on how it goes.(y)
 

Namactual

Elite member
@seth
Sorry it took so long to get back with you on those pics. I have been trying to catch up on sleep. Here is a pic to try to help give a visual. Intake ref.jpg
The green area is about how much I had to trim off of the intake filler spike area. You may need to trim more or less depending on the fuse finger folds. That why I left so much extra foam there.
The red is about where the filler spike should end up when fit properly. I dry fit the part and cut a bit off of the spike, then dry fit again until it fits. Again, this has no bearing on flight performance and from a foot away or so you will not notice. You will never see it in the air.

Update on the Squadron Rhinos...
3DPrintWeap1.jpg
I have the AGM84's and AIM9X's as well as the weapon pylons all ready for a test print which I hope to have done tomorrow. I will keep you posted on how they work and how much weight they add. Again, these are going to hurt flight performance by quite a lot I would imagine, but the wingtip pylons along with the Aim9's should not be that bad alone. Either way, they should look cool for show purposes.
 

PsyBorg

Wake up! Time to fly!
Wow just caught up again to this thread. You guys are incredibly artistic people. Those skins look amazing.

Thanks for all the work specifically on the F 14 that one with the full load out is absolutely over the top for a foamie.

I just had a closer look at the logo and that is funny as all get out. There is only one problem. It has more hair then I do. The beard is spot on but I shave the 5 hairs that still grow on my head these days hehe.

Once again guys the effort you guys have put into these are FT spotlight worthy for sure. you took the skin details to the next level for sure.

@Namactual Great job on that video edit mate. I may have to have you do mine cause they are boring as @#$% I have been told. (Then again most are for showing issues and results of different things and not full on entertainment focused)
 

Namactual

Elite member
Thanks brother.
Video editing is something I have always been interested in, but have never really had video of my own worth editing. Hopefully now that I can strap a camera to my nugget when I fly I will have more footage to play with.

I had a busy day at work today, but it was the perfect time to set this to cook...
Still in the early stages. Mostly a scale low poly model at this point. I only have about 2 hours into this and I am sure once I bust out the foam foo it will change, but the base is there. I could barely shoehorn a 4s 1550mah battery up front, so I might drop this to 3s. I am sure it would fly with either as I plan to build this light.

That will probably be all the updates you will see on that for a while, I still have a ton to do before FF. That will have it's own thread very soon though.
 

PsyBorg

Wake up! Time to fly!
Same here. Working on a better Split Camera mount for the Alien., Will be tuning more on Taz tomorrow evening as well as testing my friends solar charging system he is bringing to FFO with us. Will get parts to repair the Gremlin on order later this evening now the monthly bills are paid and I know what funds are available.

The new build is EDF? Also get in the habit of recording EVERYTHING if you are interested in video production. I DVR everything, I have the split on the Alien and sometimes I bring a third camera out for more panoramic type views or close up stuff and stills.
 

Namactual

Elite member
That's another thing I have been trying to work on. I have a very small/light action cam, but to get a good view of the entire rear of the aircraft I have to mount this thing like 3' off of the back. Even as light as it is, it still plays havoc with my cg way back there. I need to look at these small quad cams and the lightest carbon fiber rod I can find to mount it on.

Aye, she will be a 50mm EDF first. I will also make a prop option and I have a few ideas on how to do that with such a tiny frame and still look scale. A standard prop and slot is out of the question, and I don't really care for pushers. Who knows, I might just have a pusher and/or third option which will have two tractors on faux wing tanks. (super bee style)

Update: Self adhesive paper test 1
I got my first batch of paper in the mail today, this stuff here...
Online Labels @ Amazon

So my first test results are as follows.
Standard 8.5x11 20lbs copy paper: - 4.5grams per sheet (This is what my Rhinos are made with)
Standard 8.5x11 24lbs copy paper: - 5.4grams per sheet (This is what I normally use at home for my pencil sketches)
Online Labels 8.5x11 label paper: - 5.7grams per sheet (This will be tested on my next prototype build)

One thing to note, the label paper has the adhesive applied already and the other two are dry. So I would say the Online Labels paper is equivalent to 24lbs copy paper. I have not actually tried to stick this to foam yet, but when I pulled the backing off of the paper to test the weight, this stuff is sticky as all get out. I think this could be a great way to skin these planes without the spray adhesive. (y)

I still have two more brands en route and should be here by next week. I will test those as well. I will keep you posted on print and adhesion quality along with the weight.
 
I am looking forward to seeing your viperpeak build.... with plan of course... and schemes:)
I mounted turnigy 2826 2200 kv motor with 30A ESC ..6x4 prop. 900+ grams of thrust on 3s. no maiden yet.
I ordered glossy print paper not sticker to see how it is in terms of thickness and print quality. I have 3 FMS 50mm edfs waiting for a home.
 

Namactual

Elite member
(Correction, it should be "peek". I can do a lot of things, but typing is not of one of them. Auto correct just compounds the issue.):sneaky:

I will be making detailed skins for the Viper for sure. Along with these...
AIM9XTests.jpg
In my haste I forgot to weigh these, but they really don't weigh anything at all. They are just tacked on with some hot glue anyway, I will weigh them when I rip them off. These will actually be going on my Squadron prototype build once it is done.

I clocked out early today and ran 8 batteries through my Wildcat. (Which is awesome by the way. (y) The Wildcat has single handedly restored my faith in E-Flight after so many bad experiences.)

I also spent a good chunk of time test printing the AIM9X's which had all kinds of issues at first. I am still trying to get my 3D print legs which takes a different form of art to get things to print correctly. The actual prints did not take long once I had the models dialed in. I made the same design changes to the heavy pylons as well as the AGM84's, but I did not get around to printing those yet. They are in three sections and each section is a two hour print on average. I plan to do a few tomorrow while I spend my day gluing skins to foamboard. Those are going to be monsters, 7-1/4" long.o_O

P.S. do not toggle italics in a post, you will never get it to go back...:poop:
 
Those AIM9X s look awesome; I wonder how much drag they will cause.let us know please. Are you going to paint those?
Speaking of 3D printing what brand /model do you have? I am thinking to buy one as a noob. ,maybe ender 3 but not sure! Seems like all the printers need some work make them work; require some time to invest in.