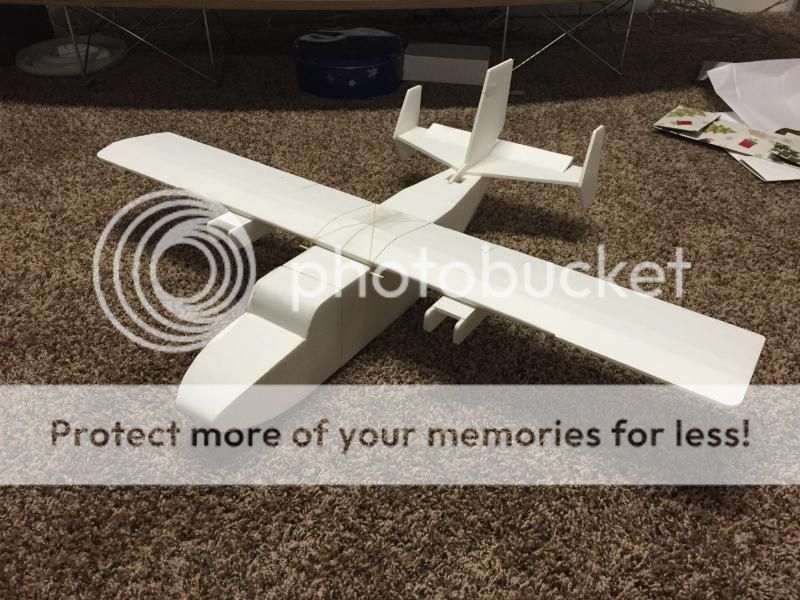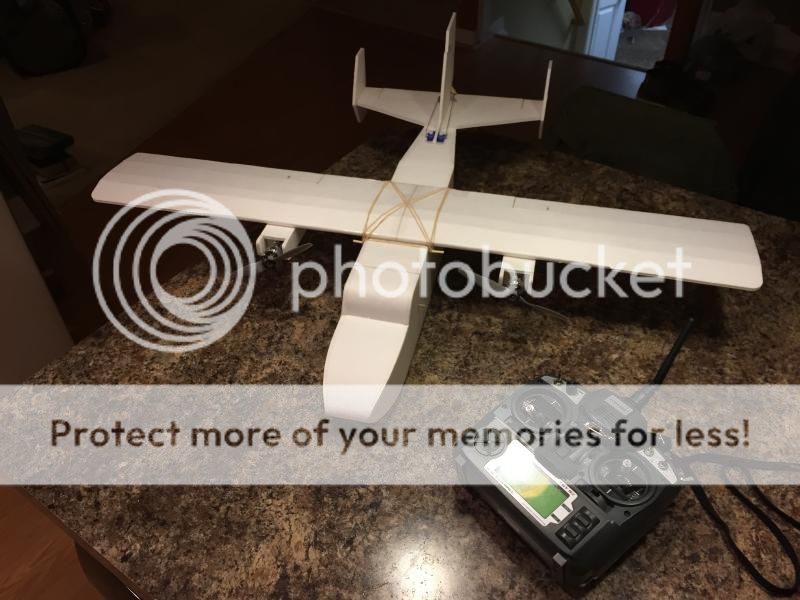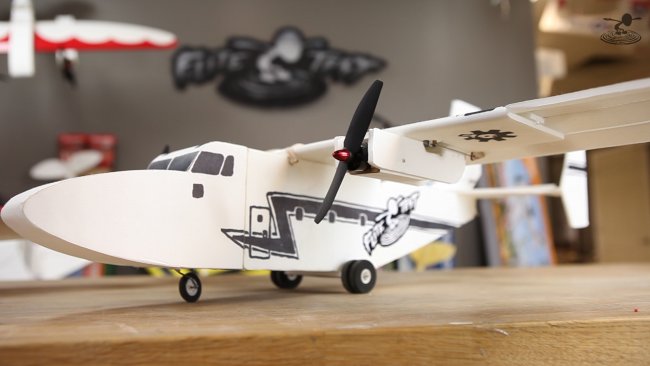
If you are familiar with our friend, Peter Sripol, you have definitely seen this design before, but this is just a bit smaller.
He shrunk down his Cargo Plane design and we now have the FT Mini Guinea! His first Flite Test plane ever! YAY!
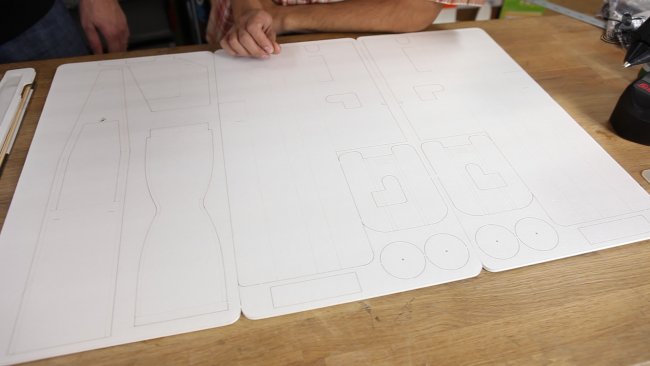
If you want to pick up a Speed Build Kit you can check it out in the Flite Test Store.
They not only save you a ton of time, but they help support us so we can continue to do what we do.
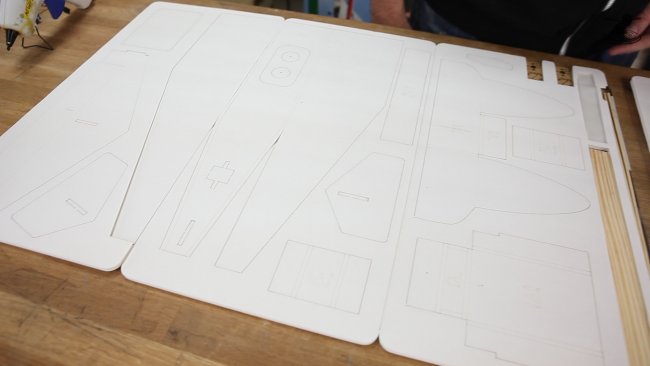
If you don't want to pick up a kit, you can download the build plans and cut it out yourself!
FREE BUILD PLANS
FT Mini Guinea [FULL]
FT Mini Guinea [TILED]
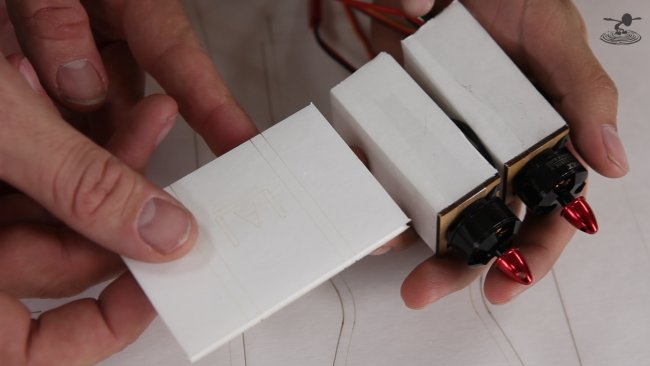
Before you start your build, you will need to assemble two of the Mini Power Pods.
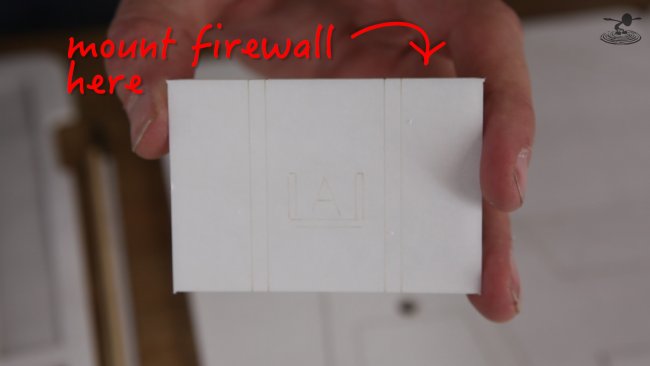
In the kit you will already the materials all ready to go. Make sure you mount the firewall to the side the "A" is pointing towards.
Below you will find a video showing you exactly how to make the Mini Power Pod.
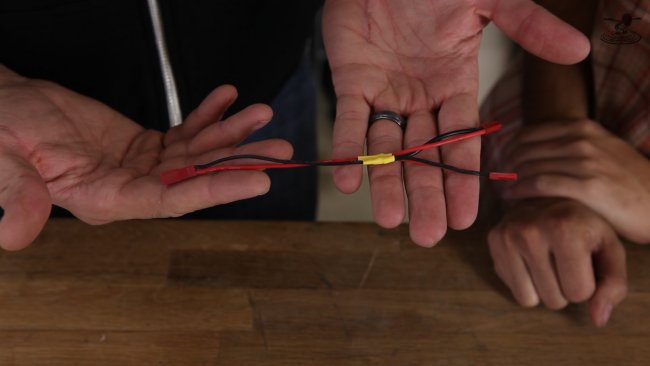
Also, because this is a twin engine, you will need a Y-Harness. These are becoming easier and easier to find online but if you want to make one, you can check out the video below.
This video will also show you how to mix differential thrust into your transmitter.
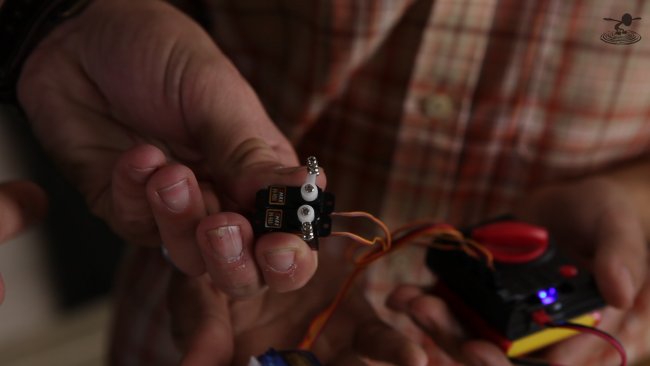
Lastly, it's always convenient to center up your servos before the build. That way you can drop them right in with no worry.
Josh recommends placing the linkage stoppers roughly 1/4 inch (~0.6 cm)
Once you have two power pods, your Y-harness, and the servos centered, you're ready to begin.
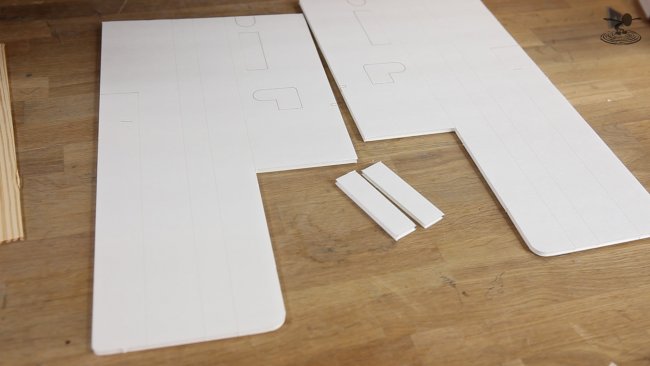
Here are the cutouts for the wing.
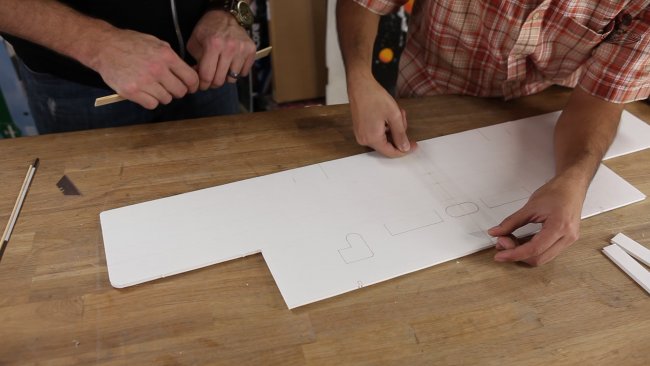
Join the two halves with hot glue and tape.
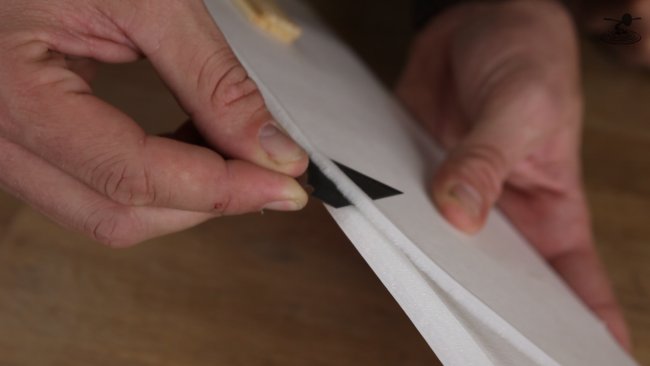
Cut a 45° double bevel on the leading edge.
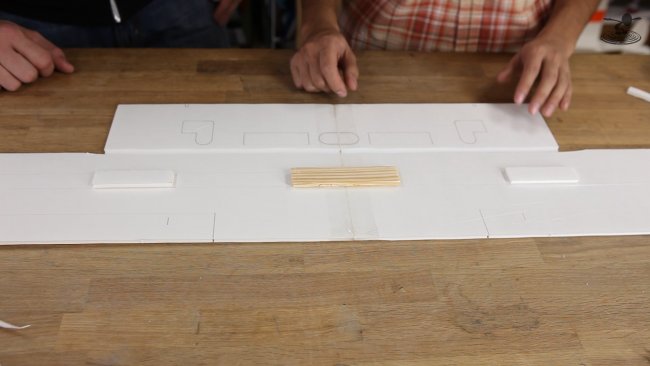
The center spar is a double thick paint stick and the outer spars are foam.
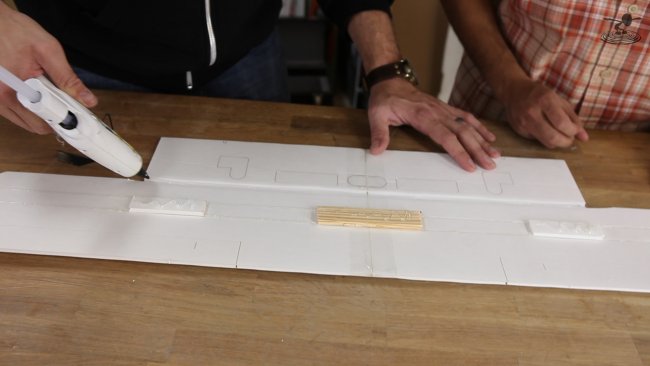
Reinforce the grooves with hot glue and fold the wing over.
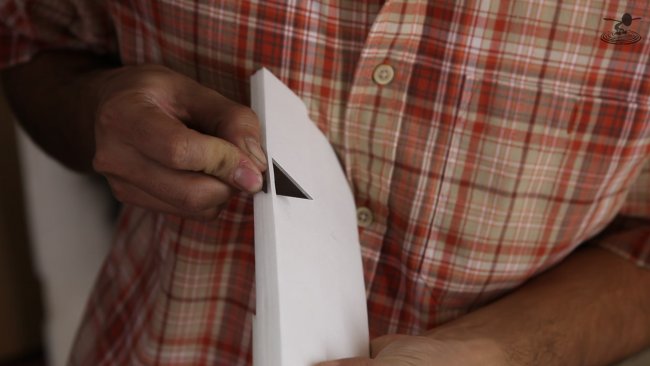
Cut a 45° bevel on both the ailerons.
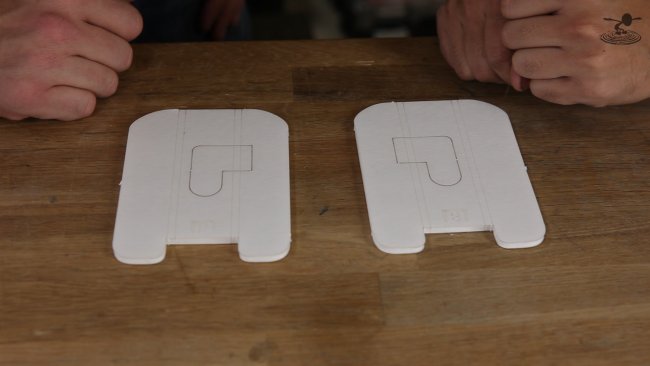
These are your power pod nacelles.
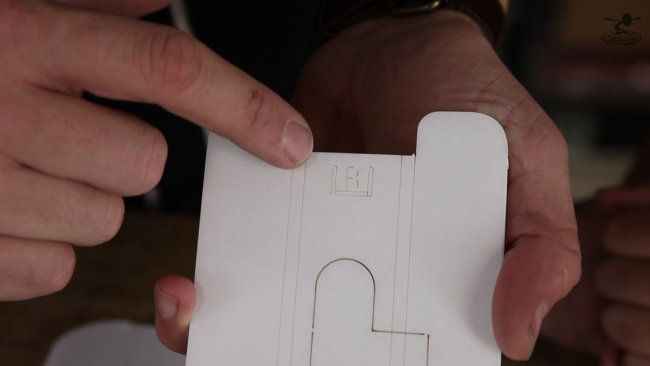
These are put together with a B-fold. If you are unfamiliar with these kinds of folds, here is a simple reference.
A-fold = sides Above bottom
B-fold = side Beside bottom
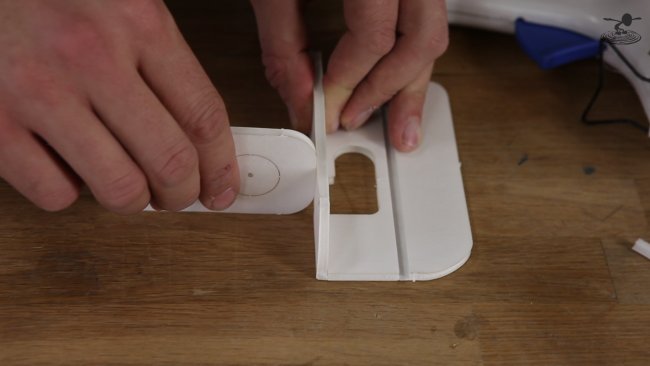
Use a scrap piece of foam (or a carpenters square if you have one) to make sure everything is 90°.
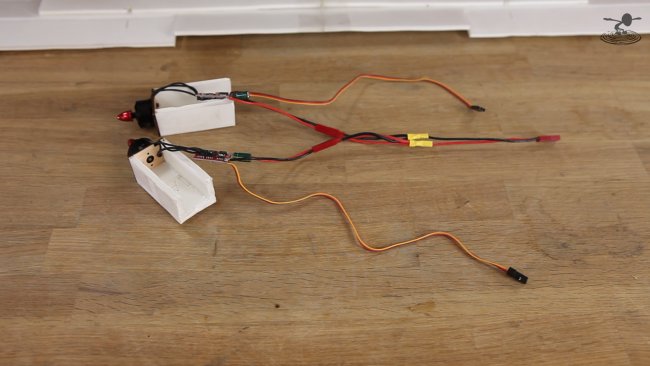
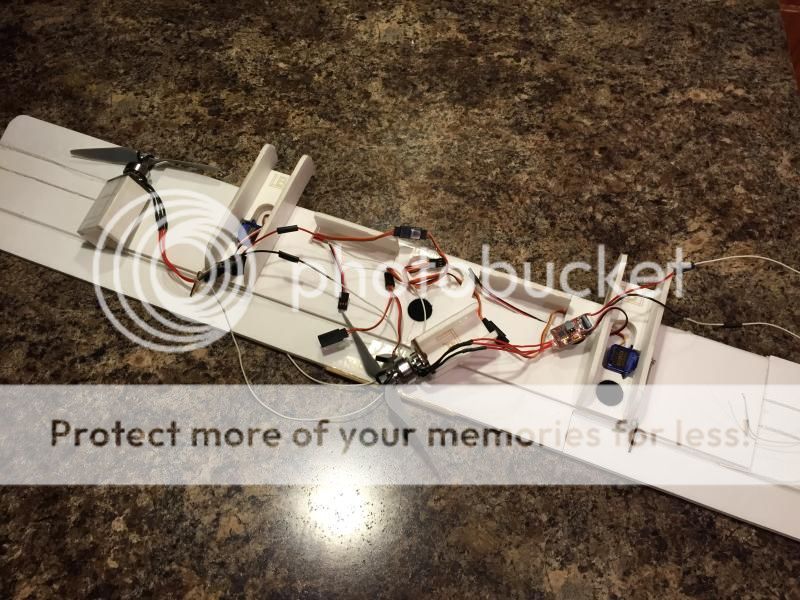
Usually we save the power system setup for the end but because the majority of it lives inside the wing, we'll get it out of the way now.
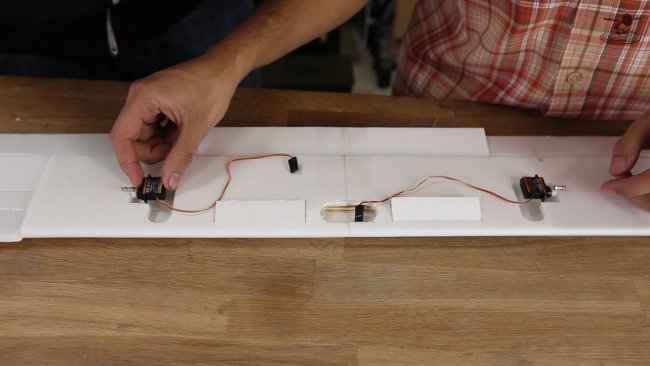
There are 5 punchouts on the wing for routing servo wires. Two that look like little socks (where you mount the servos), two access pannels, and a center hole.
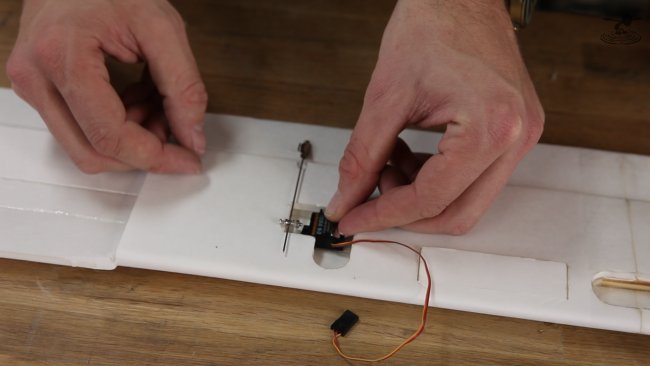
Glue in your servos, control horns, and attach the push rods. When you cut off the overhang DON'T THROW IT AWAY! You'll need it for the remainder of the build.
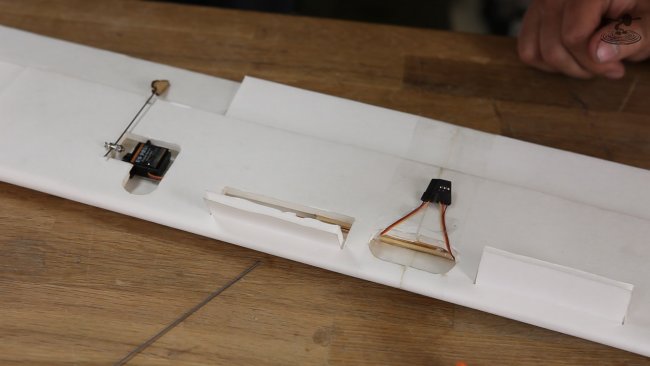
Feed the servos wires through the wing and out the center hole.
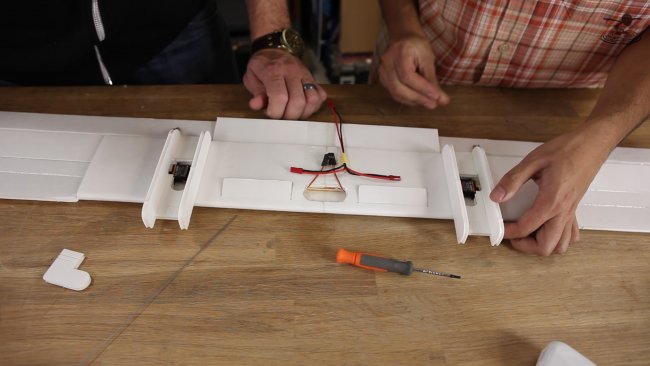
Next, start to rout the Y-harness through the center.
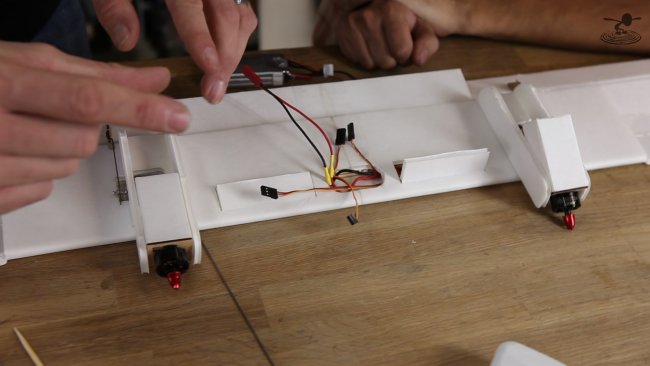
Fit the power pods into the nacelles and connect them to the Y-harness.
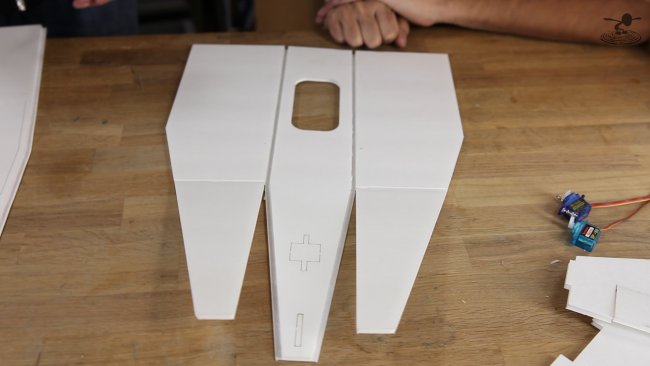
On to the fuselage!
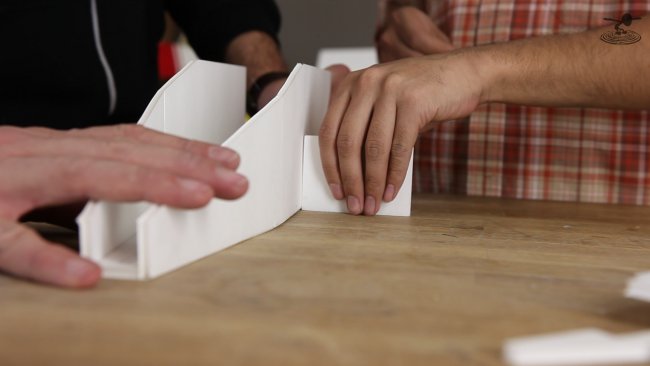
This is essentially a box. Use B-folds to create the sides, and double check for 90°.
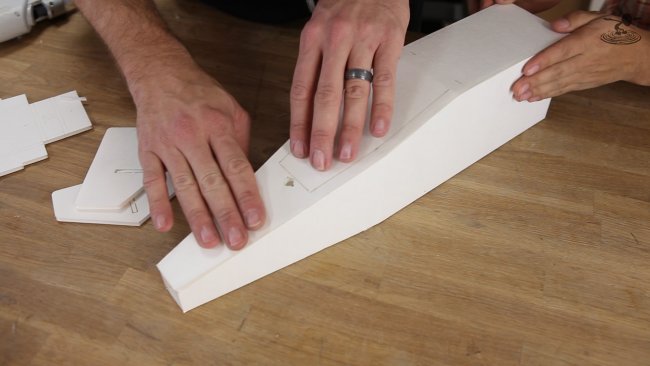
Glue on the bottom which will contain the hatch. Don't cut it open just yet to give the piece more rigidity while you work with it.
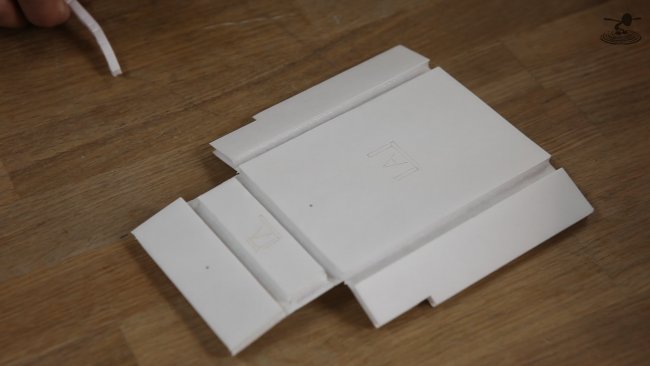
Next fold together the battery platform.
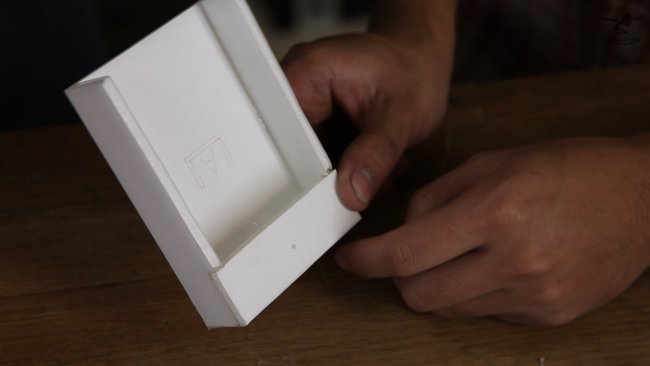
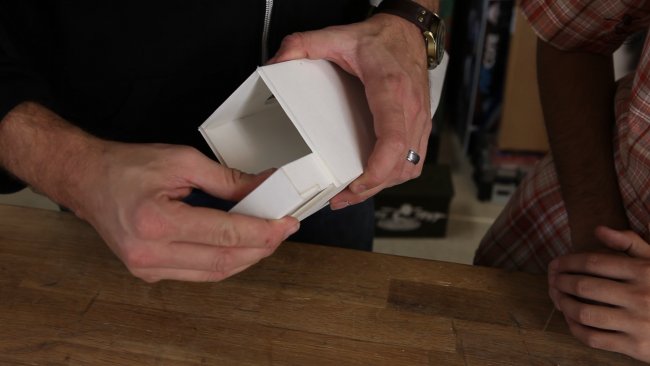
This piece will also help line up the nose.
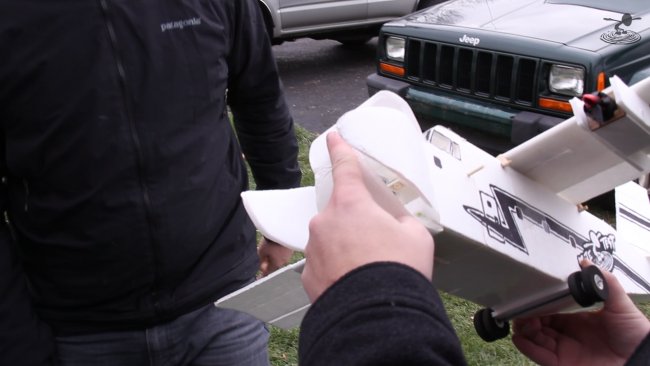
Speaking of the nose, it is designed to take the majority of impact if you do end up hitting something.
If this is the case more often than you'd like to admit, you can pick up Nose Replacement Pack in our store.
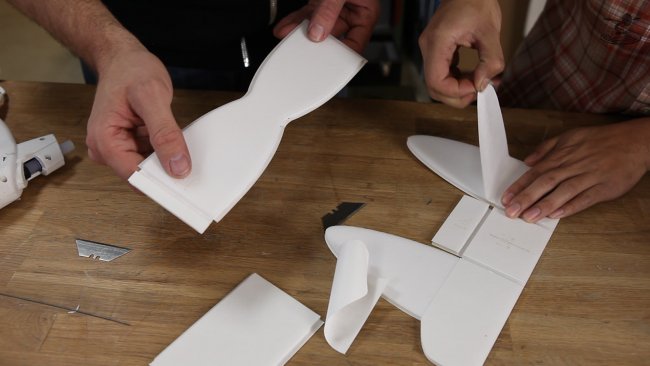
One of our favorite properties of this foam is flexability. If you remove the paper from one side, you can mold beautiful curves.
Carefully peel the paper off the inside of both the "bow tie" piece and the peaks of the nose assembly.
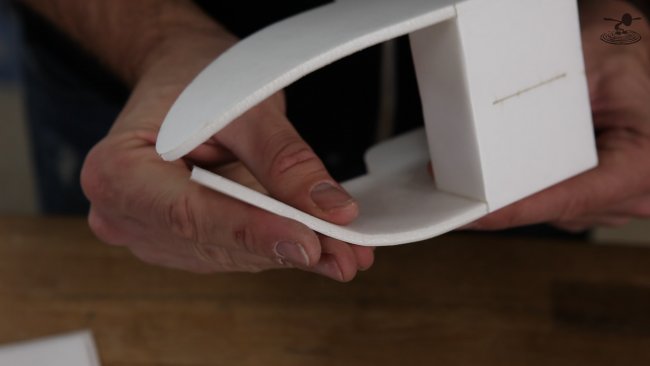
After you fold and glue it together, slowly begin the flex and work the nose until it has a nice curve.
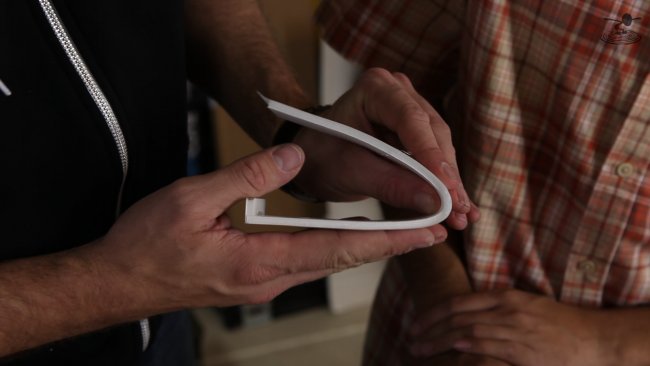
The same with the "bow tie".
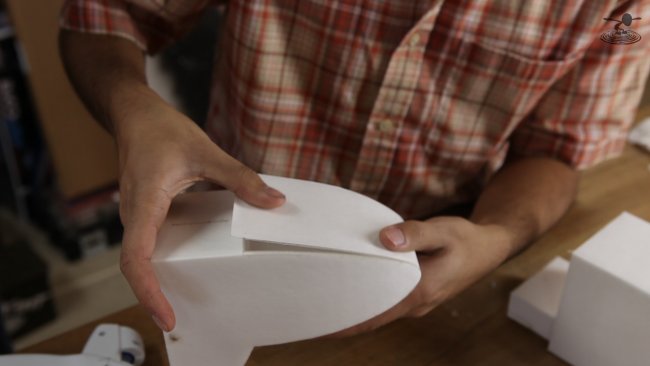
Then, glue the two together.
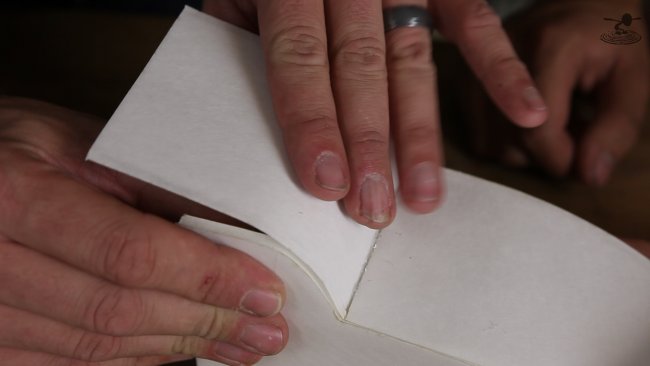
Lastly, apply the windshield and cut off the overhang.
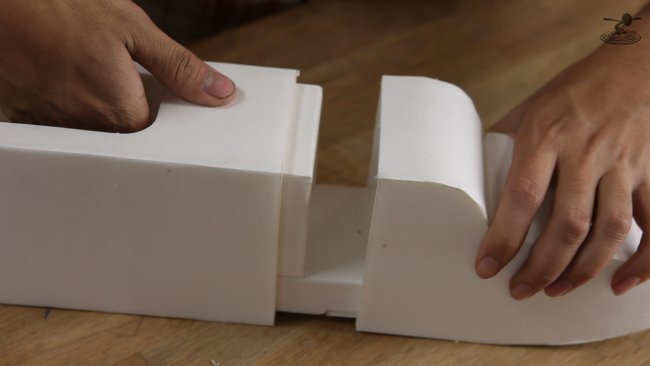
There is a horseshoe shapped doubler that helps line up the nose. Glue this just above the battery platform with half sticking out.
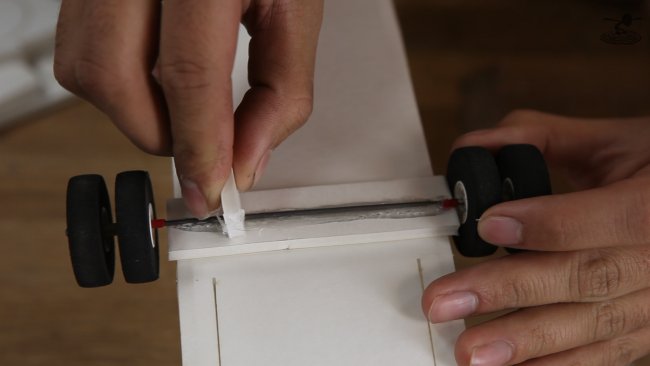
There are two reference dashes on the bottom of the fuselage. This is where you should mount the landing gear.
Depending on the size of your wheels, you an just make a small groove right on these reference marks, or for smaller wheels, make a little foam standoff on the same spot like you see above.
The kit comes with foam wheels but they do wear out pretty quickly. If you want a more permanent solution, we have much better wheels available in our Store.
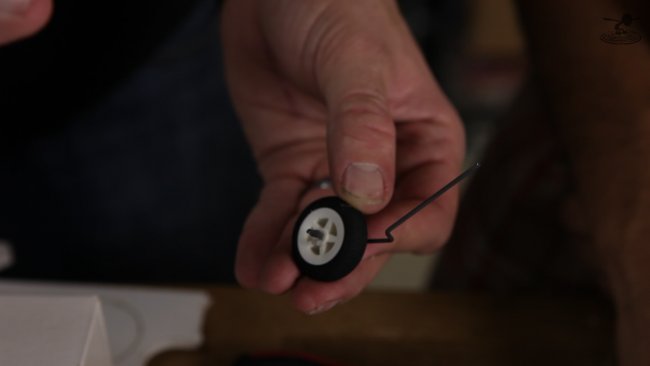
The nose wheel is castering, meaning that it freely spins allowing you to taxi very easily.
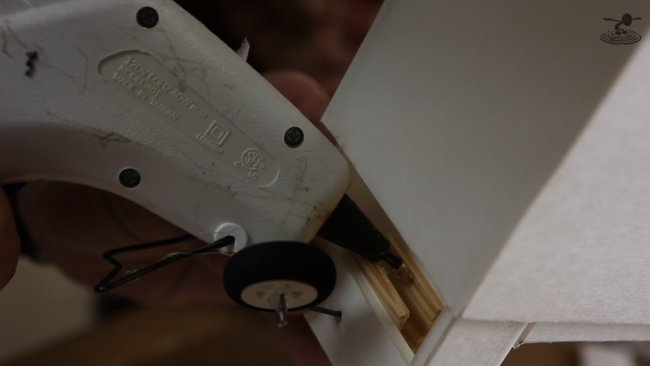
You should have two leftover ends of that paint stick we used for the spar. Glue them on the inside of the battery platform over both reference holes.
Drill out the wood through those reference holes allowing the nose wheel wire to fit through. Apply a small drop of hot glue surrounding the wire on the inside.
Slowly rotate the wheel while the glue rotates so that it holds but still lets it spin.
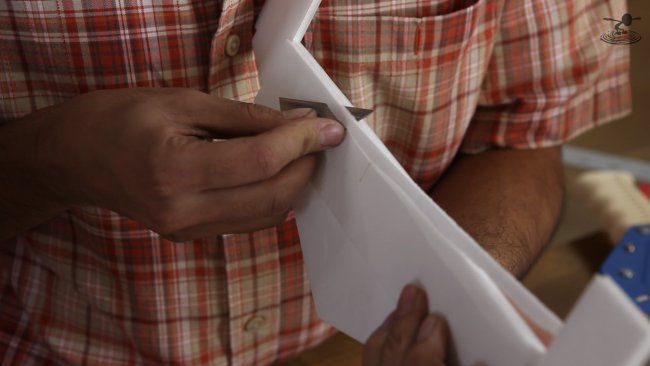
Next, cut a 45° bevel on the tail surfaces...
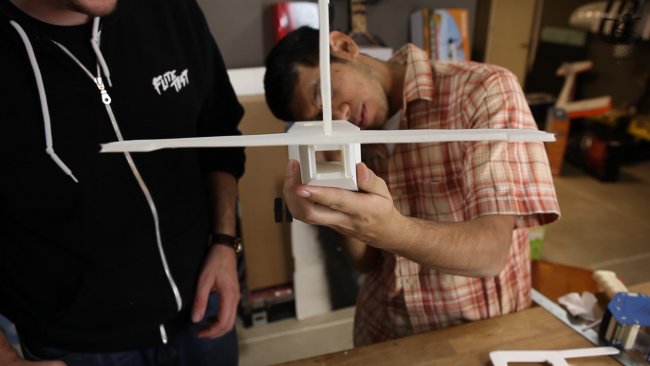
...and glue them into place.
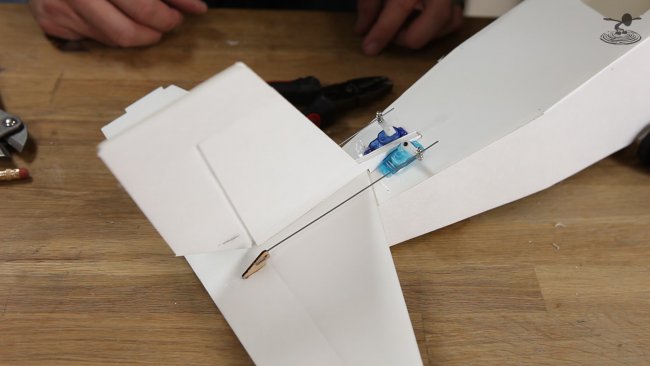
Mount the elevator and rudder servos along with the control horns and push wire.
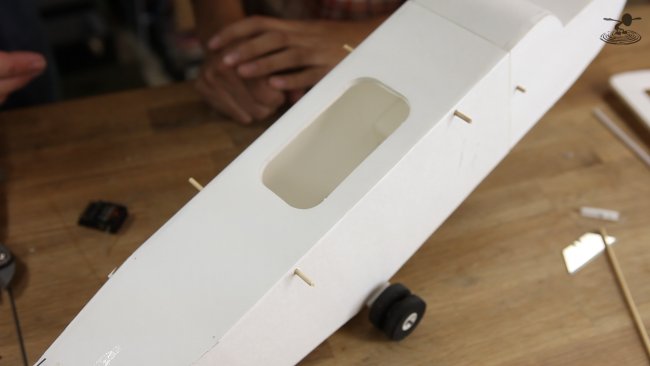
The small holes on the side of the fuselage (and back of the nose piece) are for the bbq skewers. Push them through and cut off the overhang.
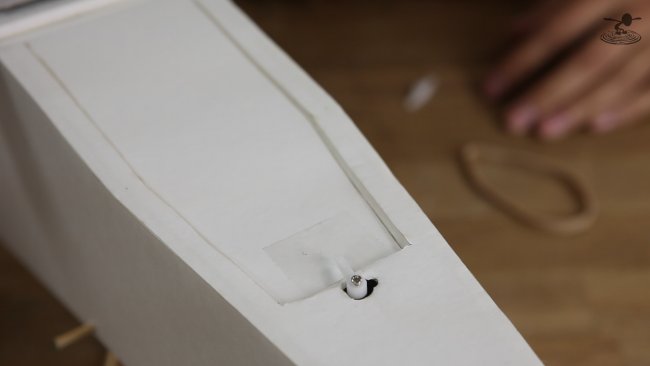
Now, if you like, you can open up the bay door and install the servo. This is an open-once setup, but feel free to experiment with servos so you can close and open at will. Be creative and let us know what you come up with. This is called the guinea pig for a reason!
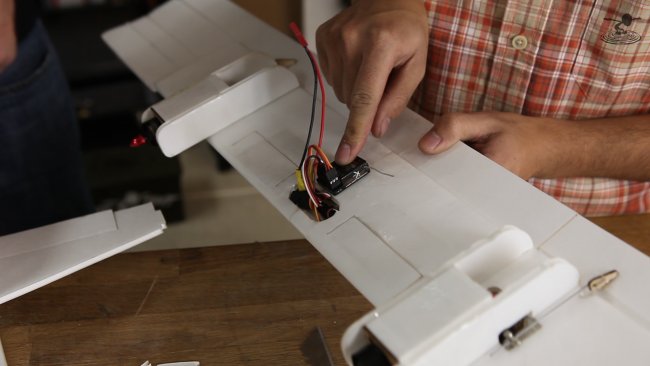
Next, make all your connections to your receiver and glue it into place.
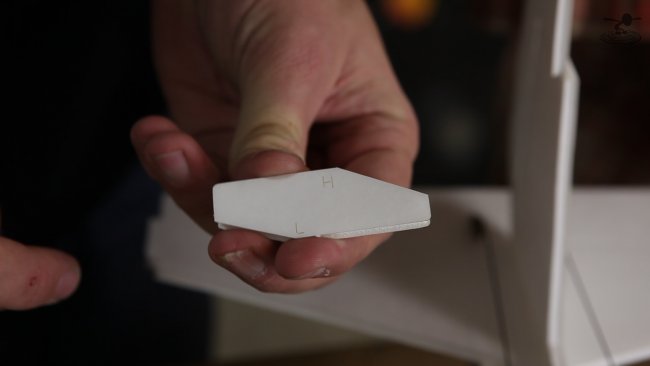
This is your throw gage.
H = high throws for aerobatics and aggressive flying
L = low throws for docile slow flying (recommended for beginners)
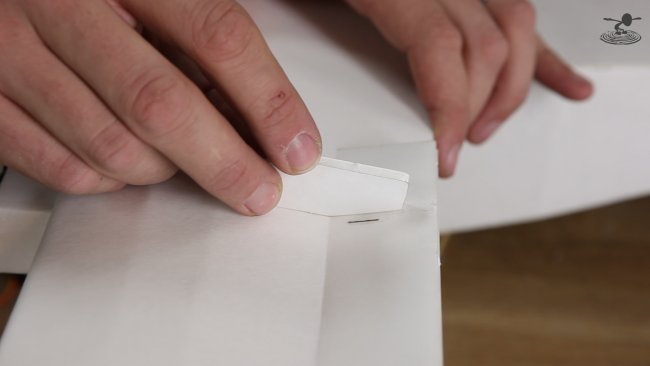
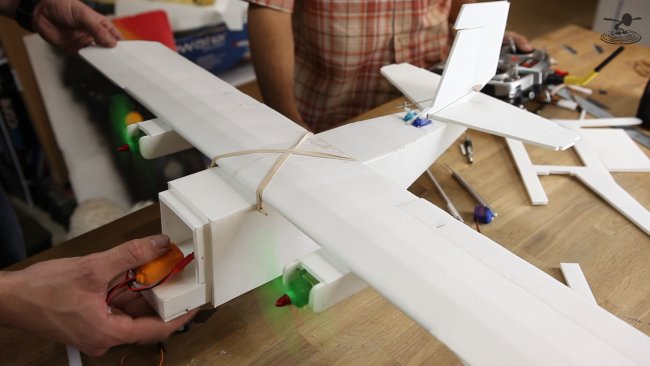
After you have tested your connections and everything is working correctly, go ahead and put on your props.
Now you can also apply the battery velcro.
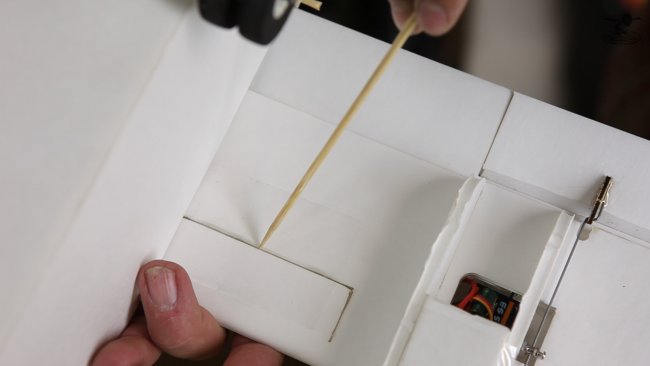
Your CG (Center of Gravity) is going to be roughly on the open end of the access panel. If you haven't already you can secure them with a small piece of tape.
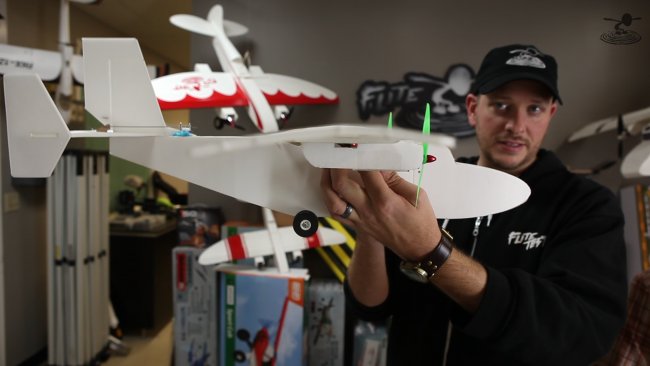
When you check your CG Josh recommends balancing just a touch nose down. As he always likes to say, "A nose heavy plane may fly poorly, but a tail heavy plane flies only once."
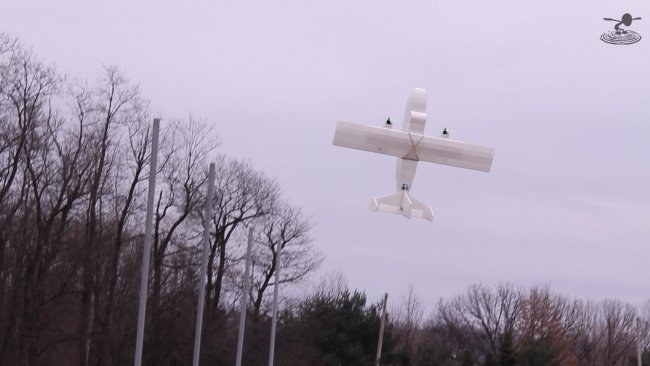
A big CONGRATULATIONS to our friend Peter for this amazing benchmark in design!
Please experiment with this plane and show us your work by making an article here, posting to Facebook, or making a thread in the forums. We'd love to see what you come up with!
FREE BUILD PLANS
FT Mini Guinea [FULL]
FT Mini Guinea [TILED]
RECOMMENDED ELECTRONICS
MOTOR (Option 1) - EMAX MT1804 2480KV Brushless Motor
MOTOR (Option 2) - RTF Mini Motor X2204 v2 2300KV
2 Servos (Option 1) - Towerpro SG50 5g Micro Servo
2 Servos (Option 2) - HXT500 6.2g / 0.6kg / .08sec Micro Servo
ESC (Option 1) - Dynam - Dectrum 12Amp ESC w/ 3A BEC
ESC (Option 2) - Suppo 10A Brushless ESC
Battery (Option 1) - Turnigy nano-tech 460mah 2S 25~40C Lipo Pack
Battery (Option 2) - Turnigy nano-tech 460mah 3S 25~40C Lipo Pack
Battery (Option 3) - Turnigy 800mAh 2S 20C Long Lipo Pack
Prop (Option 1) - Direct Drive HQ Prop - 5x3 Black
Prop (Option 2) - Direct Drive HQ Prop - 6x4.5 - Black
TRANSMITTER DIFFERENTIAL MIXES
Spektrum DX-8 (coming soon)
Spektrum DX-9

