FTFC19: Build-ruary by Kilroy07

kilroy07

Legendary member
Alright, alright.... I know I'm a glutton for punishment.
Below you will find my entry in the FTFC19 https://forum.flitetest.com/index.php?threads/ftfc19-build-ruary.56846/

I've already got 2 projects underway (more on that later.) But you know what? Winter weather is no friend to RC pilots here in Illinois so I might as well dive right in and wrap up some things I have been meaning to get around to...

I consider myself an average builder (3.5/4) and still a beginner pilot (2) I can fly the pattern all day, but inverted and such, forget about it!

So here's is my build list;

#1 FT Seaduck
#2 FT Mustang
#3 FT Legacy EDIT: Daddy/Daughter Dual FT Flyer build
#4 FT Explorer

For extra credit I"ll add my Entry into the FTFC: Fantasy Aircraft Design & Build Challenge My Swordfish2 (minus 5 pts, because i's already started.)
https://forum.flitetest.com/index.p...aft-design-build-challenge.54679/#post-429594
 
Last edited:

kilroy07

Legendary member
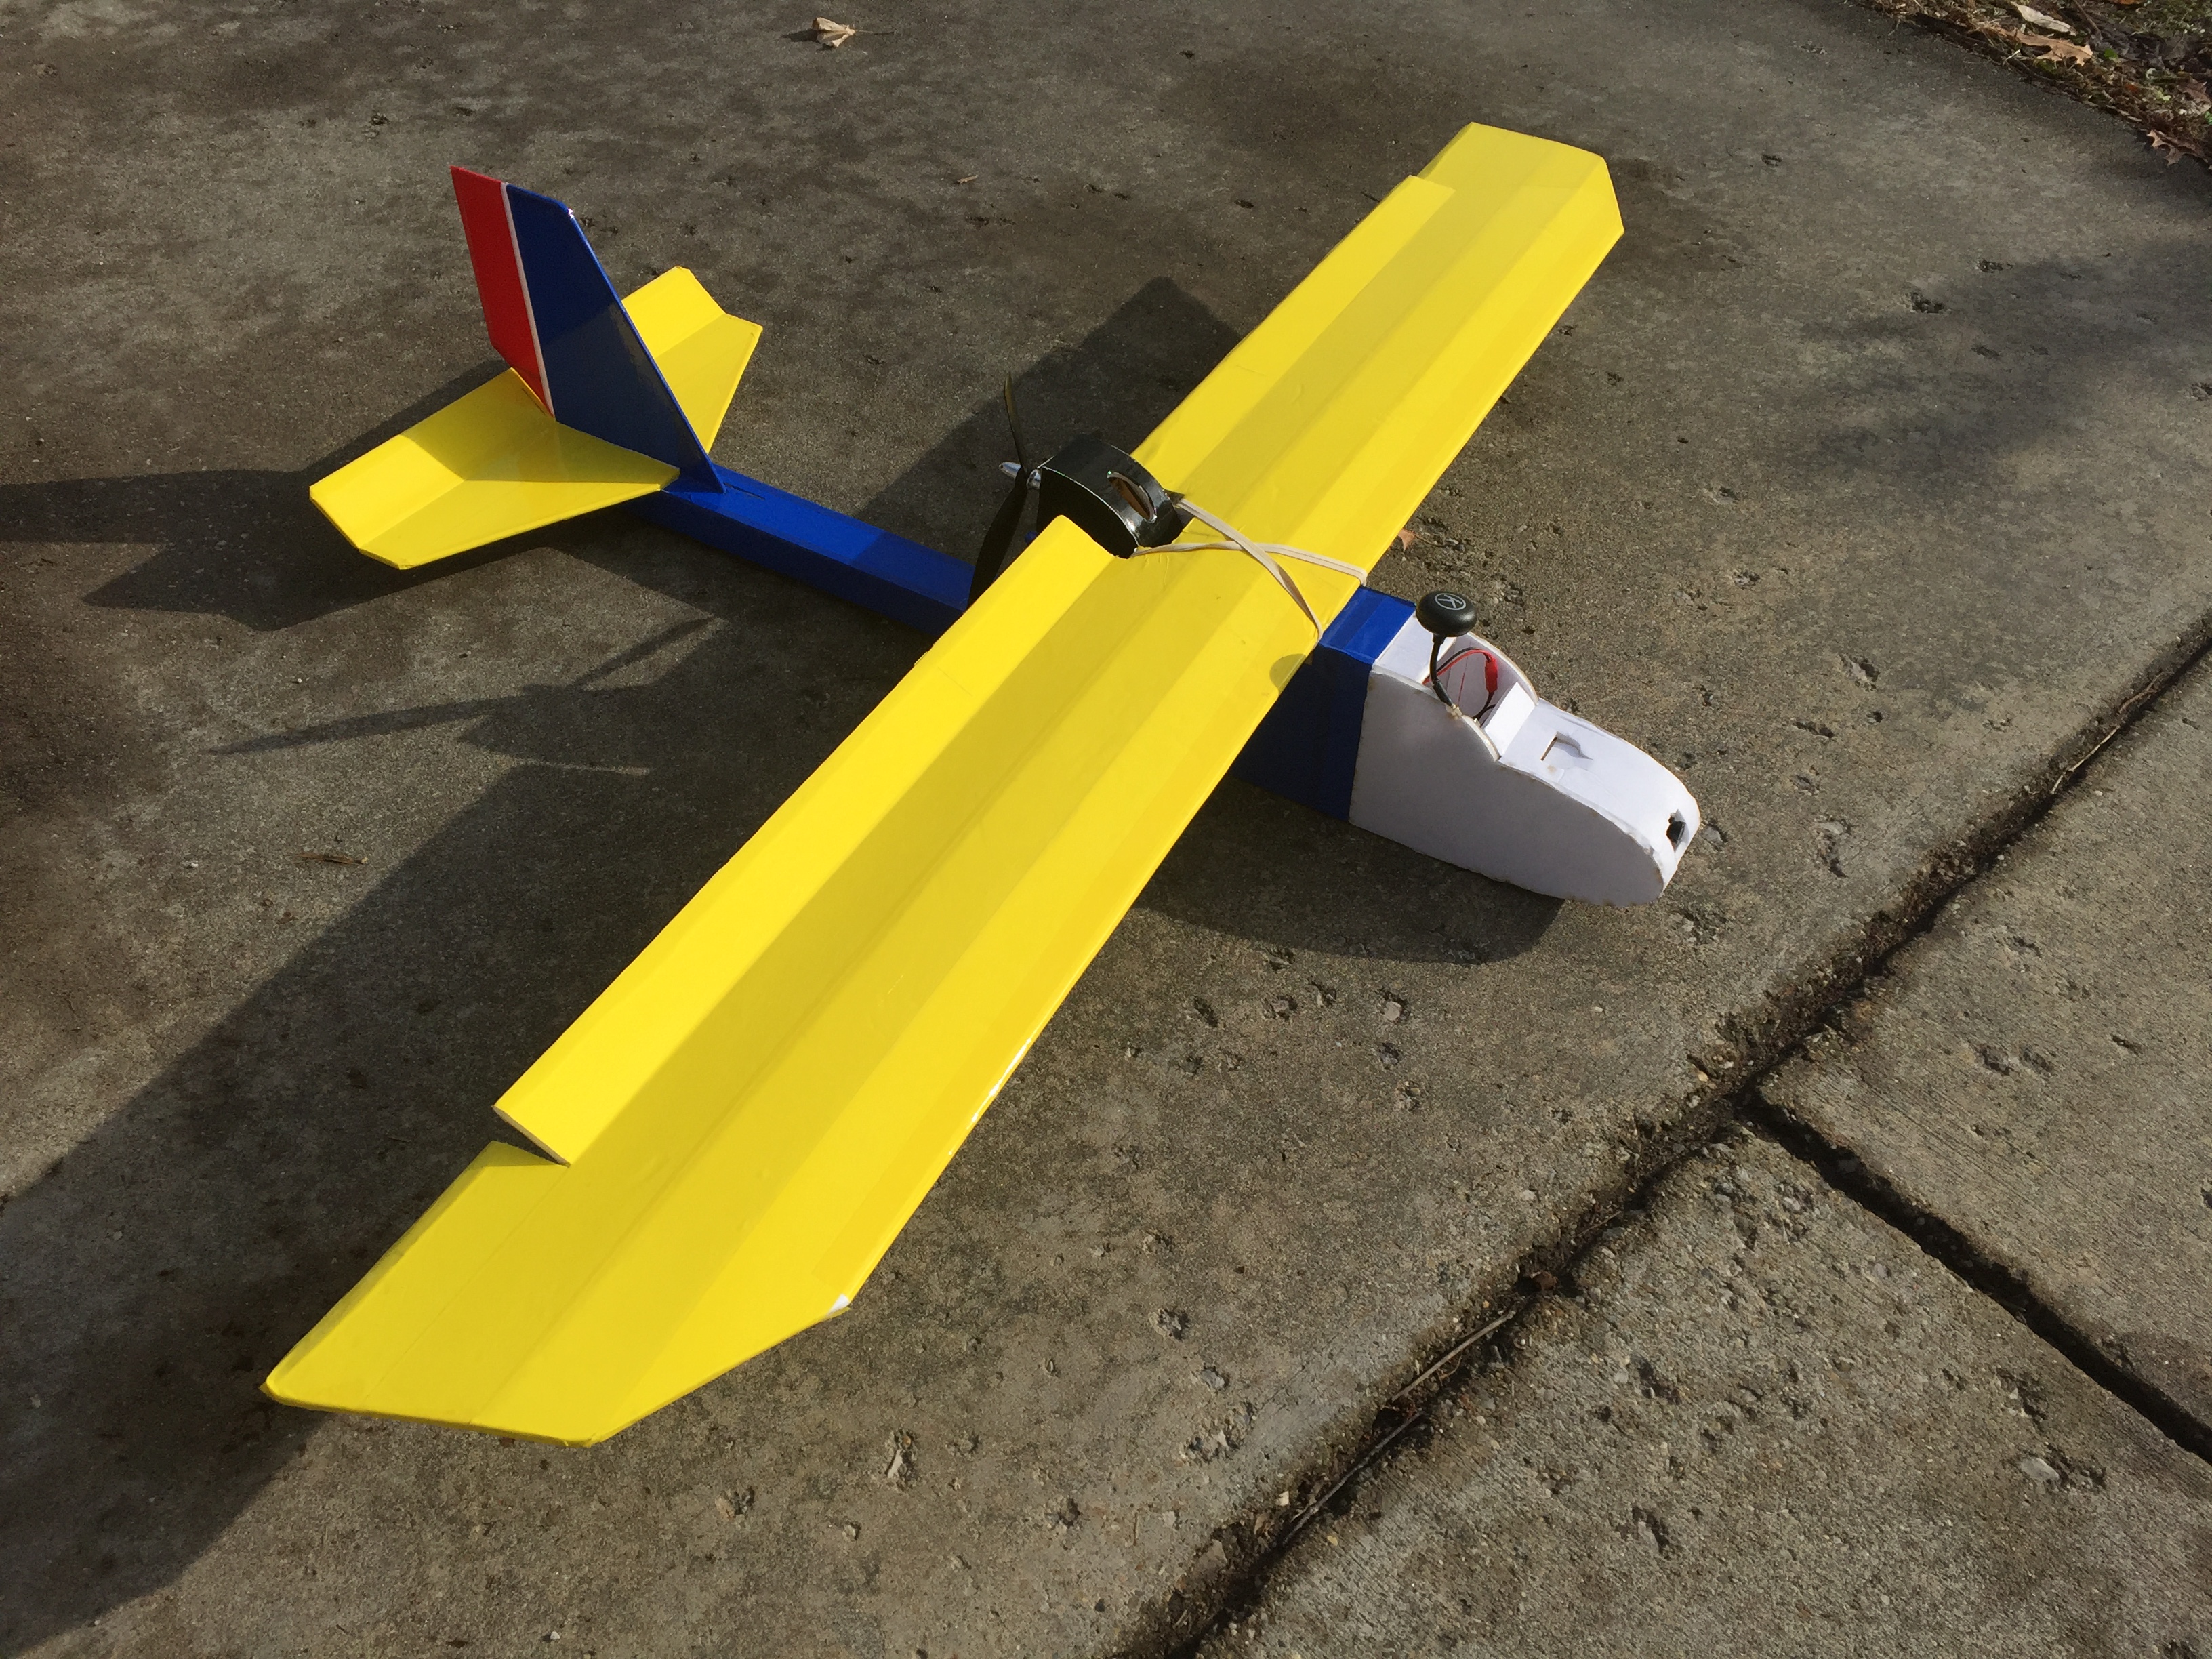
Build #1 - https://www.flitetest.com/articles/ft-explorer
IMG_8164.JPG


This was my Third Explorer.
The first, the wings folded... Pretty common, but you only find out about that AFTER the fact. :cautious:
The second was my first FPV plane that I actually flew FPV. It died when I added an A-3 gyro (more on that later.)

Build Started/Finished 2 February

Build Time Approx 6 Hours;
2.5 Airframe (includes Rounding edges, see build tips)
1.0 Tape (cosmetic/protective)
1.0 Gryo setup/Config & Tune
.5 Setup / Check

Maiden Video;
(7:13)
There was a second flight (video not posted, yet.)

Things I learned; Using covering iron to "roll" foamboard edges REALLY turns out nice! (I need more practice though!)
I need a LOT more practice applying colored packing tape!

Things I remembered; ALWAYS have your servos centered BEFORE you glue them in!!!!! :rolleyes:

Things that didn't work; FPV nose is a little shoddy, probably make a new one (that's why it isn't covered)
Gryo on setting #1 was fine. #2 still tried to kill plane... Really going to have to dive into this one as I plan on using one in the Swordfish 2. Not sure if it's something I've got configured wrong, but it always seems to try and roll inverted.

Things I might do differently; 3 channel is MUCH easier to fly, BUT I want to learn (and get comfortable with) 4 Cha.
If this were solely an FPV bird I think I would drop back to 3 channel.

See build Tips (other postings in this thread) for details of the build.
 
Last edited:

kilroy07

Legendary member
Build #2 https://www.flitetest.com/articles/ft-sea-duck-build
IMG_8232[1].JPG


This was my First Sea Duck (and quite possibly my last...)

Build Started; 10 February
Finished; 14 February

Build Difficulty 5 (out of 5)

Build Time Approx 10 Hours;
5 Airframe
3.5 Tape (cosmetic/protective)
1 Electronics
.5 Setup / Check

Things I learned; FT has REALLY polished their current kits compared to the "Early Days".
Building this kit is a right of passage I think. If you can build this kit, AND build it well (not cobbled together like I did) then you can build ANY FT kit.

Things that didn't work; I really was tired of this kit at the end. I'm not sure if it was the kit or the fact I was trying to cover it with colored packing tape during the build... from a distance it looks fine, but the tape looks to be 200 years old with all the wrinkles!

Things I might do differently; PAINT instead of colored packing tape!! (while it's great for simple geometry planes TT, it was a REAL pain on this model.)

Maiden Video;
(Raw unedited upload) And there's something at the beginning for you @FoamyDM ;)

See build Tips (other postings in this thread) for details of the build.
 
Last edited:

kilroy07

Legendary member
Build 3# https://www.flitetest.com/articles/ft-mustang

IMG_8246.JPG


This was my Fourth FT Mustang.

Build Started; 15 February
Finished; 16 February

Build Difficulty 2 (out of 5) Until you get to the turtledeck then a 4. (It's not that the TD is hard, it's hard to get it nice and clean/perfect.)

Build Time Approx 4 Hours;
3 Airframe
1 Electronics
Quite a bit of time taking notes and visualizing (dreaming about) A redesign of the FT Mustang using one of these beast motors!!
IMG_8247[1].JPG The smaller one is whats in there now...

Things I learned; No surprises here.

Things that didn't work; Remembered how much I hate the posterboard turtle decks!

Things I might do differently; Redesign one of these bad boys will be my summer project.

Maiden Video;
 
Last edited:

kilroy07

Legendary member
A change in plans; https://www.flitetest.com/articles/FT_Flyer_Scratch_build
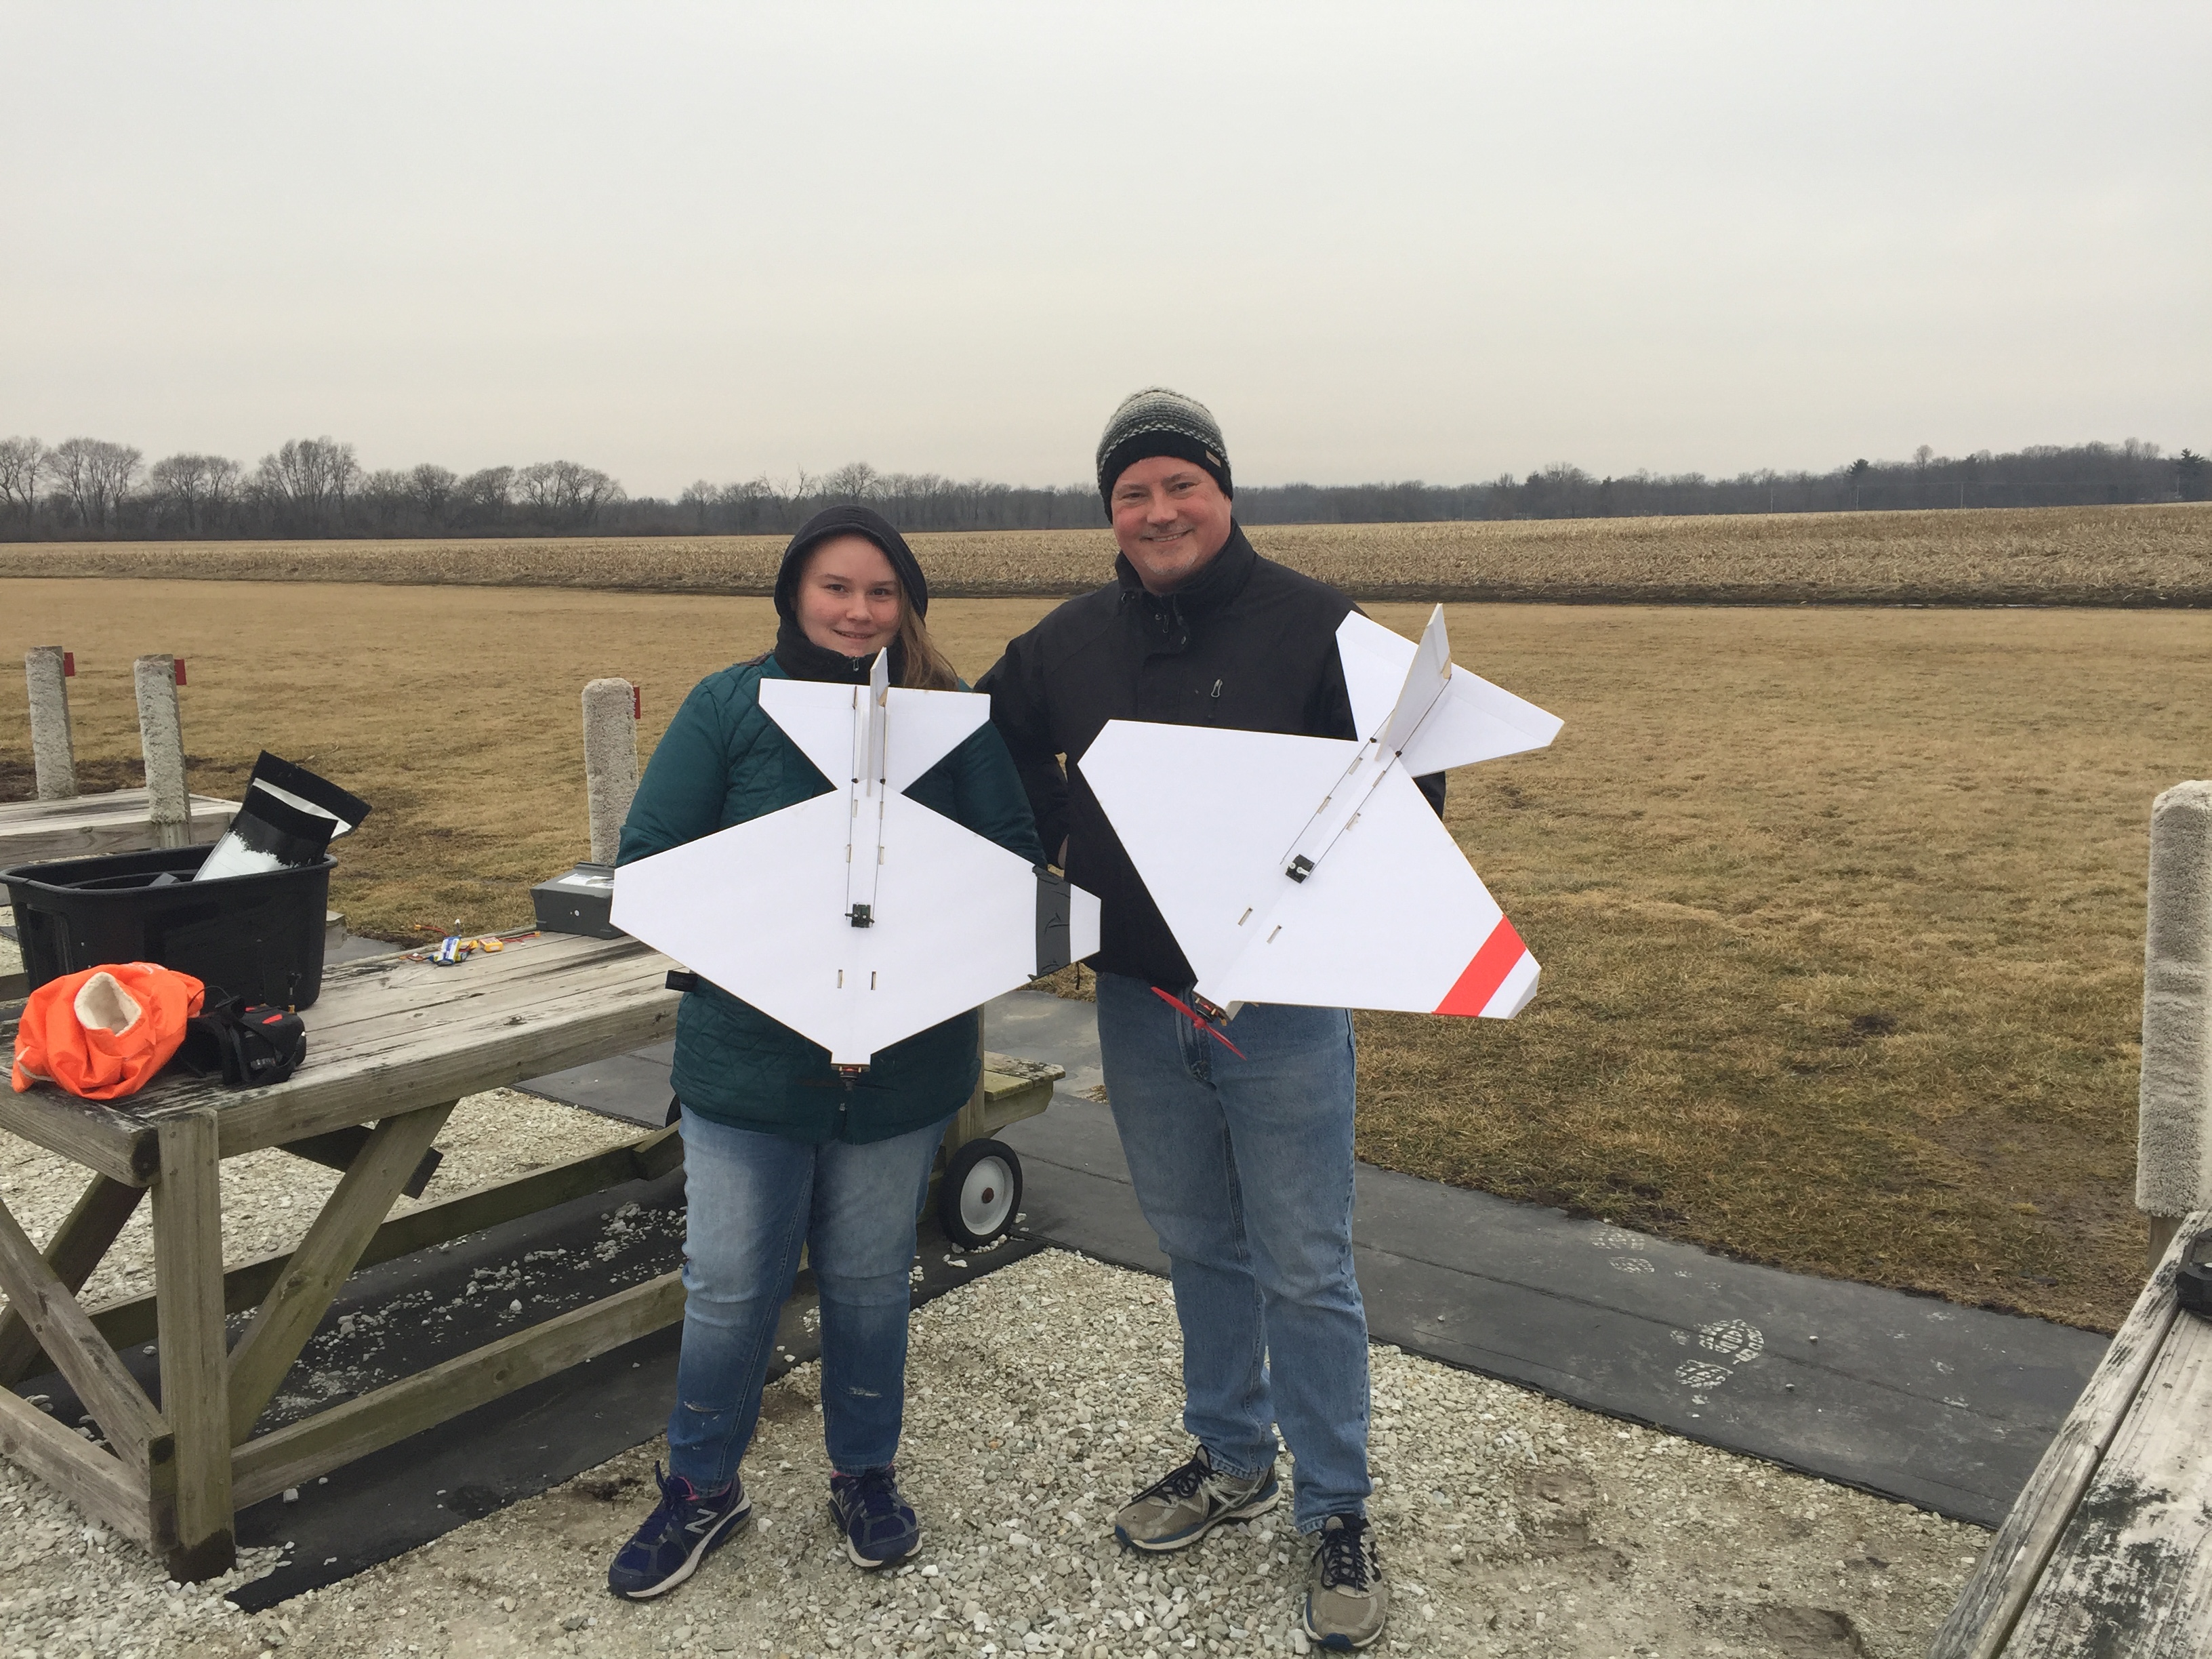
With my livingroom filling up with planes, my daughter has shown some interest. So I figured we would give it a go and see what happens.
I decided to change my last subject to an FT Flyer.... I know, I know... NOT much of a challenge... However, my daughter was going to be right along beside me building her own as well!

IMG_8268.JPG


I set her up on the flight sim with the tiny trainer (which was as close to the FT Flyer I could find...) for about an hour so let's set her piloting level to 0.
This was her first build and I gotta say she did a pretty darn good job (must have had a great teacher!)
Build level 1

Here's how the maiden went.
Have to tell you I was a little nervous taking her out to the field... I was hoping no one was out there just because I had FOUR planes to maiden and she had never really flown before (some stick time on my Firebird Stratos I have, but that was months ago.)
So I was hoping for an empty field just in case... you know... something went horribly wrong.

Well, as we pulled in I saw a truck and the gate was unlocked... But it was my good friend @FroggerJon and he just laughed it when she... well, you'll just have to watch the video!
 
Last edited:

kilroy07

Legendary member
Day one Update (Feb 1st);

Step 1; Fine tune laser settings.
IMG_8127.JPG

Step 2; Cut out parts for FT Explorer
IMG_8130.JPG

Step 3; Beverage of choice
IMG_8132.JPG

Step 4; "Harvest" parts from crashed Explorer (#2)
IMG_8134.JPG

Goodbye old friend...
IMG_8146.JPG
 
Last edited:

kilroy07

Legendary member
Build Tip #1 - "Rolling" foamboard edges with an iron

Okay, I've heard of doing this and I tried it on the Explorer build.

Basically take one of these
IMG_8136.JPG

Gently use it to roll the edges of the foamboard in towards the center for the leading edges
IMG_8135.JPG

And taper the trailing edges
IMG_8137.JPG

This worked out really nice (I do need more practice though.)
IMG_8138.JPG IMG_8139.JPG

Don't be tempted to crank up the heat, just go slower if you are having a hard time.
I had my iron set at about 325 F.

<UPDATE, after Sea Duck build>
Do NOT use this technique with colored packing tape (or use it BEFORE you apply the tape!) BAD things will happen...
IMG_8214.JPG
 
Last edited:

kilroy07

Legendary member
Build Tip #2 - Bevel cutter from Thingiverse

This is one tool I could not live without. (okay, I could... BUT it makes foamboard aircraft SO MUCH easier!)

If you have a 3d printer, download it here; https://www.thingiverse.com/thing:1358344
If not (and are willing to pay postage) PM me, we can work something out.

Here's my well used example
IMG_8143.JPG

Here's how you use it
IMG_8144.JPG

Here are the results
IMG_8145.JPG

Nuff said. ;)
 

kilroy07

Legendary member
Build Tip #3 - ALWAYS center your servos BEFORE you glue them in...

This can be one of those things that get ya even after you've built a ton of planes (like me...) :cautious:

I usually leave my servos plugged into my centering tool as I set up the control surfaces...
The one time I don't, and I end up with a rudder that looks like this centered.
IMG_8152.JPG

I was able to punch a hole in the tail boom (Explorer) and unscrew the horn to correct the issue.
IMG_8153.JPG
 

kilroy07

Legendary member
Feb 2nd (Day 2 update)

1. Build Explorer
2. Maiden Explorer
3. Spend rest of night editing video and updating thread.

At this rate I'll be done by the end of next week! :LOL:

P.S. I'm NOT going to be done by the end of next week...
 

kilroy07

Legendary member
Wow - nice work - and fast!
Great Job @kilroy07 . Fast work, too!
Thanks guys!!

We have precious few good flying days this time of year in Illinois... So I wanted to take advantage of the break in the weather.
The next two weeks look pretty cruddy for any more maidens... So that last week I'll probably binge fly! :LOL:

Update Day 3 - About half way through getting the Sea Duck files for the laser...
Trying to optimize the number of sheets (I'm at 8 now) going to have to make another run to Dollar Tree (or Dollar General) for more foamboard!
 

kilroy07

Legendary member
Build Tip #4 - Electronics (Some tips for using "cheap" stuff)

I'm on a budget. I "could" spend hundreds on this hobby, but then I would need to spend thousands on a divorce lawyer. :LOL:

And oddly enough, I like to solder. So I tend to get most of my electronics from Aliexpress ('cept for motors which I try to get from FT.)
Problem with that is you typically have to solder things up yourself. So here's a few tips/trick I've learned along the way.
(All images are thumb-nailed, just click in them to see the full sized version.)

Tip #1... I'm almost ashamed to share this as it might be obvious to some, but I literally had an epiphany one day...
IMG_8192.JPG You CAN rotate the pins in XT connectors!! (#2 has been rotated for wire, #3 for connector to connector.)
Makes soldering MUCH easier... :rolleyes:

Tip #2... Always use a spare mating connector to hold the pins in place while you solder.
IMG_8203.JPG It's easy to get too much heat and melt the plastic.

Tip #3... MT60 connectors, custom ESC build. I really like MT connectors for the motor connections.
IMG_8195.JPG Step 1. ALWAYS slide the retaining clip on the (blue) wires FIRST!
(Not that... you know... I've EVER had to unsolder something because I forgot...) :rolleyes:

IMG_8197.JPG Step 2. The motor leads are already tinned, so I like to tin the connector pins as well.
Tinning is basically putting a thin layer of solder on each part. Once that is done, all that is needed to join two parts is a quick touch with your iron instead of trying to apply the solder to "dry" parts.

IMG_8198.JPG Step 3. Next simply arrange the leads from the ESC, I run to middle wire to the connector pin at the "top" (the pin with the retaining clip hole.) The other two then naturally fall into place. Try to be consistent to avoid any surprises later.

IMG_8200.JPG Step 4. Give the wires a good tug just to make sure you have a solid connection (a good physical connection is a good electrical one.) Then, simply slide the retaining clip up and...

IMG_8235.JPG You have a nice profession looking connector ready to go!

Tip #4... I learned early on (and at the expense of a Mustang and simple scout) that these ESCs use a pretty cheap electrical component for the BEC that not only creates a lot of heat, it can cause brownouts as well... So all but the smallest builds I include a separate BEC (unless it's one of the higher quality ESCs I have for the big motors/EDFs.)

IMG_8194.JPG You'll need the BEC, and some appropriate connectors (I use XT60s for 3-4 cell) I also add a JST connector so I can get battery voltage telemetry.

IMG_8193.JPG Step 1. Twist the pins so the two connectors mesh and tin the pins.

IMG_8201.JPG Step 2. Add the leads from the BEC (check polarity!!)

IMG_8207.JPG Step 3. add some insulation, here I used "Liquid Tape" but hot glue works just as well (and might be cleaner too!)

IMG_8206.JPG Step 4. DON'T FORGET to remove and cover the power lead from any ESC you plan on using with this setup!!
(BAD things will happen... Ask how I know...)

IMG_8202.JPG

That's all I have for now.

There isn't anything "wrong" with using the "cheaper" stuff as long as you understand it's limitations.

Good luck and blue skies!
 

kilroy07

Legendary member
Really neat - what laser are you using?
Here's a link to a similar machine on Ebay (NOT an endorsement for this seller, shop around!)
https://www.ebay.com/itm/Laser-Engr...rentrq:eefb8f941680a9e2a8c94247fff3d627|iid:1

It "just about" fits a full sized sheet of foamboard (working area 500x700mm, about 19.5x27.5") I usually have to add a sheet or two for the bigger FT kits just due to piece rotation etc (but I'm not complaining!)

The software for these isn't "too bad"... there's a pretty good series on youtube;
https://www.youtube.com/channel/UCqCyShJXqnElPTUnxX0mD5A