Hobby Dude Swappable Bonanza

ScottyWarpNine

Mostly Harmless
I took the Bonanza out again today and it was an absolute dog. Now I realize that I grabbed a nearly dead pack so my flite was short and not very powerful. Or should I saw my flites. The entire time was spent launching th plane, mushing through a depressing stall till landing not so gracefull, then going to pick up the plane and repeat. I got it in the air one time and it felt alright, but I believe my thrust angle is too far down after my nose repair. Being on the throttle pushes the nose down a lot. That's probably why I couldn;t get off the ground.
Anyway, I crashed it several times in a variety of ways. Nose ins, tip strikes, even a cartwheel. The plane is still in one piece believe it or not (granted all of the crashes were failed launches, so low speed).
I'm going to try to fix her up, but my mind is already focused on V2.

Here are the improvements I need to implement:
-All of the fit and finish flaw of V1 need to be fixed and updated in CAD.
-A turtle deck pattern needs to be made and added to CAD.
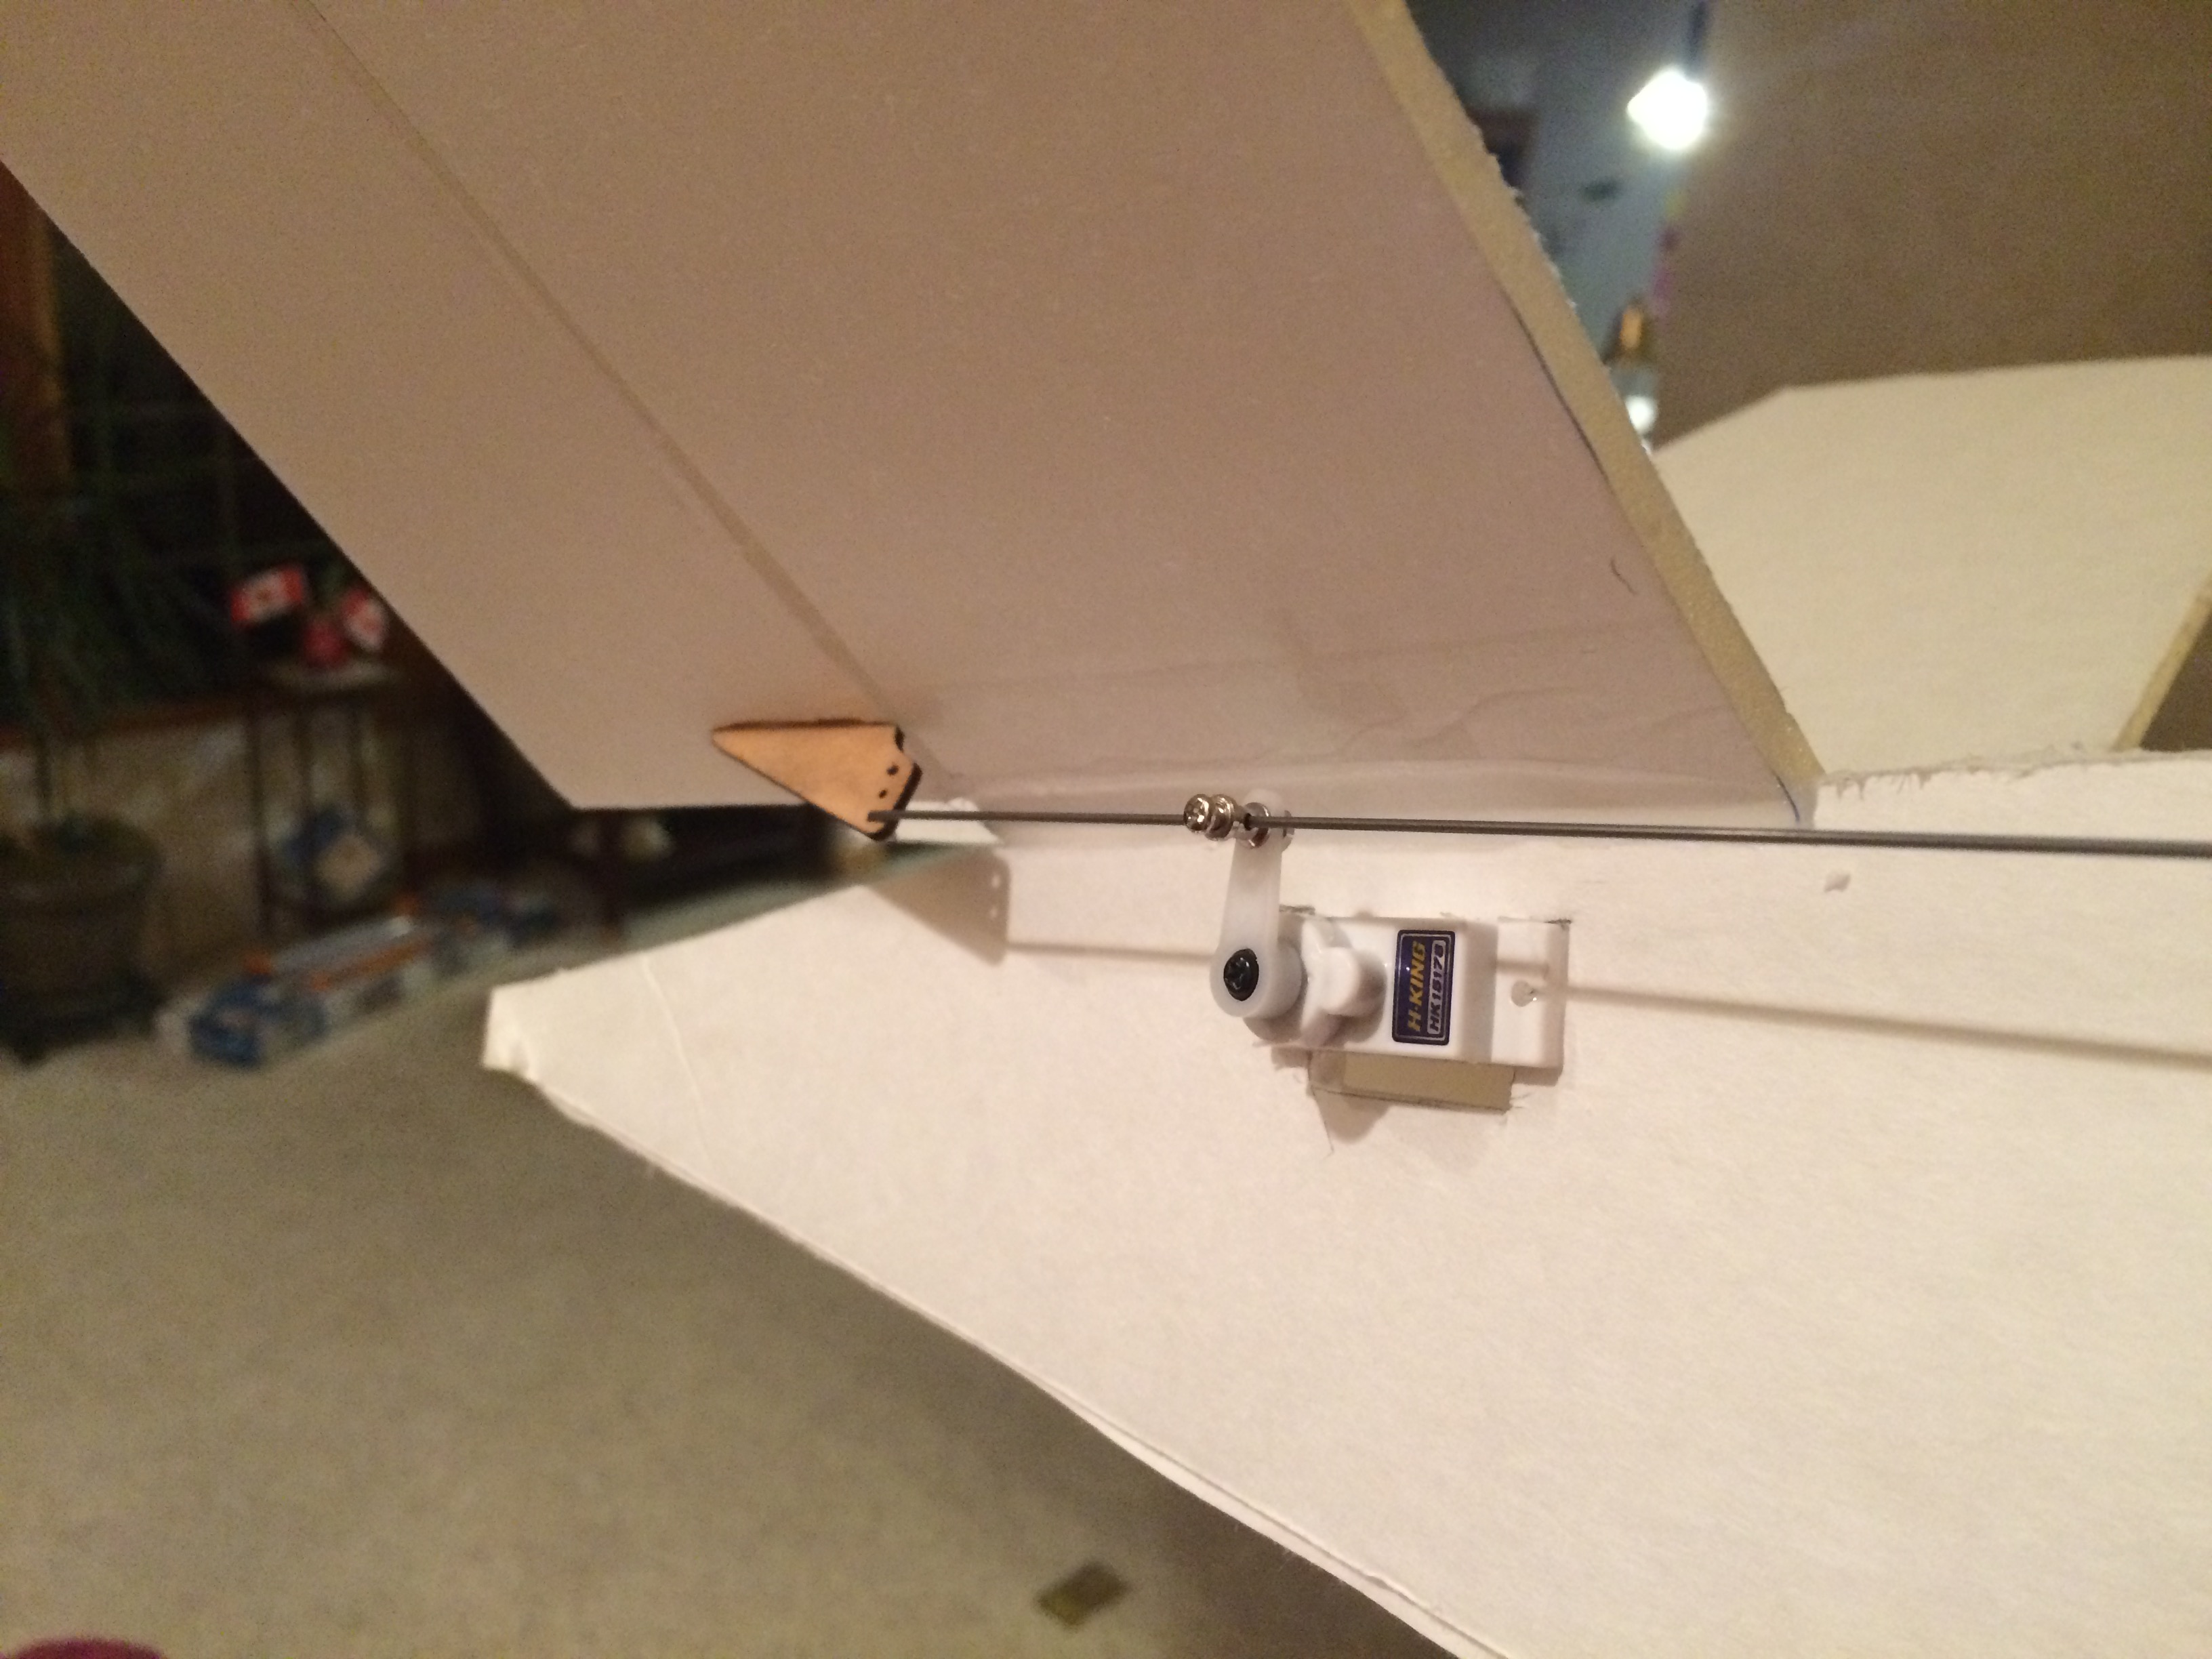
-Ailerons need to be slightly bigger.
-Wing needs to removable if desired, like the FT Spitfire. Otherwise the plane will not fit in my car without bending wingtips.
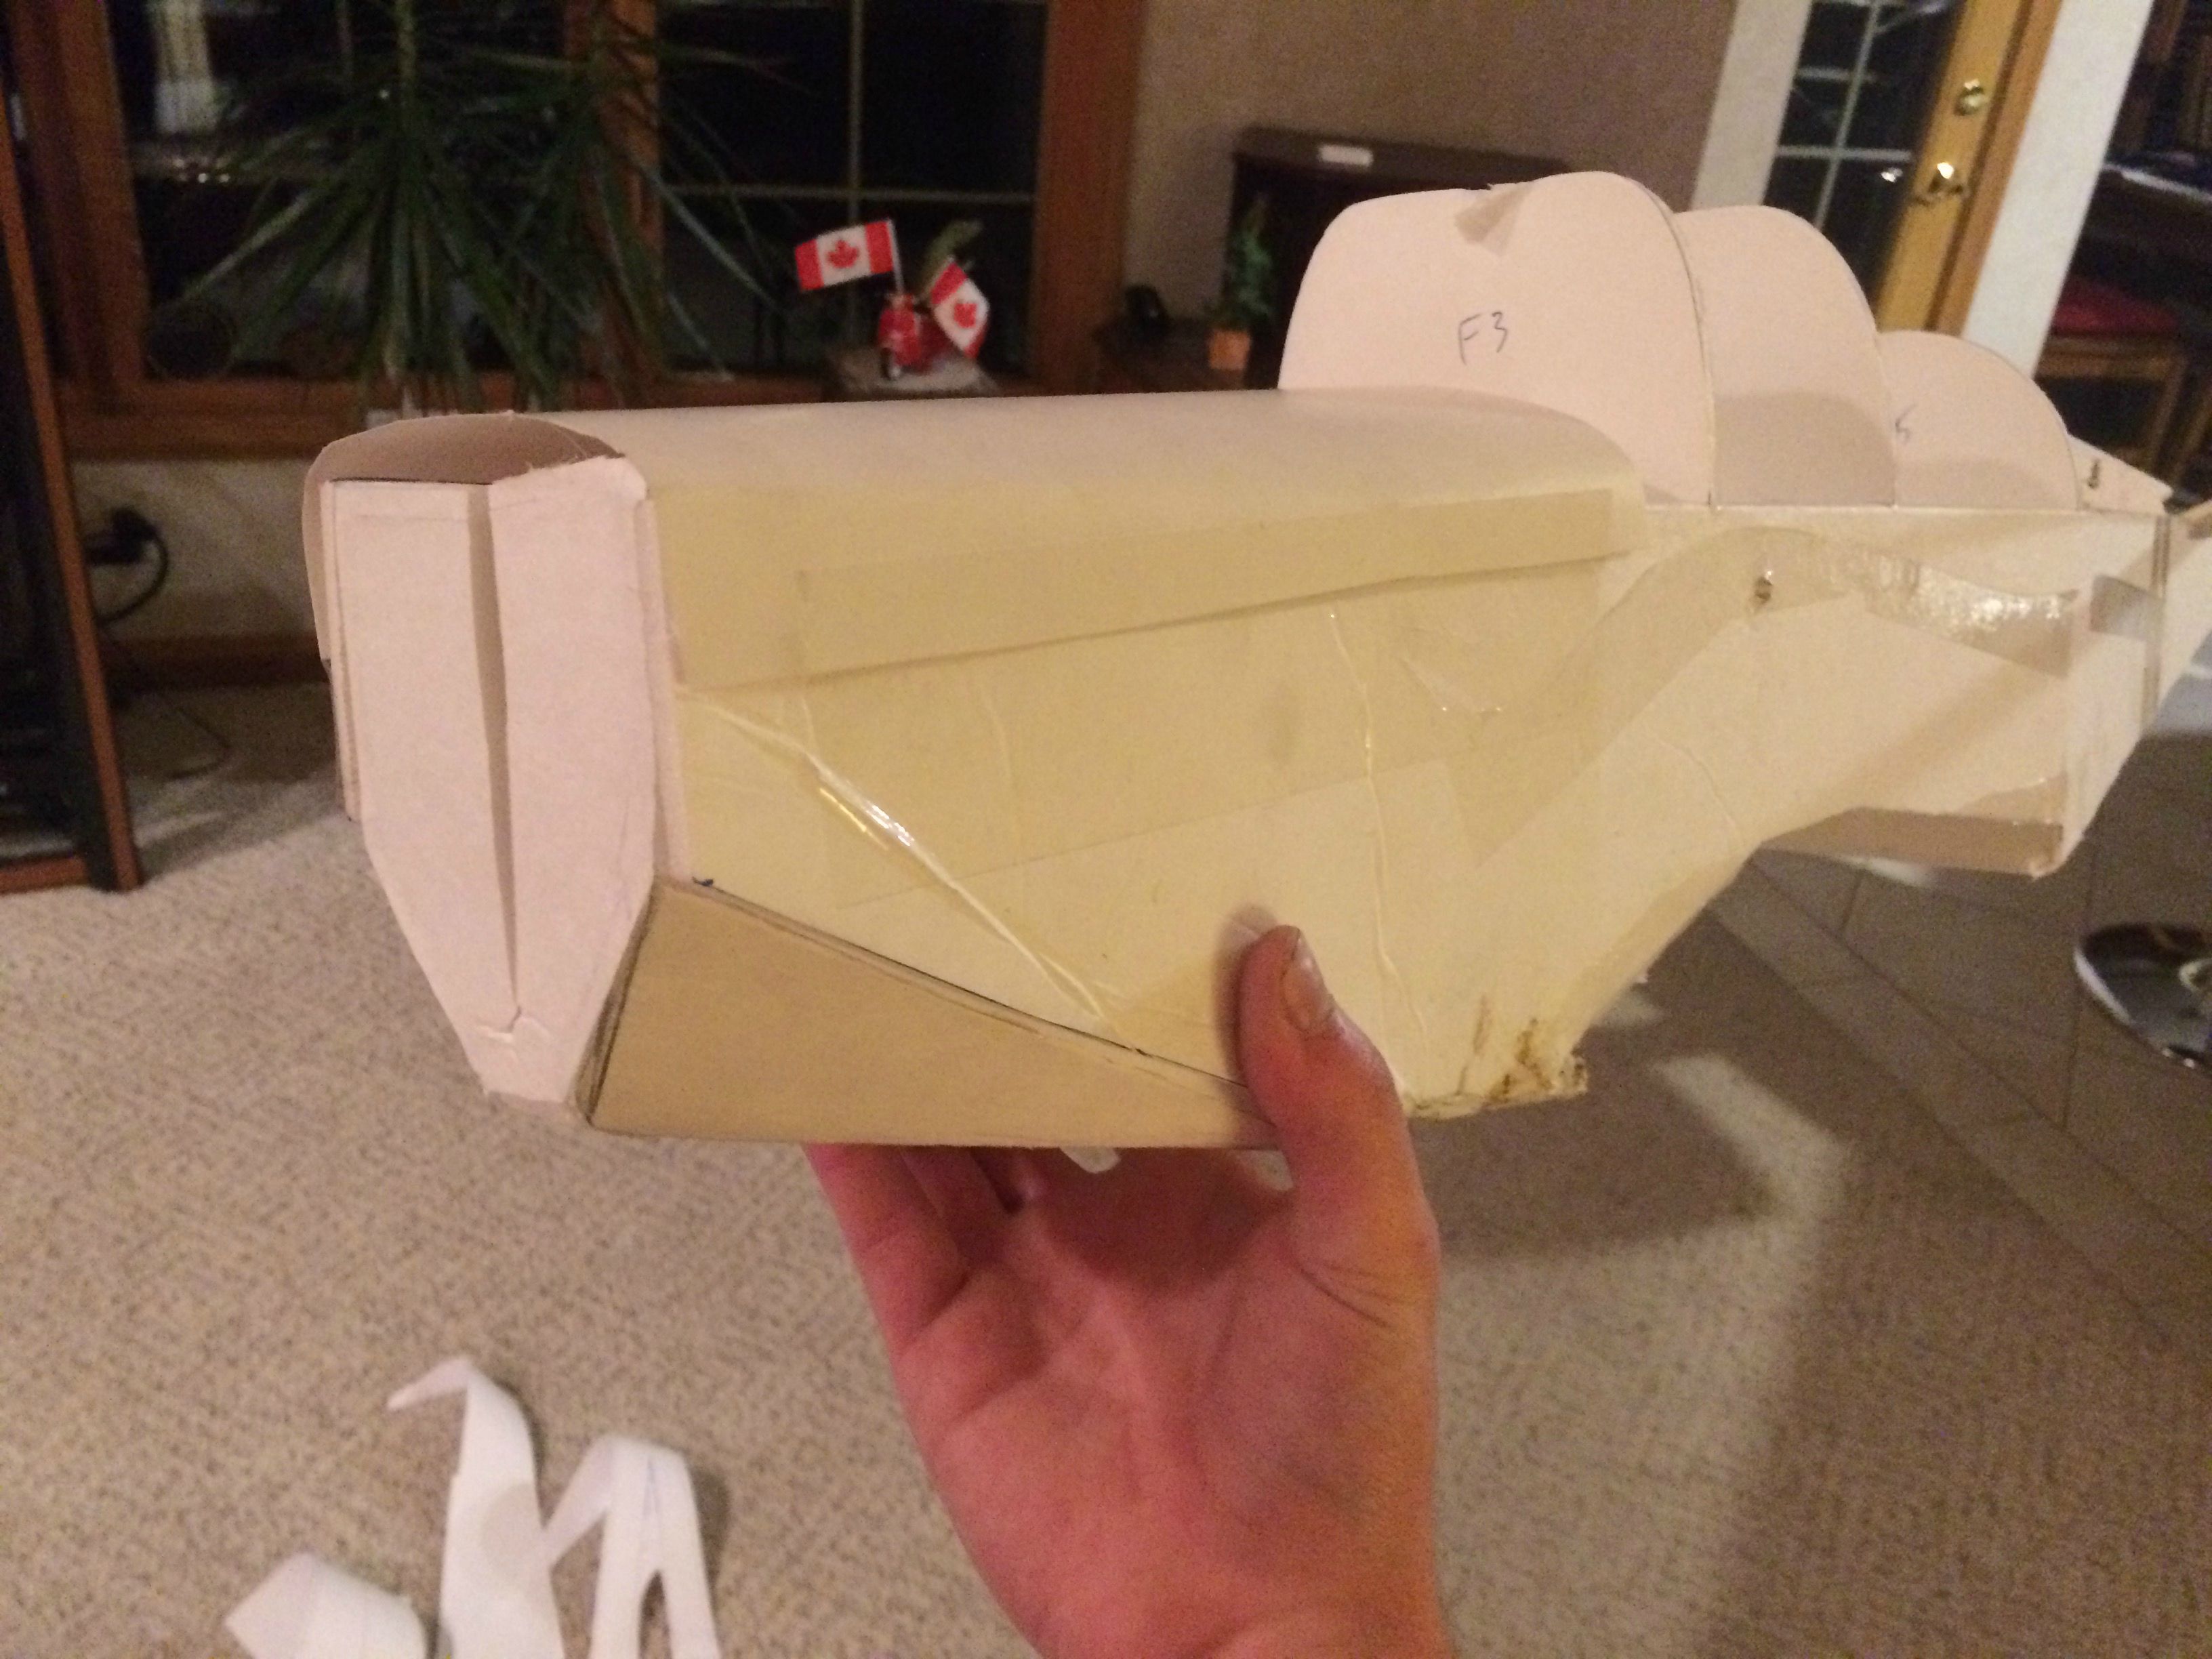
-Front end needs to be beefed up considerably, primarily the Power Pod mounting area.
-I have plans for shapely lower cowl panel like the FT Mustang. The cowl must be sturdy enough to mount a retractable nose gear.

I will release V2 plans as soon as I finish them so you don't have to wait for me to build it. I'm confident in the basic design, these tweaks will just make it better.
 

jamboree1

Active member
Such a great looking plane, I'm sure your revisions will make it perfect, just might be my next build as i don't need another warbird, cargo, wing, jet, glider etc, you get the idea
 

ScottyWarpNine

Mostly Harmless
Here are V1.1 Plans:
View attachment HD Bonanza-Model.pdf

I have adjusted the fit and finish of some of the parts as needed, moved the tail servos to underneath the tail surfaces to make it easier to make a turtle deck, and I added the modifications to the wing. I'm still working on a template for the turtle deck but that probably won't be ready for a little while. I'm sure you can free form one from poster board.

Here is the new tail servo placement:
H19zK11.jpg

This isn't as sleek as mounting them under the t-deck, but it makes it so that the linkages can be much shorter and they don't have to bend around obstacles. They are as close to a straight line as I could make them.

Here is what I'm working on at the front:
0Oj29sd.jpg

It is still a work in progress...

Feel free to build V1.1 and take lots of pictures and share them here!

What electronics are you using?
I used a Turnigy Aerodrive D3542/4 1450KV motor, a 50A Red Brick ESC, and a ridiculously small 8x4 prop. I recommend a 10x5 for this model. I just bought some so that is what I will be using.
 

jamboree1

Active member
I usually weigh a plane before i choose a motor, but most likely be using a suppo 2217/6 1500 kv, good for up to 36 oz
 

ScottyWarpNine

Mostly Harmless
From most plans I do most get printed on a 30x20 format, so if you could this would be awesome for me.

Sounds good, the fuselage is longer than 30in, but I put the break in the tail with good results.

Where do you get your plans printed? Are prices pretty reasonable for 30x20? I might have to look into having them printed instead of taping together tiles everything I make a change.
 

jamboree1

Active member
Sounds good, the fuselage is longer than 30in, but I put the break in the tail with good results.

Where do you get your plans printed? Are prices pretty reasonable for 30x20? I might have to look into having them printed instead of taping together tiles everything I make a change.

Best place for me is a reprographics shop, used to be called blueprint shop, your plane might cost me about $6 to print, something that is small like the bloody wonder about $2. another local place kind of like Staples charges me $5 for first page and $1.50 for every page after that, no need to worry about length as the paper is on a roll.
 

ScottyWarpNine

Mostly Harmless

jamboree1

Active member
Thanks Scotty, I emailed this to my reprographics shop and hopefully I can pick them up sometime this week before they close.
 

jamboree1

Active member
Finally was able to pick up my prints, they turned out fine as far as I can see. Build to commence Saturday.
 

ScottyWarpNine

Mostly Harmless
Finally was able to pick up my prints, they turned out fine as far as I can see. Build to commence Saturday.

Good luck! Let me know if you have any problems or questions. I fear that this won't be the easiest of builds, but it makes sense in my head.

For the rectangle on the front with the two slots that the power pod mounts to, I would put it on the top surface of the fuselage rather than the bottom. I believe having it on the bottom provides excessive down thrust. Having it on top will position the power pod to be flush with the fuselage, meaning no down thrust, unless you have some built into your power pod, which shouldn't be an issue. Just my 2 cents.
 

jamboree1

Active member
Pile of foam parts that I don't think will glue itself together, I'll do it myself tomorrow when i wake up and if it didn't put itself together while I slept bonanza.jpg
 

jamboree1

Active member
I have most of it built, i did have a few fitment issues, those i will show later but for now this is where i am. bonanza2.jpg
 

ScottyWarpNine

Mostly Harmless
I have most of it built, i did have a few fitment issues, those i will show later but for now this is where i am. View attachment 46081

Looks great. I forgot to meantion that the angle between the tail surfaces should be 120 degrees. I don't know if you measured or what angle you used, but that looks good. Let me know where any figment issues are and by how much so that I can adjust the plans.
 

jamboree1

Active member
tail was at about 120, after some meausrements of the plane and a lot of math it supposed to be 110. This has been adjusted tonight and hope to finish build and pics this weekend