I have just finished building the QAV500 from FPVManuals in NY. I have posted the first video HERE, and i'm very pleased with the quad so far. Thought you might like a closer look at it.
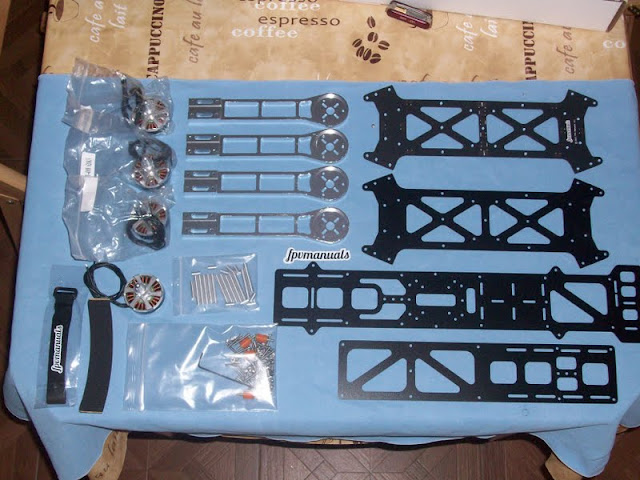
First look at whats in the box,
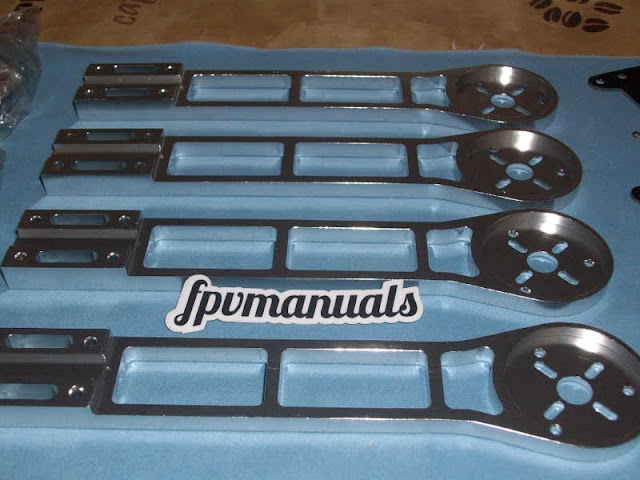
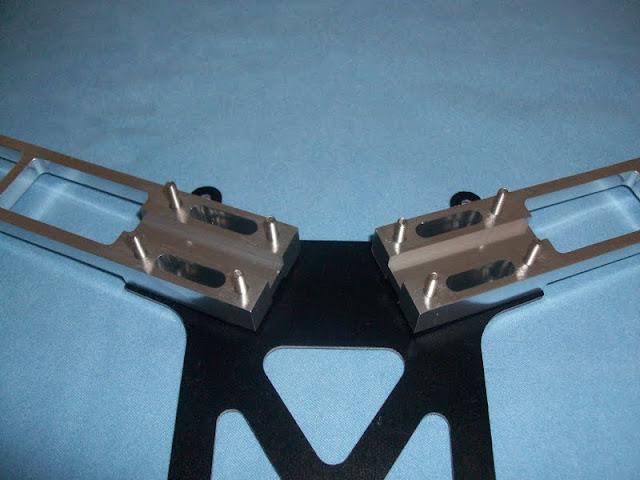
The arms are machined aluminium. The quality is very good.
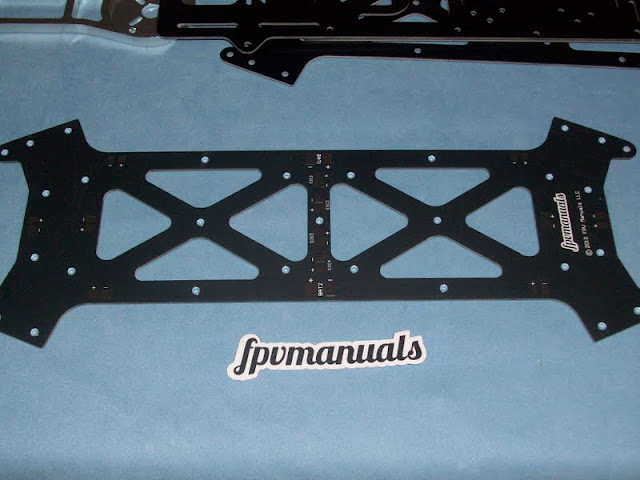
The PCB to connect all the ESCs and FPV gear without needing miles of wiring.
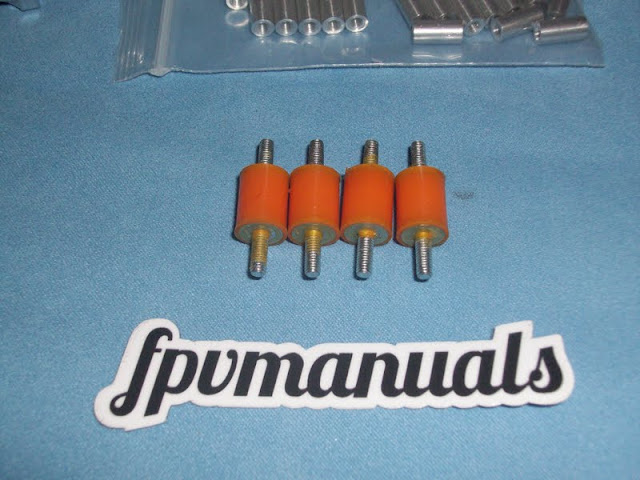
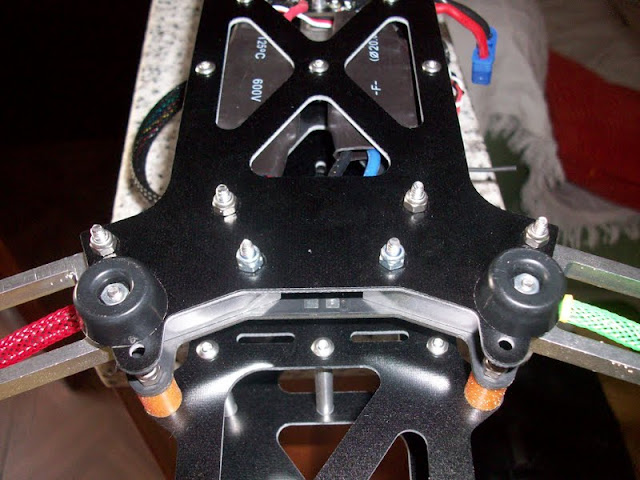
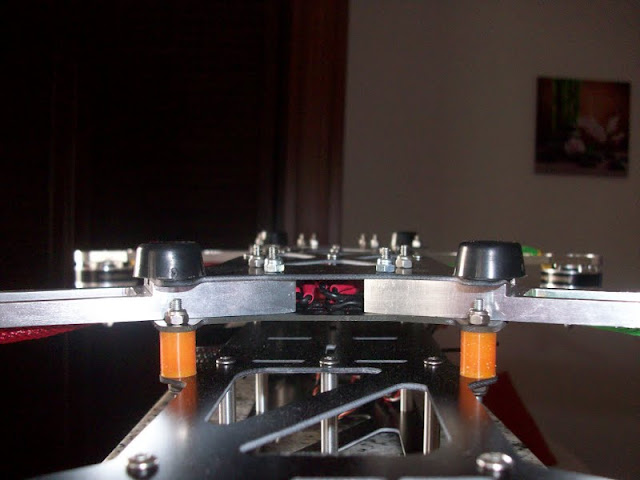
The Bobbins that separate the lower frame from the upper frame.
WARNING pre cut the thread into the nylon nuts using a 3M screw before attempting to use them on the bobbins. The bobbins can be damaged otherwise
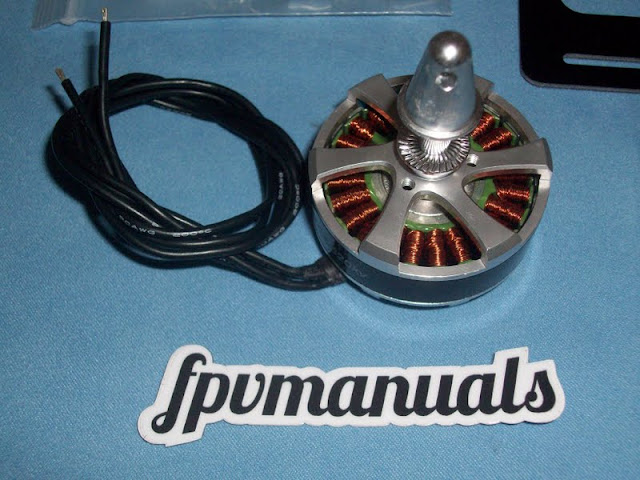
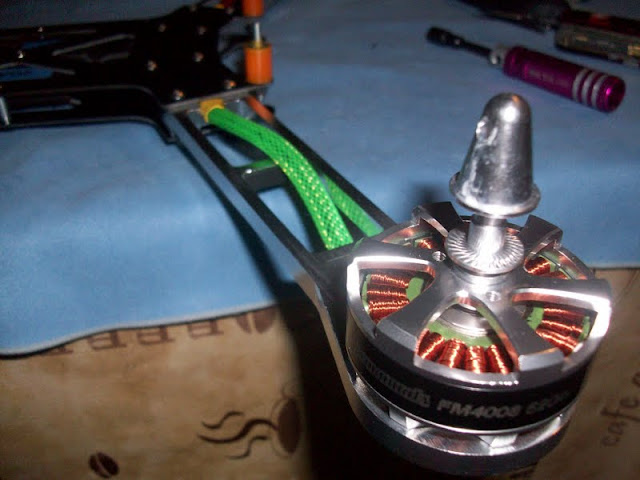
I went for the FM4008 motors from FPV Manuals that sell the frame. There are more expensive options but these looked good enough for what i want.
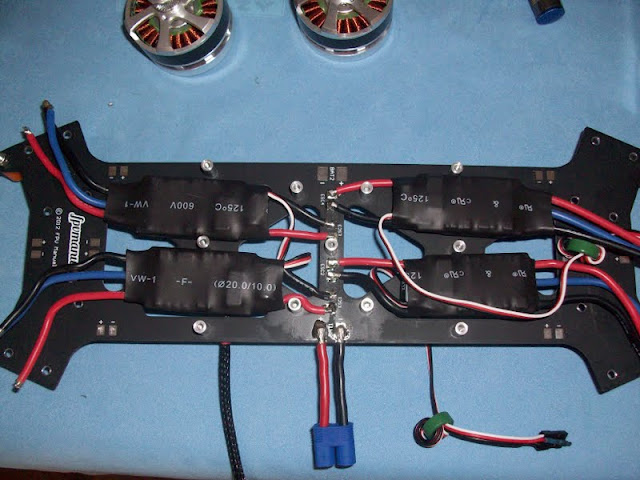
First job was to mount the ESCs. Make sure you put the spacer on the board to get the right positioning for the escs
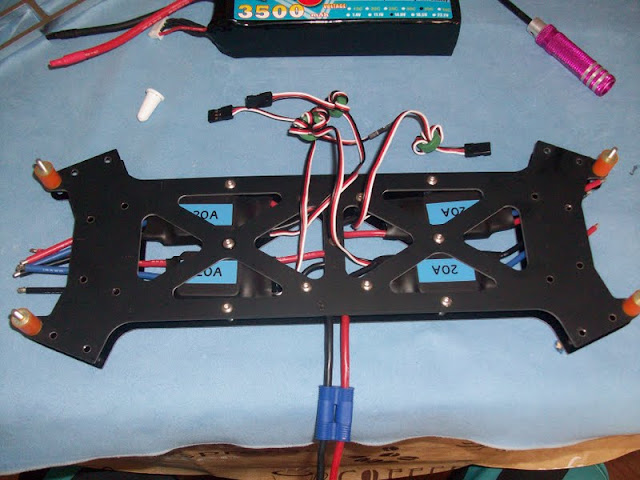
Putting the arms on.
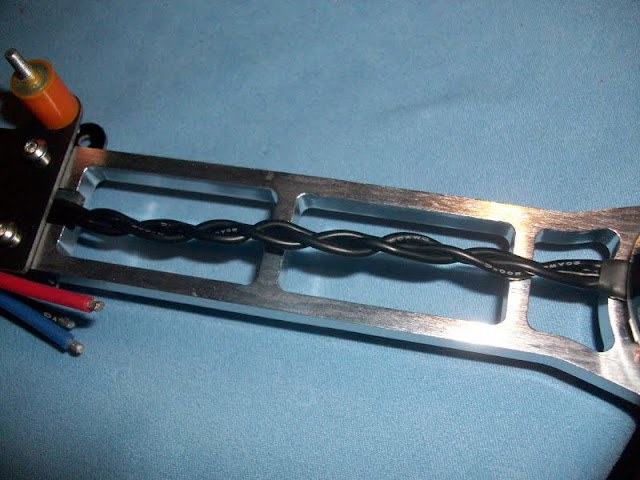
I braided all the wires, motors, esc/RX wires to reduce RF noise. This should help my FPV equipment work better.
Also I covered the wires, more for aesthetics than anything else.
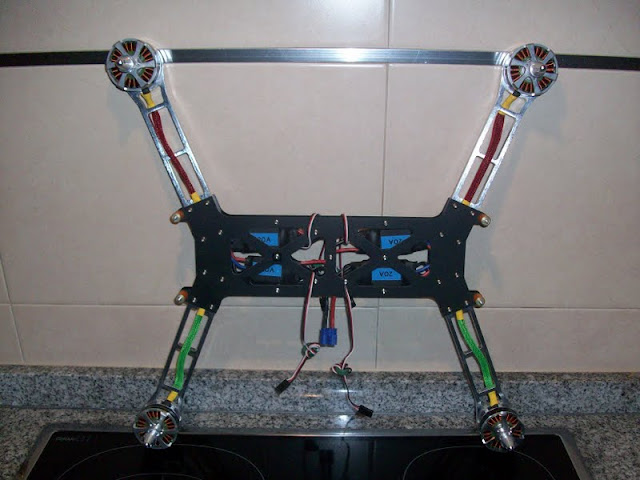
Bottom section called the Dirty frame finished. All the moving vibration parts are in here, and the bobbins separate it from the upper section where the Control board and cameras are.
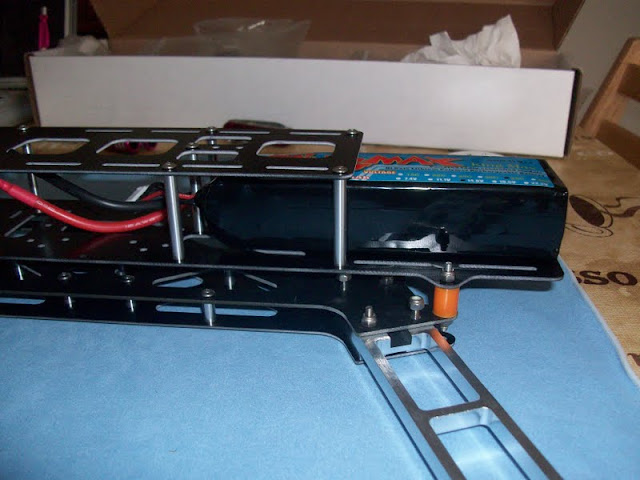
Starting to Program the Open Pilot CC Board
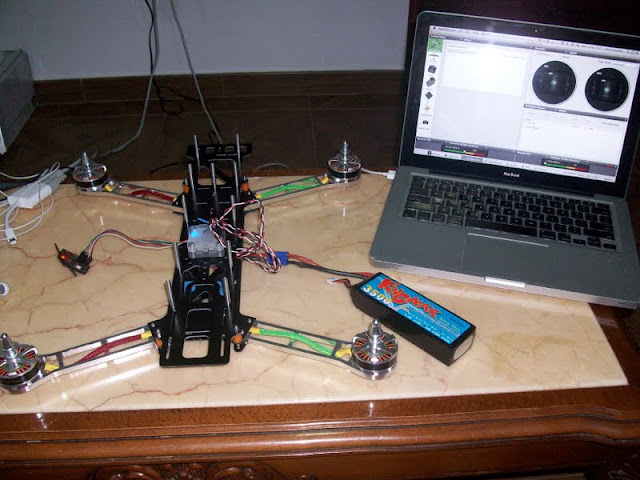
All finished and ready for flight.
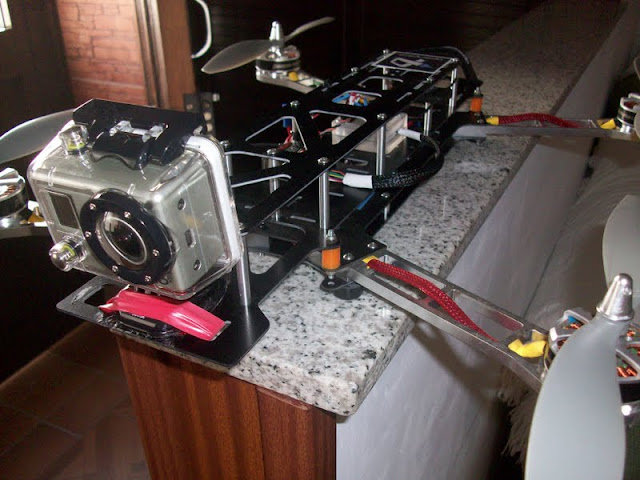
The Open Pilot CC Board with protective case.
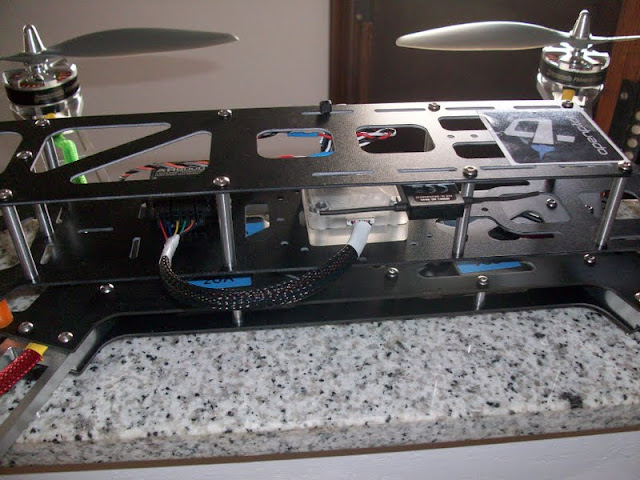
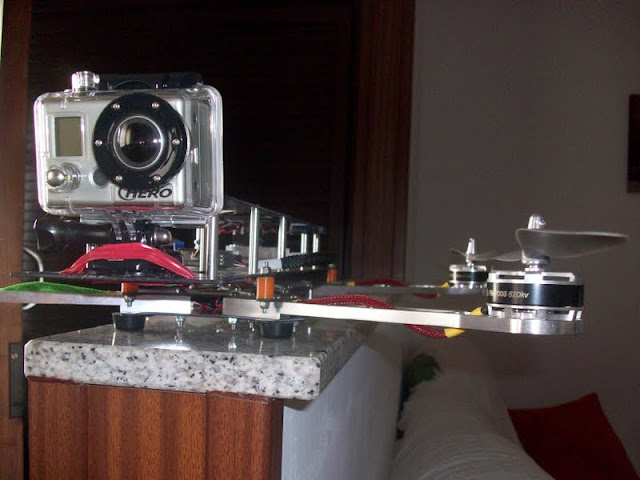
I added some little door stoppers to protect the frames base.
First look at whats in the box,
The arms are machined aluminium. The quality is very good.
The PCB to connect all the ESCs and FPV gear without needing miles of wiring.
The Bobbins that separate the lower frame from the upper frame.
WARNING pre cut the thread into the nylon nuts using a 3M screw before attempting to use them on the bobbins. The bobbins can be damaged otherwise
I went for the FM4008 motors from FPV Manuals that sell the frame. There are more expensive options but these looked good enough for what i want.
First job was to mount the ESCs. Make sure you put the spacer on the board to get the right positioning for the escs
Putting the arms on.
I braided all the wires, motors, esc/RX wires to reduce RF noise. This should help my FPV equipment work better.
Also I covered the wires, more for aesthetics than anything else.
Bottom section called the Dirty frame finished. All the moving vibration parts are in here, and the bobbins separate it from the upper section where the Control board and cameras are.
Starting to Program the Open Pilot CC Board
All finished and ready for flight.
The Open Pilot CC Board with protective case.
I added some little door stoppers to protect the frames base.
