
FoamyDM's Wild Hair:
Late october In the midst of building like a fool and drooling over the Soon to be released FT P-38. I had long ago noted Horseman P-38 build at Flitetest 2018, and vowed to build it. I had been on a bit of a PowerUp micro kick and thought... the P-38 might just be a decent choice for a PowerUp build, and I know JUST where to get something to start from. noting the banggood C-17 pops were ~2-2.5" which is 1/4 of the design 8 to 10"... I had an idea.
on October 22, I posted this in the Anybody else Scratch building tonight thread:
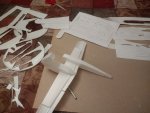
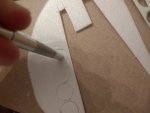
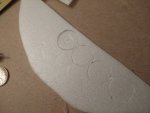
I took these plans by @Horseman3381 and printed them 8.5x11" letter sized paper. The goal was to get another plane for the PowerUp system, or some place to put in micro guys.

This uses paper plates for the foam. This makes it light and easy/cheap to purchase.
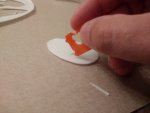
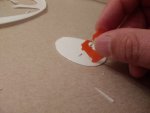
I used a bread tie to crease where the board was to be remove. A little glue and we are all good
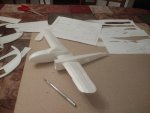
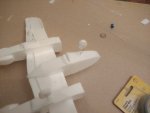
getting there now.
I little more work and it time to check the weight of it.
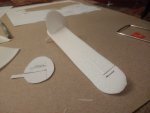
I would love for this to roll into the skylies, time for gear.
I made mine from three sized foam circles. A drinking straw box juice.
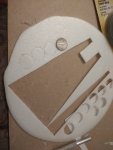
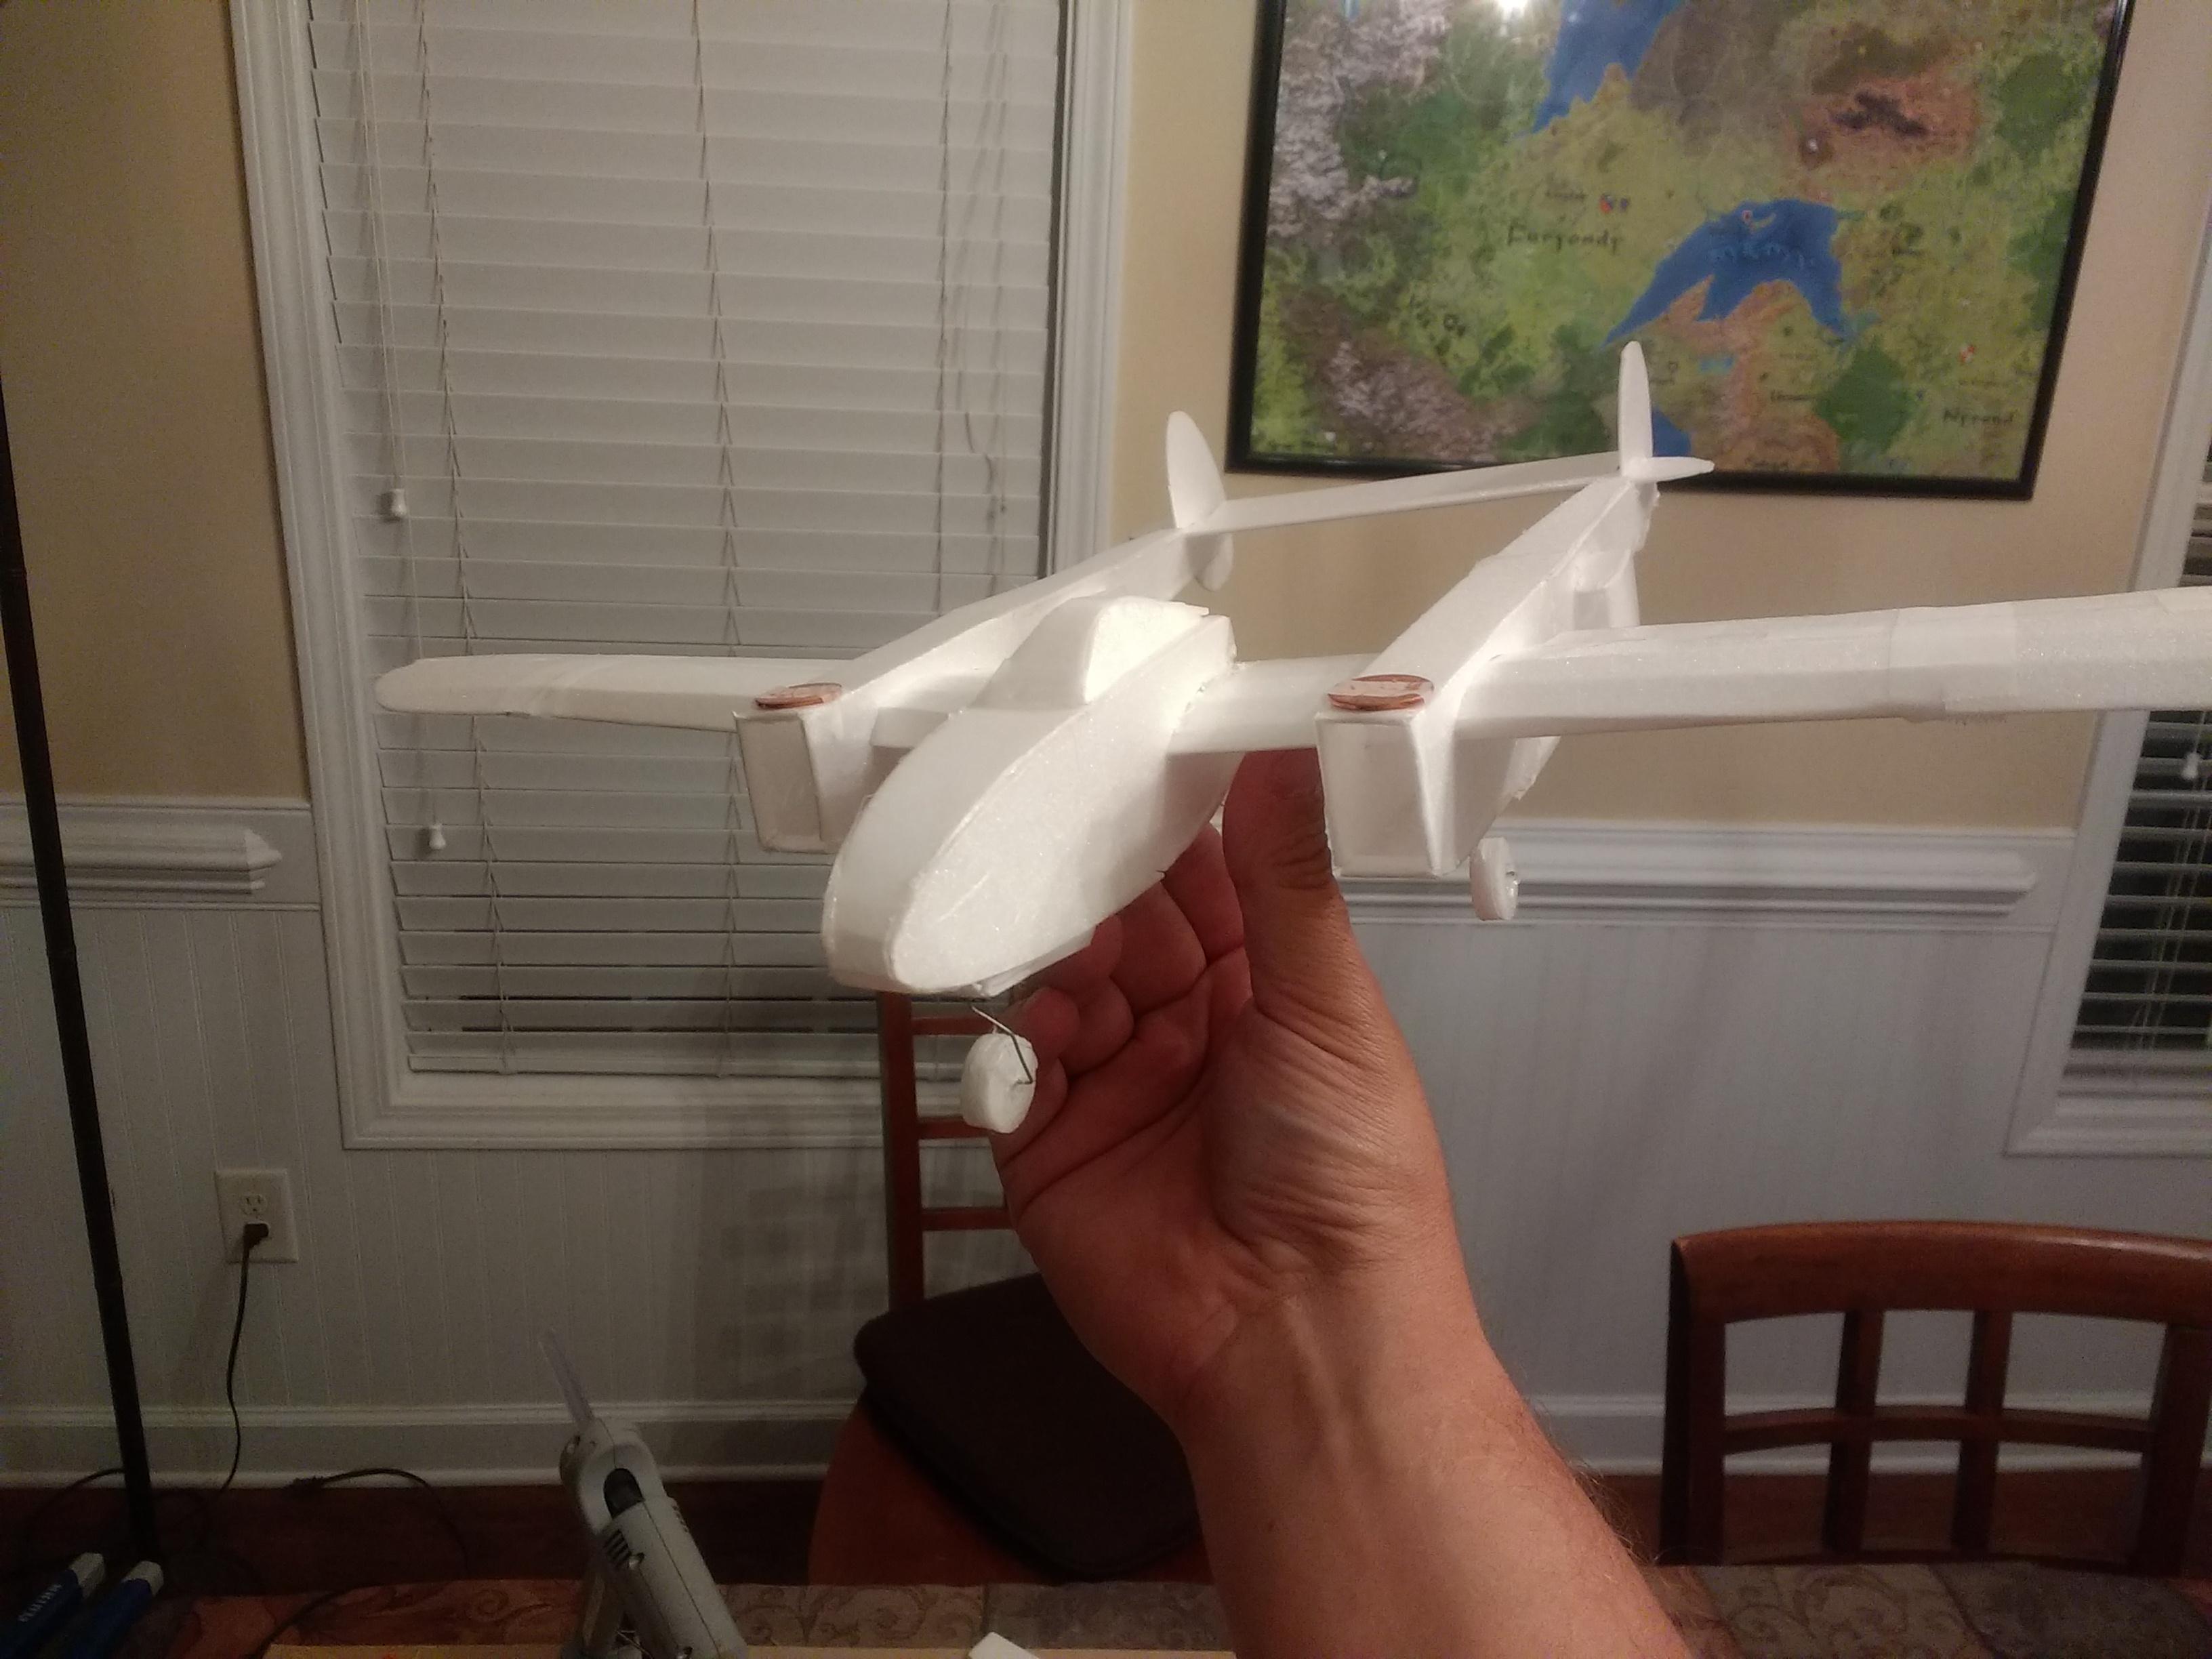
To balance, I needed 1 penny where each motor goes. And only a nickel in the cockpit.
Time to install the gear on the belly.
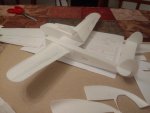
Looks great as finished and ready to test fly.
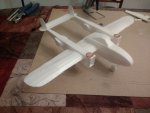
I took it outside and had decent success. confirmed CG still applied, and brought it in to finish.
At this point I took the Banggood C-17 system I had on a previous concept project and installed it here. sandwiching three layers of DTFB with a ~6mm wide groove pulled out of the center section to install and hold the motors. I then jammed the Control unit in the cockpit area, and it ended up at about a 30° angle.
The night this was completed, I took it out on the driveway and tested it. It taxied well, and i throttled up to see - YES! takeoff oh no! rolled left and nosed in. again, same thing. Adjust flaps, thrust angle, battery placement - nope. roll - tank in. (BTW very sturdy.
Then I thought this might be the stability unit. maybe I should cut a groove in the center wing and get it vertical at CG. the 150-200 mah battery located at the rear of the cockpit balanced it. too dark and late.
Thanksgiving weekend - time to try again!
Opened the cockpit, cut a groove and reinforced with tape and glue. installed the unit upright, and made a pocket for the battery, charged one up and now was time to see if there was proof in this puddin'.
Maiden Flights:
With the plane adjusted for success, i think, it was time to test it
after a bit of fiddling, it was followed by this:
Late october In the midst of building like a fool and drooling over the Soon to be released FT P-38. I had long ago noted Horseman P-38 build at Flitetest 2018, and vowed to build it. I had been on a bit of a PowerUp micro kick and thought... the P-38 might just be a decent choice for a PowerUp build, and I know JUST where to get something to start from. noting the banggood C-17 pops were ~2-2.5" which is 1/4 of the design 8 to 10"... I had an idea.
on October 22, I posted this in the Anybody else Scratch building tonight thread:
I took these plans by @Horseman3381 and printed them 8.5x11" letter sized paper. The goal was to get another plane for the PowerUp system, or some place to put in micro guys.
This uses paper plates for the foam. This makes it light and easy/cheap to purchase.
I used a bread tie to crease where the board was to be remove. A little glue and we are all good
getting there now.
I little more work and it time to check the weight of it.
I would love for this to roll into the skylies, time for gear.
I made mine from three sized foam circles. A drinking straw box juice.
To balance, I needed 1 penny where each motor goes. And only a nickel in the cockpit.
Time to install the gear on the belly.
Looks great as finished and ready to test fly.
I took it outside and had decent success. confirmed CG still applied, and brought it in to finish.
At this point I took the Banggood C-17 system I had on a previous concept project and installed it here. sandwiching three layers of DTFB with a ~6mm wide groove pulled out of the center section to install and hold the motors. I then jammed the Control unit in the cockpit area, and it ended up at about a 30° angle.
The night this was completed, I took it out on the driveway and tested it. It taxied well, and i throttled up to see - YES! takeoff oh no! rolled left and nosed in. again, same thing. Adjust flaps, thrust angle, battery placement - nope. roll - tank in. (BTW very sturdy.
Then I thought this might be the stability unit. maybe I should cut a groove in the center wing and get it vertical at CG. the 150-200 mah battery located at the rear of the cockpit balanced it. too dark and late.
Thanksgiving weekend - time to try again!
Opened the cockpit, cut a groove and reinforced with tape and glue. installed the unit upright, and made a pocket for the battery, charged one up and now was time to see if there was proof in this puddin'.
Maiden Flights:
With the plane adjusted for success, i think, it was time to test it
after a bit of fiddling, it was followed by this:


