DETAILS
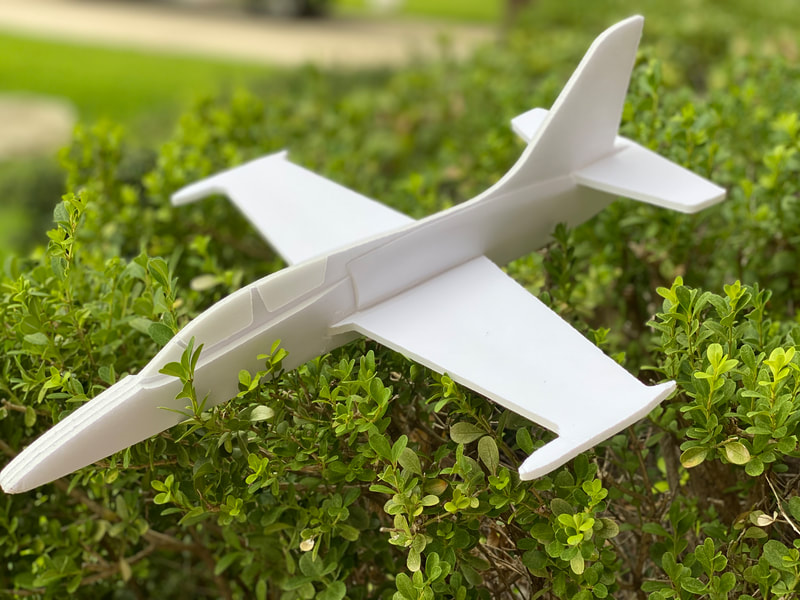
Hi everyone! Here is another chuck glider for you to enjoy. This one has a more advanced build process that includes beveling to get better lines. It performs really well and you will love tossing it around inside and outside. If you build one, please share a photo!
Enjoy!
SPECS
WINGSPAN
FUSE
WEIGHT 25g
CG 21cm from nose
BUILD DIFFICULTY
✪✪ Intermediate
PILOT SKILL
✪ Beginner
MATERIAL LIST
1 USD Penny
1 DTFB (20"x30")
1 BBQ Skewer
PLANS

Free plans are available for download: CLICK HERE
BUILD
1. Cut out pieces.
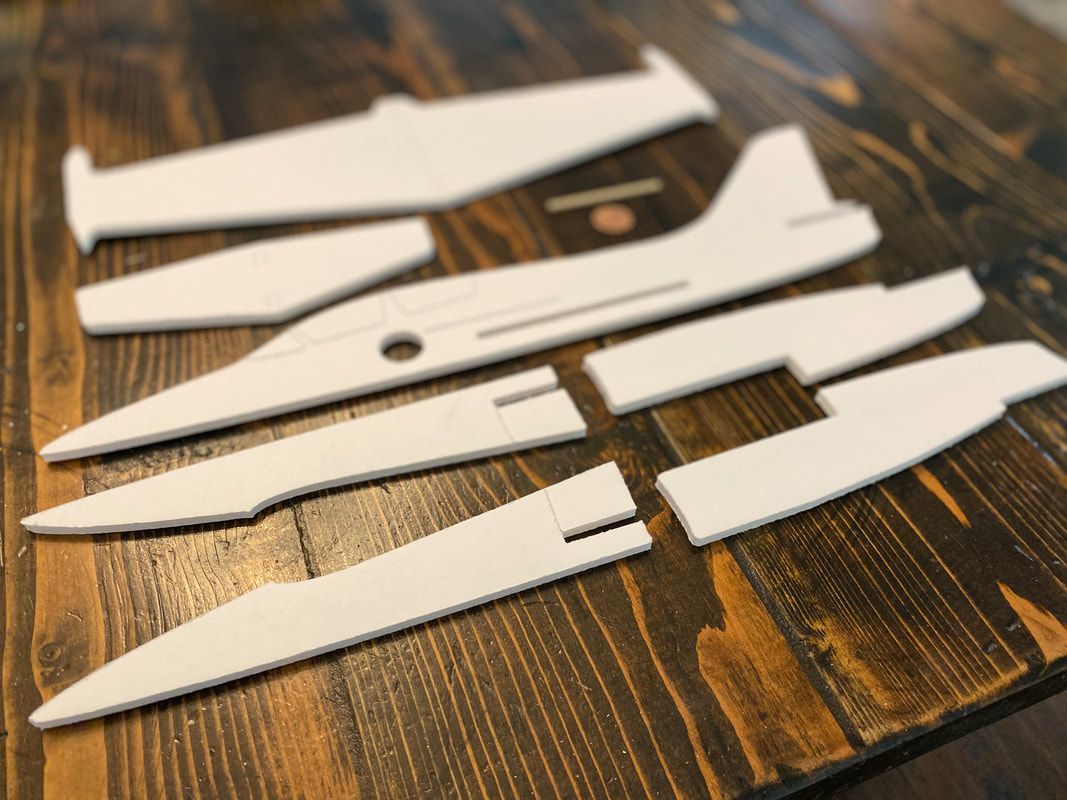
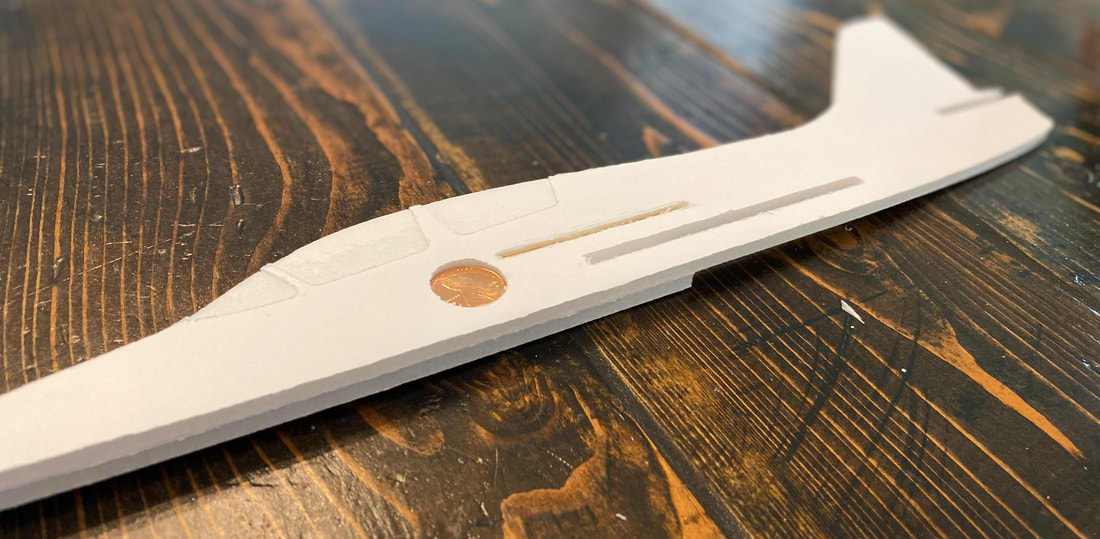
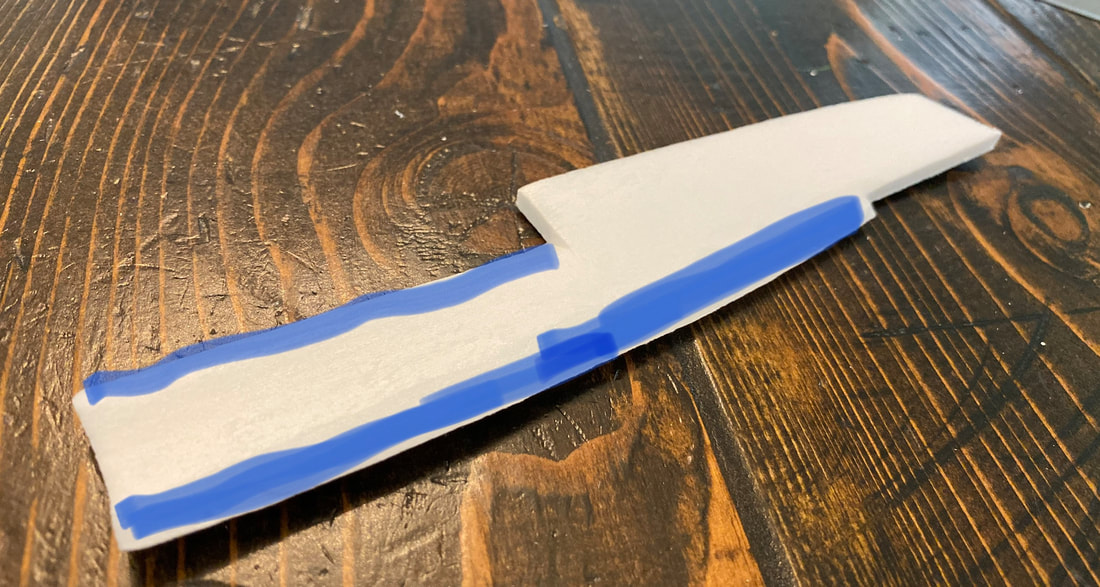
2. Remove paper from the highlighted areas.
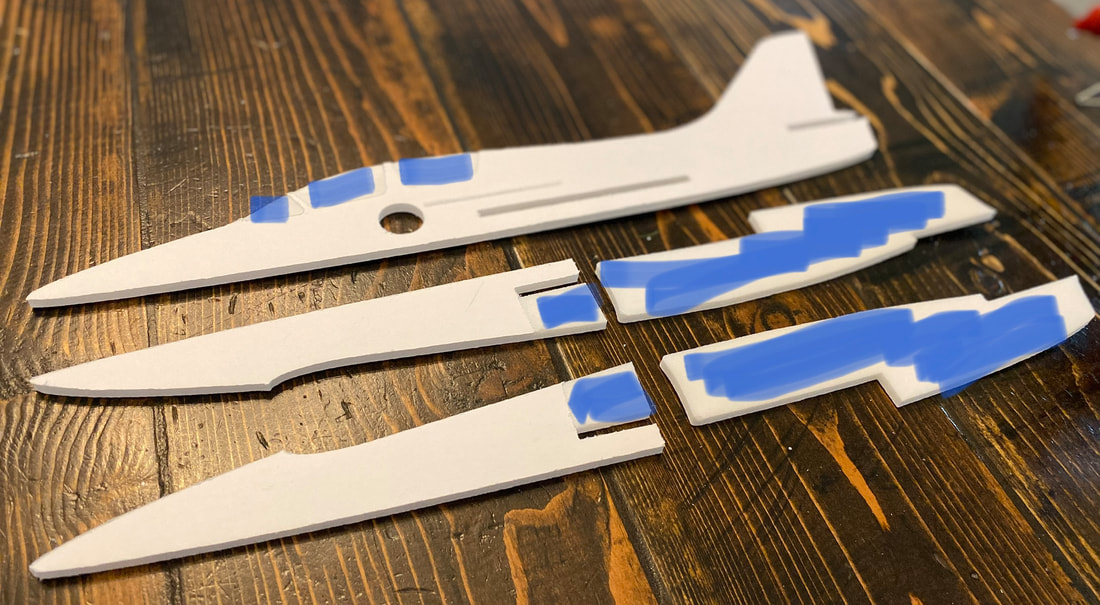
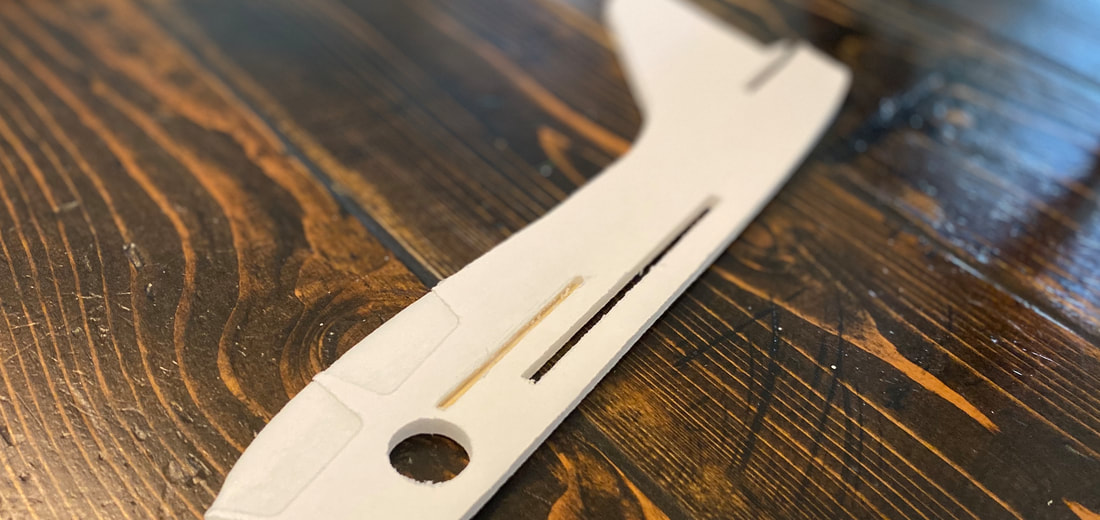
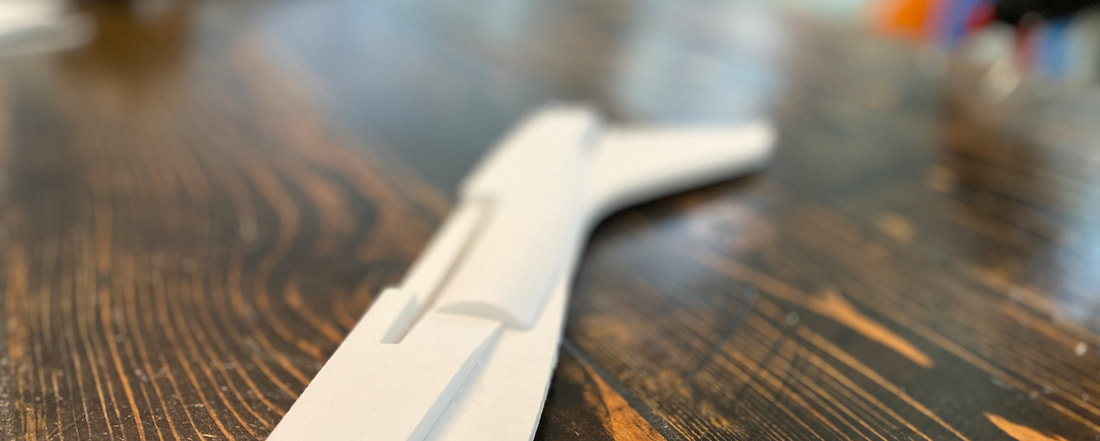
3. Remove foam and glue BBQ Skewer in fuselage.
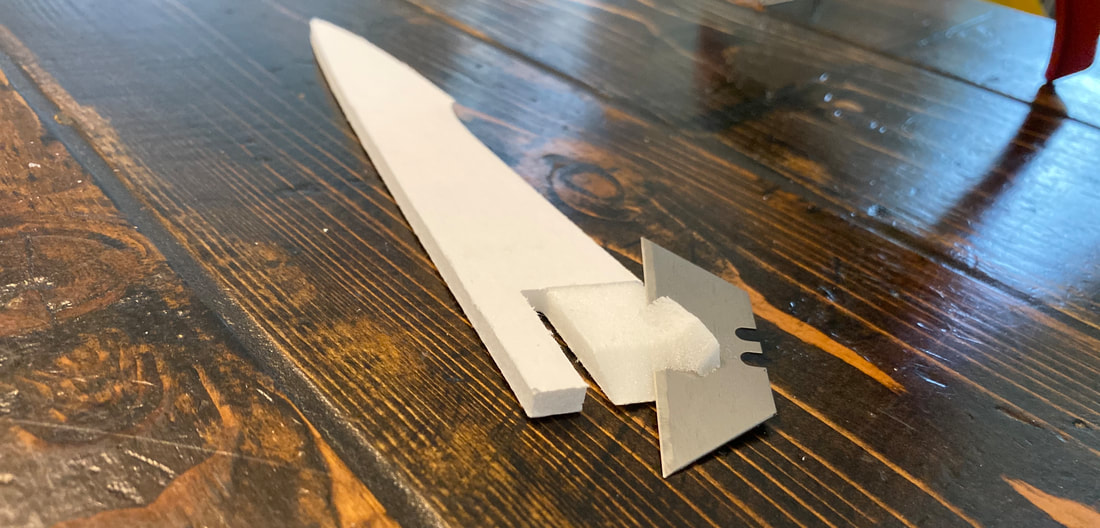
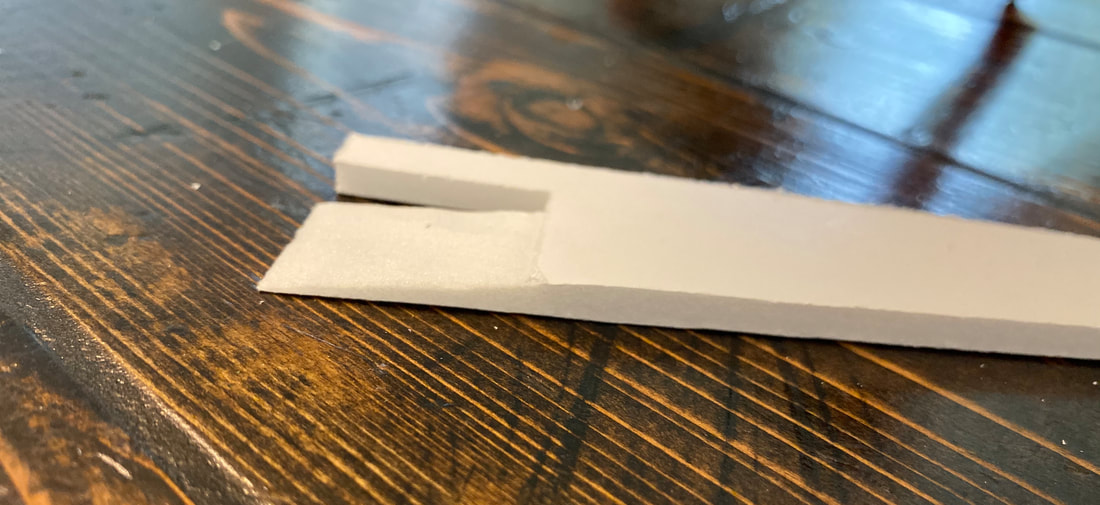
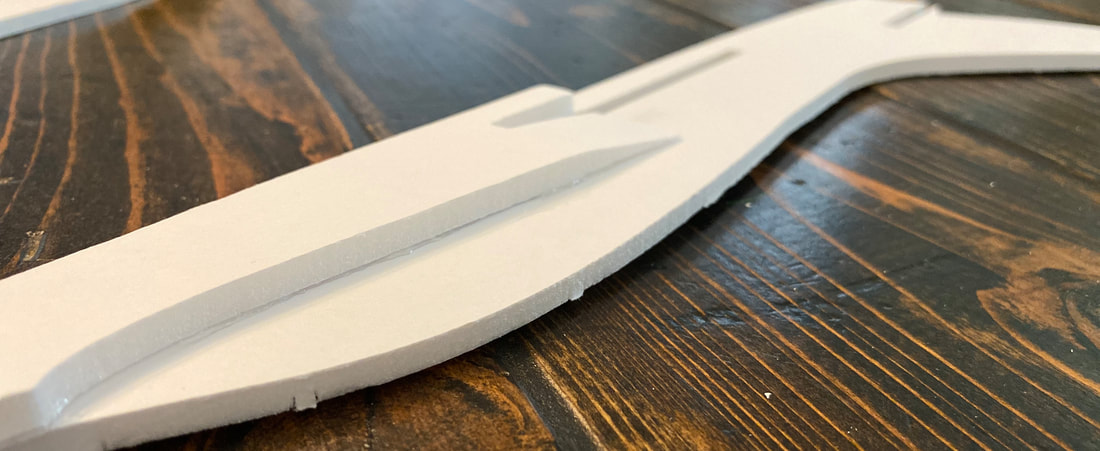
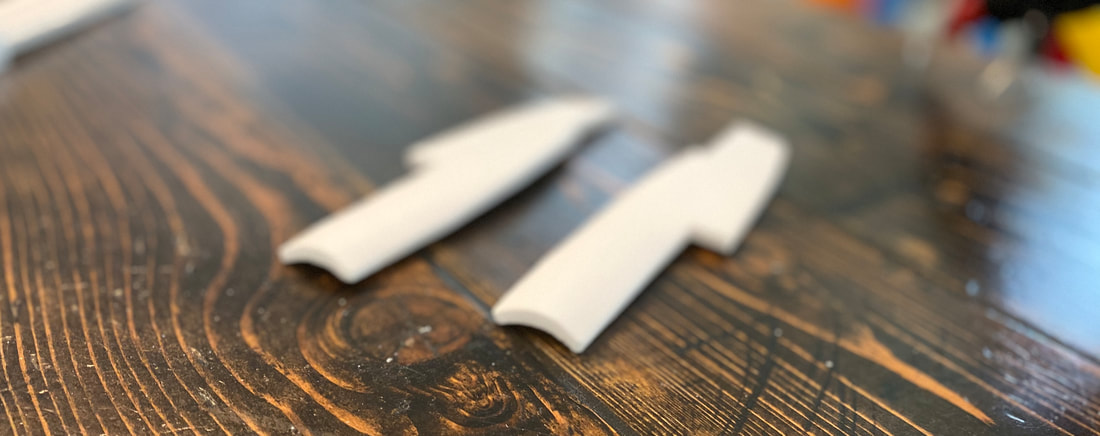
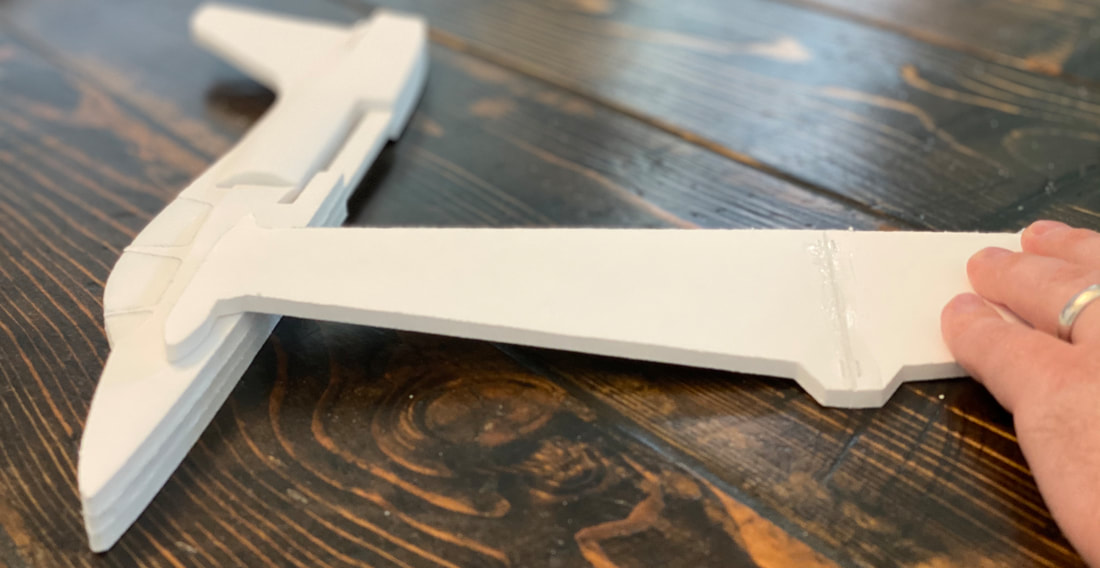
4. Bevel both nose side doubler pieces where the paper was removed until they look like the second photo.
5. Glue on one nose side doubler.
6. Glue in 1x USD Penny (2.5g).
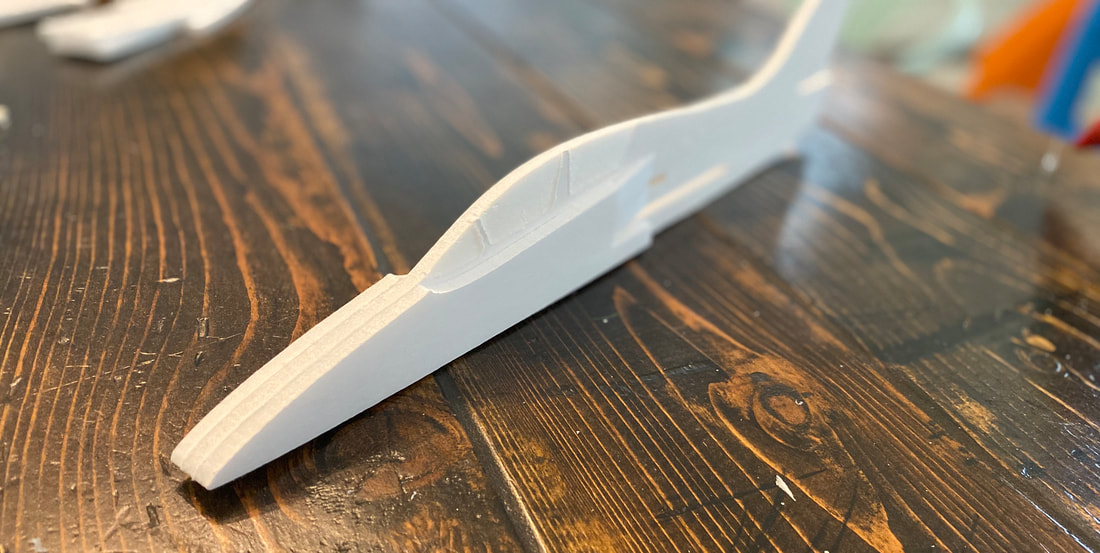
7. Glue on the other nose side doubler.
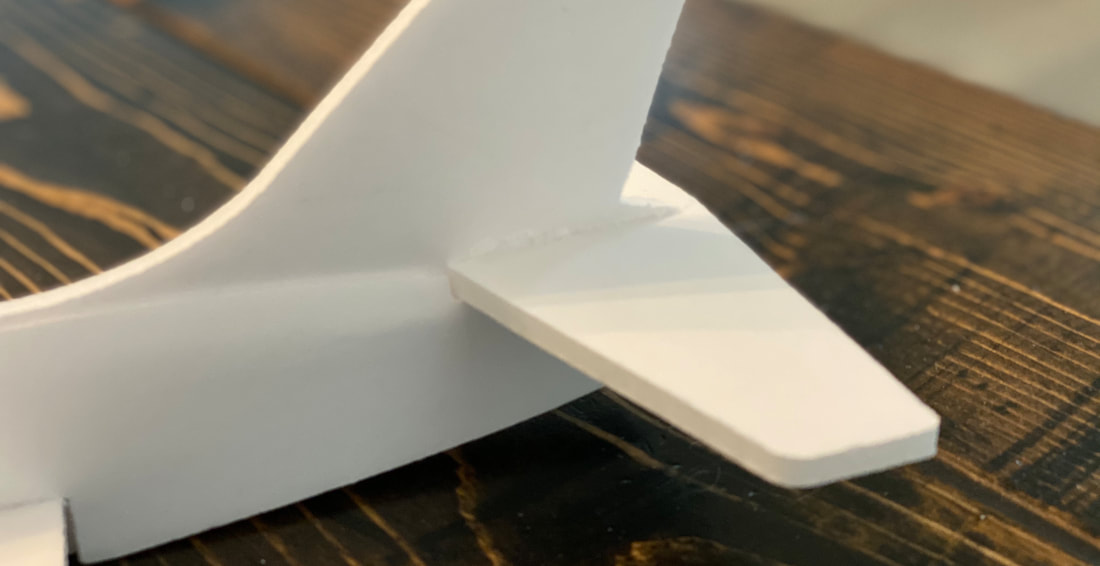
8. Curve both tail side doublers. The outside of these pieces should still have the paper on.
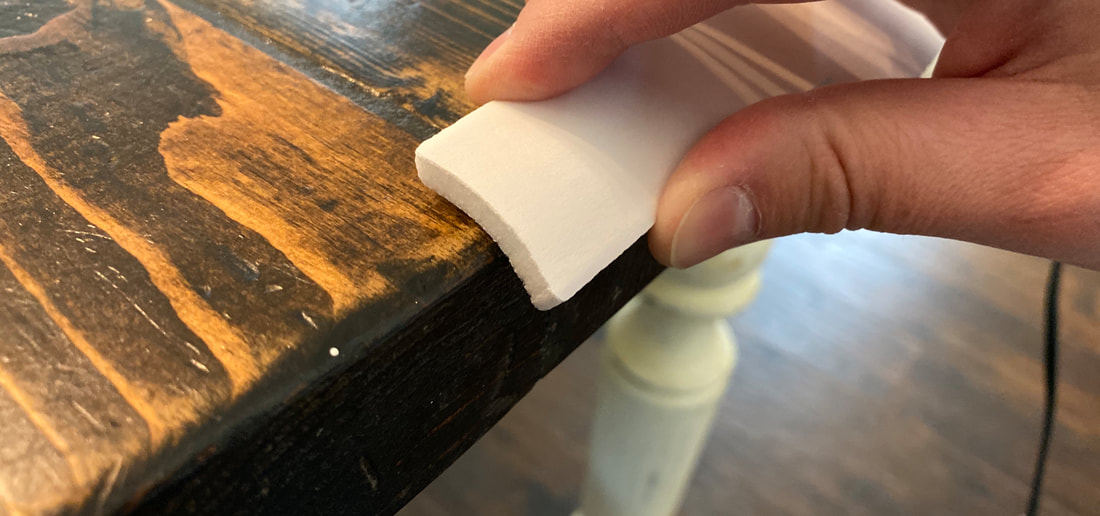
9. Bevel the inside of both tail side doublers.
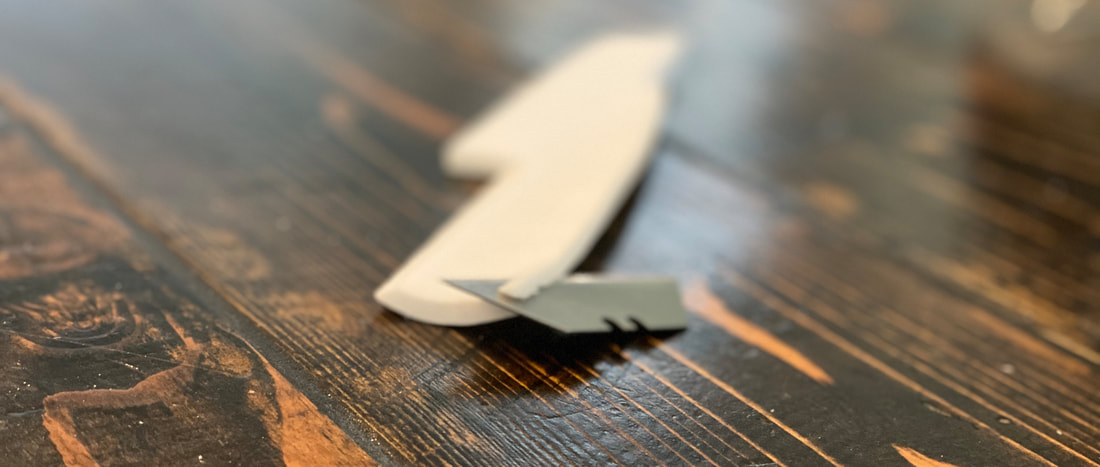
10. Glue on both tail side doublers.

11. Glue wing center line and set dihedral.
12. Glue in wing.
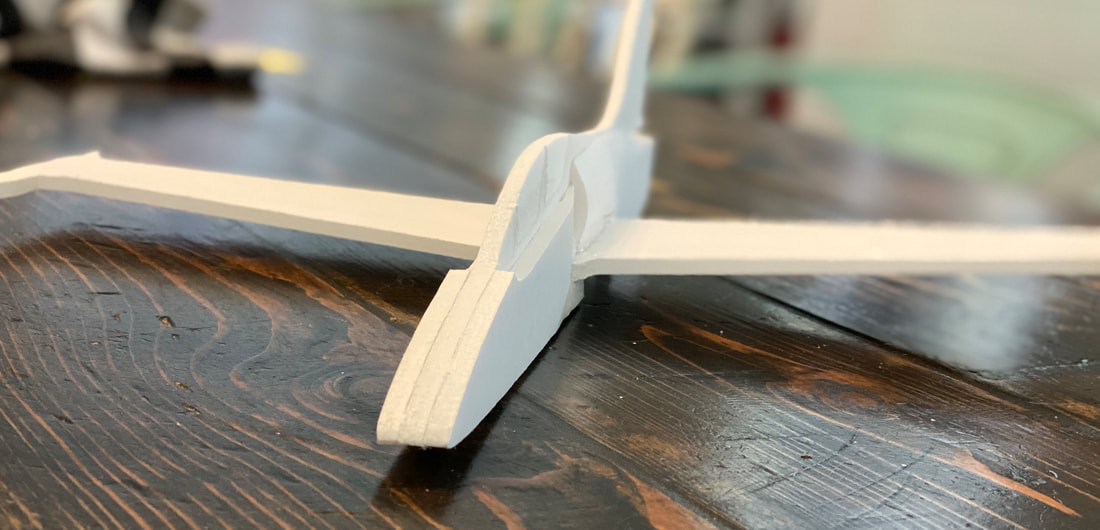
13. Glue in horizontal stabilizer.