nnP-38 - design, build, and review log

wilmracer

I build things that fly (sometimes)
Mentor
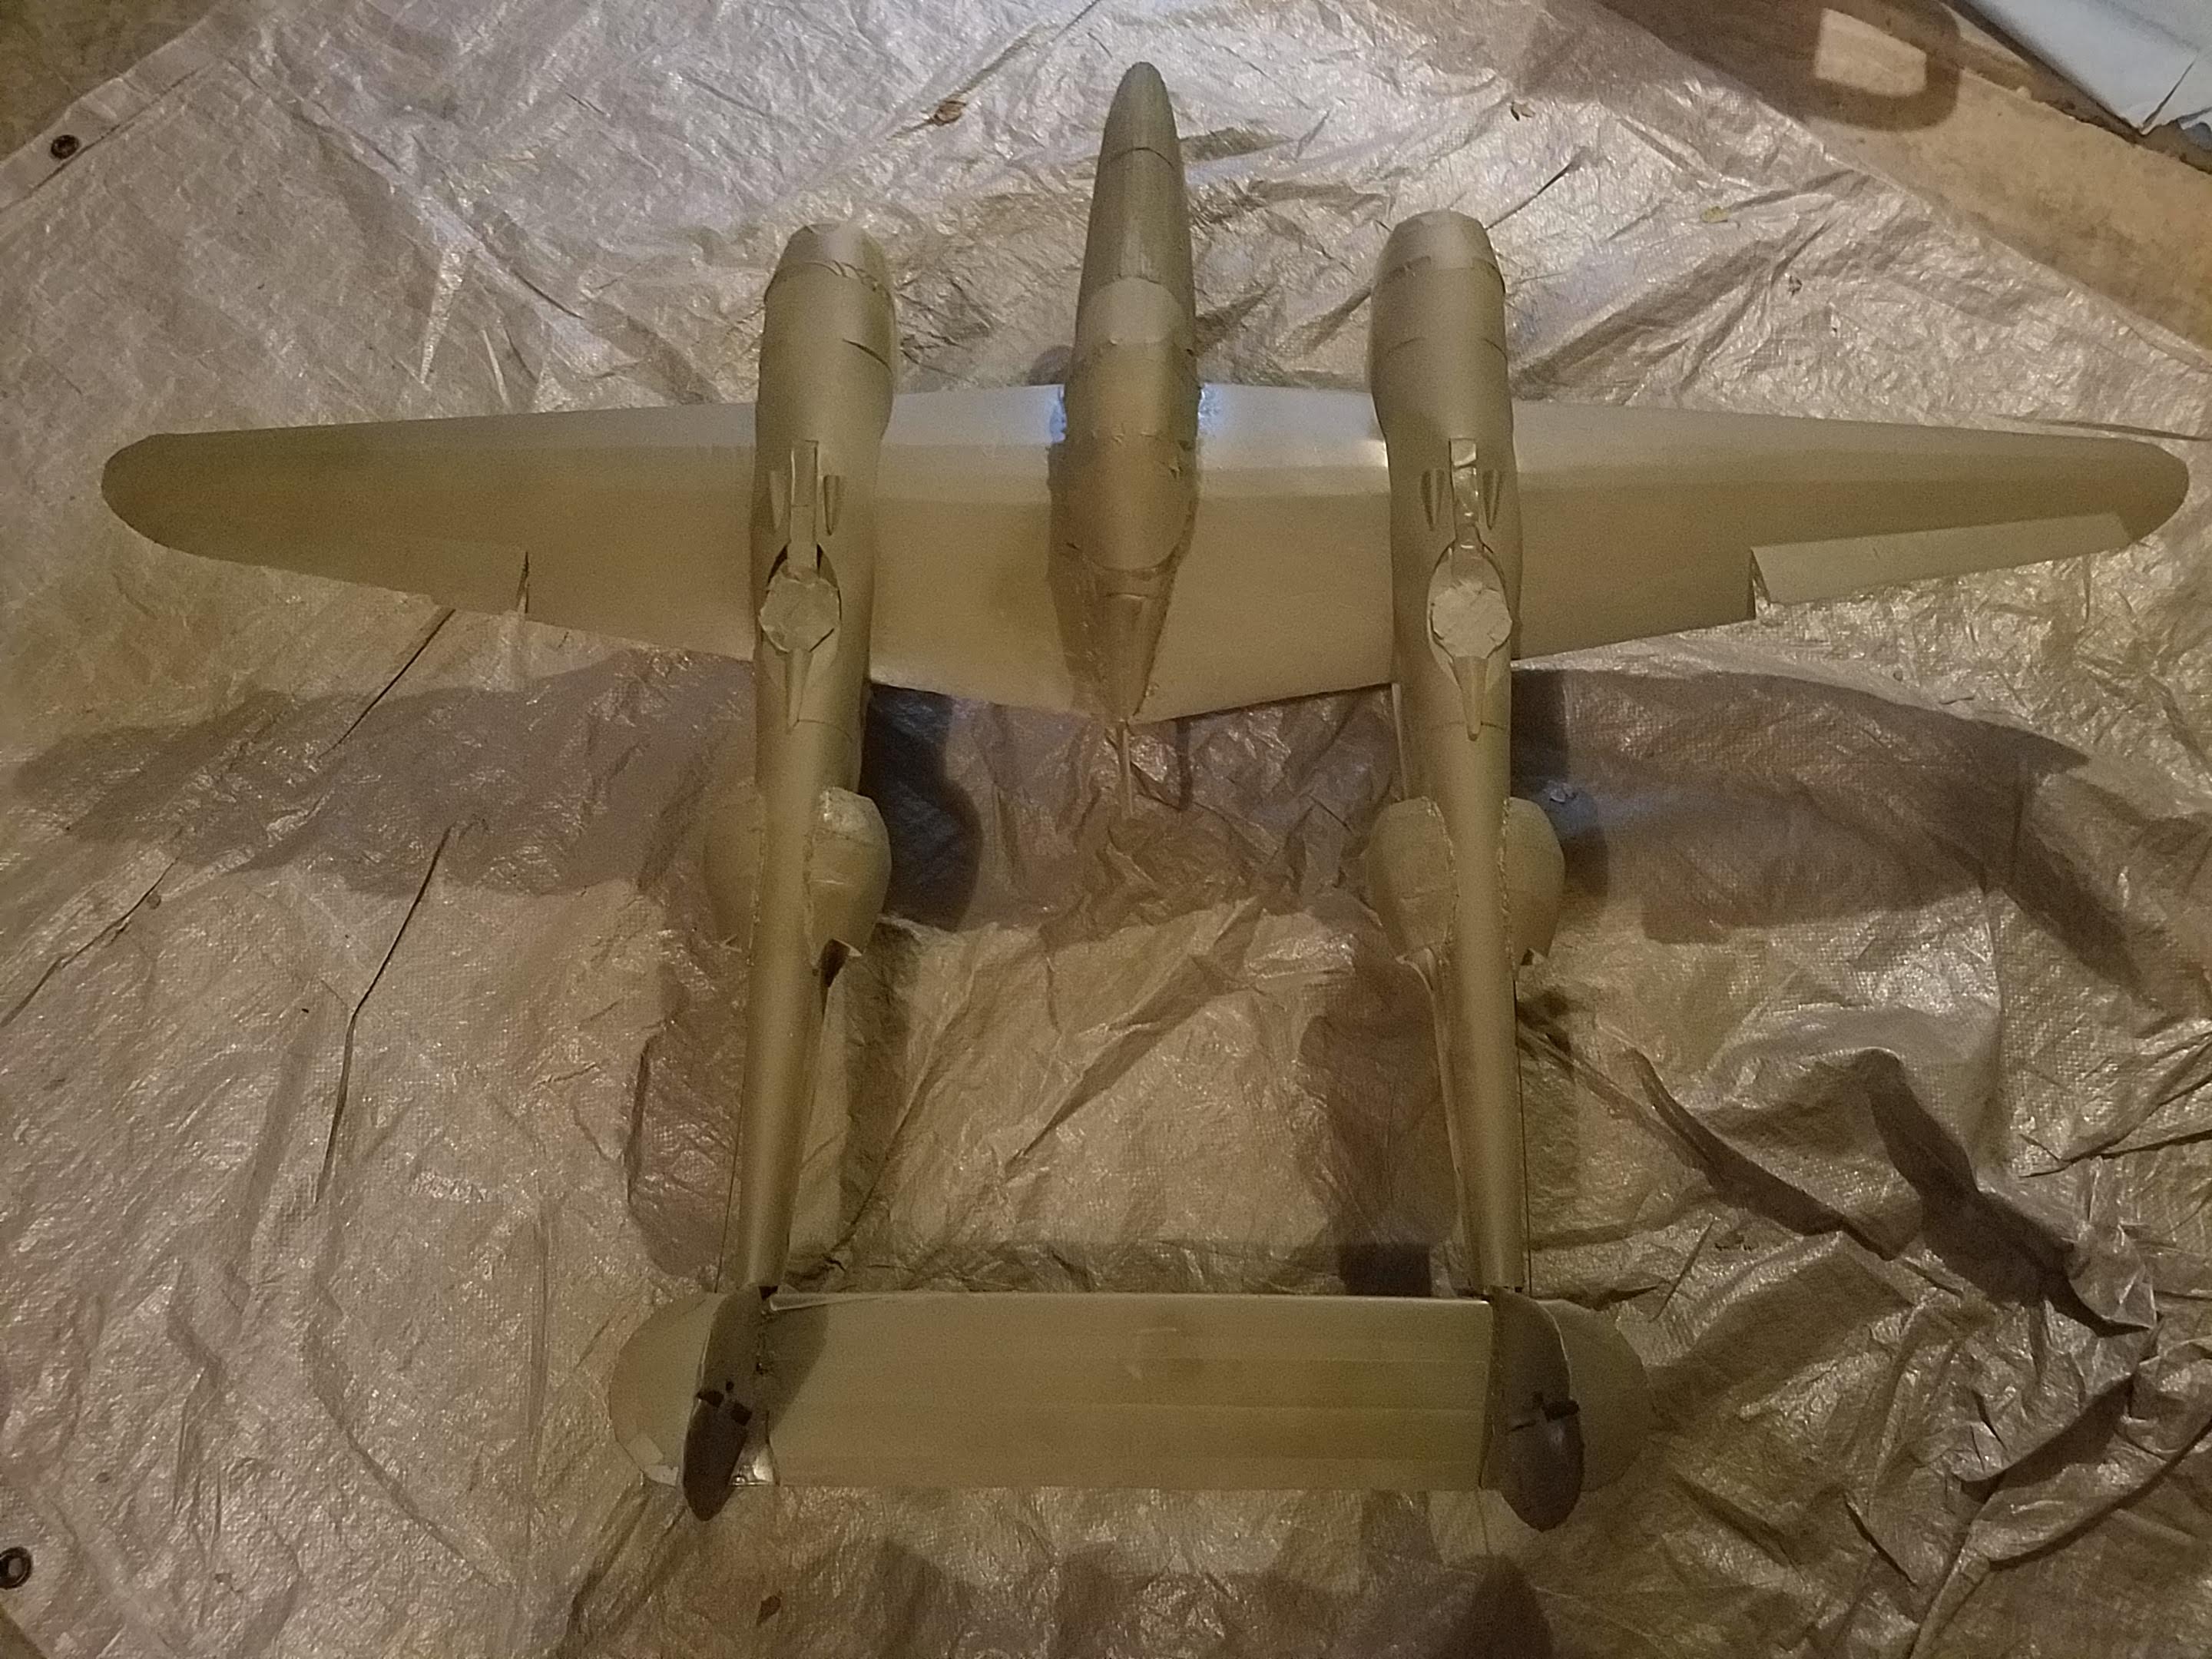
I'll let @nerdnic chime in with a definitive response, but I think the firewall mount area may have some wiggle room based on what motor setup you are using. Different motors may require the firewall to be installed further forward or aft a bit. I know I beefed up the area around my firewall with a little foam doublers right behind the firewall. I'm on my mobile now but will check the laptop for pictures tomorrow.
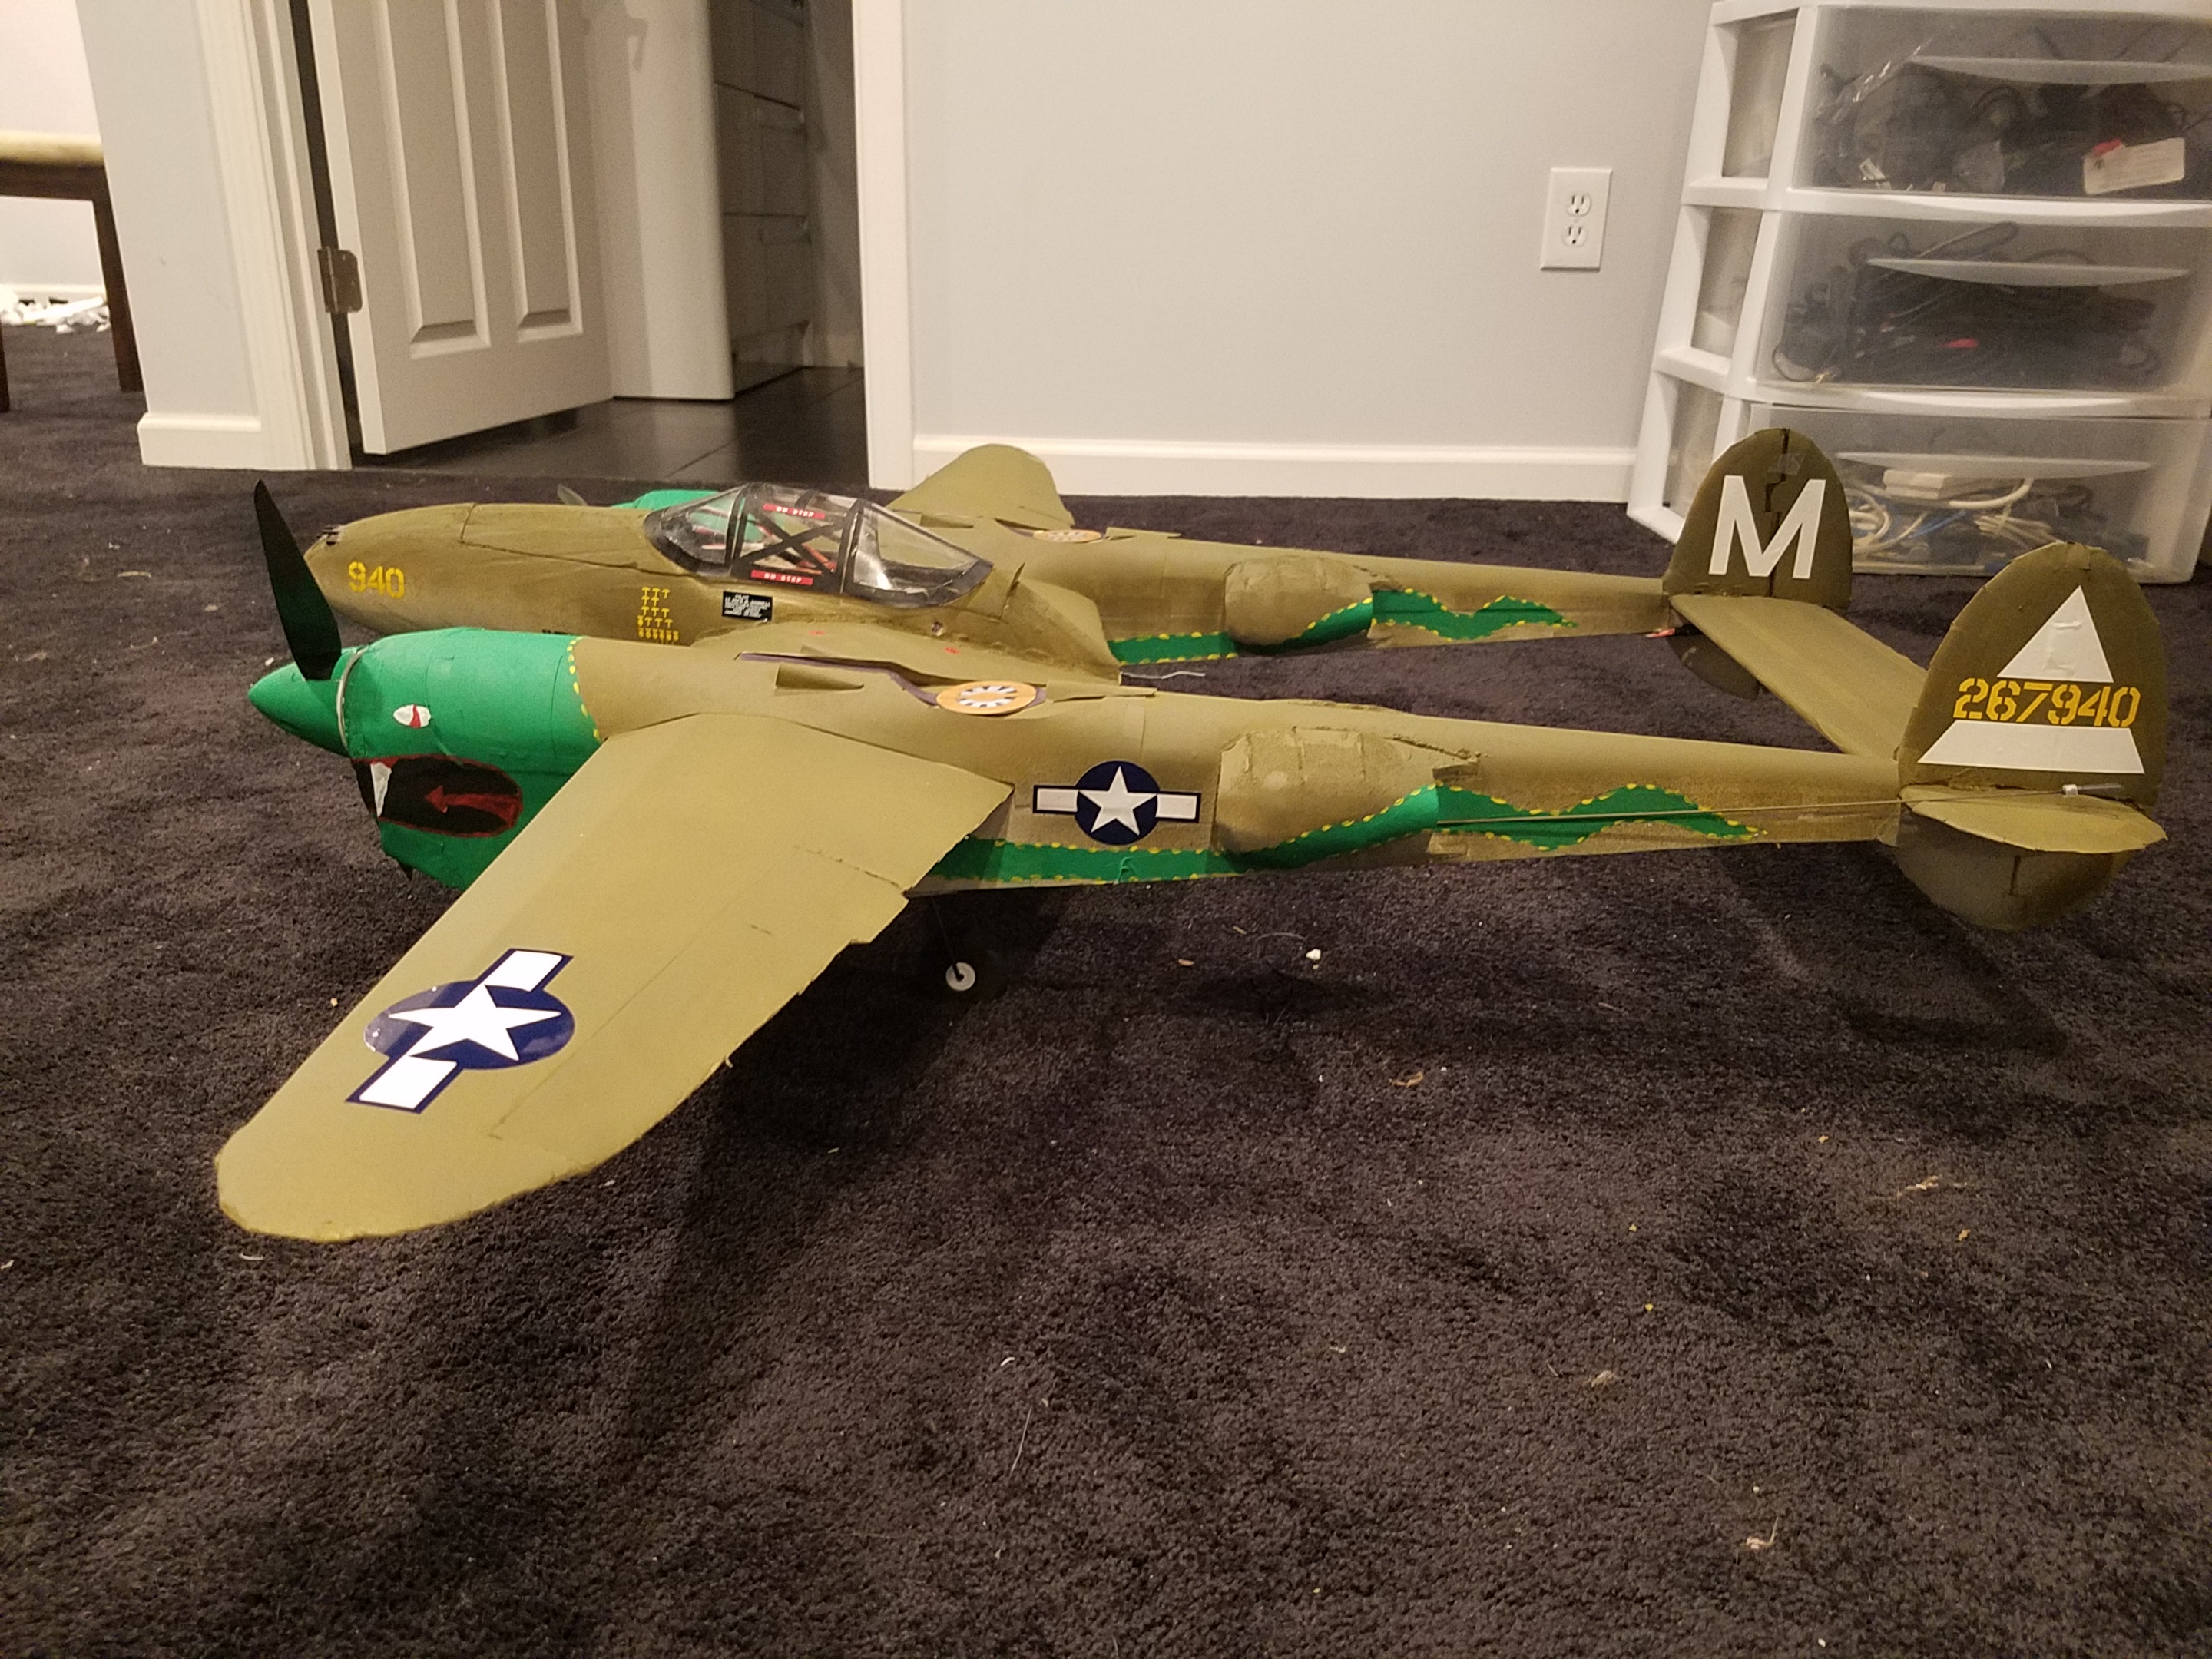
I'll say this... I miss this plane. It flew so well and was so much fun. I should have been smarter with the wiring and taken into account the amps pulled by each motor and ran a pair of xt90 connections to two batteries (or slapped castle connectors in). The Dean's connectors failed and I melted a bunch of shielded wire on the crash that did her in. 150+ sustained amps on Dean's connectors isn't a good idea :-( If you're running a monster setup on her make sure you account for that with your wiring.

You're build is looking great! I'm eager to see more of these in the wild!
 

crossj_2002

Member
Wow, that's some amazing amperage! Seeing some of your maiden videos and how quick that bird took off, that makes sense. Sorry to hear about the crash.

Here's what I've got for power system specs. I'm definitely designing it more around a parkflyer setup than a trying to hit triple digits on the speedometer.

Turnigy D3530/14 1100KV Brushless Outrunner Motor x2
4s 3300mah battery
HobbyKing 60A ESC 4A UBEC x2
Gemfan Glass Nylon 1045 2- Bladed Propeller Black (CW/CCW) (1 Pair)
 

nerdnic

nerdnic.com
Mentor
wilmracer is correct. You’ll want to adjust the firewall depth based on your can length. For a 3530 I think the standard location will be too deep. Your build is coming along great so far. Are you enjoying the process?
 

crossj_2002

Member
wilmracer is correct. You’ll want to adjust the firewall depth based on your can length. For a 3530 I think the standard location will be too deep. Your build is coming along great so far. Are you enjoying the process?
I am. It definitely helps that I have a love for this plane. I am very thankful for all the previous builders that detailed their process. This is really my first DTFB build, so I've been studying countless videos to ensure the final product will have good alignment and balance.
 

crossj_2002

Member
Some more things knocked out this week. Spent some time with the tail section and then turned my attention to my power system and servos. Measuring out distances and needed y-cables before I start to glue the major pieces together instead of just having them friction fit. Before too long, I'll be able to have functional control surfaces.
 

Attachments

  • Tail Pieces.jpg
    Tail Pieces.jpg
    819.5 KB · Views: 0

battleship

New member
hi nerdnic i was wondering if you still have the plans for the P-38 lightning? i lost them awhile back when my computer crashed >.<
 

crossj_2002

Member
I got the canopy glued on and a hatch cut. I still have the booms open on the bottom. I'm thinking of installing some static landing gear, so I want to put some reinforcement foam blocks between the top and bottom of the boom surfaces were the mains will be attached.

A few more aesthetic pieces to get formed up (intakes, radiators, etc), then I should be ready to apply the Minwax treatment.
 

Attachments

  • Canopy and spinners.jpg
    Canopy and spinners.jpg
    499.3 KB · Views: 0
  • Spinners and intakes.jpg
    Spinners and intakes.jpg
    461.9 KB · Views: 0

crossj_2002

Member
Got wheels on the thing for ground takeoffs. Thanks to shiitake for the idea and pics. I just need to glue on the foam radiator pods and then check for CG with the battery.
 

Attachments

  • Landing gear.jpg
    Landing gear.jpg
    677.7 KB · Views: 0
  • Steerable Nose.jpg
    Steerable Nose.jpg
    375.1 KB · Views: 0

crossj_2002

Member
Got the radiator fairings attached. Still need to do some sanding on them. But getting very close to being able to treat the paper and then paint. I double checked that I'll have adequate ground clearance for the props. The fronts of my booms didn't close up quite like others I have seen. I think I need to carefully cut some seams on the inside, then bend up to match.
 

Attachments

  • 20191019_092723.jpg
    20191019_092723.jpg
    1.8 MB · Views: 0
  • 20191019_092803.jpg
    20191019_092803.jpg
    1.7 MB · Views: 0

PoorManRC

Master member
Got the radiator fairings attached. Still need to do some sanding on them. But getting very close to being able to treat the paper and then paint. I double checked that I'll have adequate ground clearance for the props. The fronts of my booms didn't close up quite like others I have seen. I think I need to carefully cut some seams on the inside, then bend up to match.

That looks amazing!!! 😎👋👋👋👍👍
John Overstreet's version just dropped yesterday for FT.....
I like it, and not physically able to do all that cutting, I've got to wait until I can afford a Speed Build Kit. 😞 Which as a Disabled Veteran, will take a while.

Then I find THIS! I still can't do all the cutting involved, but with respect to John, I like the @nerdnic version BETTER!
There HAD to be compromises for a FT Kit. Just the Nature of the Beast. The sectional look is obvious. 😞

The NN P-38 is so much smoother looking. Even if a lot of it is the result of Poster Board, frankly I've gotten pretty good at Poster Board. I don't feel the absolute need to replace it all with Foam! 😏
This will need to go on the someday list. It's one of my favorite Warbirds, and my Dad was friends with the Designer. That's reason enough!!

@crossj_2002 I love your Landing Gear solution!! LG is an absolute MUST for me, as well as the ability to Taxi. I'm not able to chase rolled over Planes - and Tricycle Landing Gear DOESN'T GROUND LOOP!!! 😊

Nic - are you still working on this?? Like maybe a Build Video.... Plans for the Removable outer Wings?
Your 38 really is Beautiful!!
 

crossj_2002

Member
Applied my Minwax for waterproofing this week. Did some surgery to the fronts of the booms to close them up a little more. Not perfect, but looks more like a P38 to me.
 

Attachments

  • Minwax treatment.jpg
    Minwax treatment.jpg
    1.4 MB · Views: 0
  • Spray painting.jpg
    Spray painting.jpg
    665.1 KB · Views: 0
  • Spray Painting 2.jpg
    Spray Painting 2.jpg
    659.8 KB · Views: 0

crossj_2002

Member
I had a productive day. Got painting and decals applied. Just a few controls to connect and I'm ready to maiden. I need to get some good weather though. Thanks again to everyone that shared in this thread to help the build process.
 

Attachments

  • 20191103_135715.jpg
    20191103_135715.jpg
    2.3 MB · Views: 0
  • 20191103_135702.jpg
    20191103_135702.jpg
    2.2 MB · Views: 0
  • 20191103_135744.jpg
    20191103_135744.jpg
    2.6 MB · Views: 0
  • 20191103_135727.jpg
    20191103_135727.jpg
    2.3 MB · Views: 0
  • 20191103_135800.jpg
    20191103_135800.jpg
    2.2 MB · Views: 0

crossj_2002

Member
Some more details:
All up weight comes in at 4 lbs 1.5 oz (1857 grams) including the 4S battery. That's a bit heavier than some of the other builds, but with the fixed landing gear, paint, and excess gorilla glue in places.

CG 2.75" from the leading edge

I'm still waiting for a good weather day for a maiden.