Radical RC Dual Transmitter Case

rockyboy

Skill Collector
Mentor
I would like to have two transmitters with me at the field so I can buddy box with people, but I'm also not too crazy about the Futaba or Spektrum dual transmitter case designs. Those tall aluminum lunch boxes don't look like they will pack well and I prefer gear that I can make myself.

So I was happy to find the Radical RC Dual Transmitter Case kits! At a reasonable price they come in lite ply or very fancy birch, either one allowing plenty of opportunity for customizing along the way.

20190228_175735-1024x576.jpg


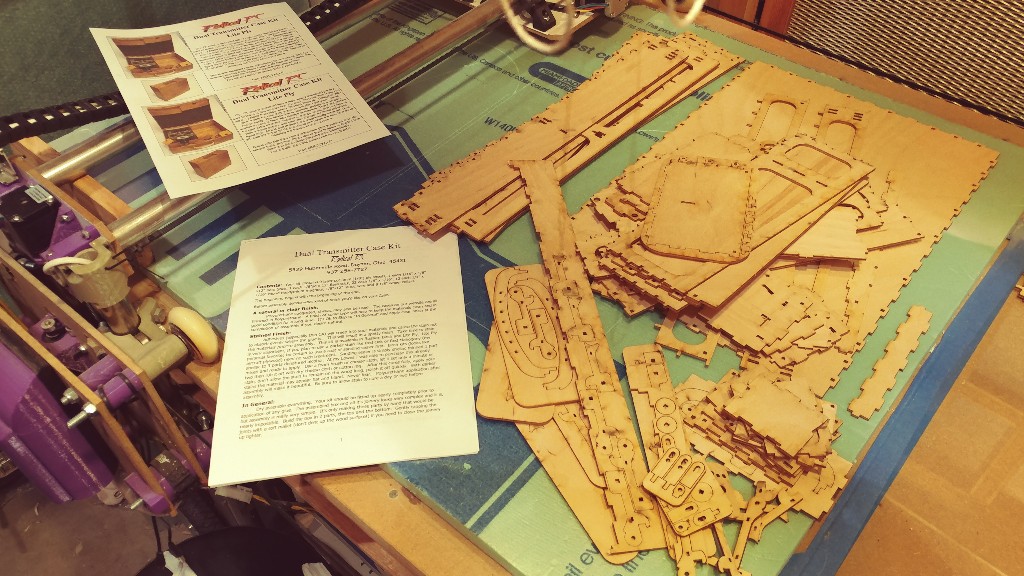
So tonight I started with pulling the majority of the parts - especially the large parts - free of the excess plywood.
20190228_180249-1024x576.jpg


Look at that big pile of parts! Hope the instructions are good... this could get tricky...
20190228_181813-1024x576.jpg


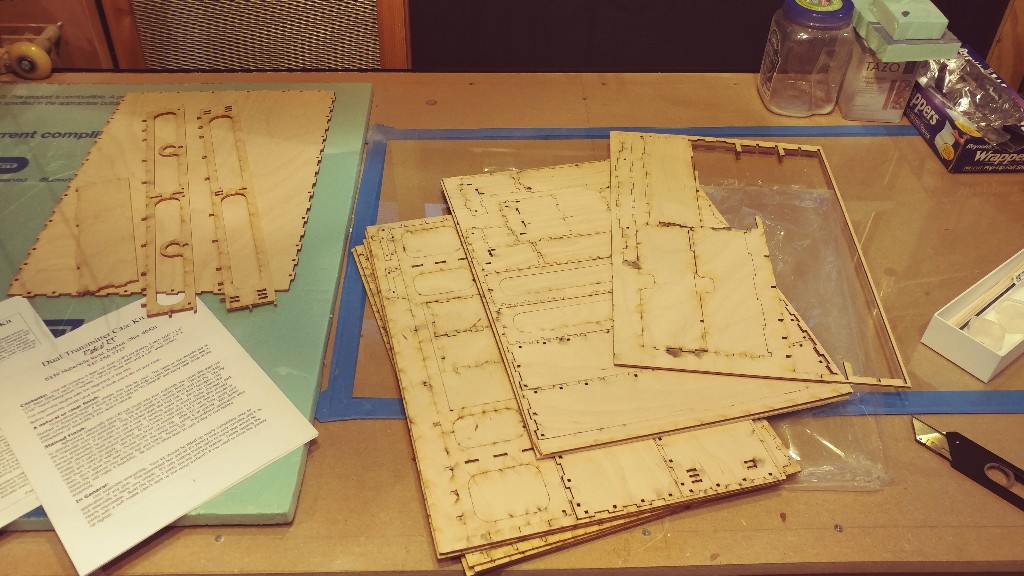
Next it's time to sand away the laser cutter marks and prep things for a coat of sanding sealer. My preferred way of going about this is to use spray adhesive on a full sheet of 320 grit sandpaper and stick it to a nice flat piece of MDF. Then with some 220 grit sandpaper on a sanding block, I can easily smooth things up.

20190228_182341-1024x576.jpg

Once I finish sanding the pile of parts it will be time for the seal coat before stain.
 
Last edited:

rockyboy

Skill Collector
Mentor
That took a while. Kids, don't forget your dust mask while sanding.
20190228_214115-1024x576.jpg

Sort of put the parts in order, then got the tack cloth and brush to clear off the dust. Next is the sanding sealer aka pre-stain wood conditioner. Helps soft wood take stain more evenly, not really necessary when deal with hard wood - which this isn't.
20190228_222733-1024x576.jpg


And all given a good coat of the sanding sealer, will pick up the stain process tomorrow.

20190228_230424-1024x576.jpg
 
Last edited:

rockyboy

Skill Collector
Mentor
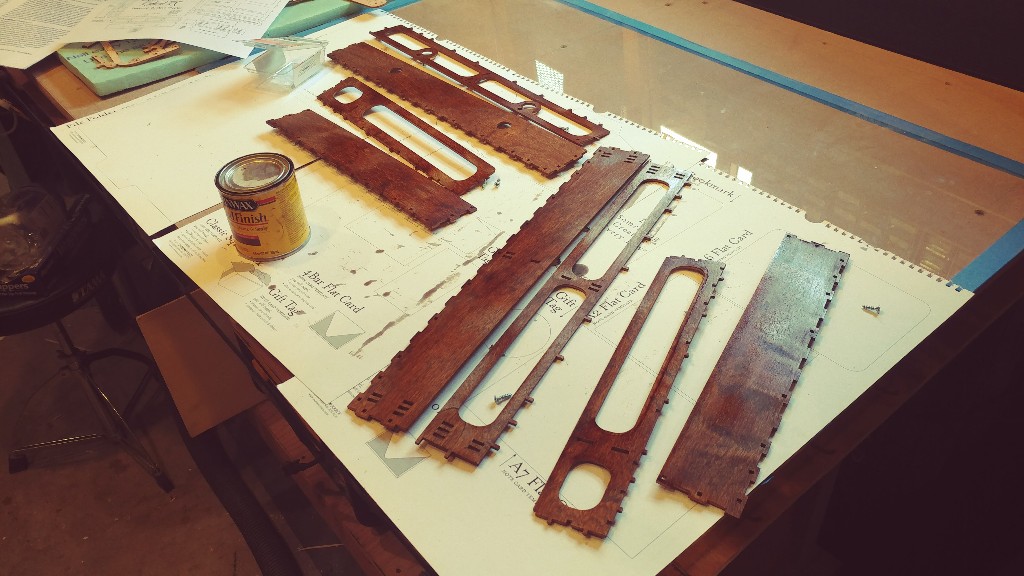
Time for stain!! I'm going with a Minwax Dark Mahogony that I had on the shelf.
20190301_111437-1024x576.jpg


Lots of parts to stain... I figured out I could put a little #6 screw into a slot on the piece and it keeps them tilted up so I can do both sides at the same time.
20190301_122009-1024x576.jpg


Then it's time to start dry fitting pieces together - here's the inside top hatch pieces...
20190301_172651-1024x576.jpg


And the rest of the top hatch - still no glue.
20190301_173205-1024x576.jpg


Starting on the bottom inside walls - going with the "short middle drawer" option so the 2.4 ghz antenna have room.
20190301_175008-1024x576.jpg


Bottom side mostly complete - it's a little more complicated with the handle recess area, but anyone who's done a 1000 piece jigsaw puzzle should have no problems with it.
20190301_181317-1024x576.jpg


Looks pretty nice sitting there together. Still no glue yet.
20190301_181352-1024x576.jpg


Time to stain the inside boxes and lids - going with some left over Honey Pine stain for these...
20190301_182944_HDR-1024x576.jpg


Once those dry (and after dinner) it'll be time to figure out the hinges and handles.

It is so nice to work on something that shows progress quickly after working on the Monster FW-42 for the last several months :D
 
Last edited:

rockyboy

Skill Collector
Mentor
Hinges... oohhh the hinges....

Don't do them the way I did. I put all the hinge parts together, pinned them, and then tried to install the completed hinges. Which took some trimming and sanding. And then after I was done jamming them in, my brain started to work again and the very specific word order in the one sentence instructions sunk in. o_O

What I should have done was insert each of the hinge pieces into the hatch slots one at a time, and then once they were all in place done the pinning. Yep - that would have worked better. :unsure:

20190302_174752-1024x576.jpg


But hooray! I have hinges! and they work quite nicely! :D

20190302_182459-1024x576.jpg


After pinning the hinges in place it's finally time to put some thin CA in the joints and clamp things tightly while they are curing.

20190302_184200-1024x576.jpg
 
Last edited:

rockyboy

Skill Collector
Mentor
Making the handle is an interesting puzzle. Again, if you are good at jigsaw it will go quicker. :)
20190302_210905-1024x576.jpg


Getting a closer look towards the end product here. Drawers and lids and handle set in place - lots of magnets to install next.
20190303_003521-1024x576.jpg
 

rockyboy

Skill Collector
Mentor
Magnets all epoxied in their places, and foam pieces rough cut and hollowed out to hold the transmitters.
20190303_220630-1024x576.jpg

Once the expoy fully cures I'll install the latches and drawer retainers, and then start the felting process. Haven't done this before but it seems straightforward - use spray adhesive to wrap the foam shapes in felt and stick the blocks in the right spots. Happen to have some tan felt left over from another project years back I plan to use for it.
 

rockyboy

Skill Collector
Mentor
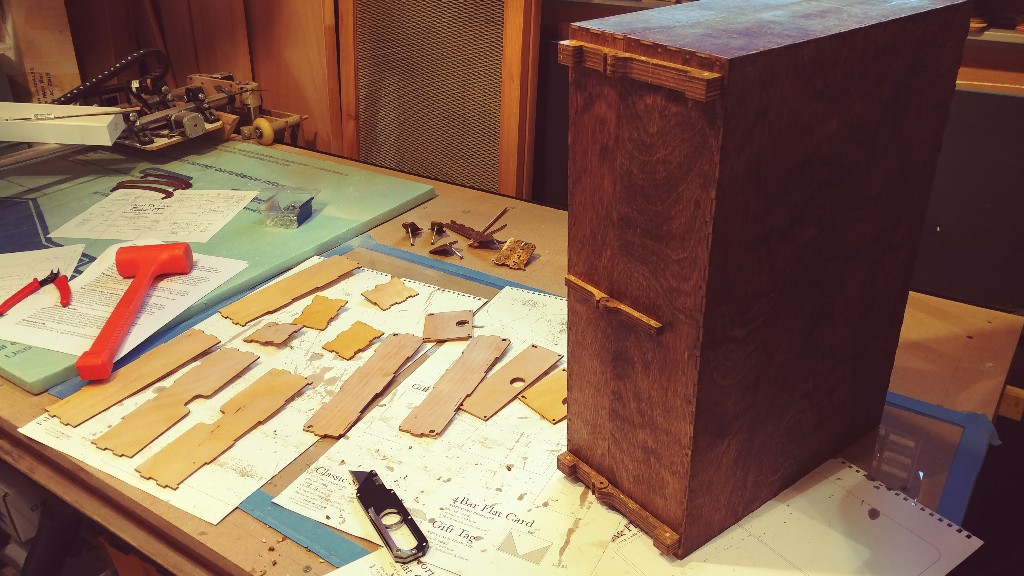
Magnets and latches all installed. Before I started on the foam and felting I got distracted sanding the outside and put a coat of polyurethane on to dry over dinner.

20190305_181537-1024x576.jpg
 

rockyboy

Skill Collector
Mentor
Wont the poly make yer dinner taste funny? I would think it would be better suited for covering the wood

Shhh - don't tell my wife! Right now I'm blaming it on the dogs, but I'll be in the dog house for sure if she find out :p
 

rockyboy

Skill Collector
Mentor
Very elegant!

Thanks! I think it's going to be pretty neat once I get a couple coats of poly on it and then start in with some cool RC and travel stickers like an old trunk. With the poly layer, if I don't like the stickers they will come off without messing up the wood.
 

PsyBorg

Wake up! Time to fly!
If ya really wanna get fancy leather wrap the handle before you mount it. Really simple to do just like a tennis racket handle
 

rockyboy

Skill Collector
Mentor
If ya really wanna get fancy leather wrap the handle before you mount it. Really simple to do just like a tennis racket handle

I love that idea! Pretty sure I've got some leather cording around here somewhere....

Thanks!
 

PsyBorg

Wake up! Time to fly!
Yeah I am particularly into the katana wrapping style specially black over red.

Oh and your welcome for your new hobby. That gets addiciting the more intricate patterns you learn
 

rockyboy

Skill Collector
Mentor
Yeah I am particularly into the katana wrapping style specially black over red.

Oh and your welcome for your new hobby. That gets addiciting the more intricate patterns you learn

I just bought a roll of extra small diameter paracord.

You d#$% enabler!! :p