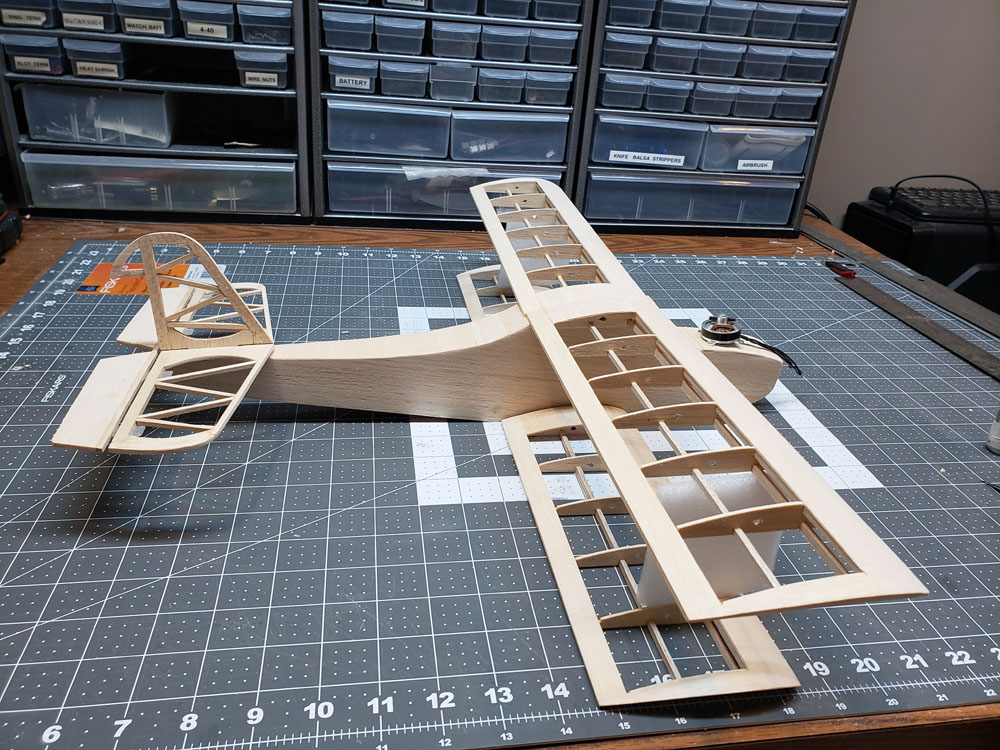
Tinkerbell Biplane Scratch build because I had lots of balsa collecting dust

Duffusmonkey

Junior Member
Is there still someone making shrink wrap covering like monokote or is all that stuff long gone too?
I am going to use 1.5mil clear lamination film. I did a little experimenting and it doesn't seem to shrink as much as monokote but it's lighter.

I was shrinking it using just an iron, I read that I need a heat gun to get it hot enough to completely shrink so I am going to give that try in a few days.
 
Last edited:

TooJung2Die

Master member
I was shrinking it using just an iron, I read that I need a heat gun to get it hot enough to completely shrink so I am going to give that try in a few days.
You'll find that laminating film needs higher heat than model airplane film. I get the best results when covering curves using a heat gun. The great epiphany I had was that laminating film stretches as well as shrinks. Leave generous excess overhang and use it to pull out wrinkles that don't shrink out. You can stretch it over compound curves like wingtips without wrinkles. The adhesive is excellent.
 

Duffusmonkey

Junior Member
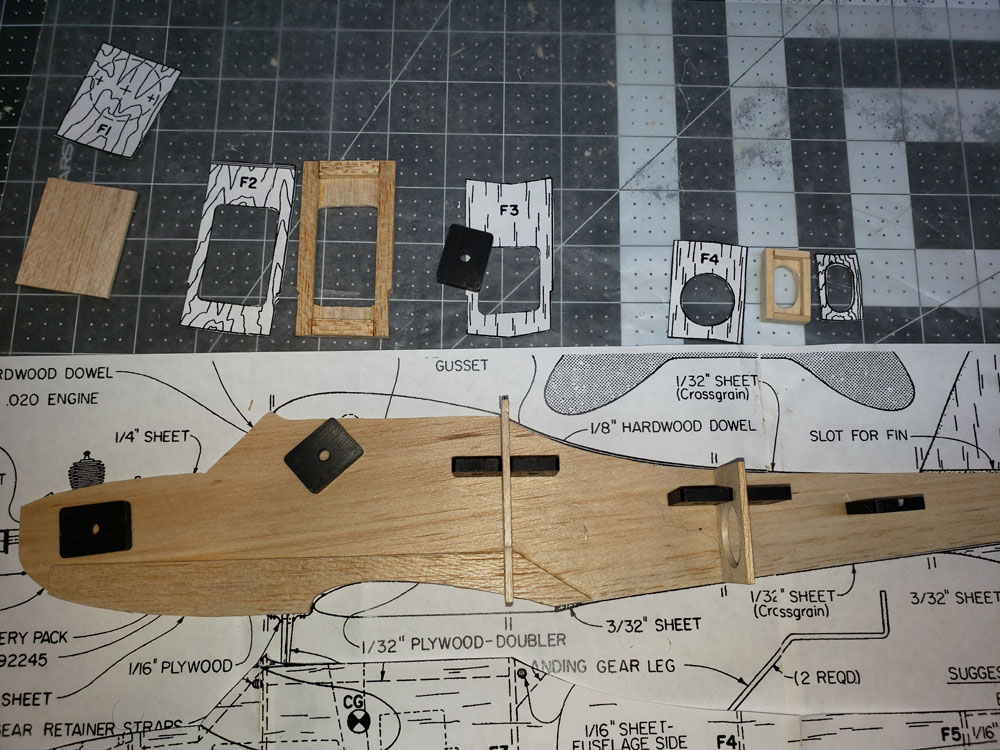
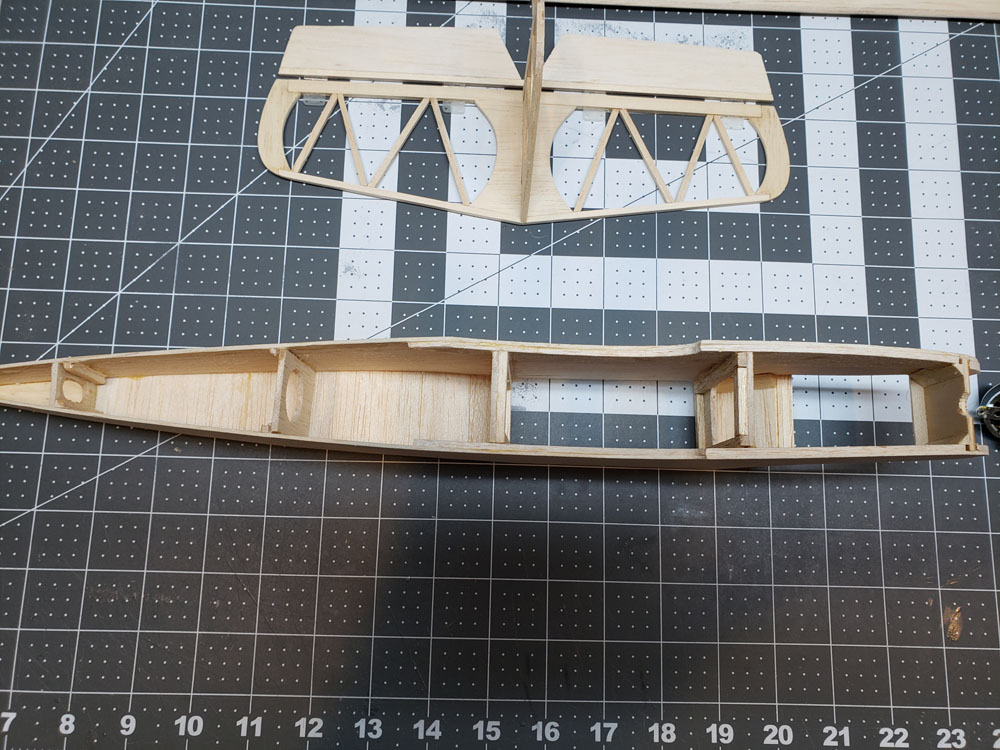
I decided to just build the fuselage to the plans. I just doubled up the balsa in the places where plywood was called out

R022BULKHEADS20200122.jpg


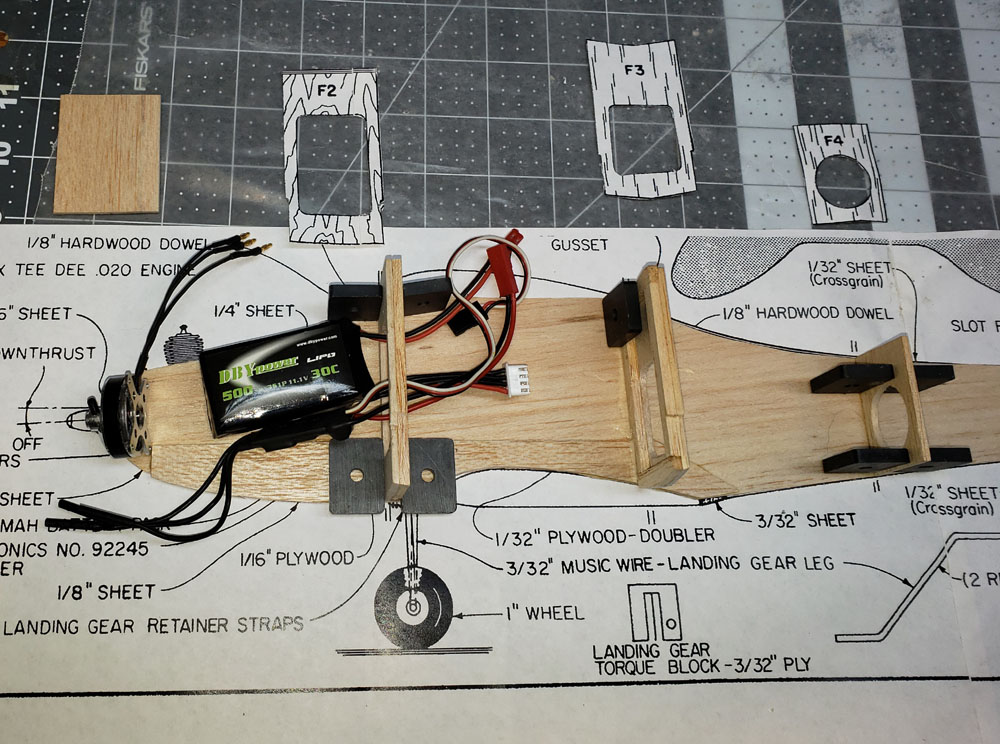
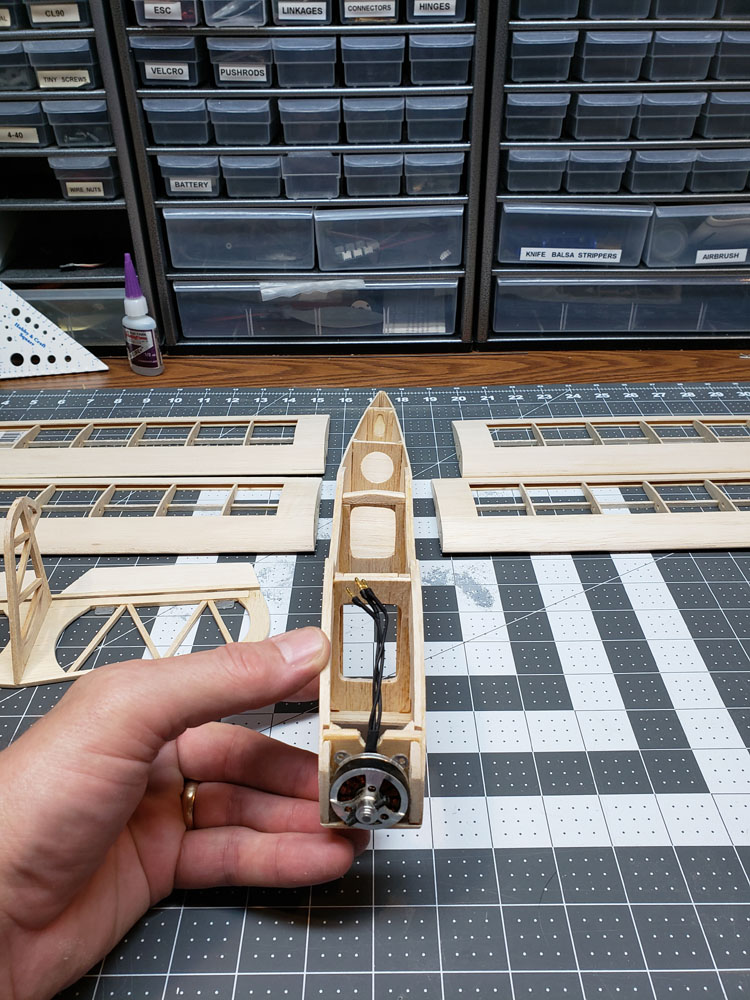
I mocked up the electronics and started gluing the bulkheads in

R023MOCKUP20200122.jpg


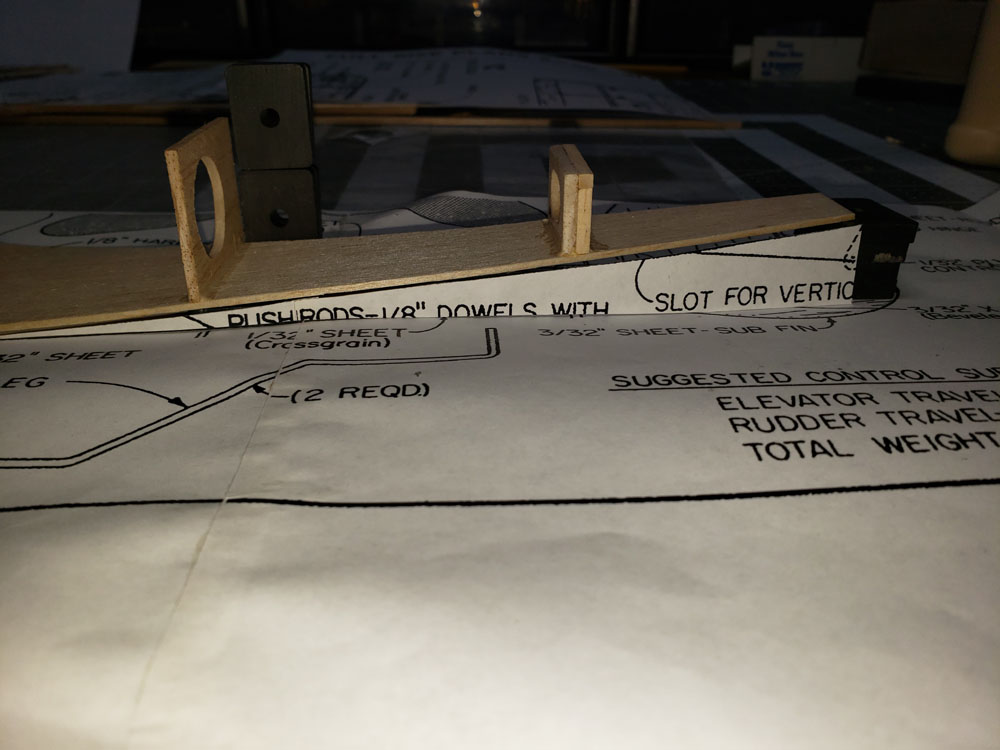
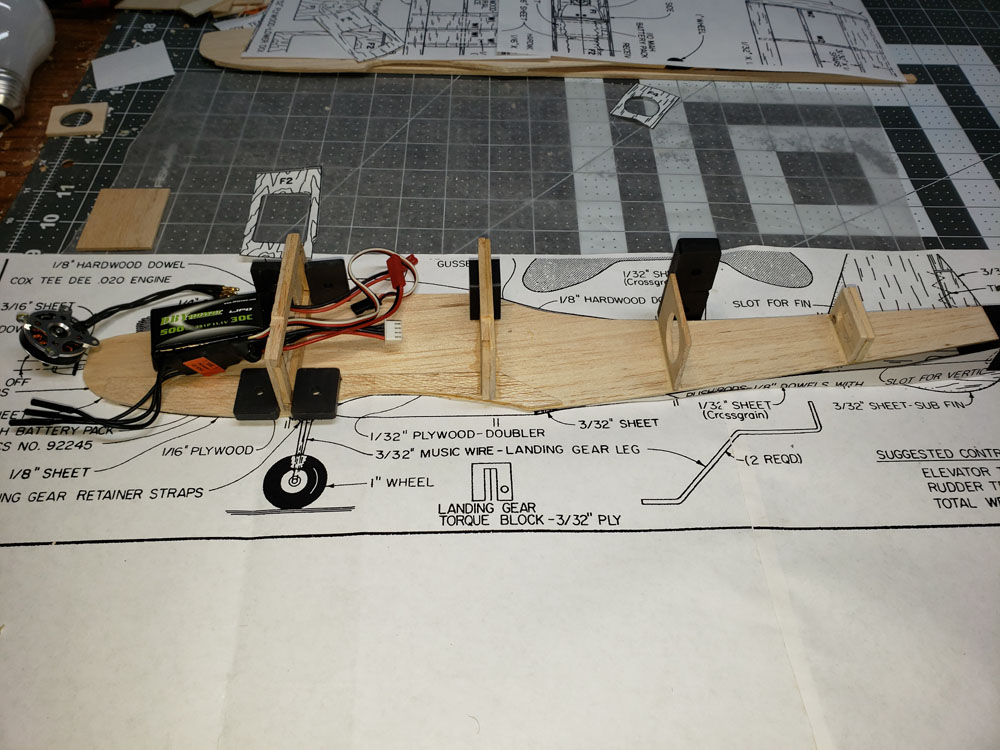
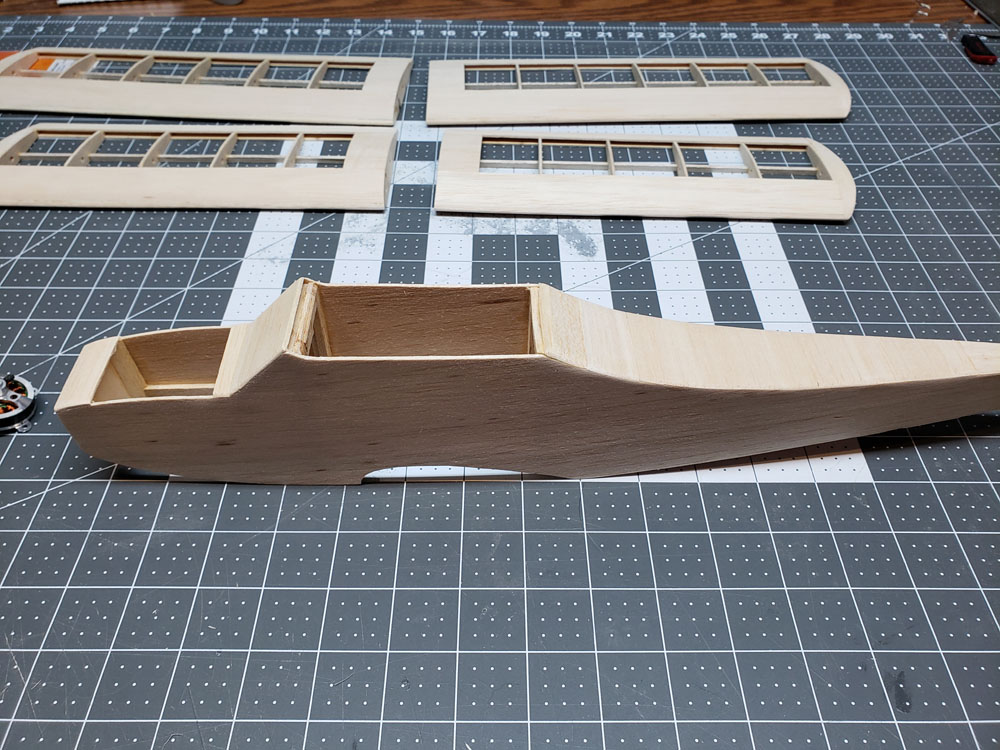
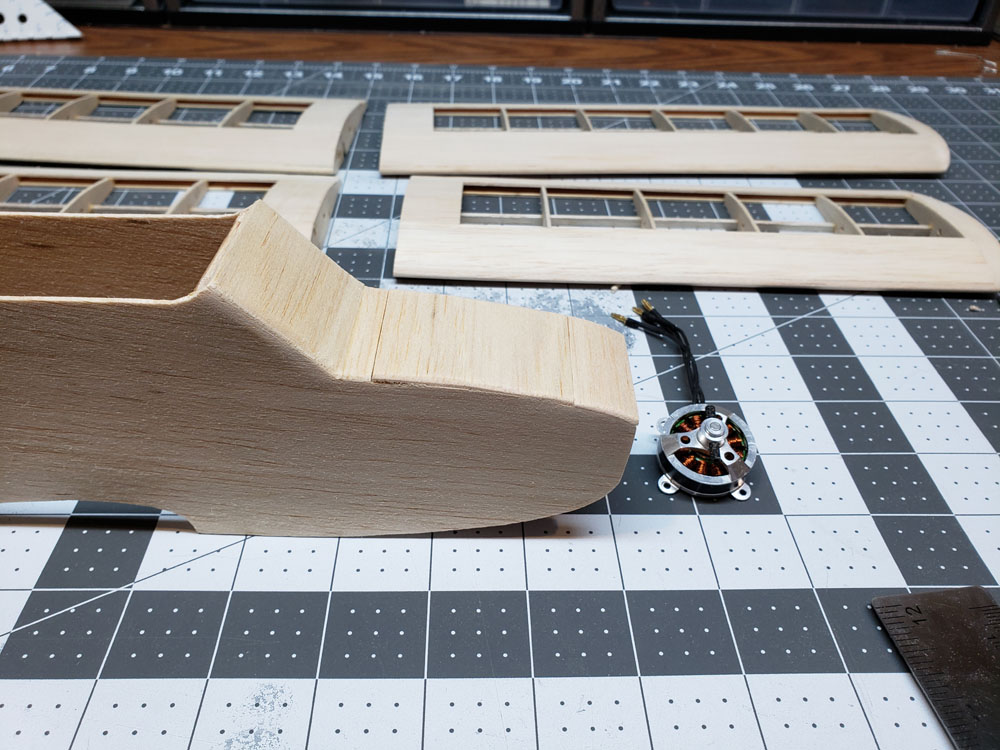
I realized my bulkheads were going to be crooked if the side is flat when I glued them down so I spaced up the tail

R024TAPER20200122.jpg


R025MOCKUP20200122.jpg
 
Last edited:

Duffusmonkey

Junior Member
...Laminating film stretches as well as shrinks. Leave generous excess overhang and use it to pull out wrinkles that don't shrink out. You can stretch it over compound curves like wingtips without wrinkles...

I don't quite understand how that works. You have to get it hot to stretch it but heating it shrinks it. I assume that when it's hot you stretch it more than it shrinks, When you are done can you do any additional heat shrinkage?

With monokote I attach the perimeter then shrink the middle. See this great Topflight video. I remember Towerhobbies selling a VHS of this for $30 in the 80's which was way more than I could afford when I was 14


My plan was to attach two perpendicular edges get it hot and pull the opposite two edges.
Or do you still glue the perimeter, Shrink it. Then peel off and handstretch any wrinkled edges? I am a little scared to experiment on my scratch built model.
 
Last edited:

TooJung2Die

Master member
This video demonstrates it pretty well. Do you ever get little wrinkles in the corners of your wing when shrinking with an iron? I found that you can usually pull those wrinkles out by heating the corner and pulling gently on the film at a right angle to the crease. The film wants to shrink when heated but you can make it stretch the other way by pulling on it. The heat makes it elastic.


Here is a wing I covered with doculam. The top and the tip are covered with one piece. The ribs are shrink tight and the tip was stretched tight with a heat gun. I put a glove on my hand so fingers don't get burned.

IMG_0457resized.jpg


This technique is probably easier to learn with doculam because it melts at a higher temperature than film like Monokote.
 
Last edited:

Duffusmonkey

Junior Member
@Duffusmonkey you are inspiring me! I’ve always wanted to try a balsa model and this just looks great! Where did you get the plans?

Outerzone.uk

I wouldn't suggest scratchbuilding your first balsa plane. Willie's Nillies and a few other vendor have some nice kits. I literally had 3 boxes of balsa in my basement that I bought around 1990 that I couldn't bring myself to throw away. Anyone else remember the Tower Hobbies box of balsa?
 

Attachments

  • 46-pieces-tower-hobbies-box-balsa_1_8bd17309a0fcfa5a45b2854c5c6ec9b9.jpg
    46-pieces-tower-hobbies-box-balsa_1_8bd17309a0fcfa5a45b2854c5c6ec9b9.jpg
    24.6 KB · Views: 0

The Hangar

Fly harder!
Mentor
Outerzone.uk

I wouldn't suggest scratchbuilding your first balsa plane. Willie's Nillies and a few other vendor have some nice kits. I literally had 3 boxes of balsa in my basement that I bought around 1990 that I couldn't bring myself to throw away. Anyone else remember the Tower Hobbies box of balsa?
Thanks! I haven't decided what approach I'll go yet but until now I never really realized that you could scratch build balsa planes. Outerzone.uk has some really cool planes on their site!
 

Turbojoe

Elite member
Outerzone.uk

I wouldn't suggest scratchbuilding your first balsa plane. Willie's Nillies and a few other vendor have some nice kits. I literally had 3 boxes of balsa in my basement that I bought around 1990 that I couldn't bring myself to throw away. Anyone else remember the Tower Hobbies box of balsa?

I never bought the Box of Balsa but I bought a mess of the Tower balsa sheets, sticks and triangle stock. In fact a large part of my stock is Tower balsa. Now that Horizon bought them out all they sell is that garbage Midwest "Oak". I still have a bunch of contest grade that I got from National and Lonestar (before they burned down). I do miss the great deals on the very nice wood that Tower used to sell though. It was a bargain.

I'm pretty sure I've downloaded these plans but if not I will. It's a pretty cool little bipe.

Joe
 

rockyboy

Skill Collector
Mentor
Love this project @Duffusmonkey !

A quick tip on cutting those slots in the ribs for the spars. Take a piece of the spar material about 3 or 4 inches long and glue some 150 grit sandpaper to the bottom edge that's going down into the rib. Trim the sandpaper to be just as wide as the spar, and then just sand the slots in rather than cut them. It's amazing how quickly the slots will sand into place, and they are nice and tight too! :D

Happy building!
 

Tench745

Master member
Love this project @Duffusmonkey !

A quick tip on cutting those slots in the ribs for the spars. Take a piece of the spar material about 3 or 4 inches long and glue some 150 grit sandpaper to the bottom edge that's going down into the rib. Trim the sandpaper to be just as wide as the spar, and then just sand the slots in rather than cut them. It's amazing how quickly the slots will sand into place, and they are nice and tight too! :D

Happy building!
Another alternative, I have an old hacksaw blade which I've broken into a couple sections. You just tape up a stack of however many you need for a given thickness and saw away. I've had good luck with it so far.
 

Duffusmonkey

Junior Member
The fuselage came out a little crooked. I need to make some small framing squares to use the next time I make one.

I had to cut out the bulkheads in the rear and make a new set but I still didn't get it very square.
R26FUSELAGE20200129.jpg


The bottom is pretty ugly but I can't sheet it until I put in control rods
R27CROOKED20200129.jpg


The side doesn't look too bad

R28FUSELAGESIDE20200129.jpg


I am going to use magnets to hold down the hatch

R29HATCH20200129.jpg


I had to cheat and do another mock up

R30GETTINGCLOSE20200129.jpg
 

TooJung2Die

Master member
I would try wetting the tail with water and twist it while holding it in front of a hair dryer. (If you didn't use water soluble glue) You'll have to repeat the process multiple times. Love the bare-bones preview!
 
Last edited:

Duffusmonkey

Junior Member
I haven't glued on the bottom so it is still flexible. For most of the fuselage I used titebond but I used small dots of CA to hold the parts in place while the titebond dried. To truely fix it I would have to cut off the top planking. The bottom is a lot more twisted than the top so I might give the water/hairdryer trick.

Any suggestions for pushrods? The Sullivan Goldenrods I have are made for a much larger model. The model is small enough that I am considering just using piano wire running through guide hole in a plywood tab
 

speedbirdted

Legendary member
Any suggestions for pushrods? The Sullivan Goldenrods I have are made for a much larger model. The model is small enough that I am considering just using piano wire running through guide hole in a plywood tab

Try very thin music wire running through brass tubes bent into shape. They're a little on the weighty side, but you might be able to just get away with cutting off a little bit to fit into the fuselage formers instead of just having the wire rub directly on the wooden former.
 

Duffusmonkey

Junior Member
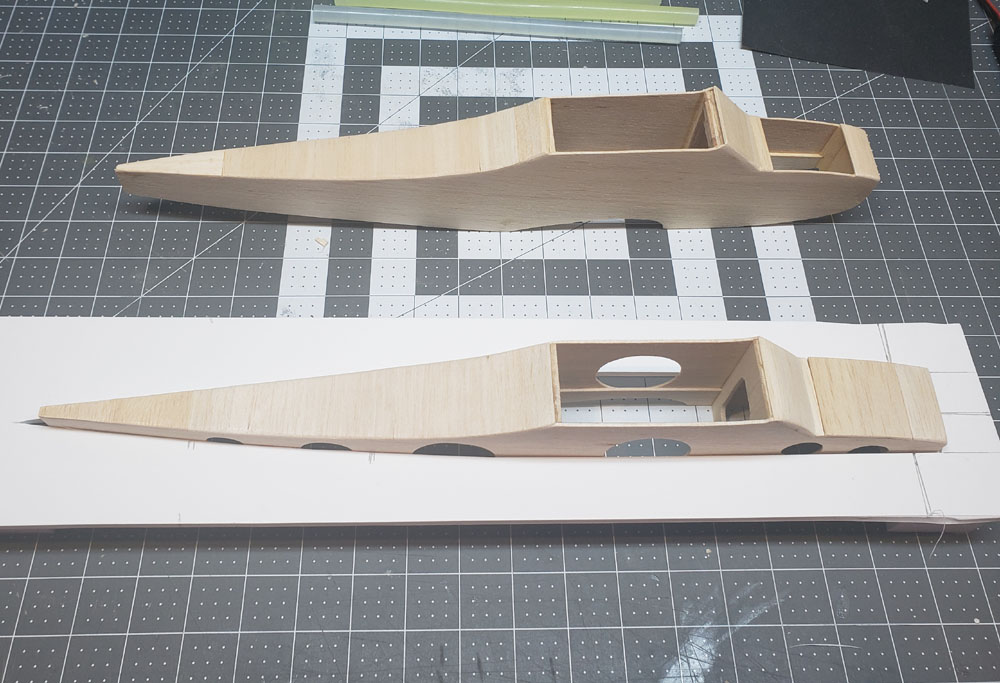
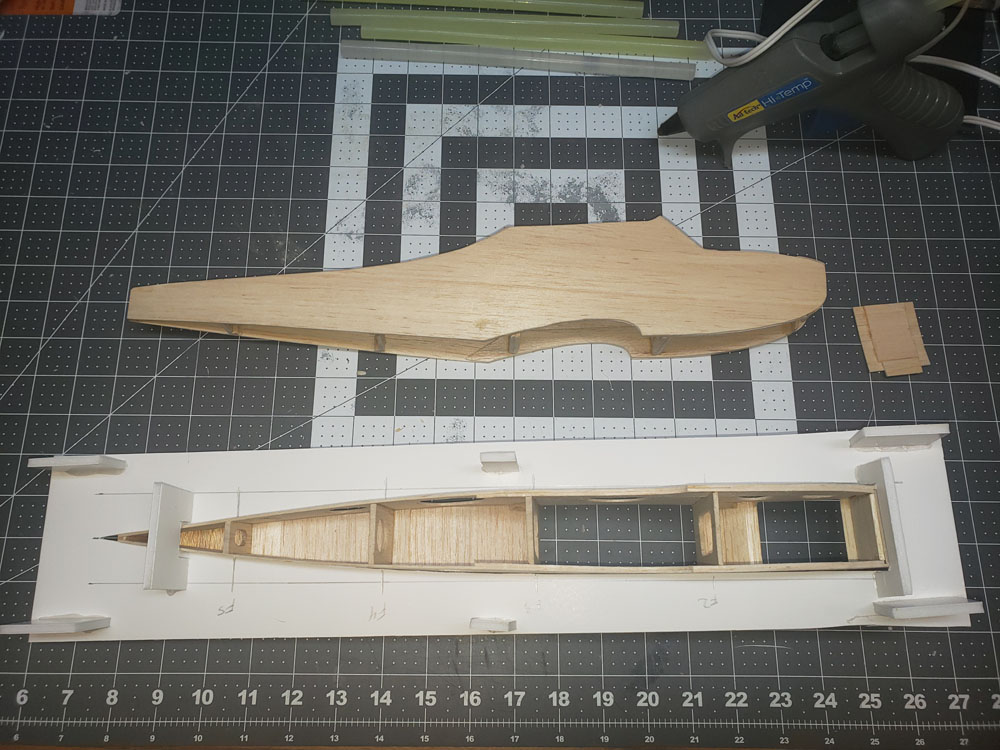
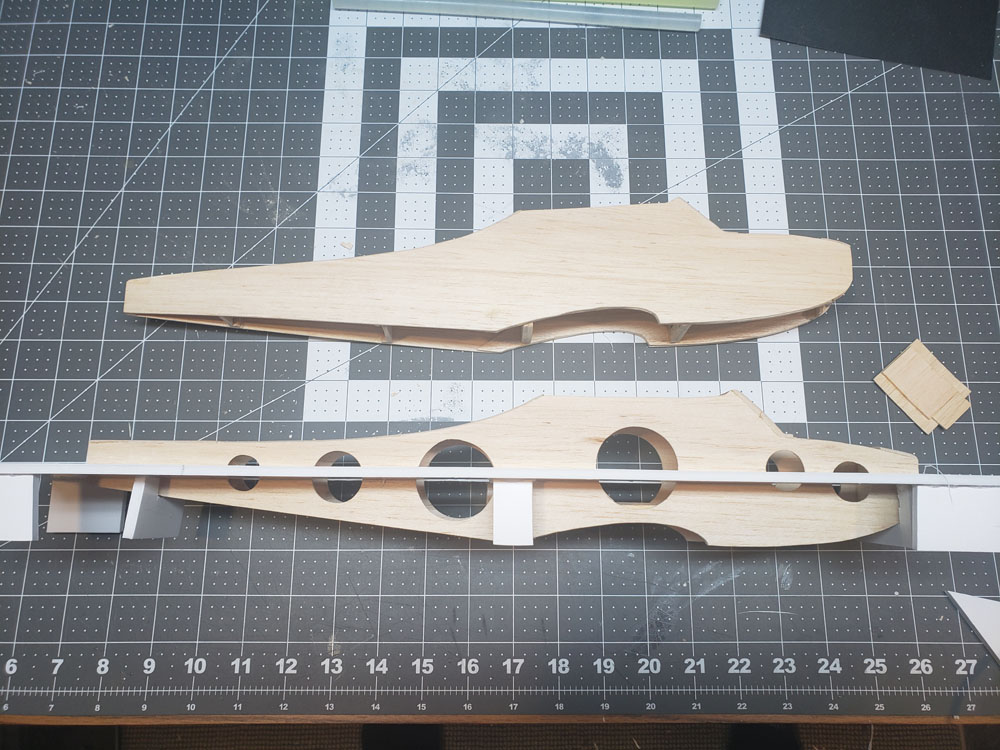
I couldn't stand having a crooked fuselage so I rebuilt it. When I was trying to figure out a way to fixture it I realized that this is the FliteTest Forums, I should make a fixture out of foamboard! It worked great I even made a few framing squares out of foamboard too!

R31FUSELAGE20200210.jpg


R33FUSELAGE20200210.jpg


R32FUSELAGE20200210.jpg


I also had a nice hole cutter that I needed an excuse to use so I got a little carried away. I saved about 1.5 grams ;)
 

speedbirdted

Legendary member
I couldn't stand having a crooked fuselage so I rebuilt it. When I was trying to figure out a way to fixture it I realized that this is the FliteTest Forums, I should make a fixture out of foamboard! It worked great I even made a few framing squares out of foamboard too!

R31FUSELAGE20200210.jpg


R33FUSELAGE20200210.jpg


R32FUSELAGE20200210.jpg


I also had a nice hole cutter that I needed an excuse to use so I got a little carried away. I saved about 1.5 grams ;)
Ha! And I thought I was the only person to ever do this.